

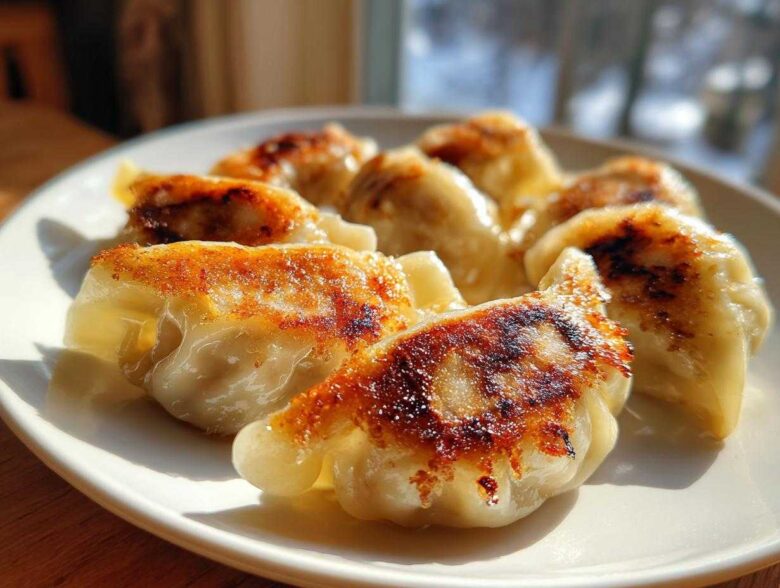
Nothing in this world beats the feeling of pulling piping hot, perfectly crimped parcels of joy out of boiling water or hearing that tell-tale sizzle as they hit a hot pan. Making Traditional Chinese Dumplings from scratch used to feel like a massive, intimidating undertaking, right? We’ve all been there, staring at a recipe promising perfection but delivering dough that rips or filling that tastes like nothing.
Trust me, my team (Ben, Noah, and me, Clara) are recipe rescuers. Remember reading about how we started over at The Recipe Redux after that truly disastrous Lasagna Incident? Well, we applied that same dedication to this! We found that frustration utterly unacceptable. After dissecting countless flawed versions—the ones that fell apart in the water or stuck hideously to the skillet—we fixed it. This isn’t just another recipe; this is our foolproof, guaranteed-to-work guide for making authentic Traditional Chinese Dumplings. We cover every single step, from mixing that silky dough to mastering the actual folding, so you can finally serve Jiaozi that taste like a true family tradition.
Why This Traditional Chinese Dumplings Recipe is Worth Your Time
Why bother making dumplings when you can buy those awful freezer bags? Because life is too short for bland, gummy dumplings! We hate broken promises here at Savor And Pin, and this recipe is our ultimate commitment to flavor and texture integrity. When you follow these steps, you are getting guaranteed results.
- You get that truly authentic taste that only comes from making everything—especially the dough—from scratch.
- It’s incredibly versatile! You choose your adventure: tender boiled dumplings or perfectly crisp potstickers.
- We’ve specifically engineered the filling to pack a flavorful punch and stay juicy, avoiding that common dried-out center.
The Secret to Perfect Homemade Jiaozi Instructions
We put in the hours testing so you don’t have to waste your weekend! Our Homemade Jiaozi Instructions eliminate the guesswork. We solved the dreaded ‘tough wrapper’ problem by perfecting the hydration in the dough and ensuring the proper rest time. Plus, our filling technique ensures you never end up with a flat, under-seasoned spoonful. This recipe is honestly foolproof; it just works!
Gathering Ingredients for Authentic Traditional Chinese Dumplings
Okay, ingredient gathering! This is where we set the stage for amazing flavor. Ben and Noah always remind me that you can follow the steps perfectly, but if your ingredients aren’t right, the dumpling won’t sing. For our Authentic Chinese Dumpling Recipe, we need four specific components: the simple dough, that savory filling, the wrappers we’ll make next, and, of course, the essential dipping sauce to tie it all together. Don’t worry; most of this stuff is pantry staples, except maybe getting really fresh ginger!
For the Savory Pork and Cabbage Filling
This is the powerhouse of the dumpling! Remember, fatty pork is your friend here; it keeps things juicy. When you chop the Napa cabbage, make sure it’s *finely* chopped. Here’s my number one expert tip: salt that cabbage first and let it sit. This pulls out all that extra water. Seriously, squeeze it until you think you can’t squeeze any more—we need dry cabbage so our filling isn’t watery!
- 1 pound ground pork (we want that 20% fat content, folks!)
- 1 pound Napa cabbage, finely chopped
- 2 tablespoons soy sauce
- 1 tablespoon sesame oil
- 1 tablespoon grated fresh ginger
- 1 teaspoon salt (for seasoning) + 1/2 teaspoon salt (for drawing water)
- 1/2 teaspoon white pepper
- 2 green onions, finely chopped
- 1 tablespoon vegetable oil (just for mixing in)
For the Classic Chinese Dumpling Dipping Sauce
You absolutely cannot serve Jiaozi without the right sauce. This simple blend hits all the right notes—salty, tangy, and a little nutty. It comes together in literally 30 seconds while your dough is resting.
- 3 tablespoons soy sauce
- 1 tablespoon rice vinegar
- 1 teaspoon sesame oil
- A pinch of chili flakes (if you like a little heat!)
How to Make Dumpling Dough From Scratch for Traditional Chinese Dumplings
Alright, let’s tackle the dough. I know, I know—why not just buy those little round wrappers? Because trust me, these wrappers elevate your Traditional Chinese Dumplings from a good meal to a religious experience! Making the dough from scratch is easier than you think, and it gives you control over the texture that store-bought wrappers just can’t match.
We start simple: 2 cups of all-purpose flour and about 2/3 cup of warm water. You want the water warm, but not hot—hot water starts cooking the flour too fast and messes up the gluten structure we’re trying to build. Mix it until it gets shaggy, kind of like coarse sand sticking together. Then, it’s time for the real work.
You need to knead this dough for a solid 8 to 10 minutes. Don’t cheat! You are building structure here. Keep working it until it’s smooth as a baby’s bottom. I remember one chaotic afternoon when I swore I kneaded long enough, but I rushed it—maybe only 5 minutes. When I went to roll out those first wrappers, they fought me the entire way, tearing when I tried to thin the edges. That’s because the gluten wasn’t relaxed!
This brings us to the most important part of this step: the rest. Cover that smooth dough tightly with plastic wrap and walk away for at least 30 minutes. Seriously, go start the filling or call your mom. That resting period is crucial because it lets the gluten strands relax. When they’re relaxed, the dough becomes incredibly pliable. You can get those edges super thin without tearing, which is key for a perfect dumpling. When you come back to it after 30 minutes, it should feel buttery soft, a huge difference from when you first finished kneading. Check out some more of our kitchen adventures over at our blog!
Mastering the Best Chinese Dumpling Filling Ways
Now that our dough is happily resting and relaxing—don’t you dare sneak a peek at it!—it’s time to create the flavor center of our Traditional Chinese Dumplings. This filling is simple, but the technique is what unlocks that incredible, juicy result.
First, let’s conquer the cabbage issue. This is where almost everyone goes wrong, and it’s why their dumplings end up soggy or bland. Take that finely chopped Napa cabbage and toss it with that initial 1/2 teaspoon of salt. Now, this feels slightly wrong, but trust me: let it sit on the counter for about 15 minutes. You’ll see moisture start gathering in the bowl. That is water we do *not* want in our dumplings!
You need to squeeze this cabbage until it practically cries uncle! I use cheesecloth if I’m feeling fancy, but most days, I just use my clean hands and twist it over the sink until barely any water drips out. If you skip this step, the water leaches out during cooking, floods the wrapper, and you end up with a sad, collapsed dumpling. Noah had to explain this concept to me three times before I finally believed him about the osmotic pressure involved!
Once the cabbage is dry, we combine everything for Step 3. In a separate, large bowl, dump in your ground pork (remember, the fattier the better for juiciness!), the squeezed cabbage, soy sauce, sesame oil, fresh ginger, the remaining salt, white pepper, green onions, and that tablespoon of vegetable oil for binding. Here comes the crucial technique that brings this mix together into one of the Best Chinese Dumpling Filling Ways: you must mix vigorously in one single direction!
I mean it—stir it hard, clockwise (or counter-clockwise, just stick to one!), until everything stops looking like loose ingredients and starts looking like a cohesive, sticky paste. This is called emulsification. When you lift your spoon, the mixture should cling together in a mass. This stickiness ensures that when you bite into the dumpling, the filling holds its structure and releases all that glorious savory juice. It takes a bit of muscle, but this step is non-negotiable for authentic flavor!
Step by Step Chinese Dumpling Making: Rolling and Authentic Potsticker Folding Techniques
Okay, dough rested, filling ready—we are so close to dumpling nirvana! This is where things get tactile, and honestly, this is my favorite part of making Traditional Chinese Dumplings. We are turning that smooth ball of dough into perfect little vehicles for our savory pork filling. Remember that pliability we worked so hard to develop during the rest period? We need to respect it now.
First, tackle the dough according to Step 4 of the instructions. Cut the rested dough into four equal sections. Roll each section into a long, smooth rope, about the thickness of your thumb—say, 1 inch thick. Then, using a bench scraper or knife, slice that rope into small, 1-inch pieces. These tiny pieces are your future wrappers!
Now, roll each little piece into a ball, and here’s where technique comes in. You’re going to roll it out using a small rolling pin until it forms a 3-inch circle. Ben always wants to make them perfectly round, but I tell him that’s unnecessary! What’s crucial is the thickness distribution. You want the edges to be noticeably thinner than the center. If the edges are too thick, you end up chewing a lot of dough instead of enjoying the filling. Keep the center slightly thicker—that’s what gives the dumpling strength to hold onto the filling!
Once you have your pile of wrappers ready, we move to Step 5: filling and folding. Take about 1 teaspoon of your filling—be careful not to overfill, or they will burst when cooking! Put the filling in the center of the wrapper. Now, moisten just half the edge of the wrapper with a tiny bit of water. This is what makes them stick! Fold the wrapper in half over the filling to create a basic half-moon shape.
This next part is the secret to those beautiful, professional-looking dumplings and locks in all that flavor—it defines our Authentic Potsticker Folding Techniques. You need to create small pleats along one side while pressing the folded edge against the flat edge. Work from one end to the other until you have sealed the entire dumpling. The pleats look fancy, but they are functional; they give the dough extra grip so the dumpling stays shut during boiling or frying.
A quick word of warning before you get too deep into folding: if you stop working on a batch of wrappers, don’t let them sit uncovered! They dry out fast. Toss a slightly damp (not soaking wet!) kitchen towel over the assembled or waiting wrappers. That moisture keeps them supple so they seal perfectly when you get back to them.
Cooking Your Traditional Chinese Dumplings: Boiling vs. Pan-Frying
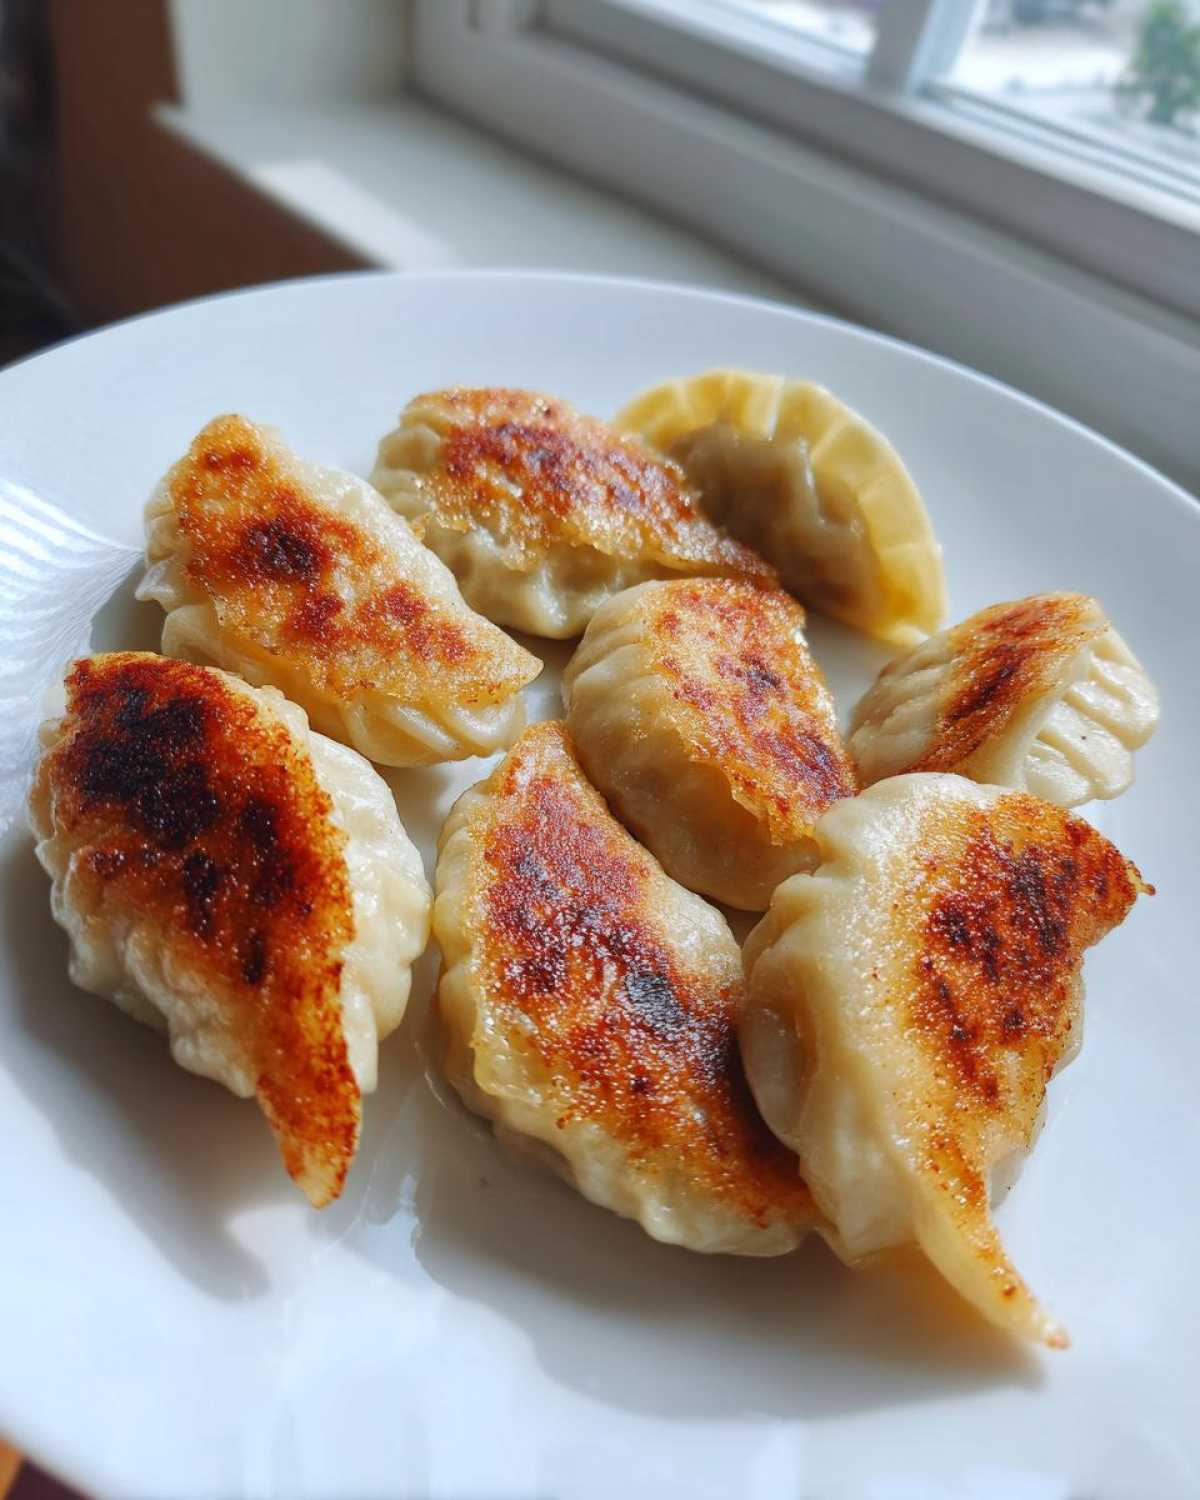
You’ve done the hard work; now it’s time for the grand finale! You have two incredibly satisfying ways to cook your gorgeous Traditional Chinese Dumplings. Boiled Jiaozi are tender and soup-adjacent, while pan-fried potstickers offer that irresistible contrast of crispy bottom and soft top. Both methods are featured in our instructions, so pick your poison!
For boiling (Step 6), you need a huge pot of rolling water. Gently drop those dumplings in, giving them a slow stir right away so they don’t kiss the bottom of the pot and stick. Here’s the trick my aunt taught me that guarantees fluffy wrappers: when the water comes back to a boil, pour in about a half-cup of cold water. Repeat this cycle—boil, add cold water—two more times. This slightly lowers the temperature gently, ensuring the wrapper cooks through evenly without ballooning or bursting before the filling is done. When they float up and look nicely plump, they’re ready, usually after 6 to 8 minutes total.
For the pan-fried route (Step 7), we go for the classic potsticker texture. Get a good, non-stick skillet hot with a tablespoon of oil. Place the dumplings flat-side down, leaving breathing room between them. Cook them until that bottom gets golden brown and crispy—about 2 minutes. That’s the crunch layer forming! Immediately pour in about half a cup of water and slam the lid on. That water turns into steam and cooks the filling completely in about 6 to 8 minutes. Once the water evaporates, take the lid off and let the bottoms crisp up again for that final minute. It’s a three-stage cooking miracle!
Tips for Perfect Pan Fried Dumplings
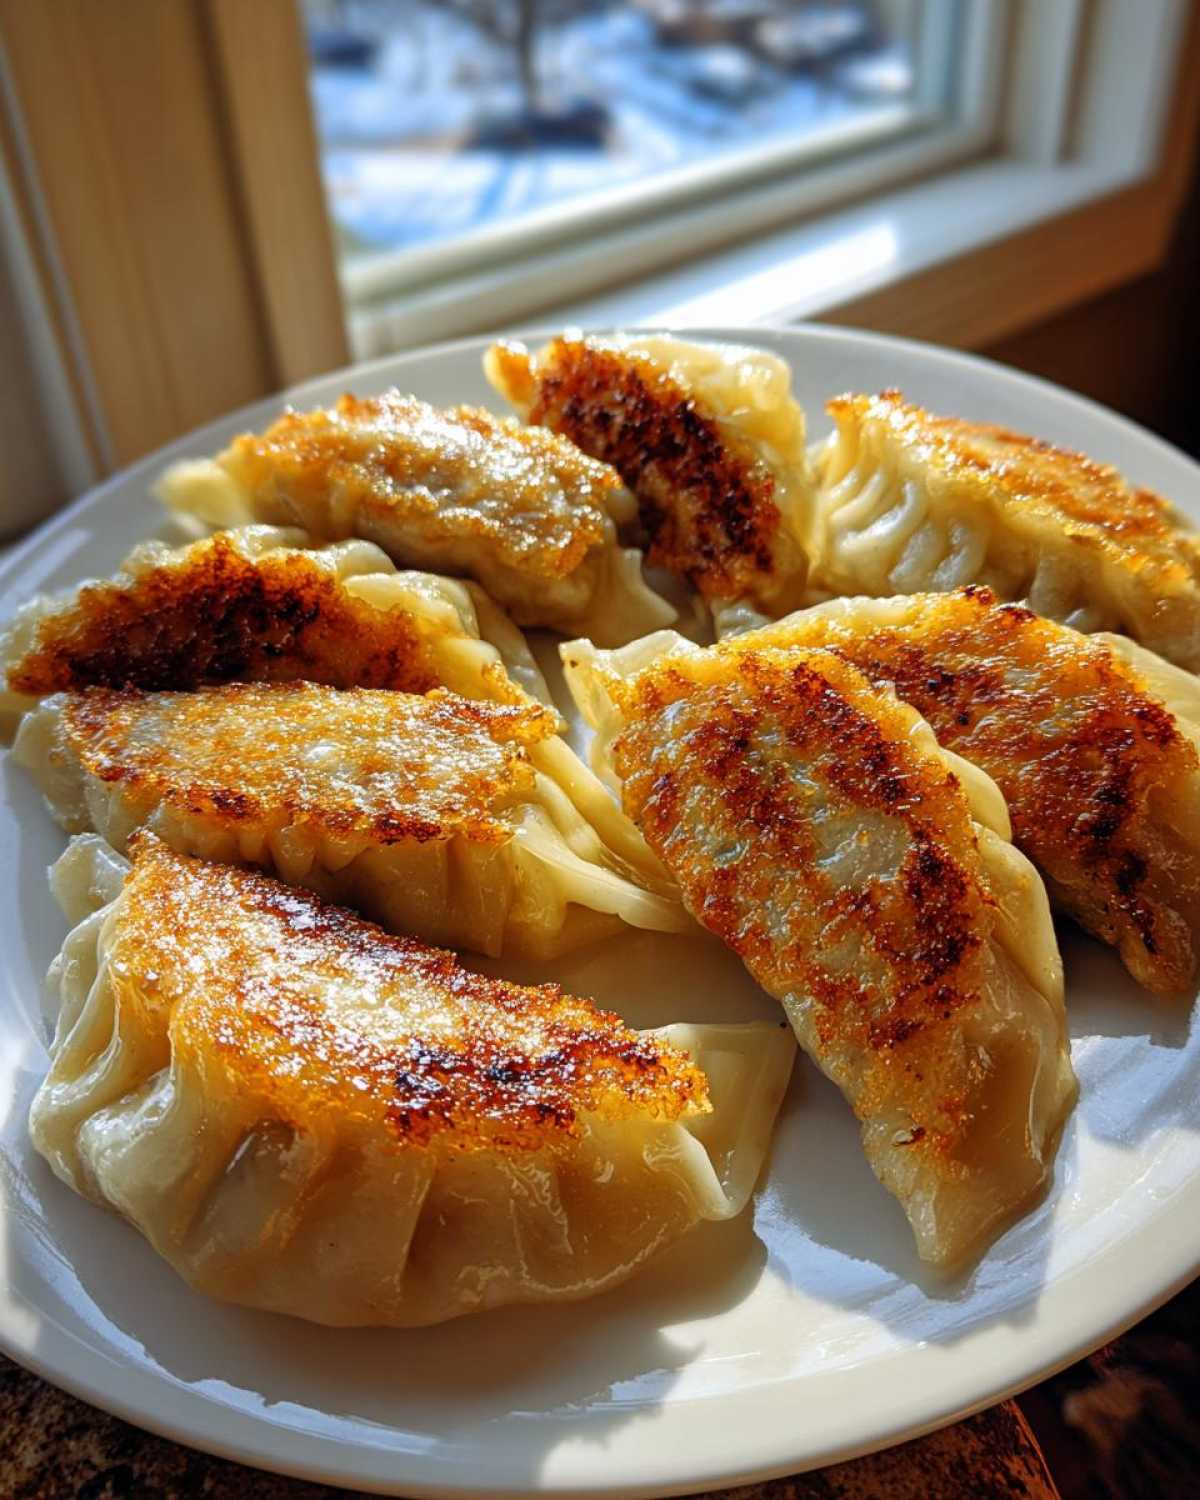
The biggest mistake people make with potstickers is getting the heat wrong. If your pan is too scorching hot when you add the water, that steam erupts too violently and you end up with soggy bottoms, not crispy ones. Medium-high heat is your sweet spot for the initial fry. You want that satisfying, audible sizzle when the dough first hits the oil. Also, ensure your skillet is truly non-stick, or you’ll spend half your time scraping delicious dumplings off the bottom! If you haven’t mastered this yet, check out our detailed potsticker tutorial for more reassurance on temperature control!
Serving Your Traditional Chinese Dumplings with Dipping Sauce
No matter if you boiled them until they were plump or fried them until they sang, your Traditional Chinese Dumplings deserve a stellar send-off! That Classic Chinese Dumpling Dipping Sauce we mixed up earlier is the perfect counterpoint. It’s tangy, salty, and wakes up all the savory notes in that pork and cabbage filling.
Just give that sauce one last whisk (Step 8) and serve it immediately alongside the hot dumplings. Dipping them while they’re steaming is, in my opinion, the only way to eat them. The combination of the warm, tender meat cradled in freshly made dough, dipped in that bright vinegar sauce—wow. It’s simple perfection. If you need an awesome side dish to make the meal complete, try whipping up some of our spicy Chili Garlic Noodles—that chili kick goes so well!
Storage and Reheating Instructions for Leftover Traditional Chinese Dumplings
We always end up with too many dumplings, even when we swear we won’t! Luckily, they freeze beautifully, whether raw or cooked. If you have leftovers that are already cooked—say, boiled ones—let them cool on a plate completely. Don’t put a hot pile of dumplings into a container, or you’ll just end up making steamed mush! Once cool, they can go into an airtight container in the fridge for a couple of days.
For freezing, whether raw or cooked, flash freezing is the secret weapon. Arrange the dumplings in a single layer on a baking sheet lined with parchment paper. Stick that sheet in the freezer—no touching!—for about an hour until they are rock solid. Once they’re frozen solid, you can transfer them to a heavy-duty freezer bag. This stops them from clumping into one massive dumpling brick.
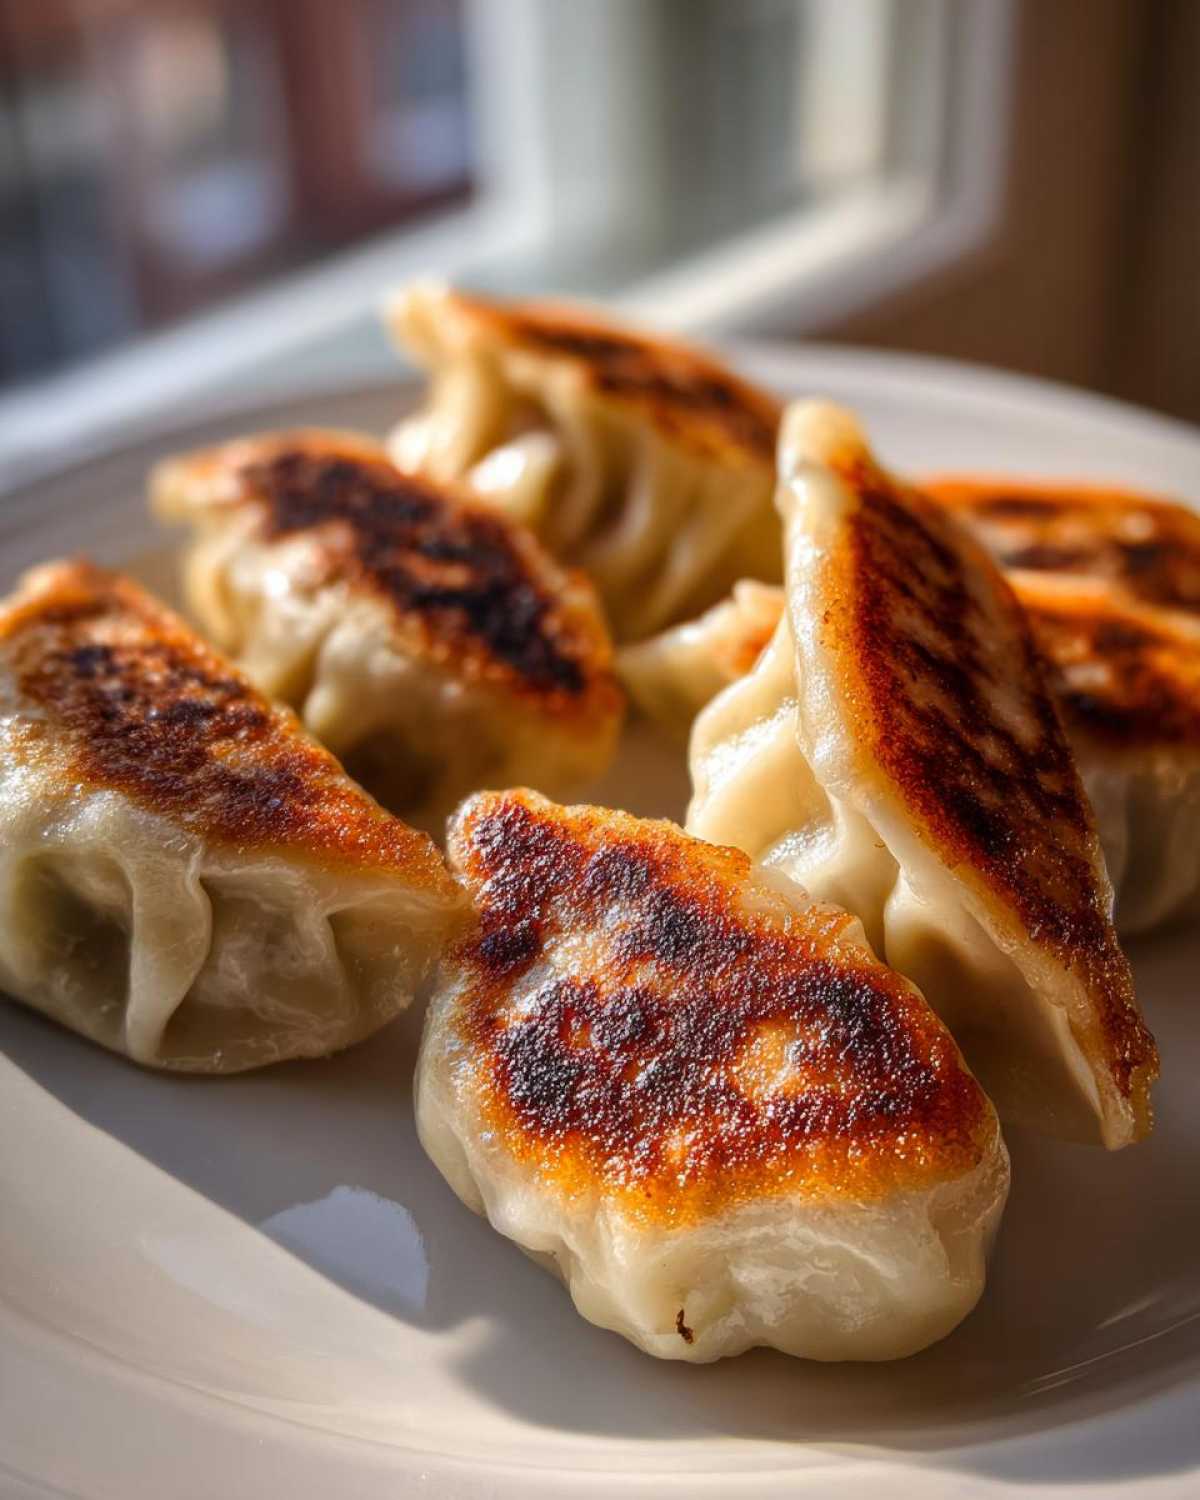
When reheating frozen dumplings, never use the microwave! For raw, frozen dumplings, just drop them right into boiling water (just like Step 6, but add an extra 2-3 minutes to the cooking time). For frozen potstickers, put a little oil in the pan, place the frozen bottoms down, and then add a generous splash of water and cover immediately—let the steam do the hard work, then crisp them up. They taste almost freshly made, I promise!
Frequently Asked Questions About Making Traditional Chinese Dumplings
I know when Noah and Ben are testing a recipe, they always have a million questions, and you probably do too! We tried to cover everything in our Authentic Chinese Dumpling Recipe, but sometimes you need a quick answer about substitutions or technique. Here are a few things we hear most often.
Can I make the filling ahead of time for my Traditional Chinese Dumplings?
Yes, you absolutely can! Mix the entire filling mixture—pork, cabbage, seasonings—and keep it tightly covered in the fridge for up to 24 hours. However, for the absolute best texture, the filling should be slightly cold when you start rolling the wrappers. If it feels warm or oily, it will make wrapping much harder!
What is the difference between Jiaozi and Potstickers?
That’s an easy one! Jiaozi is the general term for these types of Northern Chinese dumplings, referring to the raw dumpling itself. Potstickers are simply Jiaozi that have been cooked using the pan-frying method (crispy bottom, steamed top). If you boil them, they are just boiled Jiaozi. It’s all about how you finish the cooking process!
Can I use store-bought wrappers instead of making my own dough?
Look, I won’t judge you if you’re in a real rush, but if you want the *best* result, homemade is superior. Store-bought wrappers often use different flours, and they can be too doughy or fall apart easily. If you must use them, look for thin, round wrappers specifically labeled for Jiaozi or wontons if you can’t find the right size, but know that you’ll miss out on the best texture that our How to Make Dumpling Dough From Scratch process gives you!
Cooking Your Traditional Chinese Dumplings: Boiling vs. Pan-Frying
You’ve done the hard work; now it’s time for the grand finale! You have two incredibly satisfying ways to cook your gorgeous Traditional Chinese Dumplings. Boiled Jiaozi are tender and soup-adjacent, while pan-fried potstickers offer that irresistible contrast of crispy bottom and soft top. Both methods are featured in our instructions, so pick your poison!
For boiling (Step 6), you need a huge pot of rolling water. Gently drop those dumplings in, giving them a slow stir right away so they don’t kiss the bottom of the pot and stick. Here’s the trick my aunt taught me that guarantees fluffy wrappers: when the water comes back to a boil, pour in about a half-cup of cold water. Repeat this cycle—boil, add cold water—two more times. This slightly lowers the temperature gently, ensuring the wrapper cooks through evenly without ballooning or bursting before the filling is done. When they float up and look nicely plump, they’re ready, usually after 6 to 8 minutes total.
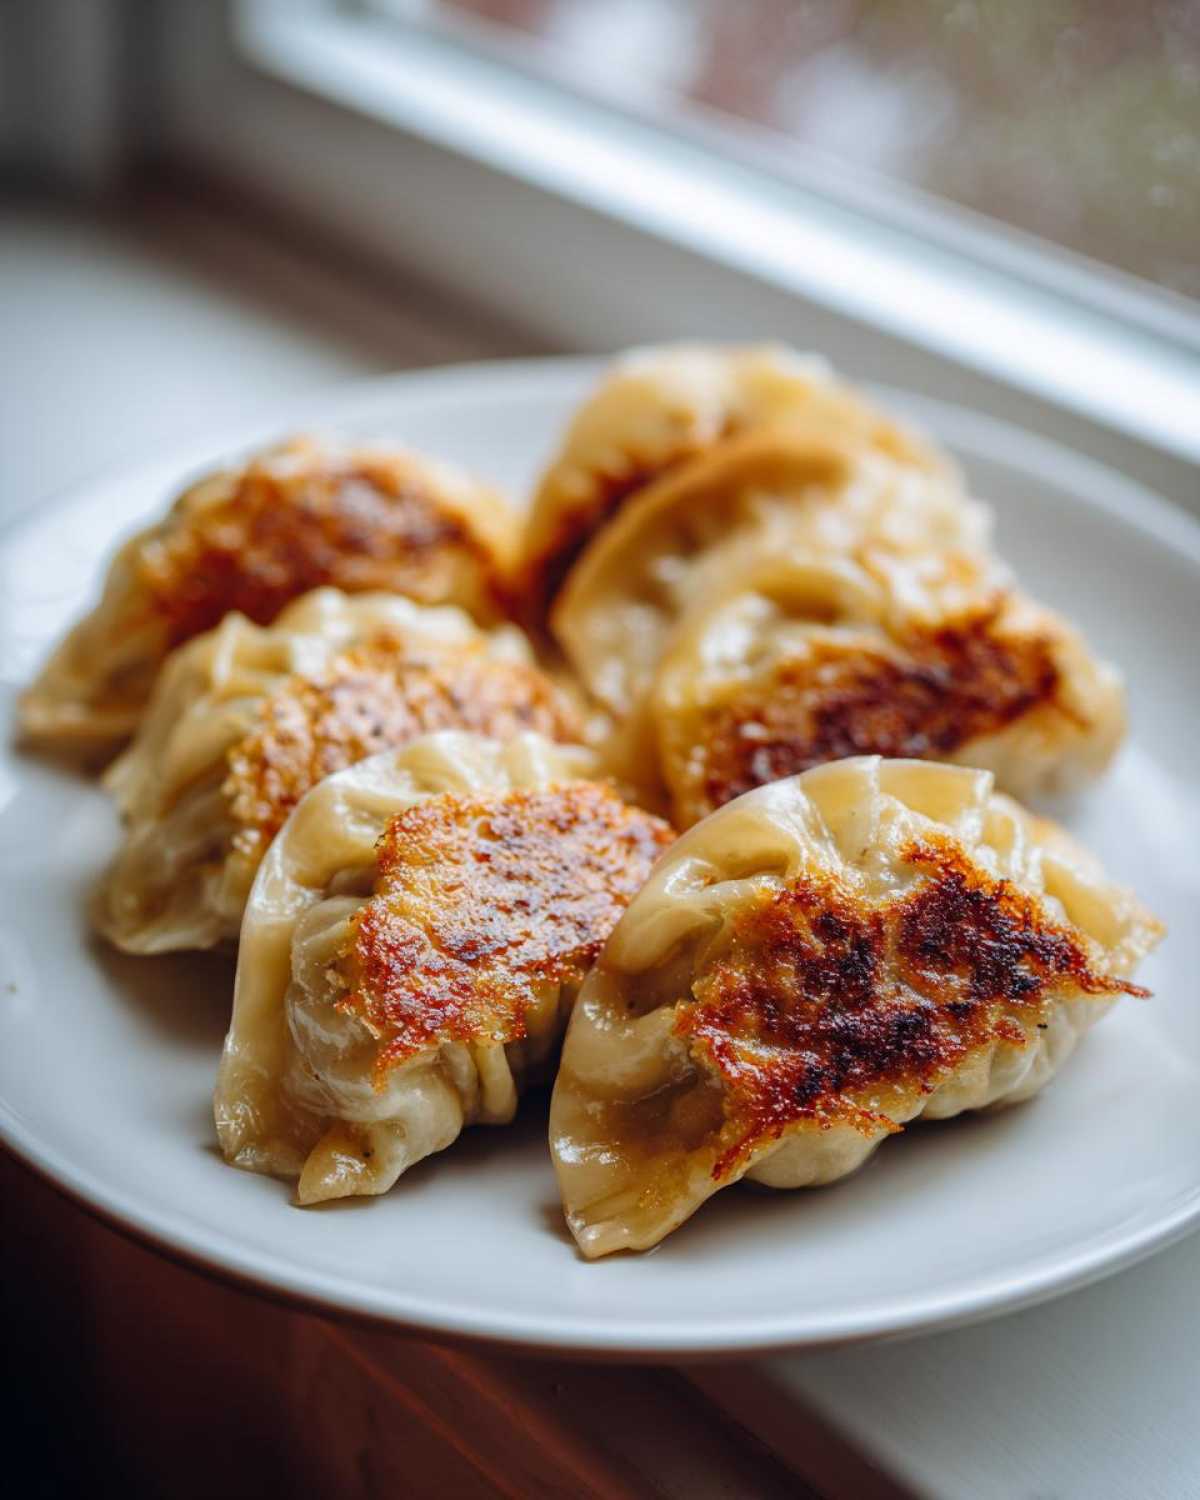
For the pan-fried route (Step 7), we go for the classic potsticker texture. Get a good, non-stick skillet hot with a tablespoon of oil. Place the dumplings flat-side down, leaving breathing room between them. Cook them until that bottom gets golden brown and crispy—about 2 minutes. That’s the crunch layer forming! Immediately pour in about half a cup of water and slam the lid on. That water turns into steam and cooks the filling completely in about 6 to 8 minutes. Once the water evaporates, take the lid off and let the bottoms crisp up again for that final minute. It’s a three-stage cooking miracle!
Tips for Perfect Pan Fried Dumplings
The biggest mistake people make with potstickers is getting the heat wrong. If your pan is too scorching hot when you add the water, that steam erupts too violently and you end up with soggy bottoms, not crispy ones. Medium-high heat is your sweet spot for the initial fry. You want that satisfying, audible sizzle when the dough first hits the oil. Also, ensure your skillet is truly non-stick, or you’ll spend half your time scraping delicious dumplings off the bottom! If you haven’t mastered this yet, check out our detailed potsticker tutorial for more reassurance on temperature control!
Serving Your Traditional Chinese Dumplings with Dipping Sauce
No matter if you boiled them until they were plump or fried them until they sang, your Traditional Chinese Dumplings deserve a stellar send-off! That Classic Chinese Dumpling Dipping Sauce we mixed up earlier is the perfect counterpoint. It’s tangy, salty, and wakes up all the savory notes in that pork and cabbage filling.
Just give that sauce one last whisk (Step 8) and serve it immediately alongside the hot dumplings. Dipping them while they’re steaming is, in my opinion, the only way to eat them. The combination of the warm, tender meat cradled in freshly made dough, dipped in that bright vinegar sauce—wow. It’s simple perfection. If you need an awesome side dish to make the meal complete, try whipping up some of our spicy Chili Garlic Noodles—that chili kick goes so well!
Storage and Reheating Instructions for Leftover Traditional Chinese Dumplings
We always end up with too many dumplings, even when we swear we won’t! Luckily, they freeze beautifully, whether raw or cooked. If you have leftovers that are already cooked—say, boiled ones—let them cool on a plate completely. Don’t put a hot pile of dumplings into a container, or you’ll just end up making steamed mush! Once cool, they can go into an airtight container in the fridge for a couple of days.
For freezing, whether raw or cooked, flash freezing is the secret weapon. Arrange the dumplings in a single layer on a baking sheet lined with parchment paper. Stick that sheet in the freezer—no touching!—for about an hour until they are rock solid. Once they’re frozen solid, you can transfer them to a heavy-duty freezer bag. This stops them from clumping into one massive dumpling brick.
When reheating frozen dumplings, never use the microwave! For raw, frozen dumplings, just drop them right into boiling water (just like our boiling step, but add an extra 2-3 minutes to the cooking time). For frozen potstickers, put a little oil in the pan, place the frozen bottoms down, and then add a generous splash of water and cover immediately—let the steam do the hard work, then crisp them up. They taste almost freshly made, I promise! That initial flash freeze keeps the pleats looking neat, too.
Frequently Asked Questions About Making Traditional Chinese Dumplings
I know when Noah and Ben are testing a recipe, they always have a million questions, and you probably do too! We tried to cover everything in our Authentic Chinese Dumpling Recipe, but sometimes you need a quick answer about substitutions or technique. Here are a few things we hear most often.
Can I make the filling ahead of time for my Traditional Chinese Dumplings?
Yes, you absolutely can! Mix the entire filling mixture—pork, cabbage, seasonings—and keep it tightly covered in the fridge for up to 24 hours. However, for the absolute best texture, the filling should be slightly cold when you start rolling the wrappers. If it feels warm or oily, it will make wrapping much harder!
What is the difference between Jiaozi and Potstickers?
That’s an easy one! Jiaozi is the general term for these types of Northern Chinese dumplings, referring to the raw dumpling itself. Potstickers are simply Jiaozi that have been cooked using the pan-frying method (crispy bottom, steamed top). If you boil them, they are just boiled Jiaozi. It’s all about how you finish the cooking process when following our Step by Step Chinese Dumpling Making guide!
Can I use store-bought wrappers instead of making my own dough?
Look, I won’t judge you if you’re in a real rush, but if you want the *best* result, homemade dough is superior. Store-bought wrappers often use different flours, and they can be too doughy or fall apart easily. If you must use them, look for thin, round wrappers specifically labeled for Jiaozi or wontons if you can’t find the right size, but know that you’ll miss out on the best texture that our How to Make Dumpling Dough From Scratch process gives you!
What other meat works besides pork for the filling?
Pork is classic, especially with that fat content, but you have options if you want Savory Chinese Dumpling Wrappers holding something else! Ground chicken or turkey works great, but you MUST add a little extra fat back in—maybe an extra tablespoon of rendered bacon fat or vegetable oil—just to keep them from getting too dry. Ground shrimp mixed with a bit of pork fat is also incredibly flavorful!
PrintAuthentic Pork and Napa Cabbage Jiaozi: A Foolproof Recipe
Learn how to make traditional Chinese dumplings, Jiaozi, from scratch. This recipe covers making the dough, preparing the savory pork and cabbage filling, and mastering classic folding techniques for both boiled and pan-fried potstickers.
- Prep Time: 45 min
- Cook Time: 15 min
- Total Time: 60 min
- Yield: 40 dumplings
- Category: Main Course
- Method: Boiling and Pan-Frying
- Cuisine: Chinese
- Diet: Low Lactose
Ingredients
- 2 cups all-purpose flour
- 2/3 cup warm water (plus extra for sealing)
- 1 pound ground pork (preferably 20% fat)
- 1 pound Napa cabbage, finely chopped
- 2 tablespoons soy sauce
- 1 tablespoon sesame oil
- 1 tablespoon grated fresh ginger
- 1 teaspoon salt
- 1/2 teaspoon white pepper
- 2 green onions, finely chopped
- 1 tablespoon vegetable oil (for sautéing)
Instructions
- Prepare the Dough: In a large bowl, mix the flour and warm water until a shaggy dough forms. Knead for 8 to 10 minutes until smooth. Cover the dough with plastic wrap and let it rest at room temperature for at least 30 minutes.
- Prepare the Filling: Place the chopped Napa cabbage in a bowl and sprinkle with 1/2 teaspoon of salt. Let it sit for 15 minutes to draw out excess water. Squeeze the cabbage very dry using cheesecloth or your hands. Discard the liquid.
- Combine Filling Ingredients: In a separate bowl, combine the ground pork, squeezed cabbage, soy sauce, sesame oil, ginger, remaining salt, white pepper, green onions, and vegetable oil. Mix vigorously in one direction until the mixture becomes sticky and emulsified.
- Shape the Wrappers: Divide the rested dough into four equal pieces. Roll each piece into a long rope, about 1 inch thick. Cut the rope into 1-inch pieces. Roll each piece into a small ball. On a lightly floured surface, use a small rolling pin to roll each ball into a thin, 3-inch circle, keeping the edges slightly thinner than the center.
- Fill and Fold: Place about 1 teaspoon of filling in the center of a wrapper. Moisten the edge of half the wrapper with water. Fold the wrapper in half over the filling to create a half-moon shape. Crimp the edges together, creating small pleats along one side to seal the dumpling completely.
- Cook the Dumplings (Boiling Method): Bring a large pot of water to a rolling boil. Gently drop the dumplings into the water, ensuring they do not stick to the bottom. Stir gently. When the water returns to a boil, add 1/2 cup of cold water. Repeat this process two more times. When the dumplings float and look plump, they are done (about 6 to 8 minutes total).
- Cook the Dumplings (Pan-Frying/Potsticker Method): Heat 1 tablespoon of oil in a non-stick skillet over medium-high heat. Place dumplings flat-side down in the pan, leaving space between them. Cook until the bottoms are golden brown, about 2 minutes. Pour in about 1/2 cup of water, immediately cover the pan, and steam for 6 to 8 minutes, or until the filling is cooked through. Remove the lid and cook for 1 minute more to re-crisp the bottoms.
- Make the Dipping Sauce: Whisk together 3 tablespoons of soy sauce, 1 tablespoon of rice vinegar, 1 teaspoon of sesame oil, and a pinch of chili flakes (optional). Serve immediately with the hot dumplings.
Notes
- To keep unused wrappers pliable, cover them tightly with a damp cloth while you work on the rest. Do not let the dough dry out.
- For the best texture, use ground pork that is not too lean. The fat helps keep the filling juicy.
- When pan-frying, the water creates steam, which cooks the filling, while the initial fry creates the crispy bottom.
Nutrition
- Serving Size: 5 dumplings
- Calories: 250
- Sugar: 3
- Sodium: 450
- Fat: 12
- Saturated Fat: 4
- Unsaturated Fat: 8
- Trans Fat: 0
- Carbohydrates: 22
- Fiber: 1
- Protein: 15
- Cholesterol: 45