

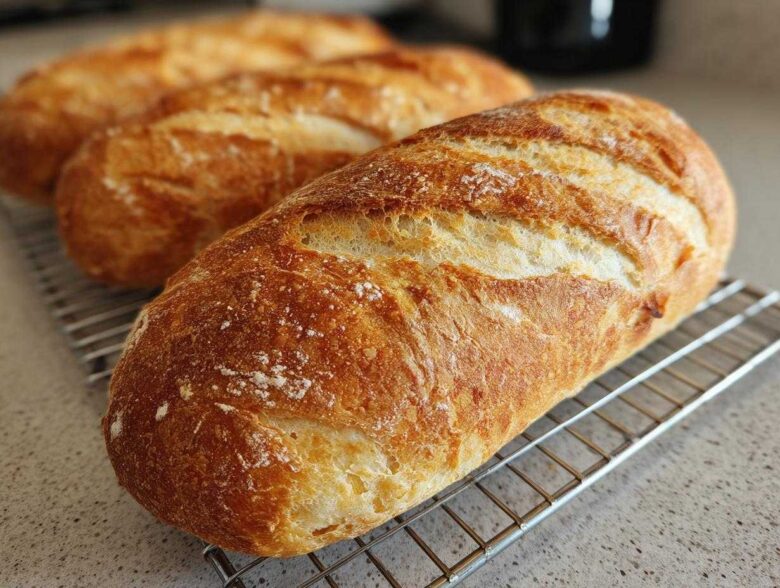
Oh, that smell! You know the one—that perfect, warm aroma that instantly makes your house feel like the coziest bakery in Paris. We’ve all been let down by online recipes promising magic but delivering a lackluster sponge, right? Not today. My partner Noah, being the resident food scientist here at Savor And Pin, obsessed over this dough structure until we nailed it. I’m talking about achieving that textbook, shatteringly crispy crust paired with an interior crumb that is just unbelievably soft. We made this specific french bread recipe so you can get that amazing bakery-style result at home, whether you have all afternoon or if you need a loaf on the table fast. If you’ve ever wanted to bake the bread that truly makes people think you hired a professional, this is the one to try; you can read more about our obsession over perfect bread right here. Trust me, this is the game-changer you’ve been looking for.
Why This Classic Crusty Homemade French Bread Recipe Works
When Ben and I started Savor And Pin, it was because we kept finding recipes online that looked great in the photos but failed spectacularly in the oven. We took the core idea of classic french bread, threw out the confusing parts, and reinforced the methods that guarantee success. This isn’t just another recipe; it’s a promise that you won’t waste your ingredients. We built this to be foolproof, which is why it’s now part of our go-to list for the best homemade bread recipes we share.
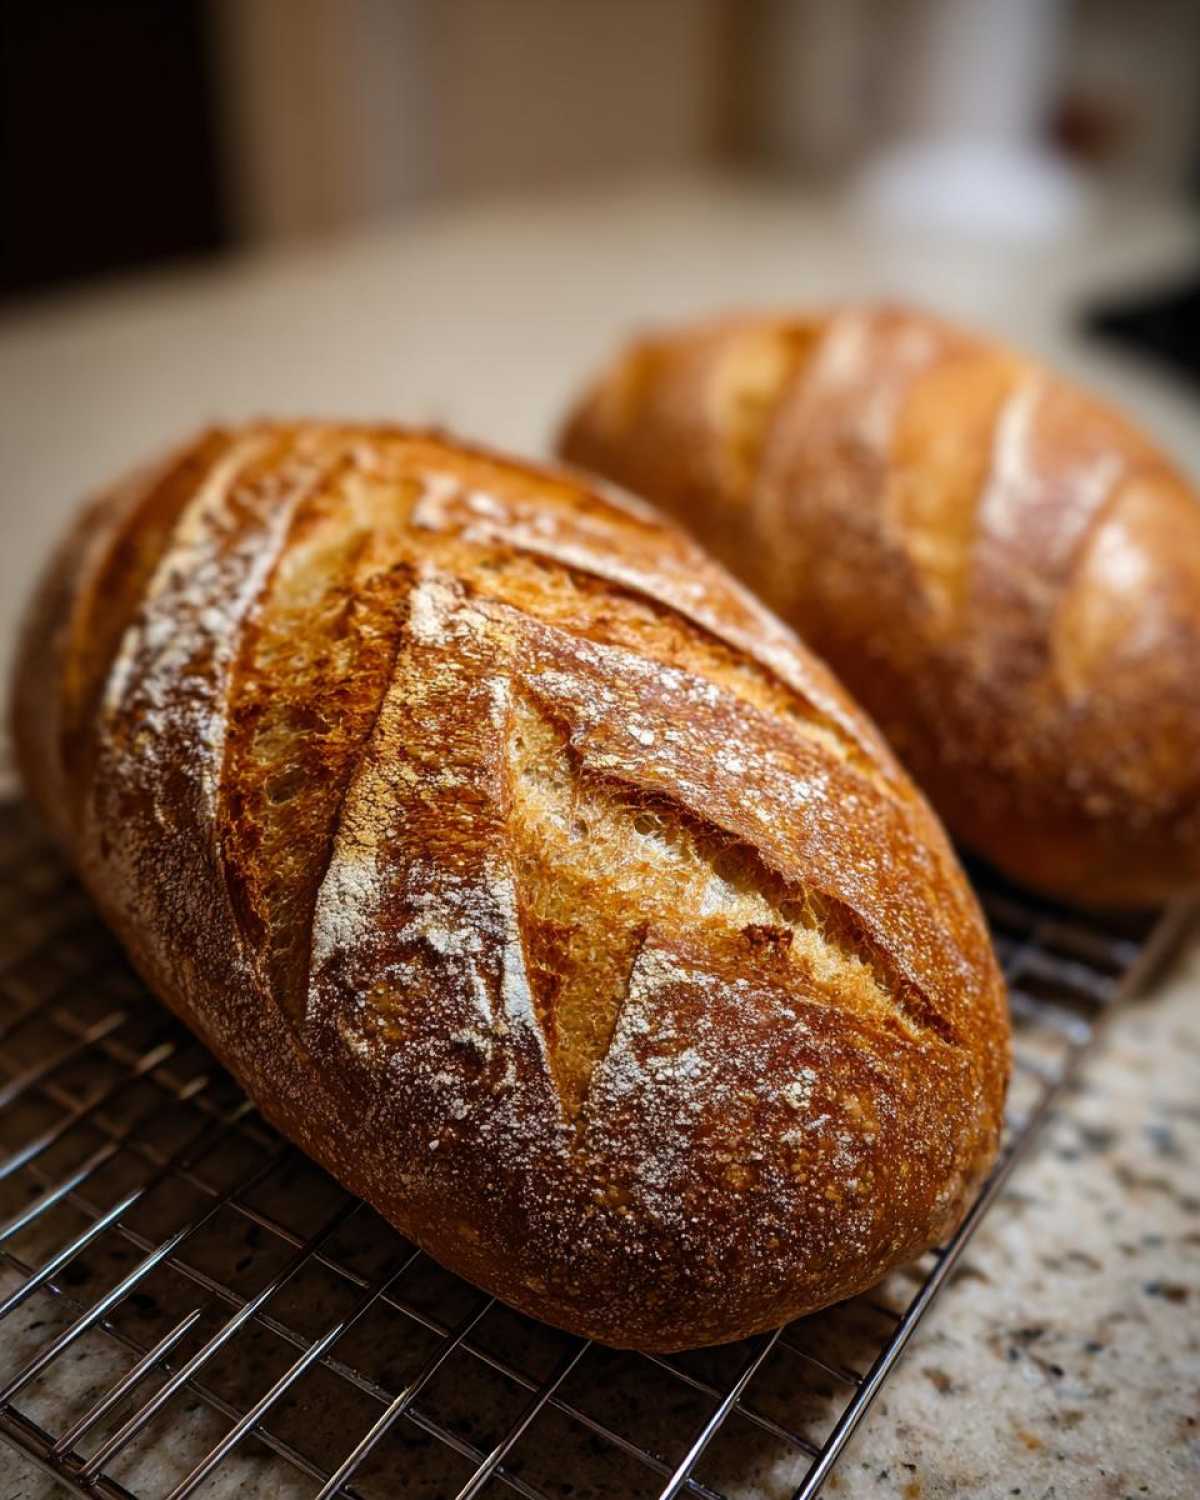
- This recipe is tested to deliver texture perfection every single time.
- It combines the traditional structure with helpful speed boosts for busy folks.
- We’ve taken the guesswork out of the hydration and kneading process.
Achieving the Perfect French Bread with Crispy Crust
The secret to that beautiful, crackly shell, the one that shatters just right when you slice it? That’s all about steam! Many home bakers skip this, and that’s why their loaves end up dull. We introduce a surge of moisture right when the bread goes in the oven. That intense blast keeps the crust supple long enough to expand fully before hardening. This technique is absolutely essential if you want an Authentic French Baguette Recipe that makes people stop and stare.
Soft and Fluffy French Bread Interior
We want that incredible contrast! The inside shouldn’t be tight or gummy; it needs to be airy and tender. We achieve this balance by carefully controlling the kneading time—just enough to develop structure, but not so much that you beat all the air out. The ratio of water to flour is spot on in this recipe, which guarantees that signature light and melt-in-your-mouth crumb we all love in Soft and Fluffy French Bread.
Ingredients for Your Homemade French Bread Recipe
Okay, let’s talk substance. The beauty of great baking is often its simplicity, and this french bread recipe proves it. You only need five core items, plus the wash for that golden shine. Honestly, ingredient quality matters here. Since there aren’t many flavors dancing around, make sure your yeast is fresh and your salt is good—it really makes a difference in the final taste of your Homemade French Bread Recipe. Keep everything within reach; we’re about to mix this up fast!
Ingredient Notes and Substitutions
The absolute most critical detail here is the water temperature for waking up the yeast. If it’s too cold, nothing happens, and if it’s too hot, you kill it dead! Aim for that sweet spot between 105°F and 115°F; it should feel warm, not hot, to your finger. I use standard all-purpose flour because it’s readily available, but if you want a slightly chewier structure, feel free to swap up to a third of it with good quality bread flour. That’s one of Noah’s little tweaks for better gluten development when we’re testing an Artisan Bread Baking approach.
The Quick French Bread Recipe Variation (Under 2 Hours)
Life gets busy, right? I totally get it. Sometimes you need that fresh bread *now*, not 3 hours from now. That’s why we included this speed hack for our french bread. If you’re in a rush, you can skip the long, slow first rise detailed in the main instructions. Instead of waiting 90 minutes for the dough to double, we just give it a shorter, punchier rest—about 30 minutes—until it’s just getting puffy.
This is a fantastic option for a weeknight dinner when you decide last minute you need fresh loaves. This variation speeds things up dramatically, making it a true Quick French Bread Recipe Under 2 Hours, especially if you’re efficient with your shaping. Seriously, it’s amazing how fast yeast can work when you give it a warm spot! You can check out our full breakdown on achieving speed without sacrificing too much flavor right here.
Now, full transparency: Noah confirms that the *longest* rise always yields the deepest flavor, but for sheer speed and convenience, this shortcut keeps that wonderful texture, just like some other great recipes we’ve seen for quick loaves!
Baguette Making Guide: Step-by-Step Instructions for Perfect French Bread
Alright, this is where the magic happens! If you’re nervous about handling dough, don’t be. This procedure gives us that lovely, Easy French Bread for Beginners result because we break down every stage. You’ll find all the details in the full recipe card below, but I want to highlight the technique here so you know what you’re aiming for. We want to move from shaggy mass to a beautiful, crusty loaf. If you’re interested in diving deeper into the science behind dough feel, check out our tips on Artisan Bread Baking.
Activating Yeast and Mixing the Dough
First things first: wake up that yeast! Dissolve the sugar in your warm water—remember, that 105-115°F range we talked about. Sprinkle the yeast on top and walk away for about five to ten minutes. If you see foam, congratulations, you’re ready to go! Next, mix in 3 1/2 cups of flour and the salt. Use your spoon until it just comes together into what we call a ‘shaggy’ dough. Don’t try to make it perfect yet; that comes next!
Kneading and The First Rise (Traditional vs. Quick)
Now turn that shaggy mess out onto your floured counter. This is where the work is, kneading for a solid 8 to 10 minutes until the dough feels smooth and nice and elastic. I can’t tell you how many times Noah has gently poked the dough right here, checking its gluten structure. If it’s sticking to everything, add just a whisper more flour, but be careful! After kneading, cover it up. For the classic flavor, let it rise for 90 minutes. But remember our quick tip? For the speedy version, we only let it rise for 30 minutes until it looks slightly puffy and ready to go.
Shaping, Scoring, and Creating Steam for a Crusty Bread Tutorial
Gently punch that dough down and divide it in half. Before you panic, shaping is easy: just roll each piece into a long, rustic loaf, maybe 15 inches long if you’re going for that classic baguette feel. Pop them onto parchment paper. After the second rise (30-45 minutes), comes the artistry! Use a really sharp knife to make three decisive, diagonal slashes—this is scoring. Then, the final, necessary trick for that glorious crackle: throw hot water into a pan on the bottom rack right before you slide the bread in. This steam is the foundation of a perfect Crusty Bread Tutorial.
Tips for Success: Baking Bakery Style Bread at Home
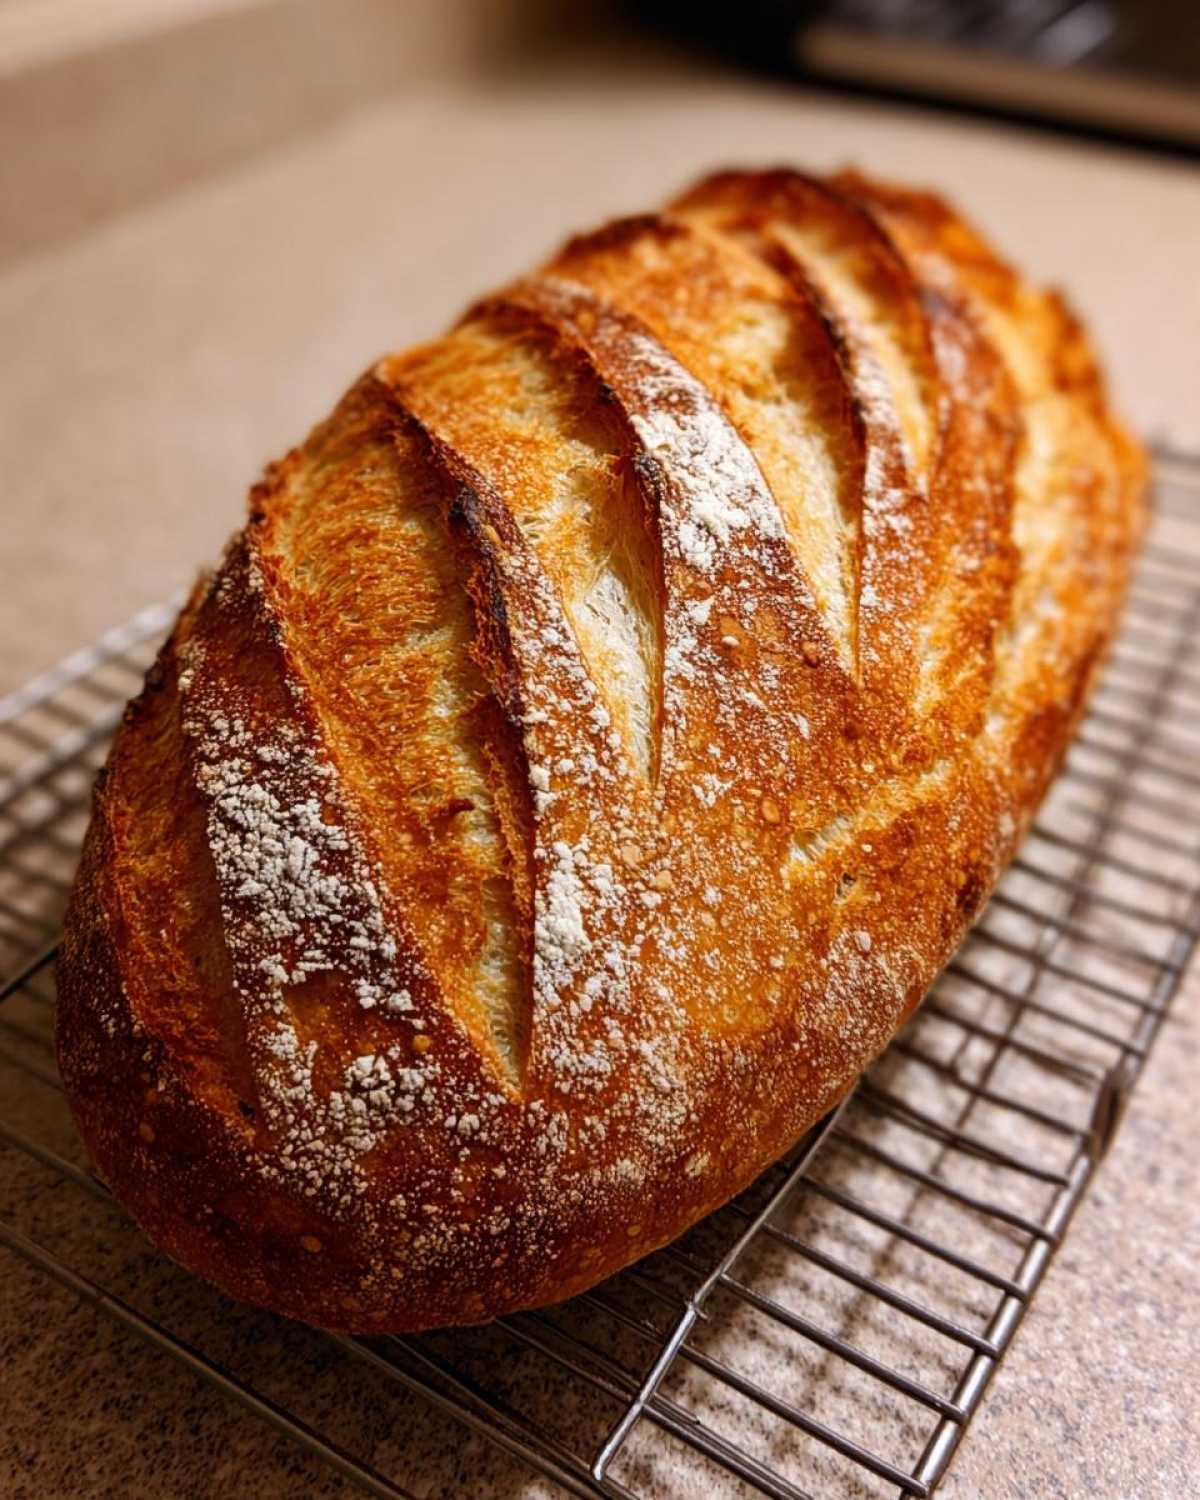
Even with the best recipe, baking truly stellar french bread comes down to a couple of non-negotiables that professionals always follow. First, preheat your oven for a full 30 minutes before anything goes in; you need that stone or steel radiating serious heat. Noah insists that rushing the preheat ruins the oven spring potential! Second, the cooling process is vital. Don’t just plop the finished loaves onto a cutting board. You have to let them cool completely on a wire rack, allowing air to circulate underneath them. This stops the bottom of your crust from getting soggy.
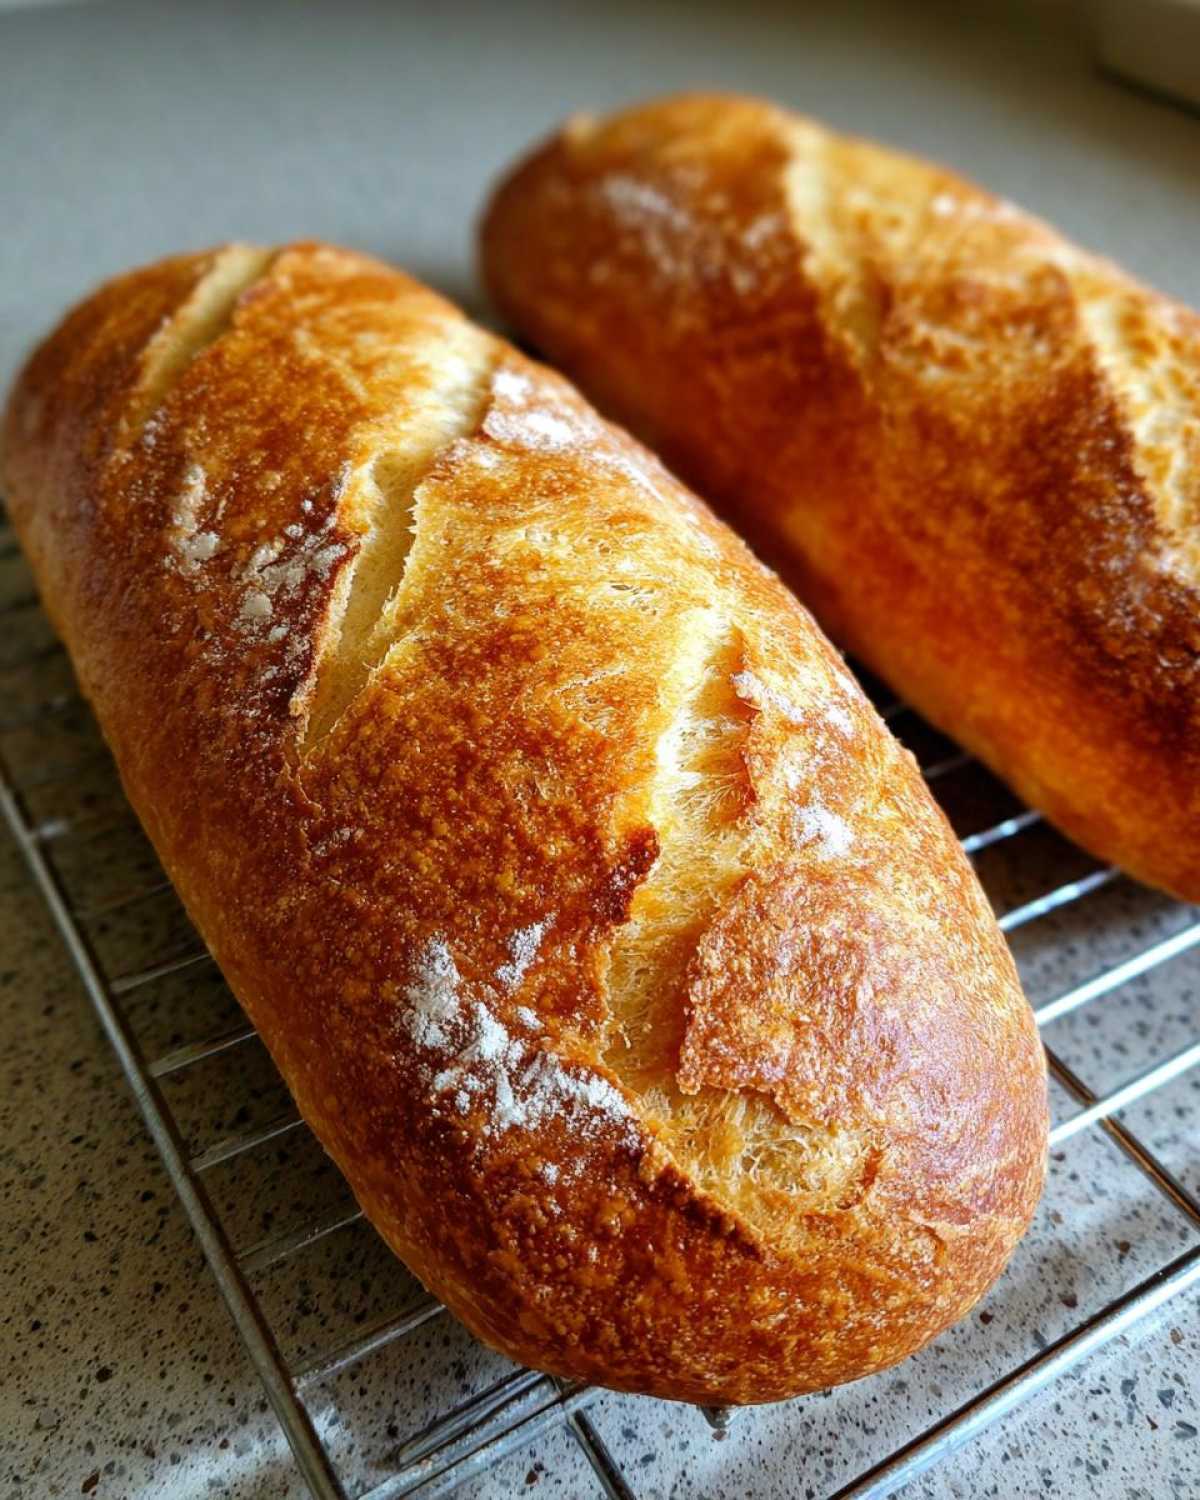
If you aren’t using a baking stone, try sliding your baking sheet into the oven while it preheats, too. Placing the hot dough onto an already sizzling surface helps trigger that immediate, beautiful expansion you want for that ideal loaf. Remember, achieving that perfect bakery style bread at home is all about mimicking professional environments, and high heat is our best friend. Keep practicing those shaping techniques we covered in our comprehensive artisan bread baking guide!
Storage and Reheating Instructions for Leftover French Bread
Even though this french bread is almost always gone within an hour of coming out of the oven (seriously, it vanishes!), if you manage to save some, storage is critical for crust integrity. Don’t stick it in a plastic bag—that’s how you get a sad, rubbery crust immediately! Instead, wrap cooled loaves loosely in a clean kitchen towel and store them at room temperature for a day. If you need it to last longer, freeze it whole or sliced.
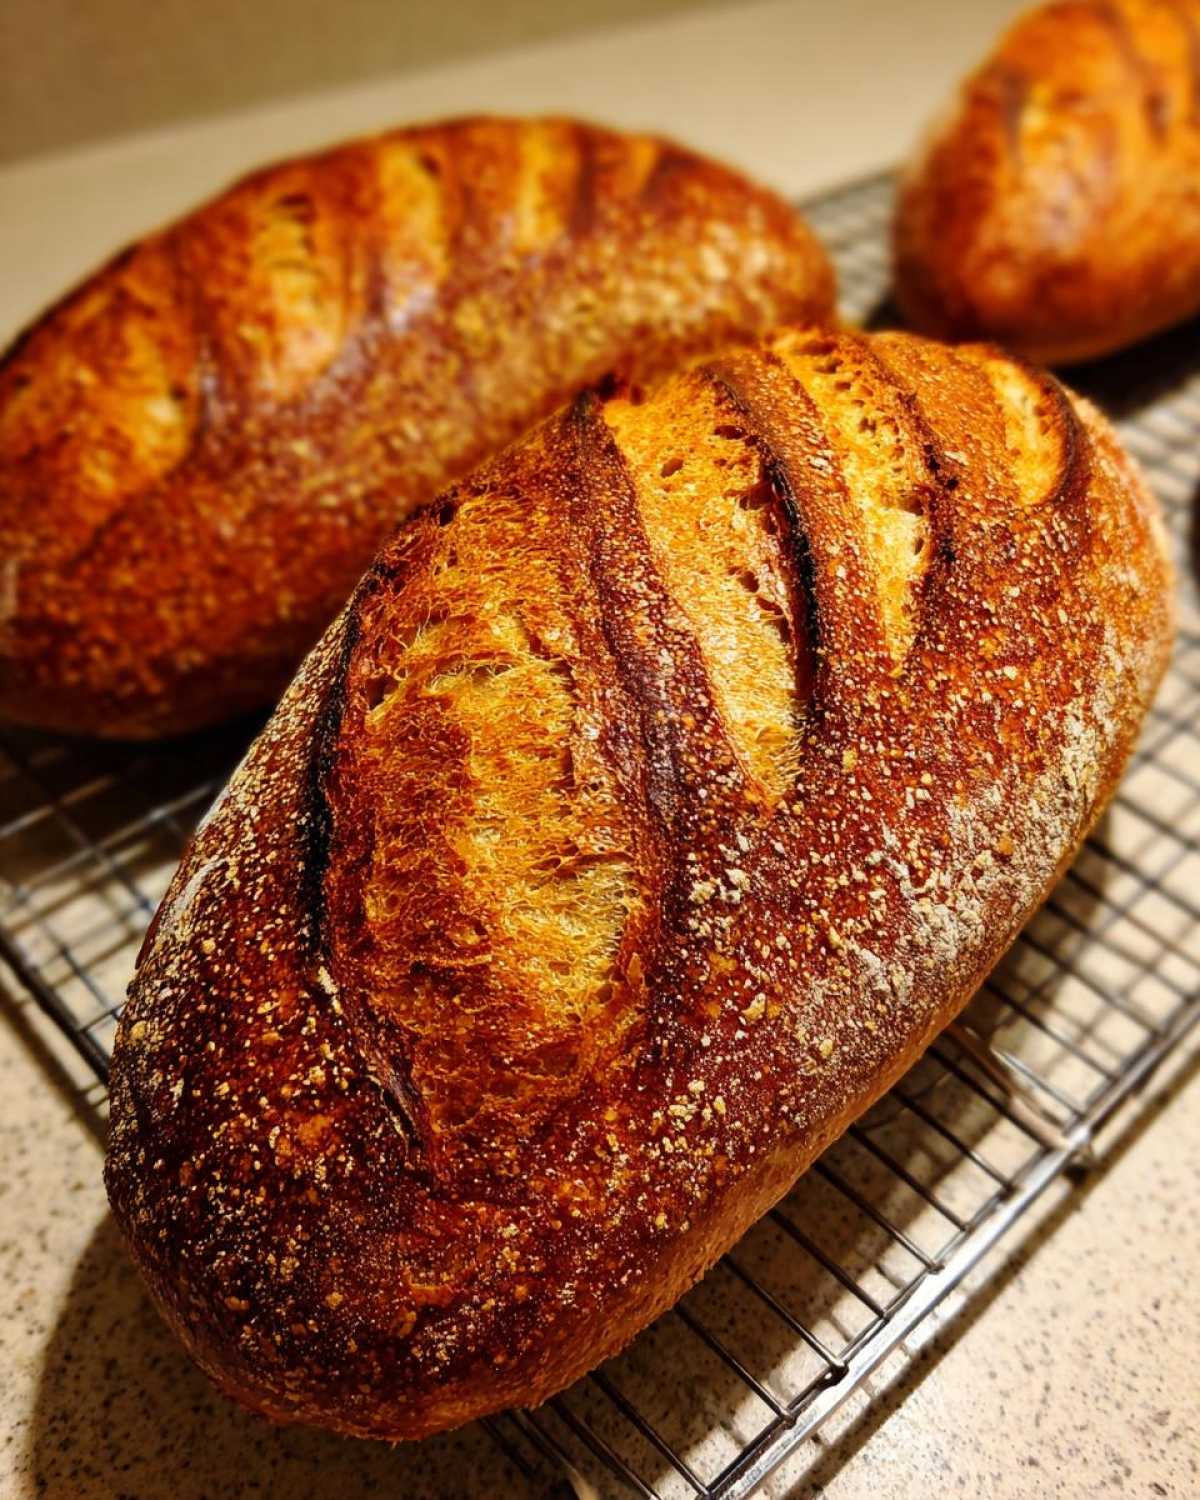
To bring back that glorious Bakery Style Bread at Home texture, you absolutely must reheat it. I pop the cooled loaf directly into a 350°F oven for about 5 to 7 minutes. That blast of dry heat shocks the crust back into crispness without drying out the fluffy interior. It’s like baking it all over again!
Frequently Asked Questions About Home Baking
Can I use instant yeast instead of active dry yeast?
You absolutely can! That’s great news for a quick bake. If you use instant yeast, just skip dissolving it in the water first. You can mix it directly into your flour and salt mixture. It’s a little more forgiving with water temperature, too!
What is the best way to get a very dark, thick crust?
If you want that deep, almost mahogany color, try this: after the egg wash, sprinkle just a touch of coarse sea salt over the top before scoring. Also, making sure your baking stone or steel is screaming hot helps immensely with immediate crust development.
Can this dough be made ahead of time for a slow fermentation?
Oh, yes, that’s where some of the really deep, complex flavors come from! After the initial knead, place the dough in an oiled bowl, cover it tightly, and stick it in the fridge for up to three days. When you take it out, let it warm up on the counter for an hour before shaping and doing the final rise.
Nutritional Estimates
Okay, let’s talk about what goes into our bodies after we’ve enjoyed this amazing bread. Because we are focused on technique here at The Recipe Redux, I always make sure to include the approximate nutritional breakdown for this recipe. Just please remember what Noah always reminds me: these numbers are just estimates for one slice (which is 1/10th of a loaf) based on the ingredients we standardly use.
If you use more sugar, or perhaps toss in some seeds or olive oil to brush the top, those numbers will shift slightly. Use this as a great starting point, but don’t lose sleep over the precision!
- Serving Size: 1 slice (1/10 loaf)
- Calories: 155
- Fat: 0.5g
- Saturated Fat: 0.1g
- Carbohydrates: 33g
- Fiber: 1.5g
- Protein: 5g
- Sodium: 280mg
Share Your Baking Results
Seriously, I’m dying to see what you all create! Baking is supposed to be shared, not hidden away in your own kitchen. Did you manage that crackly crust? Did your loaves look like they came exactly from a Paris bakery? Once you’ve pulled your french bread out of the oven and it’s cooled down a bit, snap a picture!
We absolutely love seeing your triumphs and hearing about how you customized the recipe. Did you try adding a sprinkle of Parmesan before the bake? Maybe you completely went for the super-quick method because you needed amazing bread in a pinch? Whatever you did, tell us all about it in the comments below. It helps other beginners feel confident trying this out, and honestly, your feedback keeps us motivated to keep rescuing broken recipes.
Don’t forget to tag us if you post photos on social media—we always stop whatever we’re doing to look at them! We keep up with everything coming through the blog; you can always find more insights and fun behind-the-scenes cooking stuff over at our main blog page. Happy baking, folks!
PrintClassic Crusty Homemade French Bread (90 Minute Variation Included)
Bake bakery-style French bread at home. This recipe delivers a crisp crust and soft interior, perfect for any meal. We include a quick option to get you baking faster.
- Prep Time: 20 min
- Cook Time: 30 min
- Total Time: 1 hour 50 min
- Yield: 2 loaves
- Category: Baking
- Method: Baking
- Cuisine: French
- Diet: Vegetarian
Ingredients
- 1 packet active dry yeast (about 2 1/4 teaspoons)
- 1 1/2 cups warm water (105°F to 115°F)
- 3 1/2 to 4 cups all-purpose flour
- 2 teaspoons salt
- 1 teaspoon sugar
- 1 egg white, beaten with 1 teaspoon water (for egg wash)
Instructions
- Activate the yeast: In a large bowl, dissolve the sugar in the warm water. Sprinkle the yeast over the top and let it sit for 5 to 10 minutes until foamy.
- Mix the dough: Add 3 1/2 cups of flour and the salt to the yeast mixture. Mix with a wooden spoon until a shaggy dough forms.
- Knead: Turn the dough out onto a lightly floured surface. Knead for 8 to 10 minutes, adding small amounts of the remaining flour only if the dough is too sticky to handle. The dough should be smooth and elastic.
- First Rise (Traditional Method): Place the dough in a lightly oiled bowl, turning to coat. Cover the bowl with plastic wrap and let it rise in a warm spot for 1 to 1 1/2 hours, or until doubled in size.
- First Rise (Quick 90 Minute Method): After mixing, place the dough in an oiled bowl. Cover and let rise in a warm spot for 30 minutes, or until slightly puffy. This speeds up the process significantly.
- Shape the loaves: Gently punch down the risen dough. Divide it in half. Shape each half into a long, rustic loaf shape, about 12 to 15 inches long.
- Second Rise: Place the shaped loaves on a baking sheet lined with parchment paper or on a lightly floured baker’s couche. Cover loosely and let rise for 30 to 45 minutes.
- Preheat and Steam: Preheat your oven to 400°F (200°C). Place a shallow pan on the bottom rack while the oven preheats. This pan will hold water for steam.
- Score and Bake: Just before baking, brush the tops of the loaves lightly with the egg white wash. Use a sharp knife or lame to make three diagonal slashes (scores) across the top of each loaf.
- Create Steam: Carefully pour 1 cup of hot water into the preheated shallow pan on the bottom rack and quickly close the oven door. This steam creates the crisp crust.
- Bake: Bake for 25 to 30 minutes, rotating the pans halfway through, until the crust is deep golden brown and the bread sounds hollow when tapped on the bottom.
- Cool: Transfer the loaves to a wire rack to cool completely before slicing. Enjoy your bakery style bread at home.
Notes
- For an extra crispy crust, place a pizza stone or baking steel in the oven while preheating.
- If you prefer a softer crust, skip the egg wash and the steaming pan step.
- This recipe makes two loaves, perfect for serving with soup or salad.
Nutrition
- Serving Size: 1 slice (1/10 loaf)
- Calories: 155
- Sugar: 0.5
- Sodium: 280
- Fat: 0.5
- Saturated Fat: 0.1
- Unsaturated Fat: 0.4
- Trans Fat: 0
- Carbohydrates: 33
- Fiber: 1.5
- Protein: 5
- Cholesterol: 0