

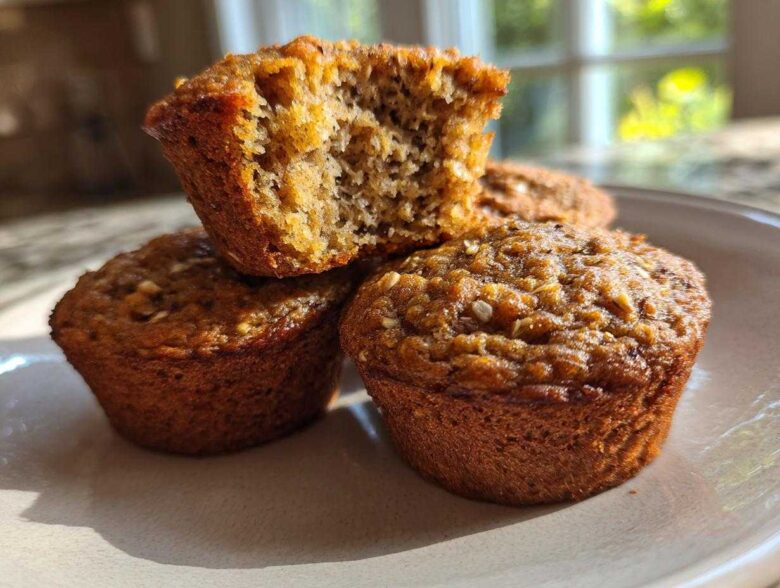
Oh, the tragedy of the dry muffin! You know what I’m talking about. You pull them out, they look perfect, but the first bite feels like chewing on sand. It’s the absolute worst when you’re just trying to grab a **Healthy Breakfast Muffin** for the road. Well, stop settling for crumbly letdowns! This recipe—the one we perfected here at Savor And Pin—is famous for a reason. We took a standard, slightly disappointing version and performed a full rescue mission, focusing entirely on delivering unbeatable moisture while keeping that wonderful, hearty boost of fiber. Trust me, these are the Moist Bran Muffins that will change your breakfast routine forever. Forget the bland, disappointing stuff; we promise this one works! If you want to read more about how we tackle broken recipes, check out the story of our team at Savor And Pin.
Why These Are the Best Bran Muffins You Will Ever Bake
I used to think dry bran muffins were just inevitable, like having to wait for water to boil! But that’s the past, friends. These are absolutely the Moist Bran Muffins you’ve been dreaming about. We nailed the texture here, making them ideal for a quick, filling meal because they stick around in your pantry (or freezer, which I’ll get to!). They are truly the ultimate Healthy Breakfast Muffins.
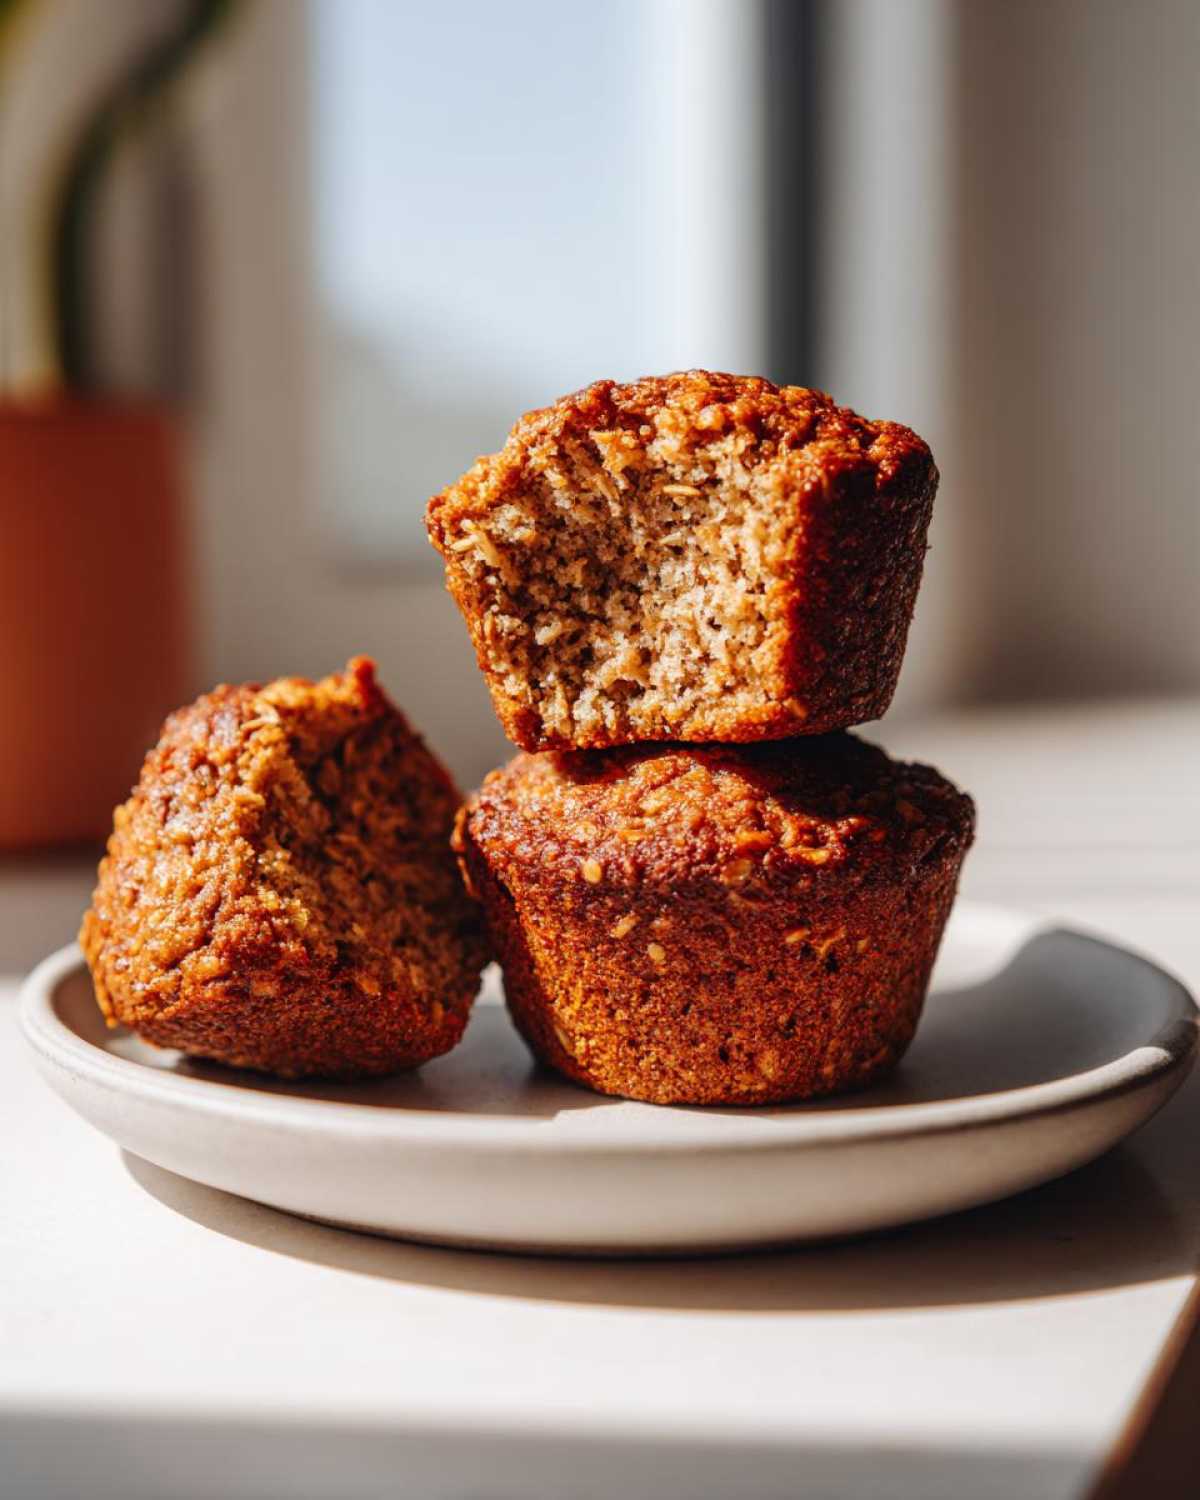
Achieving Maximum Moisture in Your Bran Muffins
The secret weapon keeping these soft is triple-layered! First, we ditch dry yogurt for creamy applesauce and just a touch of oil—nothing heavy, just enough to keep things tender. But the real trick, the one Noah insisted on, is letting the batter rest for ten whole minutes before they even touch the oven. That rest time lets the bran actually soak up the liquid, which prevents them from stealing moisture from the baked muffin later. It’s science, but it tastes like heaven!
The High Fiber Muffins Advantage
You can’t beat this combination if you’re looking for real staying power. We use both wheat bran and oat bran in this recipe. That means you get fantastic flavor plus serious baggage-carrying capacity—in the best way possible! These are serious High Fiber Muffins that digest slowly, keeping you full until lunch time rolls around. For more on conquering moist textures, check out my article on The Muffins That Finally Stay Moist.
Gathering Ingredients for Perfect Bran Muffins
Alright, time for the fun part—getting everything ready! This recipe is built around simple, wholesome ingredients you likely already have, which makes pulling these together for a weekday breakfast a total breeze. We are using a mix of two types of bran, which is key to that phenomenal texture without needing tons of processed flour. Don’t stress about the exact measurements; I’ve made sure Ben’s precise list is below so you can shop or gather with confidence.
- 1 cup wheat bran
- 1 cup oat bran
- 1 cup whole wheat flour
- 1 teaspoon baking soda
- 1 teaspoon baking powder
- 1/2 teaspoon salt
- 1 teaspoon ground cinnamon
- 1 large egg
- 1 cup milk (dairy or non-dairy)
- 1/2 cup unsweetened applesauce
- 1/4 cup honey or maple syrup
- 1/4 cup vegetable oil or melted coconut oil
- 1 teaspoon vanilla extract
- 1/2 cup raisins or chopped apple (optional)
Optional Add-Ins for Your Bran Muffins
See that last line? That’s where you can personalize things! If you want that little burst of sweetness and chew, toss in about a half cup of either standard raisins or finely chopped apple. The apple adds a lovely tartness that cuts through any earthly notes from the bran. Honestly, either one works beautifully, but if you’re feeling extra autumnal, grated pear is a wonderful substitute for the apple. Just don’t go overboard with the additions—we want the bran to shine here!
Step-by-Step Instructions for Moist Bran Muffins
I know, I know, following instructions feels a bit boring when you’re ready to bake. But these steps are the difference between a decent home bake and a truly phenomenal, fluffy product! This is where Noah’s precision meets Ben’s impatience, and I’m the one keeping it all together. These are some of the most Easy Muffin Recipes you’ll ever try, but trust me on the resting part. Get your oven preheated to 400°F and line that tin first, otherwise, things get messy fast!
Mixing Dry and Wet Components for Your Bran Muffins
First, whisk all your dry components together in a big bowl—that’s the wheat bran, oat bran, flour, everything dry. In a separate bowl, get your wet ingredients nice and whisked until they look friendly. The crucial moment is when you marry them: Pour the wet stuff into the dry. Now, stop stirring! We’re making muffins, not bread, which means gluten development is the enemy of soft baking. Mix just until you see the flour disappear. Seriously, if you still see a few lumps floating around, leave them alone. Overmixing is the fastest way to turn these into hockey pucks. After that gentle mixing, set the whole bowl aside for ten minutes—that resting step is non-negotiable for that signature moisture!
Baking Time and Temperature for Fluffy Bran Muffins
After that required rest time, gently fold in your optional fruit if you’re using any. Then—and this is important—fill those cups about two-thirds full. They bake hotter and faster than typical muffins because we start at 400°F. They only need about 18 to 20 minutes. You know they are done when the tops spring back a bit if you poke them gently, and a toothpick comes out clean. Don’t forget to let them hang out in the hot tin for five minutes before turning them onto a wire rack to finish cooling. Sneak a peek at how we document *all* our fixes over on the Savor And Pin blog!

Tips for Success When Making Homemade Bran Muffins
Even though this is one of the most straightforward recipes around, getting that perfect crumb when making Homemade Bran Muffins requires knowing a couple of technical secrets. Honestly, this is where Noah usually steps in because he likes rules, but I can tell you from experience that following these few suggestions guarantees success every single time. Think of these as the little nudges that elevate your bake from good to totally unforgettable.
You absolutely must remember the resting period. I cannot stress this enough! After you briefly mix the wet into the dry ingredients—and I mean *briefly*—set those bowls aside for a dedicated ten minutes. What happens here is pure magic: the bran flakes get fully saturated with the moisture from the applesauce and milk. If you skip this, the bran soaks up liquid *while* baking, and that’s how you end up with those slightly tougher centers. This step is crucial for the ultimate soft texture.
Another thing I learned early on is to trust the hot oven. We start these at 400°F, which feels super high, right? But that initial blast of heat helps set the structure quickly and gives you those beautiful domed tops we all love from a bakery case. It’s the perfect contrast: high heat on the outside, soft and steamy on the inside. Don’t be tempted to drop the temp early on!
Finally, when you are filling those cups, don’t pack the batter down with your spoon. Just scoop and drop it in. Ben tried weighing the batter for an entire batch once—total overkill—but he did prove that over-packing squeezes out the air we worked so hard to create. Keep it light, keep it loose, and you’ll have beautiful individual loaves every time. For a look at how we took a tricky cookie recipe and made it foolproof, take a peek at my post on cookies that always win bake sales!
Variations on Classic Bran Muffins: Oat Bran Muffins Idea
So, you love this base recipe, but maybe you want to shake things up a bit for the week? I totally get that! While we focused on getting the fundamental texture right, these are wonderfully adaptable. If you’re looking to try out different textures or add a bit more interest, this is the spot to do it. This recipe works beautifully if you want to emphasize an Oat Bran Muffins Idea, for example, instead of balancing it with wheat bran.
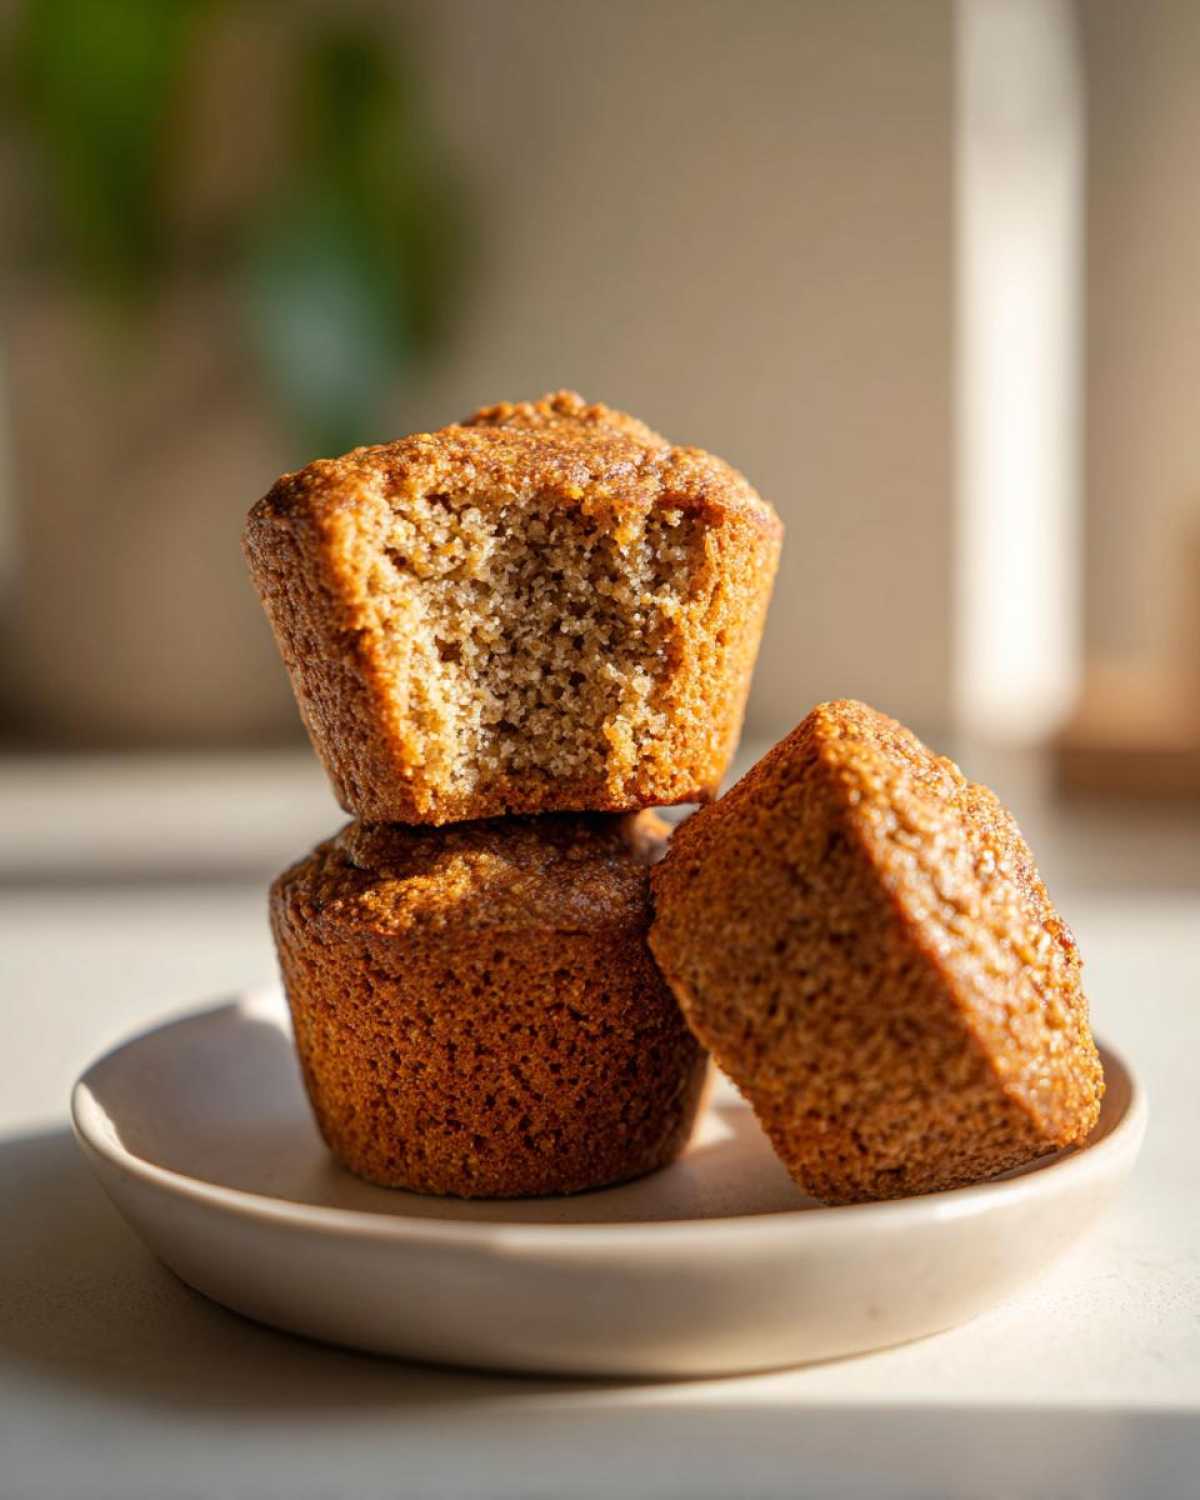
We often change things up based on what’s in the fridge. Ben loves throwing in toasted pecans because he says the crunch contrasts so nicely with the soft interior. I’ve also successfully swapped out that half-cup of optional dried fruit for mashed banana—which adds sweetness and even more moisture, if you can believe it! If you want to see how wonderfully apple pairs with cinnamon in another baked good, check out my recipe for Caramel Apple Monkey Bread; those same warm spices work wonderfully here too.
Don’t forget spices! If you feel like skipping the fruit entirely, kick up the warmth factor by adding a small dash of ground cloves or even a pinch of cardamom. It’s amazing how these tiny additions completely shift the overall flavor profile of your wholesome baked goods without ruining that soft texture we worked so hard to achieve. Just be mindful not to go too heavy on the super-wet add-ins, like fresh berries, unless you adjust your bake time slightly!
Making Bran Muffins Freezer Friendly for Grab And Go Breakfast
This is honestly what makes this recipe a permanent fixture in my kitchen rotation! If you’re someone who loves that feeling of knowing breakfast is handled for the whole week, you need the trick to making incredible bran muffins that freeze perfectly. Because these are so moist thanks to that applesauce and oil combination, they thaw out beautifully. It’s the ultimate convenience for busy mornings when you need a genuinely good, filling snack right now.
First things first—they must be completely cool. And I mean *totally* cooled down, like room temperature, maybe even slightly chilled. If you wrap them up warm, all that lovely internal steam turns into condensation, and then you have soggy muffin bottoms. Nobody wants that disaster! Once they are completely cool, wrap each muffin individually in plastic wrap. Really seal it up tight; this prevents freezer burn and helps maintain that moisture barrier.
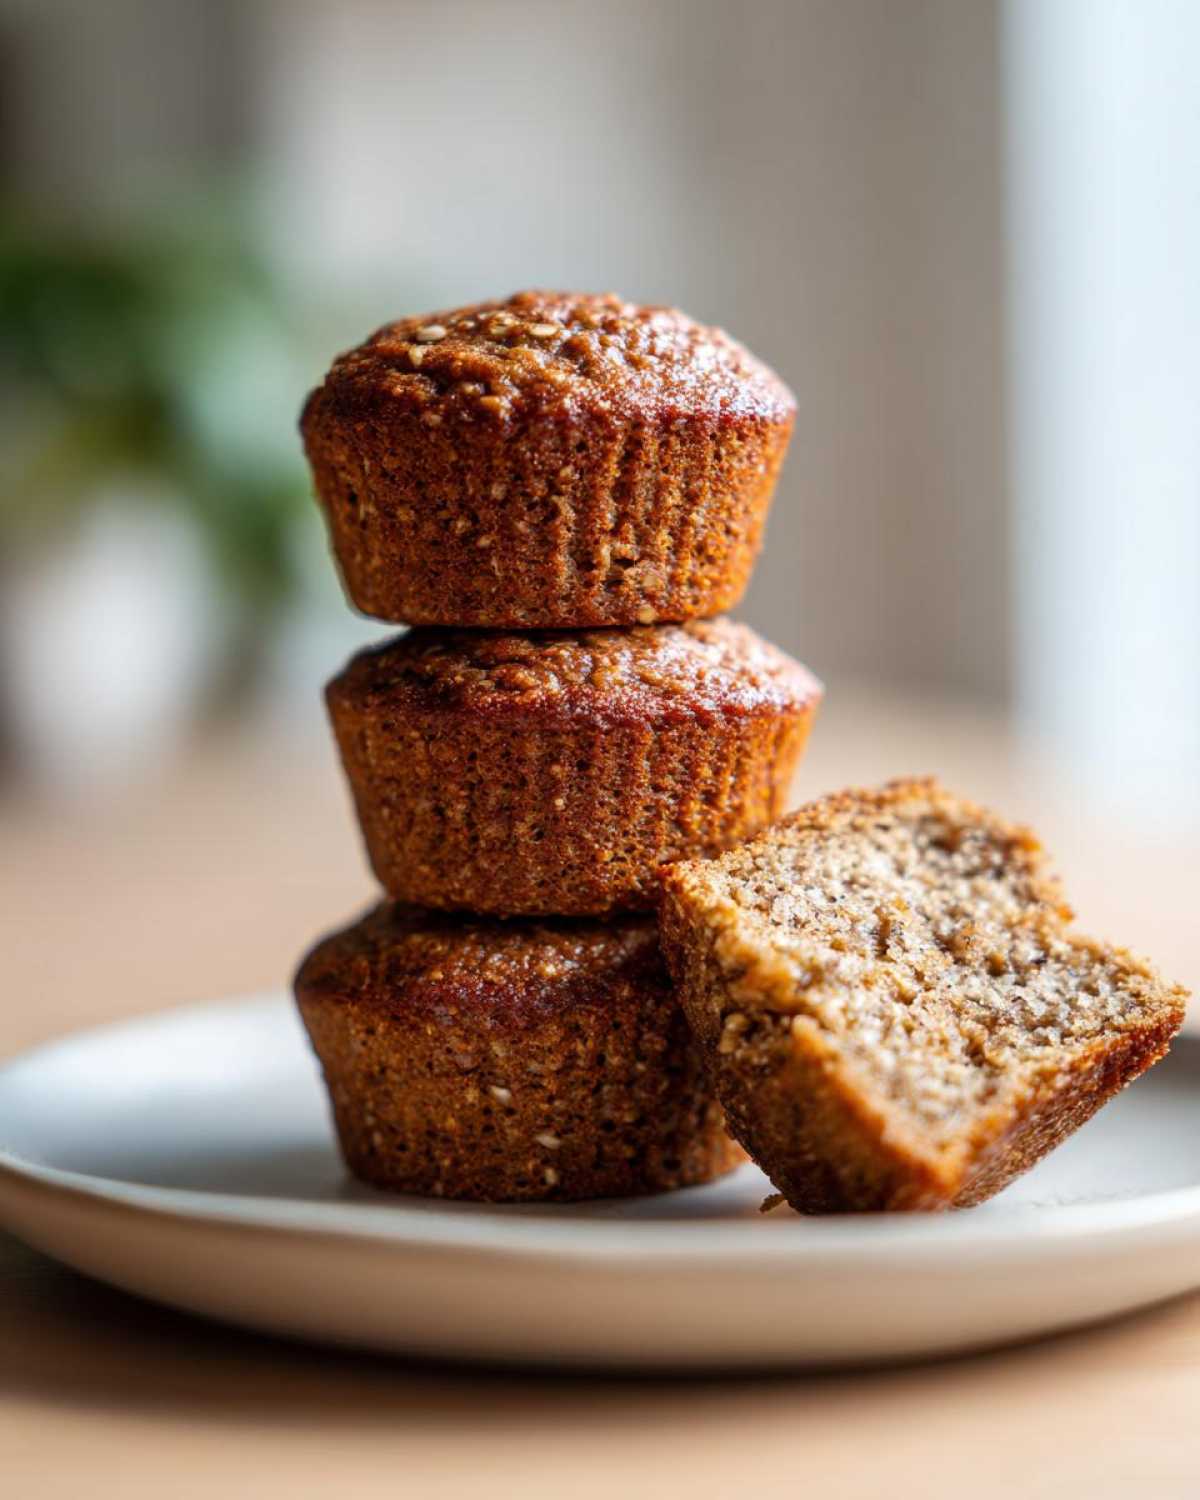
Toss those wrapped individual treasures into a large, sturdy freezer bag or an airtight container. Don’t just throw them in loose! We got really good at this by making big batches for packing lunches, which is why I often double the recipe. Stored this way, they stay fantastic for up to three months. That means you can bake once and completely forget about breakfast prep for an entire season! When you need one, just pull it out the night before and let it thaw on the counter, or give it a quick 15-second zap in the microwave for that fresh-from-the-oven feel. It works like a charm every time, making this a top-tier make ahead breakfast solution!
Serving Suggestions for Your Wholesome Baked Goods
We’ve perfected these muffins into a powerhouse breakfast, but how you serve them can truly elevate the experience. Since these are already so wholesome, you don’t need a heavy, sugary topping, which is great because we keep things simple around here! They are delicious totally plain, especially when you pull one straight from the thawing container in the morning.
If you do want to dress them up a little, keep it classic and light. A simple smear of good quality salted butter when they are still slightly warm is heavenly—the salt cuts through the natural sweetness beautifully. If you are eating them as a midday snack, pair one with some plain Greek yogurt. The slight tang of the yogurt complements the earthy flavor of the bran and gives you an extra hit of protein to keep you going!
For a slightly different morning vibe, these are fantastic crumbled over a bowl of cottage cheese or mixed into your morning protein smoothie! We have a fantastic recipe for a coffee and banana blended drink that pairs really well with the spiced notes in these treats; you can find my favorite version over at the coffee banana protein shake recipe.
The beauty of these truly healthy baked goods is that they stand up perfectly on their own. They are meant to grab, go, and satisfy, so don’t feel like you need to drown them in jams or sugary frostings to enjoy them!
Frequently Asked Questions About Bran Muffins Recipe
Here are some quick answers to the questions I get most often about this Bran Muffins Recipe. It’s always the texture questions that come up first, but we’ve covered those secrets already! Hopefully, this clears up any last little doubts before you dive into baking.
Can I substitute the honey or maple syrup in these bran muffins?
You absolutely can. Since we are aiming for a relatively Naturally Sweetened Muffins base, honey and maple syrup work because they are liquid sweeteners that hydrate the bran a bit as they mix in—that’s part of the moisture trick! If you need to cut back on sugar, you can try reducing the amount slightly, maybe slicing off a tablespoon, but I wouldn’t advise swapping it entirely for a granular zero-calorie sweetener. Those act differently than honey and might throw off the delicate wet-to-dry ratio we established. If you switch to granulated sugar, you’d need to add a bit more liquid back in, and honestly, that’s just creating extra work for yourself!
What is the difference between wheat bran and oat bran in these muffins?
This is Noah’s specialty! Think of it this way: wheat bran is great for fiber, but it can be a little coarse and aggressive. Oat bran is finer and has a much softer, almost velvety texture when hydrated, which is why it really helps boost the overall softness of the muffin. We use both because the wheat bran gives us that strong, hearty bite, while the oat bran melts a little more into the crumb, ensuring everything stays wonderfully moist. You want the balance! If you only used wheat bran, they’d feel much tougher.
How do I ensure I don’t overmix my bran muffins batter?
This is maybe the most important tip for texture! When you pour the wet ingredients into the dry, start stirring gently with a rubber spatula, not an electric mixer. You only mix until you can no longer see streaks of dry flour floating around. That’s it! If you see lumps of bran or little pockets of batter that look a bit uneven? Perfect! Those lumps are air pockets waiting to happen. The moment you keep stirring past that point—usually when you see maybe five-to-seven dry spots remaining—you start developing gluten. Stop stirring right there, fold in your optional fruit gently, and get them into the tins. Trust me, a few lumps mean a light, fluffy texture!
Nutritional Estimates for These High Fiber Muffins
Okay, let’s talk numbers! We focus on flavor and texture here at Savor And Pin, but since these are built to be a wholesome foundation for your day, I know you care about what you’re putting in your body. Remember, because we use natural sweetness from honey and applesauce, these are much better than those sugary bakery versions. Noah ran the numbers based on one serving size (one muffin) using the ingredients as listed, but please keep in mind these are just estimates!
We’re getting a fantastic boost of fiber here, which I think is the real star of the show. These figures reflect the recipe using 1/4 cup of honey and no optional additions like raisins.
- Serving Size: 1 muffin
- Calories: 180
- Fat: 6g
- Protein: 5g
- Carbohydrates: 30g
- Fiber: 5g
If you decide to swap in brown sugar instead of honey, or if you add in those sweet raisins or a pinch of extra spice, those numbers will shift slightly, naturally. But this gives you a solid baseline for counting up these delicious, High Fiber Muffins!
PrintMoist, High-Fiber Bran Muffins (Freezer-Friendly Recipe)

Bake a batch of these moist bran muffins. This recipe delivers a high-fiber, wholesome breakfast or snack that freezes well for busy mornings.
- Prep Time: 15 min
- Cook Time: 20 min
- Total Time: 35 min
- Yield: 12 servings
- Category: Breakfast
- Method: Baking
- Cuisine: American
- Diet: Vegetarian
Ingredients
- 1 cup wheat bran
- 1 cup oat bran
- 1 cup whole wheat flour
- 1 teaspoon baking soda
- 1 teaspoon baking powder
- 1/2 teaspoon salt
- 1 teaspoon ground cinnamon
- 1 large egg
- 1 cup milk (dairy or non-dairy)
- 1/2 cup unsweetened applesauce
- 1/4 cup honey or maple syrup
- 1/4 cup vegetable oil or melted coconut oil
- 1 teaspoon vanilla extract
- 1/2 cup raisins or chopped apple (optional)
Instructions
- Preheat your oven to 400 degrees F. Line a 12-cup muffin tin with paper liners or grease well.
- In a large bowl, whisk together the wheat bran, oat bran, whole wheat flour, baking soda, baking powder, salt, and cinnamon.
- In a separate medium bowl, whisk together the egg, milk, applesauce, honey or maple syrup, oil, and vanilla extract until combined.
- Pour the wet ingredients into the dry ingredients. Mix gently until just combined. Do not overmix; a few lumps are fine.
- Fold in the raisins or chopped apple, if using.
- Divide the batter evenly among the 12 muffin cups, filling each about two-thirds full.
- Bake for 18 to 20 minutes, or until a toothpick inserted into the center comes out clean.
- Let the muffins cool in the pan for 5 minutes before transferring them to a wire rack to cool completely.
Notes
- For the best moisture, let the batter rest for 10 minutes before baking. This allows the bran to absorb more liquid.
- These homemade bran muffins freeze well. Cool completely, then store in an airtight, freezer-safe container for up to three months. Thaw overnight on the counter or reheat briefly in the microwave.
- If you want a slightly sweeter muffin, increase the honey or maple syrup to 1/3 cup.
Nutrition
- Serving Size: 1 muffin
- Calories: 180
- Sugar: 10g
- Sodium: 180mg
- Fat: 6g
- Saturated Fat: 1g
- Unsaturated Fat: 5g
- Trans Fat: 0g
- Carbohydrates: 30g
- Fiber: 5g
- Protein: 5g
- Cholesterol: 15mg