

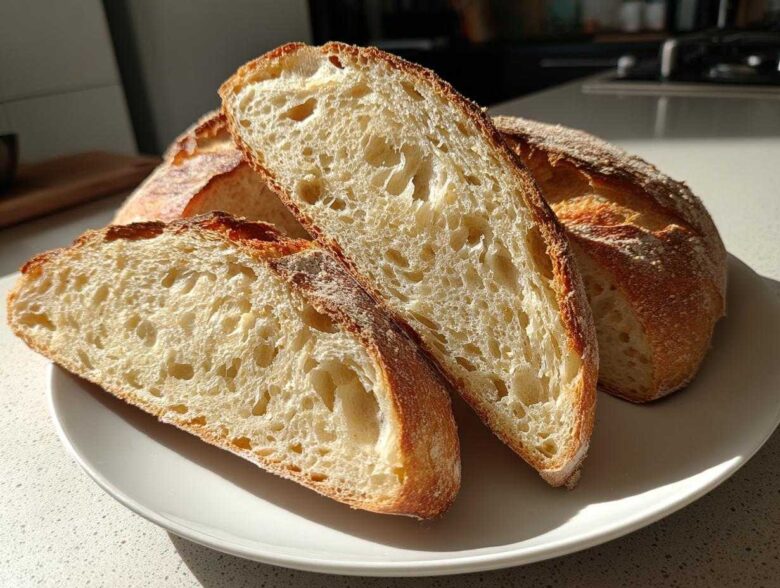
Oh, sourdough. I love the deep tang, I really do, but making a loaf that’s actually soft enough for a kid’s peanut butter sandwich? That used to feel impossible! Most sourdough recipes yield those gorgeous, rustic, open-crumb loaves—perfect for dipping in stew, but not so great for actually holding a slice of deli turkey.
For years, I battled dense, gummy boulders every time I tried to move away from commercial yeast in a loaf pan. But I cracked the code! I promise you, this isn’t just another sourdough recipe; this is your blueprint for the softest, fluffiest, and genuinely sliceable sourdough sandwich bread you’ve ever made.
It’s designed for beginners, too. We skip the heavy kneading and we can even pull off a manageable timeframe if your kitchen is warm. Get ready to say goodbye to dense sourdough forever!
Why This is the Best Sourdough Sandwich Bread Recipe for You
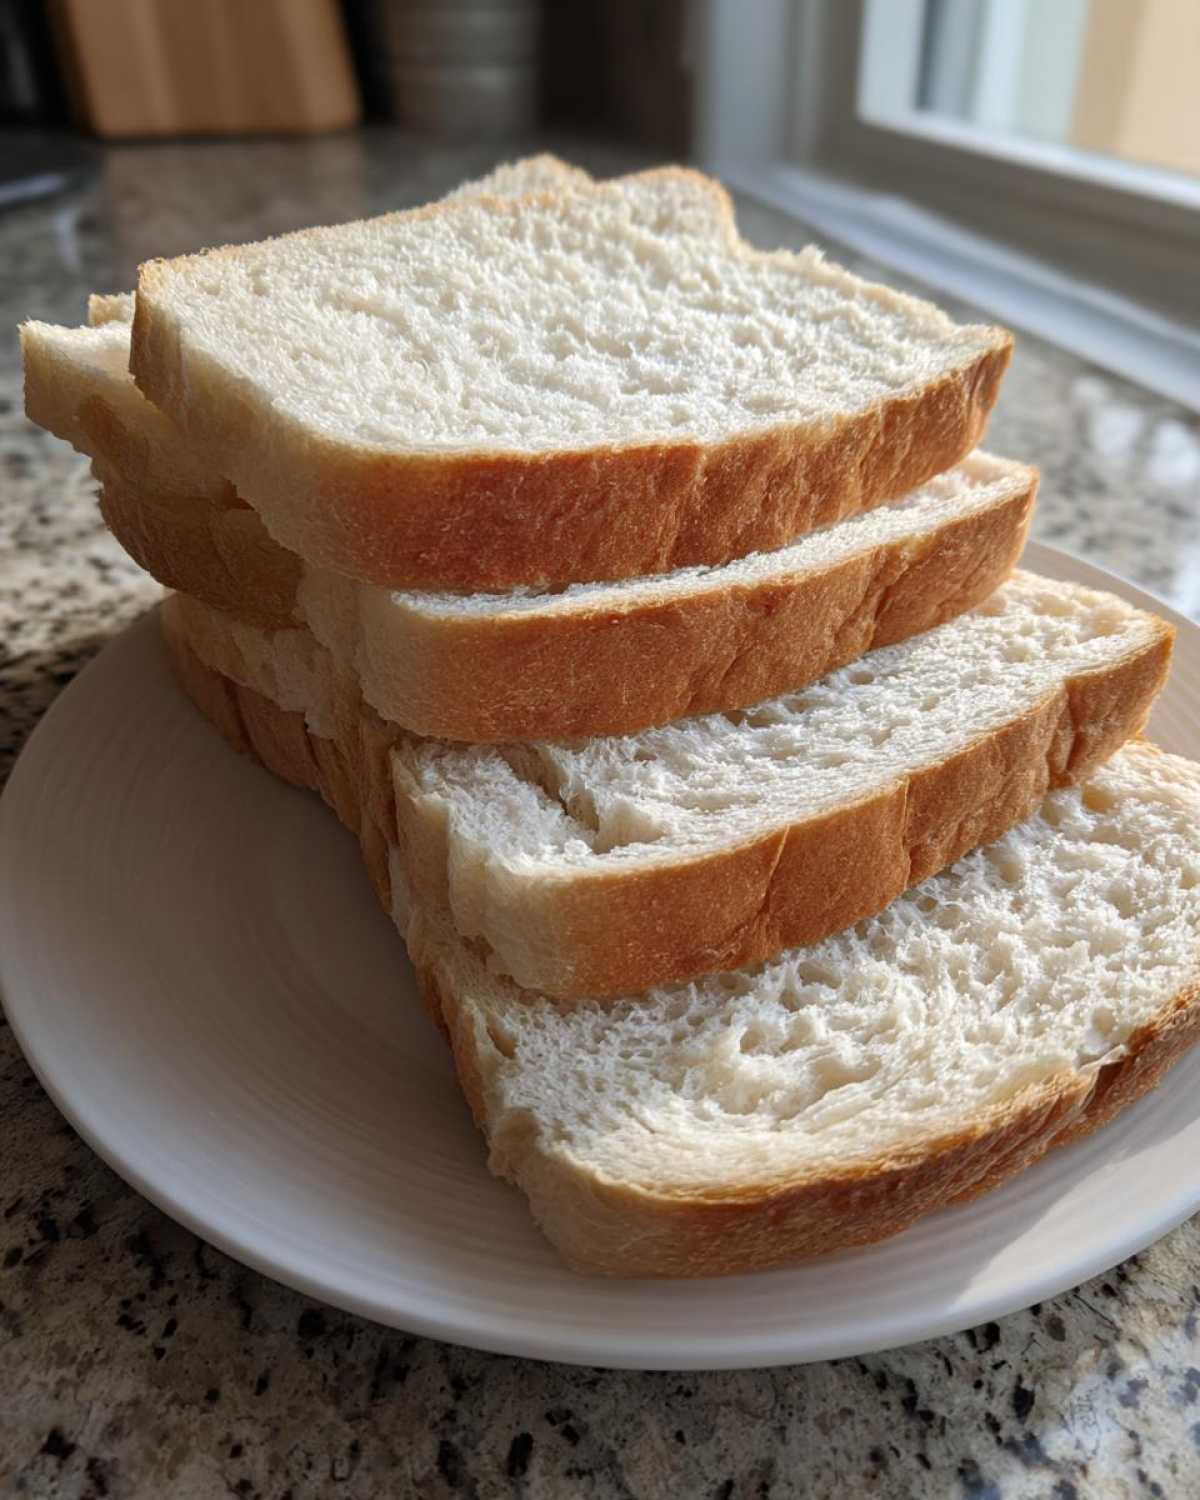
Look, if you want that classic, soft bread look usually reserved for store-bought loaves, you need a different approach. This recipe delivers exactly what most sourdough bakers dream of: a truly soft sourdough sandwich bread that still tastes wonderfully tangy.
It’s all about making that buttery crumb sourdough texture happen without spending two full days waiting for proofing. I’ve tweaked this formula so that it’s totally reachable for anyone who has just started their sourdough journey. It’s honestly the best sourdough sandwich recipe I’ve ever developed for daily use.
Achieving That Soft Sourdough Sandwich Bread Crumb
The secret to avoiding granite-like sourdough ends up being two main things: we aren’t doing heavy kneading, and that little bit of fat makes all the difference! By using softened butter right in the dough, we disrupt the gluten network just enough to keep the crumb open and tender. It adds richness that stops the loaf from becoming tough, giving you that melt-in-your-mouth feeling.
Perfectly Sliceable Sourdough Bread for Everyday Use
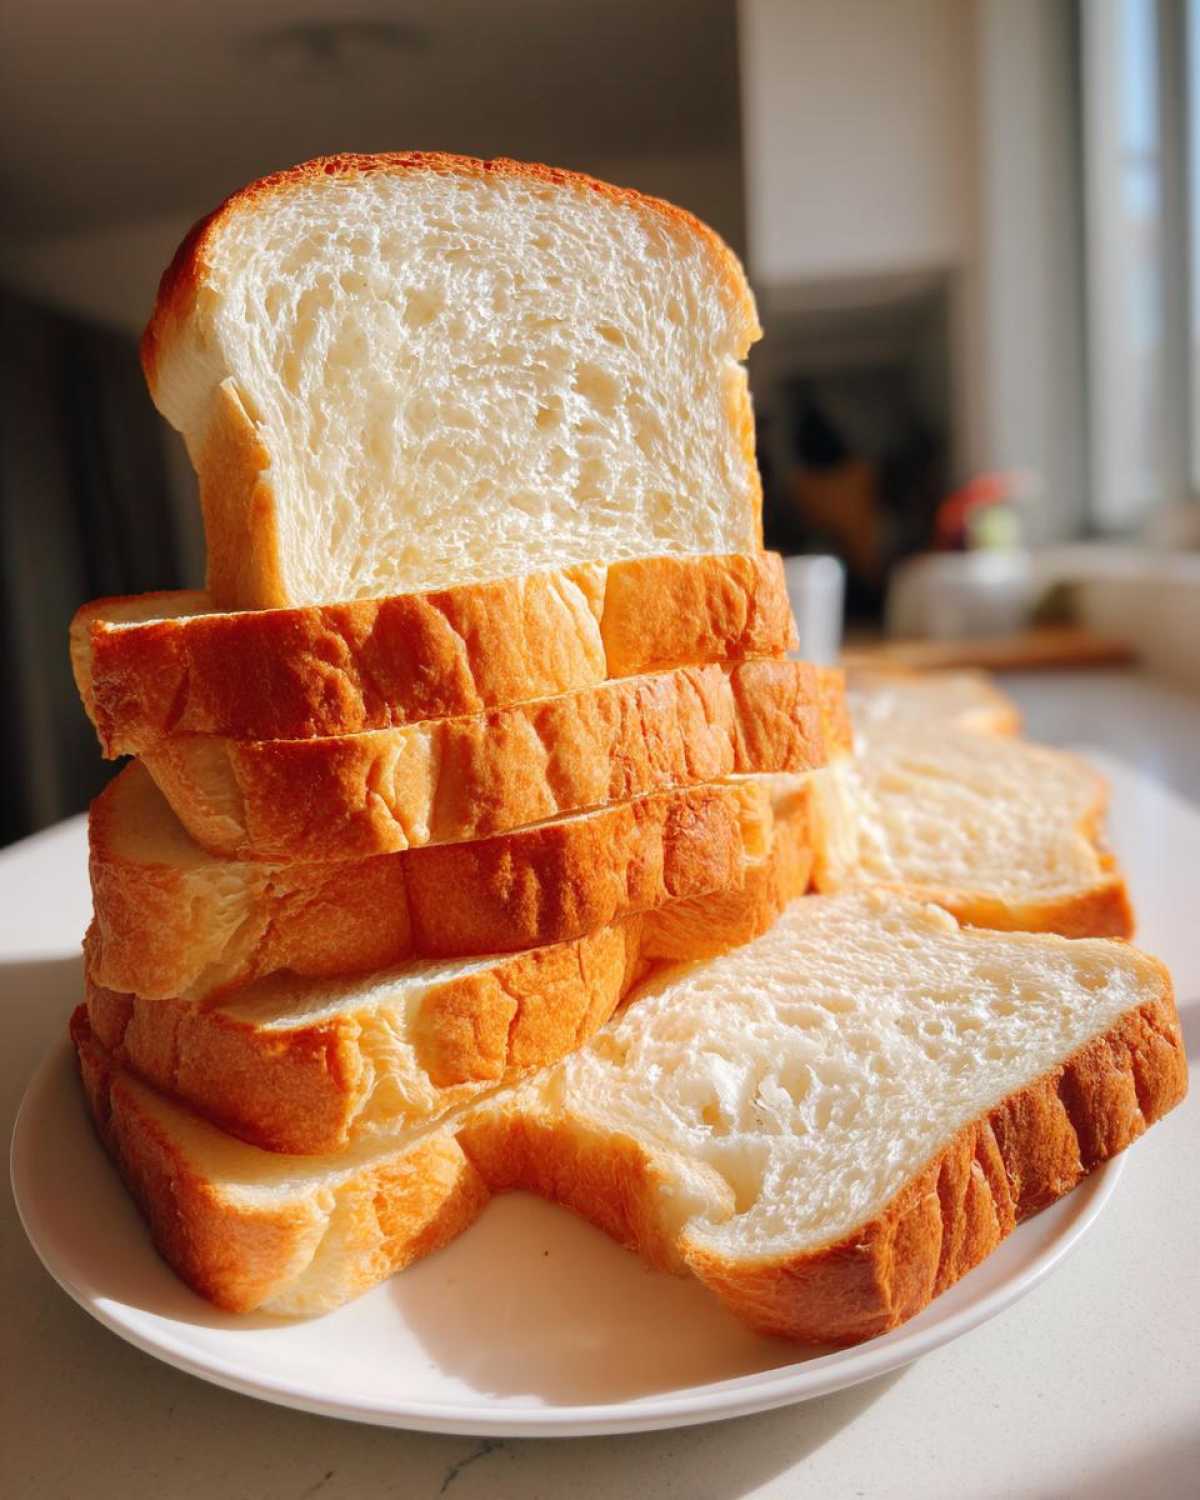
Ever try to cut a cold sourdough loaf and end up with crumbs everywhere, or worse, a flattened mess? That happens when the structure is too chewy and open. Because we use a specific shaping technique for the pan, this recipe naturally results in a sliceable sourdough bread. You can finally make thin pieces perfect for toasting or stacking up those lunch sandwiches without struggle.
Gathering Ingredients for Your Soft Sourdough Sandwich Bread
Okay, let’s talk about what you need to pull off this incredible loaf. Because we want that softness and reliability, ingredient quality really matters here, especially that starter! If your starter isn’t bubbly and awake, you won’t get the rise needed for a successful sourdough sandwich bread.
You’ll need:
- 100g active sourdough starter (Make sure it’s peaked or just slightly past peak—feed it the day before if you have to!)
- 350g warm water (I stress warm, not hot! Aim for about 90°F—it wakes up the yeast.)
- 500g bread flour (This is key, don’t skimp on the protein here!)
- 10g fine sea salt
- 30g unsalted butter, softened (This is the secret weapon, so make sure it’s truly soft!)
You can check out my favorite way to make buttery doughs over here at my post on buttery dinner rolls for more inspiration on working with that fat, but for now, let’s stick to the plan for the loaf!
Ingredient Notes and Substitutions
The three things I want you to pay super close attention to are the starter, the flour, and that butter. First, the starter: it has to be active. If you use a starter that’s sluggish, the whole proofing process slows down, and you end up with that dense result we are definitely trying to avoid. An active starter guarantees the flavor and the lift for that fluffy sourdough loaf.
Next, the flour. Bread flour is a must because of its high protein content. That protein builds the strong structure that holds onto all the air we create during the folds. Don’t swap for all-purpose unless you absolutely have to, or you risk a less lofty result.
And finally, the butter! It needs to be softened. Not melted, not cold—softened, the consistency where you can easily press a finger indentation into it. This fat coats the flour particles just right, which is exactly how we achieve that wonderfully rich and tender interior crumb.
Step-by-Step Guide to Making Your Beginner Sourdough Sandwich Loaf
Now we get to the fun part, where we turn that shaggy mix into something gorgeous! Since this is an easy sourdough bread recipe, we rely on time and gentle handling, not lots of hard work. Remember, we are aiming for that beginner sourdough sandwich loaf—patience is key, even if we are trying to get it done in one day!
First things first: combine your happy, active starter with that warm water in your bowl. Once that’s mixed, toss in the flour and the salt. Mix it by hand until you just can’t mix anymore and you have a messy, shaggy ball. Seriously, don’t try to knead it! Cover that bowl up and let it chill out for 30 minutes. This rest period, the autolyse, lets the flour start sucking up the water all on its own.
Mixing and Incorporating Butter for a Buttery Crumb Sourdough
When the 30 minutes are up, it’s time for the magic touch—that soft butter! Wet your hands so the dough doesn’t totally stick to you. Plop that softened butter right on top of the shaggy dough. Then, using a squeezing and folding motion with wet hands, work that butter in. It’s messy for a minute, but keep working it until it’s mostly disappeared. We are creating that buttery crumb sourdough texture right here!
Next, we do four rounds of stretch and folds. After the butter is mixed, wait 30 minutes, then gently stretch and fold the dough over itself right in the bowl. Do this four times total, spacing them 30 minutes apart. You’ll notice it gets smoother and stronger after every set, which means less work for you later!
Bulk Fermentation and Shaping the Classic Sandwich Loaf Sourdough
After the last fold, the dough needs its main bulk fermentation. This usually takes 3 to 5 hours, but don’t watch the clock—watch the dough! You want it to puff up by about 50%. It should look puffy and jiggly, not doubled, just noticeably bigger.
Gently turn that dough onto a very lightly floured surface. Give it a quick, gentle pre-shape into a round, cover it, and let it relax for 20 minutes. Then, shape it tightly into a log and place it seam-side down right into your greased 9×5 loaf pan. That tight shaping is crucial so your classic sandwich loaf sourdough doesn’t spread flat.
Baking Your Sourdough Sandwich Bread for the Perfect Crust
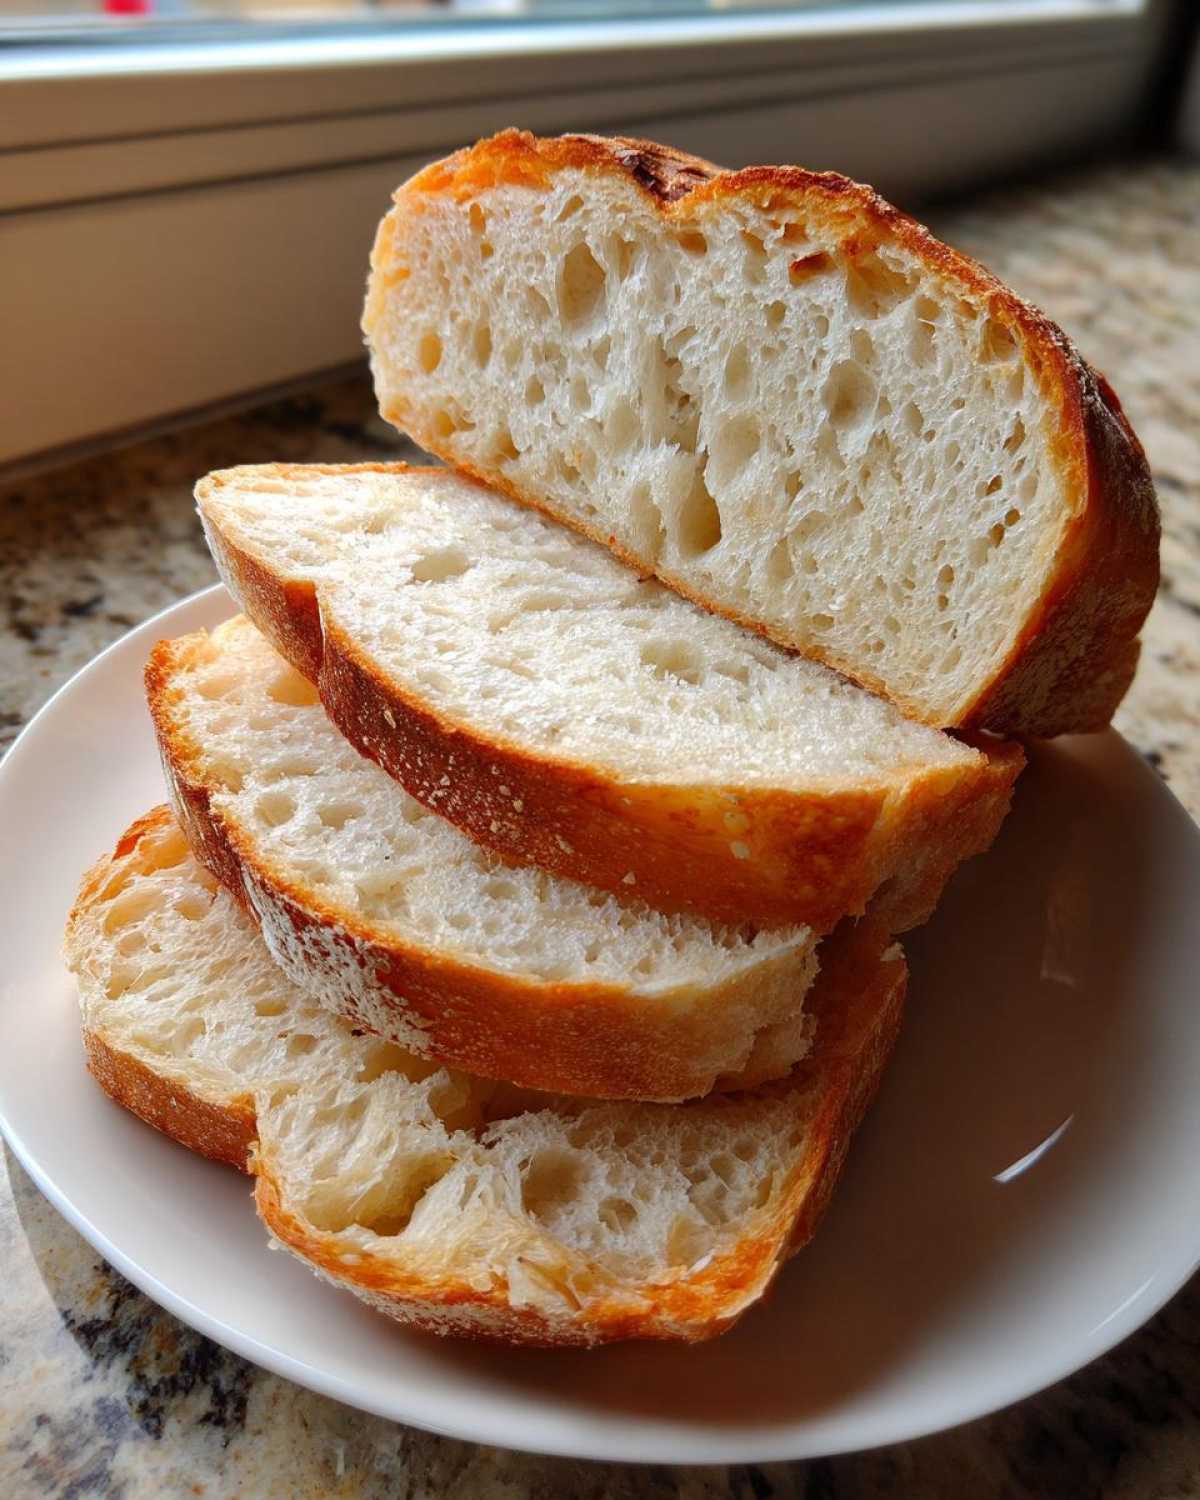
We’re nearly there! The final baking stage is where all that careful mixing and proofing really pays off. Getting the temperature right is everything if you want that golden exterior without drying out the fluffy interior we worked so hard to create in our sourdough sandwich bread.
First, you absolutely must preheat that oven properly. I set mine to 375°F (190°C) and let it sit for a good 20 minutes after it signals it’s ready. Pop your loaf pan right into the center rack. Don’t be tempted to bake it too hot, especially if you’re aiming for that softer crust we talked about!
We are looking for about 35 to 45 minutes of baking time. But time is just a guideline, right? The real signal that your bread is done comes from temperature. Stick an instant-read thermometer right into the center of the loaf—it should register at 200°F (93°C). If you hit that magic number, it means it’s fully baked through but not tragically overdone. Pull it out immediately and get it straight onto a wire rack. If you leave it in the hot pan for even five minutes, the residual heat will keep cooking the bottom and make it dense!
Tips for Success When Making Sourdough Sandwich Bread
Even with a great recipe, sometimes the environment fights back! I’ve learned a few tricks over the years—mostly the hard way—that really help ensure you get that perfect, fluffy result every single time you make sourdough sandwich bread. These aren’t just arbitrary steps; they are ways to control the variables so your loaf stays soft.
If you followed the steps for shaping and baking, you deserve a reward! My biggest pro-tip is about timing and slicing. This is where many of us ruin a beautiful loaf by cutting it too soon. Trust me, the wait is agonizing, but it is non-negotiable if you want real success.
Making Same Day Sourdough Sandwich Bread Work
I know, sometimes you just want homemade sandwich bread using starter ready tonight, not tomorrow! If your kitchen is naturally warmer (say, over 75°F), you can definitely rush this process. Remember how I said bulk fermentation usually takes 3 to 5 hours? In a warmer spot, that might only take 2.5 hours.
The trick to getting this done in one day—making it true same day sourdough sandwich bread—is monitoring the dough, not the clock. When proofing in the pan right before baking, if your dough rises really fast and crowns an inch over the rim quickly (maybe in just an hour), your kitchen is warm, and you need to get it in the oven FAST before it over-proofs!
The Secret to Clean Slices on Your Sourdough Toast Bread
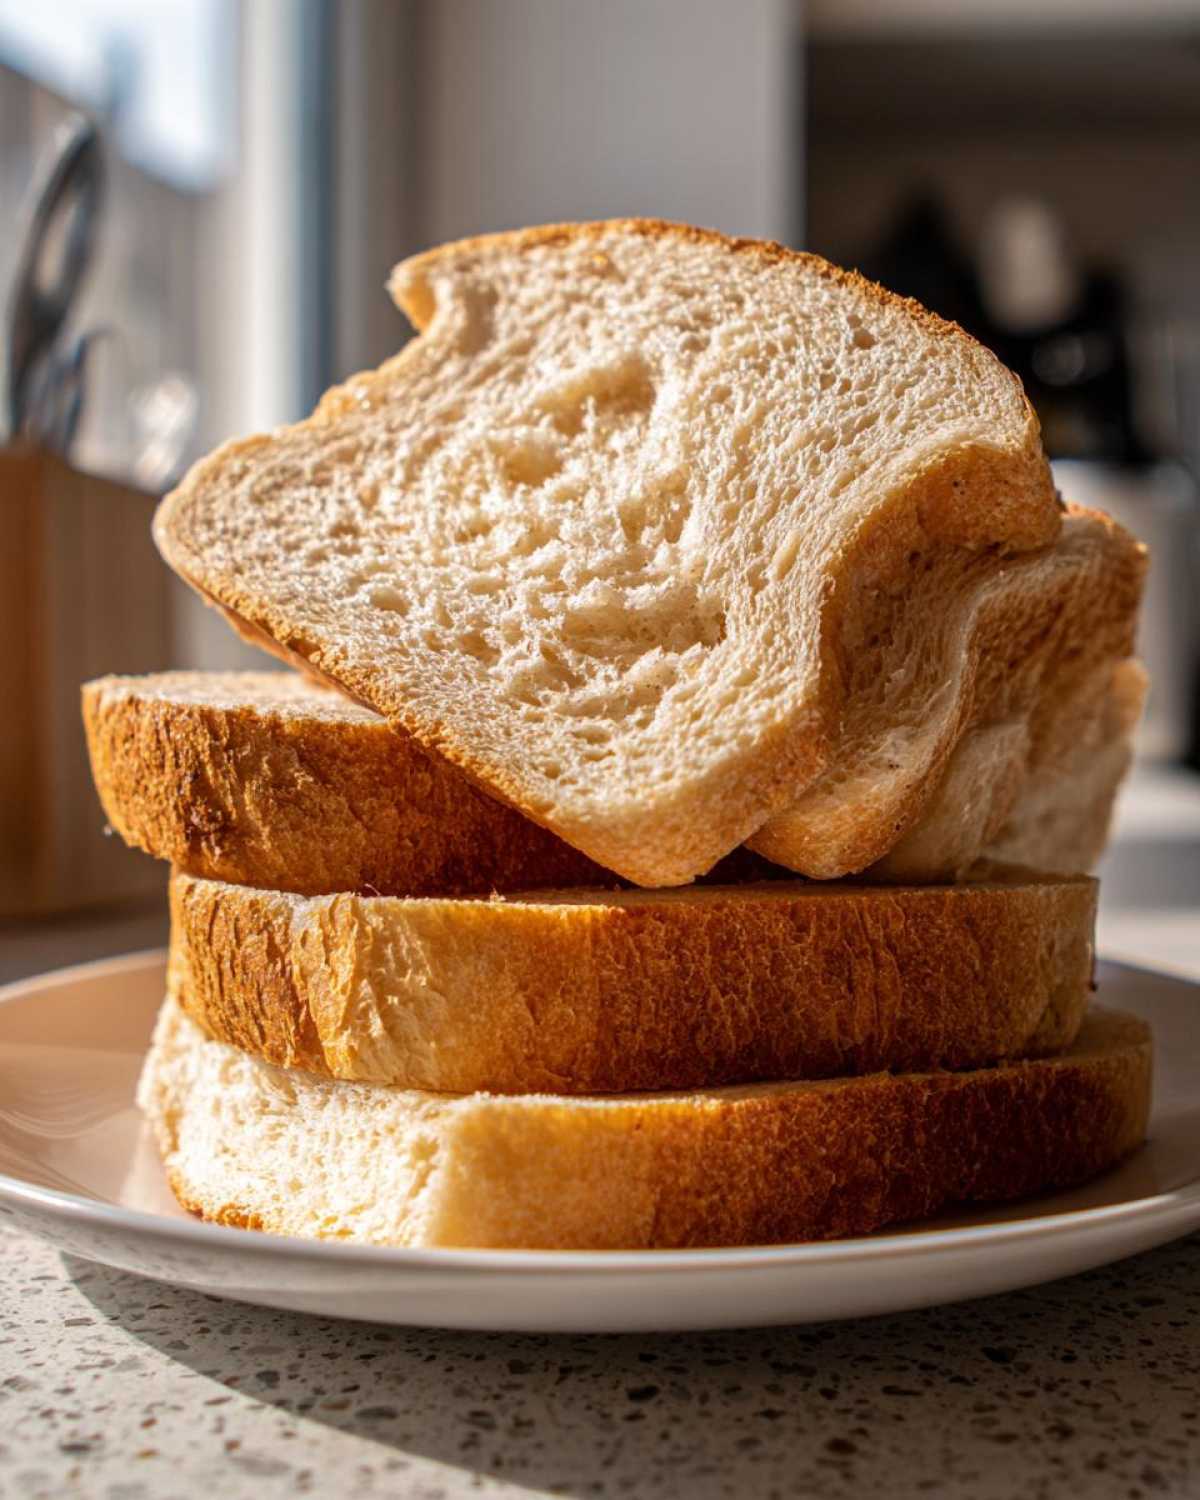
This is the biggest giveaway if you cut your bread too soon! Slicing hot bread—even just slightly warm—crushes that beautiful, soft interior we worked so hard to build. If you want those perfect, clean slices for your sandwiches or for sourdough toast bread, you have to wait until it is completely, 100% cool.
I mean *cool*. Put a tea towel over it and walk away for at least two hours, if not longer. When you’re ready to slice, grab a good, long serrated knife. Don’t use a chef’s knife; the sawing motion of the serrated knife cuts through the crust easily without squishing the tender crumb inside. It’s like cutting a soft tomato—you use the teeth, not the flat side!
P.S. If you’re finding your timing is always off, check out this guide on my timing adjustments; it helps track those tricky proofing phases!
Storage and Reheating Instructions for Your Sourdough Sandwich Bread
You’ve made the perfect soft sourdough sandwich bread, so now we need to make sure it lasts! Because this recipe has that lovely fat content from the butter, it stays soft longer than a lean, rustic sourdough, but you still need to store it correctly. I’m a firm believer that bread should be stored on the counter, not in the fridge—the cold air just makes it go stale faster, which is the opposite of what we want here!
For one or two days of eating, I just use a clean kitchen towel or put the loaf back into the bread bag it came in. Make sure it’s not sealed airtight immediately, though. You want to let the crust breathe for just an hour after it’s totally cool, otherwise, you’ll steam the bottom crust and lose all that work!
If you know you aren’t going to finish it within three days, freezing is absolutely the way to go. This is where this loaf shines as a make-ahead recipe!
- Freezing Tip: Wait until the loaf is completely cool. Slice the entire loaf first—this is so much better than trying to slice a rock-hard frozen loaf later! Put parchment paper between each slice.
- Wrap the slices tightly in plastic wrap or aluminum foil, and then tuck them all into a freezer bag. It keeps beautifully for up to three months this way.
When you need toast or a sandwich, just pull out what you need! If you pull a frozen slice out, you can toast it directly, and it comes out tasting freshly baked. If you want to revive half a loaf, just wrap the unsliced portion tightly in foil and bake it at 325°F for about 10 minutes until it’s warmed through. You can find more general advice on freezing bread over here, but these steps work perfectly for this soft loaf!
Frequently Asked Questions About This Easy Sourdough Bread Recipe
I get so many messages asking about timing and texture when people try this recipe! It’s usually because they are used to making rustic boules, and this is a bit different. Don’t stress if things look a little different than expected; that’s why we have this little FAQ section to smooth out the details on how to make soft sourdough!
Can I skip the butter in this sourdough sandwich bread recipe?
Oh, please don’t! I know sometimes we run out of things, but if you skip that 30g of softened butter, you are fundamentally changing this recipe from a soft sourdough sandwich bread to a lean sourdough loaf. The butter coats the flour particles and physically prevents the gluten from setting up too tightly during the stretch and folds. Skipping it means you lose that essential buttery richness and you’ll end up with a chewier, less tender crumb. It’s worth checking your fridge again, trust me!
What if my dough doesn’t rise enough for the no knead sourdough sandwich bread?
This is nearly always down to one of two things: a sleepy starter or a cold kitchen. If your starter wasn’t active enough when you mixed it in, the final bulk ferment is going to take ages. If it’s been 6 hours and it still looks flat, use the float test on a tiny bit of dough, or just warm your kitchen slightly with a nearby oven light—but be very careful not to let it get hot.
The other big culprit is temperature. If your kitchen is below 70°F, your no knead sourdough sandwich bread proofing time is going to stretch way past the 3 to 5 hours I mentioned. If you have time, just let it go longer! If you’re trying to make it in one day, you might need to jump straight to cold proofing after the minimum bulk rise, even if it looks slightly under-proofed. Check out my general advice on proofing issues here if you run into trouble!
Estimated Nutritional Information for Homemade Sandwich Bread Using Starter
Okay, real talk time! While this incredible sourdough sandwich bread is made with simple, whole-ish ingredients, we still have to look at the numbers when we talk about something we eat every day. Remember, since you are slicing this yourself, these are just estimates for one slice based on the recipe below.
Remember, this is based on dividing the entire loaf into servings. Your exact slice size will change these numbers, so approach this as a guide for understanding the composition of one serving of your homemade sandwich bread using starter!
Here’s the general breakdown we came up with:
- Serving Size: 1 slice
- Calories: Around 250 (Not too bad for a homemade slice!)
- Fat: 4g total (That’s where our lovely softened butter sneaks in for that soft texture!)
- Saturated Fat: 2g
- Carbohydrates: 48g
- Protein: 9g (Hello, good bread!)
- Fiber: 2g
- Sugar: Only 1g (All natural, no extra refined sugar!)
- Sodium: 350mg
- Cholesterol: 10mg
It’s amazing how satisfying and filling a slice of real sourdough can be, even with just a little bit of added fat for luxury. Enjoy! Just don’t worry too much about chasing perfect nutrition—the joy here is in the homemade taste.
Share Your Fluffy Sourdough Loaf Experience
There you have it! You’ve successfully navigated the world of soft, light, and wonderfully flavored sourdough sandwich bread. I can only imagine how amazing your kitchen smells right now. That tangy aroma mixed with the richness of the butter—it’s truly the best smell in the world.
Now that you’ve seen how approachable this recipe is, I really, truly want to hear about your results! Did you manage to keep that crumb ultra-tender? Did your slices come out beautiful and thin?
Please, please leave me a comment below telling me how your fluffy sourdough loaf turned out. Rate the recipe so others know they can trust this method, especially if you’re a newer baker!
I especially love seeing pictures of your final loaves and your sandwiches! Tag me on social media if you post a picture of your perfectly stacked lunch. I always feature reader photos of their successful bakes on my main baking page—I live for that connection!
Happy baking, and enjoy every single soft, sliceable piece!
PrintSoft and Fluffy Sourdough Sandwich Bread

A straightforward recipe for making soft, sliceable sourdough bread perfect for everyday sandwiches and toast, designed for beginner bakers.
- Prep Time: 30 min
- Cook Time: 45 min
- Total Time: 5 hr 55 min
- Yield: 1 loaf
- Category: Bread
- Method: Baking
- Cuisine: American
- Diet: Vegetarian
Ingredients
- 100g active sourdough starter (100% hydration)
- 350g warm water (about 90°F)
- 500g bread flour
- 10g fine sea salt
- 30g unsalted butter, softened
Instructions
- Mix the active starter and warm water in a large bowl until combined.
- Add the flour and salt. Mix by hand until just combined into a shaggy mass. Do not knead.
- Cover the bowl and let it rest for 30 minutes (autolyse).
- Add the softened butter to the dough. Use wet hands to squeeze and fold the butter into the dough until it is mostly incorporated.
- Perform four sets of stretch and folds, spaced 30 minutes apart, over the next 2 hours. The dough should become smoother after each set.
- After the final fold, let the dough bulk ferment at room temperature (around 72°F) until it has increased in volume by about 50% and feels puffy, usually 3 to 5 hours depending on your kitchen temperature.
- Gently turn the dough out onto a lightly floured surface. Pre-shape it into a loose round and let it rest, covered, for 20 minutes.
- Shape the dough into a tight log and place it seam-side down into a greased 9×5 inch loaf pan.
- Proof the dough in the pan at room temperature for 1 to 2 hours, or until the dough has crowned about 1 inch above the rim of the pan.
- Preheat your oven to 375°F (190°C) with a rack in the center position.
- Bake the loaf for 35 to 45 minutes, or until the crust is golden brown and the internal temperature reaches 200°F (93°C).
- Remove the loaf from the pan immediately and cool completely on a wire rack before slicing.
Notes
- For a softer crust, lightly brush the top of the loaf with melted butter immediately after removing it from the oven.
- Use a serrated knife for the cleanest slices when cutting the cooled loaf.
- If you prefer a longer, slower proof, place the shaped loaf in the refrigerator for 8 to 12 hours after shaping (cold proofing).
Nutrition
- Serving Size: 1 slice
- Calories: 250
- Sugar: 1
- Sodium: 350
- Fat: 4
- Saturated Fat: 2
- Unsaturated Fat: 2
- Trans Fat: 0
- Carbohydrates: 48
- Fiber: 2
- Protein: 9
- Cholesterol: 10