

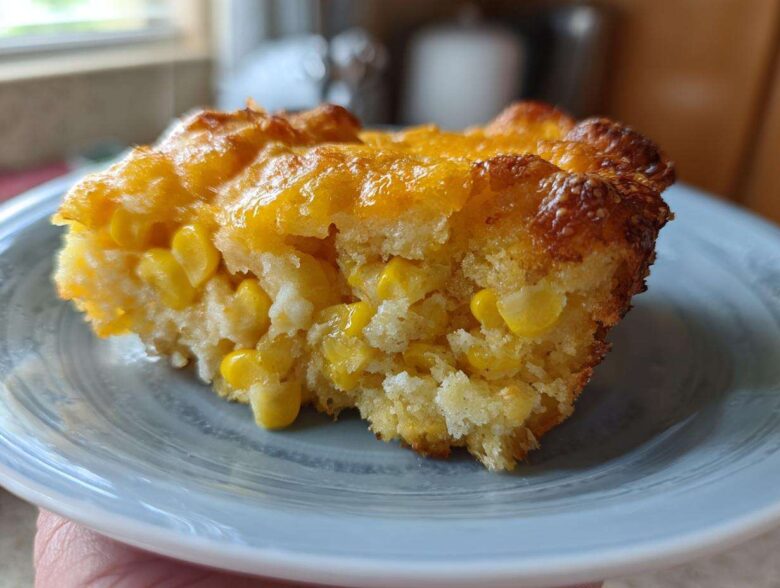
Listen, if you’re heading to a potluck or getting ready for Thanksgiving, you need one dish that never, ever stays on the table for long. Forget your fancy roasted vegetables; people flock to the simple, comforting stuff, and nothing says comfort like this Ultimate Cheesy Corn Casserole. Seriously, this perfect blend of sweet corn kernels swimming in a rich, cheesy sauce is what my family demands every single year. And the best part? We sneak in a box of Jiffy mix, which means you get incredible flavor with almost zero fuss. This is the side dish champion of the entire holiday spread, hands down.
Why This Cheesy Corn Casserole is Your New Favorite Corn Side Dishes
I’ve made every fancy vegetable side dish under the sun, but this super cheesy corn casserole always wins. It’s just that good! It’s reliably fantastic, which is exactly what you need when you’re balancing a huge holiday menu. Trust me, if you want the secret weapon for your next big gathering, this is it.
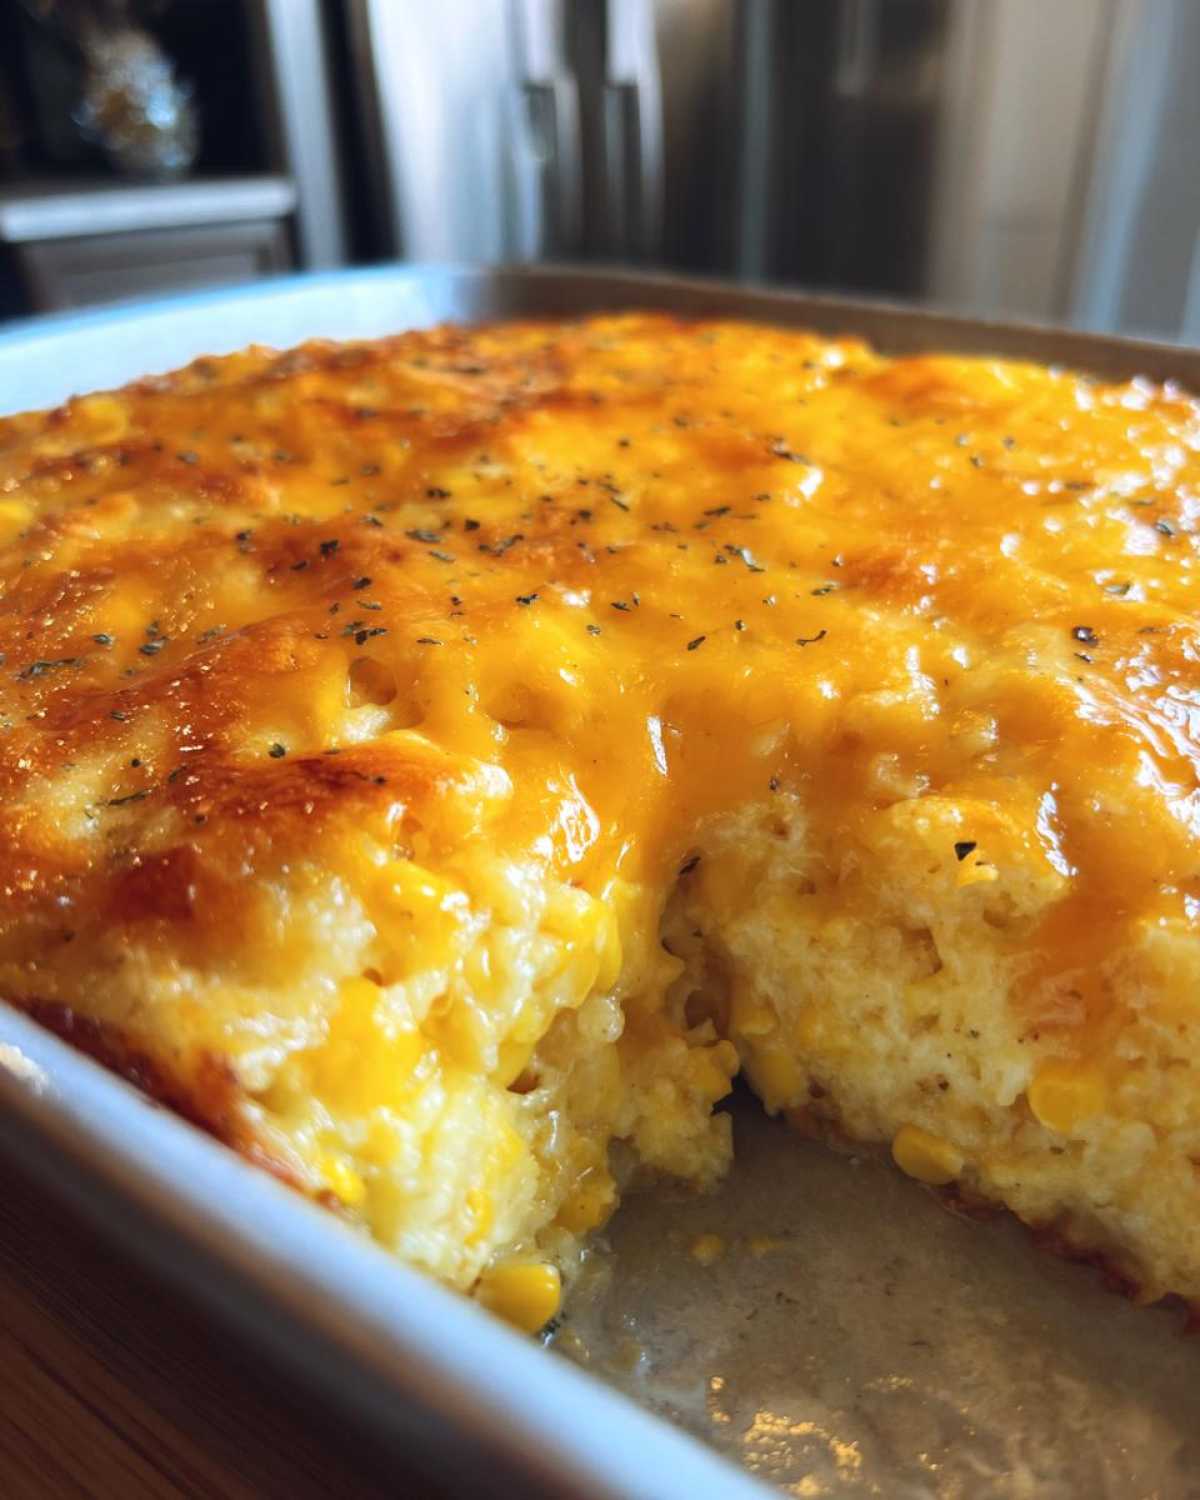
- It uses that simple boxed corn muffin mix—yes, the Jiffy kind!—making clean-up a dream.
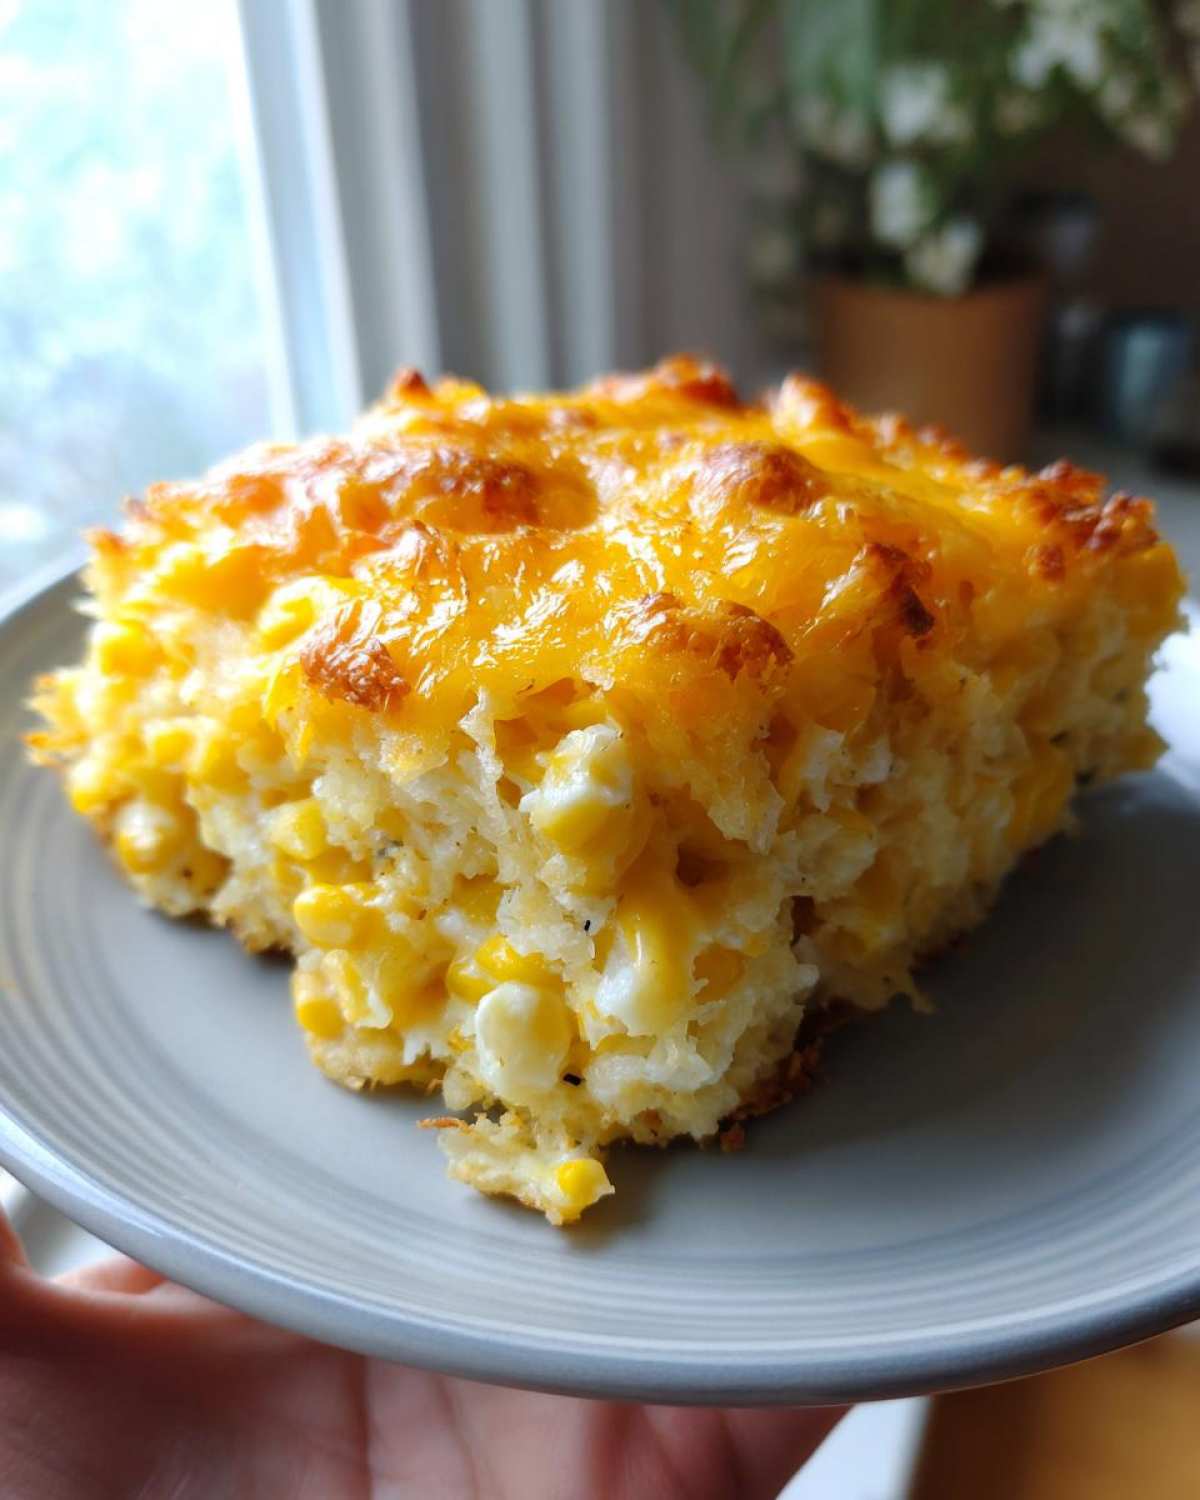
- The texture? Oh my gosh, it’s impossibly creamy on the inside with a beautiful golden, cheesy crust on top.
- It travels like a champion, making it one of the ultimate potluck side dishes out there.
- This dish proves that the best comfort food sides are often the simplest preparations of humble ingredients like sweet corn.
Perfect Potluck Side Dishes Ready Fast
We’re talking ten minutes of actual work before this beauty goes into the oven. I assemble mine while the turkey is just starting to go in, and it bakes up perfectly alongside everything else. Because it’s so reliable, it cuts down on my stress levels when I’m hosting. You never worry about this one falling flat; it’s always a smash hit!
Essential Ingredients for the Ultimate Corn Casserole
Honestly, the best thing about this recipe is that you probably already have most of this stuff in your pantry right now. It’s all about those classic comfort food elements coming together. The star, naturally, is the corn itself, but the combination of textures we build around it is crucial. I always make sure I use the specific 8.5-ounce box of corn muffin mix—that little yellow box is the magic glue here, so please don’t try to substitute for a different brand if you want that classic result!
We are using both creamed corn *and* whole kernel corn. The creamed corn melts down into that velvety sauce base, and the whole kernels keep those important bursts of sweet corn flavor. And listen, since we only have two eggs, make sure they are large and good quality! They help bind this rich filling together beautifully.
Here is exactly what you need to make this happen:
- One 15-ounce can of creamed corn—and keep that liquid in there, don’t drain it!
- One 15-ounce can of whole kernel corn, drained well.
- One standard 8.5-ounce package of corn muffin mix (Jiffy is my go-to).
- One cup of sour cream; this brings the essential tang and creaminess.
- One cup of good, sharp shredded cheddar cheese—don’t skimp on the quality here!
- Half a cup, or one full stick, of unsalted butter, melted until smooth.
- Two large eggs, whisked lightly before adding them to the batter.
Step-by-Step Instructions for Baked Corn Perfection
Alright, let’s get baking! This is where the magic happens, but remember, baking is science, and we need to respect the ingredients. First things first: crank that oven up to 350 degrees Fahrenheit. Seriously, don’t guess. Get a proper preheat going so those edges start setting right away. While it’s warming up, grab your 9×13 inch dish and give it a good grease-up. I usually use a little bit of cooking spray, but butter works great too.
Mixing the Creamy Corn Batter
We start by tossing together all the heavy hitters in one big bowl: that glorious creamed corn, the drained whole kernels, that Jiffy mix, the sour cream, half of our cheddar (you have to save some for topping!), and all that lovely melted butter. Stir it gently until everything looks *just* incorporated. Now, here is my huge tip—and this is where people mess up:
Don’t overthink the mixing! Once you add those lightly whisked eggs, you just stir until you don’t see dusty streaks of the corn muffin mix anymore. If you beat this batter for ages, you develop the gluten, and instead of a fluffy casserole, you’ll end up with something closer to heavy cornbread. We want creamy, people! Gently pour that beautiful batter into your pan and sprinkle that reserved cheese right on top so it gets nice and bubbly on the surface.
Baking Time and Checking Doneness for this Corn Recipe
In the oven it goes for about 45 to 55 minutes. You are looking for visual confirmation first: the edges should be set, and the top needs to be beautifully golden brown. But since every oven is different—and every can of creamed corn has a slightly different consistency—you must test it!
I always grab a thin knife or a toothpick and stick it right near the center. If it comes out clean, or maybe with just a few moist crumbs clinging to it, you are done! If you pull out gloppy batter, give it another five minutes and check again. Once it’s out, the most important step is patience. You have to let it rest for 5 to 10 minutes before you even think about scooping it out. That short rest time lets the filling firm up so it sets into perfect squares. Don’t skip the rest!
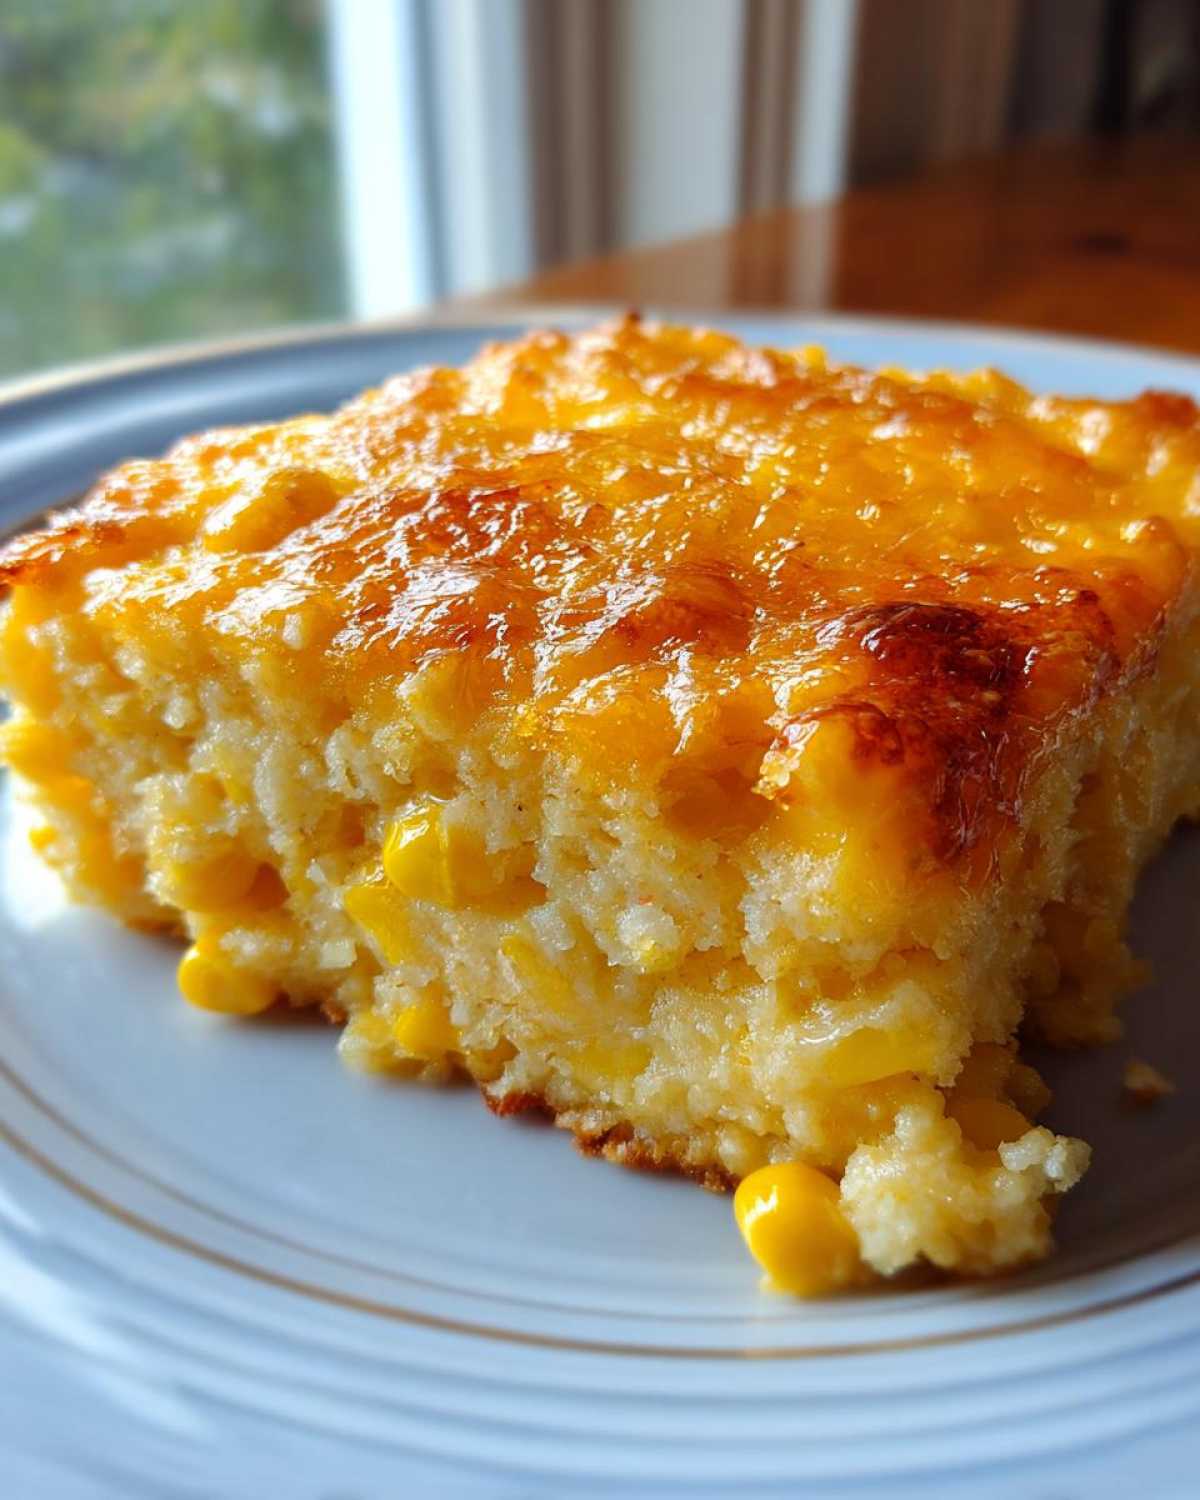
Tips for Making the Best Corn Casserole Every Time
You know, once you master the basic technique, you start getting little flashes of inspiration for making this already great comfort food side even better. The recipe is already solid because of the Jiffy mix base, but these little tweaks really elevate it for holidays.
I remember one year right before Christmas, someone moved my measuring cup—I ended up using almost a stick and a half of butter instead of the half cup required. Big mistake! The casserole ended up tasting incredibly rich, sure, but it wouldn’t set right; it was almost runny in the middle even after an extra ten minutes in the oven. It still tasted amazing scooped on a plate, but it definitely wasn’t that perfect, sliceable, square-shaped side dish we all crave.
So, here are a couple of things I learned that will help you aim for that perfect texture and flavor:
- If you want a little kiss of sweetness to contrast the savory cheese, stir in just one tablespoon of honey right into the batter along with the sour cream. It’s subtle, I promise, but lovely.
- For an unexpected crunch? Near the end of the baking time, try sprinkling just a quarter cup of crushed corn flakes right over that cheddar cheese. It toasts up beautifully and adds a fantastic textural surprise to your usual soft corn dish.
- Make sure your sour cream is full-fat. Low-fat sour cream tends to weep liquid when baked this long. We need that moisture to stay locked in the creamy corn sauce!
Variations on this Classic Corn Casserole Recipes
Now, even though this recipe is perfect as is—seriously, it’s the best cheesy bake—I know some of you like to push the boundaries a little! That’s totally fine, because this base is flexible, especially if you’re looking to amp up the flavor profile for a potluck bigger than ours.
If you’re craving something spicier, transforming this into a Mexican Corn Casserole is a snap. Just fold in half a can of diced green chilies and swap out half of that cheddar cheese for some salty Cotija cheese before you bake. Wow, does that wake up the dish!
If sweet is more your speed, thinking about that honey glazed corn casserole idea? You can easily incorporate that sweet note by adding a tablespoon of honey, as I mentioned before, but you can also swap out the cheddar for Pepper Jack if you want a sweet-spicy kick that goes really well with grilled meats. This basic creamy corn setup is perfect for whatever you decide to throw its way!
Storage and Reheating Your Leftover Corn Casserole
The great news about this casserole is that it’s a fantastic make-ahead dish! If you have leftovers—which you might, but I doubt it—storage is super straightforward. Cool the dish completely first, then cover it tightly with foil or plastic wrap. You can keep it in the fridge for about three days, easy peasy.
If you need to stash it longer, this baby freezes beautifully for up to three months. When you’re ready to eat those comforting leftovers, the key is to reheat it properly so it doesn’t dry out. Don’t microwave the whole thing! Pop it in a 350-degree oven, covered loosely with foil again, until it’s steaming hot all the way through. That low, slow reheat keeps all the wonderful creaminess locked in where it belongs. This is honestly just as good as the first day, especially if you’re planning ahead for an earlier meal!
Serving Suggestions for Your Cheesy Corn
This rich, decadent cheesy corn deserves center stage next to some seriously satisfying main courses. Because it’s so hearty, it pairs perfectly with big holiday roasts. Imagine this creamy side dish sitting right next to a perfectly cooked prime rib—it’s the ultimate comfort food setup!
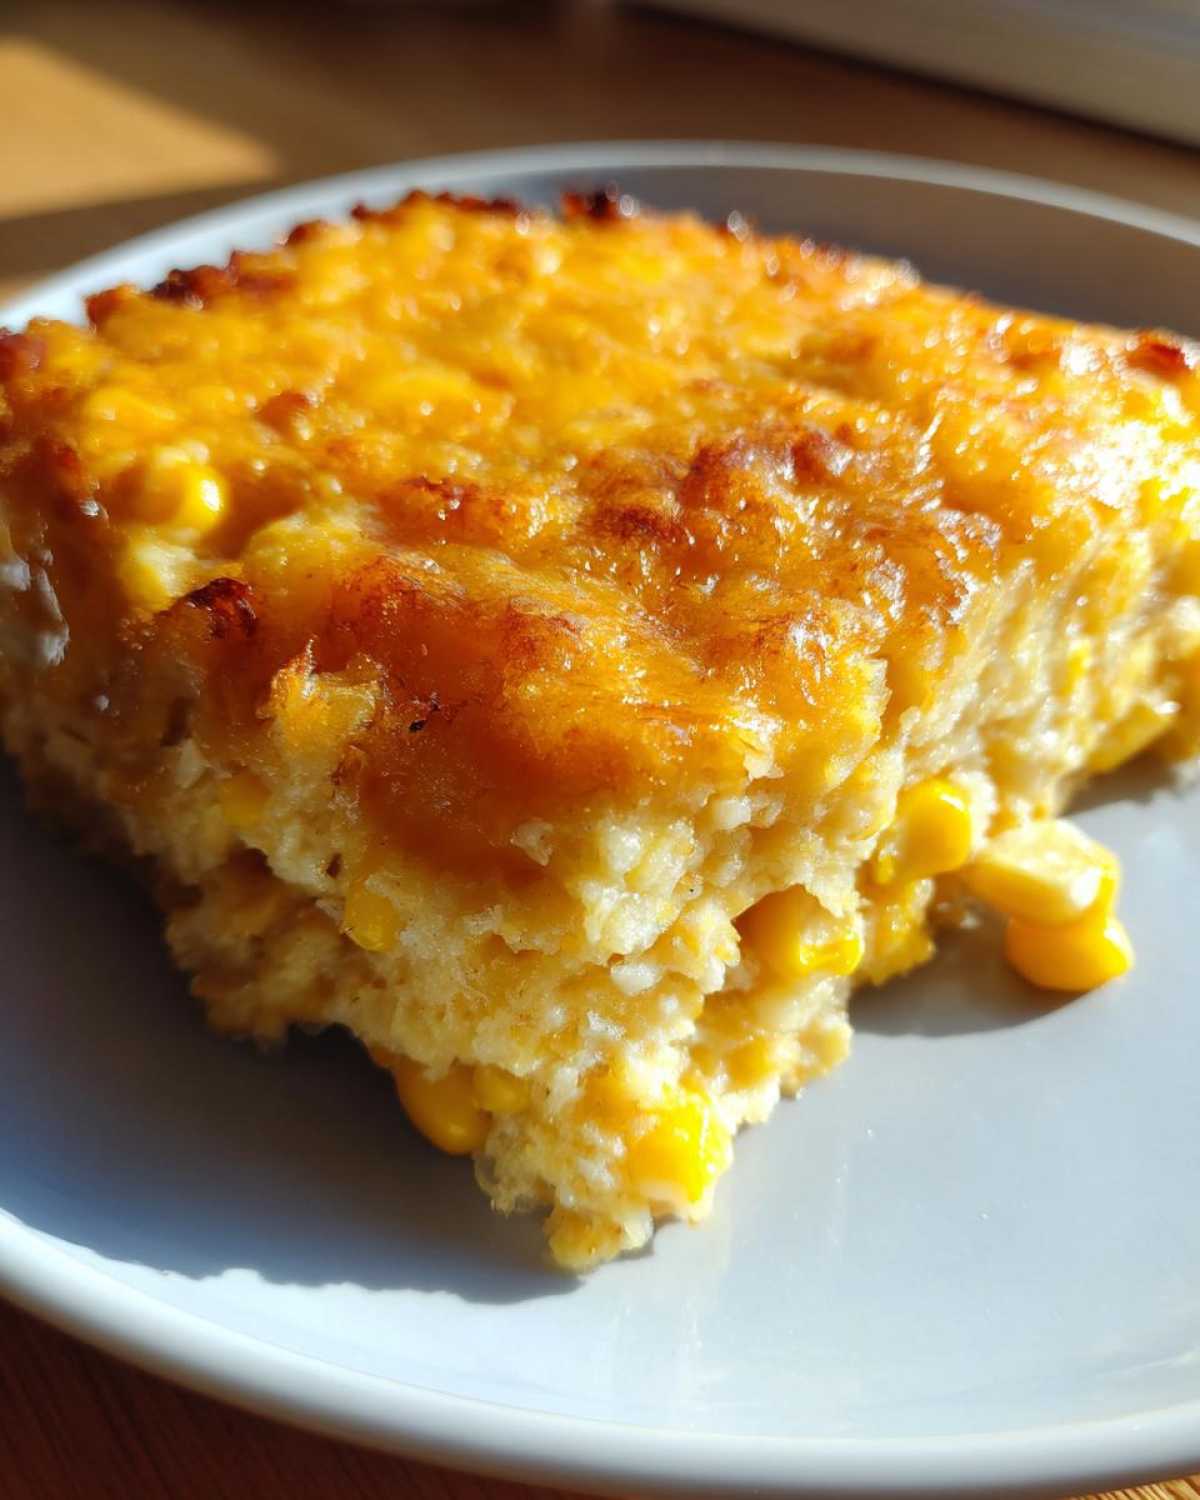
It’s also amazing alongside slow-cooked pulled pork or a simple baked ham. Honestly, anything that benefits from a bit of creamy, cheesy goodness on the side is a winner here. It truly makes any simple weeknight dinner feel like a special occasion.
Frequently Asked Questions About Corn Casserole
I get so many questions about this baked good because everyone wants their holiday side dishes to turn out perfectly! Since it relies on that specific boxed mix, people often have minor worries about swapping ingredients or adjusting the cooking method right before they serve dinner. Don’t worry, I’ve got the answers to the most common things I hear.
Can I use a different mix instead of Jiffy Corn Casserole Recipes?
This is the big one! Because the standard Jiffy box is 8.5 ounces, if you use a different brand, you need to make sure you are using the same net weight of dry mix. If the box is slightly larger, say 10 ounces, you might need to add an extra splash of liquid—maybe just a quarter cup of milk or extra sour cream—to keep that creamy corn texture we are aiming for. If the box is smaller, you might end up with a slightly drier casserole, so stick to the 8.5-ounce measure if you can!
How do I make this recipe into a Creamy Corn Side Dish without baking?
If you’re short on oven space but still desperate for some creamy corn flavor, you can definitely adapt this for the stovetop to make a quick creamed corn recipe! You skip the eggs and the baking pan entirely. In a saucepan, melt the butter, then whisk in the sour cream. Add both cans of corn and let it simmer over medium heat. You won’t add all the Jiffy mix at once; you’d only add maybe half of it, whisking constantly until it thickens into a luscious sauce, maybe taking about 10 to 15 minutes total. It won’t have that beautiful baked crust, but it’s a fantastic, quick, creamy corn side dish!
Is it absolutely necessary to use eggs in this casserole?
Those two eggs are really important for structure, especially since we aren’t using a ton of dry mix compared to the moisture we add. They act as binders. If you can’t use eggs due to allergies, I’d try adding one tablespoon of flaxseed mixed with three tablespoons of water—let it sit for five minutes to get gelatinous—or use a commercial egg replacer, but you might notice the texture becomes slightly less light. It’s one area I’d recommend sticking to the original ingredient if possible for that perfect bake!
Nutritional Estimates for This Baked Corn Dish
I always feel a little guilty when I dish out a huge helping of this cheesy indulgence, but hey, enjoying our food is part of being a home cook, right? Since this casserole is packed with cheese, butter, and that slightly sweet corn, the numbers do creep up a bit. Remember, these figures are just my best guess based on the standard ingredients I use, especially the full-fat sour cream and cheddar.
If you use a lighter cheese or switch to a lower-fat sour cream, of course, the numbers will shift, but this is straight from the classic recipe. So, here’s the rough breakdown per serving:
- Serving Size: 1 serving
- Calories: 350
- Fat: 22g (with 13g of that being Saturated Fat—oops!)
- Cholesterol: 65mg
- Sodium: 550mg (That cheese and mix add up!)
- Carbohydrates: 30g
- Sugar: 12g (Mostly from the sweet corn itself, which is great!)
- Protein: 8g
It’s a side dish, not a light salad, so keep that in mind! But when paired with a lighter protein, it makes for the most satisfying comfort food dinner imaginable.
PrintUltimate Cheesy Corn Casserole

A simple, creamy, and cheesy baked corn casserole perfect for holidays or potlucks, using a Jiffy mix base for ease.
- Prep Time: 10 min
- Cook Time: 50 min
- Total Time: 60 min
- Yield: 8 servings
- Category: Side Dish
- Method: Baking
- Cuisine: American
- Diet: Vegetarian
Ingredients
- 1 (15 ounce) can creamed corn, undrained
- 1 (15 ounce) can whole kernel corn, drained
- 1 package (8.5 ounces) corn muffin mix (like Jiffy)
- 1 cup sour cream
- 1 cup shredded cheddar cheese
- 1/2 cup (1 stick) unsalted butter, melted
- 2 large eggs
Instructions
- Preheat your oven to 350 degrees Fahrenheit (175 degrees Celsius). Grease a 9×13 inch baking dish.
- In a large bowl, combine the creamed corn, drained whole kernel corn, corn muffin mix, sour cream, half of the shredded cheese, and the melted butter. Mix until just combined.
- Whisk the eggs in a separate small bowl, then add them to the corn mixture. Stir gently until the batter is uniform.
- Pour the mixture into the prepared baking dish.
- Sprinkle the remaining shredded cheddar cheese evenly over the top of the casserole.
- Bake for 45 to 55 minutes, or until the top is golden brown and a toothpick inserted near the center comes out clean.
- Let the casserole rest for 5 to 10 minutes before serving.
Notes
- For a slight sweetness, add 1 tablespoon of honey to the batter before mixing.
- If you prefer a slightly crispier top, add 1/4 cup of crushed corn flakes over the cheese layer before baking.
- This casserole freezes well after baking; cool completely, cover tightly, and freeze for up to three months. Reheat in the oven at 350 degrees Fahrenheit until heated through.
Nutrition
- Serving Size: 1 serving
- Calories: 350
- Sugar: 12
- Sodium: 550
- Fat: 22
- Saturated Fat: 13
- Unsaturated Fat: 9
- Trans Fat: 0.5
- Carbohydrates: 30
- Fiber: 2
- Protein: 8
- Cholesterol: 65