

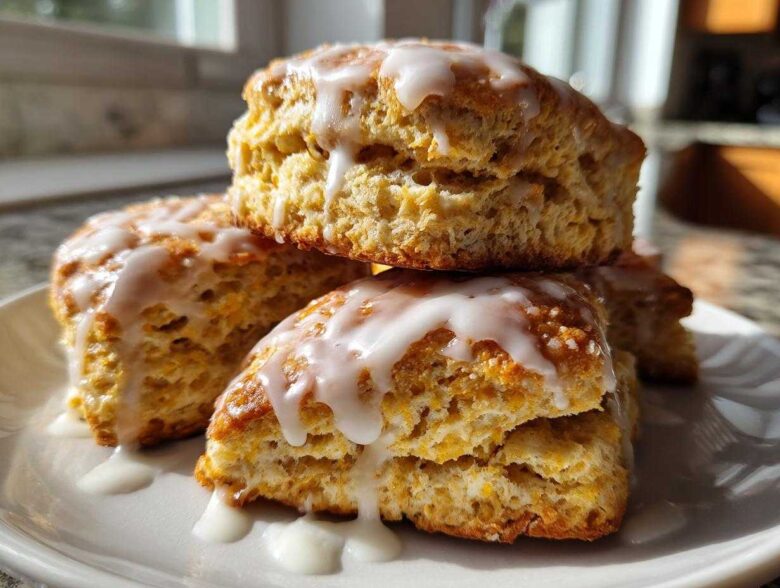
Oh my goodness, are you ready for the best morning treat you’ll ever bake? Forget those dry hockey pucks you sometimes get at the coffee shop! When I first started baking, I thought perfect scones were reserved only for fancy tearooms and professional bakers, but trust me, I cracked the code. This recipe for Classic Buttermilk Scones is my absolute go-to.
These aren’t just any baked goods; they are warm, buttery, unbelievably flaky, and so tender they practically melt the second they hit your tongue. And the best part? We’re using a surprisingly easy technique to get those Instagram-worthy, maximum-height scones that stand proud on your plate. You’ll never go back to store-bought once you see how simple it is to make these beauties from scratch.
I spent years perfecting the cold-fat/wet-ingredient ratio, and now I feel like I can look at a lump of dough and just *know* if it’s going to rise right. If you’re looking for truly authentic, restaurant-quality results without the fuss, you’ve come to the right place. Let’s get baking!
To see some of my other favorite quick recipes, you can always check out my main recipe index for more inspiration!
Why This Classic Buttermilk Scones Recipe Works (Fluffy Scones Recipe)
So, what separates these amazing homemade scones from the rest? It all comes down to texture, honey! I promise you will get the fluffiest, most buttery baked goods imaginable with this batch. We are aiming for that perfect balance: flaky layers that separate easily, but a crumb that stays incredibly moist. That’s why this is my definitive Moist Scone Recipe.
The secret sauce, well, the secret liquid, is cold buttermilk. Buttermilk is slightly acidic, which reacts beautifully with the baking powder we use. This reaction creates tons of tiny carbon dioxide bubbles, giving you that beautiful lift and the signature tender texture of a true Fluffy Scones Recipe. It’s the magic ingredient that transforms simple flour and butter into something spectacular.
If you ever want to bake something truly impressive for brunch, remember that technique beats fancy ingredients almost every time. If you love creamy, rich flavors, you might also want to check out my tips for making buttery dinner rolls—same concept, different shape!
Achieving Tall Scones Secrets
You want height? Listen up, because this is non-negotiable for getting those impressive tall scones. Everything—I mean everything—needs to be freezing cold. If your butter melts before it hits the oven, you lose your lift. This is your number one defense against flat, dense scones.
When you cut the rounds, never twist the cutter! Twisting seals the edges shut, trapping the layers we just worked so hard to create. Just press the cutter straight down firmly, and then lift straight up. It sounds simple, but it makes a huge difference in how high they climb in the oven. Minimal handling, maximum rise—that’s the mantra!
Gather Your Ingredients for Perfect Scones
Alright, let’s talk about what you need to pull together these exquisite scones. Don’t panic; this list is short and sweet, making this a fantastic quick breakfast pastry idea! The beauty of scones is that they rely on pantry staples, but the preparation of those staples is everything.
Here is exactly what you’ll need:
- 2 cups all-purpose flour
- 1/4 cup granulated sugar
- 1 tablespoon baking powder
- 1/2 teaspoon salt
- 6 tablespoons cold unsalted butter, cut into small cubes
- 3/4 cup cold buttermilk
- 1 large egg, beaten (we use this for the egg wash on top)
And of course, for the drizzle that makes them extra special:
- 1/4 cup powdered sugar (for glaze)
- 1 tablespoon milk (for glaze)
- 1/2 teaspoon vanilla extract (for glaze)
Now, listen closely because this is where experience comes in and pays off—the butter and the buttermilk must be painfully cold. I mean, pull the butter straight from the freezer if you can, then cube it fast. If your kitchen is warm, stick the buttermilk in the freezer for five minutes before you start mixing. When fat stays cold, it steams in the oven, creating those glorious, flaky pockets. It’s the foundation of making amazing buttermilk biscuits almost identically!
How To Make Flaky Scones: Step-by-Step Instructions
This is where our easy scone technique truly shines! Before we even think about touching the flour, get that oven cranked up to 400 degrees Fahrenheit (200 Celsius). Line a baking sheet with parchment paper so cleanup is a breeze—you know I love anything that saves scrubbing!
The instructions are straightforward, but you have to respect the mixing process. Remember, we want flaky layers, not bread texture, so be gentle!
Mixing the Dough: The Secret to Buttery Baked Goods
Start by whisking your dry stuff: flour, sugar, baking powder, and salt. Now for the butter cubes we kept so cold. You need to cut that butter into the dry mixture. I usually use a pastry blender, but your fingertips work great too—just be quick so your hands don’t warm the butter up! You’re done with this step when the mixture looks like coarse crumbs, kind of like cornmeal, but you should still see some chunks of butter that look like little peas. Those pea-sized pieces are your insulation for flakiness!
Next, make a little crater in the middle of your bowl and pour in that ice-cold buttermilk all at once. Mix it really fast with a fork. Stop as soon as you see the liquid disappear and the dough just barely holds together. It should look shaggy and maybe a little messy. If you mix this until it’s smooth, you’ve already lost the battle for tenderness!
Shaping and Baking Your Scones
Gently turn that shaggy collection of dough onto a very lightly floured surface. Pat it down by hand until it’s about 3/4 of an inch thick. We’re not kneading here; we’re just persuading it into shape! Cut it quickly into 8 wedges, or use a round cutter if you have one. If you use a cutter, remember my rule: press straight down, don’t twist!
Here’s another pro tip for height: arrange them on that parchment-lined baking sheet so their sides are just touching. When they bake, they push against each other, forcing them to rise up instead of spreading out sideways. Brush the tops lightly with that beaten egg wash—this is what gives your scones that beautiful, golden, coffee shop style color.
Pop them into that hot oven for about 14 to 16 minutes. You’ll smell when they’re done! They should be golden brown on top. For more tips on making things easy, check out my guide on simple scone technique!
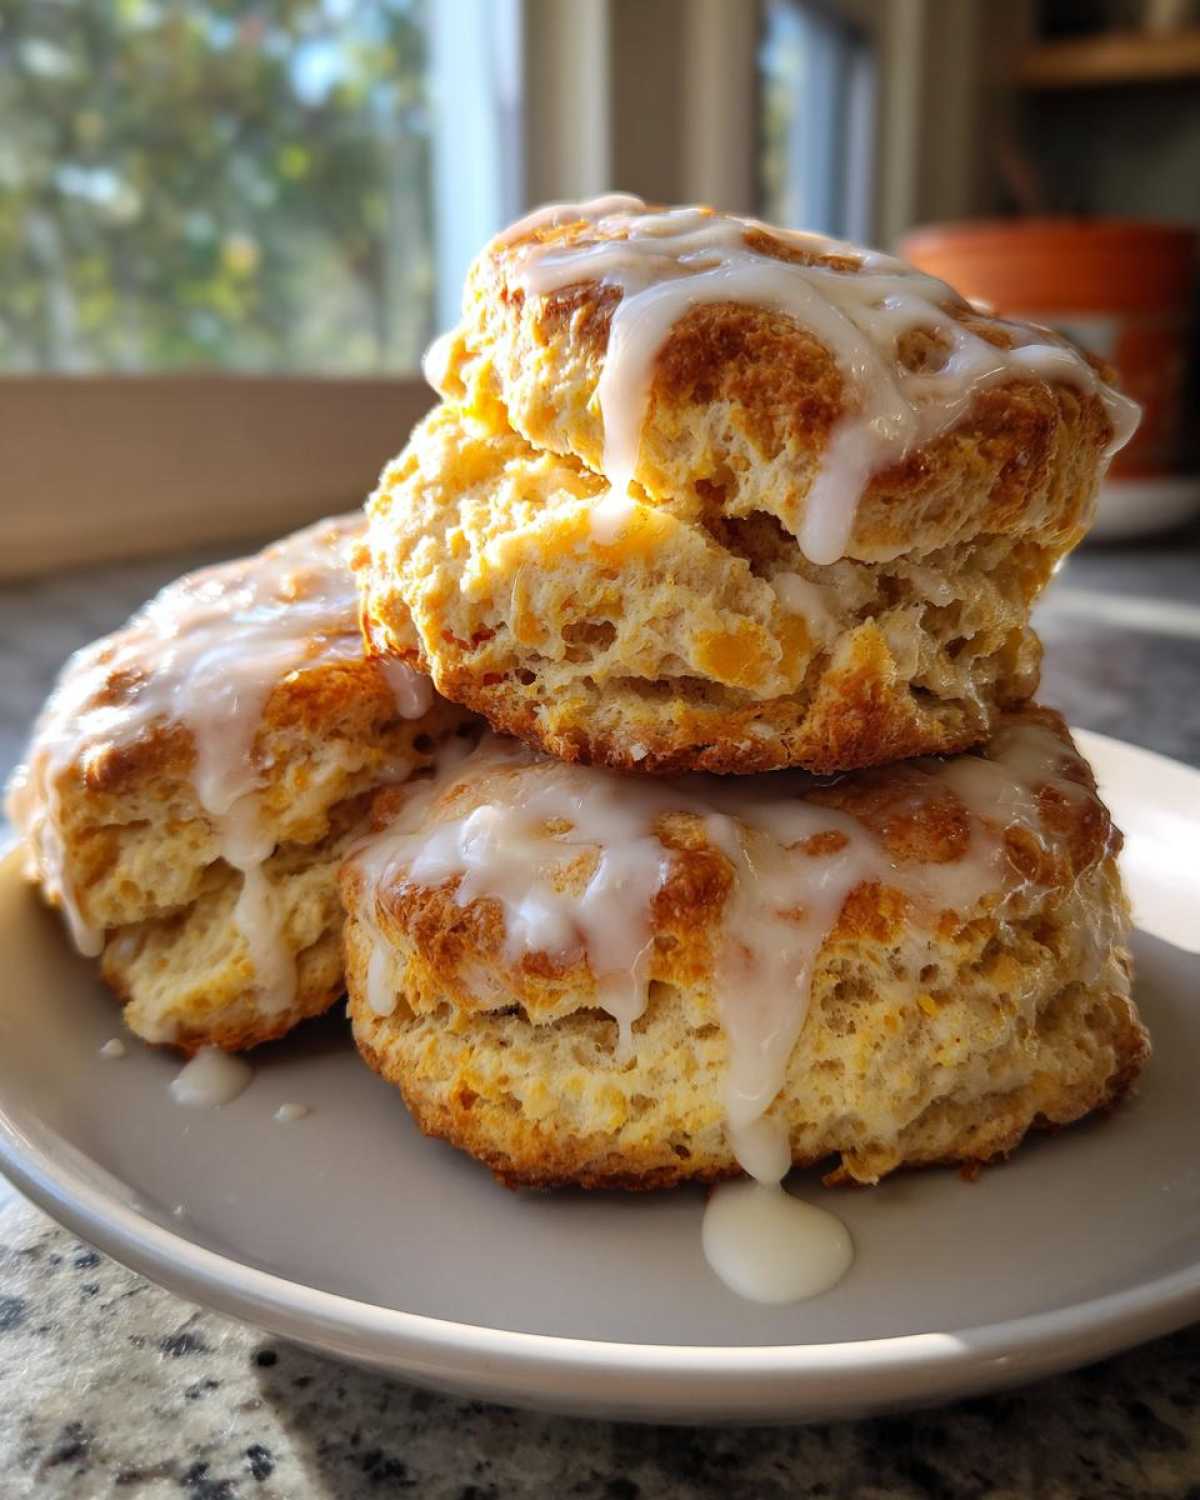
Vanilla Glaze: The Finishing Touch for Your Scones
Okay, those warm, flaky buttermilk scones are amazing all by themselves, right? But honestly, when the vanilla glaze hits them while they’re still warm? Forget about it! It takes them from “great brunch item” to “Must have these for afternoon tea!”
This glaze is super quick—you can make it in the five minutes it takes for the scones to cool down just enough. You just need three things: powdered sugar, a tiny splash of milk, and that lovely vanilla extract. Whisk them together in a small bowl.
The key here is consistency. You don’t want it too thin, or it will just run right off the scone and disappear into the pan. You’re looking for a consistency that holds its shape for just a second when you lift the whisk, but then easily drips off in a nice, smooth ribbon. If it seems too thick, add milk a half-teaspoon at a time. If it’s running everywhere, add a dusting more powdered sugar.
Once you get that perfect pourable stage, just drizzle it right over the tops of the slightly cooled scones. It sets up quickly, giving you that glossy, sweet finish that pairs perfectly with the buttery crumb. If you love quick frosting recipes, I have a five-minute powdered sugar icing guide you can check out later right here! Enjoy that sweet little cap on your homemade treats!

Tips for Success When Making Scones
Look, even with a great recipe, success in the kitchen usually comes down to remembering a few little tricks. I’ve made these buttermilk scones hundreds of times now, and I want to save you from the heartbreak I experienced early on! Remember those notes about keeping things cold? That’s the first guardian of flaky perfection.
Stick to this golden rule: Keep your butter and buttermilk absolutely frigid. Seriously, if you think the butter is cold enough, chill it for another five minutes! This is the single most important step for achieving those beautiful, airy layers that make you feel like you’re eating the best Tearoom Scones imaginable.
My biggest mistake years ago, back when I was trying my luck at Beginner Scone Baking, was rushing the mixing. I got impatient and just whipped that dough around with my mixer until it was totally smooth—and my heart sank when I pulled them out. They were dense, tough as rocks, and tasted more like crackers than scones. It was a disaster! I learned right then that leaving the dough a little shaggy is exactly what you want. It means you haven’t developed too much gluten.
And if you’re using a round cutter, take my advice: press down hard and lift straight up. Don’t let that cutter wiggle or rotate. If you want to see some of my other tricks for mastering the texture, I wrote a whole post on beginner scone baking that covers troubleshooting!
Variations for Sweet or Savory Scones
While this basic buttermilk recipe creates amazing plain scones ready for jam and cream, it’s also the perfect canvas for going wild with flavor! The structure holds up beautifully, whether you want to double down on sweet or pivot totally toward a wonderful savory option. That quick mixing time means you can whip up a batch of something new anytime!
If you’re hosting brunch or just have a sweet tooth, mixing in some fruit is heavenly. I always suggest adding about a half-cup of fresh or frozen blueberries right before you add the buttermilk. If you use frozen ones, don’t thaw them—toss them in a tiny bit of the leftover flour first so they don’t bleed blue everywhere. Another fantastic sweet addition is fresh lemon zest! It brightens up the whole flavor profile and makes them taste like sunshine. You can find details on incorporating citrus flavors in my lemon loaf cake recipe, but the principle is the same—zest before mixing the dry ingredients!
Now, let’s talk Savory or Sweet Scones. For a perfect afternoon tea that skips the sugar and goes straight for nibbling alongside soup or cheese, you have to try a cheese and chive combination. Before you cut in the cold butter, mix in about a half-cup of sharp cheddar or Gruyère, shredded, along with two tablespoons of freshly chopped chives. Make sure the cheese is cold too! These savory versions are divine when baked plain—you don’t even need that vanilla glaze topping for these guys. Maybe just a tiny sprinkle of flaky sea salt on top before baking instead.
Experimenting is half the fun! Just remember: fillings should always be added when the mixture is still crumbly, right before the final liquid goes in, to maintain the integrity of your buttery layers.
Serving Suggestions for Homemade Afternoon Tea Treats
You’ve done the hard part—you’ve made the most perfect, fluffy, tender scones that smell like heaven in your kitchen! Now we have to talk about how to serve them, because that’s almost as important as the baking itself. These truly shine when served warm, making them the ultimate centerpiece for Homemade Afternoon Tea Treats.
When I serve these, usually for a special weekend brunch or when friends drop by unexpectedly, I always pull out my prettiest little tiered serving tray. It just makes everything feel fancier, even quick breakfast pastries like these!
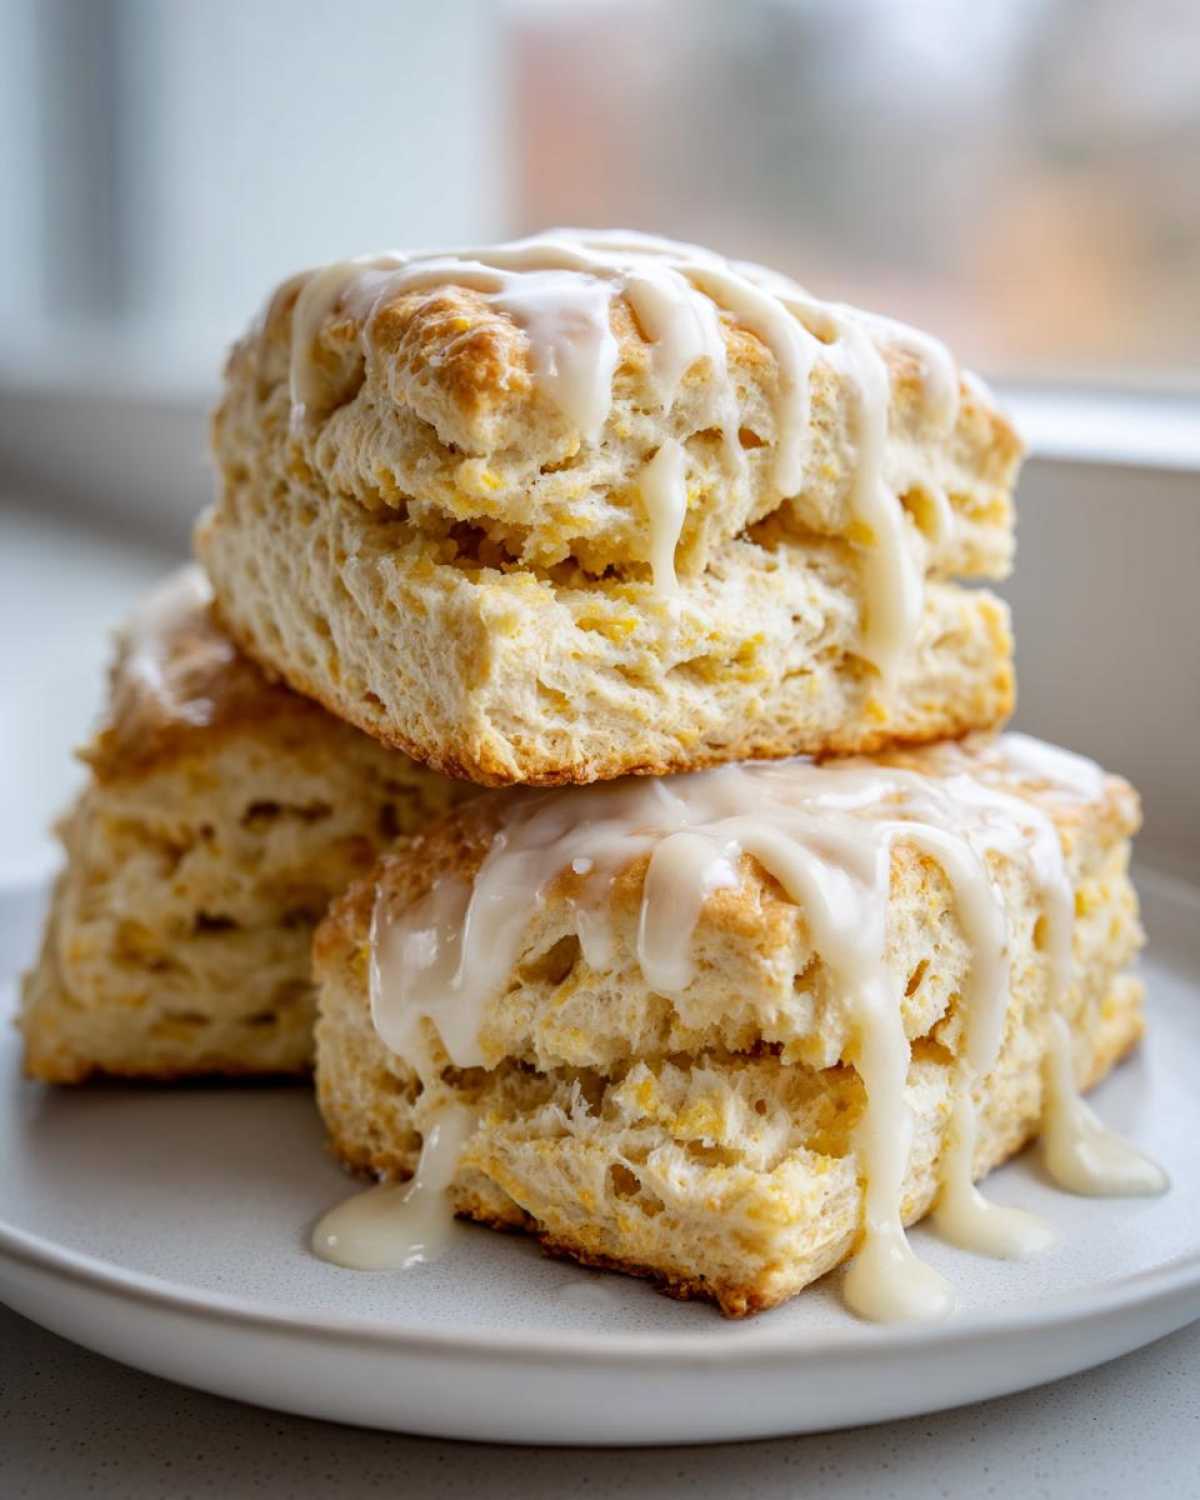
Forget the fancy pastries; these simple buttermilk scones are the main event. The best way to serve them is sliced right in half horizontally. If you made the vanilla glaze, you can serve them plain, or if you skipped the glaze, you absolutely need the traditional accompaniments.
You must have clotted cream—it’s richer and thicker than whipped cream, and it just makes these scones sing. Paired with a quality strawberry or raspberry jam? Perfection.
But here’s a pro tip for special occasions: skip the standard jam and serve them with a luxurious lemon curd instead. The bright, tart zing of the curd cuts through the richness of the butter in the scone beautifully. It’s incredibly decadent and always gets rave reviews. If you’ve never made lemon curd, it’s worth looking up, but if you’re in a rush, a good quality store-bought jar works wonders alongside these fresh baked goods!
For ideas on making other fantastic brunch items to serve alongside your scones—perhaps something warm and indulgent—you can check out my recipe for caramelized banana French toast. But trust me, the star of any plate is going to be these warm, flaky creations!
Storage and Reheating Instructions for Your Scones
Alright, you made a huge batch—because who ever makes just two scones?—and now you have leftovers. Don’t sweat it! The great news about properly made, moist scones is that they hold up really well if you treat them nicely. You want to protect that flaky interior, so storage is key.
If you plan to eat them within a day or two, keep them simple. Store your cooled scones in an airtight container at room temperature. They are quite happy sitting on the counter, resisting drying out because of that buttermilk and butter content. If you try refrigerating them, they usually get a little drier faster, so I generally only go that route if it’s summer and truly humid where I live.
If you made the vanilla glaze, wait until the scones are completely cool before glazing them, otherwise, the glaze melts right off. Once glazed, they are still best kept at room temperature for 1-2 days.
Now, what if you want to save them for a whole week? Go ahead and freeze them! Place any unglazed scones in a sturdy freezer bag or airtight container. They freeze beautifully for up to a month. You can even freeze them pre-sliced in half if you plan on toasting them later!
When it comes time to enjoy those frozen treasures, reheating is vital to bring back that bakery-fresh taste. Skip the microwave if you can! Microwaves make things rubbery. The best way to revive a frozen scone is to place it directly on a baking sheet in a 300-degree oven for about 5 to 8 minutes. If they are just day-old, just 3 or 4 minutes at that temperature is usually perfect. They come out incredibly warm, soft again, and the outside gets that lovely crispness back. It’s truly like baking them fresh! For a nice quick drink to go with your reheated treat, I sometimes grab one of my quick smoothie recipes to balance out the richness!

Frequently Asked Questions About Making Scones
I know that baking, especially when aiming for perfect flakiness, can bring up a few head-scratchers. Don’t worry one bit! I’ve gathered the questions I get asked the most about this recipe. If you’re wondering about substitutions or technique, you’ll probably find your answer right here!
Can I use regular milk instead of buttermilk?
This is the eternal question when it comes to scones! Technically, yes, you can swap in regular whole milk, but I strongly advise against it if you want the absolute best result. Remember how I stressed that the acid in buttermilk reacts with the baking powder to create lift? Regular milk just doesn’t do that magic trick. If you absolutely must use milk, add one tablespoon of white vinegar or lemon juice to 3/4 cup of whole milk and let it sit for five minutes to “sour” it slightly. It’s a decent substitute, but truly, the real buttermilk yields superior results and moisture!
What is the best way to cut scones for maximum height?
This is probably the secret to getting those tall, impressive coffee shop style scones! As I mentioned earlier, the number one rule is: press straight down and lift straight up. Do not rock, twist, or rotate the cutter while it is in the dough. Twisting seals the edges of your dough layers together. When the edges are sealed, the steam generated during baking has nowhere to go but down and out, squashing your beautiful rise flat. Press firm, lift quick! This is essential for all my quick breakfast pastries.
Can these scones be frozen?
Yes, and they freeze wonderfully! This makes them excellent for make-ahead tea party baking essentials. The very best way to freeze unglazed scones is once they are cut out but *before* baking them. Arrange the cut wedges on a parchment-lined baking sheet and freeze solid for about an hour. Once they are rock hard, transfer them to a freezer-safe bag. When you want to bake them, just throw them straight from the freezer onto the hot baking sheet and add a few extra minutes to the baking time. They’ll be perfectly baked and fluffy!
Why do my scones taste dry, even though I followed the recipe?
Nine times out of ten, dry scones mean one of two things happened. First, overmixing! If you mix the dough too long after adding the liquid, you develop gluten, which makes your baked goods tough, chewy, and dry. Mix only until the streaks of flour just disappear. Second, warm ingredients! If your butter wasn’t cold, it melted into the flour instead of creating steam pockets. If you’re struggling, check out my guide on winning the battle against dry cookies here—the principles for keeping fat cold are the same across all shortbread-style baking!
If you still have questions after trying these incredible from scratch baking comfort food treats, feel free to leave a comment below!
PrintClassic Buttermilk Scones with Vanilla Glaze

Make warm, flaky, and tender buttermilk scones from scratch. This recipe focuses on technique for tall scones and includes a simple vanilla glaze.
- Prep Time: 15 min
- Cook Time: 16 min
- Total Time: 31 min
- Yield: 8 servings
- Category: Breakfast
- Method: Baking
- Cuisine: British
- Diet: Vegetarian
Ingredients
- 2 cups all-purpose flour
- 1/4 cup granulated sugar
- 1 tablespoon baking powder
- 1/2 teaspoon salt
- 6 tablespoons cold unsalted butter, cut into small cubes
- 3/4 cup cold buttermilk
- 1 large egg, beaten (for egg wash)
- 1/4 cup powdered sugar (for glaze)
- 1 tablespoon milk (for glaze)
- 1/2 teaspoon vanilla extract (for glaze)
Instructions
- Preheat your oven to 400 degrees Fahrenheit (200 degrees Celsius). Line a baking sheet with parchment paper.
- In a large bowl, whisk together the flour, sugar, baking powder, and salt.
- Cut the cold butter into the flour mixture using a pastry blender or your fingertips until the mixture resembles coarse crumbs with some pea-sized pieces of butter remaining.
- Make a well in the center and pour in the cold buttermilk. Mix quickly with a fork until just combined. Do not overmix; the dough will be shaggy.
- Turn the dough out onto a lightly floured surface. Gently pat the dough into a 3/4-inch thick circle or rectangle.
- Cut the dough into 8 wedges or use a round cutter to cut out individual scones. Place them on the prepared baking sheet, ensuring the sides are touching slightly to help them rise tall.
- Brush the tops lightly with the beaten egg wash.
- Bake for 14 to 16 minutes, or until the tops are golden brown.
- While the scones cool slightly, prepare the glaze by whisking together the powdered sugar, milk, and vanilla extract until smooth.
- Drizzle the glaze over the warm scones before serving.
Notes
- Keep all wet ingredients, especially the butter and buttermilk, very cold for the flakiest texture.
- For taller scones, avoid twisting the biscuit cutter; press straight down and lift up.
- If you prefer a less sweet scone, omit the glaze and serve plain or with jam and cream.
Nutrition
- Serving Size: 1 scone
- Calories: 245
- Sugar: 9
- Sodium: 210
- Fat: 11
- Saturated Fat: 7
- Unsaturated Fat: 4
- Trans Fat: 0
- Carbohydrates: 32
- Fiber: 1
- Protein: 5
- Cholesterol: 55