

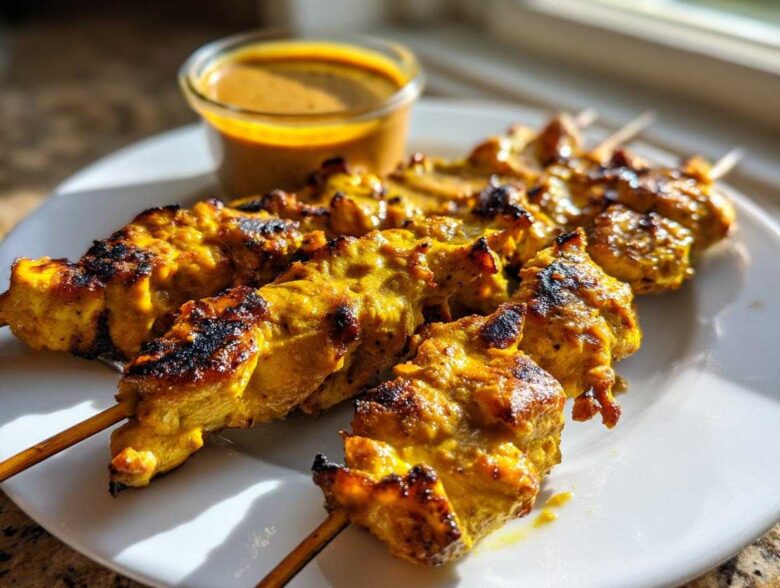
I swear, I have spent more time chasing down that perfect, smoky, savory flavor of authentic street food than I have on my taxes this year. There’s just nothing like it, right? If you’re anything like me, you get that sudden, non-negotiable craving for amazing Thai takeout, specifically the kind that comes with that dreamy brown sauce. Well, I finally cracked the code to make the absolute best Thai Chicken Satay Skewers right here in my own backyard, and trust me, this is so much better than delivery!
The secret, as always, is patience with the marinade. I used to rush it, and my chicken satay always came out just okay. But once I started letting the spice-infused coconut milk really work its magic—I mean, letting it soak in for hours—the texture turned unbelievably juicy.
Forget ever ordering it again. We’re making the full deal: tender, flavorful skewers paired with the richest, creamiest homemade peanut dipping sauce you can imagine. It’s quick enough for a busy night but impressive enough for any party dipping platter!
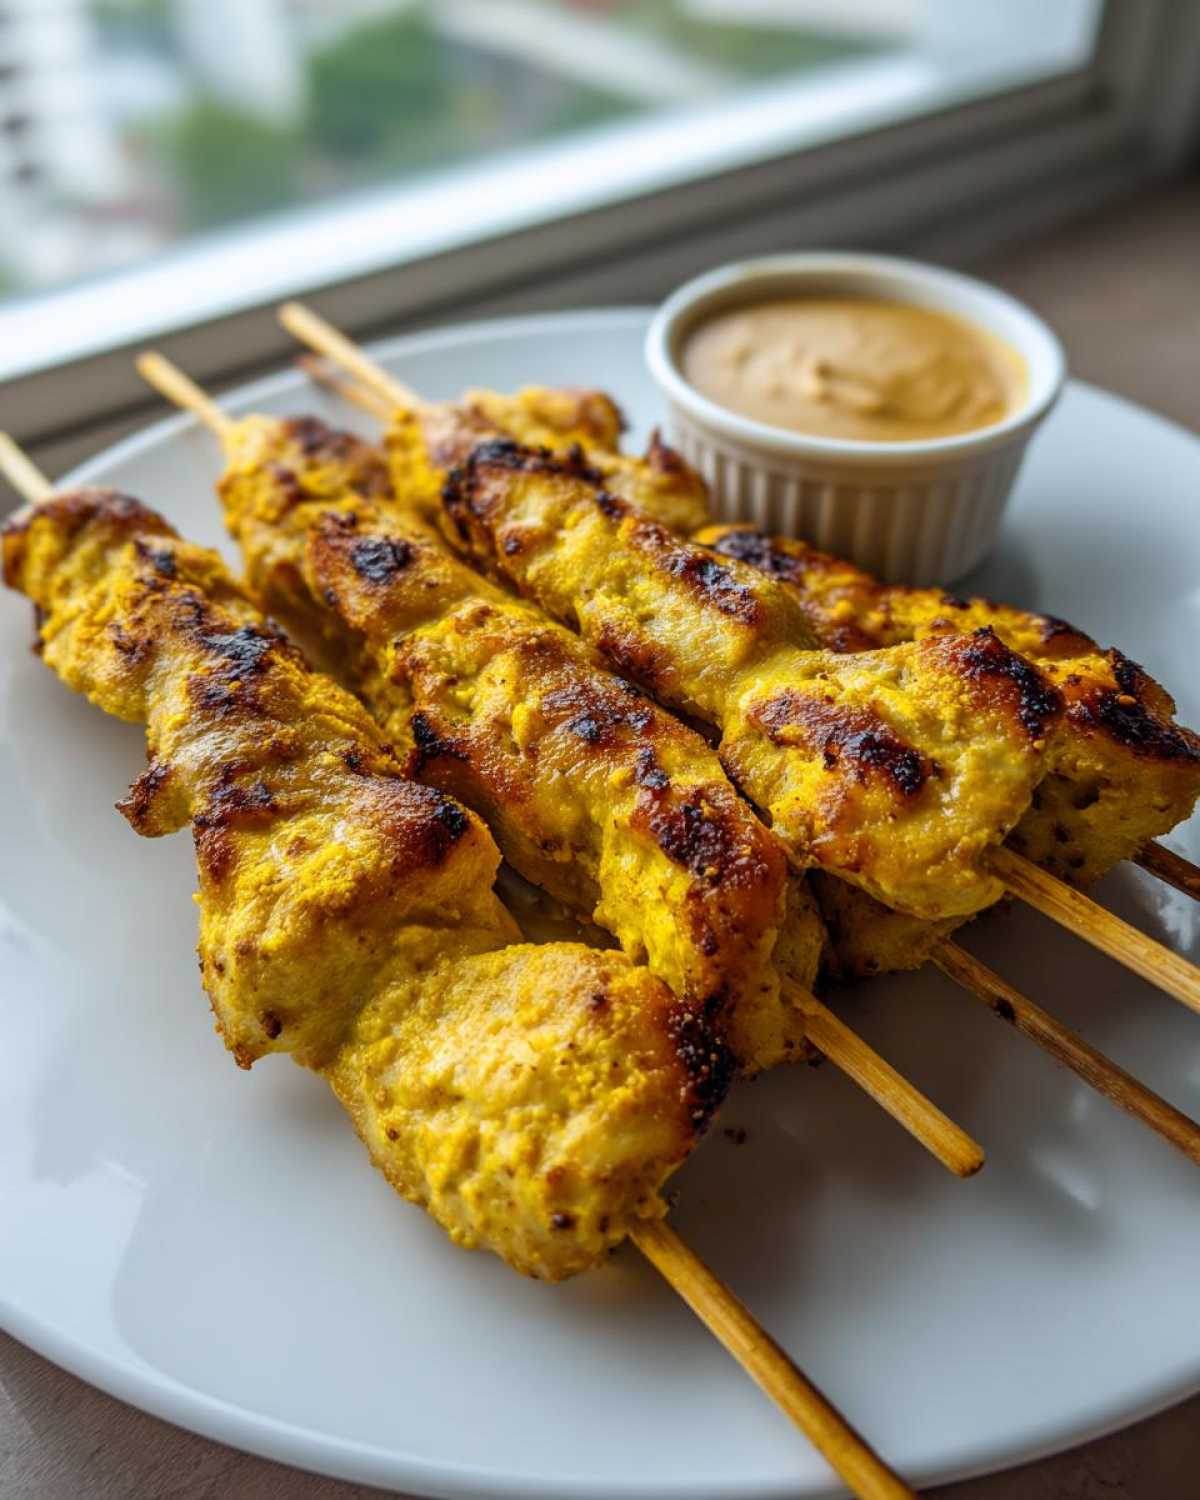
Why This Easy Chicken Satay Recipe Works Every Time
You don’t need to be a seasoned grill master to nail this recipe. I promise we’re keeping things simple, but the results taste like you spent all day sourcing spices in Thailand! You can trust this version because it focuses on two main things: flavor saturation and guaranteed tenderness. It’s the Thai Chicken Satay Skewers that always comes out perfectly, whether you toss them on the grill or bake them while running around the house trying to get dinner on the table.
- The marinade penetrates deep, so every bite of your chicken satay is packed with flavor.
- Zero dry chicken! We use a specific dairy element to keep everything unbelievably moist.
- It’s fast. The active time is nothing, meaning delicious food without the fuss.
Juicy Chicken Skewers Secret: The Coconut Milk Marinade
Okay, listen up! The absolute game-changer here is using full-fat coconut milk in the marinade. It doesn’t just add a faint tropical background note; it coats the chicken proteins, locking in moisture while the spices—turmeric and coriander especially—work their magic. This step is non-negotiable for truly juicy chicken skewers.
Versatility for Weeknights and Parties
This recipe is a true kitchen workhorse. If you only have 30 minutes, you can pan-sear the strips for a super quick weeknight dinner. But if company shows up, threading them onto sticks instantly turns them into amazing party appetizer skewers. They go fast, so make extra sauce!
Gathering Ingredients for Authentic Chicken Satay
Okay, ingredient prep is my favorite part! This is where we transition from ‘good’ chicken to ‘OMG, you have to give me this recipe’ chicken satay. You’ll notice right away that we are dividing things up—it keeps the process tidy and makes sure you don’t accidentally mix your grilling ingredients with your sauce base. Precision matters here, especially the type of coconut milk we’re using!
Grab your biggest mixing bowl for the chicken, and a small saucepan ready for the sauce. Remember, we need the chicken cut into strips that are about one inch thick—that’s the sweet spot for the marinade to soak in perfectly during the marination time.
For the Authentic Chicken Satay Marinade
Don’t skip these spices! The turmeric is what gives those beautiful, golden-yellow color to the skewers, and the coriander adds that bright, citrusy depth that screams ‘Thai Street Food.’ Make sure you have your soy sauce ready, and if you’re going gluten-free, keep that tamari handy!
- 1.5 lbs boneless, skinless chicken breasts or thighs, cut into 1-inch strips (Thighs win for moisture, just so you know!)
- 1/2 cup full-fat coconut milk (This is the creamy base, only use full-fat!)
- 2 tablespoons soy sauce or tamari (if you need that gluten-free option)
- 1 tablespoon brown sugar
- 1 teaspoon ground turmeric (for that gorgeous color!)
- 1 teaspoon ground coriander
- 1/2 teaspoon ground cumin
- 1/2 teaspoon salt
For the Creamy Peanut Dipping Sauce Recipe
This sauce is the star that ties everything together, and you actually have to cook it gently to get that luxurious texture. Please, use smooth peanut butter unless you specifically want chunks in your sauce! If you want a spicy kick in your homemade satay sauce recipe, have that Sriracha ready nearby.
- 1/4 cup smooth peanut butter
- 2 tablespoons lime juice (freshly squeezed, please!)
- 2 tablespoons water (we’ll add more later if it gets too stiff)
- 1 tablespoon fish sauce (don’t skip this; it adds incredible savory depth!)
- 1 tablespoon brown sugar
- 1 teaspoon Sriracha or chili garlic sauce (only if you like heat!)
Mastering the Authentic Chicken Satay Marinade
Now that everything is chopped and measured, it’s time for the most important part of making phenomenal authentic chicken satay marinade: the waiting game. You don’t just toss the chicken in the bowl and throw it right on the heat; you want those spices to permeate that meat all the way to the center! This step seriously builds the flavor foundation, so don’t rush it or you’ll end up with bland chicken.
While the chicken is soaking up all that lovely coconut milk and turmeric, this is the perfect time to prep your sticks. If you’re using those cheap wooden skewers, you absolutely must soak them in water for at least 30 minutes. Trust me, if you skip this, they’ll burn to charcoal before your chicken is even halfway done!
Marinating Time for Maximum Flavor in Your Chicken Satay
For the best result in your final chicken satay, you need a minimum of two hours. That gives the flavors a good head start. If you’re planning ahead, though, 6 to 8 hours is the sweet spot for maximum tenderness. The coconut milk really helps break down the proteins slightly, making the meat super soft.
If you leave it much longer than 8 hours, especially with thighs, the lime juice can start to make the meat a little mushy, so I stick strictly to that window. You want flavorful, tender, juicy chicken skewers, not pre-cooked mush!
How to Prepare the Easy Peanut Dipping Sauce Recipe
This is where so many people stop making homemade sauce—they think it’s complicated! But honestly, the creamy peanut sauce recipe is just as easy as mixing things in a bowl, with one tiny caveat: you have to be gentle with the heat.
First, grab a small saucepan. We’re going to put the peanut butter, lime juice, fish sauce, brown sugar for the sauce, and that optional Sriracha right in there. Don’t turn the heat up yet! I learned the hard way that if you hit peanut butter with high heat too fast, you end up with a grainy mess—and nobody wants grainy sauce when they are craving that perfect texture.
Set your burner to low. We’re just trying to warm everything up enough to melt the peanut butter and dissolve the sugar smoothly. You need to stir this constantly, like you’re making fudge! Keep stirring until it’s all combined and looks silky smooth. You’ll see it start to loosen up a bit as it warms.
Once it’s smooth, take it off the heat immediately. Now, we tackle the thinning. Good satay sauce should coat the back of a spoon, but it shouldn’t look like cement that’s already set. Spoon in that water, one teaspoon at a time, whisking hard after every addition. Stop adding water the second you hit that creamy, dippable consistency you love.
Remember, the sauce will thicken up slightly again as it cools, so pull it back just a hair before you think it’s perfect. If you’re worried about it getting too thin, even after cooling, stick it in the fridge for 15 minutes to firm up a bit before serving alongside those glorious skewers.
Cooking the Juicy Chicken Skewers: Grilling vs. Baking
I know everyone immediately thinks the only way to get that restaurant-quality flavor is over charcoal, and grilling is definitely my favorite way to cook these chicken satay skewers. But let’s be real—sometimes it’s pouring rain, or maybe you live in an apartment! That’s why I love that this recipe doesn’t hold any grudges against your oven. We can achieve amazing, juicy chicken skewers using either method, as long as you keep an eye on the temperature.
Once the chicken has marinated for hours, it’s ready to cook! Just make sure those skewers are prepped, whether they are metal or soaked wood, and don’t overcrowd your cooking surface. We want heat circulation around every piece so we can get that beautiful golden-brown char!
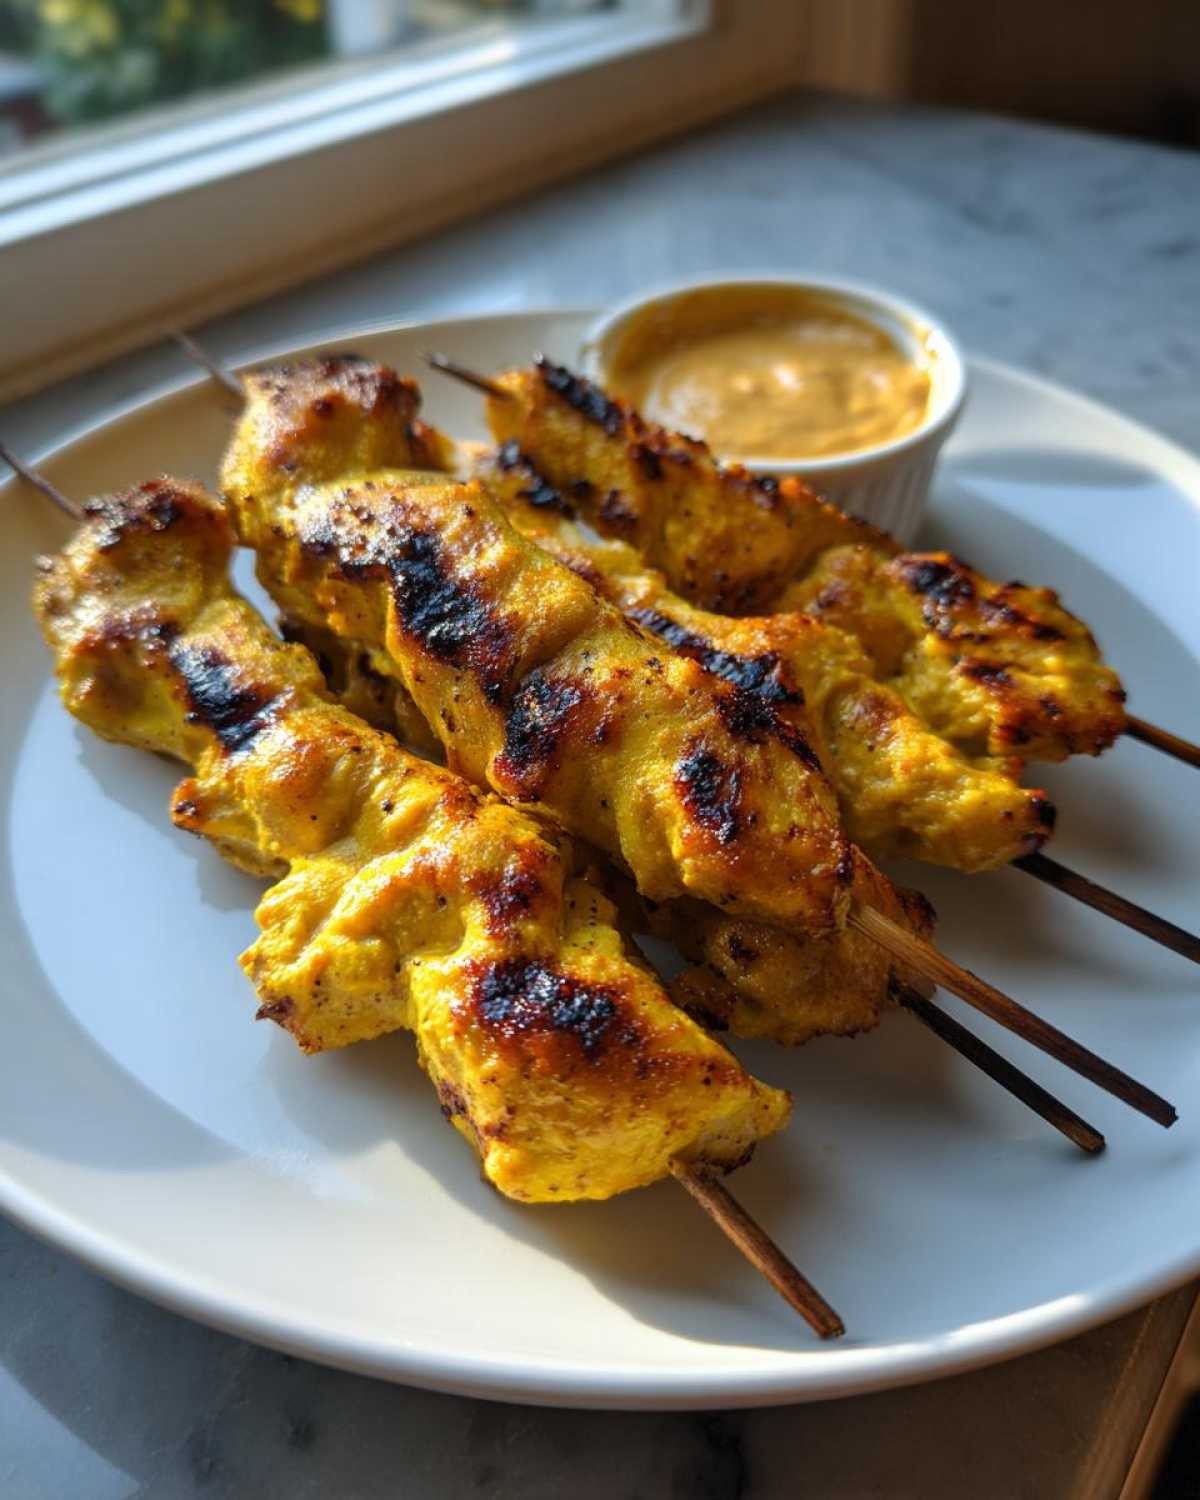
Tips for Perfect Grilled Chicken Satay
If you’re firing up the grill, make sure she’s hot—medium-high heat is where we want to be. You want the grill grates screaming hot when those skewers hit them. Place the chicken satay down and let it cook undisturbed for about 3 to 4 minutes per side. This gives you those lovely dark grill marks without letting the coconut milk marinade evaporate completely. Keep an eye on the edges; if you see them curling up too fast, turn your heat down a touch. We’re looking for a nice char, not charcoal!
Achieving Tender Results with the Baked Chicken Satay Recipe
If the oven is your venue, you need to preheat it to 400°F (200°C). Line a baking sheet with parchment paper—this makes cleanup a dream, and those sugars won’t stick. Lay your skewers out in a single layer; don’t let them touch! Bake them for about 15 to 20 minutes total. The most important thing here is flipping them exactly halfway through. This ensures the heat hits both sides evenly, preventing the bottoms from getting dried out while the tops are still raw. Pull them when the internal temperature hits the safe zone and they smell incredible!
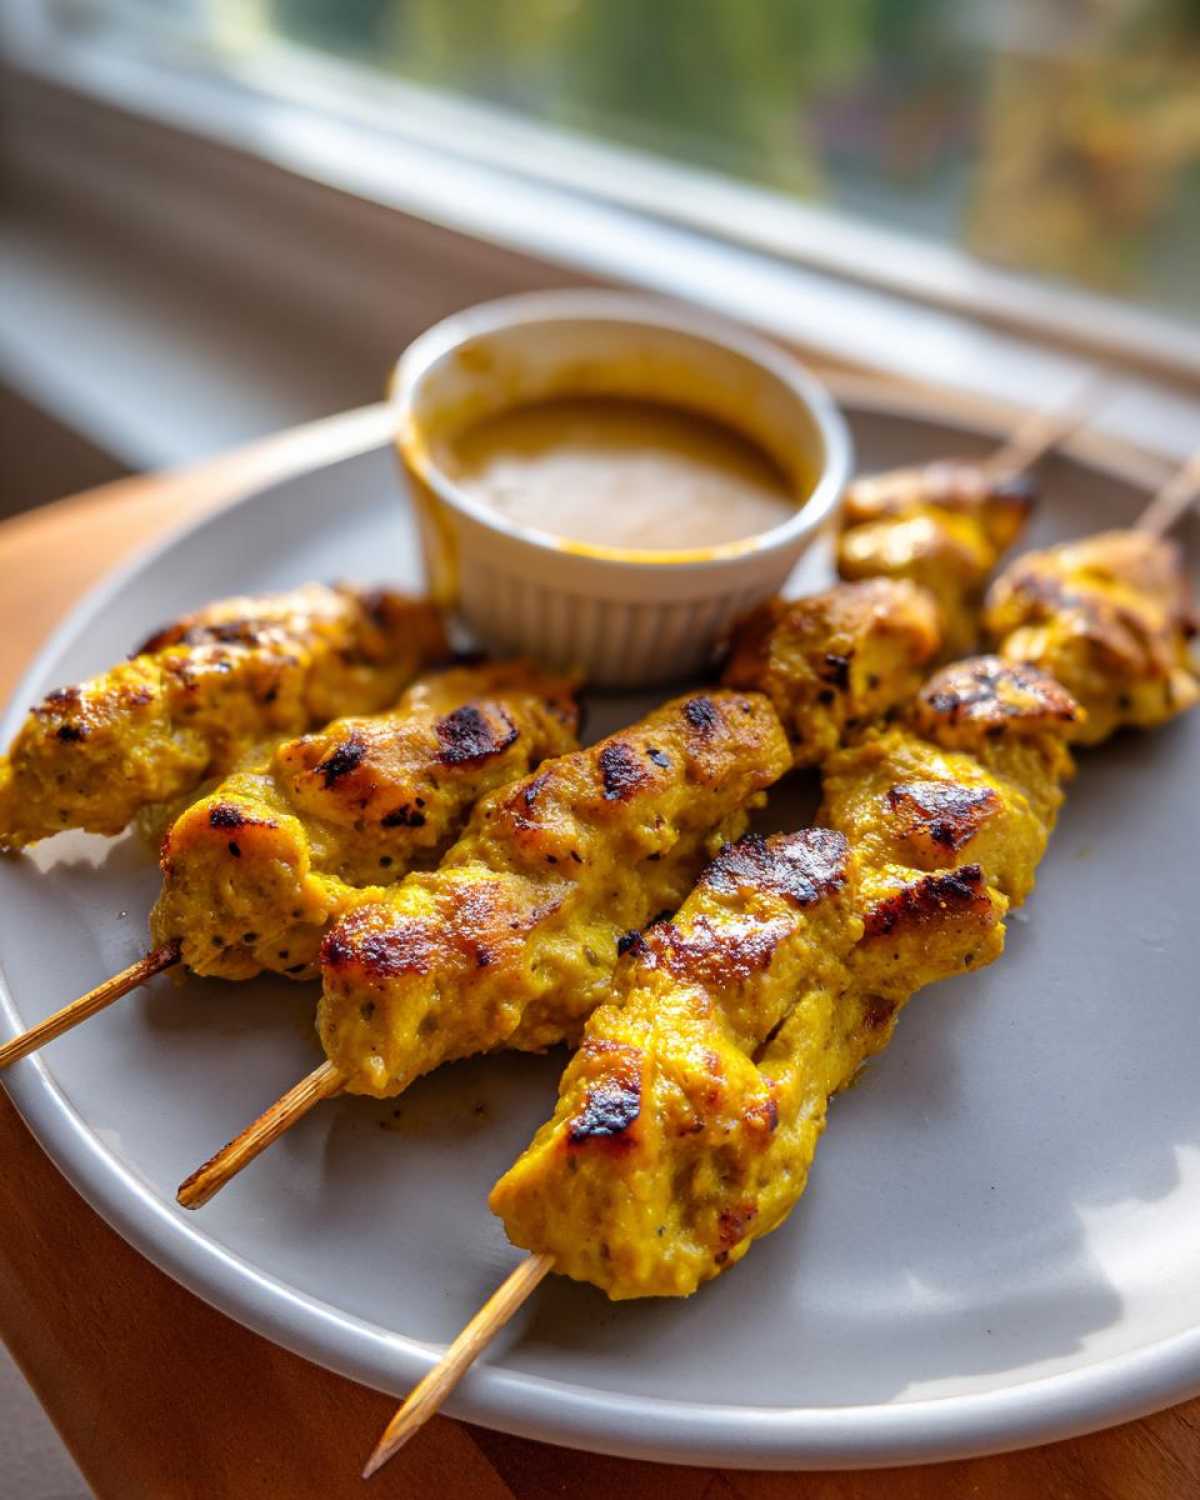
Ingredient Notes and Gluten Free Chicken Satay Option
I get asked all the time which ingredient I would absolutely never swap out, and for this chicken satay, it’s the full-fat coconut milk. Don’t reach for the light stuff! Light coconut milk is just too watery; it doesn’t have enough fat to properly coat the chicken and keep it juicy during the quick cooking time we use here. The fat content is crucial for holding onto that amazing marinade flavor.
Now, let’s talk about those who need to avoid gluten. Many folks writing recipes just tell you to use tamari instead of soy sauce, and they’re not wrong, but I want you to know *why* that works for your gluten free chicken satay option. Tamari is essentially a Japanese form of soy sauce made with little to no wheat, so it gives you the same salty, rich foundation that fish sauce alone can’t anchor. It keeps the flavor authentic without the worry.
And finally, my personal vendor choice for the meat! While the recipe works brilliantly with breasts, if you want the absolute best possible texture in your marinated chicken thighs recipe, go for the thighs. They have a higher fat content naturally, which means even if your grill flares up or your timing is slightly off, the thighs will remain tender and moist every single time. If you’re aiming for the healthiest option, breasts are fine, but for pure, unadulterated flavor and moisture, thighs are my go-to choice at the butcher shop!
Serving Suggestions for Your Chicken Satay
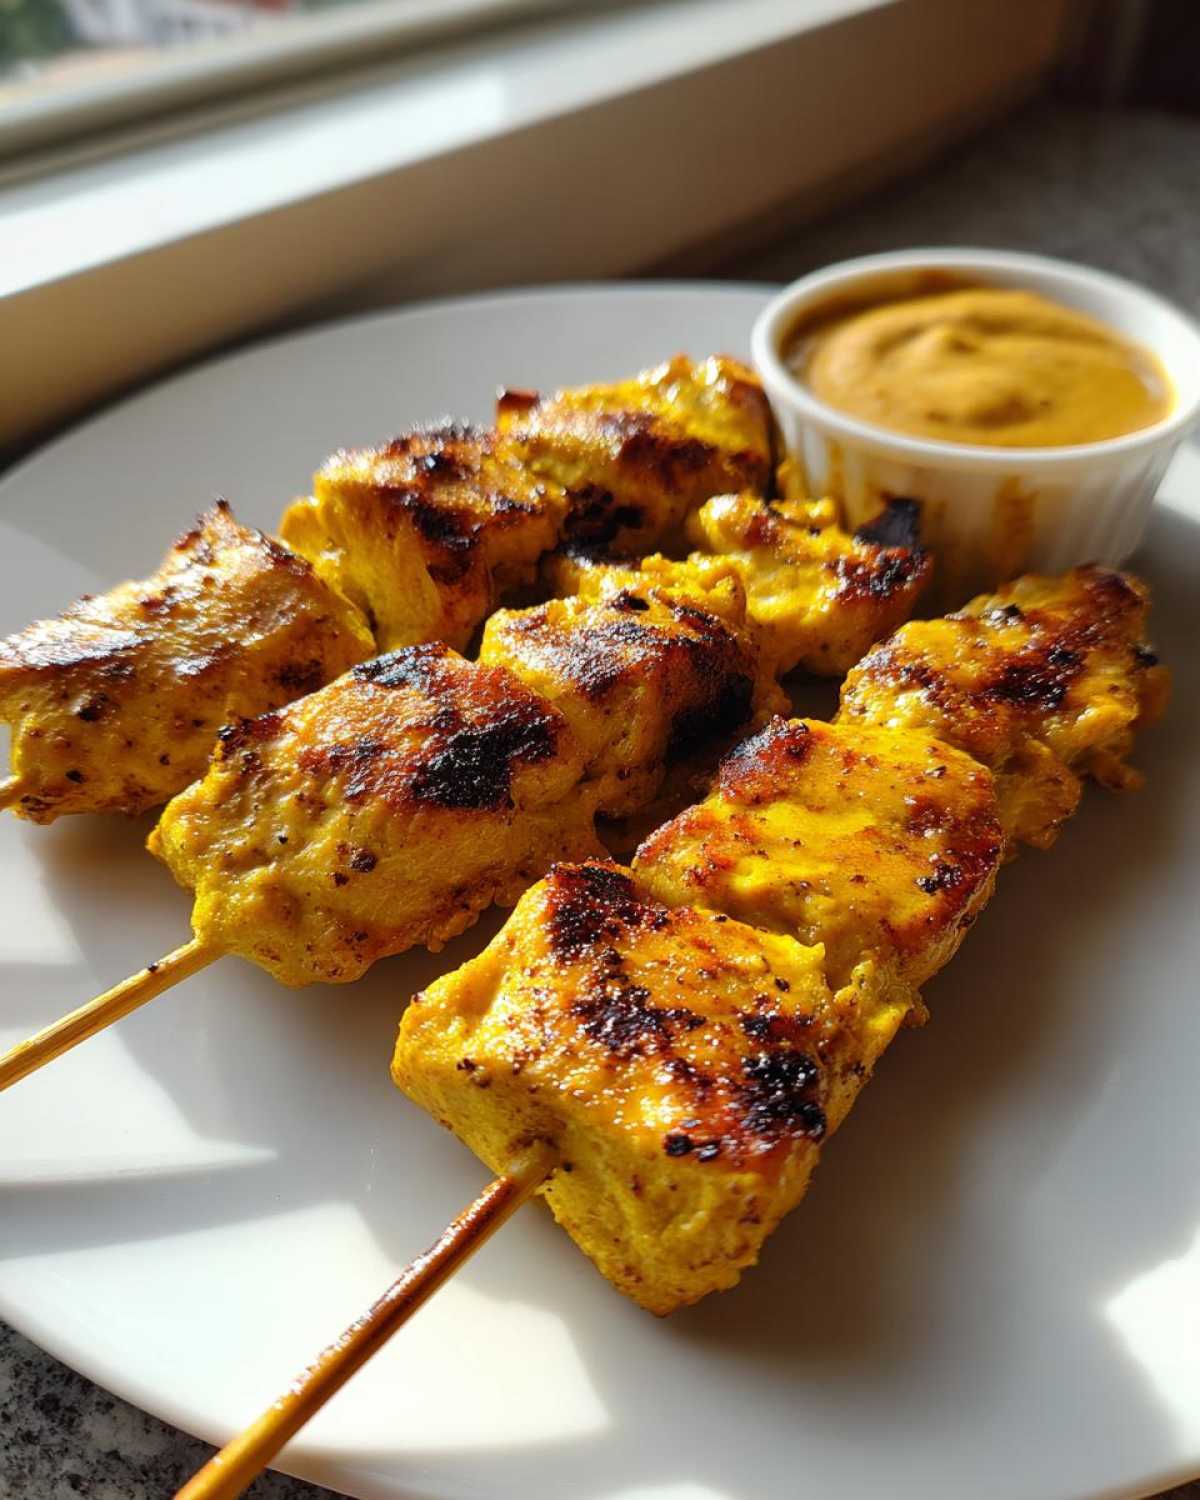
So, you’ve pulled these perfect, golden sticks of deliciousness off the grill, and the smell alone is making everyone line up! What do you serve them with? That’s the fun part, because this chicken satay is so flavorful it honestly doesn’t need much help. But if you want to make it a full meal—or just need something refreshing to cut through that rich peanut sauce—I have a couple of go-to tricks.
For a truly authentic experience that channels those busy street food stalls, you absolutely have to serve this with some steamed jasmine rice. The rice soaks up any leftover peanut sauce beautifully, and it helps balance the intense savory notes of the fish sauce in the dip. It’s simple, but it works perfectly as that carb anchor to your skewers.
If you’re aiming for lighter chicken dinner ideas, skip the heavy starches and load up on crunch. I usually throw together a super-fast cucumber and red onion salad. Just thinly slice the cucumber and onion, toss them with a splash of white vinegar, a pinch of sugar, and a little salt. It’s chilled, tangy, and provides the perfect cool counterpoint to the hot, spiced chicken.
And if you’re feeling lazy (which happens to us all!), even a side of pre-washed, crisp butter lettuce will do the trick. You can wrap the chicken piece right in the lettuce leaf—it’s like a fresh, handheld taco, and it’s so satisfying. Seriously, these skewers are practically begging to be dipped, smothered, and eaten!
Storing and Reheating Leftover Chicken Satay
Don’t fret if you have leftovers! Honestly, leftover chicken satay is still way better than most takeout the next day, provided you store it correctly. The goal when cooling and reheating is preserving that fantastic juiciness we worked so hard to achieve with the marinade and keeping that sauce luscious.
For storage, the rule is simple: separate everything. Never store the cooked chicken skewers sitting directly in the peanut sauce. That will just make the chicken soggy quickly, and the sauce might start to separate weirdly in the fridge due to the fat content.
Put the leftover skewers into an airtight container. I usually just pull the chicken right off the sticks first—it makes stacking easier and prevents any chance of warping the skewer itself. Cover the container tightly and stick it in the fridge. It keeps wonderfully for about 3 days. Any longer than that, and while it’s generally safe, the texture just starts to degrade, which is a shame after putting in all that marinating work!
Now for reheating, because nobody wants cold, chewy chicken satay. Microwaving is fast, I won’t lie, but it always risks zapping the moisture right out of the meat making it tough. If you have 10 minutes to spare, I highly recommend a quick reheat on the stovetop or in the oven.
- Stove Method (Best for Texture): Toss the cold chicken (off the stick) into a skillet over medium-low heat with just a teaspoon of water or a tiny splash of leftover coconut milk. Cover it for two minutes, then uncover and let the steam evaporate for one minute. This gently warms it through and reintroduces moisture.
- Oven Method: Place the chicken on a pan covered loosely with foil and heat at 300°F (150°C) for about 8 to 10 minutes. The foil traps the steam, keeping the meat tender.
As for the peanut sauce, it solidifies like crazy once it hits the chiller. Don’t panic! Just take the sauce out of the fridge about 20 minutes before you plan to eat. Then, add a tablespoon of warm water—or even better, warm chicken broth if you have it—and whisk it vigorously until it’s creamy again. It’ll be just as good as fresh!
Frequently Asked Questions About Making Chicken Satay
I get so many questions bubbling up after people try this recipe for the first time! It’s wonderful that everyone is trying to adapt it to their own kitchen setup. Here are the ones I hear most often about getting that perfect chicken satay at home.
Can I use chicken breast for this chicken satay recipe?
Oh, you absolutely can, but I always feel the need to put a little asterisk next to that! Chicken breast is leaner, which means it tends to dry out faster during the cooking process, especially on a high-heat grill. If you stick with breast meat, I’d say cut the marination time down to about 4 hours, not the full 8. Even better? If you have the choice, definitely sway toward the thighs for the absolute best chicken satay recipe results because they just can’t dry out as easily!
How do I make the peanut sauce spicier?
That’s a fun question because the standard recipe has just a little kick from Sriracha, but if you like it fiery, we take it up a notch! First, double the amount of Sriracha or chili garlic sauce you add to the initial saucepan mix. That gives you heat right in the base flavor. Second, for a brighter, lingering heat, try adding a pinch of dried red pepper flakes right into the mix after you’ve taken the sauce off the heat.
What if I don’t have wooden skewers for my grilled chicken skewers recipe?
Please, don’t let a lack of soaking wood stop you from making these! If you have metal skewers, they are perfect, and they require zero prep other than washing. Just remember that metal conducts heat differently than wood, so they might brown the chicken slightly faster where they touch the skewer. If you only have wooden skewers and forgot to soak them? You can carefully thread the chicken and cook them directly on a foil-lined grill grate, skipping the stick entirely, to avoid having them burn to ash halfway through your grilled chicken skewers recipe!
PrintEasy Thai Chicken Satay Skewers with Creamy Peanut Sauce
Make tender, flavorful chicken satay skewers at home using a simple marinade and a rich, homemade peanut dipping sauce. This recipe works well for grilling or baking.
- Prep Time: 20 min
- Cook Time: 15 min
- Total Time: 35 min
- Yield: 4 servings
- Category: Appetizer
- Method: Grilling
- Cuisine: Thai
- Diet: Gluten Free
Ingredients
- 1.5 lbs boneless, skinless chicken breasts or thighs, cut into 1-inch strips
- 1/2 cup full-fat coconut milk (for marinade)
- 2 tablespoons soy sauce or tamari (for gluten-free option)
- 1 tablespoon brown sugar
- 1 teaspoon ground turmeric
- 1 teaspoon ground coriander
- 1/2 teaspoon ground cumin
- 1/2 teaspoon salt
- 1/4 cup smooth peanut butter
- 2 tablespoons lime juice
- 2 tablespoons water (or more, for thinning)
- 1 tablespoon fish sauce
- 1 tablespoon brown sugar (for sauce)
- 1 teaspoon Sriracha or chili garlic sauce (optional)
- Wooden or metal skewers
Instructions
- Combine the coconut milk, soy sauce, 1 tablespoon brown sugar, turmeric, coriander, cumin, and salt in a bowl. Whisk well.
- Add the chicken strips to the marinade, ensuring all pieces are coated. Cover and refrigerate for at least 2 hours, or up to 8 hours, for best flavor and tenderness.
- If using wooden skewers, soak them in water for 30 minutes before use to prevent burning.
- Thread the marinated chicken pieces onto the soaked skewers, leaving a small space between pieces.
- Prepare the peanut sauce: Whisk together peanut butter, lime juice, water, fish sauce, 1 tablespoon brown sugar, and Sriracha (if using) in a small saucepan over low heat. Stir constantly until smooth and warm. Add more water, one teaspoon at a time, until you reach your desired dipping consistency. Remove from heat.
- Cook the skewers: For grilling, preheat your grill to medium-high heat. Grill for 3-4 minutes per side until the chicken is cooked through and lightly charred. For baking, preheat oven to 400°F (200°C). Place skewers on a lined baking sheet and bake for 15-20 minutes, flipping halfway through.
- Serve the hot chicken satay skewers immediately with the creamy peanut dipping sauce on the side.
Notes
- Using chicken thighs instead of breasts keeps the meat juicier during cooking.
- For a quick weeknight meal, you can pan-sear the marinated chicken strips without skewering them.
- If you prefer a thicker sauce, reduce the amount of water used slightly.
Nutrition
- Serving Size: 4 skewers
- Calories: 350
- Sugar: 8
- Sodium: 450
- Fat: 20
- Saturated Fat: 8
- Unsaturated Fat: 12
- Trans Fat: 0
- Carbohydrates: 15
- Fiber: 3
- Protein: 28
- Cholesterol: 85