

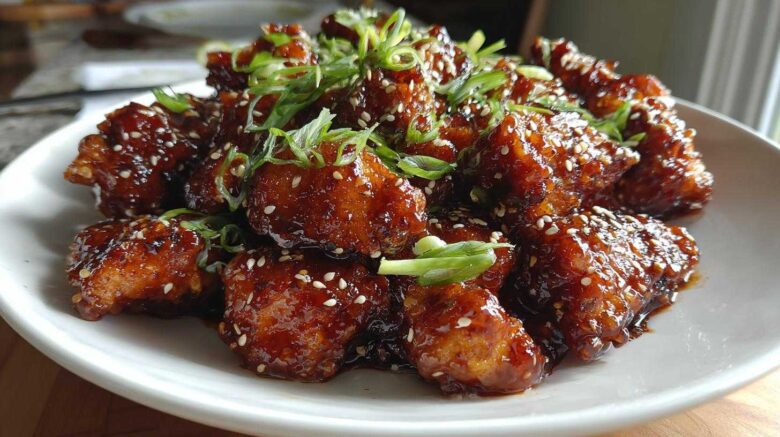
Why This Sticky Sesame Chicken Beats Takeout
We’ve all been there. You crave that perfect sweet and savory bite. You order takeout. It arrives cold or soggy. Not today!
That’s why we fixed the classic Sticky Sesame Chicken recipe. Our goal at Savor And Pin is simple. We rescue broken recipes. We transform culinary disappointments into wins.
This version gives you tender chicken. The glaze is glossy, never thin. Ben called the original attempts “a tragic sticky mess.” Noah analyzed the science behind it all.
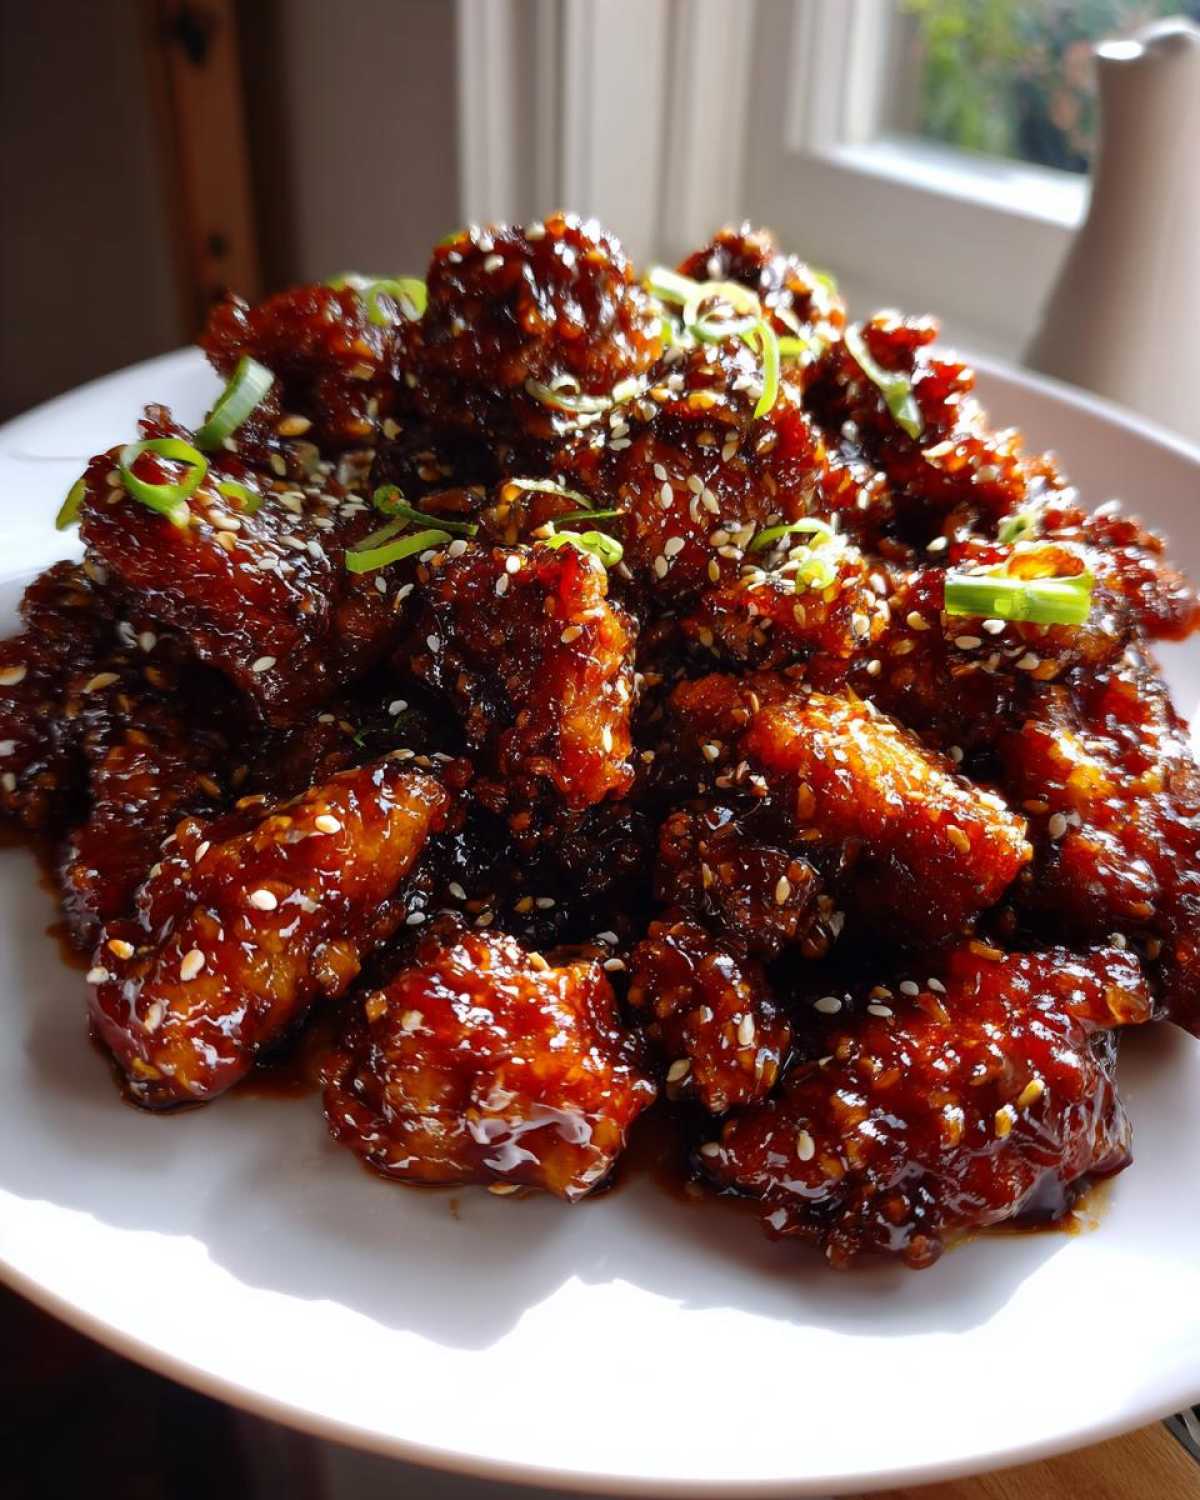
I brought the flavor together. Now, you get that amazing takeout taste. It’s faster, too. You control every ingredient. Say goodbye to watery sauces forever.
This easy weeknight dinner is now foolproof. We promise a perfect finish every single time you cook it.
The Ingredients You Need for Perfect Sticky Sesame Chicken
Getting the right balance is key here. Think of these ingredients as the building blocks. Precision makes the difference. It separates a good dish from a great one.
When making this Sticky Sesame Chicken, quality matters. Especially for that signature sweet and savory glaze. Let’s break down exactly what you need.
We need specific quantities for success. Don’t eyeball the sugar or the cornstarch. Trust me on this one.
Chicken and Marinade Components
Start with 1.5 pounds of chicken. Use breasts or thighs, cut into one-inch pieces. For the marinade, grab low-sodium soy sauce. You’ll need 1/4 cup total. Add one tablespoon of rice vinegar. Ground ginger and garlic powder give it depth. Just one teaspoon of ginger works well.
Creating the Glossy Sticky Sesame Glaze
The sauce needs richness. Use 1/2 cup of honey for that sweetness. Brown sugar must be packed. We need 1/4 cup of that packed sugar. Remember the slurry! It thickens the sauce perfectly. Add Sriracha if you like a little kick.
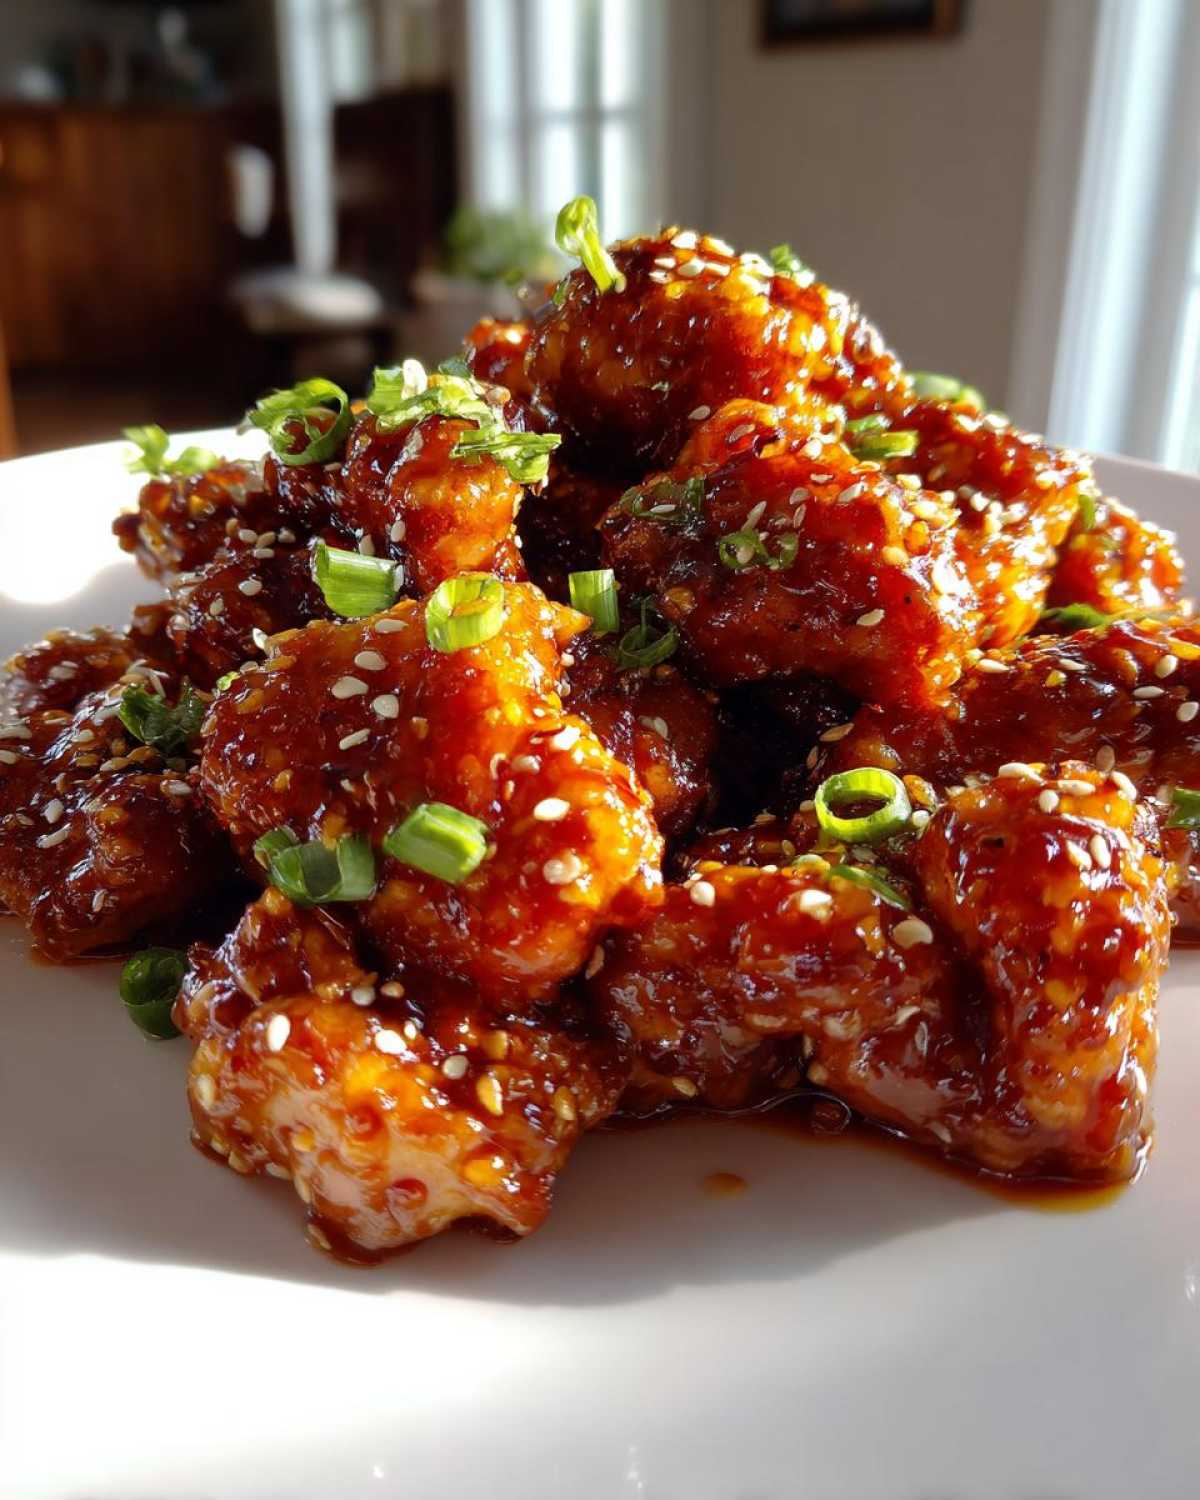
Equipment Needed for Your Sticky Sesame Chicken
You don’t need a professional kitchen for this. Just a few solid tools help things run smoothly. We rely on basic gear here.
Grab a large skillet or a wok. This is crucial for proper stir-frying. You need space for the chicken.
Also, have two medium bowls ready. One is for marinating. The second is for coating the chicken in cornstarch.
A small cup is needed for mixing the thickening slurry later. That’s about it! Simple setup means fast cooking.
Step-by-Step Instructions for Sticky Sesame Chicken
Now the fun begins! We move fast here. Follow these steps closely. You’ll have incredible Sticky Sesame Chicken ready fast. This whole process takes about 20 minutes of active work.
Marinating and Coating the Chicken
First, mix your chicken pieces in a bowl. Add the initial soy sauce and vinegar. Toss in ginger and garlic powder. Let this sit for exactly 10 minutes. Don’t skip that time.
Next, drain off any extra liquid. Dump the cornstarch over the chicken. You must coat every piece well. Shake off any big clumps of powder. A light, even coat is what we want.
Cooking the Chicken to Perfection
Heat two tablespoons of vegetable oil. Use medium-high heat in your skillet. Cook the chicken in batches. Do not overcrowd the pan! Crowding steams the meat.
Each batch needs about 5 to 7 minutes. You’re looking for a nice golden brown color. Once done, pull the cooked chicken out. Set it aside on a clean plate.
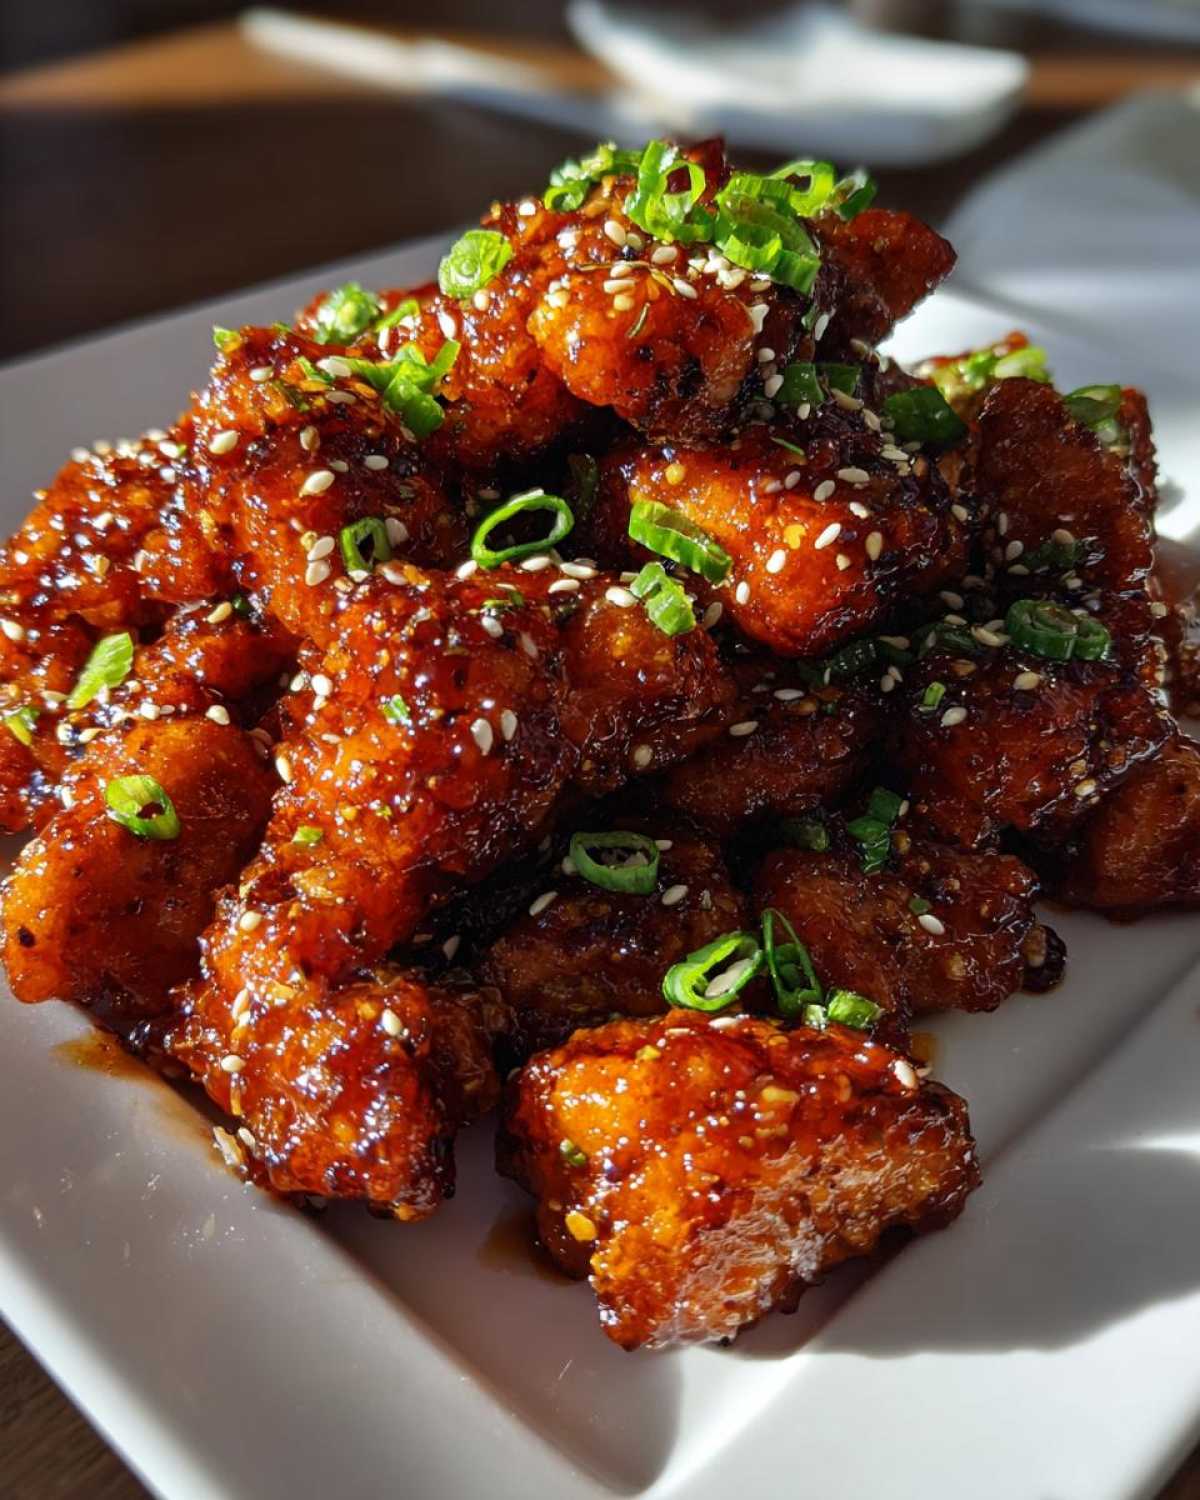
Making the Thick, Sticky Sesame Glaze
Use that same skillet for the sauce. Add honey and brown sugar first. Pour in the remaining soy sauce and vinegar. Add the sesame oil. Stir it gently. Bring this mixture to a simmer.
Keep stirring until the sugar fully dissolves. That means the sauce tastes smooth. Now make the slurry. Whisk cornstarch and water together. Pour this slurry in slowly. Stir constantly until the sauce gets thick and glossy. That glossy look is your sign!
Finishing Your Sticky Sesame Chicken
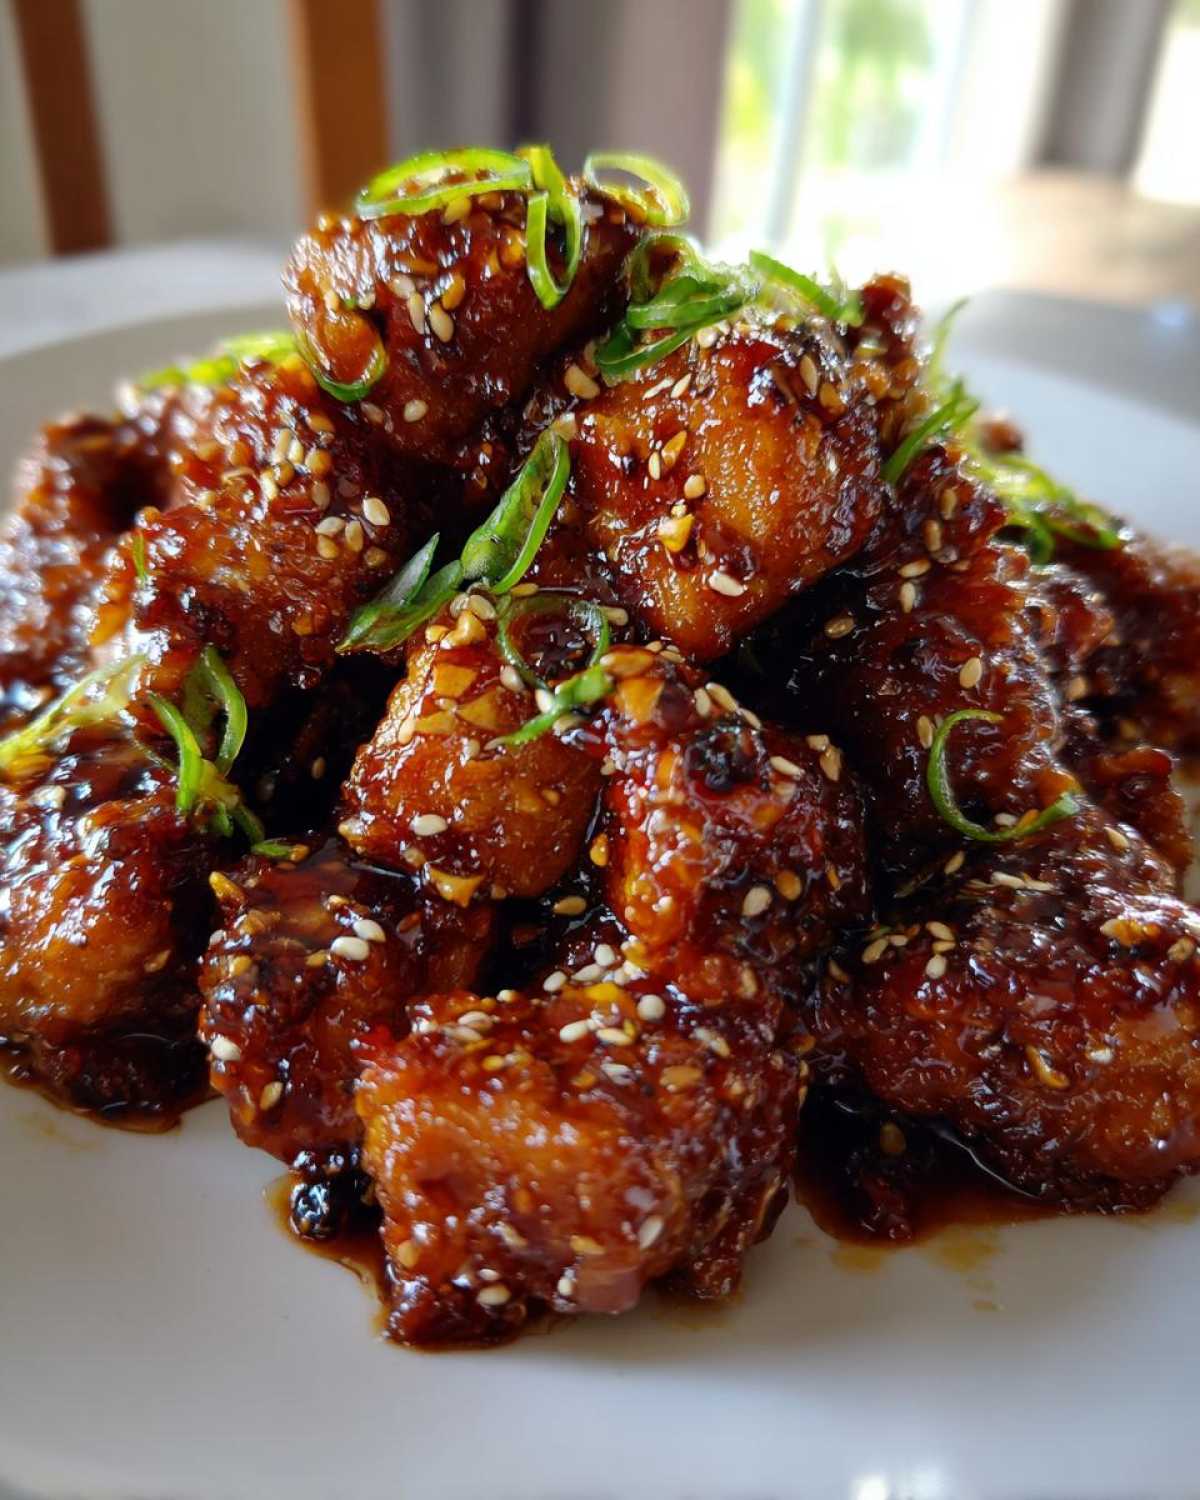
Turn the heat down low now. Return all the cooked chicken to the pan. Toss it around quickly. Coat everything in that rich, sweet glaze. You want every piece covered.
Remove the skillet from the heat immediately. Garnish generously with sesame seeds. Sprinkle on those fresh green onions. Serve this over rice right away.
Expert Tips for Your Best Sticky Sesame Chicken
We want your experience making this dish to be perfect. We learned a few things fixing this recipe. These tips make your Sticky Sesame Chicken truly restaurant-worthy.
Don’t be afraid to experiment a bit. Great home cooking often involves small tweaks. These adjustments ensure that perfect texture and shine we are aiming for.
Ingredient Choices for Maximum Flavor
I strongly suggest using chicken thighs. They stay much juicier. Thighs deliver maximum tenderness every time. It’s our preferred cut here.
Do you like a thinner glaze sometimes? You can adjust the sauce easily. Just reduce the final cornstarch amount slightly. Use half a teaspoon less next time.
For extra crispness, try a different cooking method. You could briefly deep-fry the coated chicken pieces. This is a great technique for texture.
Frequently Asked Questions About Sticky Sesame Chicken
We get lots of questions about making this dish. It’s a popular request for an easy weeknight dinner. Here are a few things that come up often.
We aim to make this the best takeout alternative you’ve ever cooked. Getting the details right helps a lot.
Can I Prepare the Sauce Ahead of Time?
Yes, you absolutely can prep the sauce! Mix all the glaze ingredients together. Just leave out the cornstarch slurry for now. Store the sauce mixture in the fridge. It keeps well for about three days. Add the slurry right before you cook the chicken. This keeps the sauce texture perfect.
What is the Best Way to Serve This Sticky Sesame Chicken?
Serving this dish right is important. We usually serve it over fluffy white rice. That rice soaks up all the extra glaze beautifully. Steamed broccoli is a fantastic side dish. It adds needed color and crunch. You could also try serving it with some simple noodles. It completes the meal nicely.
Storing and Reheating Your Leftover Sticky Sesame Chicken
Even the best meals sometimes have leftovers. Don’t worry about losing that perfect texture. Store any extra Sticky Sesame Chicken properly.
Place leftovers in an airtight container. Keep them in the refrigerator for up to three days. The glaze might thicken a bit as it cools.
Reheating is simple. Use a skillet over medium heat. Add a splash of water, maybe a teaspoon. Toss the chicken gently in the pan. This revives the sauce beautifully. Avoid the microwave if you can. It tends to make the glaze sticky in a bad way.
Understanding the Nutrition in This Sticky Sesame Chicken
We know you care about what you eat. This recipe delivers big flavor. It also offers solid protein content.
Remember these numbers are just estimates. They change based on brands used. Honey or sugar amounts shift things slightly.
For example, using chicken thighs changes the fat count. Always view this data as a helpful guide only. Enjoy the delicious results!
Share Your Perfect Sticky Sesame Chicken
We put our hearts into fixing this recipe. Now it’s your turn to shine in the kitchen. Did you try this version?
Tell us how it went in the comments below. We love hearing your success stories. Did you make any adjustments?
Rate this recipe for us too. Your feedback builds our trust. Sharing your results helps others cook confidently. Happy cooking, friends!
PrintFixing 1 Sticky Sesame Chicken Recipe Disaster
Make this Sticky Sesame Chicken at home for a quick, sweet, and savory Asian-inspired meal that tastes better than takeout. We fixed the flawed recipes so you get perfect, tender chicken with a glossy glaze every time.
- Prep Time: 15 minutes
- Cook Time: 20 minutes
- Total Time: 35 minutes
- Yield: 4 servings
- Category: Main Course
- Method: Stir-fry
- Cuisine: Asian-American
- Diet: Low Fat
Ingredients
- 1.5 lbs Boneless, skinless chicken breasts or thighs, cut into 1-inch pieces
- 1/4 cup Soy sauce (low sodium)
- 1 tablespoon Rice vinegar
- 1 teaspoon Ground ginger
- 1/2 teaspoon Garlic powder
- 1/4 cup Cornstarch
- 2 tablespoons Vegetable oil
- 1/2 cup Honey
- 1/4 cup Brown sugar, packed
- 3 tablespoons Soy sauce (low sodium)
- 2 tablespoons Rice vinegar
- 1 tablespoon Sesame oil
- 1 teaspoon Sriracha (optional, for heat)
- 2 tablespoons Water
- 1 teaspoon Cornstarch
- Sesame seeds, for garnish
- Sliced green onions, for garnish
Instructions
- In a medium bowl, combine the chicken pieces with 1/4 cup soy sauce, 1 tablespoon rice vinegar, ground ginger, and garlic powder. Marinate for 10 minutes.
- In a separate bowl, toss the marinated chicken with 1/4 cup cornstarch until fully coated. Shake off any excess.
- Heat vegetable oil in a large skillet or wok over medium-high heat. Add the coated chicken in a single layer, working in batches if necessary to avoid crowding. Cook until golden brown and cooked through, about 5-7 minutes per batch. Remove chicken and set aside.
- To make the sauce, combine honey, brown sugar, 3 tablespoons soy sauce, 2 tablespoons rice vinegar, sesame oil, and sriracha (if using) in the same skillet. Bring the mixture to a simmer over medium heat, stirring until the sugar dissolves.
- In a small cup, whisk together 2 tablespoons water and 1 teaspoon cornstarch to create a slurry. Pour the slurry into the simmering sauce and stir constantly until the sauce thickens and becomes glossy, about 1 minute.
- Return the cooked chicken to the skillet. Toss quickly to coat all the pieces evenly in the sticky sesame glaze.
- Remove from heat. Garnish generously with sesame seeds and sliced green onions before serving immediately over rice.
Notes
- We prefer using chicken thighs for maximum tenderness in this recipe.
- If you like a thinner glaze, reduce the cornstarch in the sauce by 1/2 teaspoon.
- For extra crispness, you can briefly deep-fry the coated chicken instead of pan-frying.
Nutrition
- Serving Size: 1 serving (approx. 1/4 of recipe)
- Calories: 480
- Sugar: 35g
- Sodium: 650mg
- Fat: 14g
- Saturated Fat: 2.5g
- Unsaturated Fat: 11.5g
- Trans Fat: 0g
- Carbohydrates: 45g
- Fiber: 1g
- Protein: 40g
- Cholesterol: 110mg