

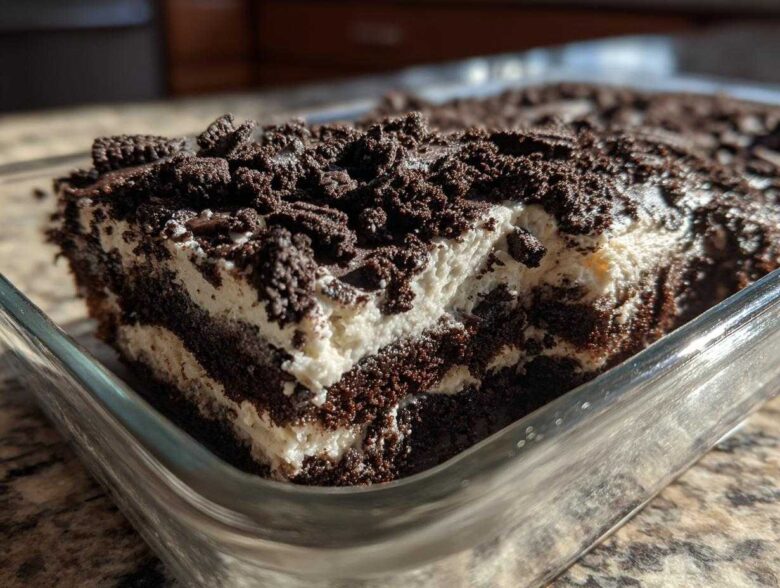
Oh, are you ready for a total throwback? Sometimes you just need a dessert that doesn’t require turning on the oven, tastes exactly like happy childhood memories, and looks ridiculously fun on a picnic blanket. That’s where the classic dirt cake comes in! But let’s be real: too many recipes for this simple layered treat turn out either soupy or grainy. That’s the broken promise we hate seeing. Here at The Recipe Redux, our entire mission is fixing those frustrating recipes. Noah dug into the science of why things go soft, Ben made sure the chocolate flavor was deep enough, and I pulled it all together. Trust me, we are serving you the BEST dirt cake recipe—guaranteed foolproof for your next party or family night treat!
Why This No Bake Dirt Cake Recipe is the Best Dirt Cake You Will Ever Make
I’m telling you, this isn’t just another throw-together dessert; this ultra-creamy chocolate pudding dessert is the real deal. Since we are dealing with a no bake dirt cake, structure is everything, especially when you’re layering it for maximum impact. A lot of people dump everything in one bowl and hope for the best, which usually results in a sad, soup-like layer after an hour in the fridge. Not here!
Noah’s structural analysis showed that the failures in most recipes come down to insufficient stabilizers in the pudding base. We have fixed that, promising you the perfect creamy-to-crunchy ratio every single time. This layered Oreo dessert holds up beautifully, making it ideal for any potluck situation.
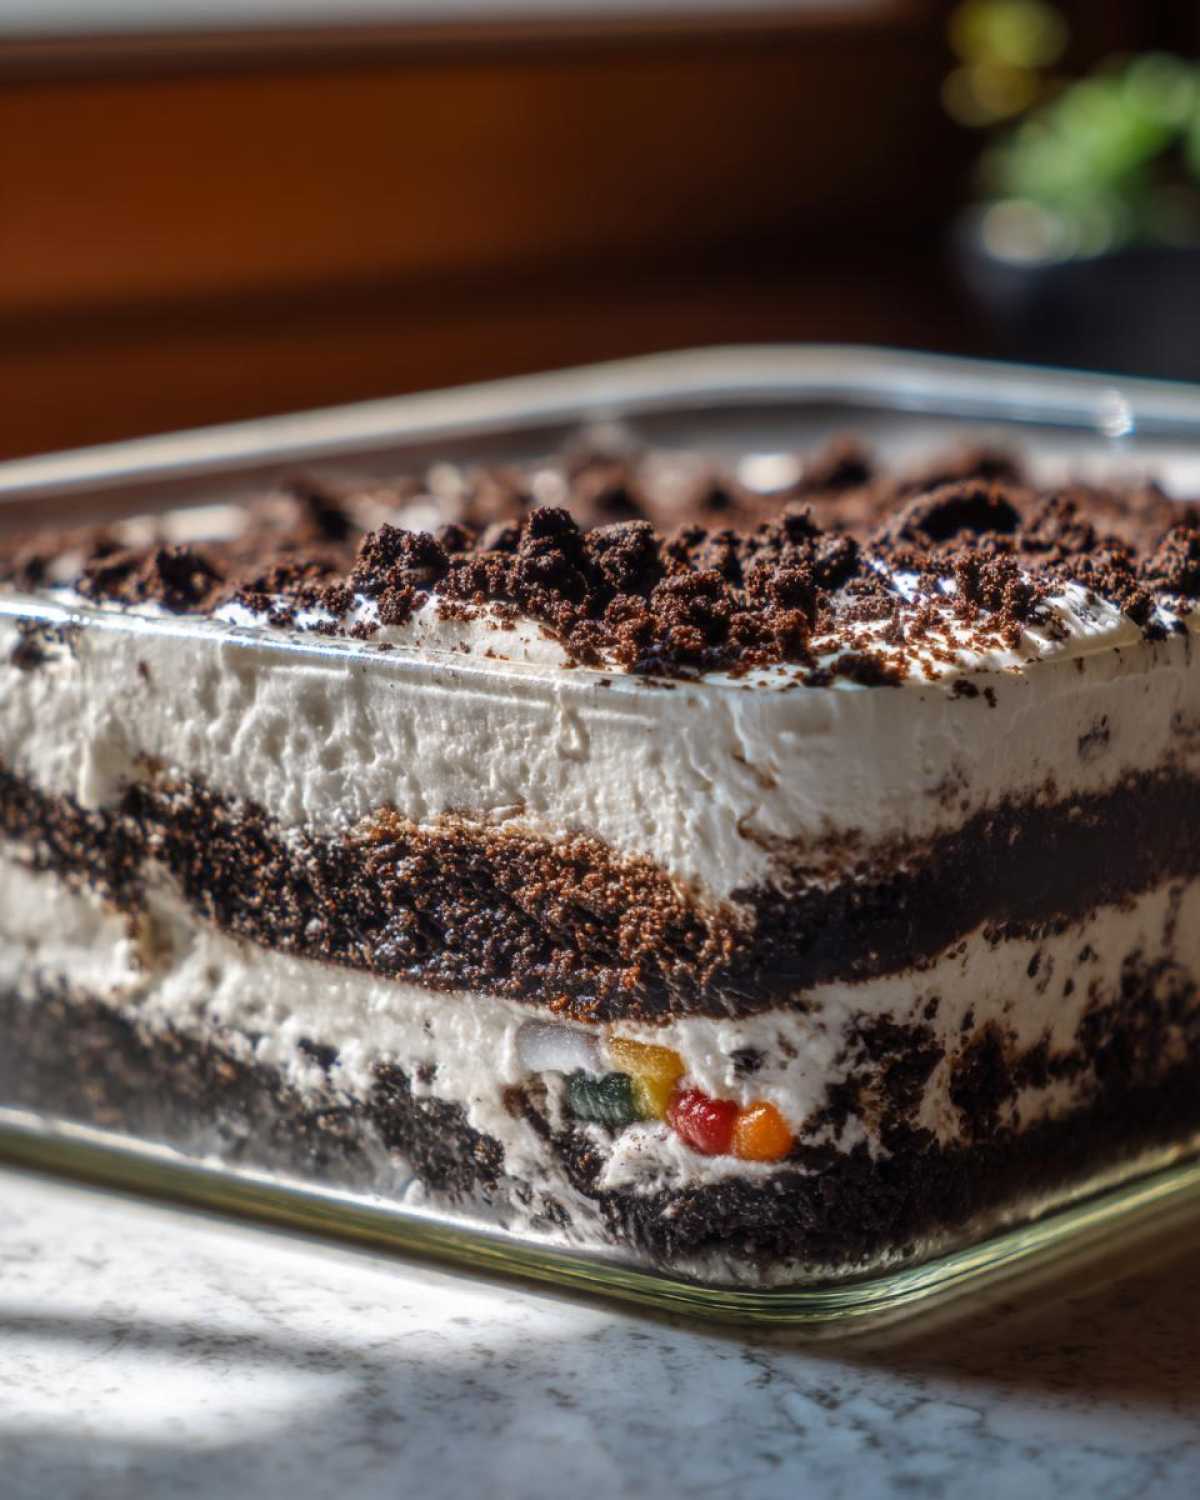
The Secret to the Perfect Creamy Chocolate Pudding Dessert Layer
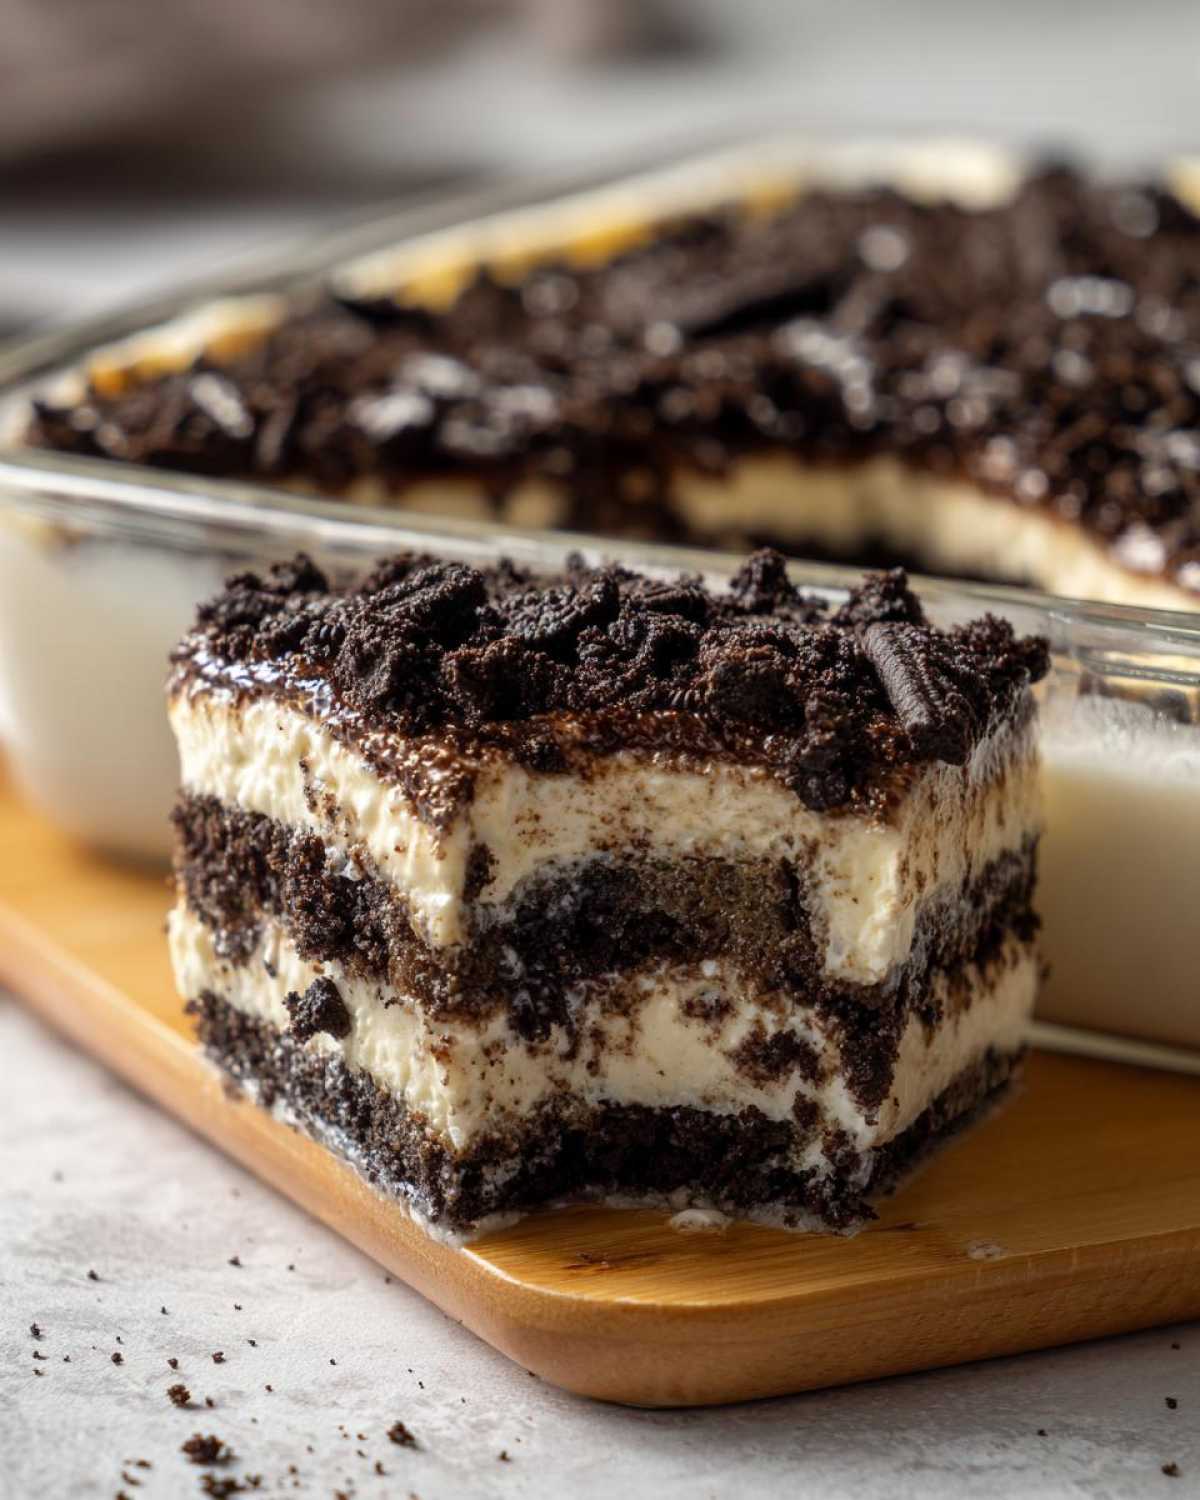
This creamy filling is where we really earned our stripes. Too much milk, and your easy dirt pudding melts into sweet mush. Too much whipped topping, and it tastes like sweetened air instead of rich chocolate. The magic—that perfect, scoopable firmness—comes from the exact balance between the softened cream cheese and the thawed whipped topping.
We beat the cream cheese until it’s totally smooth first, which is key to avoiding those annoying little cream cheese lumps you sometimes find in rushed recipes. That combination, folded carefully into the slightly firmed-up pudding, gives this dirt cake the luxurious, thick texture that makes people ask for the recipe immediately!
Gathering Your Ingredients for Classic Dirt Cake
Okay, my buddies Noah and Ben were arguing over this part, naturally. Noah wanted us to list 15 different specialty cocoa powders, but Ben wisely pointed out that the beauty of this crushed Oreo dessert is its simplicity! These are shelf-stable pantry staples that you probably already have tucked away. We’re keeping it classic: Oreos, pudding mix, milk, cream cheese, and whipped topping.
Ben’s input here was hilarious but smart: he insisted we use the entire package of Oreos for the layers, reserving only a small portion for the very top decoration. He said, and I quote, “If you’re going to call it dirt, you need enough to bury a small shovel in it.” So, we are generous with the crumbs!
Ingredient Clarity for Your Dirt Cake Layers
To make sure your layers set up perfectly and you don’t end up with guesswork, look closely at what you grab. This is where we prevent any future Savor And Pin disasters!
- 1 package (14.3 ounces) Oreo cookies, divided (Remember, we need some intact for the very top crumbs!)
- 1 package (3.9 ounces) instant chocolate pudding mix (Don’t use the cook-and-serve kind, please!)
- 3 cups cold milk (Make sure it’s good and cold for the pudding.)
- 1 container (8 ounces) frozen whipped topping, thawed (Don’t let this get warm!)
- 1 package (8 ounces) cream cheese, softened (Seriously, let this sit out so it’s truly soft.)
- 1 cup powdered sugar
- 1 teaspoon vanilla extract
- Gummy worms, for decoration (optional—but why would you skip the worms?!)
Step-by-Step Instructions for the Best Dirt Cake Recipe
Alright, deep breaths! This is where we bring all those fantastic ingredients together. Since this is a completely no bake operation, speed and sequence matter more than ever. We break this down into three simple phases: crushing the dirt, mixing the creamy layers separately, and then building those gorgeous simple dirt cake layers.
Preparing the Oreo ‘Dirt’ and Creamy Filling for your dirt cake
First things first: we need dirt! Take about a cup of those Oreos and set them aside—that’s your neat top layer garnish. The rest of the cookies need to be pulverized. I prefer my food processor; it gets them nice and fine in seconds. If you don’t have one, toss them in a heavy-duty zip-top bag and go to town with a rolling pin until you have that sandy, crumbly texture. Be thorough!
Next up, mix your pudding. Whisk the instant chocolate pudding mix with the cold milk for a full two minutes. Seriously, don’t stop early; you need that almost instant thickening. Let it sit for about five minutes while you whip up the cream layer.
In another bowl, beat that softened cream cheese until it’s totally silky. Mix in your powdered sugar and vanilla. Once smooth, gently fold in the thawed whipped topping. And here is the crucial part for airiness: fold the crushed Oreos—the bulk of them, not the reserved cup—into this fluffy mixture *gently*. We aren’t deflating all the air we just created!
Assembling and Chilling the Layered Oreo Dessert
Time to build! Grab a clear glass trifle dish if you want people to see those beautiful layers, or go for individual serving cups if you’re packing lunches later. Start with a generous layer of that creamy Oreo filling mixture on the bottom. Spread it evenly.
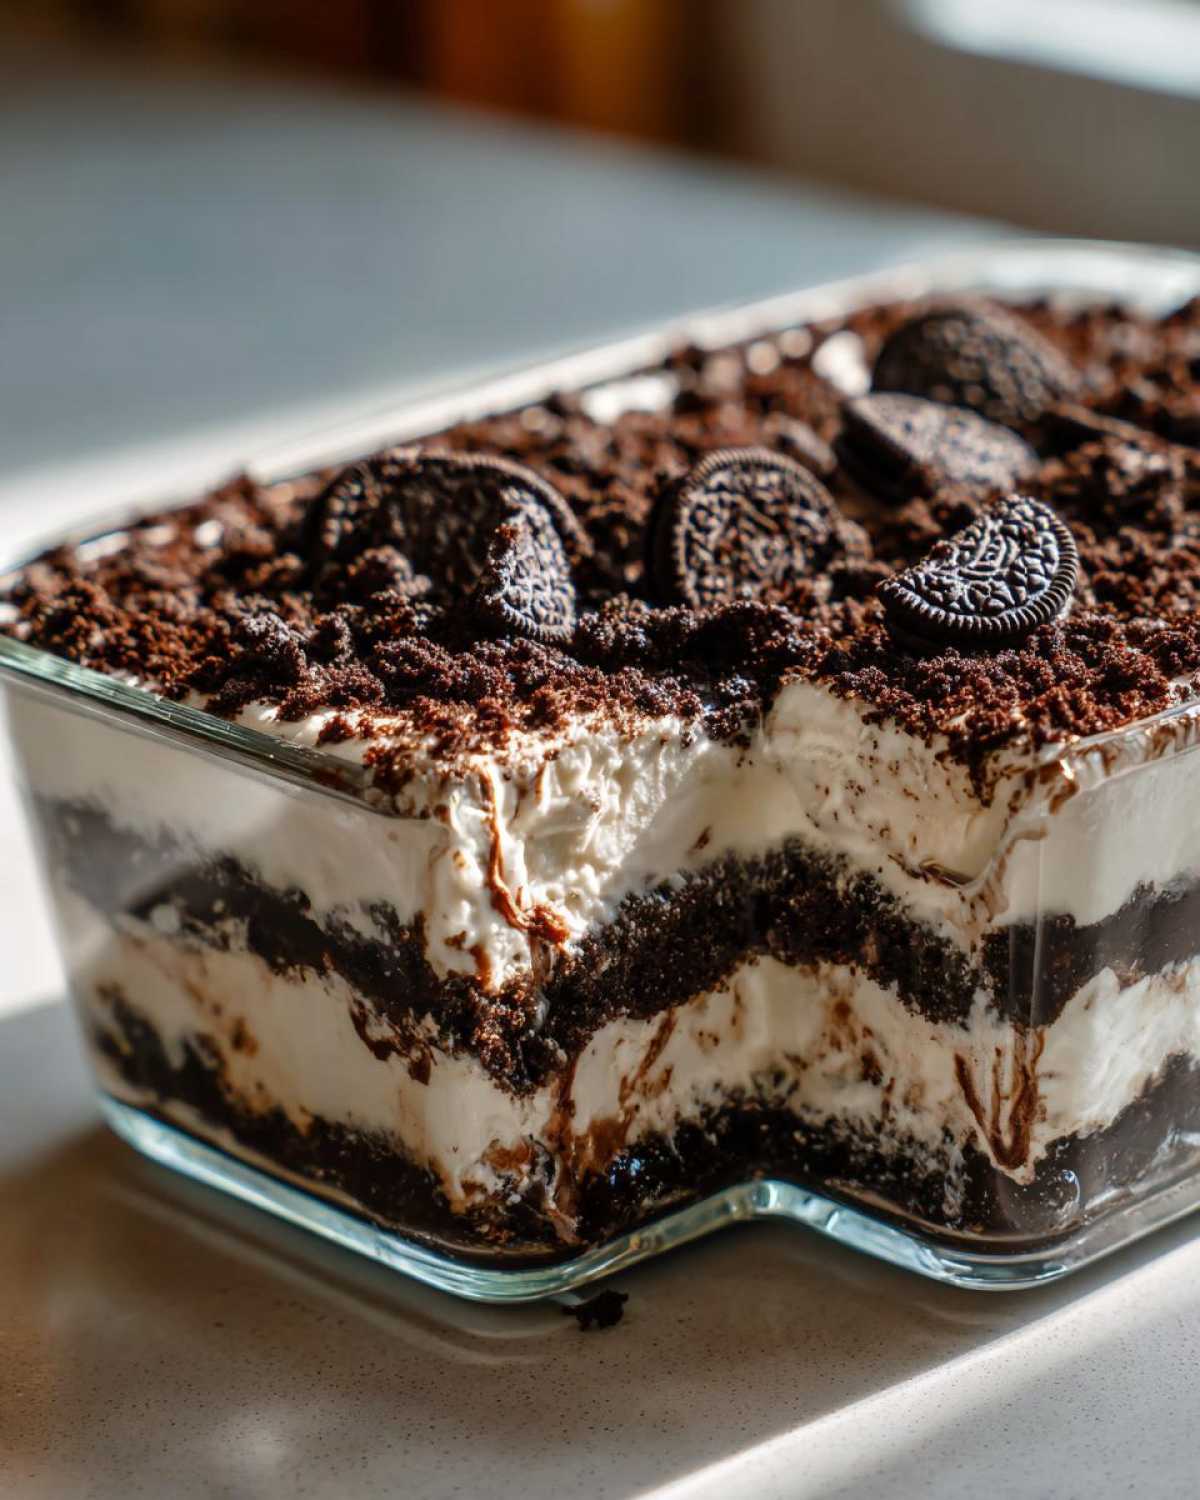
Now, take those reserved crushed Oreos and sprinkle a layer right on top of your filling. This gives you that wonderful crunch contrast we talked about. Repeat these gorgeous layered Oreo dessert steps until you run out of filling.
Make sure your absolute final layer is just the crushed cookies—that’s what makes it look like rich, delicious dirt.
This is non-negotiable: Cover the entire thing and pop it in the fridge. You need a minimum of four hours chilling time, but honestly? Make this dirt cake the night before. It sets up perfectly, and the flavors absolutely meld overnight.
Tips for Success: Mastering Your Dirt Cake Presentation
So, you’ve got the creamy structure down—awesome! Now for the fun part: making sure this dish screams “Dig In!” The key to getting that truly authentic-looking dirt dessert with gummy worms look is all about texture variation on top.
Don’t just use the finely crushed crumbs for the very top layer. Before serving, take a small handful of the reserved Oreos *and pulse them just once or twice* in the food processor. You want some of those crumbs to be slightly coarser—these bigger bits look exactly like clods of earth. Sprinkle this mix unevenly over the top layer.
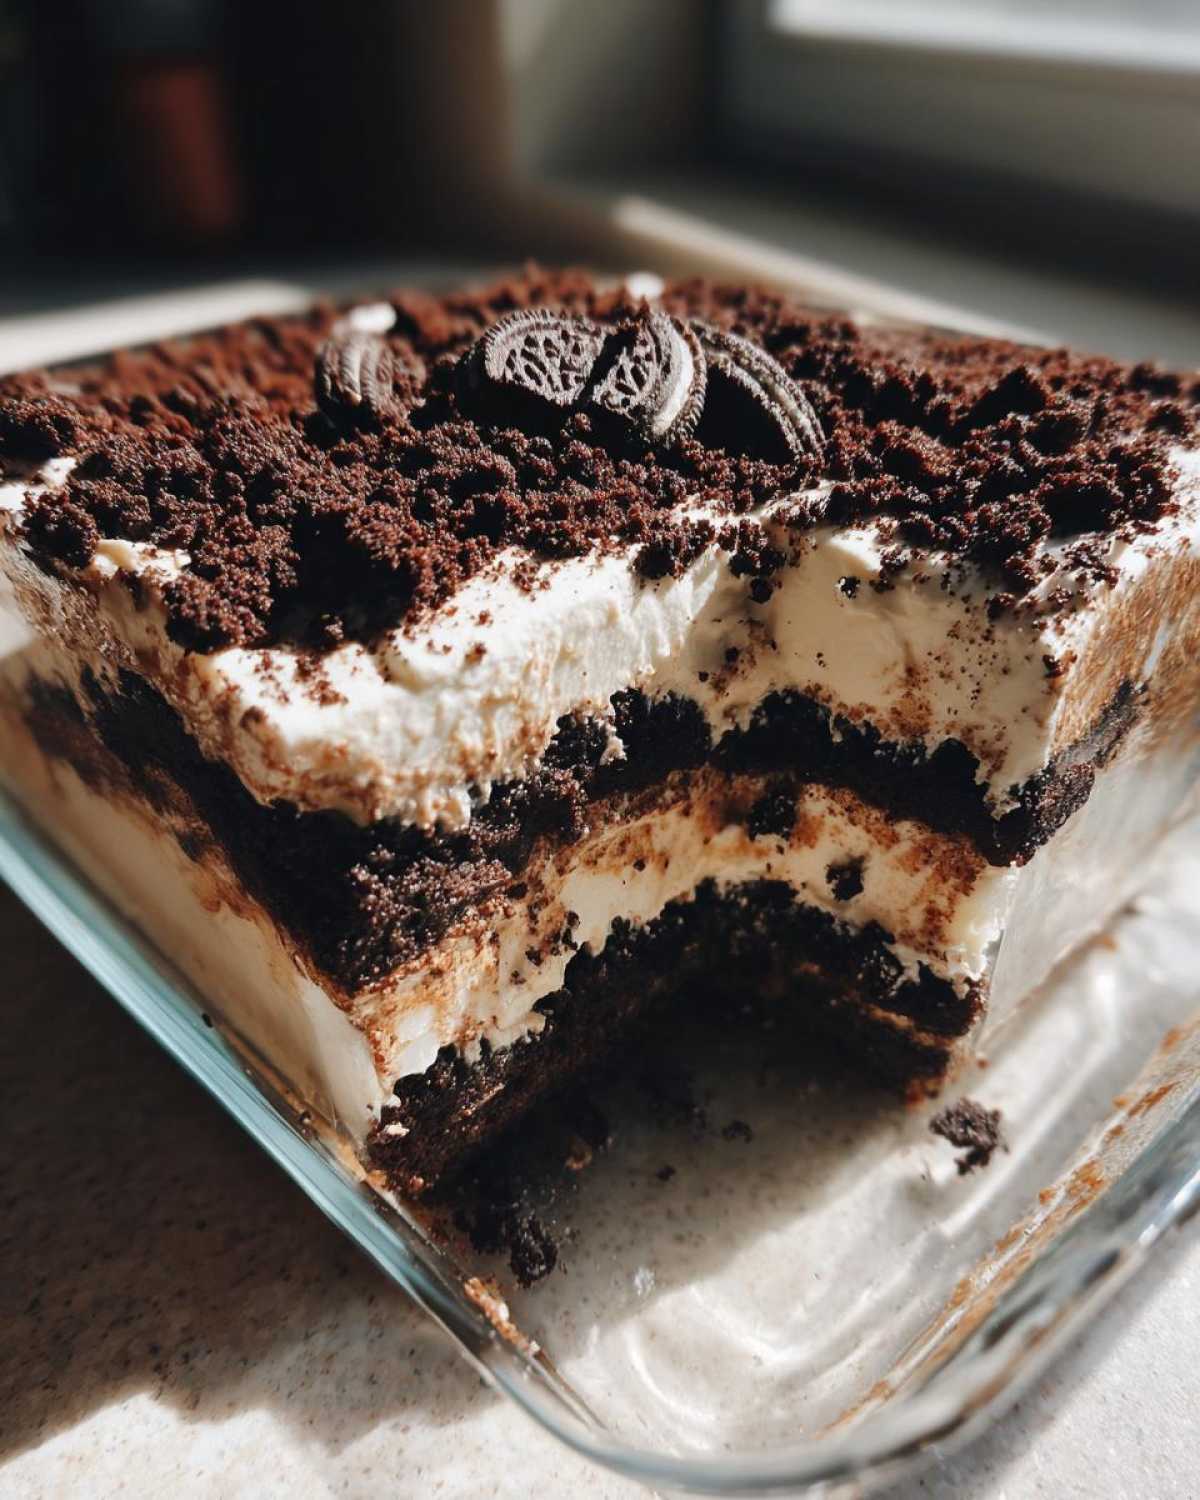
When you decorate with those wiggly gummy worms, don’t just lay them flat! Noah suggested sticking them in at slight angles so it truly looks like they are popping out of the ground. Placement should be random—you want it to look like a natural, tasty mess. It’s the little details that make this kid-friendly dessert a showstopper!
Make Ahead Dessert: Preparing Your dirt cake for Parties
The absolute best thing about this dessert, besides the taste, is that it’s a dream for anyone organizing potluck dessert ideas—it’s a true make ahead dessert!
I always recommend assembling the entire dirt cake the day before you need it. When it chills low and slow overnight, that pudding mixture really firms up against the cream cheese filling, and the chocolate flavor develops so much better. You just cover it tightly with plastic wrap and keep it chilled. Just wait until right before you go to the party to put those gummy worms in, or they might get a little sad and sticky sitting in the fridge!
Variations on the Classic dirt cake Recipe
While our recipe aims for the perfect nostalgic experience, Ben absolutely badgered us into testing a few tweaks! If you want to take this dirt cake to the next level—especially if you are serving adults looking for a little caffeine kick—try this: replace one cup of the cold milk with strongly brewed, chilled coffee when you make the pudding. It creates an amazing mocha layer that pairs beautifully with those Oreos.
If coffee isn’t your jam, switching the instant pudding is super easy. Swap the chocolate for instant vanilla or butterscotch pudding. It changes the whole profile, making it richer and milder. It’s amazing how swapping just one component transforms the entire layered Oreo dessert! If you want to see another recipe using Oreos, check out Maria’s lineup here.
Storage and Reheating Instructions for Leftover dirt cake
Now, if you manage to have any of this glorious dirt cake left over—which, honestly, is a miracle—storage is easy. Since this is a chilled, no-bake situation, we never, ever reheat it! Reheating that beautiful creamy filling will just turn it into a soupy disaster, and nobody wants that broken promise.
Keep leftovers tightly covered in the refrigerator. It’s perfectly good for about three to four days. Honestly, I think it tastes best on Day Two when the Oreo crumbs have had a little more time to soak up some of that chocolate magic. Just pull it out about 15 minutes before you want to serve it so it’s not rock solid cold. That’s the perfect temperature for texture!
Frequently Asked Questions About Making dirt cake
Even with our foolproof guide, I know sometimes questions pop up when you’re knee-deep in cream cheese and crushed cookies! We get it. We’ve been there, standing over the mixing bowl wondering if that one little step was *really* necessary. Here are the most common things people ask us about making this legendary dirt cake!
Can I use homemade pudding instead of instant pudding in this dirt cake?
You totally can, but you’ll need to plan way ahead! Homemade cooked pudding is softer and has way more liquid unless you overload it with cornstarch, which changes the flavor. For this particular layered dirt cake structure, we absolutely need the instant pudding. Instant pudding sets up much firmer because of the stabilizers in the mix, and that firmness is what keeps your layers clean and stops the whole thing from collapsing when you try to serve it. Stick to instant for the best results here!
What is the best way to crush Oreos for the dirt cake?
Honestly, the food processor is your best friend for this job, hands down. It gives you that beautiful, uniform, fine-crumb texture that looks exactly like perfectly sifted dirt. If you use a baggie and a rolling pin, you usually end up with some big chunks mixed in with the fine powder, right? While that’s okay for the inner layers, use the processor for the majority of the crumbs for that amazing texture we talked about!
Is this considered a Kid Friendly Desserts option?
Oh, gosh, yes! This is the ultimate kid friendly desserts champion! My own nephews basically inhale this. If you are making it for a family night treat, you simply have to include the gummy worms—that’s what elevates it from a simple chocolate pudding dessert to an event. Even better, kids love helping assemble it because they get to be in charge of making the ‘dirt’! It’s silly, it’s fun, and it tastes amazing.
Nutritional Estimates for This Creamy Chocolate Dirt Dessert
Since we’re dealing with a glorious, indulgent dessert like this creamy chocolate dirt dessert, I’m not going to pretend this is a health food! But hey, knowledge is power, right? We ran the numbers on the standard recipe above so you know exactly what you’re digging into. Remember, these are just estimates, and if you switch out your Oreo brand or decide to use full-fat cream cheese versus light, things will shift!
The beauty of this no-bake recipe is that you can visually control your portions, but structurally, here’s what you can generally expect per serving when divided by ten:
- Calories: 380
- Sugar: 35g
- Total Fat: 20g
- Saturated Fat: 10g
- Protein: 5g
- Carbohydrates: 48g
- Sodium: 310mg
For a dessert that is this fun, satisfying, and perfect for parties, those numbers aren’t half bad! Just make sure to enjoy that rich flavor responsibly across your family night treats!
PrintEasy No-Bake Oreo Dirt Cake Recipe with Gummy Worms
Follow this foolproof recipe to make the best Oreo Dirt Cake, a creamy, layered, no-bake dessert featuring crushed Oreos and rich chocolate pudding. It is perfect for potlucks and family nights.
- Prep Time: 20 min
- Cook Time: 0 min
- Total Time: 4 hr 20 min
- Yield: 10 servings
- Category: Dessert
- Method: No Bake
- Cuisine: American
- Diet: Vegetarian
Ingredients
- 1 package (14.3 ounces) Oreo cookies, divided
- 1 package (3.9 ounces) instant chocolate pudding mix
- 3 cups cold milk
- 1 container (8 ounces) frozen whipped topping, thawed
- 1 package (8 ounces) cream cheese, softened
- 1 cup powdered sugar
- 1 teaspoon vanilla extract
- Gummy worms, for decoration (optional)
Instructions
- Set aside about 1 cup of the Oreo cookies for the final layer. Place the remaining Oreos into a food processor or large zip-top bag and crush them until they resemble fine dirt.
- In a large bowl, whisk together the instant chocolate pudding mix and cold milk for two minutes until the mixture thickens. Let it stand for five minutes.
- In a separate medium bowl, beat the softened cream cheese until smooth. Add the powdered sugar and vanilla extract, beating until fully combined and creamy.
- Gently fold the thawed whipped topping into the cream cheese mixture until just combined.
- Fold the crushed Oreos (excluding the reserved cup) into the whipped topping mixture until evenly distributed. This forms your creamy filling layer.
- In a clear glass trifle dish or individual serving cups, begin layering the dessert. Start with a layer of the crushed Oreo mixture.
- Top the Oreo layer with a layer of the remaining crushed Oreos.
- Repeat the layers until all the mixture is used, ending with a layer of crushed Oreos on top to look like dirt.
- Cover the dish and chill in the refrigerator for at least four hours, or preferably overnight, to allow the layers to set.
- Before serving, press gummy worms into the top layer of crushed cookies for decoration.
Notes
- You can use instant vanilla or butterscotch pudding for a different flavor profile, but chocolate is traditional for this classic dirt cake.
- For the best texture, make sure your cream cheese is fully softened before mixing to avoid lumps in the creamy layer.
- If you do not have a food processor, place the Oreos in a sturdy bag and crush them using a rolling pin.
Nutrition
- Serving Size: 1 serving
- Calories: 380
- Sugar: 35
- Sodium: 310
- Fat: 20
- Saturated Fat: 10
- Unsaturated Fat: 10
- Trans Fat: 0
- Carbohydrates: 48
- Fiber: 1
- Protein: 5
- Cholesterol: 30