

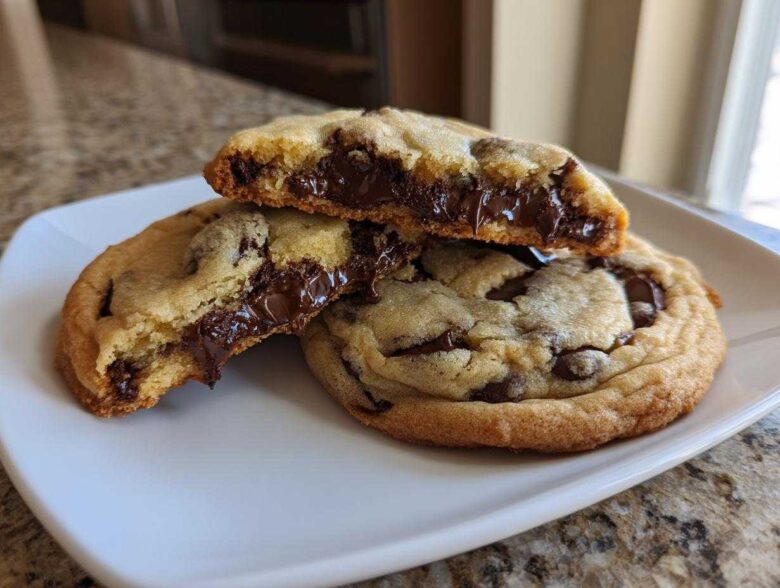
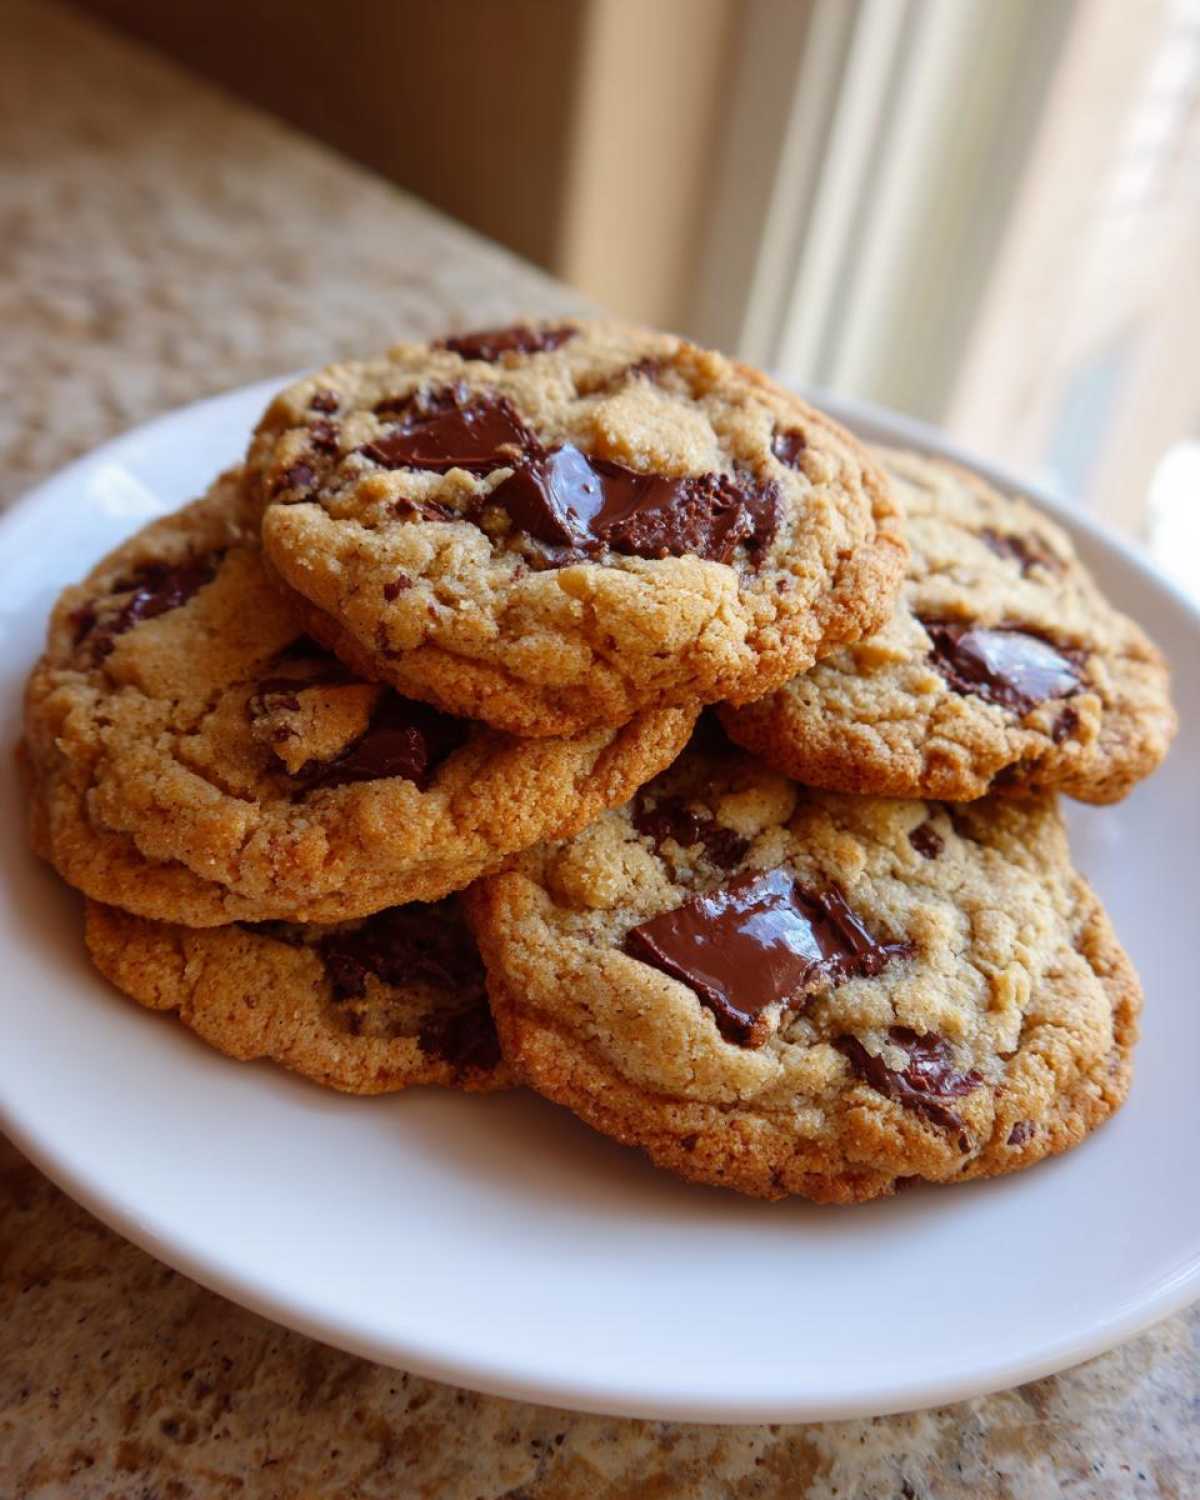
If there is one universal law in the food world, it’s that you can never have too many chocolate chip cookies. But how many times have you followed what looked like a gorgeous recipe only to end up with flat, greasy discs? Ugh, I know the feeling! My team and I here at Savor And Pin started because we were tired of broken promises. That’s why we perfected this definitive recipe for homemade chocolate chip cookies. We aren’t just sharing a recipe; we are delivering the blueprint for those perfect, thick, bakery-style cookies with delightfully soft centers and just the right amount of crispy edge. Trust me, this one is fixed for good!
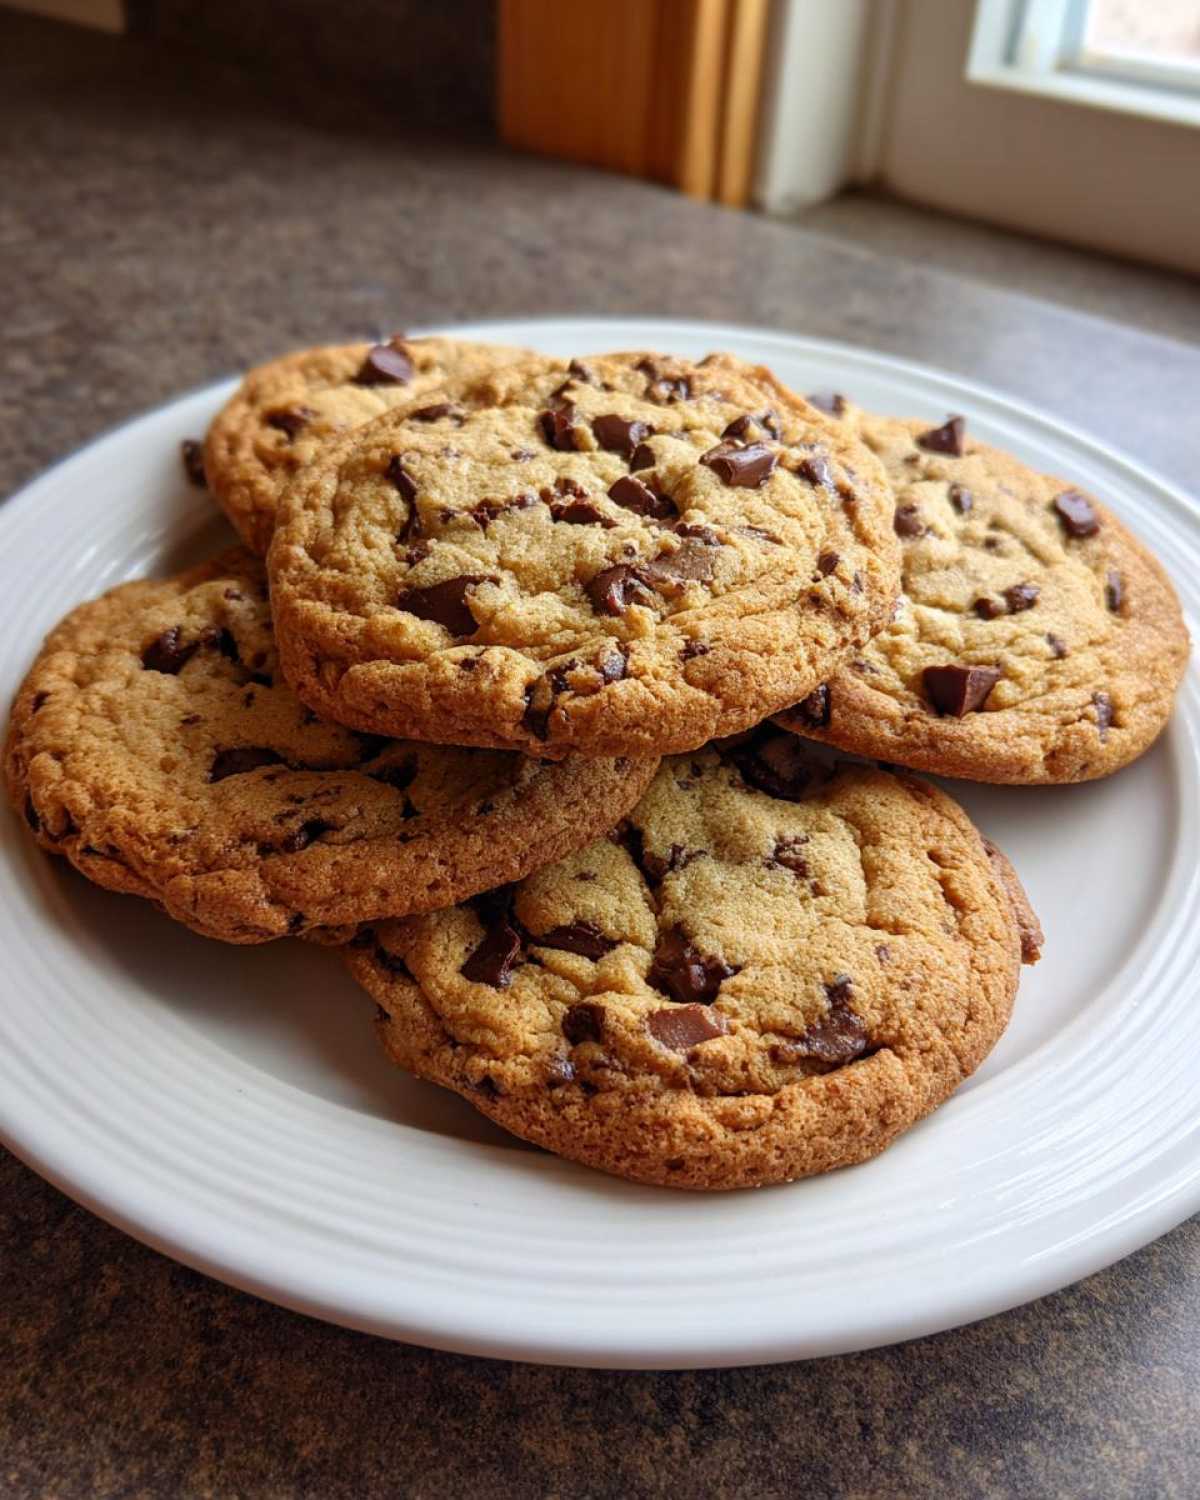
Why This is the Ultimate Recipe for Homemade Chocolate Chip Cookies (The Secret to Perfect Texture)
I’m going to cut right to the chase: most recipes fail because they create flat, crunchy cookies when you wanted a bakery masterpiece. If you’ve been suffering through cookies that spread into lace patterns, you know what I mean. Our goal here is total texture domination: thick, soft, and wonderfully chewy centers with those satisfyingly crisp edges. That’s what makes a truly unforgettable cookie!
Noah, bless his overthinking heart, says the magic is in the sugar ratio tipping toward brown sugar, which retains more moisture than white. I just know that the way we mix this dough prevents the classic sinkhole effect. We nailed the balance so these homemade chocolate chip cookies deliver that perfect ‘pull’ when you break them in half.
Achieving Bakery Style Cookies: Ingredient Temperature Matters
Seriously, do not skip this part if you want the ultimate texture. You need your butter to be softened—that means you can easily press a finger into it, but it isn’t greasy or melted. If your butter is too warm, the dough spreads out immediately in the oven, and boom, you have a flat cookie.
Also, grab your eggs out of the fridge about twenty minutes before you start! Room temperature eggs mix more evenly into that beautiful creamed butter and sugar mixture. When everything blends smoothly during the creaming stage, you build the necessary structure that keeps these beauties nice and tall. It’s simple science that leads to the cookies that always win at bake sales!
Gathering Ingredients for Your Homemade Chocolate Chip Cookies
I know, I know, ingredient lists can feel like homework, but I promise these staples are what give us that rich, buttery flavor that makes our homemade chocolate chip cookies so addictive! Don’t skimp on the chocolate chips here—better chocolate really is the secret weapon for those glorious pockets of melted goodness.
Here’s what you need to round up:
- 1 cup (2 sticks) unsalted butter, softened
- ¾ cup granulated sugar
- ¾ cup packed light brown sugar
- 2 large eggs
- 1 tablespoon vanilla extract
- 2 ¼ cups all-purpose flour
- 1 teaspoon baking soda
- ½ teaspoon salt
- 1 ½ cups semi-sweet chocolate chips (use high-quality chips for best flavor!)
- ½ cup chopped pecans or walnuts (optional, for extra texture)
Ingredient Notes and Substitutions for Buttery Chocolate Chip Cookies
That optional half cup of nuts? Fight the urge to skip them if you like satisfying crunch! Walnuts and pecans lend a wonderful earthy balance to the sweetness. Also, if you only have milk chocolate or dark chocolate, go ahead and mix them! I often use about 2/3 semi-sweet and 1/3 milk chocolate. This blend gives you the flavor complexity of truly buttery chocolate chip cookies without sacrificing that perfect melt we worked so hard to achieve.
Step-by-Step Instructions for the Best Chocolate Chip Cookie Recipe
Okay, let’s get baking! The best part about these homemade chocolate chip cookies is how fast they come together. We are talking about 15 minutes of active prep time before they hit the oven! Remember what I said about broken promises? These instructions are the foolproof key to making sure your cookies turn out perfectly thick every single time.
First things first, crank that oven up to 375°F (190°C) and get your baking sheets lined. We don’t want any sticking drama later!
- We start by creaming the softened butter with both sugars. Get that mixer going until it looks light and fluffy. This is crucial—it’s how we incorporate air!
- Next, beat in your eggs, one at a time, followed by that glorious tablespoon of vanilla.
- In a separate bowl, whisk your flour and baking soda together. This ensures the leavening is distributed evenly.
- Now, add the dry stuff slowly to the wet stuff while keeping the mixer on low speed. Stop as soon as it’s *just* combined. Don’t overwork the dough; that makes them tough!
- By hand, stir in all those dreamy chocolate chips and any nuts you decided on.
- Scoop up rounded tablespoons of dough. I mean really scoop them—make them tall! Place them 2 inches apart on your parchment-lined sheets.
- Bake them for 9 to 12 minutes… but here’s the main event we need to talk about in detail.
The Critical Step for Soft Gooey Center Cookies: Baking Time
This step is where most people panic and overbake! For soft gooey center cookies, you must pull these out when the edges look golden brown, but the very center still looks a little pale or slightly underdone. Seriously, they need to look underbaked!
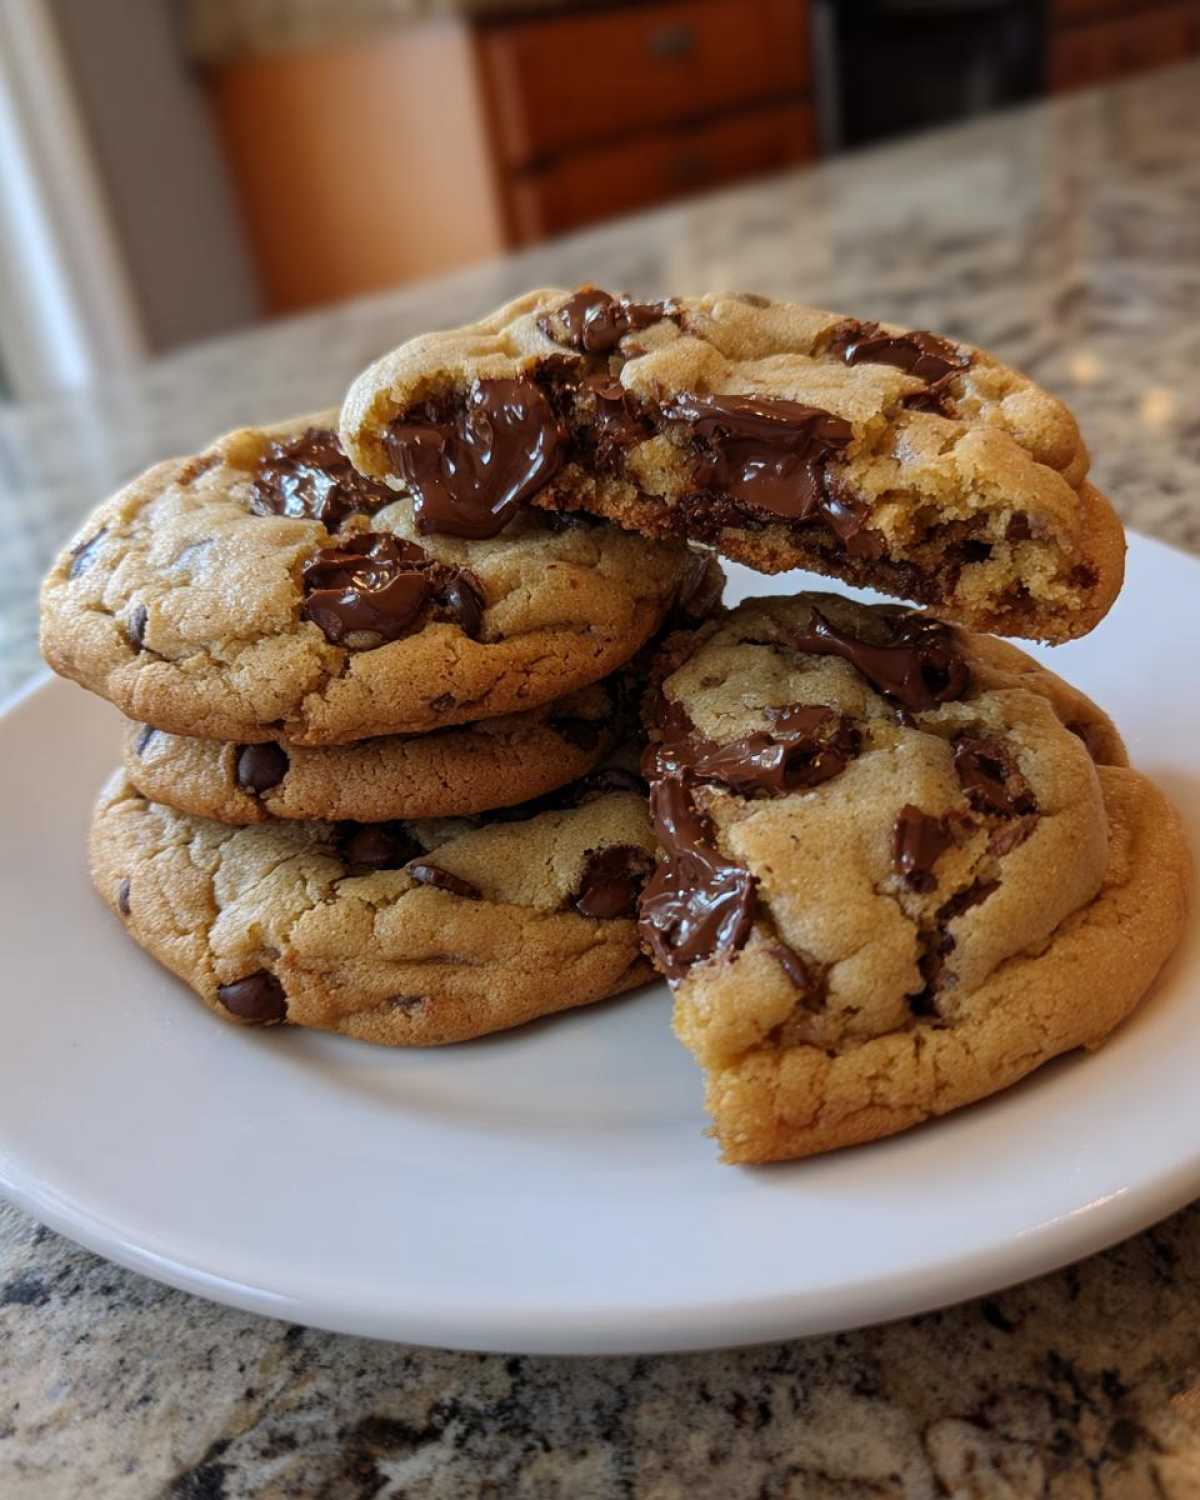
If you wait until the centers look fully set up in the oven, the residual heat will keep cooking them on the hot pan, and you’ll end up with a dry center instead of a gooey one. That 5-minute rest period on the hot baking sheet is vital—it finishes the cooking process gently, guaranteeing that soft, chewy texture you’re craving.
After that short rest, slide them onto a wire rack. Quick, right? You are moments away from the best cookie dough truffles if you manage to save any dough!
Tips for Success: Mastering Homemade Chocolate Chip Cookies Every Time
Okay, you’ve got the dough mixed, but we aren’t quite done yet! To really guarantee that perfect cookie texture—the one that makes people ask you for the recipe—we need to talk about chilling. I know, I know, you want cookies right now! But trust me, taking a few moments to let the dough firm up makes all the difference in preventing excessive spread and deepening that buttery flavor.
Our notes suggest that even a quick 30-minute chill works wonders. If you can manage it, let that dough rest in the fridge for an hour or even overnight. If you aren’t feeling patient, you can still move forward, but the cookies might spread just a touch more.
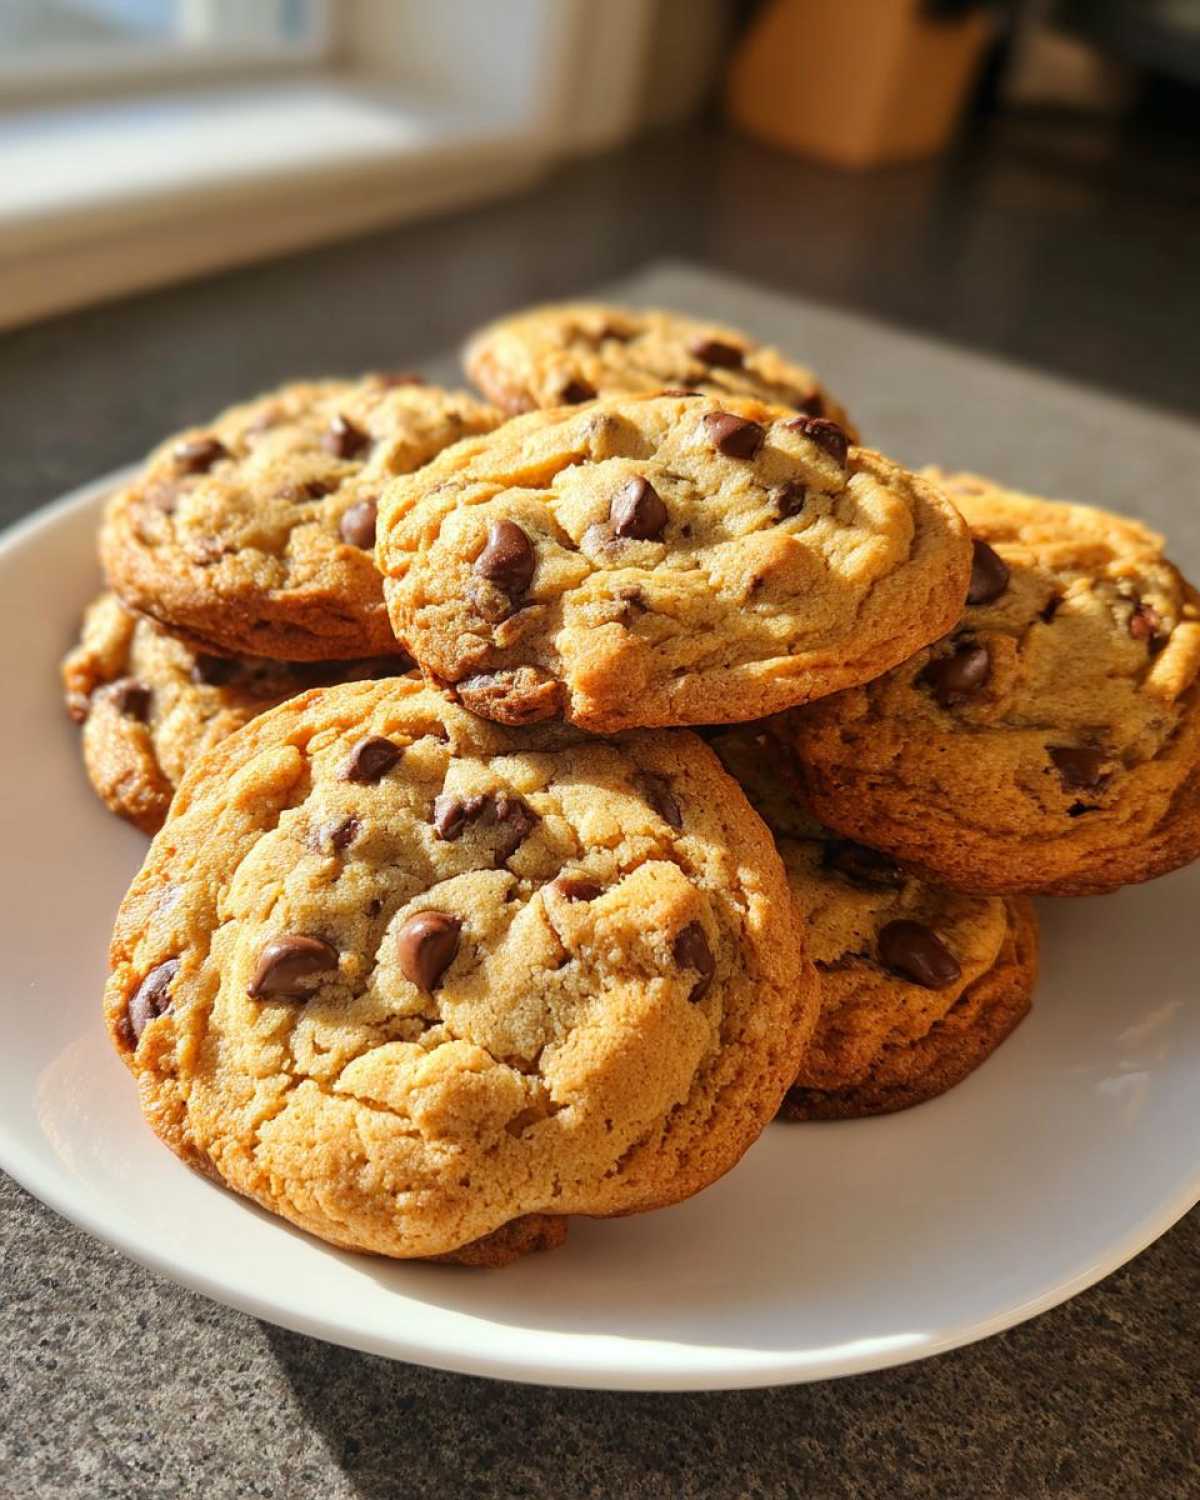
Quick Cookie Recipe 30 Minutes: Managing Dough Chill Time
If you’re chasing the Quick Cookie Recipe 30 Minutes dream, you can totally skip the full chill, but here is the trade-off: the dough balls need to be packed fairly tall before baking. Remember during creaming we talked about air? Well, cold dough resists gravity better, keeping those cookies thick! If you bake it warm, make sure you use the back of a spoon to gently reshape the dough balls *before* they go into the oven, just to help them keep their height.
Also, don’t forget our other little secret from the notes: try using a mix of chocolate chips! Semi-sweet is our base, but throwing in some milk chocolate chips changes the game completely. It adds another layer of meltiness that keeps them tasting fresh long after they come out of the oven. You can find more tips on keeping your cookies soft forever over here at how we keep our cookies soft for days!
Storage and Reheating Instructions for Your Classic Chocolate Chip Treats
The hardest part of baking these perfection cookies is waiting for them to cool, right? But once they do, you need to store them correctly to maintain that soft center we worked so hard for. Store your classic chocolate chip treats in an airtight container at room temperature. If you want to keep them extra soft, tuck a single slice of bread into the container with them; yep, bread! The cookies will absorb the moisture it releases.
If you manage to have any leftovers the next day and they’ve firmed up just a bit? Don’t fret! Pop one on a microwave-safe plate and zap it for about 8 to 10 seconds. That little burst of heat melts the chocolate and wakes up the chewiness perfectly. Seriously, it’s like getting a fresh-out-of-the-oven cookie every single time!
Troubleshooting Common Issues with Homemade Chocolate Chip Cookies
Even with the best recipe ever, sometimes baking throws us a curveball. If you’ve followed everything but your gorgeous dough didn’t turn out exactly as planned, don’t let it discourage you! This is where Noah shines, figuring out the science behind the flop so your next batch of from scratch cookie recipe treats turn out flawless.
The main culprit is almost always temperature or mixing time. If your cookies spread into thin puddles on the sheet, that means your butter was probably too soft when you started, or you didn’t use enough flour overall. Next time, make absolutely sure that butter is just soft, not melty!
Now, what if your cookies are kind of cakey? That usually happens if you over-mixed the flour after adding it in. Stop stirring the second that flour disappears! We want dense and chewy, not fluffy and cake-like. Trust the process—it’s worth the attention to detail!
Frequently Asked Questions About These Thick and Chewy Cookies
Can I substitute the butter with shortening or oil?
Oh gosh, please don’t! While shortening is sometimes used to prevent spread, we really need that pure richness and specific melt point of real butter to achieve these thick and chewy cookies. Butter gives us the nutty, browned flavor that makes these bakery-style treats so irresistible. If you use oil, they will spread too much, and you’ll lose that structural integrity. Stick to the butter, it’s worth it!
How do I ensure I get those slightly crispy edges?
This is all about that slight over-bake, which we talked about in the instructions! The goal is to pull them when they look slightly underdone in the middle. The edges get their crispness during that mandatory 5-minute rest period on the hot baking sheet. If you pull them off immediately, the edges won’t have time to set up that appealing crispness.
Can I halve this recipe if I don’t need 24 cookies?
You can certainly try! However, when you halve recipes, especially baking recipes, you sometimes mess up the chemistry just enough to lose that “wow” factor. If you need fewer treats, I usually suggest baking off half the batch and freezing the rest of the dough balls for later. That way, you keep those perfect ratios intact. Freezing dough is one of my favorite baking hacks; you can check out my tips for fixing frozen dough disasters right here!
Are these cookies suitable for beginners?
Absolutely, yes! While we focus heavily on texture—which sometimes scares beginners—the actual steps are very straightforward. If you can use an electric mixer to cream butter and sugar, you can nail these. The biggest hurdle is knowing when to stop baking, and we cover that in detail. These are my go-to recipe for anyone who wants to achieve melt in your mouth cookies on their first try!
Estimated Nutritional Data for Homemade Chocolate Chip Cookies
I always feel a tiny bit like a scientist when I talk about the numbers, but since you’re putting in the work to make the absolute best chocolate chip cookie recipe, I figure you deserve to know what’s in these beauties!
Please remember that these figures are just estimates based on the standard recipe ingredients listed above—especially the plain semi-sweet chips. If you add extra butter or switch to darker chocolate, things might shift a little, but this gives you a fantastic baseline for these classic chocolate chip treats.
These numbers are calculated for one cookie, yield assumed to be 24 servings:
- Serving Size: 1 cookie
- Calories: 210
- Total Fat: 12g
- Saturated Fat: 7g
- Sugar: 18g (That’s where all the chewiness comes from!)
- Carbohydrates: 25g
- Protein: 2g
- Cholesterol: 35mg
Honestly, for a homemade cookie this good, so thick and chewy, I think that 210-calorie count is a steal. It certainly beats anything you’d find in a vending machine, that’s for sure! Happy baking!
Share Your Ultimate Chocolate Chip Cookies Success
Alright, my friend, that’s it! You now have the secrets, the techniques, and the foolproof blueprint for the best homemade chocolate chip cookies that are thick, soft, and perfectly chewy. My kitchen smells incredible right now, and I truly hope yours does too!
Now that you’ve experienced the magic of this recipe, I need an update! Did you go for the nuts, or did you keep them plain chocolate bliss? Please, please leave a star rating right here on the recipe card below—it helps other folks who are tired of broken promises find a recipe that actually works.
And if you successfully conquered the slightly underbaked center trick, dish! Tell me all about it in the comments. We cherish hearing how this recipe became a new tradition in your home, turning into your own Family Favorite Cookies. If you have any final questions, you can always reach out to us directly over at our contact page. Happy pinning and happy eating!
PrintThe Ultimate Bakery-Style Soft and Chewy Homemade Chocolate Chip Cookies
This is the foolproof recipe for bakery-style chocolate chip cookies that deliver thick, soft, chewy centers and slightly crispy edges. Stop settling for flat cookies; this recipe guarantees the perfect texture every time.
- Prep Time: 15 min
- Cook Time: 12 min
- Total Time: 27 min
- Yield: 24 cookies
- Category: Dessert
- Method: Baking
- Cuisine: American
- Diet: Vegetarian
Ingredients
- 1 cup (2 sticks) unsalted butter, softened
- ¾ cup granulated sugar
- ¾ cup packed light brown sugar
- 2 large eggs
- 1 tablespoon vanilla extract
- 2 ¼ cups all-purpose flour
- 1 teaspoon baking soda
- ½ teaspoon salt
- 1 ½ cups semi-sweet chocolate chips (use high-quality chips for best flavor)
- ½ cup chopped pecans or walnuts (optional, for extra texture)
Instructions
- Preheat your oven to 375°F (190°C). Line baking sheets with parchment paper.
- In a large bowl, cream together the softened butter, granulated sugar, and brown sugar until the mixture is light and fluffy. This takes about 3 minutes with an electric mixer.
- Beat in the eggs one at a time, mixing well after each addition. Stir in the vanilla extract.
- In a separate medium bowl, whisk together the flour and baking soda.
- Gradually add the dry ingredients to the wet ingredients, mixing on low speed until just combined. Do not overmix the dough.
- Stir in the chocolate chips and any optional nuts by hand using a spatula.
- Scoop rounded tablespoons of dough onto the prepared baking sheets, placing them about 2 inches apart. For thicker cookies, make sure the dough balls are tall.
- Bake for 9 to 12 minutes. You want the edges to be golden brown, but the centers should still look slightly underbaked and soft.
- Remove the sheets from the oven. Let the cookies cool on the baking sheet for 5 minutes to allow the centers to set up and achieve that perfect chewy texture.
- Transfer the cookies to a wire rack to cool completely. Enjoy your ultimate chocolate chip cookies!
Notes
- For the best flavor and texture, chill the dough for at least 30 minutes before baking. This helps prevent spreading and concentrates the flavor.
- Use a combination of semi-sweet and milk chocolate chips for a more complex, melt-in-your-mouth flavor.
- If you prefer extra crispy edges, bake for an additional minute or two, but watch carefully to keep the centers soft.
- To achieve bakery-style thickness, use a cookie scoop and stack the dough balls slightly taller than you think necessary.
Nutrition
- Serving Size: 1 cookie
- Calories: 210
- Sugar: 18
- Sodium: 110
- Fat: 12
- Saturated Fat: 7
- Unsaturated Fat: 5
- Trans Fat: 0
- Carbohydrates: 25
- Fiber: 1
- Protein: 2
- Cholesterol: 35