

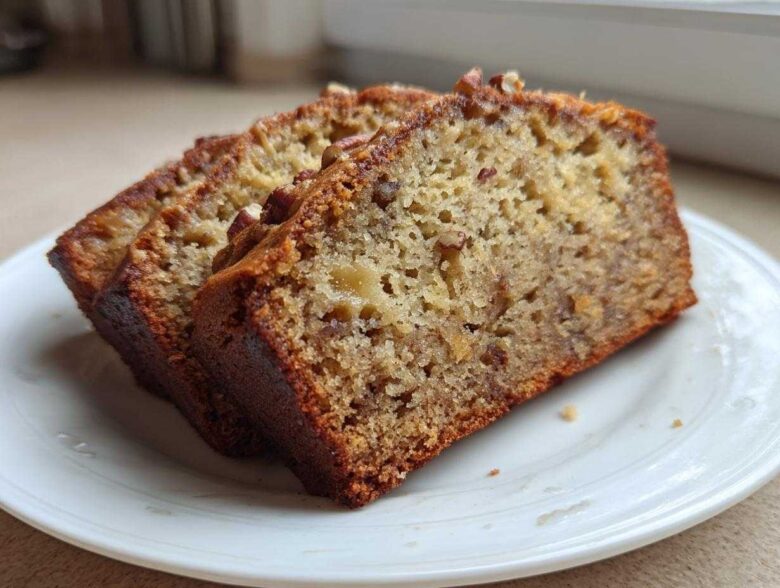
I swear, finding a truly great sugar free banana bread is like finding a unicorn in the baking aisle. Every recipe promises heaven, but what you end up with is usually dry, crumbly sawdust masquerading as a comforting loaf. It’s insulting! That’s why Ben, Clara, and I went full-on rescue mission on this one, determined to create The Ultimate Moist Sugar Free Banana Bread.
We threw out every recipe that relied on artificial sweeteners or weird flours that tasted like cardboard. Our final version? It uses *only* the incredible, concentrated sweetness found in bananas that are practically black on the counter. That’s it. No refined sugar, no sneaky syrups.
Noah was obsessed with the science of moisture retention here. He analyzed how certain fats paired with the banana mash to create a natural barrier against drying out. Trust me when I say this loaf is incredibly tender—it tastes like everything good about classic banana bread without forcing you to compromise on your health goals. Clara and I agree; this recipe is officially pinned and ready to save yours! Don’t forget to check out our main blog page over at Savor And Pin for more rescues!
Why This Sugar Free Banana Bread Recipe is the Best (A Fixer’s Promise)
Okay, so we’ve all been burned by a recipe that claims to be healthy but tastes like sadness, right? That’s what we are fixing here. This isn’t just another Moist Banana Bread Recipe—this is a promise to deliver deep banana flavor and extreme moisture without one grain of refined white stuff. Ben calls it the ultimate Guilt Free Dessert because it satisfies that deep craving.
Noah’s contribution was key here. He insisted that when you remove granulated sugar, you absolutely have to compensate in the moisture department, or you end up with a brick. We layered our moisture sources carefully to prevent heartbreak.
Achieving Unbeatable Moisture in Your Sugar Free Banana Bread
The secret weapons for moisture are simple: super ripe bananas and applesauce. I mean *really* ripe. If the peel is still mostly yellow, put it back! We need those spots turning black because that’s where the pure, concentrated banana sweetness is hiding. Noah’s one rule about the bananas was: don’t you dare squeeze them! Squeezing forces out the juice we want to stay right there in the mash and the final loaf. Leave the natural liquid alone!
Dietary Friendliness: Diabetic Friendly Bread and More
Because we aren’t adding any refined sugar, this loaf is fantastic for folks keeping an eye on their blood sugar—it’s truly Diabetic Friendly Bread. If you’re swinging more towards low-carb or Keto, don’t worry, we have you covered! Just swap out the regular flour for almond flour, and you have a perfectly acceptable low-carb version ready to go. See? We try to make sure everyone gets a slice of the action. If you want to see how we fixed another classic, check out our tips for making the best cookies they just never fail over at our cookie post!
Ingredients for Your Moist Sugar Free Banana Bread
Alright, let’s get down to brass tacks. The ingredients for this sugar free banana bread have to be precise, especially when we are relying on fruit for all the sweetness. Noah was very strict about the measurements here because if you get the ratio wrong, the whole moisture structure collapses. Don’t fret; it’s mostly pantry staples you probably have right now!
- 3 large, very ripe bananas (I mean it—the spottier, the better!)
- 2 large eggs
- 1/4 cup melted unsalted butter or coconut oil
- 1/2 cup unsweetened applesauce
- 1 teaspoon pure vanilla extract
- 1 3/4 cups whole wheat pastry flour (Hold tight, more on this gem below!)
- 1 teaspoon baking soda
- 1/2 teaspoon baking powder
- 1 teaspoon ground cinnamon
- 1/4 teaspoon ground nutmeg
- 1/2 teaspoon fine sea salt
- Optional mix-in: 1/2 cup chopped walnuts or pecans
Seriously, if you want a great outcome, please make sure those bananas look like they are about to stage a retirement party. Those dark brown/black spots mean maximum natural sugar, which is our whole game plan here!
Ingredient Notes and Substitutions for Sugar Free Banana Bread
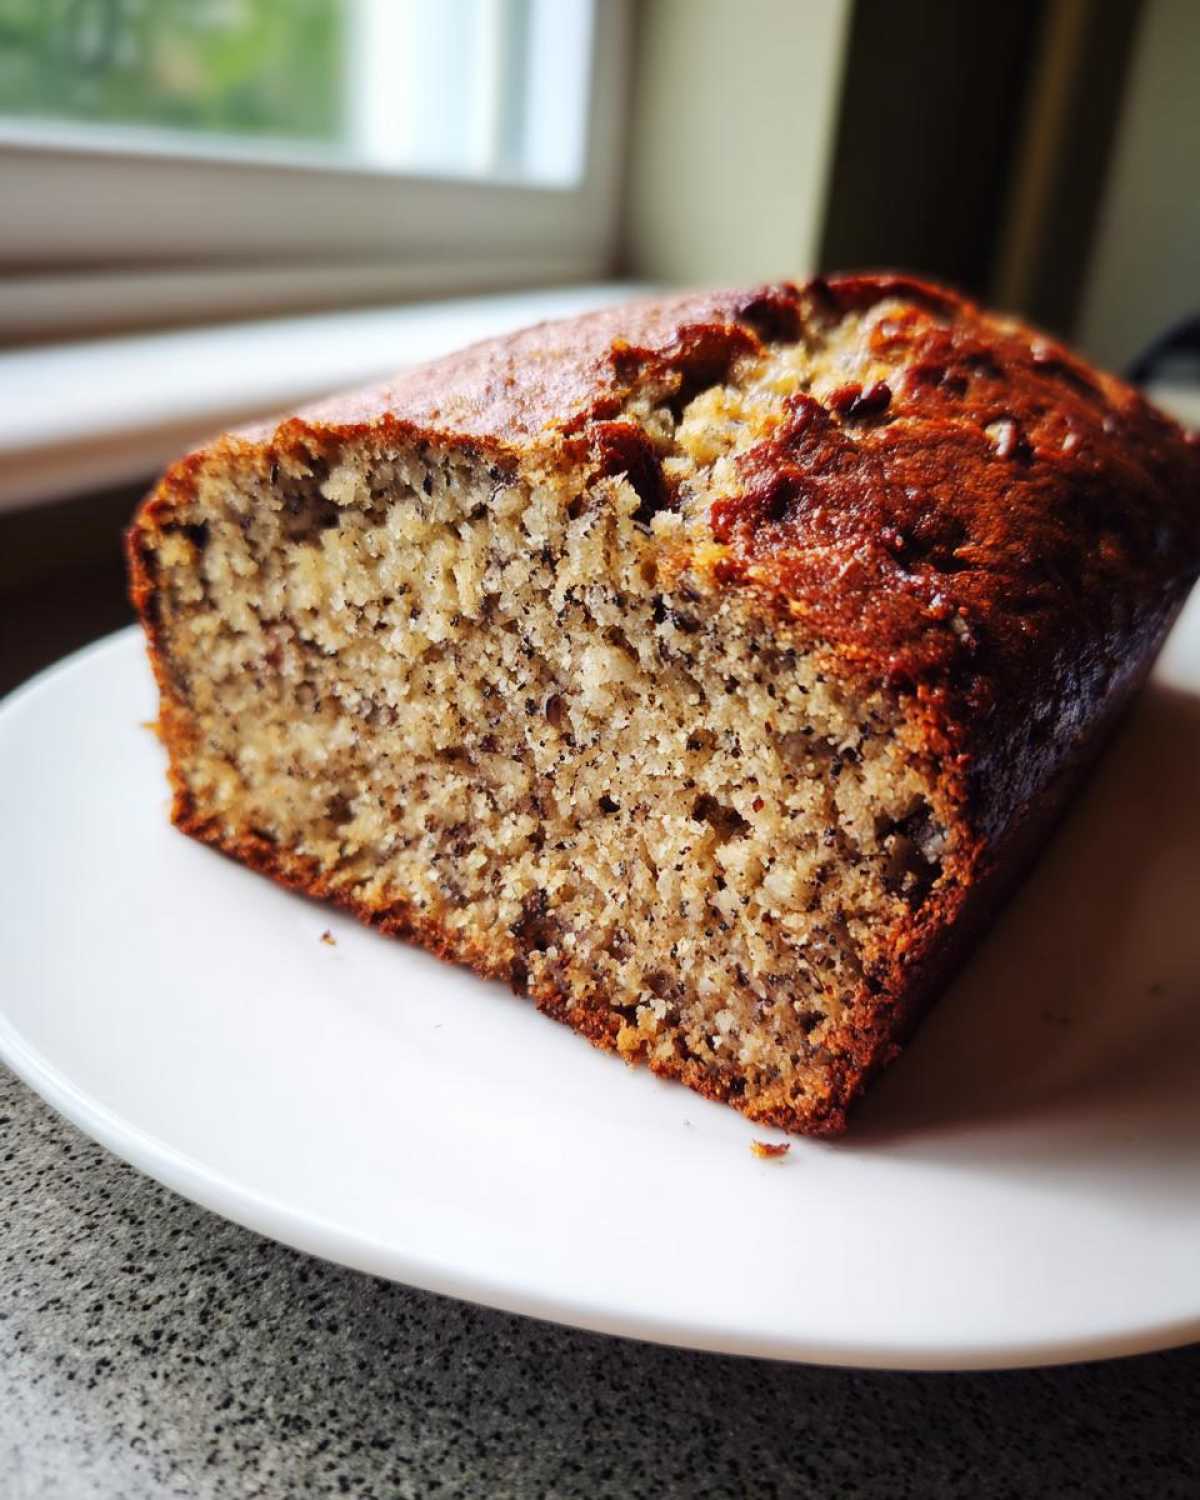
This is where Noah’s scientific brain really shines, so listen up on the flour choice. We tested this recipe relentlessly with regular all-purpose flour, but we landed on whole wheat pastry flour. It adds just a little bit more structure and fiber without making the loaf heavy, which is a huge win for a sugar free banana bread. Check out our recipe for lemon garlic potatoes to see how ingredient quality bumps up the flavor!
Now, for the low-carb folks—and this is important for our low-sugar bakers—you can swap that pastry flour for 1 1/2 cups of almond flour. It works beautifully and brings down the carb count significantly. Just know that if you make that swap, your baking time might be a little shorter, so watch it closer after the 50-minute mark.
And remember, the ripeness of those bananas dictates everything! If your bananas are yellow or even slightly green, they don’t have enough concentrated natural sugar. You’ll end up with a bland, dense bread that tastes like banana-flavored cardboard. We need that tropical punch, and only true ripeness delivers the goods!
Equipment Needed for Easy Homemade Bread
So, what do you need to pull off this amazing, easy recipe? The good news is that for all the flavor packed into this Easy Homemade Bread, the equipment list is super short. Ben always jokes that we could probably make this thing with just a stick and a bowl, but I prefer a little more precision—especially when Noah is watching!
You really only need three main things:
- A large bowl for mixing up all that glorious banana mash and wet ingredients.
- A separate medium bowl for getting your dry ingredients perfectly aerated.
- A standard 9×5 inch loaf pan.
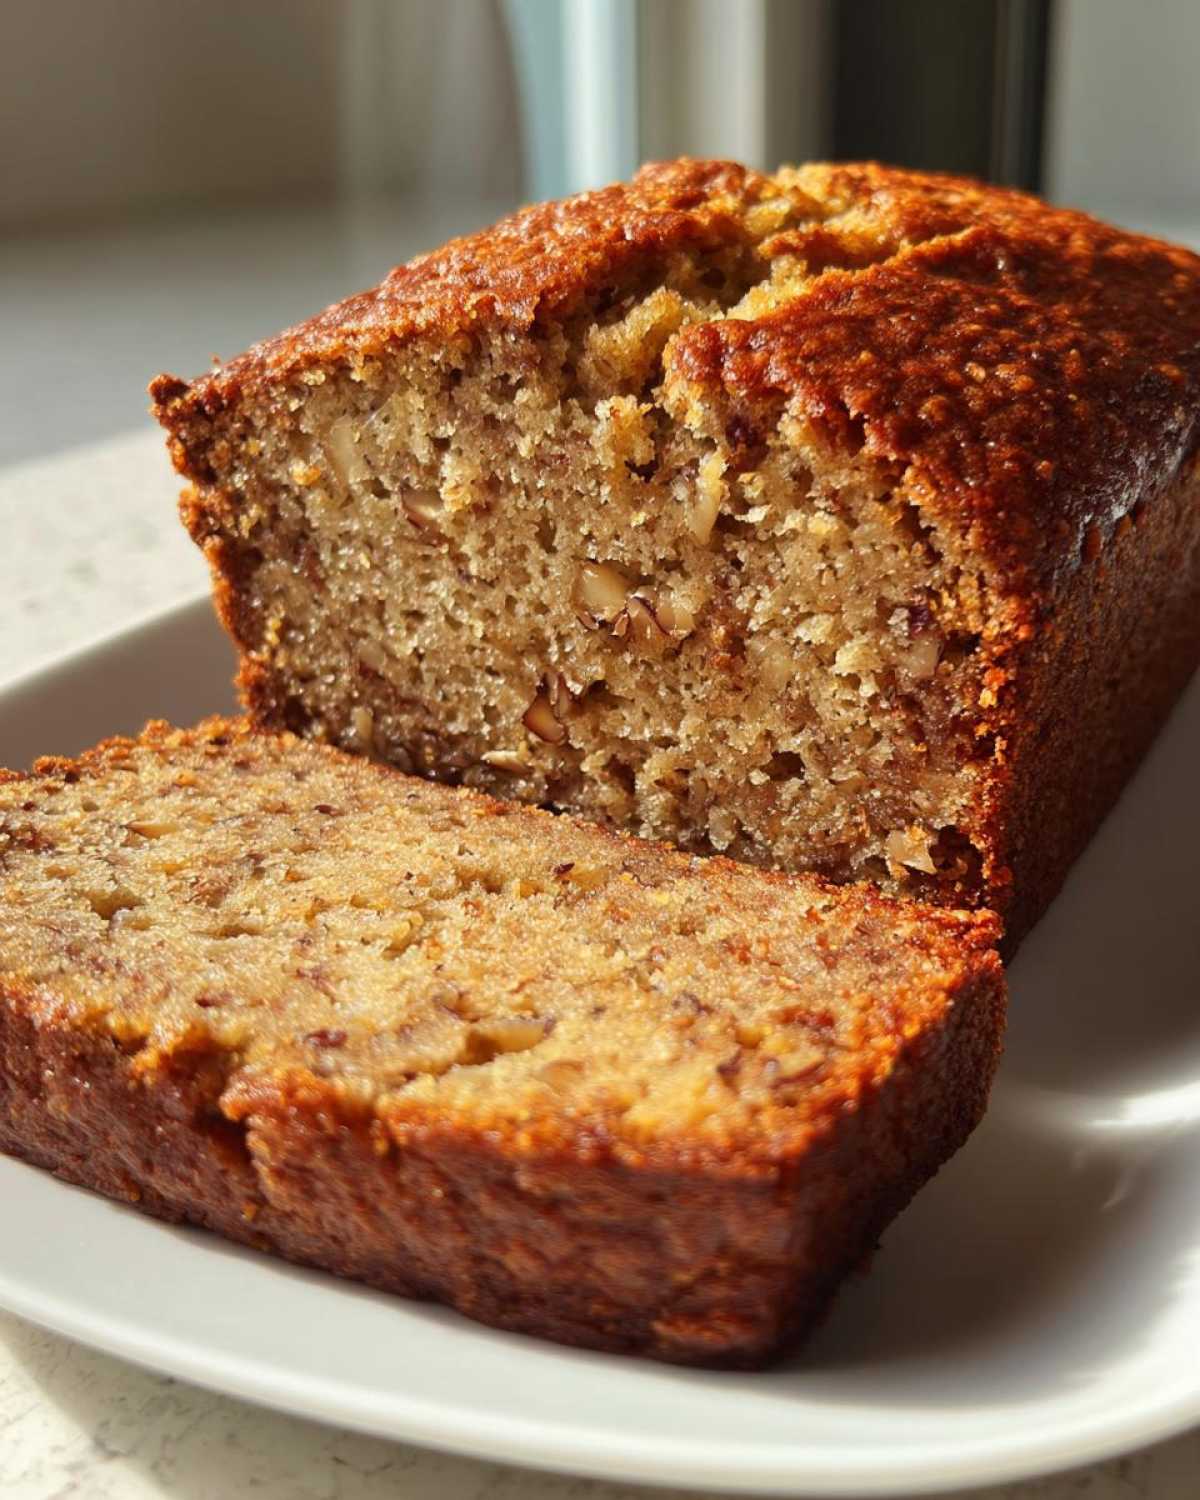
And for mixing, honestly, a good sturdy spatula is all you need once you get past the initial mashing. We aren’t using an electric mixer for this loaf because we are intentionally under-mixing to keep the crumb tender. If you happen to be fixing up dinner at the same time, you should see how fast our one-skillet beef stroganoff comes together—it’s totally hands-off!
Make sure your loaf pan is well-greased, or better yet, line it with parchment paper like we mention in the instructions. Trying to pry out a delicate, moist banana bread when it sticks is a recipe for tears, and we are here to prevent those culinary crying sessions!
Step-by-Step Instructions to Make Perfect Sugar Free Banana Bread
Okay, here’s the moment of truth! Making this sugar free banana bread is actually pretty straightforward, which is why it’s such a great recipe for busy days. The real trick—the thing Noah hammer-drilled into our heads—is avoiding overmixing. Seriously, you are fighting the urge to stir everything into smooth submission. We want rustic, we want moist, and we definitely don’t want tough!
First things first: fire up that oven! You absolutely must preheat to 350°F (175°C). Also, get your 9×5 inch loaf pan ready. Grease it well, or better yet, line it with parchment paper that leaves a little sling hanging over the sides. That sling is your best friend when trying to lift a super moist loaf out later. Check out how we fixed those sticky chili garlic noodles; the principle of releasing goo is universal! See our noodle rescue here.
Mixing Wet and Dry Components for Optimal Sugar Free Banana Bread Batter
We need to keep these groups separate until the very last second. Grab that large bowl and mash those bananas until they look like baby food, but leave a few tiny lumps—those are little pockets of moisture waiting to burst!
Next, whisk in your wet friends: the eggs, melted butter (or coconut oil—your call!), applesauce, and vanilla. Mix until it looks uniform and a little gooey. Set that aside.
In your second bowl, you need to combine all your dry powerhouses: the flour, baking soda, baking powder, cinnamon, nutmeg, and salt. If you are using walnuts, toss them in here and give them a quick swirl. Coating them in flour prevents them from sinking straight to the bottom of your sugar free banana bread.
Now, the critical folding stage. Gently pour the dry mixture into the wet. Use your spatula and fold like you’re tucking someone into bed—gently, with a purpose, but don’t stir vigorously! Mix only until you stop seeing white streaks of flour. If you see a few little pockets of flour left? Perfect! That means the gluten hasn’t been activated into rubber bands.
Baking Times and Testing for Doneness in Your Wholesome Banana Loaf
Pour that beautiful, slightly lumpy batter into your prepared pan and slide it into the oven. It’s going to bake for 50 to 65 minutes. I know, it’s a wide range, but every oven is different, right?
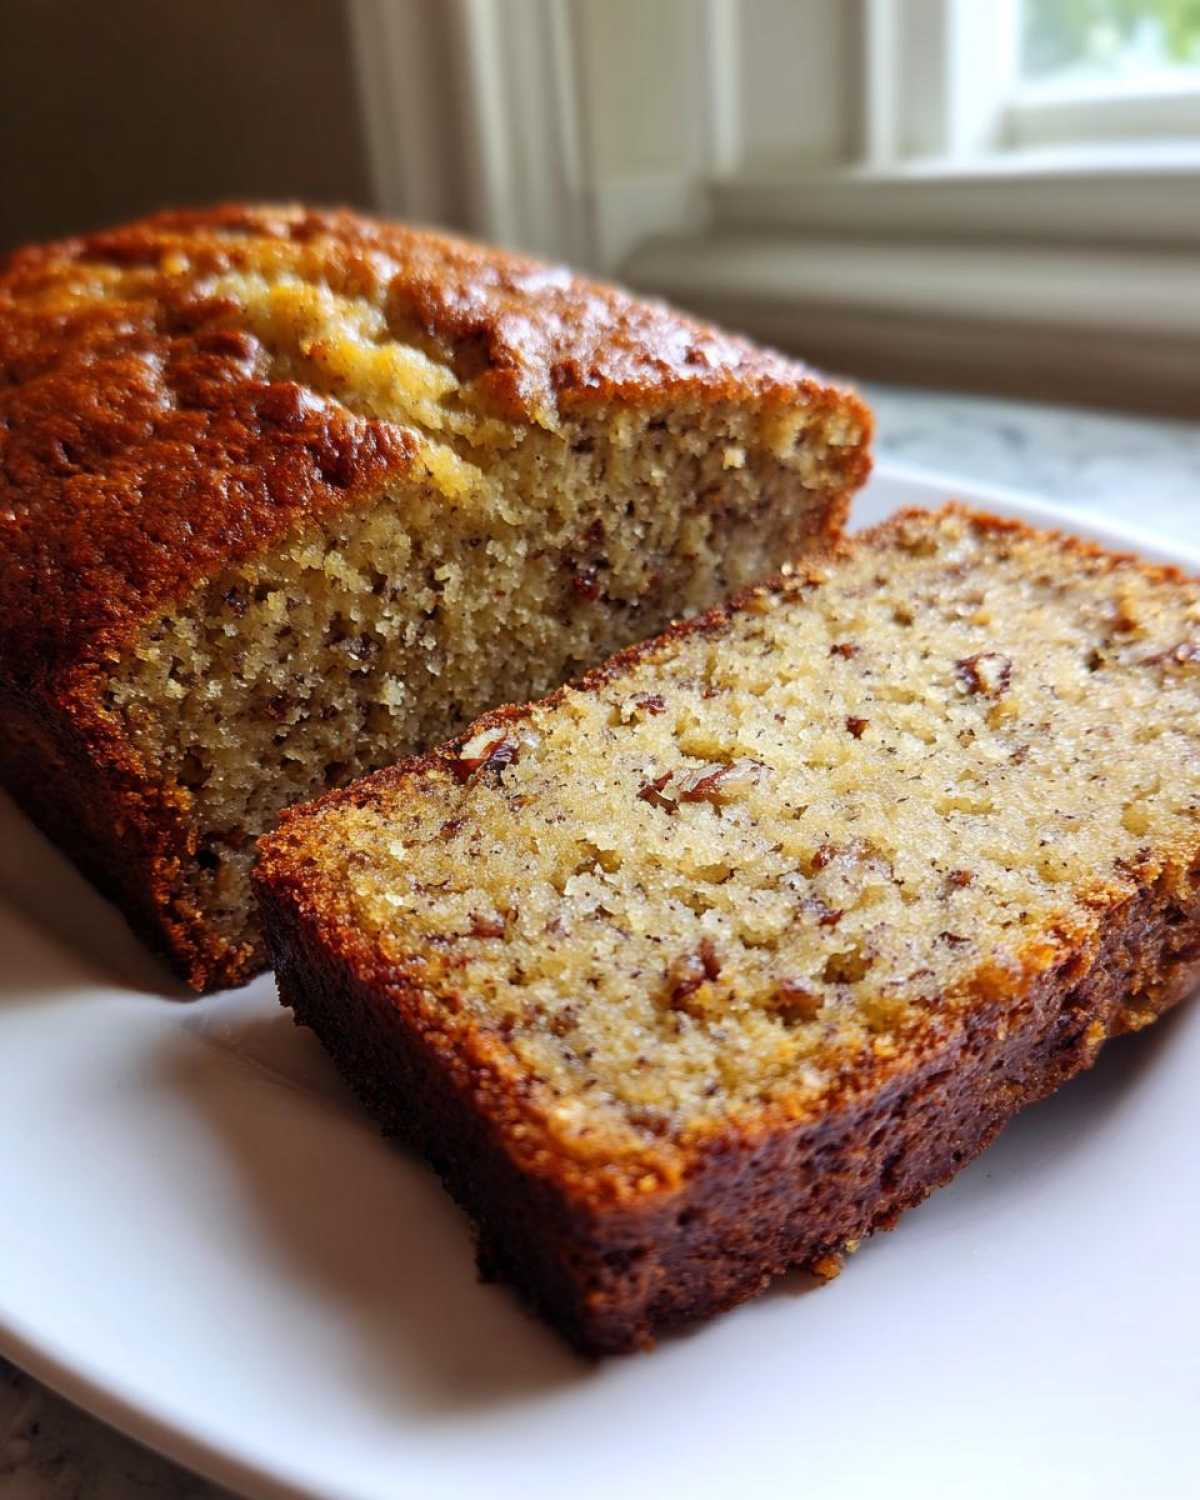
Start checking right around the 50-minute mark. You want to use the toothpick test, but listen up: we are aiming for *moist crumbs*, not a bone-dry toothpick. If the toothpick comes out totally dry, you’ve baked it too long, and you’ve lost some of that precious moisture we worked so hard to trap!
If you see wet, sludge-like batter clinging to the stick, give it another 5 minutes. When you get that sweet spot—a toothpick that comes out with a few soft, cooked crumbs on it—that’s your cue! You’ve nailed the texture for this Wholesome Banana Loaf.
Tips for Success When Baking Sugar Free Banana Bread
We’ve baked enough loaves to know that sometimes the recipe looks perfect on paper, but the execution needs a little nudge. Since we are skipping the added sugar in this sugar free banana bread, we really rely on perfect technique to keep it tasting rich and comforting. These little secrets are what separate a decent homemade loaf from the absolute best one you’ll ever make.
First up, let’s talk about the oven rack position. Noah always insists that for even baking—especially in a deep loaf pan—the rack should be in the lower middle position. This gives the bottom of the loaf a chance to cook through without the top burning before the center sets. It’s basically physics, folks, and it works!
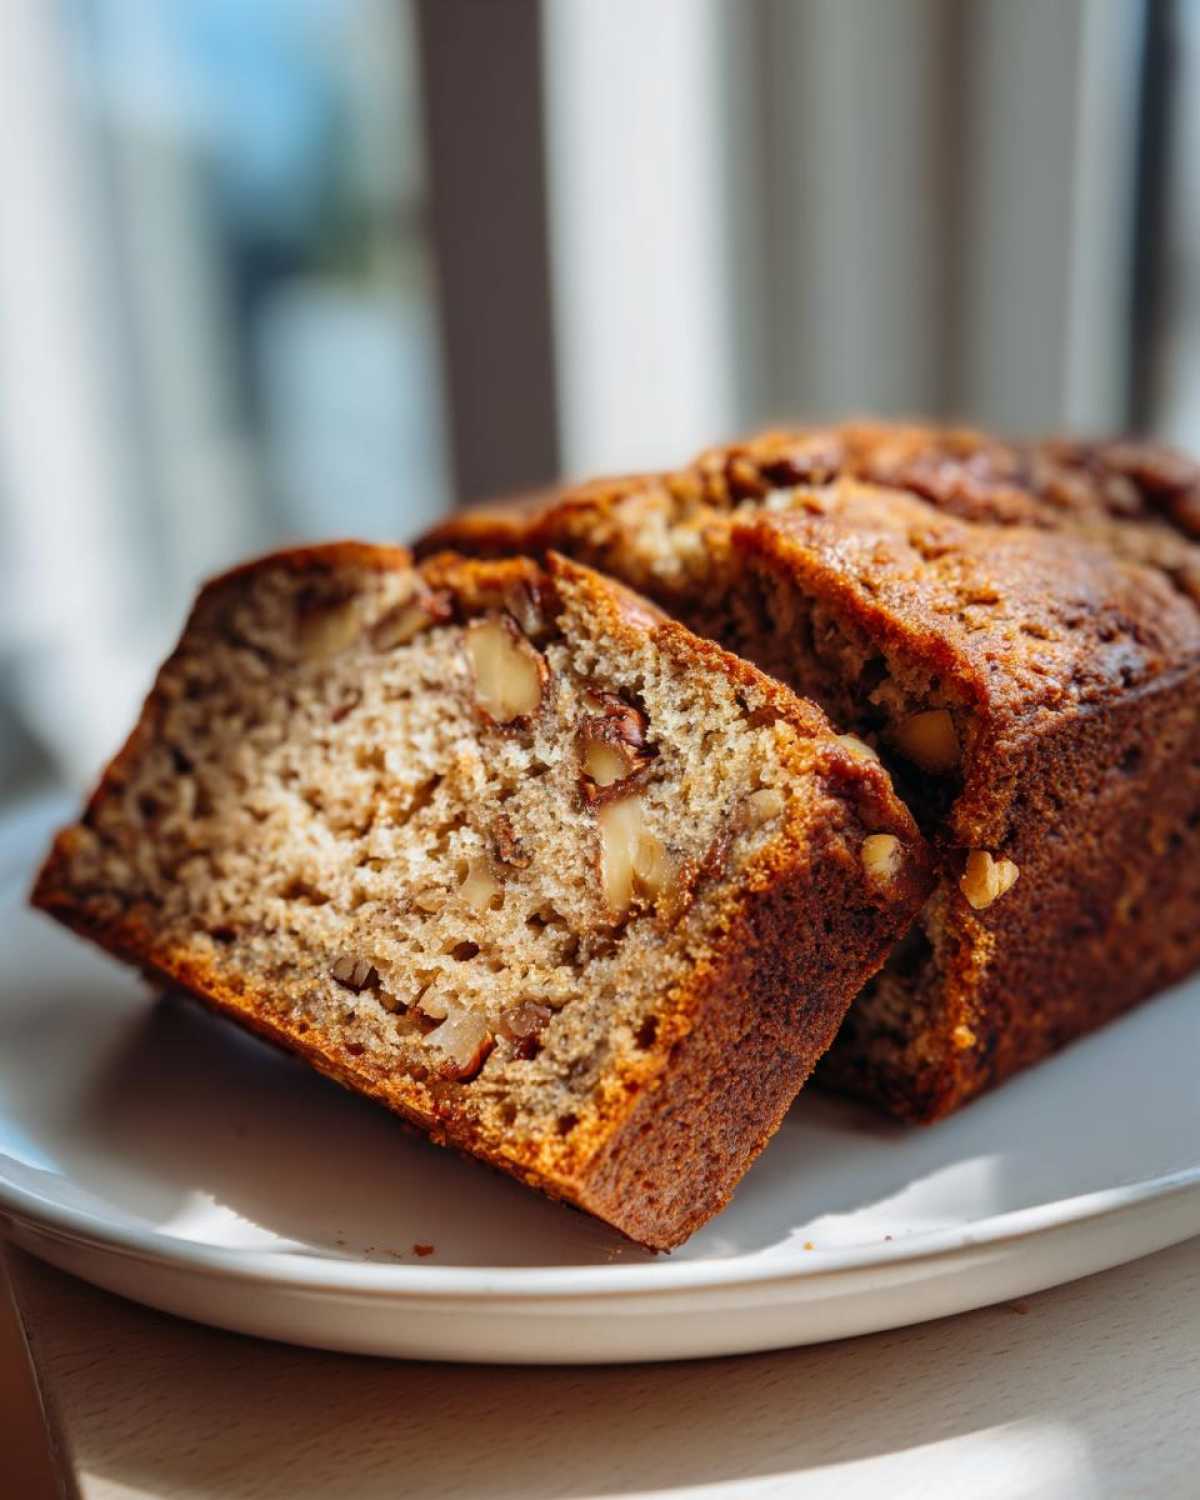
When it comes to cooling, please, please listen to me here: patience is mandatory. I know you want to slice into that warm, fragrant loaf immediately. But because this recipe is so incredibly moist (thanks, applesauce!), cutting it hot means the structure hasn’t had time to settle. It will compress, and you’ll lose those nice air pockets, turning your tender crumb into something dense and gummy. You have to let it cool in the pan for exactly 15 minutes.
That 15-minute resting window in the pan allows the starches to firm up slightly. After that, gently turn it out onto a wire rack to cool completely. If you skip the cooling step, you’ll end up ruining the texture, and we worked too hard making this the best sugar free recipes contender for you to mess up the finish!
If you want to add a little something extra special to your snack routine, maybe try our honey butter chicken biscuits next—it’s completely different but just as satisfying!
Another small thing that really elevates this? Temperature control for your wet ingredients. Make sure your eggs aren’t ice-cold straight from the fridge. Room temperature eggs incorporate far better into the batter, leading to a more unified mixture and better overall lift in your low sugar baking ideas endeavor.
Storage and Reheating Your Sugar Free Banana Bread
This is the part where I try to make sure you don’t devour the entire loaf in one sitting—though I totally support you if you manage it! Since this sugar free banana bread is so delightfully moist (thanks to those bananas and applesauce!), we need to be smart about how we store it to maintain that perfect texture. We want this to stay in the category of No Added Sugar Baking winners for days, not hours!
At room temperature, I’ve found this loaf does great for about three days, provided you store it correctly. Do NOT put it in an airtight container on the counter right away. Because it’s so moist, trapping too much moisture at room temp can encourage sogginess or even mold faster than we’d like. Always wrap the completely cooled loaf tightly in plastic wrap first. Then, tuck that wrapped loaf into a large Ziploc bag or an airtight container. If your kitchen is super warm, stick it in the fridge sooner!
The fridge is where this loaf really performs if you plan on keeping it longer than three days. Wrap it up tight—plastic wrap then foil—and it should stay perfectly delicious for up to a week. Don’t worry about it drying out too much; the combination of ingredients holds up really well to that cold air.
Now, my favorite way? Freezing! This is perfect for meal-prepping those Healthy Snack Recipes ahead of time. This bread freezes like a dream. Once it is totally, completely cool, slice it first. Then, wrap individual slices or half-loaves tightly in plastic wrap and then follow that with a layer of aluminum foil. That double wrapping is the secret to avoiding freezer burn. It keeps beautifully for up to three months. When you’re ready to eat a slice, just let it thaw on the counter for about an hour while you’re getting your coffee ready.
If you want to warm up a slice? Don’t use the microwave for more than about 10 seconds, or you risk turning it a little chewy. If you have a few minutes, a zap in the toaster oven at 300°F for just 3 to 4 minutes brings out all that cinnamon spice scent again. It honestly tastes freshly baked!
If you prefer something a little more decadent after you’ve enjoyed your loaf the first day, you absolutely must try our recipe for churro cheesecake bars—they are the complete opposite of low-sugar, but sometimes you need that full-flavor indulgence!
Variations: Making Your Sugar Free Banana Bread Unique
Part of the fun in baking, even when we’re sticking to strict rules for a fantastic sugar free banana bread, is making it *yours*. We’ve provided the best framework possible, but sometimes you need a little spark of extra flavor. This is a simple bake, so it takes variations like a champ, making it brilliant for those weekly low sugar baking ideas you need to keep in rotation!
Since we are already getting deep flavor from those super-ripe bananas and cinnamon, you don’t need much drama, but I always suggest adding a little extra warmth. If you want to kick up the spice level—which honestly pairs so well with banana—try adding 1/2 teaspoon of ground ginger to your dry mix. It gives the whole loaf this incredible aromatic quality, especially when it first comes out of the oven. It feels cozy like my favorite mulled wine recipe!
For mix-ins, since we stuck to nuts in the main recipe, know that if you aren’t strictly watching carbs or sugar content for specific dietary reasons, 1/2 cup of unsweetened or 70% dark chocolate chips melt beautifully into this batter. They provide pockets of intense chocolate flavor that pair surprisingly well with the warm spices. Ben insists on dark chocolate, saying anything sweeter ruins the whole ‘guilt-free’ vibe we set up!
Low Carb Banana Bread Alternative: Keto Considerations
I know some of you are sticking strictly to the low-carb side of things, so let me reiterate that switch just one more time because it’s critical for that audience. If you used almond flour instead of the whole wheat pastry flour, you have leaned heavily into the Keto Banana Bread Alternative territory.
Remember, if you make that swap, the bread structure is slightly different. It might be a touch softer, and it definitely won’t absorb moisture the same way. You might find that the bake time shortens by 5 to 10 minutes. Always rely on that toothpick test to confirm doneness rather than strictly watching the clock when you opt for the almond flour version!
Frequently Asked Questions About Sugar Free Banana Bread
Okay, I know sometimes even with all our details, questions pop up! That’s totally normal, especially when you’re trying out a new baking method, like relying just on fruit for sweetness. We want this sugar free banana bread to be a guaranteed success for you, so let’s tackle the things we hear most often from our readers, whether they are looking for easy breakfast ideas or just simple Healthy Snack Recipes.
Can I use green or slightly yellow bananas instead of fully ripe ones?
Oh, please don’t! I know it’s tempting when you need bread *now* and only have pale bananas sitting there. But green or yellow bananas haven’t converted enough of their starches into simple sugars yet. If you use them, your bread will be dense, starchy, and, frankly, not very sweet at all. You need those almost-black bananas; they are the key ingredient for guaranteeing moisture and flavor in this sugar-free recipe. They are your natural sweetener powerhouse!
Can I add protein powder to this sugar free banana bread recipe?
This is a great question for turning this loaf into a true powerhouse breakfast! If you want to add protein powder—say, half a scoop of unflavored or vanilla whey/plant-based powder—you need to make a small adjustment. Protein powder tends to be very drying, so I would substitute 1/4 cup of the flour measurement with the protein powder, and then add an extra tablespoon of applesauce or even a splash of milk to compensate for that lost liquid/bulk. It works great, but you have to babysit it slightly more!
Why does my bread have a slightly sticky bottom layer?
That stickiness is usually caused by one of two things, neither of which is a disaster! Number one: If you used coconut oil instead of butter, coconut oil melts very easily and can sometimes puddle slightly around the bottom edges. Number two, and more common: if you cut into the loaf before it cooled completely. That residual heat steam melts the sugars and fat near the bottom, making it tacky. If this happens, you can gently scrape that bottom layer off, or better yet, just enjoy it as a bonus soft treat before serving! If you want to see how we fixed sticky spots on another favorite, check out our Mexican Street Corn Dip rescue—we dealt with sticky cheese there!
Can I use a different fat like canola oil instead of butter or coconut oil?
You absolutely *can*, and it will keep the bread moist! However, you’ll lose that little bit of inherent richness that butter provides, and coconut oil gives you a slightly different, very subtle background flavor that complements the banana well. If you use a neutral oil like canola or vegetable, you just need to remember that it won’t help the final loaf firm up quite as much during cooling. Stick to what we listed if you want the texture we promised, but if you’re in a pinch, neutral oil works fine!
Nutritional Estimates for This Wholesome Banana Loaf
Since this is a recipe designed around natural ingredients and low sugar, I know you’re curious about the numbers. Keep in mind that these are just estimates, okay? Your final count will change depending on the size of your bananas and whether you used butter or coconut oil. We use the whole wheat pastry flour version as our baseline for these calculations.
Here is a rough breakdown per slice (assuming 10 slices total):
- Serving Size: 1 slice
- Calories: Around 185
- Sugar: About 7 grams (and this is all from the fruit itself! Zero added sugar!)
- Fat: About 7 grams
- Carbohydrates: Around 28 grams
- Protein: About 5 grams
See? A genuinely wonderful little loaf that delivers flavor without the refined sugar crash. We think that makes it a real winner for your holiday baking plans too, maybe paired with a gorgeous roast!
If you’re looking for a completely different kind of meal prep, make sure you check out the tips we gathered for handling that tricky prime rib roast!
Nutritional Estimates for This Wholesome Banana Loaf
Since this is a recipe designed around natural ingredients and low sugar, I know you’re curious about the numbers. Keep in mind that these are just estimates, okay? Your final count will change depending on the size of your bananas and whether you used butter or coconut oil. We use the whole wheat pastry flour version as our baseline for these calculations.
Here is a rough breakdown per slice (assuming 10 slices total):
- Serving Size: 1 slice
- Calories: Around 185
- Sugar: About 7 grams (and this is all from the fruit itself! Zero added sugar!)
- Sodium: About 180 mg
- Fat: About 7 grams
- Saturated Fat: About 4 grams
- Unsaturated Fat: About 3 grams
- Trans Fat: 0 grams
- Carbohydrates: Around 28 grams
- Fiber: About 3 grams
- Protein: About 5 grams
- Cholesterol: About 45 mg
See? A genuinely wonderful little loaf that delivers flavor without the refined sugar crash. We think that makes it a real winner for your holiday baking plans too, maybe paired with a gorgeous roast!
If you’re looking for a completely different kind of meal prep, make sure you check out the tips we gathered for handling that tricky prime rib roast!
PrintThe Ultimate Moist Sugar-Free Banana Bread (Naturally Sweetened with Ripe Bananas)
You need a banana bread that delivers on moisture and deep banana flavor without any added refined sugar. This recipe uses only the natural sweetness of very ripe bananas, making it a guilt-free treat perfect for breakfast or a healthy snack. It is diabetic friendly and easy to make from scratch.
- Prep Time: 15 min
- Cook Time: 60 min
- Total Time: 75 min
- Yield: 1 loaf (about 10 servings)
- Category: Baking
- Method: Baking
- Cuisine: American
- Diet: Diabetic
Ingredients
- 3 large, very ripe bananas (the spottier, the better)
- 2 large eggs
- 1/4 cup melted unsalted butter or coconut oil
- 1/2 cup unsweetened applesauce
- 1 teaspoon pure vanilla extract
- 1 3/4 cups whole wheat pastry flour (or substitute with 1 1/2 cups almond flour for a low-carb option)
- 1 teaspoon baking soda
- 1/2 teaspoon baking powder
- 1 teaspoon ground cinnamon
- 1/4 teaspoon ground nutmeg
- 1/2 teaspoon fine sea salt
- Optional mix-in: 1/2 cup chopped walnuts or pecans
Instructions
- Preheat your oven to 350°F (175°C). Grease and flour a standard 9×5 inch loaf pan, or line it with parchment paper.
- In a large bowl, mash the very ripe bananas thoroughly with a fork until mostly smooth. You want some small lumps for texture.
- Whisk the eggs, melted butter (or coconut oil), applesauce, and vanilla extract into the mashed bananas until well combined. This is your wet mixture.
- In a separate medium bowl, whisk together the flour, baking soda, baking powder, cinnamon, nutmeg, and salt. If you are using nuts, stir them into the dry ingredients now.
- Add the dry ingredients to the wet ingredients. Mix gently with a spatula until just combined. Do not overmix; a few streaks of flour are fine. Overmixing develops gluten and reduces moisture.
- Pour the batter evenly into your prepared loaf pan.
- Bake for 50 to 65 minutes. Start checking at 50 minutes. The bread is done when a toothpick inserted into the center comes out clean or with a few moist crumbs attached.
- Let the bread cool in the pan on a wire rack for 15 minutes.
- Carefully remove the loaf from the pan and allow it to cool completely on the wire rack before slicing. This step is key for the best texture.
Notes
- For the best natural sweetness, use bananas that are heavily spotted or almost completely black. They contain the most concentrated fruit sugar.
- If you are making the low-carb version using almond flour, the bake time might be slightly shorter, around 50-55 minutes. Check early.
- This bread freezes well. Wrap the cooled loaf tightly in plastic wrap and then foil before freezing for up to three months.
- You can add 1/2 teaspoon of ground ginger for an extra warm spice note.
Nutrition
- Serving Size: 1 slice
- Calories: 185
- Sugar: 7
- Sodium: 180
- Fat: 7
- Saturated Fat: 4
- Unsaturated Fat: 3
- Trans Fat: 0
- Carbohydrates: 28
- Fiber: 3
- Protein: 5
- Cholesterol: 45