

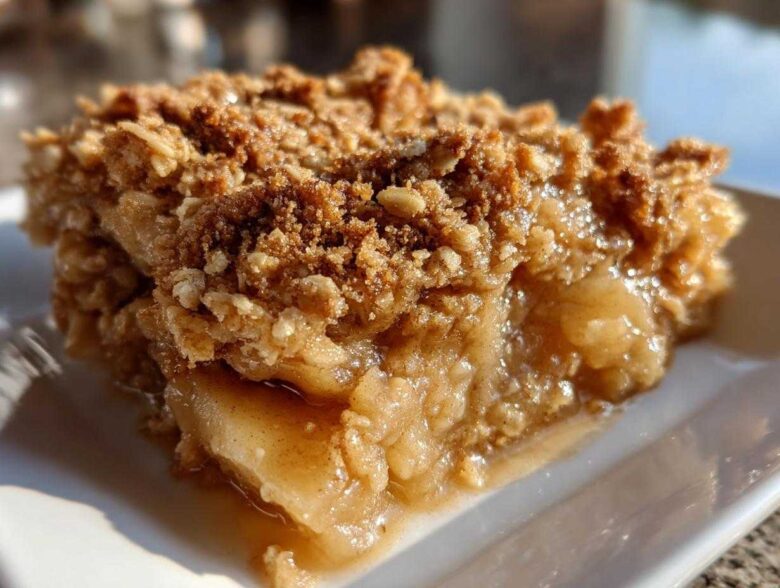
Oh man, when that first genuine chill hits the air, my brain immediately screams for something warm, spiced, and utterly comforting. You know the feeling—that deep craving for autumn apple desserts that smells like home even if you’re nowhere near one. Here at Savor And Pin, we’ve rescued countless broken desserts, but this one—this amazing apple crisp recipe—was a rescue mission right from the start. Every pin, every magazine clipping, promised crunch, but delivered soggy mush. Not here! I’m Ben, and Noah, Clara, and I promise this version delivers that unbelievably tender apple filling nestled right under a buttery, golden, crunchy oat topping. Say goodbye to culinary crimes; this is the foolproof classic you’ve been searching for. We fix baking disasters so you don’t have to.
Why This is the Best Apple Crisp Recipe You Will Ever Make
Listen, I’ve seen way too many apple bakes turn into soupy messes. That’s why we call this the Best Apple Crisp Recipe Homemade; we solved the classic failures. Noah figured out the exact ratio of flour in the filling to absorb just enough liquid to keep everything tender without making it gluey. This isn’t just some random mix; this is our definitive Old Fashioned Apple Crisp, fixed up to trust every single time. We learned so much failing with that infamous pie, which is why we’re so confident in this one. Check out our fixes on that apple pie sometime!
What truly separates this from the pack is how we lock in the texture—crisp on top, soft underneath. If you’re tired of disappointment, stick with these rules, and you’ll be rewarded with pure autumnal comfort.
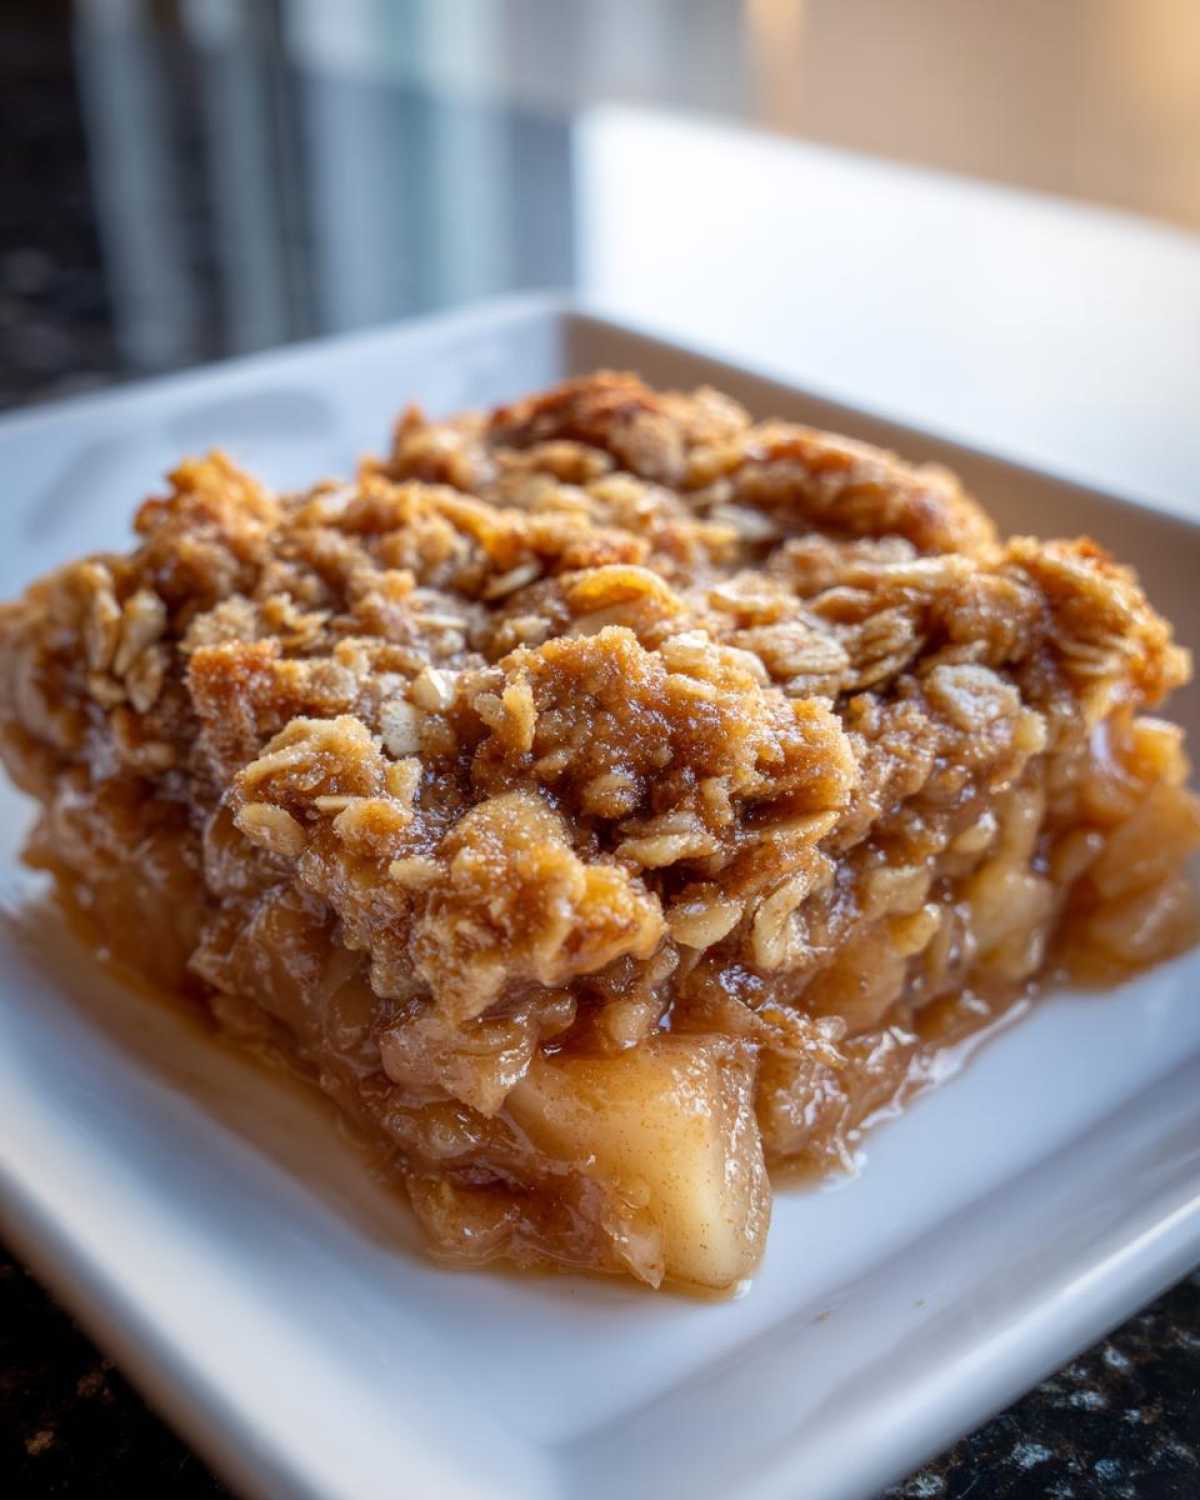
Tender Apple Filling: The Secret to a Perfect Baked Apple Filling
First off, we never use just one kind of apple. You need structure and flavor! I use a mix—maybe some tart Granny Smith for bite and some sweeter Honeycrisp to balance it out. Before they ever hit the pan, they get tossed with a bit of lemon juice and water. That little bit of liquid creates steam while baking, which guarantees those tender, juicy apples you’re craving. It also stops them from looking like sad, brown raisins before the topping even gets golden.
Achieving the Ultimate Buttery Crumble Topping for Your Apple Crisp Recipe
The topping is where most recipes panic and go wrong. They let the butter get warm, and poof—you have pancake batter instead of a crisp. For our Buttery Crumble Topping, the butter has to be rock hard and cubed small. When you cut that cold butter into the flour, oats, and brown sugar of this apple crisp recipe, you create little pockets of butter. Those pockets melt in the oven and create steam, leading to these gloriously separated, crunchy peaks.
Ingredients for Our Foolproof Apple Crisp Recipe
I’m laying it all out here, no secrets kept! When you’re going to the trouble of making this apple crisp recipe from scratch, you need exact measurements. I know it seems very structured for me—I’m usually the guy mixing things by eye—but for baking, especially getting that perfect topping, precision matters. Don’t cheat on the cold butter; that’s my one non-negotiable rule for a truly great crisp!
We’ve got two main groups here: the apples that get all sweet and soft, and the buttery topping that turns into crunchy gold.
- 6 large apples (I swear by a mix of Granny Smith or Honeycrisp), peeled, cored, and sliced about 1/4 inch thick
- 1/4 cup granulated sugar
- 1 tablespoon all-purpose flour
- 1 teaspoon ground cinnamon
- 1/4 teaspoon ground nutmeg
- 1 tablespoon lemon juice
- 1/4 cup water
For the Topping:
- 1 cup all-purpose flour
- 1 cup old-fashioned rolled oats
- 3/4 cup packed light brown sugar
- 1/2 teaspoon ground cinnamon
- 1/4 teaspoon salt
- 1/2 cup (1 stick) cold unsalted butter, cut into small cubes
How to Make This Easy Apple Crisp Dessert From Scratch
Alright, here’s the plan to get this classic apple crisp recipe into the oven fast. We want this to be your go-to Quick Apple Dessert Recipe when you need fall flavor in an hour or less. Following these steps for How to Make Apple Crisp From Scratch will eliminate all the mushy-bottom mistakes we made way back during the Lasagna Incident. Don’t rush the tossing; that’s where the flavor gets sealed in! Trust me, I lean toward chaotic cooking, but for this crisp, sticking to procedure keeps everything perfect. Check out more of our rescued recipes over at the Savor And Pin blog!
Mixing the Apple Filling and Setting Up
First things first: turn that oven on! Get it to 375°F (190°C) right away. While it heats up, grab your 8×8 inch dish and give it a quick light grease. Now, focus on the apples. You’re combining the sliced fruit with the sugars, flour, spices, lemon juice, and that tiny bit of water. Toss it gently—I mean super gentle. You don’t want to bruise the apples; you just want them coated evenly before you spread them out in that prepared dish.
Assembling the Warm Apple Crisp with Oat Topping
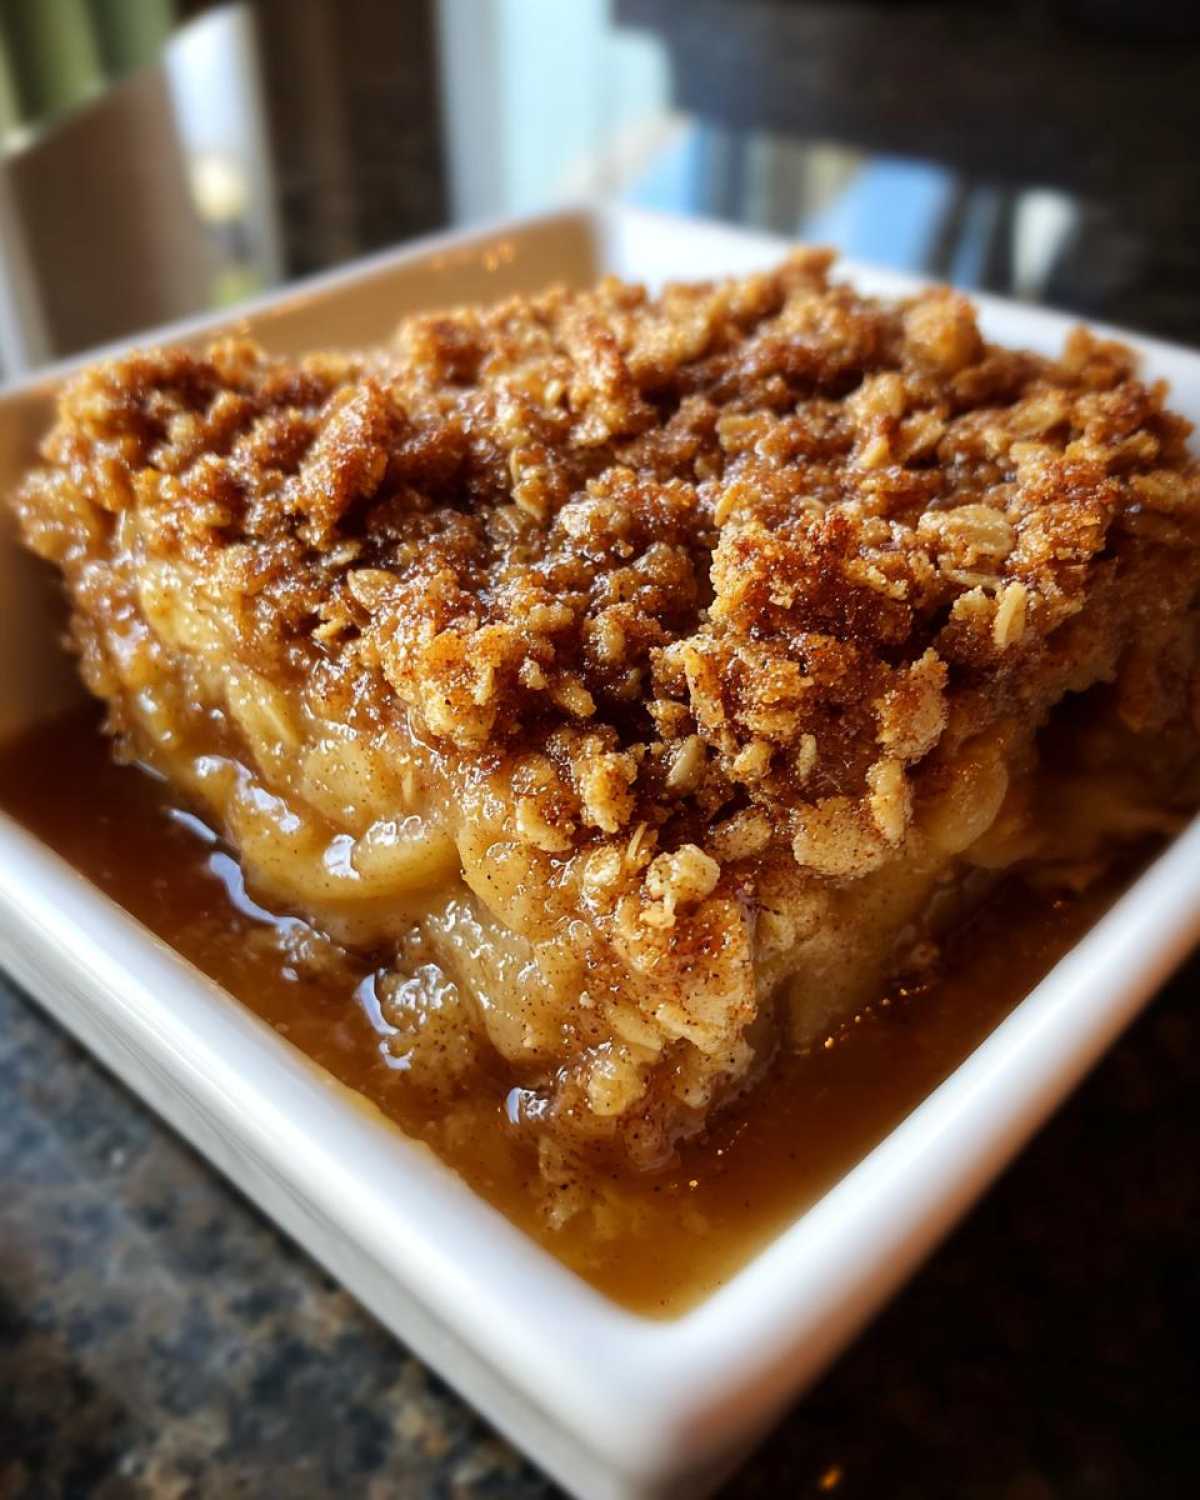
Time for the magic layer! In a separate bowl, mix the dry topping ingredients: the flour, the oats, the brown sugar, cinnamon, and salt. Now, take those tiny cubes of ice-cold butter and work them in. You can use your fingers if they stay cold, or a pastry blender works great. We are aiming for coarse crumbs—not paste! When you sprinkle this Warm Apple Crisp with Oat Topping over the apples, leave it loose. A light press down is fine, but don’t pack it solid, or it won’t crisp up right!
Baking the Apple Crisp Recipe and Achieving Golden Perfection
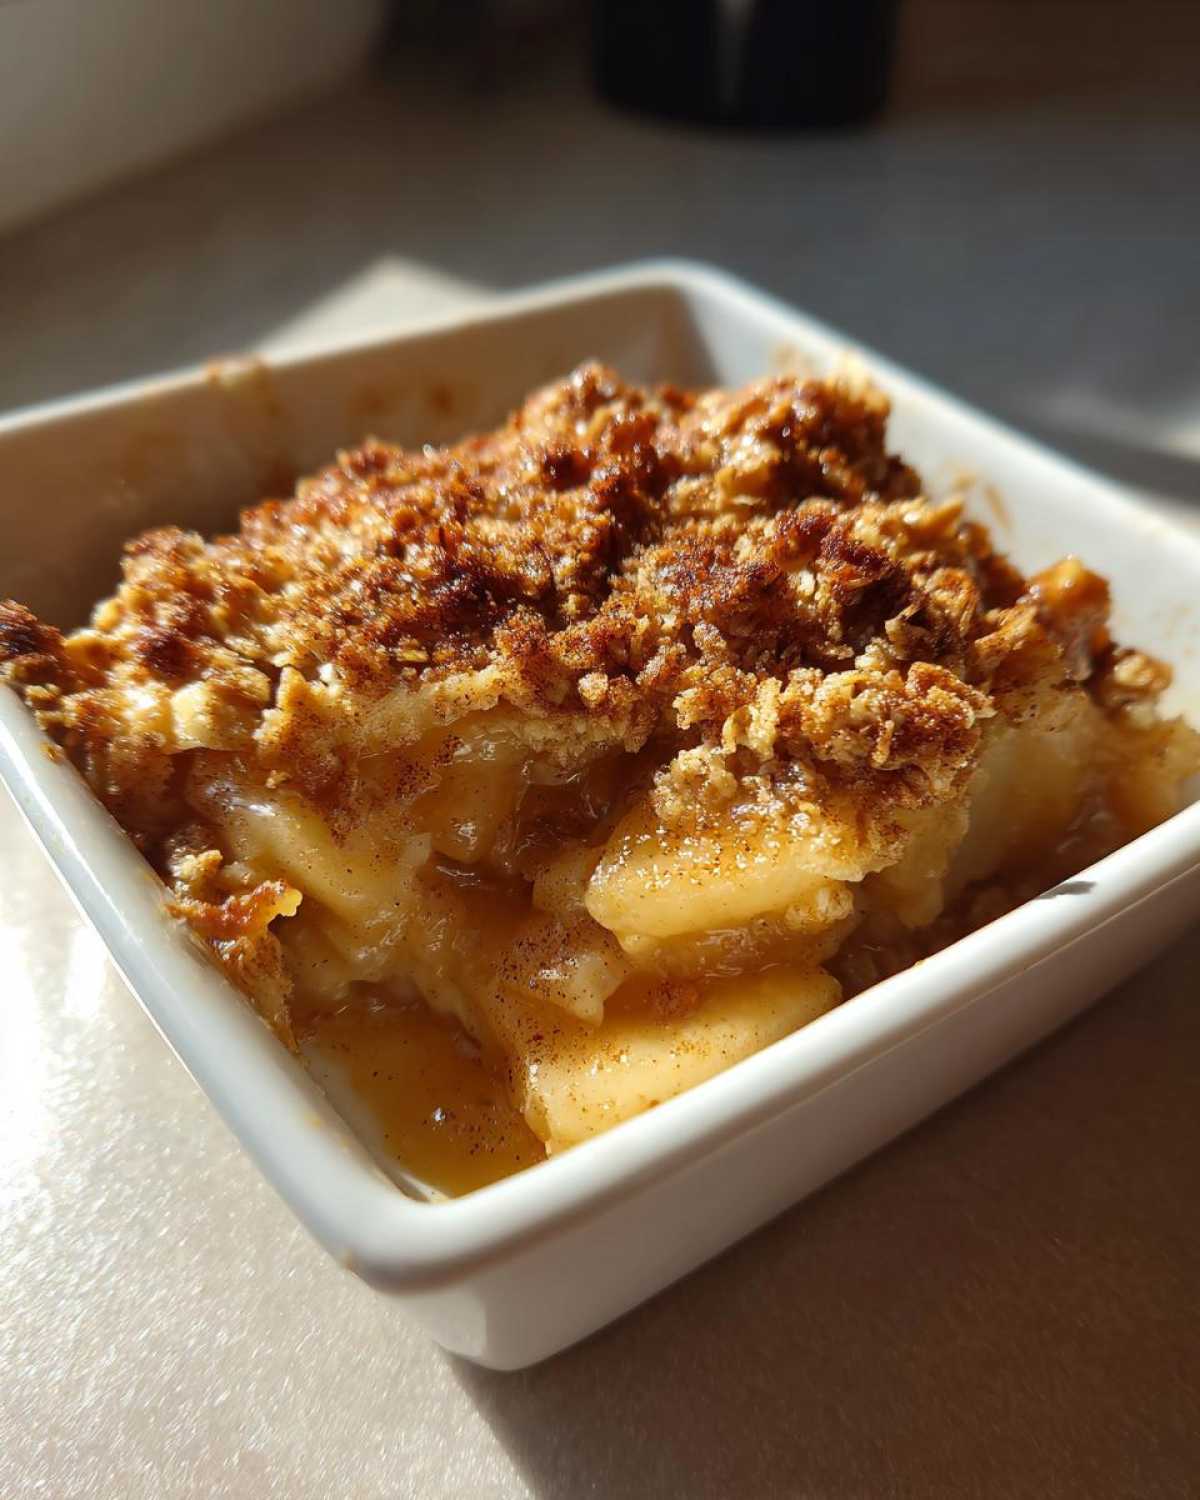
Okay, the dish is assembled, and the oven is finally hot. This is where we bake our apple crisp recipe to peak autumnal glory. We’re aiming for 40 to 50 minutes at 375°F. Watch it closely after the 35-minute mark. You’re looking for two big signs that tell you it’s done: the topping should be deep golden brown—that’s the crunch coming through! More importantly, the apple filling around the edges needs to be actively bubbling up. If you see those thick, syrupy juices simmering, you know the apples beneath are breaking down perfectly.
But guys, please, please listen to me on the resting part. Step number eight is non-negotiable! When you pull that pan out, do not immediately grab a spoon. Let it sit for at least 15 minutes. Seriously. This lets those caramelized juices tighten up a little bit. If you dig in right away, you’ll get a runny mess. Patience rewards you with the perfect scoopable, warm dessert.
Serving Suggestions for Your Apple Crisp Recipe
This isn’t just baking; this is creating an experience! My favorite part about finishing this apple crisp recipe is the serving ritual. We put in all the work to get that perfect cinnamon-spiced apple layer and crunchy oat blanket, so we have to finish it right. Nothing, and I mean *nothing*, beats this warm dessert fresh out of the oven with a giant scoop of good vanilla ice cream melting all over the top. It’s the quintessential Apple Dessert with Vanilla Ice Cream experience.
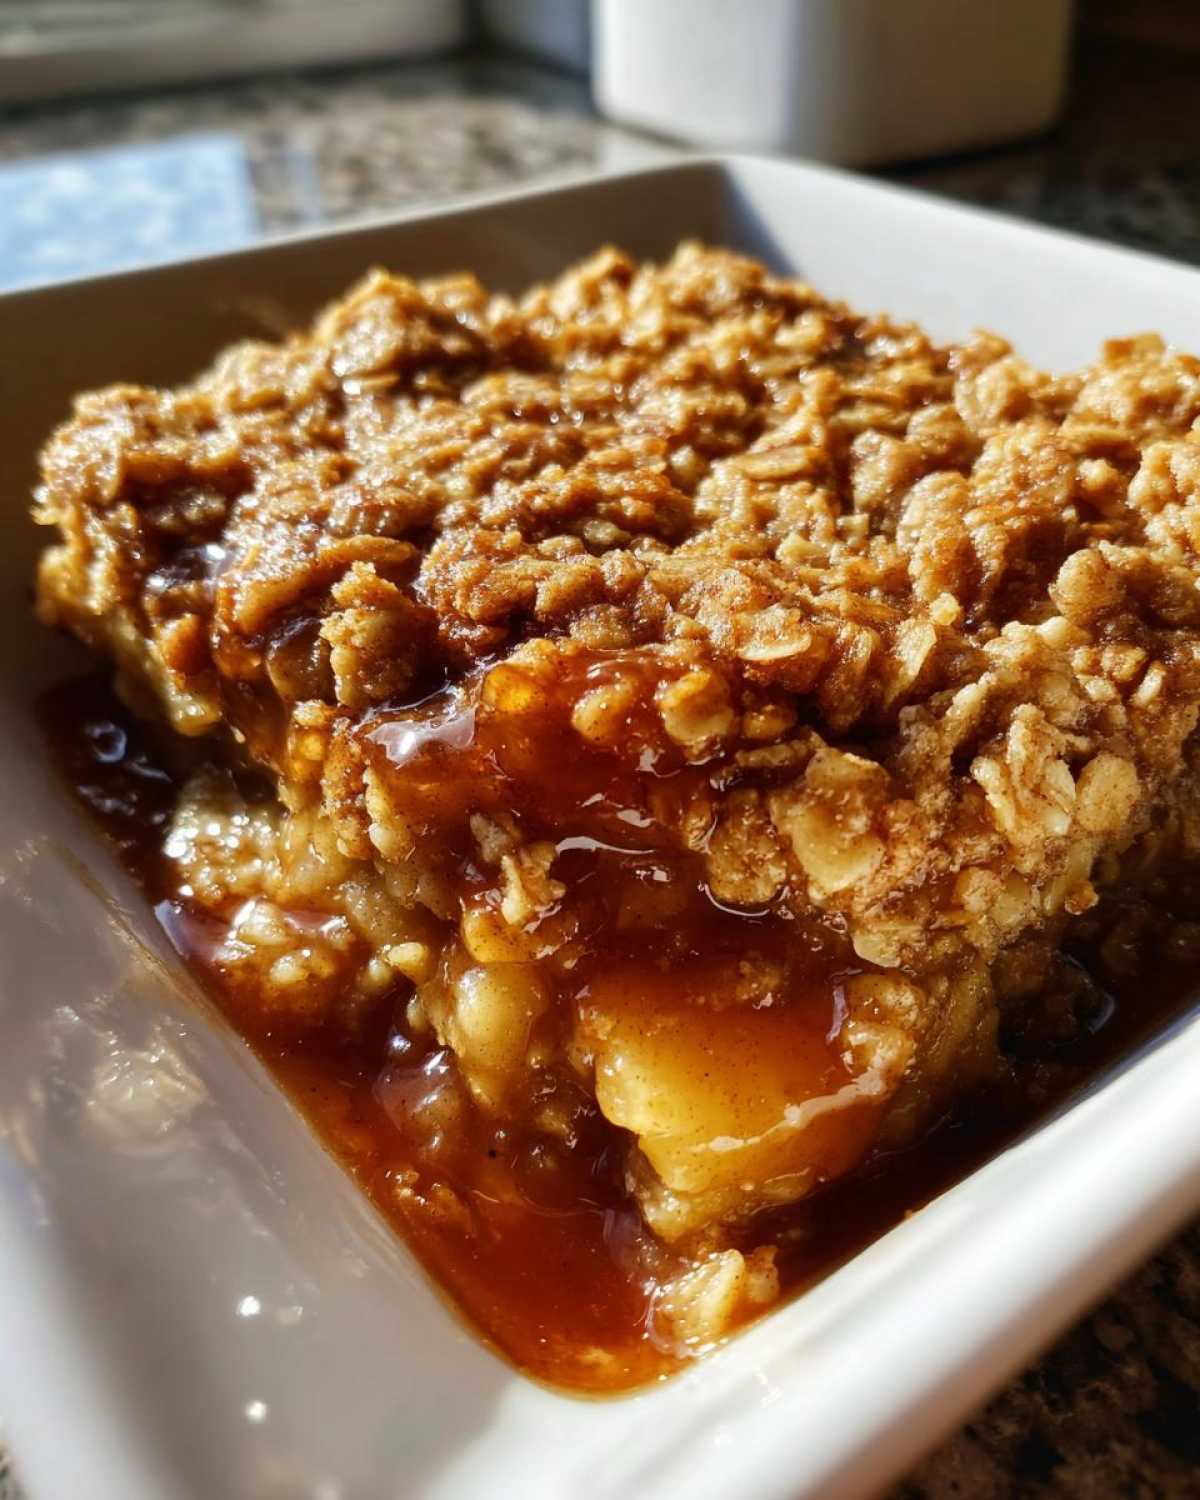
That hot/cold combination is what makes this Comfort Food Baking really sing. If you want to get fancy, a drizzle of slow-simmered caramel sauce is killer, or maybe serve it with a dollop of homemade whipped cream. But honestly, grab a spoon, get ice cream, and dig in. If you’re into more complex apple sweetness, check out how we handled our caramel apple monkey bread—that one screams decadence!
Tips and Troubleshooting for the Perfect Apple Crisp Recipe
Even though this apple crisp recipe is designed to be nearly foolproof, I always want you to succeed! Think of these as the little secrets Noah pulled from his science notes to stop common failures—it’s how we guarantee you get that perfect Simple Fruit Crisp Recipe every time. Don’t worry if you messed up the last one; we’ve got you covered.
The first thing people always ask about is the apples. For maximum flavor and texture, you absolutely need a blend. If you only use sweet apples, they turn to soup when baked. You need the tartness and structure of something like Granny Smith mixed with a sweeter kind, like Fuji or Honeycrisp. This mixture keeps the filling from feeling one-note.
Now, about that topping. If your crumble seems too soft after baking, that usually means the butter wasn’t cold enough, or you mixed it too much! The beauty of this apple crisp recipe is that when the butter stays in distinct, cold pieces, it creates steam pockets that crackle and crisp up beautifully. If you notice yours browning too fast before the apples look done, just loosely tent a piece of foil over the top for the last 15 minutes of baking. Problem solved!
Lastly, if you make this ahead, remember that chilling the assembled crisp slightly before baking—as the notes suggest—is a pro move that locks in that glorious topping texture. You can also explore how we use similar principles to keep baked goods fresh in our caramel apple monkey bread recipe.
Storage and Make-Ahead Instructions for Apple Crisp
Look, sometimes you just can’t eat an entire 8×8 inch dish of pure comfort food in one night. I get it. If you have leftovers of this apple crisp recipe—which you will, unless you’re feeding an army—just cover the dish tightly once it cools down completely. You can store it on the counter for about a day, but honestly, I prefer the fridge if I’m keeping it past 24 hours. It stays good for about four days that way.
Reheating is super simple. If you want that fresh-baked feel back, pop a serving in a toaster oven or a regular oven at 350°F until it’s warm all the way through. The microwave works in a pinch, but you lose that delicious topping crunch, so use it sparingly!
If you want to plan ahead, you can totally assemble the whole thing—apples mixed, topping sprinkled—and cover it. Keep that masterpiece in the fridge for up to 12 hours before baking. When you’re ready, just add about 15 minutes to the baking time since it’s starting cold. Easy peasy!
Frequently Asked Questions About This Apple Crisp Recipe
I know when I’m trying a new recipe, especially one I need to rely on for a holiday dessert, I have ten thousand questions buzzing around in my head. Noah usually gets annoyed because he’s already covered it in the science notes, but hey, better safe than sorry! Here are the main things people ask me about perfecting this apple crisp recipe.
What are the absolute best apples to use for this recipe?
This touches on the Best Apple Crisp Recipe Homemade goal! Honestly, you need a mix to stop the filling from turning into sauce. I rely on Granny Smith because they hold their shape beautifully and give you that perfect tartness. I mix those with Honeycrisp or Fuji—something sweet that breaks down just enough to create that syrupy texture. Don’t rely only on soft apples like McIntosh; they dissolve too quickly!
How do you stop the oat topping from burning before the apples are done?
This is the eternal struggle! If you notice the topping getting too dark around the 30-minute mark, just grab a sheet of aluminum foil, loosely tent it over the dish, and ease up on the heat if you need to. The foil traps the heat so the top doesn’t scorch while letting the interior keep bubbling. It’s a super simple fix when you’re going for that ultimate Buttery Crumble Topping.
Can I adapt this simple fruit crisp recipe to be gluten-free?
If you want to make this a gluten-free treat, it’s easy enough! Just swap out the all-purpose flour in both the filling and the topping for a 1-to-1 gluten-free baking blend. Make sure your rolled oats are certified gluten-free if that’s important for your crowd. The rest of the recipe—the spices, the butter, the apples—stays exactly the same. It cuts down beautifully! If you want another fixed GF recipe, check out our chili garlic noodles fix.
Is this still good if I serve it cold instead of warm?
Well, duh, you have to try it warm with ice cream first! That’s the whole point of Comfort Food Baking. But if you have leftovers, yes, it’s still good cold right out of the fridge the next day. The apples are softer, and the topping is chewy rather than crisp, but it still tastes amazing when you want a quick snack.
Estimated Nutritional Information for the Apple Crisp Recipe
Look, I’m Ben, not a certified dietitian, so take these numbers with a grain of salt—or maybe a dash of cinnamon! This information for our apple crisp recipe is purely an estimate based on the ingredients we used, and it changes a lot depending on your apple type and whether you load it up with ice cream later. But for a single serving of this fantastic comfort food baking treat, here’s what you’re generally looking at:
- Serving Size: 1 serving
- Calories: 380
- Fat: 18g
- Carbohydrates: 55g
- Sugar: 35g
- Protein: 5g
It’s a dessert, friends, so enjoy it! If you’re watching sugar, remember that using slightly tarter apples like Granny Smith helps keep that number down.
PrintThe Best Classic Apple Crisp Recipe with a Buttery, Crunchy Oat Topping
You deserve a truly wonderful and warm dessert that feels like a big hug. This easy apple crisp recipe combines tender, sweet apples with a golden, buttery topping that offers just the right amount of crunch. We fixed the common pitfalls to give you a foolproof recipe for this ultimate fall comfort food baking treat.
- Prep Time: 15 min
- Cook Time: 45 min
- Total Time: 60 min
- Yield: 6 servings
- Category: Dessert
- Method: Baking
- Cuisine: American
- Diet: Vegetarian
Ingredients
- 6 large apples (like Granny Smith or Honeycrisp), peeled, cored, and sliced about 1/4 inch thick
- 1/4 cup granulated sugar
- 1 tablespoon all-purpose flour
- 1 teaspoon ground cinnamon
- 1/4 teaspoon ground nutmeg
- 1 tablespoon lemon juice
- 1/4 cup water
- For the Topping:
- 1 cup all-purpose flour
- 1 cup old-fashioned rolled oats
- 3/4 cup packed light brown sugar
- 1/2 teaspoon ground cinnamon
- 1/4 teaspoon salt
- 1/2 cup (1 stick) cold unsalted butter, cut into small cubes
Instructions
- Preheat your oven to 375°F (190°C). Lightly grease an 8×8 inch baking dish or a similar 2-quart dish.
- Prepare the apple filling: In a large bowl, combine the sliced apples, granulated sugar, 1 tablespoon flour, 1 teaspoon cinnamon, nutmeg, lemon juice, and water. Toss gently until the apples are evenly coated.
- Pour the apple mixture into your prepared baking dish and spread it into an even layer.
- Prepare the buttery oat topping: In a separate medium bowl, whisk together the 1 cup flour, rolled oats, brown sugar, 1/2 teaspoon cinnamon, and salt.
- Cut the cold butter into the dry topping ingredients using a pastry blender or your fingertips. Work the mixture until it resembles coarse crumbs with some pea-sized pieces of butter remaining. Do not overmix; you want texture for that perfect crunch.
- Sprinkle the topping evenly over the apple filling in the baking dish. Press it down lightly.
- Bake for 40 to 50 minutes, or until the topping is golden brown and the apple filling is bubbly and tender when pierced with a fork.
- Remove from the oven and let it cool for at least 15 minutes before serving. This allows the juices to set slightly.
- Serve your warm apple crisp with a scoop of vanilla ice cream for the best experience.
Notes
- For the best results, use a mix of tart and sweet apples. Granny Smith provides structure, while Honeycrisp or Fuji add sweetness.
- If you prefer a softer topping, you can chill the assembled crisp in the refrigerator for 30 minutes before baking. This helps the butter stay cold longer, resulting in a crisper texture.
- This recipe makes a fantastic cozy evening treat, but it is also great for holiday gatherings.
Nutrition
- Serving Size: 1 serving
- Calories: 380
- Sugar: 35g
- Sodium: 150mg
- Fat: 18g
- Saturated Fat: 11g
- Unsaturated Fat: 7g
- Trans Fat: 0.5g
- Carbohydrates: 55g
- Fiber: 5g
- Protein: 5g
- Cholesterol: 45mg