

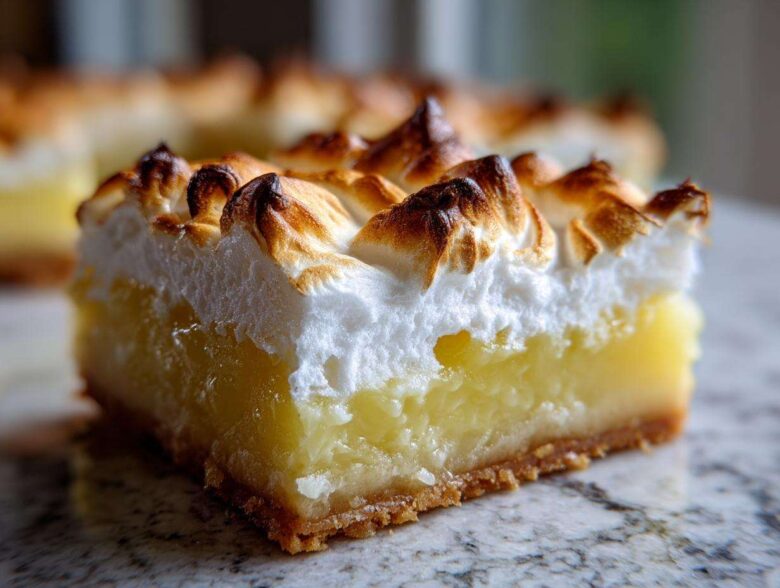
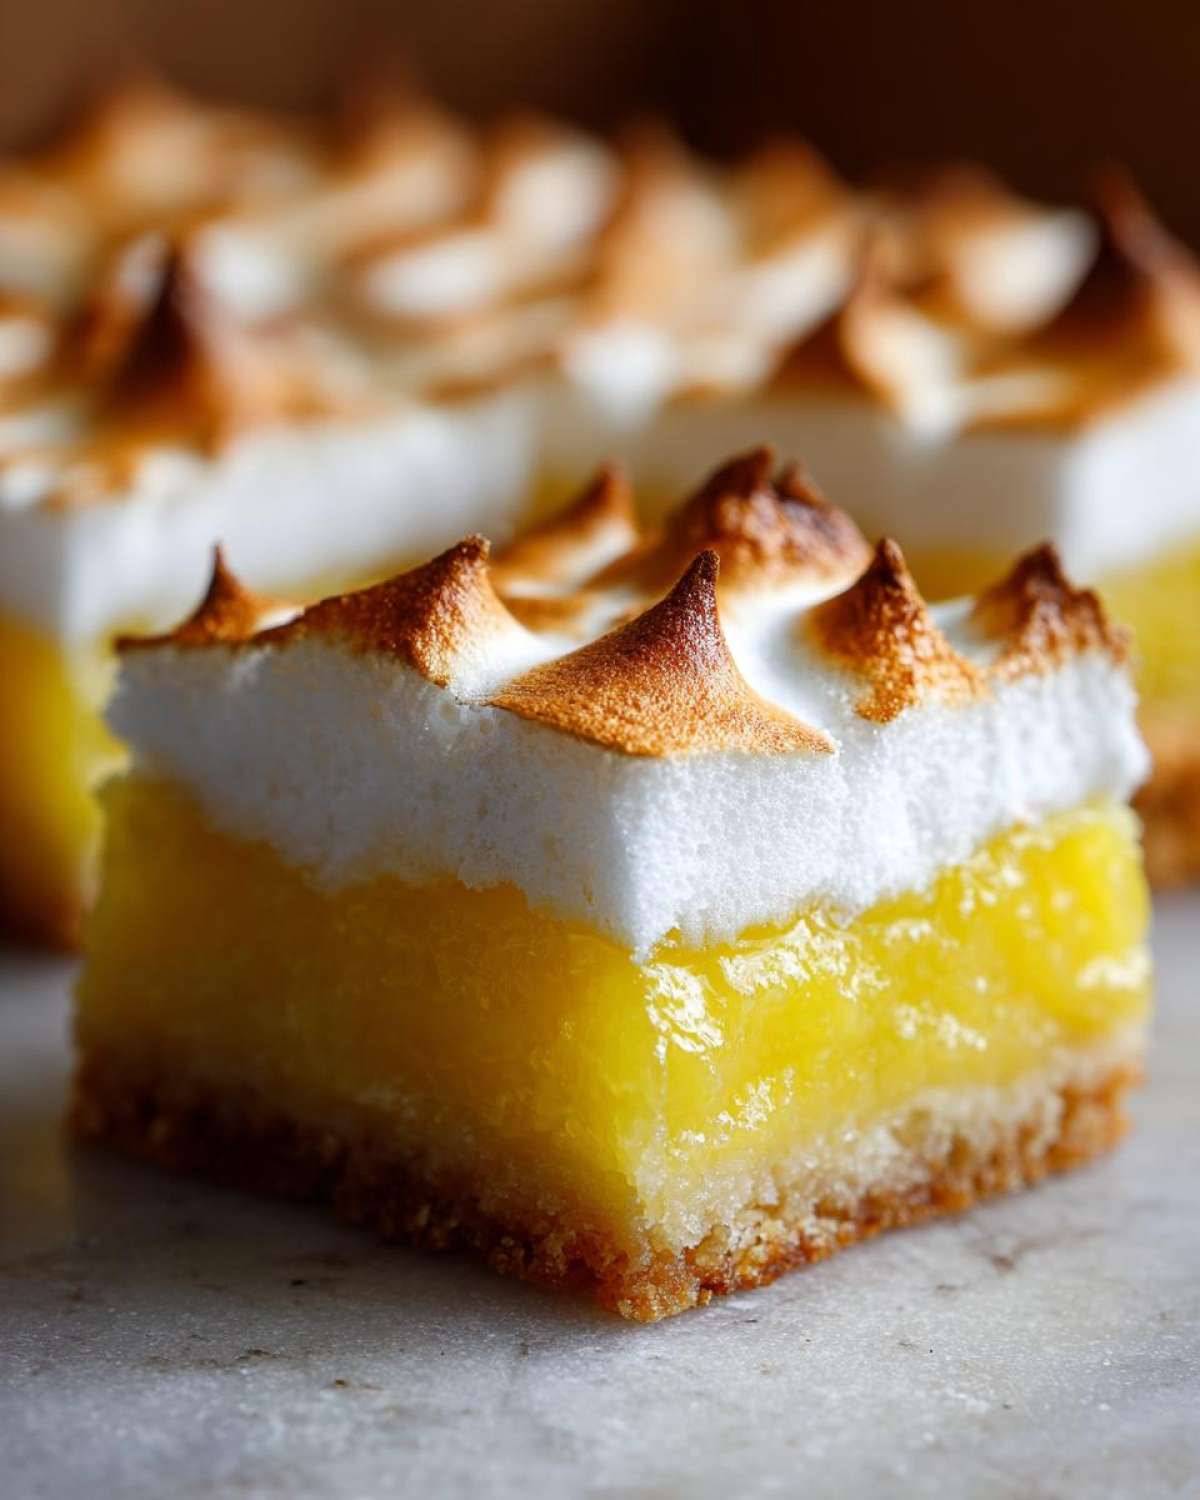
Oh, you know how much I adore a classic Lemon Meringue Pie, right? That perfect sharp bite from the filling against that sweet, fluffy cloud on top? Absolutely heavenly! But let’s be honest, trying to serve a perfect slice that doesn’t collapse into a citrusy puddle on the plate? Nightmare! That’s why I spent ages perfecting these Lemon Meringue Pie Bars. We want that intense, zesty flavor, but in a handheld square that travels well to potlucks. The trickiest part was always the meringue—it needs to stand up to being stacked and cut. I finally cracked the code for a stable, bakery-style topping that bakes up golden and sweet. Trust me on this one; these are the best dessert bars you’ll make all year. Grab your parchment paper; we’re diving in! If you want to read more great tips from my kitchen, check out my main blog page, of course!
Why You Will Love These Lemon Meringue Pie Bars
It’s hard to beat a dessert that offers maximum flavor with minimum fuss, and these bars deliver! They are so much easier to handle than a full pie, making them perfect for summer gatherings or just snacking anytime.
- They are totally portable—no sliding filling guaranteed!
- That signature sweet-and-tangy punch is amplified in this square format.
- We’ve figured out the secret to a stable, beautiful topping.
- These qualify as truly Easy Lemon Meringue Bars; you won’t dread making them!
Seriously, once you try these, you might not go back to the actual pie slice again! If you’ve ever admired those gorgeous layered treats, you absolutely have to see how I make my churro cheesecake bars work so well.
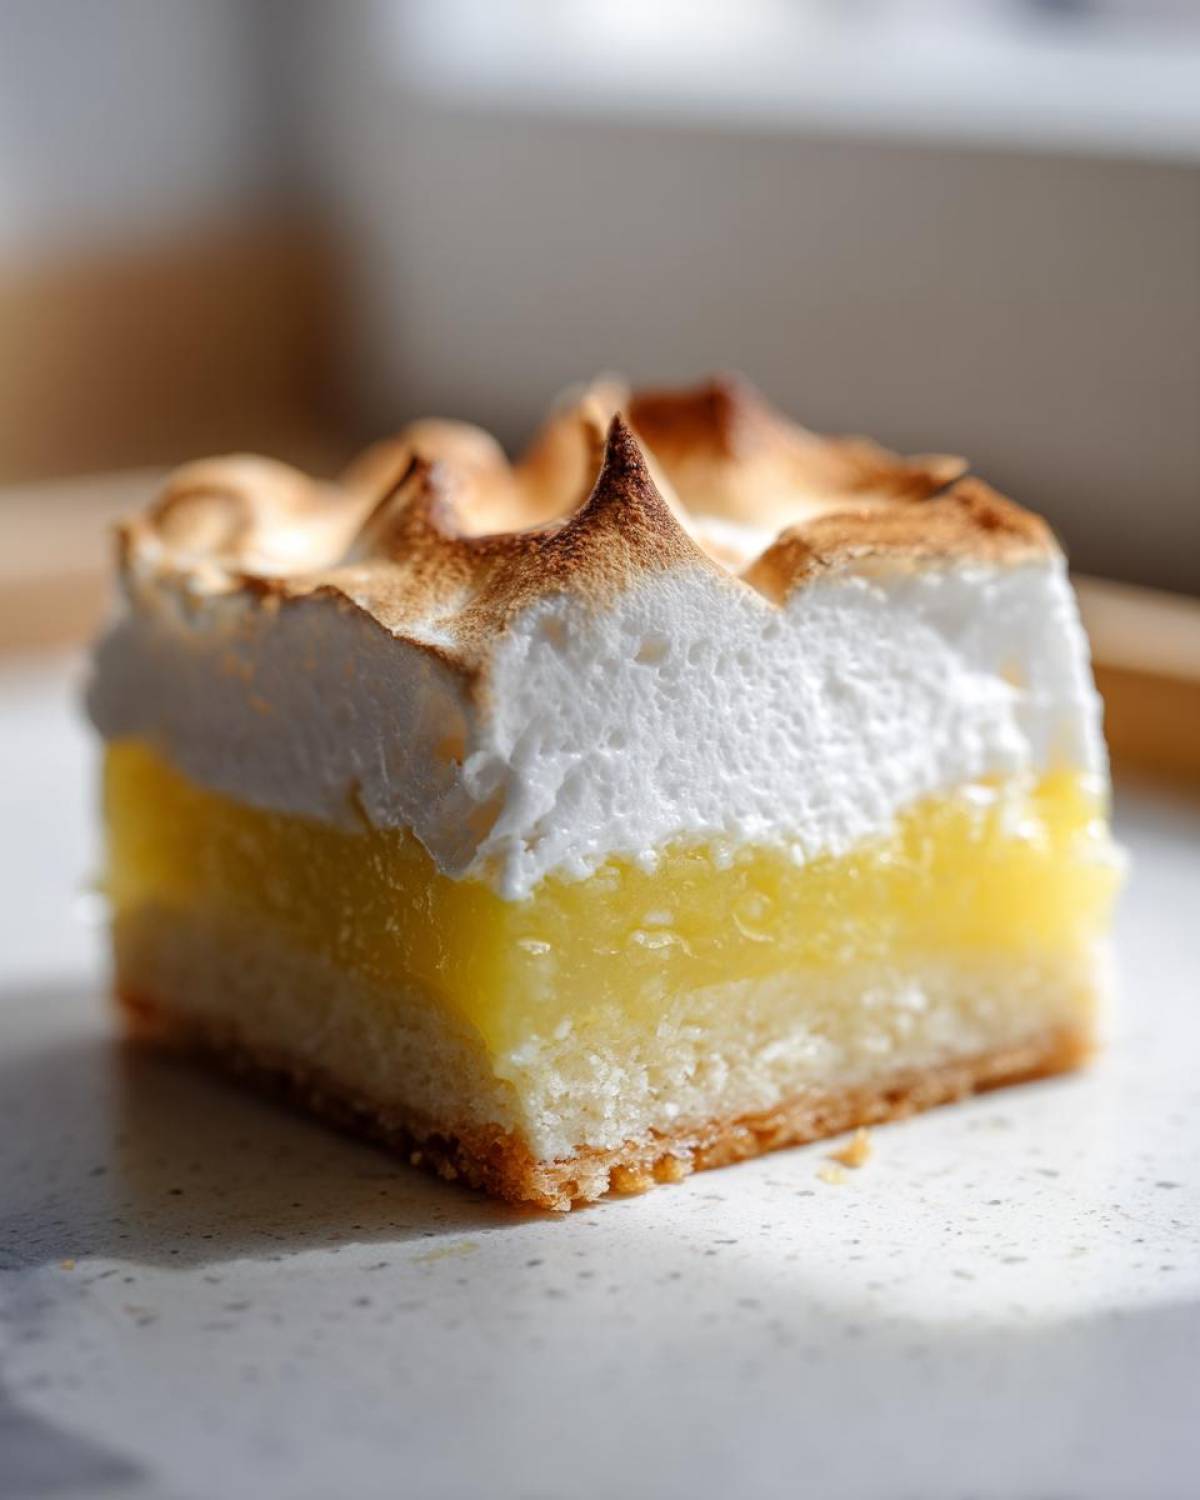
Essential Components for Perfect Lemon Meringue Pie Bars
Making these Lemon Meringue Pie Bars come together successfully is all about respecting the three distinct layers. Each one has a very specific job to do, from holding its shape to hitting that perfect flavor balance. Don’t skimp on the quality here; it truly shows in the final square!
For the Buttery Shortbread Crust
This crust is the backbone of the bar! We need it sturdy enough to hold up that filling, and that means using cold butter cut into fine pieces.
- 1 1/2 cups all-purpose flour
- 1/2 cup powdered sugar
- 1/4 teaspoon salt
- 1/2 cup (1 stick) cold unsalted butter, cut into cubes
If you want the flakiest base, check out my tips for making my buttery dinner rolls—the technique for cutting in the fat is the same!
For the Tart Lemon Filling Recipe
This is where all the zing comes from! I insist on fresh lemon juice, always. That bottled stuff just can’t compete with the brightness we need for these squares.
- 1 1/2 cups granulated sugar
- 1/4 cup all-purpose flour
- 1/4 cup cornstarch (This is our insurance policy for a firm filling!)
- 1/2 teaspoon salt
- 4 large egg yolks, lightly beaten
- 1 1/2 cups cold water
- 2/3 cup fresh lemon juice
- 1 tablespoon lemon zest
When I make my lemon garlic potatoes, the zest is key, and it is absolutely essential here too! This recipe is designed to be a true Tart Lemon Filling Recipe.
For the Stable Meringue Topping for Bars
We need volume and stability, which is why the cream of tartar is non-negotiable up in that meringue bowl. We want stiff, glossy peaks that travel!
- 4 large egg whites, room temperature
- 1/4 teaspoon cream of tartar
- 1/2 cup granulated sugar
This mixture creates our beautiful Meringue Topping for Bars. Remember, room temp egg whites whip up much higher than cold ones!
Step-by-Step Instructions for Lemon Meringue Pie Bars
Alright, let’s get baking! I like to think of this as a three-part symphony to create the best Lemon Meringue Pie Bars ever. Make sure your oven is hot—350 degrees F—and line that 9×13 pan with parchment so the overhang acts like handles later on. That parchment is seriously a lifesaver when you need to lift these beauties out!
Baking the Buttery Crust Dessert Bars
First up, we need that foundation. Get your dry ingredients for the crust mixed up really well, then take your cold butter—cold is key here, don’t let it melt!—and work it into the flour until it looks like coarse sand, maybe a few pea-sized clumps are fine. Press that firmly and evenly into your prepared pan. Pop it into that hot oven for about 15 to 18 minutes. You’re looking for the edges to just barely start turning a light gold color. You don’t want it dark, just set. While those Buttery Crust Dessert Bars are cooling slightly, we move immediately to the zingy part!
Creating the Perfect Lemon Pie Bars Filling
This is where the magic happens for setting up that perfect sliceable layer. In a saucepan, whisk together all your dried stuff—sugar, flour, cornstarch, and salt. I always dry-whisk these first so there are no sneaky clumps later on! Then, add your egg yolks, water, lemon juice, and zest. Now, you have to stir this constantly over medium heat—seriously, don’t walk away! You need to bring it to a full boil and keep it boiling for a full minute while stirring. That minute is crucial; it activates the cornstarch and turns it into a true, set filling. Once it’s thick enough to coat the back of a spoon heavily, take it off the heat. I always check my notes on the lemon raspberry loaf to remind myself about cooking batters properly!
Quickly pour that beautiful, hot lemon goo right over your warm crust and spread it out evenly. We want this warm so the meringue will seal properly!
Assembling and Baking Your Lemon Meringue Pie Bars
While the filling is smoothing out, whip up those egg whites! Make sure your bowl is spotless; grease is the enemy of meringue. Beat the whites with the cream of tartar until they start looking cloudy and hold a soft shape. Then—slowly, slowly—stream in that last bit of sugar until you have stiff, shiny peaks. You should be able to hold the bowl upside down (though please test that over your sink first!). Spread that meringue over the hot lemon layer right to the edges—sealing those edges is how you stop the shrinking and weeping! Bake again for just 12 to 15 minutes until the tips of that gorgeous topping get lightly kissed by the heat. While those bars are cooling, I always think about my honey butter biscuits and how much simpler they are!
Tips for Bakery Style Lemon Bars Success
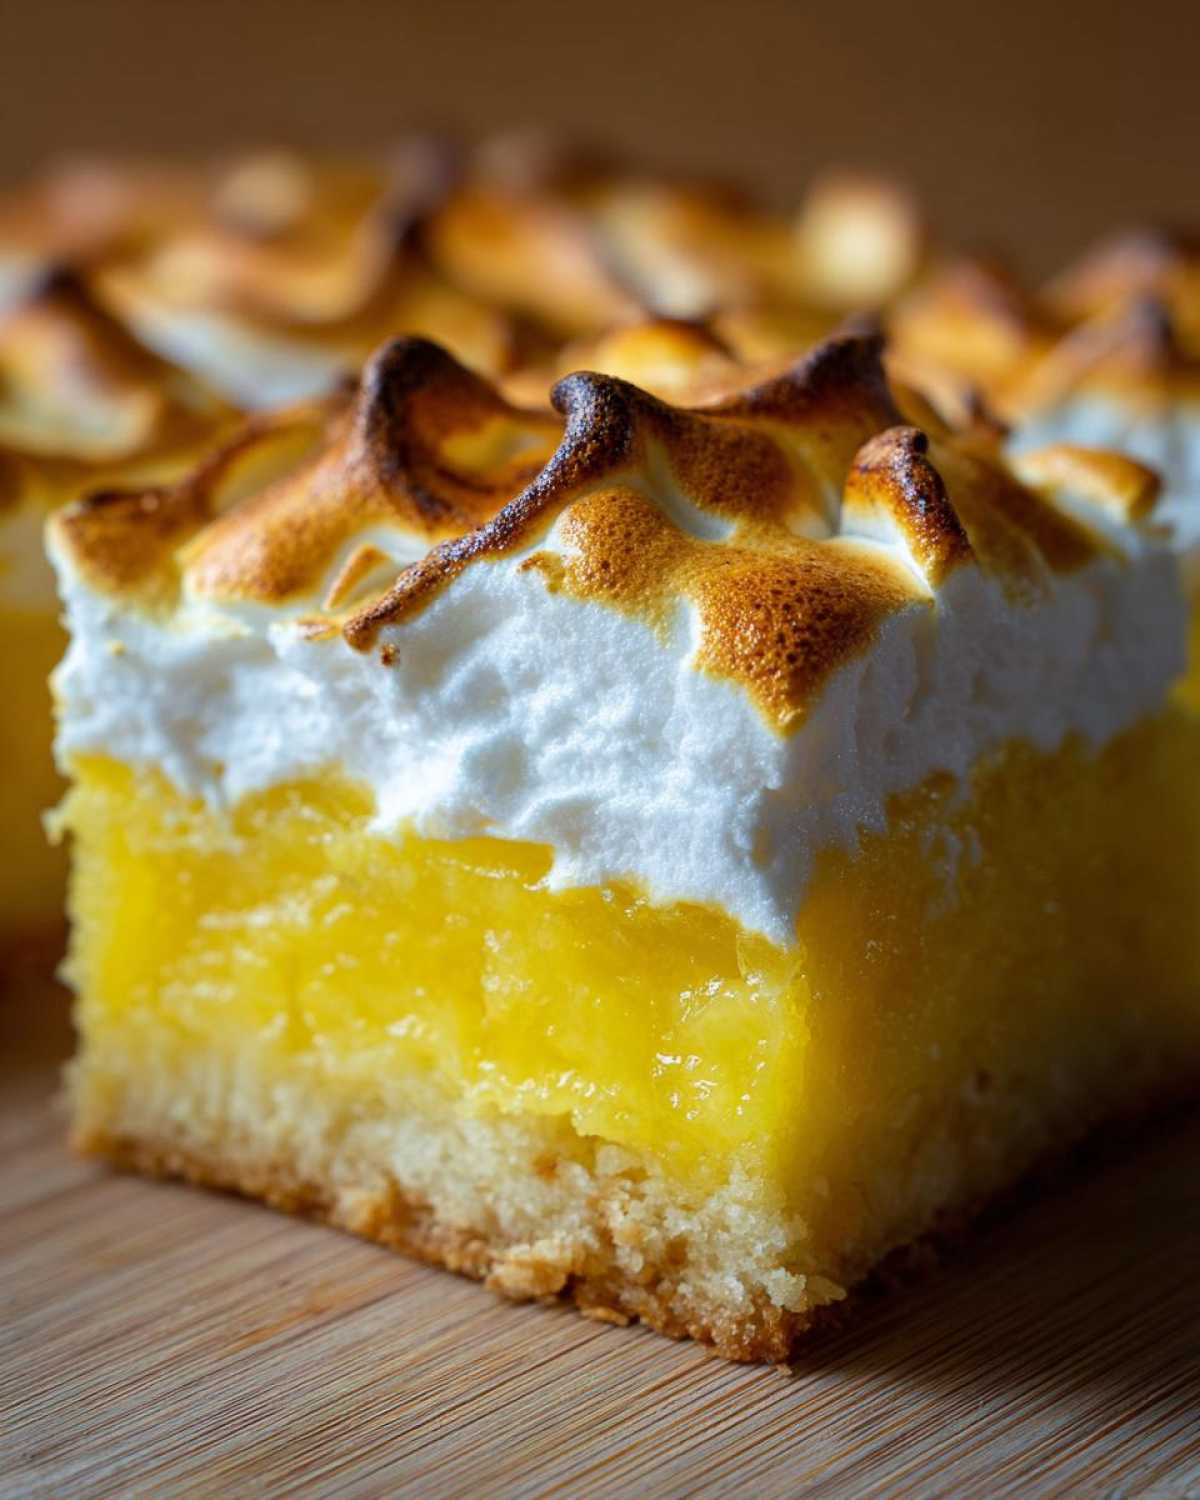
So, you want those clean, professional-looking squares? I totally get it. Getting that Bakery Style Lemon Bars look takes just a few extra steps that really pay off when it’s time to slice. The most important thing I learned over the years is patience during the cooling phase. You simply cannot rush the chill!
After they come out of the oven from setting the meringue, let them cool on the counter until they are just warm. Then, for the real setting magic, they need time in the fridge. I usually leave mine chilling for a good four hours, minimum. This firms up the filling so much that when you use those parchment handles to lift the whole slab out, you can cut perfect squares without anything smearing.
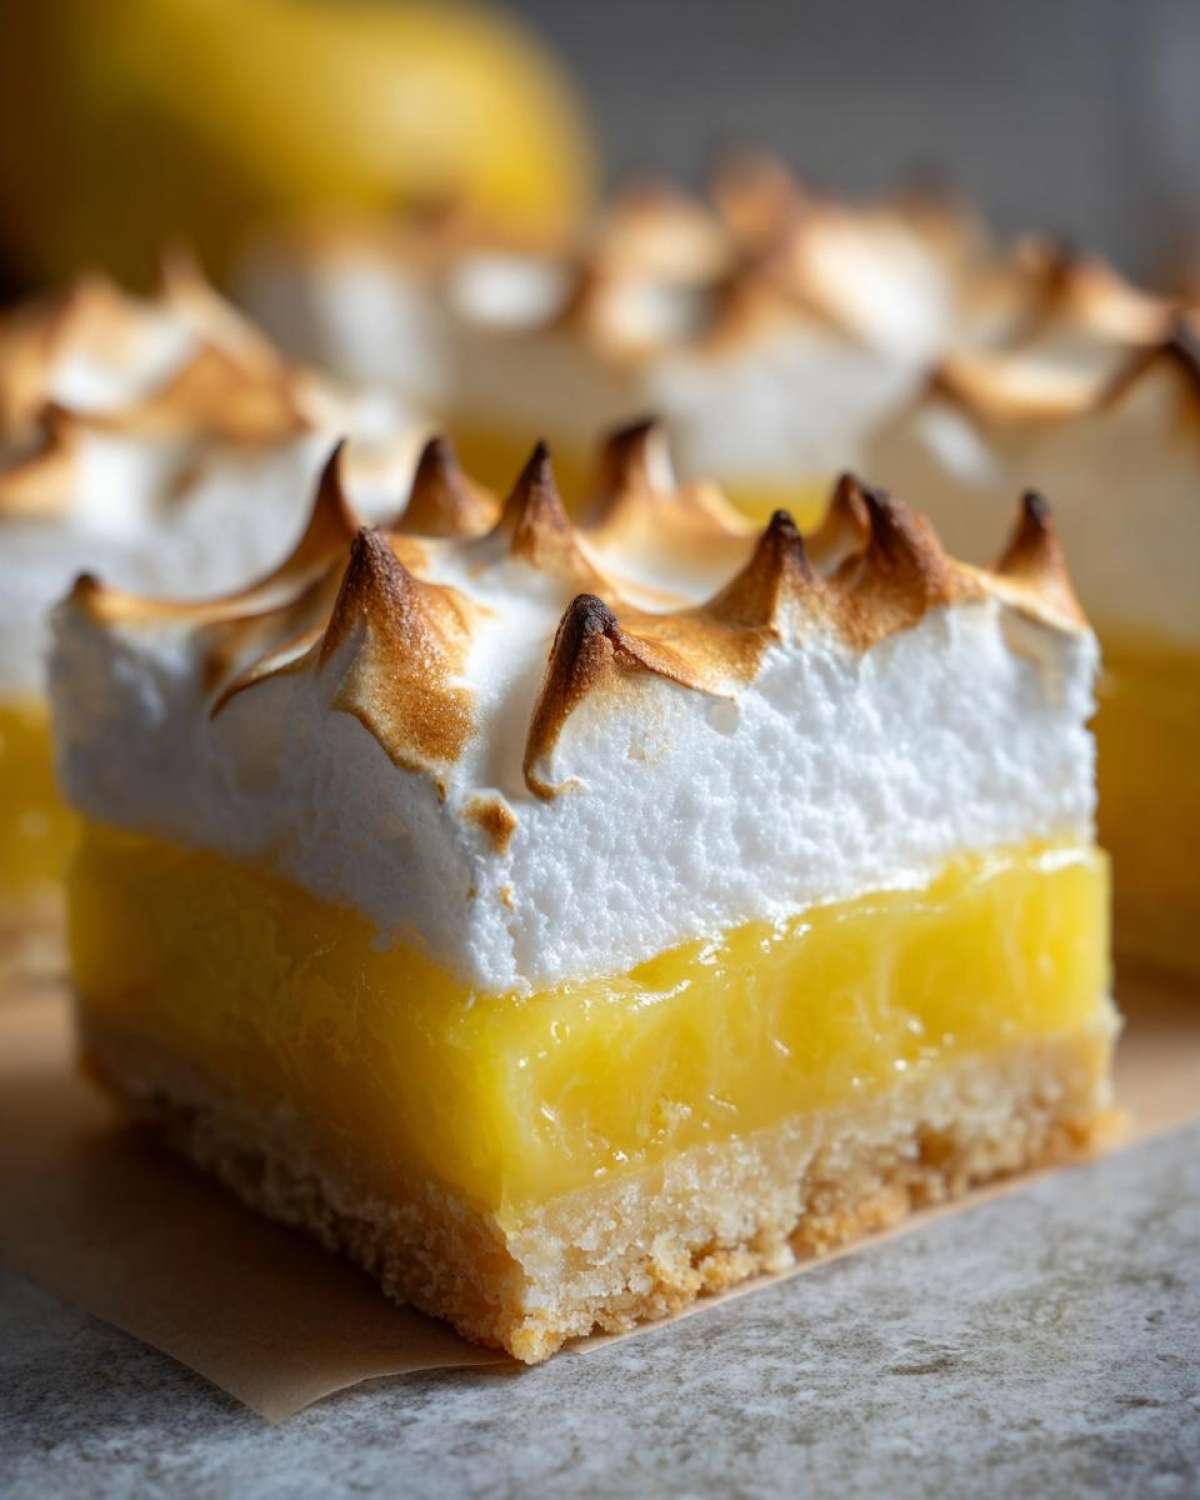
A little pro tip for the meringue, though: if you’re worried about over-baking the crust while setting the top, you can skip the final 12 minutes in the oven and use a kitchen torch instead! A quick blast of flame gives you those lovely toasted peaks instantly. It’s faster, and you don’t risk drying out the lemon layer underneath. If you need ideas for making your cookies look just as professional, you have to check out my tips on the cookies that always win bake sales!
Ingredient Notes and Substitutions for Lemon Meringue Pie Bars
Okay, let’s talk details because, with a recipe this focused on flavor like our Lemon Meringue Pie Bars, ingredient quality really matters. I know sometimes we need to swap things out, but for this recipe, a couple of ingredients are absolutely non-negotiable if you want that signature punch.
First, the lemon situation. You simply must use fresh lemon juice. I really mean it! Bottled juice has this flat, almost metallic aftertaste that just ruins the beautiful contrast between the sweet meringue and the filling. Freshly squeezed—and I mean squeezed right before you use it—brings that vibrant, zesty quality we are looking for. If you’re short on zest, it’s a bummer, but you can skip it if you have to, but please don’t substitute the juice!
Now, back to the crust for a second. The temperature of your butter when you make that shortbread base is going to make or break the crumble. It needs to be cold—like, straight-from-the-fridge cold—and cut into little cubes. If your butter is too warm and soft, you end up melting it into the flour instead of cutting it in. That makes a greasy, tough crust, not a light, sandy one. We are aiming for that perfect, crumbly base that complements the creamy filling.
If you ever need ideas on how to prep proteins before baking them into a dish, like how I season the chicken for my blackened chicken caesar wraps, remember those tips apply here too—starting with the right ingredient temperature is half the battle!
Storage and Make Ahead Lemon Desserts
Since we have that fluffy meringue on top, these Lemon Meringue Pie Bars are best eaten fresh, usually within the first day or two. The meringue loves to weep a little bit once it starts sitting in the fridge, though it’s totally safe to eat! For the absolute best texture, I try to serve these the day after baking.
If you need to prep ahead, I highly recommend making the shortbread crust and baking it completely—let it cool, then store it airtight at room temperature. You can also make the lemon filling, cook it down, and chill it separately until it’s firm. Then, just before you plan to serve, whip up the meringue, layer everything, and bake! That’s the trick to making these lovely Make Ahead Lemon Desserts seem less daunting when guests arrive. If you are looking for simpler make-ahead meals, check out how I handle my slow cooker maple dijon chicken!
Frequently Asked Questions About Lemon Meringue Pie Bars
I always find people have tons of questions when they are about to create a three-layer dessert like this! It seems complicated, but once you know the ‘why’ behind the steps, it’s a breeze. Here are the things folks ask me most often when they are making their Lemon Meringue Pie Bars.
Can I skip baking the meringue on these Lemon Meringue Pie Bars?
You technically *can*, but I strongly advise against it for bars! In a traditional pie, the meringue often just sits there, but for a bar, it needs stability so it doesn’t just deflate when the pan moves. Baking it briefly gives that meringue structure—it’s what sets the protein structure so it holds up to being sliced and transported. If you absolutely cannot bake it, you must use a kitchen torch to brown and set the outside layer, but baking is the most reliable way to get that beautiful, set topping we need!
What makes this a ‘No-Fail’ Lemon Bar Recipe with Meringue?
It all comes down to the science in the filling and the meringue! The “no-fail” part really stems from two things: First, my filling uses cornstarch alongside the flour. That starch ensures that lemon layer sets up firmly when it cools, so you get clean slices. Second, for the topping, we are very strict about using room temperature egg whites and that little pinch of cream of tartar. That combination guarantees you hit stiff, glossy peaks every single time. It really is a reliable Lemon Bar Recipe with Meringue formula that works wonderfully!
How do I prevent the meringue from weeping on my Sweet and Tangy Lemon Squares?
Ah, meringue weeping! That’s when those little beads of sugary syrup form on top, and it’s frustrating! Usually, it means one of two things happened. Either the sugar wasn’t beaten in enough—you need stiff, glossy peaks, not just soft mounds—or you didn’t seal the deal between the filling and the meringue. For these Sweet and Tangy Lemon Squares, make sure your lemon filling is still piping hot when you spread the meringue over it. That heat transfer seals the two layers together, preventing that weeping from happening as things cool down! I learned that trick when making my coffee banana protein shake—getting the temperature right at the start makes all the difference!
Estimated Nutritional Data for Lemon Meringue Pie Bars
I always tell folks that when you’re baking something as decadent as these Lemon Meringue Pie Bars, the nutrition facts are more of a guideline than a hard rule, right? You know, because we use real butter and fresh zest! But, for those of you tracking things, I’ve put together a general estimate based on the ingredients we mixed up.
Keep in mind that this is just an approximation, and your final numbers will shift depending on how much sugar you use in your meringue or the exact brand of butter you grab. But generally, for one square:
- Calories: Around 210
- Total Fat: About 10 grams
- Sugar: Roughly 22 grams (That tart filling helps cut the sweetness, though!)
- Carbohydrates: Around 31 grams
- Protein: About 3 grams
Look, these are a treat, not a health food, but oh man are they worth every calorie! If you want to see how I balance flavor in savory dishes, you might enjoy the numbers on my chili garlic noodles—it’s a completely different kind of kitchen chemistry!
Share Your Zesty Bar Recipes Creations
I really, truly hope you love making these Lemon Meringue Pie Bars just as much as I love eating them! Knowing that a square of sunshine I developed in my kitchen might be sitting on your dessert table makes all the recipe testing worth it. Please, don’t be shy!
When you whip up a batch, I want to see them! Snap a picture of those perfectly layered squares and tag me on social media or leave a star rating right here on the post. Tell me what you thought—did you torch the meringue or bake it? Did your family devour them in five minutes flat? Your feedback helps me know what I should test next.
If you end up using a different citrus—maybe a lime swap for some Zesty Bar Recipes fun—let the rest of us know in the comments below! And hey, if you’re looking for some amazing savory swaps to balance out all that lemon goodness, you should definitely take a peek at my one-skillet beef stroganoff recipe afterward. Happy baking, friends!
PrintUltimate No-Fail Lemon Meringue Pie Bars

Make handheld versions of classic lemon meringue pie using a buttery shortbread crust, a tart lemon filling, and a stable, baked meringue topping.
- Prep Time: 25 min
- Cook Time: 40 min
- Total Time: 65 min
- Yield: 24 bars
- Category: Dessert
- Method: Baking
- Cuisine: American
- Diet: Vegetarian
Ingredients
- 1 1/2 cups all-purpose flour
- 1/2 cup powdered sugar
- 1/4 teaspoon salt
- 1/2 cup (1 stick) cold unsalted butter, cut into cubes
- 1 1/2 cups granulated sugar
- 1/4 cup all-purpose flour
- 1/4 cup cornstarch
- 1/2 teaspoon salt
- 4 large egg yolks, lightly beaten
- 1 1/2 cups cold water
- 2/3 cup fresh lemon juice
- 1 tablespoon lemon zest
- 4 large egg whites, room temperature
- 1/4 teaspoon cream of tartar
- 1/2 cup granulated sugar
Instructions
- Preheat your oven to 350 degrees F. Line a 9×13 inch baking pan with parchment paper, leaving an overhang on the sides for easy removal.
- Prepare the crust: In a medium bowl, whisk together 1 1/2 cups flour, powdered sugar, and 1/4 teaspoon salt. Cut in the cold butter using a pastry blender or your fingers until the mixture resembles coarse crumbs.
- Press the crust mixture evenly into the bottom of the prepared pan. Bake for 15 to 18 minutes, or until the edges are lightly golden. Remove from the oven and set aside while you prepare the filling.
- Prepare the lemon filling: In a medium saucepan, whisk together 1 1/2 cups sugar, 1/4 cup flour, cornstarch, and 1/2 teaspoon salt. Whisk in the egg yolks, water, lemon juice, and lemon zest until smooth.
- Cook the filling: Heat the mixture over medium heat, stirring constantly with a whisk, until it thickens significantly and comes to a boil. Boil for 1 minute, still stirring. Remove from heat.
- Pour the hot lemon filling over the warm baked crust. Spread evenly.
- Prepare the meringue: In a clean, dry bowl of a stand mixer fitted with the whisk attachment, beat the egg whites and cream of tartar on medium speed until soft peaks form. Gradually add 1/2 cup granulated sugar, one tablespoon at a time, beating until stiff, glossy peaks form.
- Spread the meringue evenly over the hot lemon filling, making sure the meringue touches the edges of the crust to seal in the filling.
- Bake the bars for 12 to 15 minutes, or until the meringue is lightly golden brown.
- Cool completely on a wire rack for at least 2 hours before lifting the bars out of the pan using the parchment overhang. Cut into squares.
Notes
- For a quicker meringue browning, you can use a kitchen torch after the bars have cooled slightly.
- Chill the bars for at least 4 hours before slicing for the cleanest cuts.
- Use fresh lemon juice for the best tart flavor in your filling.
Nutrition
- Serving Size: 1 bar
- Calories: 210
- Sugar: 22
- Sodium: 65
- Fat: 10
- Saturated Fat: 6
- Unsaturated Fat: 4
- Trans Fat: 0
- Carbohydrates: 31
- Fiber: 1
- Protein: 3
- Cholesterol: 55