

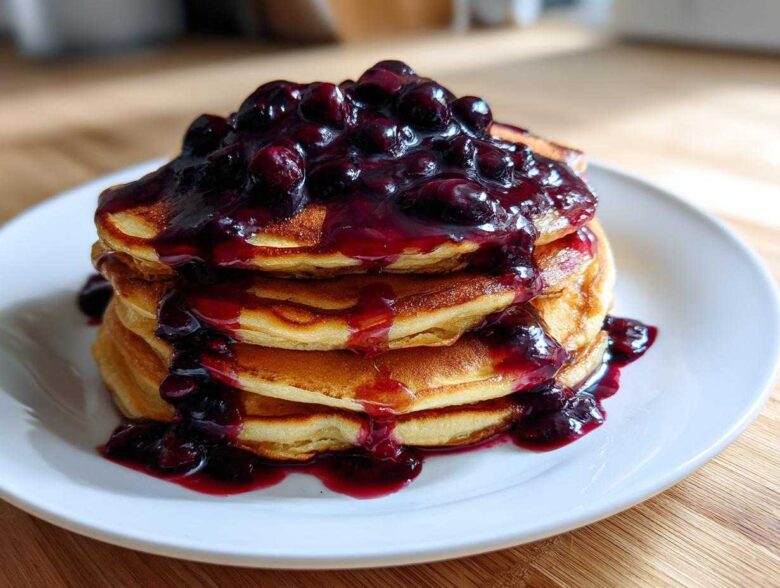
There is nothing sadder than pouring a thin, sugary, artificially blue liquid over a stack of perfect golden pancakes. Seriously, don’t do it! Store-bought stuff just tastes… flat. I spent ages fiddling with recipes, trying to get that perfect, glossy glaze that tastes intensely of real fruit, not just sugar water. My breakthrough moment for this **homemade blueberry syrup** came when I realized simmering time dictates everything. Once I nailed that sweet spot where it coats the back of a spoon without being gloppy, I knew I’d never buy syrup again. This recipe is so quick—we’re talking less than half an hour total—and it uses ingredients you probably have right now!
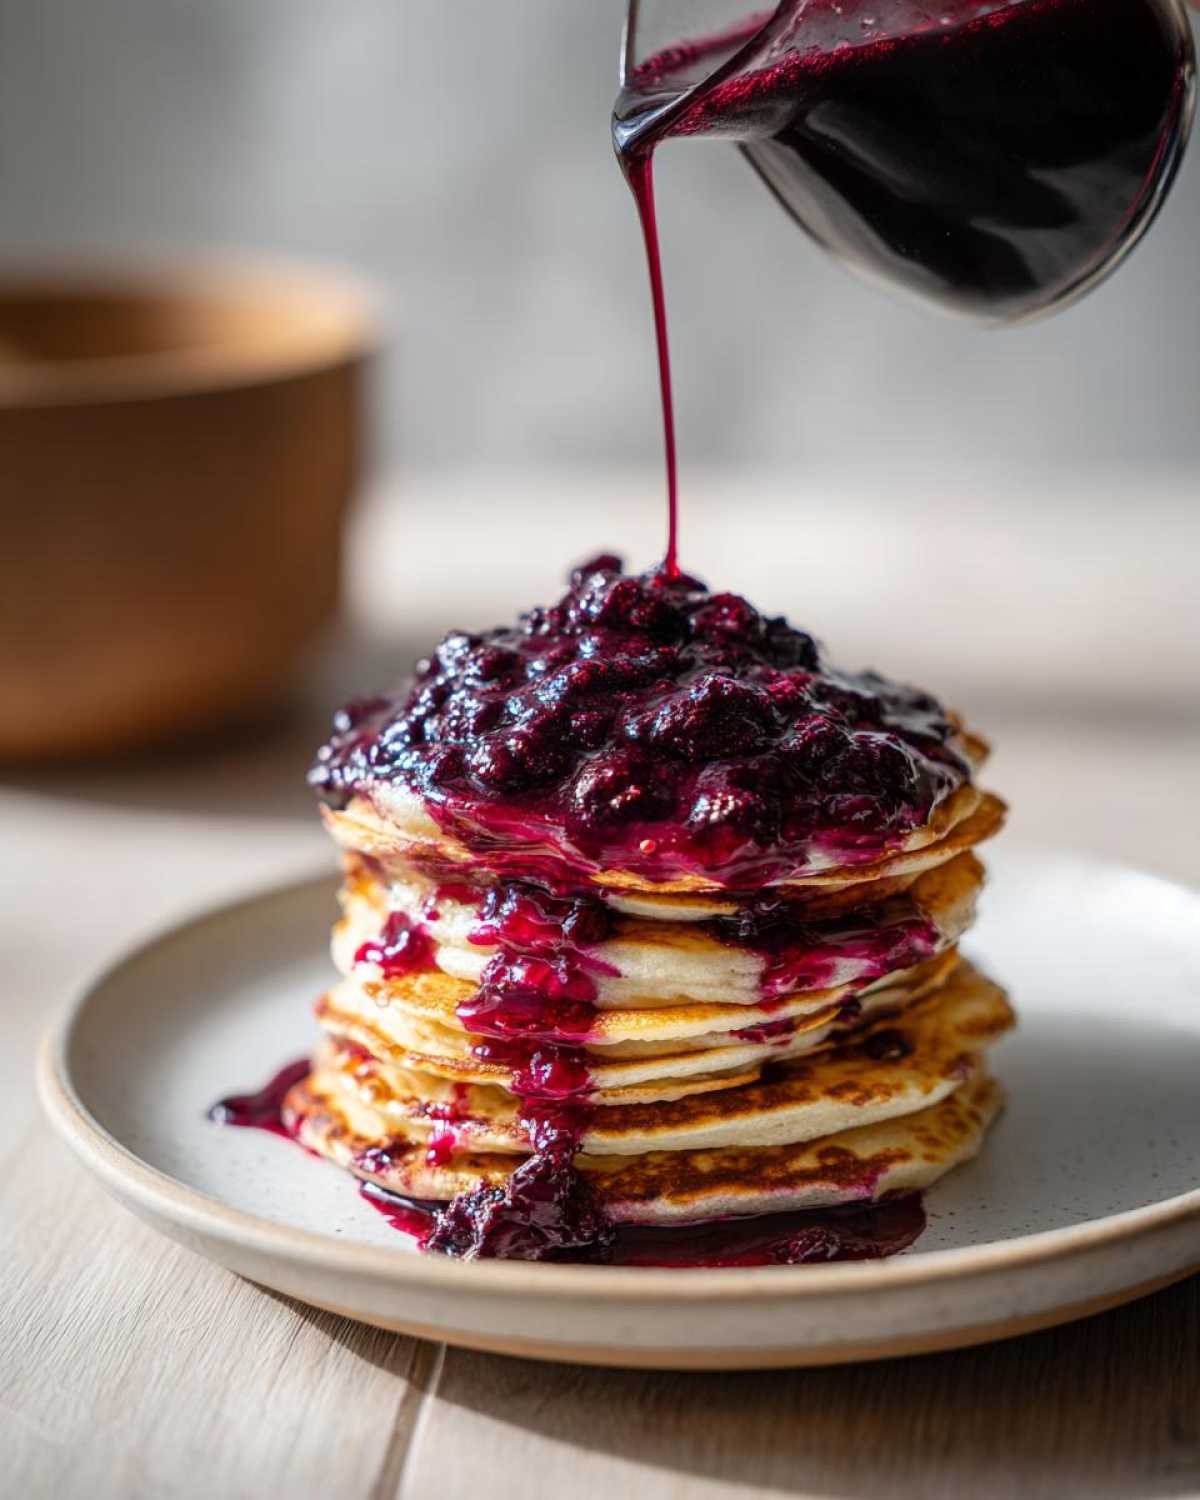
We always have some leftover batter from the blueberry muffins that always win bake sales, so I often use those extra berries to whip up a batch of this syrup when the mood strikes. Trust me; once you smell those berries break down on the stove, you’ll never look back.
Why This Homemade Blueberry Syrup Recipe Works Best
Listen, I get it. Your mornings are hectic. That’s why this **easy homemade syrup** is my go-to, even when I’m running late! We’re looking at maybe 25 minutes total time, start to finish. Can you beat that with store-bought brands that taste like purple candy? Absolutely not! This **simple fruit syrup** lets you control everything. You decide exactly how sweet you want it, or if you want to ditch the granulated sugar entirely for maple syrup if you’re feeling fancy (though I stick to the sugar here for the true classic taste).
The secret isn’t complicated; it’s just real fruit doing its job under the right heat. By simmering it properly, you concentrate that real, bright blueberry flavor that commercial syrups just can’t match. You’ll feel amazing pouring this incredible topping over your breakfast favorites knowing you made it yourself.
Recipe Details at a Glance
Here’s a quick look at what you’re working with:
- Prep Time: 5 min (mostly measuring!)
- Cook Time: 20 min
- Total Time: 25 min
- Yield: About 1.5 cups of pure magic for topping waffles or yogurt.
Gathering Ingredients for Homemade Blueberry Syrup
Okay, once you see this ingredient list, you’ll realize why this recipe is so fast! There are only four things you need, and the ratios are super easy to remember. Don’t stress about whether your berries are fresh or if you have to pull them out of the freezer—either works perfectly for this incredible **blueberry syrup recipe**.
For this batch, grab:
- 2 cups fresh or frozen blueberries (whichever you have handy!)
- 1 cup water
- 3/4 cup granulated sugar (you can dial this back to 1/2 cup if you like it tart)
- 1 teaspoon lemon juice (this brightens everything up!)
That’s it! No weird thickeners or preservatives here. It’s just pure, delicious fruit flavor waiting to happen on your stovetop. If you’re planning on using these berries in a savory dish later, check out my amazing lemon garlic roasted potatoes recipe too!
Step-by-Step Guide: How to Make Blueberry Syrup
This is where the magic really happens, and honestly, this is **how to make blueberry syrup** that tastes better than anything bottled, guaranteed! It’s just a quick simmer on the stove. Grab a medium saucepan—nothing too huge, we aren’t making a gallon here—and let’s get started on your perfect **waffle topping homemade**.
- First things first, toss in your 2 cups of blueberries (fresh or frozen, remember?), the 1 cup of water, and that 3/4 cup of sugar right into the pan.
- Put the heat up to medium-high. You need to stir this gently but consistently until you see all that sugar completely disappear into the water and berry mixture. That usually takes just a minute or two.
- Once it reaches a nice rolling boil, immediately drop the heat down low—we’re simmering now! Let this go for a good 15 to 20 minutes. Don’t walk away completely! You want those berries to start collapsing and releasing all their juice, and the liquid should reduce slightly overall.
During this simmering time, you make your decision: Do you want it super smooth like a professional diner topping, or do you like those little pockets of blueberry goodness? Keep reading for the answer!
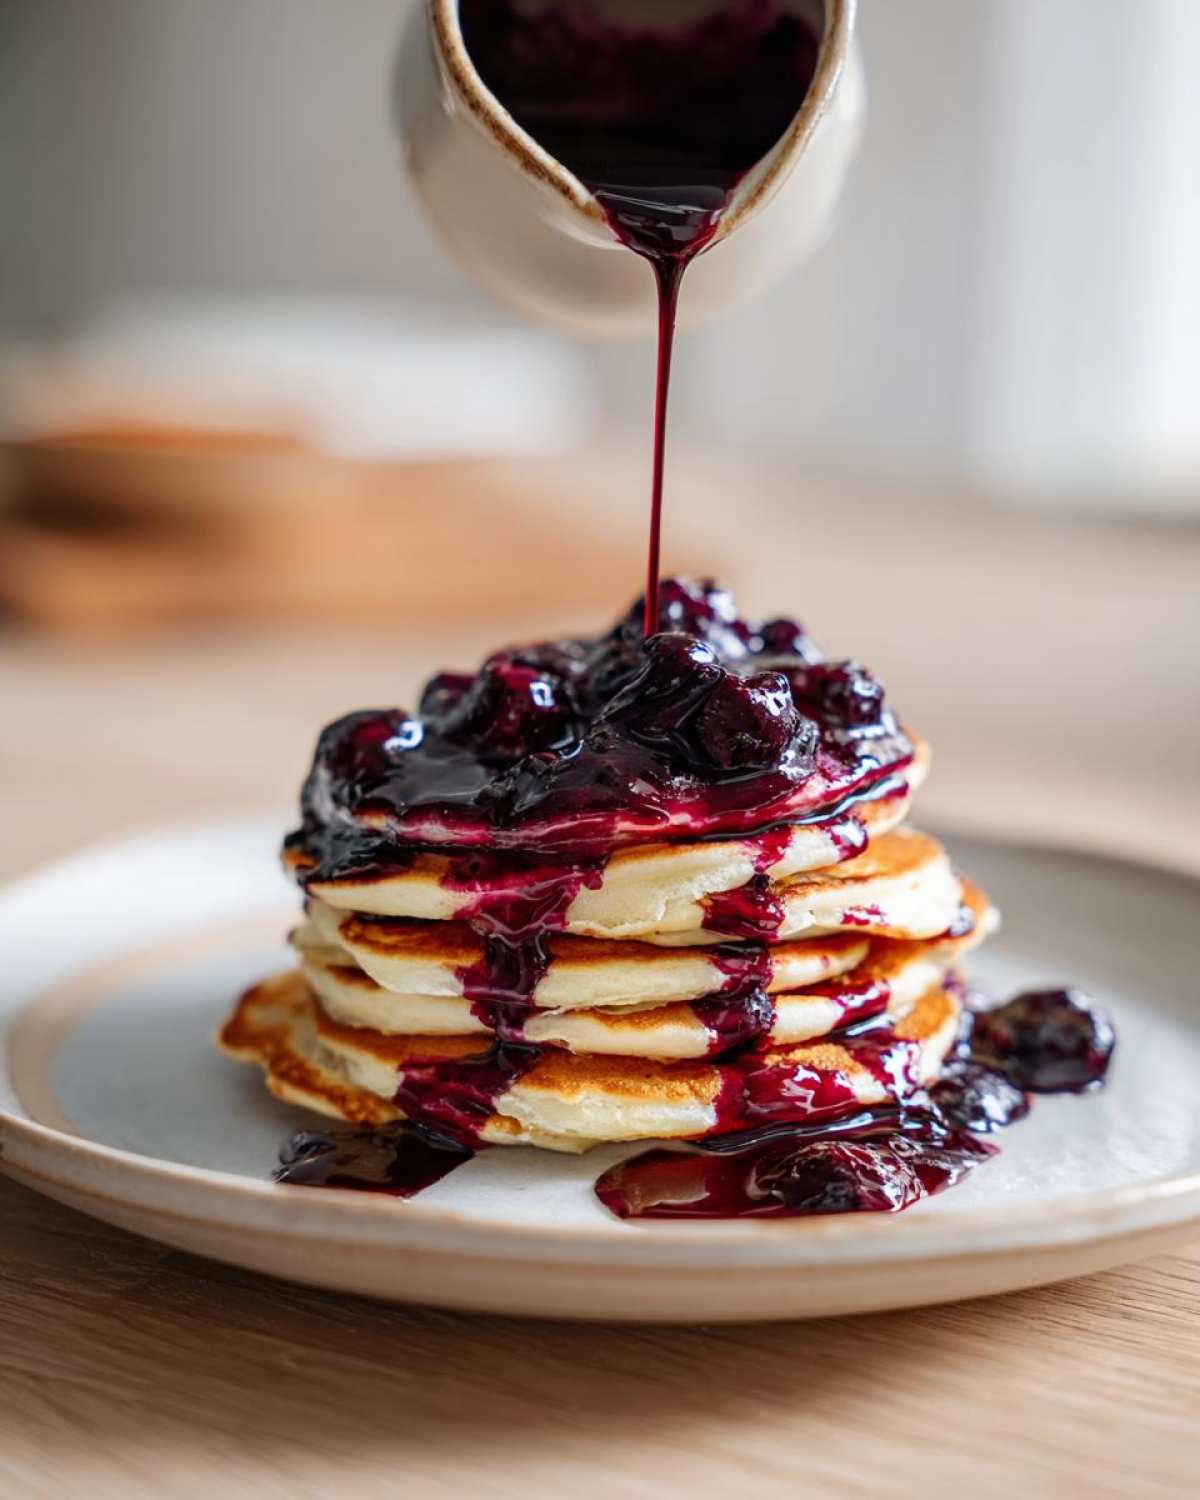
After simmering, stir in your teaspoon of lemon juice—it’s the secret weapon that cuts the sweetness perfectly. If you happen to be making my lemon pepper baked tilapia later, you’ll already know how important that brighter hit of lemon is!
The final test before you call it done is checking the consistency. The syrup will thicken *a lot* as it cools, but you want it to look like it’s already starting to cling to the mix. Let it cool down for five minutes, then dip the back of a clean spoon in. If the syrup coats the spoon and doesn’t immediately run off in a thin stream, you’re golden!
Achieving Your Perfect Homemade Blueberry Syrup Consistency
Consistency is what separates an okay syrup from an amazing one, and you get to choose your adventure here! If you prefer that silky smooth, crystal-clear look, you need to press that warm berry mixture through a fine-mesh sieve right into a clean bowl. Push everything through with the back of a spoon, and just toss out the leftover skins and seeds (we call that pulp discard!).
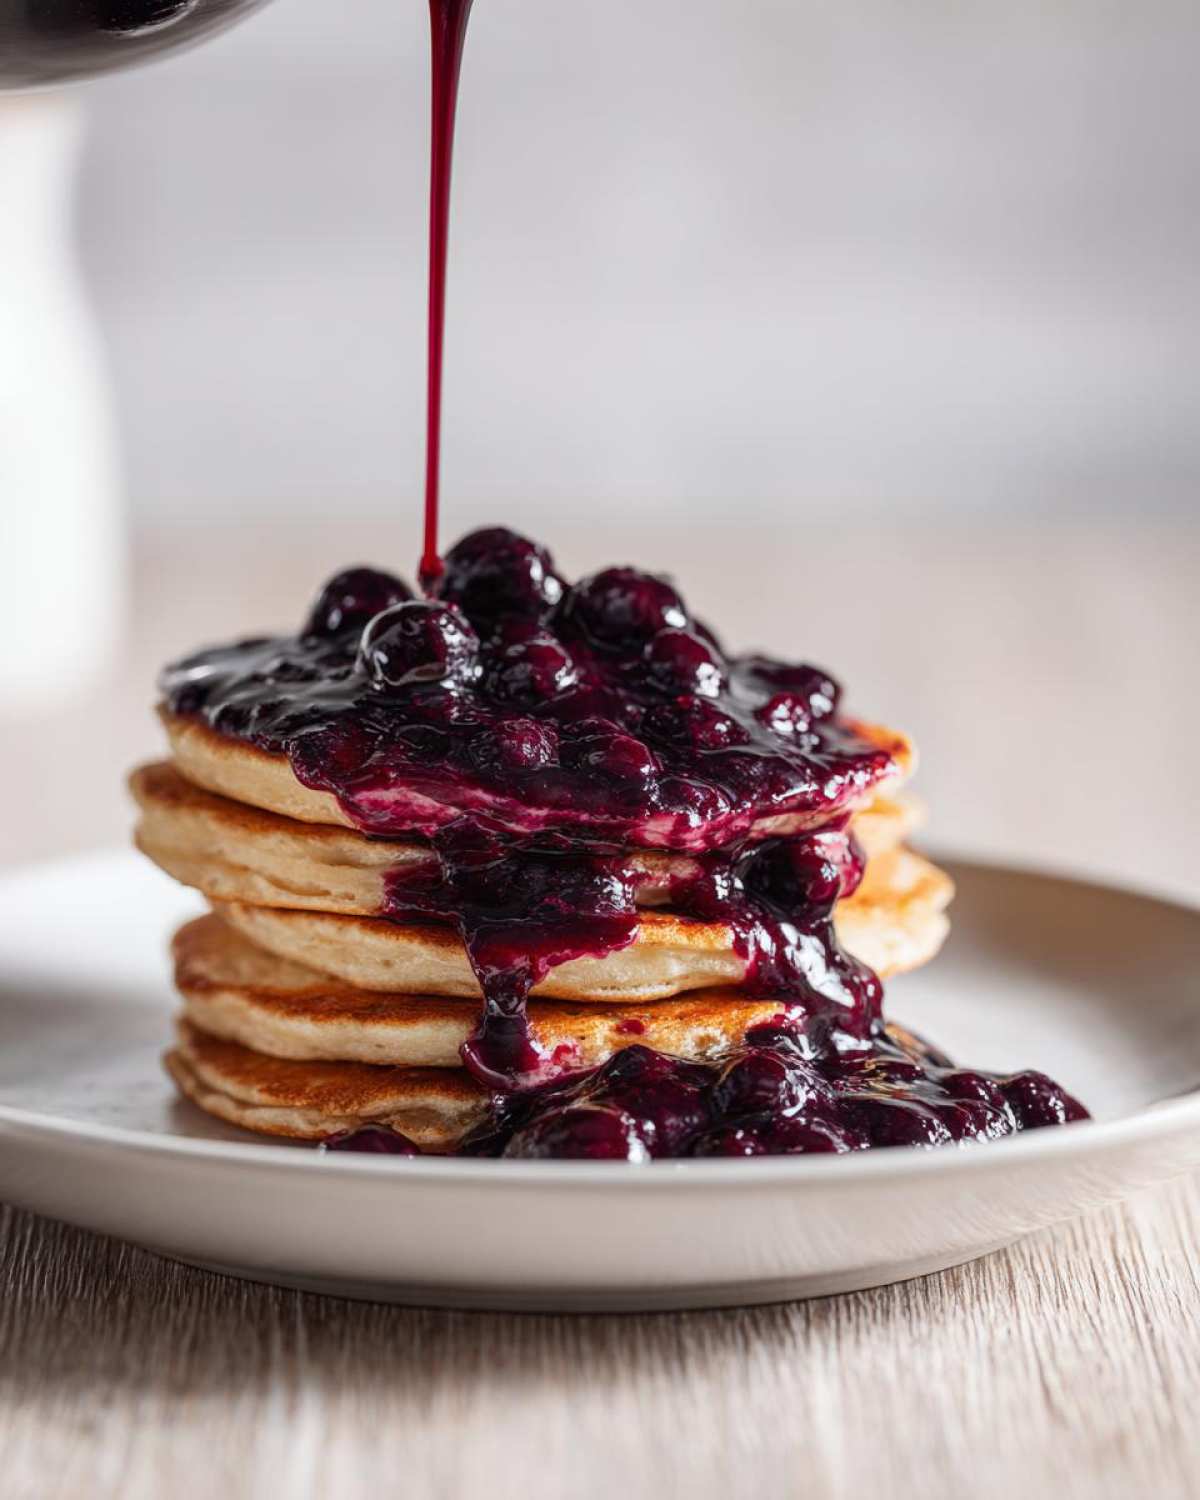
If you like it thicker than that, or you just don’t want to clean a sieve—which, same—just skip the straining part! The skins add texture and extra nutrients, making it feel more like a **natural blueberry sauce**.
Now, what if you let it simmer too long and it turned out a little thinner than you hoped? Don’t panic! This is where we talk about **how to thicken syrup** without ruining the flavor. You’ll just combine 1 teaspoon of cornstarch with 1 tablespoon of *cold* water—making sure it’s fully dissolved so you don’t get lumps—and then whisk that slurry right back into the simmering syrup. Give it about five more minutes on low heat, and it will thicken up beautifully. See? Perfect results every time!
Expert Tips for the Best Fresh Blueberry Syrup
When you are making **fresh blueberry syrup**, one thing I’ve learned is that the sugar choice absolutely impacts the final texture, even if you’re using a thickener later. If you substitute the granulated sugar for something like honey or maple syrup, the syrup tends to stay a little looser when cooled. That’s totally fine if you plan to use it right away over your chili garlic noodles or next morning’s waffles, but it won’t store quite as firmly.
Here’s a little trick I use when I worry about my sweetness level: I always start with just half the required sugar, taste the syrup after simmering, and then slowly add the rest. That way, you’re not stuck with something tooth-achingly sweet!
Also, don’t fret if you only have **frozen blueberry syrup** ingredients on hand. Frozen berries will just take about 5 extra minutes to break completely down in the initial boil—that’s all. Seriously, this recipe is foolproof for any type of blueberry you have!
Creative Ways to Use Your Homemade Breakfast Syrup
Pancakes and waffles are obviously the stars of the show when it comes to this **waffle topping homemade**, but honestly, you’d be missing out if you stopped there! This vibrant, fresh topping doesn’t just belong on breakfast plates. I love taking a spoonful of plain Greek yogurt and swirling in some of this beautiful **blueberry drizzle recipe**—it instantly elevates the whole snack.
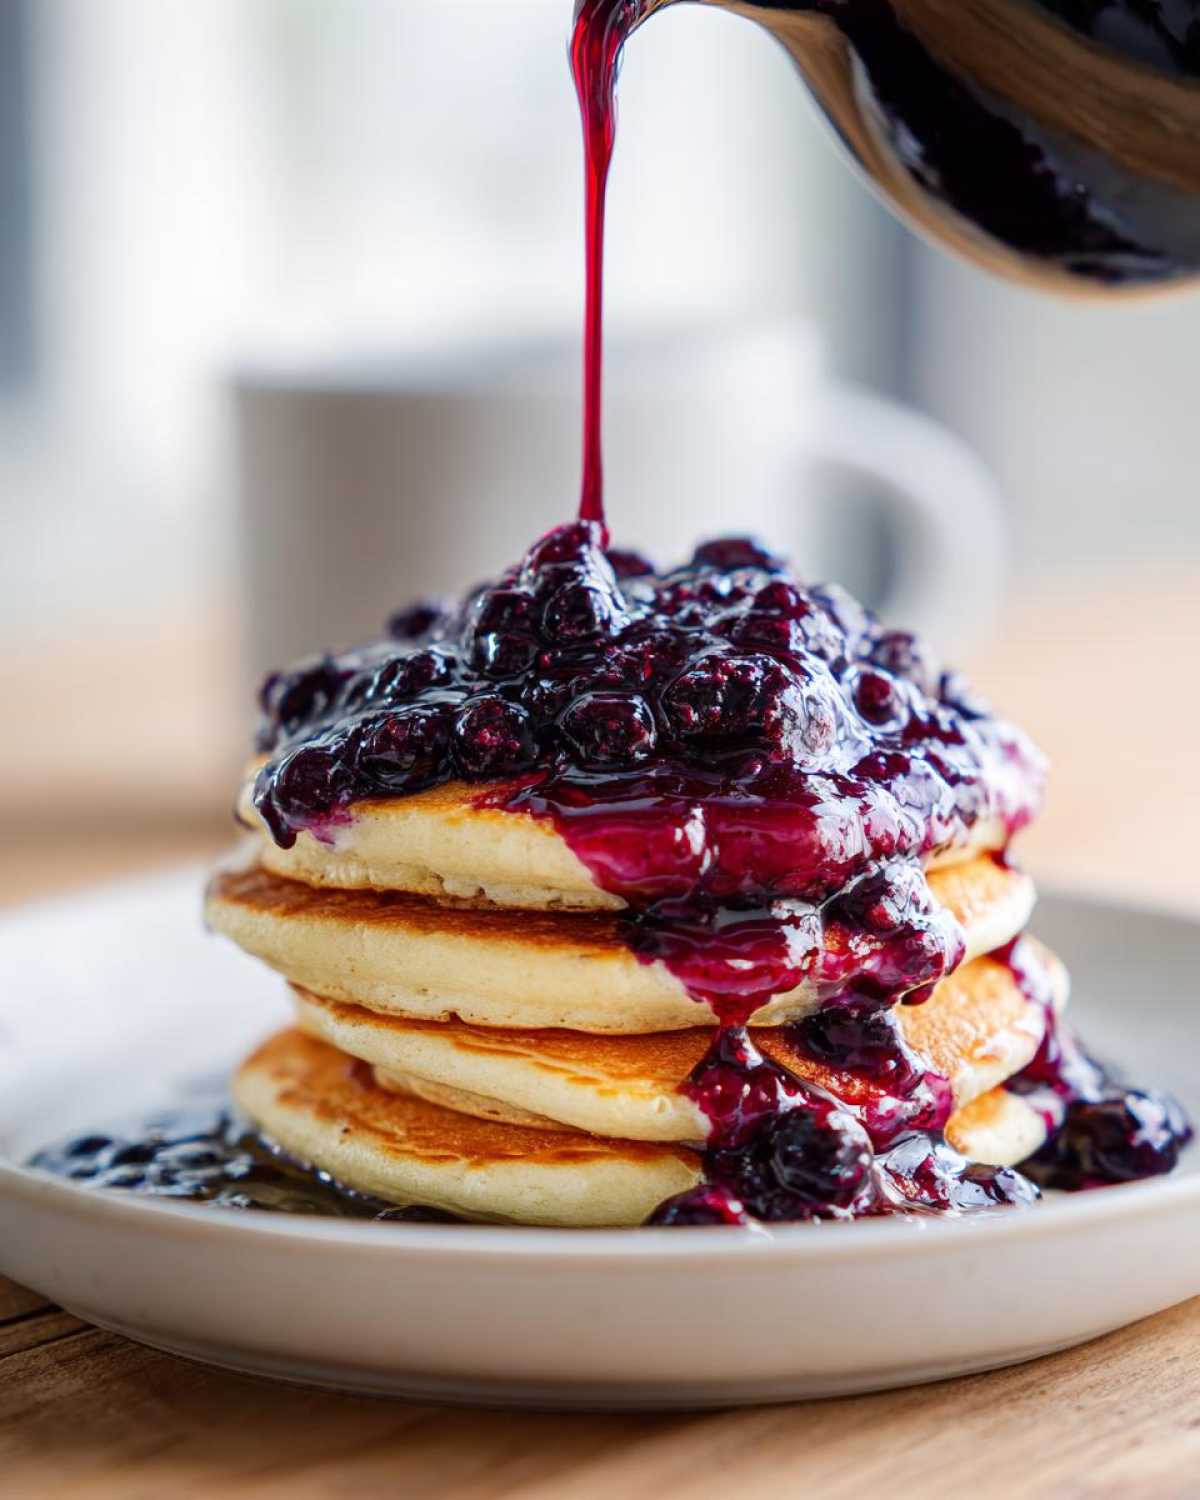
Think beyond the griddle! Try drizzling this over ice cream instead of boring jarred toppings. It’s amazing warmed up slightly over cheesecake, or swirling it through a vanilla milkshake. If you’re feeling really fancy, a dash of this syrup mixed with gin or vodka makes a surprisingly delicious cocktail base. Honestly, once you have this batch ready, you’ll start slathering it on everything. You can even use it to flavor my coffee banana protein shake!
Blueberry Syrup Storage and Shelf Life
So, you made a giant batch because, let’s be honest, we all do! Great job! Now you need **blueberry syrup storage** tips so you can enjoy this goodness all week long. The fantastic news is that because we used sugar and lemon juice, this keeps really well in the fridge. I always have a jar ready to go, especially since I always link back to my main recipe index when people ask where to find more great stuff!
Make sure the syrup is completely cool first—that’s important! Then, transfer the whole batch into a clean, airtight container. A glass jar is always my favorite choice for this kind of topping. Stored correctly in the refrigerator, this homemade syrup stays fresh and flavorful for up to two weeks. If you start seeing any cloudiness or weird smells after that time, toss it, but honestly, you’ll probably use it up long before then because it’s too good to save!
Frequently Asked Questions About Homemade Blueberry Syrup
I always get a ton of questions once people see how easy this recipe is! It’s funny how worried everyone is about getting that perfect texture, but trust me, once you’ve tried this **pancake syrup recipe**, you’ll realize the technique is super forgiving. Here are the things I hear most often:
Can I make this Homemade Blueberry Syrup without straining the seeds?
You absolutely can! I actually prefer it when I’m not in a huge rush. When you leave the pulp and skins in, you get a much chunkier, more rustic topping. It feels even more authentic, like you just scooped it off a giant bowl of baked fruit. If you want that super smooth, glassy look you see in diners, then straining is the way to go, but for home eating? Skip the cleanup and leave them in!
Do I need to use cornstarch for this pancake syrup recipe?
Nope, you don’t *need* it, but it’s a handy cheat code if you need it! The recipe is designed to naturally thicken as it cools just from simmering and reducing the liquid. However, if it’s a super humid day, or if you just like your syrup thick enough to stand a fork up in, you can definitely use that cornstarch slurry I mentioned. I usually only break out the cornstarch if I’m making a huge double batch to ensure every last drop is perfectly dense—otherwise, just letting it cool does the trick for me.
What is the best way to preserve this natural blueberry sauce long-term?
For general use, the refrigerator is your best friend. Like I said before, just pop it in a sealed jar, and it’s good for nearly two weeks because of the sugar content. If you want to keep this amazing **natural blueberry sauce** around for months, you’ll need to look into proper at-home canning procedures using sterilized jars and a water bath. That’s because this recipe is designed for immediate use or short refrigeration, not shelf stability like commercial brands. I usually just make small batches every week instead of dealing with the canning process, but if you’re looking to can, always check safe guidelines for fruit syrups!
If these didn’t clear things up, check out the tips from people who loved making my cookie recipe; they always have great insights!
Nutritional Snapshot of This Homemade Blueberry Syrup
Okay, so while this syrup is pure joy on a plate, it’s still good to know what you’re putting into your body! Remember that this **homemade blueberry syrup** is a topping, so portions are small, but that means you get a lot of flavor without a ton of guilt, relatively speaking. These numbers below are just estimates based on the full yield of the recipe divided into about four generous servings.
If you’re watching your sugar, remember you can always reduce the granulated sugar in the initial recipe; that will be the biggest changer here!
- Serving Size: 1/4 cup (a nice generous drizzle!)
- Calories: 180 (mostly from the sugar, naturally)
- Sugar: 40g (This is why we taste before we finalize!)
- Fat: 0.2g (Practically fat-free!)
- Carbohydrates: 46g
- Protein: 0.5g
- Sodium: 1mg (Almost negligible, isn’t that great?)
It’s a simple fruit syrup, so you aren’t getting massive amounts of protein or fat, but you are getting that lovely flavor from real fruit, which is what matters most to me!
Share Your Gourmet Pancake Syrup Creations
Alright, now that you’ve officially mastered **Homemade Blueberry Syrup**, I want to see what you did with it! Seriously, the best part of sharing these recipes is seeing them pop up on your breakfast tables. Did you make it super smooth? Did you leave the seeds or use it over my one skillet beef stroganoff (just kidding… mostly)?
Please, please leave me a comment below telling me how your batch turned out and what you drizzled it over. A star rating helps other readers know they are grabbing a winner! If you snap a picture while you’re swirling that gorgeous, rich topping over your pancakes, tag me on social media. I love checking in and seeing my readers mastering these kitchen fundamentals. Happy drizzling!
PrintEasy Homemade Blueberry Syrup

Make a simple, flavorful blueberry syrup at home using fresh or frozen blueberries. This recipe yields a thick topping perfect for pancakes, waffles, or yogurt.
- Prep Time: 5 min
- Cook Time: 20 min
- Total Time: 25 min
- Yield: About 1.5 cups
- Category: Breakfast Topping
- Method: Stovetop Simmering
- Cuisine: American
- Diet: Vegetarian
Ingredients
- 2 cups fresh or frozen blueberries
- 1 cup water
- 3/4 cup granulated sugar (adjust to taste)
- 1 teaspoon lemon juice
Instructions
- Combine blueberries, water, and sugar in a medium saucepan.
- Bring the mixture to a boil over medium-high heat, stirring until the sugar dissolves.
- Reduce the heat to low and simmer for 15 to 20 minutes, stirring occasionally. The berries will break down, and the liquid will reduce slightly.
- For a smoother syrup, press the mixture through a fine-mesh sieve into a bowl, discarding the solids. For a thicker, chunkier syrup, skip the straining step.
- Stir in the lemon juice.
- If the syrup is too thin, return it to the saucepan and simmer for an additional 5 minutes until it coats the back of a spoon.
- Let the syrup cool completely before serving or storing. It will thicken more as it cools.
Notes
- For a thicker syrup, you can dissolve 1 teaspoon of cornstarch in 1 tablespoon of cold water, then stir this slurry into the simmering syrup during the last 5 minutes of cooking.
- This syrup works well as a drizzle over ice cream, mixed into sparkling water, or used in cocktails.
- Store the cooled syrup in an airtight container in the refrigerator for up to two weeks.
Nutrition
- Serving Size: 1/4 cup
- Calories: 180
- Sugar: 40
- Sodium: 1
- Fat: 0.2
- Saturated Fat: 0
- Unsaturated Fat: 0.1
- Trans Fat: 0
- Carbohydrates: 46
- Fiber: 1.5
- Protein: 0.5
- Cholesterol: 0