

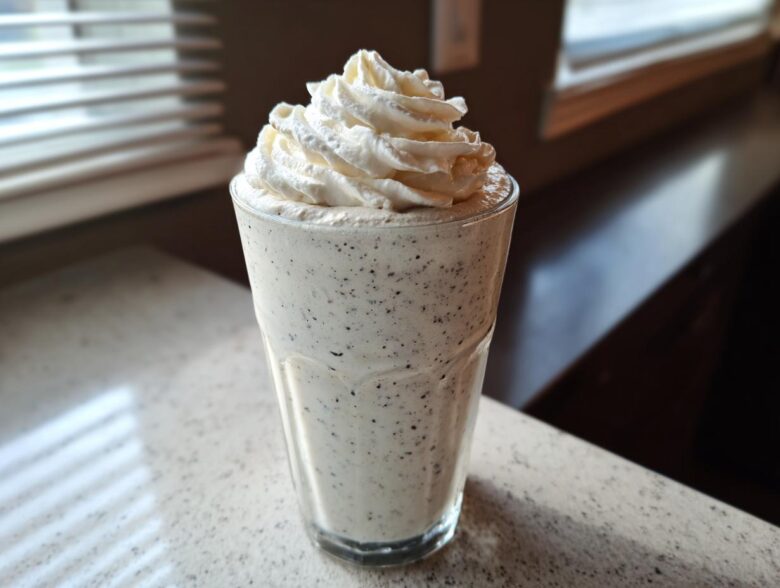
Oh my gosh, you know those days, right? You’re eyeing that giant, frosty, perfectly swirled drink from the coffee shop, but then you remember the price tag—ouch! Well, stop right there! I’ve spent way too many afternoons locked in a kitchen battle trying to replicate that exact taste without trekking down the street. You can check out my coffee banana protein shake recipe if you ever need a quick energy boost, but for pure indulgence, we need this Frappuccino.
And I finally nailed it. I’m sharing my ultimate recipe for a **Homemade Vanilla Bean Frappuccino** that is shockingly creamy, packed with those gorgeous little vanilla specks, and best of all? Absolutely no coffee required. Seriously, this espresso-free version is my go-to summer treat. Getting the texture right took some trial and error—you don’t want watery slush—but trust me, this method locks in the thickness perfectly. You’re going to love making this easy homemade frappuccino recipe!
Why This Homemade Vanilla Bean Frappuccino Recipe Works
When I tell people this tastes *exactly* like the coffee shop version, they usually don’t believe me until they take a sip! Making a great **Starbucks Frappuccino at Home** isn’t just about dumping stuff in a blender; it’s about understanding what gives that specific texture and rich flavor, especially when you’re making a **Copycat Vanilla Bean Frappuccino Recipe**. Those big chains have commercial blenders, but we can totally beat them using smart ingredient choices right here in our own kitchens. We focus on what actually makes the drink decadent!
You can see my general thoughts on whipping up other quick blended drinks here: easy homemade frappuccino recipe. But the vanilla bean one needs special care!
Achieving the Perfect Creamy Blended Vanilla Drink Recipe Texture
This is where most people mess up their **Homemade Vanilla Frappe Instructions**. You can’t just use ice and milk; it ends up tasting like flavored water! The real secret to that **Creamy Blended Vanilla Drink Recipe** texture is the high-quality vanilla ice cream. It acts as our thickener and adds richness right away. Just remember: blend fast and don’t run the machine so long that the ice dissolves completely, or you’ll lose all that wonderful frosty density!
The Secret to Authentic Flavor in Your DIY Vanilla Bean Frappuccino
If you want that authentic vanilla bean look—you know, those tiny floating dark specks—you absolutely need real vanilla bean paste or the actual seeds scraped from a pod. That’s what makes it a true **DIY Vanilla Bean Frappuccino** and not just a vanilla shake. Extract is fine in a pinch, but it just doesn’t give you that deep, authentic aroma and those signature visual cues that scream ‘gourmet’ right in your glass. Don’t skip the paste!
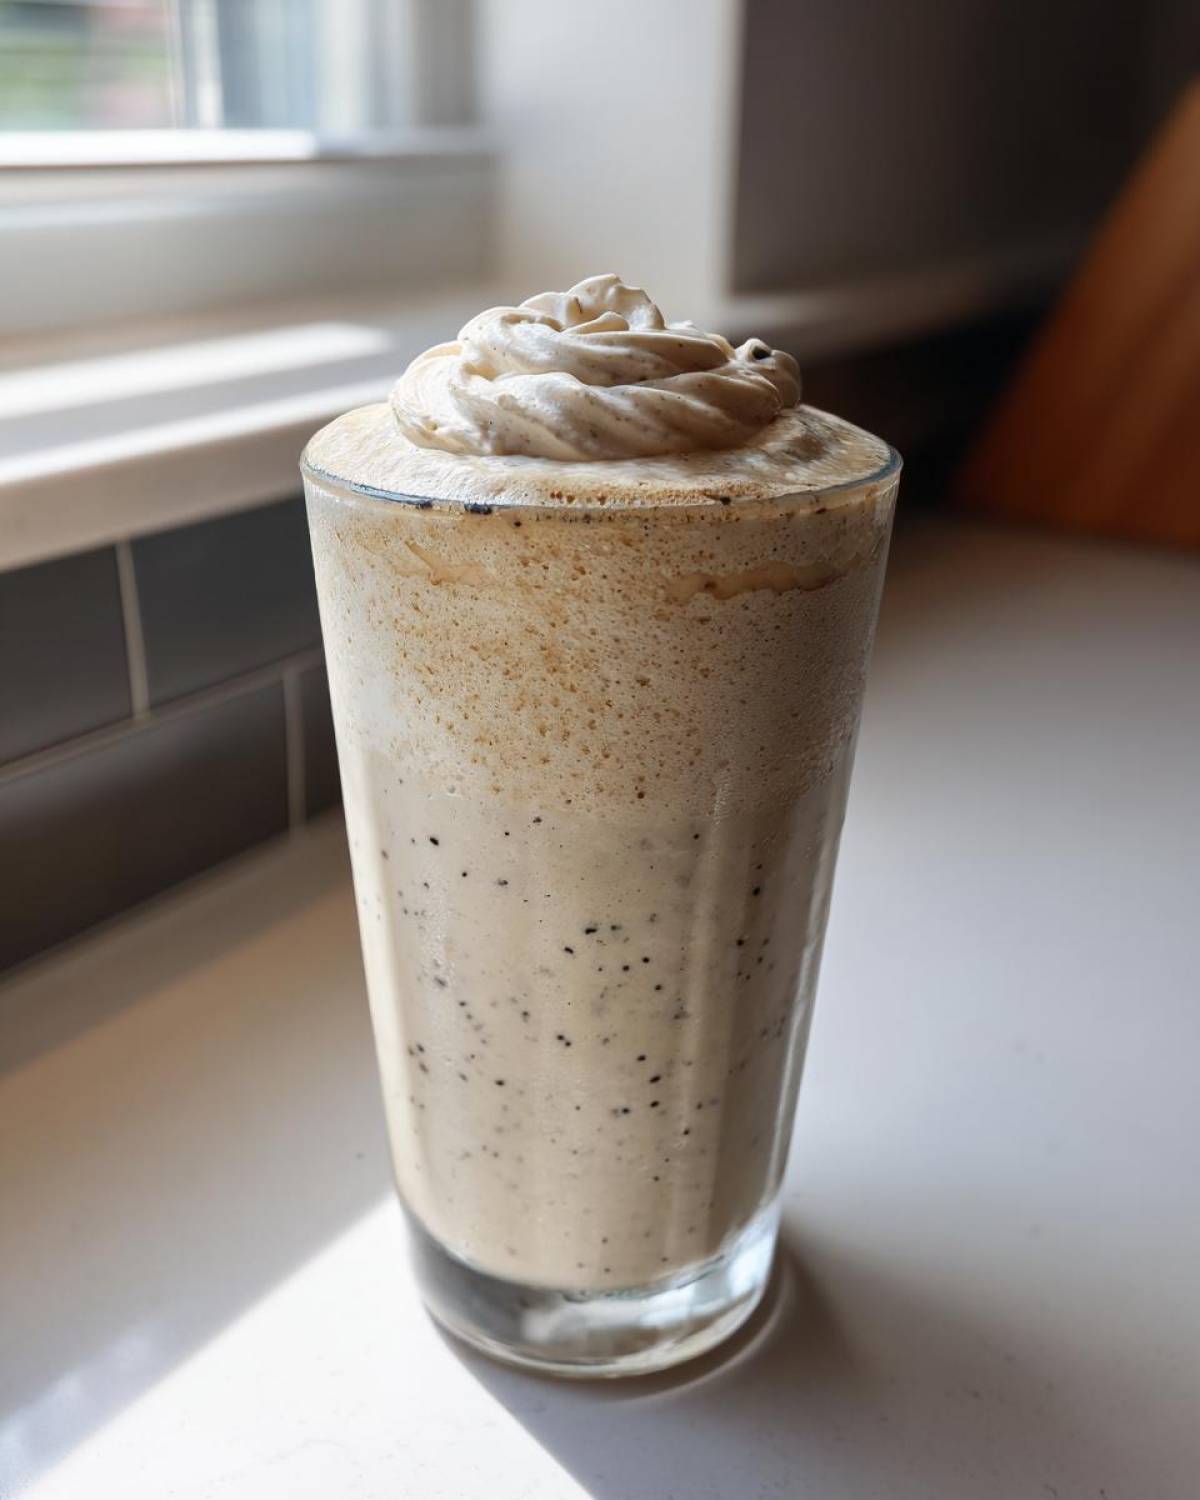
Ingredients for the Ultimate Homemade Vanilla Bean Frappuccino
Okay, gathering the supplies for this **Homemade Vanilla Bean Frappuccino** is super simple, but the quality of your vanilla really makes the difference. You’ll want to make sure you have everything ready to go because once you start blending, this drink comes together in literally sixty seconds! Having everything measured out is key to nailing that perfect frosty temperature.
If you’re curious about where to find killer vanilla products, you can read my deep dive on vanilla bean paste recipe uses right here. But for the mix itself, here’s what you’ll need for one glorious serving:
- 1 cup whole milk or preferred milk alternative (I love oat milk for extra creaminess!)
- 1/2 cup good quality vanilla ice cream (don’t skimp here!)
- 1/4 cup strong vanilla syrup (or, if you’re making your own simple syrup, use 3 tablespoons plus 1 teaspoon of really good vanilla extract)
- 1/2 teaspoon vanilla bean paste—this is non-negotiable for the real look! Or, you can carefully scrape the seeds from about 1/4 of a whole vanilla bean pod.
- 1 1/2 cups ice cubes
- Optional: Plenty of whipped cream for topping
- Optional: Extra vanilla syrup for drizzling art on top
See? Not complicated at all! It’s all about balancing the liquid, the sweet, and the frozen components.
Step-by-Step Homemade Vanilla Frappe Instructions
Now for the fun part—turning those beautiful ingredients into a frozen masterpiece! Following these **Homemade Vanilla Frappe Instructions** in order is critical if you want that thick, slushy bliss rather than a sad, thin vanilla milk drink. I always prep my glass beforehand; pop it in the freezer for about ten minutes while you get everything else ready. A cold glass keeps your drink frosty longer!
First things first, get your liquids and flavorings layered into the blender. You’ll want to combine the milk, that gorgeous vanilla ice cream, your vanilla syrup, and the all-important vanilla bean paste. If you’re looking for great espresso-free ideas, check out my post on how to make frappuccino without coffee for more inspiration!
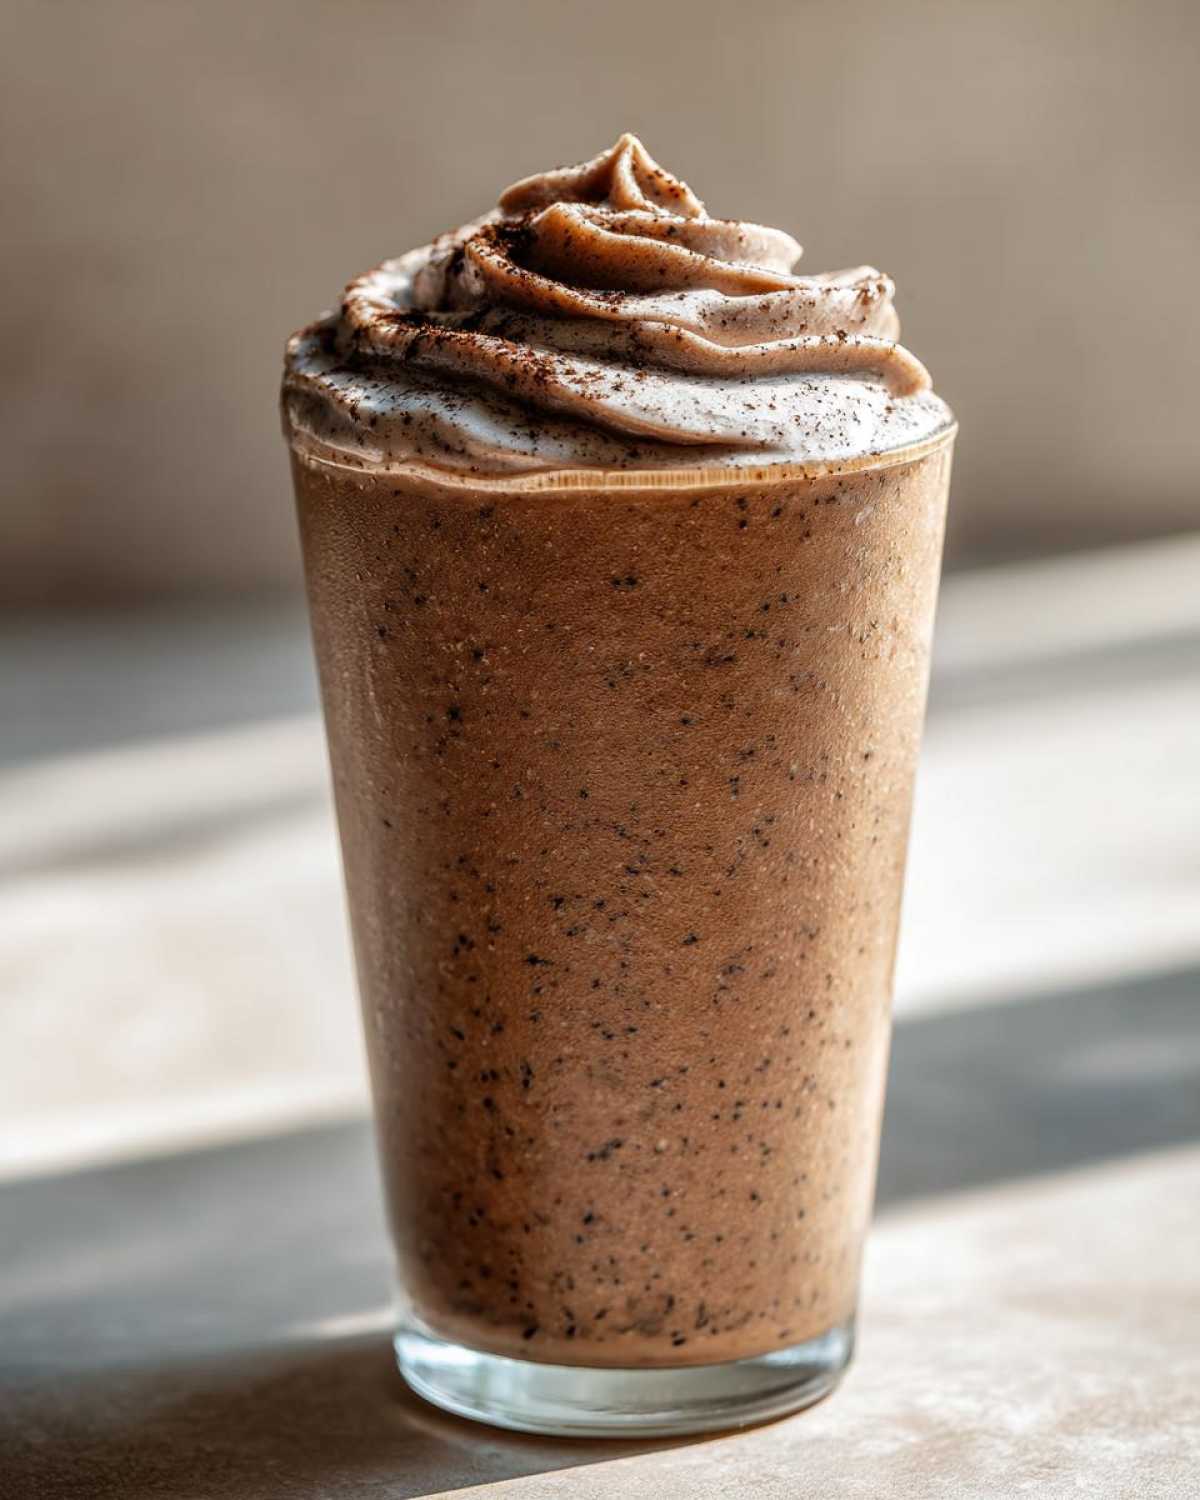
Only once those creamy bits are in should you add your ice cubes last. We do this intentionally! It helps the blades grab the liquid first before crushing the ice evenly.
Blending Technique for a Thick Homemade Frappuccino
Here’s that crucial moment: secure that lid tightly! Start blending on a low setting just to break up the ice, and then crank that baby up to high speed. You’re looking for that perfect vortex where everything swirls smoothly. Stop the blender the *second* it looks completely uniform—usually about 30 to 45 seconds max. If you over-blend, I promise you, all that wonderful thickness melts away into sadness. Scrape down the sides if you need to, but keep the blending time short. Taste it right there, and if you’re brave, pour it into your chilled glass immediately!
Tips for the Best Starbucks Frappuccino at Home
Even when following the recipe perfectly, sometimes you just need that little nudge to turn a great drink into the *best* **Starbucks Frappuccino at Home**. That’s where these tiny hacks come in! My favorite little trick to make sure this **Homemade Vanilla Bean Frappuccino** stays thick all the way to the bottom is chilling my milk beforehand. If the milk is already nearly frozen, it helps prevent the ice from melting too fast during that high-speed blend action. It’s such a simple thing, but it really works!
We’ve also got to talk about the components. Because this is a copycat recipe, ingredient choice matters way more than you’d think. If you want to see what other kinds of fun blended drinks you can whip up, check out my tips for blended coffee shop style drinks!
Ingredient Substitutions for Your Homemade Vanilla Bean Frappuccino
I know vanilla bean paste can be a little pricey sometimes, so let’s chat substitutions for our **Homemade Vanilla Bean Frappuccino**. If you absolutely can’t find paste, using a full teaspoon of high-quality vanilla extract works fine for flavor. I’m not gonna lie though, you’re going to miss those beautiful dark seeds dancing around in your drink! The recipe definitely won’t look quite as authentic without them.
What about making it lighter? If you’re looking to cut back on fat, I suggest swapping out the full-fat ice cream for a high-quality vanilla frozen yogurt or even a no-sugar-added vanilla frozen dessert. But here’s my honest warning: be careful! Any time you swap out that heavy cream base from the ice cream, you lose some of that luxurious, thick mouthfeel. You might need to reduce the liquid milk ever so slightly or add just a touch more ice next time to try and compensate for the texture loss.
Variations on the Creamy Blended Vanilla Drink Recipe
Just because we are perfecting the classic **Homemade Vanilla Bean Frappuccino** doesn’t mean we can’t play around a little bit! I love experimenting with this base because it’s so mellow and versatile. If you want to mix up your usual routine, try swapping out the whole milk for something richer, like creamy coconut milk or, my personal favorite for a slightly nutty note, oat milk. They blend up beautifully and still give you that wonderful thickness you want in a **Creamy Blended Vanilla Drink Recipe**.
For a subtle twist on the flavor profile—something that mimics those seasonal specials—you can add just a tiny pinch of ground cinnamon right into the blender. It really complements the vanilla bean without overpowering it. Or, if you want a different kind of punch, a drop or two of pure almond extract turns this into a totally different, complex treat. If you’re looking for tons of other ideas for drinks that skip the espresso entirely, check out my list of non-coffee frappuccino ideas for more inspiration!
Serving and Topping Your Rich Vanilla Frappe with Whipped Cream
When you finally achieve that perfect, thick, frosty texture—don’t blow it by serving it in a warm glass! Presentation is half the battle when you’re trying to match that coffee shop vibe for your **Homemade Vanilla Bean Frappuccino**. Seriously, take five minutes before you even start blending to pop your serving glass in the freezer. That chill factor is key for keeping your drink from melting into soup five minutes after you pour it.
Once you’ve carefully poured that fantastic frozen blend into your chilled glass, it’s time for the grand finale! This is the moment where we truly finish off that **Rich Vanilla Frappe with Whipped Cream** look. I always go heavy on the topping because life is too short for weak whipped cream.
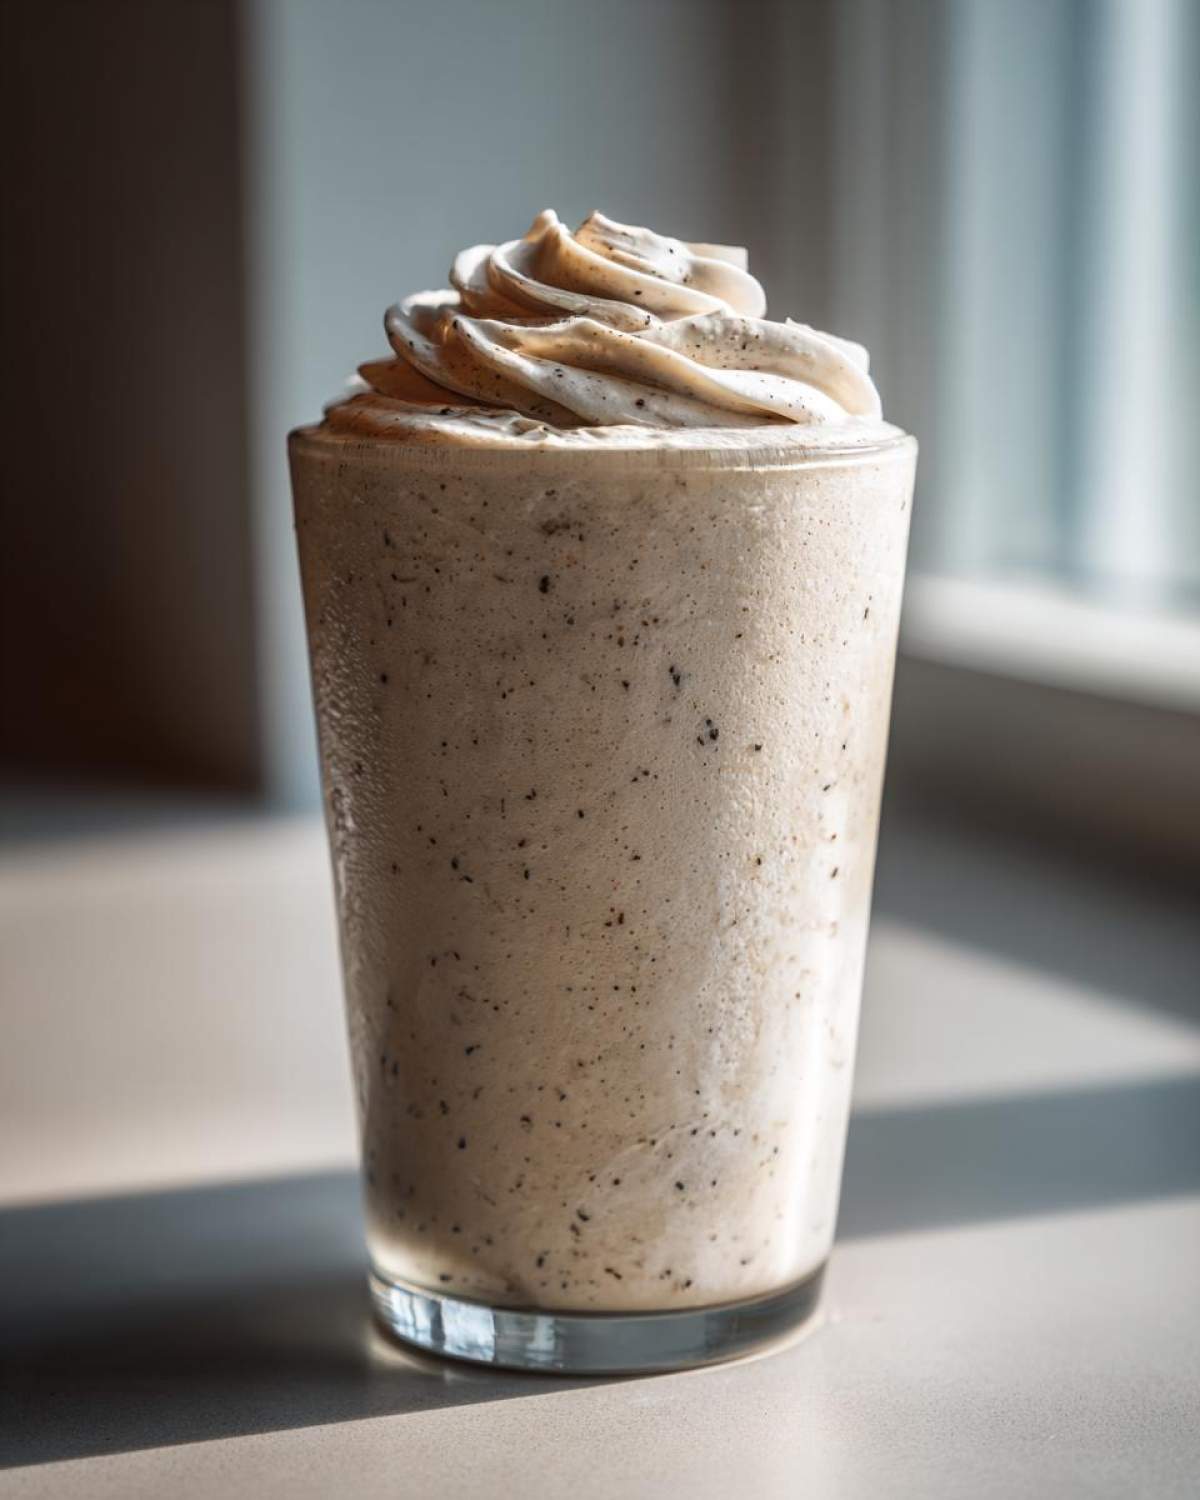
Squeeze a generous swirl of whipped cream right on top—make it tall! Then, if you saved a tiny bit of that vanilla syrup from the recipe, use a spoon or even a pastry bag if you’re feeling fancy to drizzle it over the peak of the cream. If you want to get extra wild and match those gourmet versions, sprinkle just a few extra tiny specks of vanilla bean paste right on top of the whipped cream. It looks beautiful!
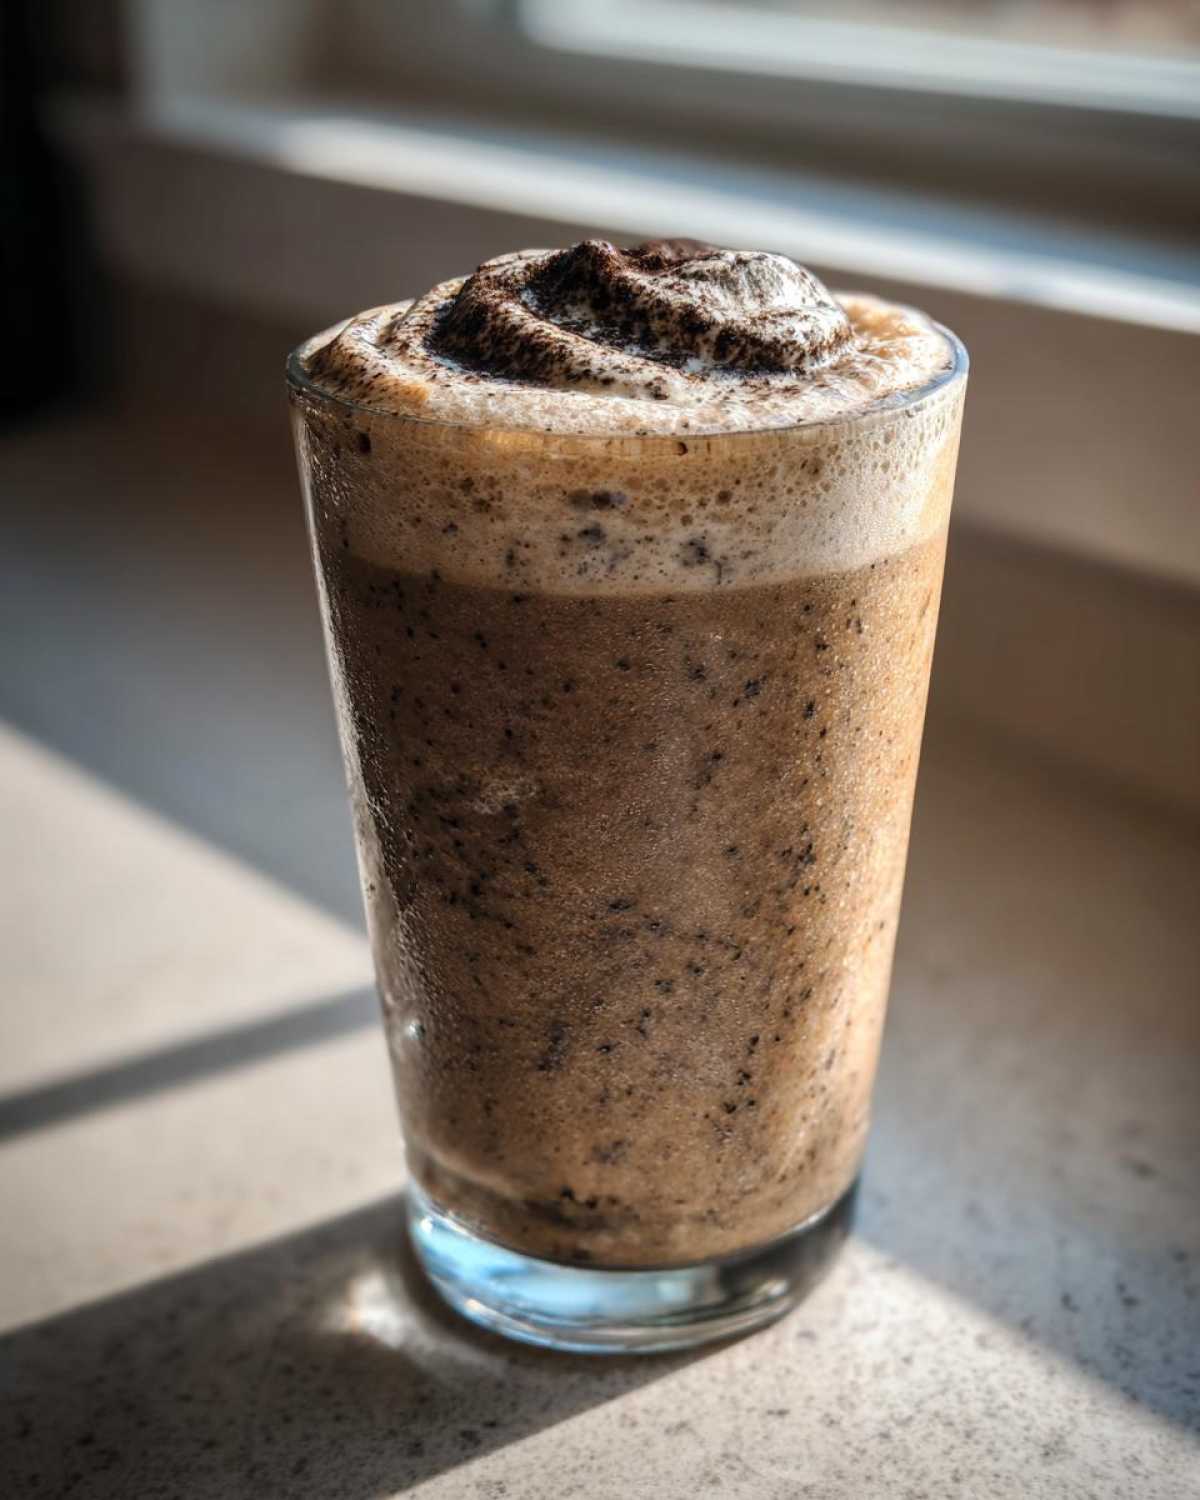
If you’re into making other delicious things that disappear way too fast, you should take a peek at my recipe for chocolate chip banana bread that never lasts—it’s almost as addictive as this frappe!
Remember, this **Homemade Vanilla Bean Frappuccino** needs to be enjoyed right away. It’s a blended drink, not a smoothie you sip over an hour. Grab a fat straw and enjoy every single frosty spoonful!
Storage and Reheating Instructions for Homemade Vanilla Bean Frappuccino
Okay, I’m going to be completely honest with you here: the **Homemade Vanilla Bean Frappuccino** is really a drink intended to be made and consumed in one glorious moment. Blended drinks, by their very nature, start to separate and melt the second they leave the blender. It’s physics, what can I say?
If you’ve made a huge batch—maybe you were testing quantities or serving a crowd—and you have leftovers, don’t panic! You shouldn’t just stick the blended drink in the fridge or freezer. Sticking it in the fridge turns it into lukewarm, watery milk almost instantly. And freezing it turns it into a weird solid block that doesn’t blend nicely later. It’s just not worth the sad outcome.
If you absolutely must save some for later, the best approach is to store the components separately. Keep the milk chilled in the fridge, and store your extra vanilla syrup in a jar on the counter. When you’re ready for another fix, just measure out the cold milk, add fresh ice, your syrup, and a scoop of ice cream, and blend it fresh again. Freshly blended is always, always better for this recipe, so avoid storing the finished **Homemade Vanilla Bean Frappuccino** if you can!
Frequently Asked Questions About Your Homemade Vanilla Bean Frappuccino
I know you’re probably going to have questions pop up once you start making this, because making the perfect copycat takes a little finesse! That’s totally okay! I’ve gathered up the ones I get asked most often about achieving that perfect texture and flavor in our **Homemade Vanilla Bean Frappuccino** right here.
If you’re looking for even more detail on getting the absolute best results, you can always check out my comprehensive guide on the Best Homemade Vanilla Bean Frappe!
Can I use frozen milk instead of liquid milk for a thicker Homemade Vanilla Bean Frappuccino?
Oh yes! Seriously, this is one of my favorite little tricks if you are aiming for that super-thick, almost milkshake-like consistency of a pure **Homemade Vanilla Bean Frappuccino**. If you cube your milk and freeze it ahead of time, you can skip using as much ice, which really helps cut down on that watery runoff. Just treat the frozen milk cubes exactly like you treat the ice cubes during the blending process—add them last! It makes a huge difference in the final texture and keeps your drink colder for longer.
How do I make this a Homemade Frappe Instructions with coffee?
That’s a great question! Since this particular recipe focuses on being a coffee-free drink, we skip the brew, but if you’re looking to turn this into a more traditional experience from those **Homemade Frappe Instructions**, you just need to add a caffeine kick. I highly recommend using a very concentrated source so you don’t add too much extra liquid. You can easily toss in one full shot of cooled, strong espresso right in with the milk and ice cream. If you don’t have an espresso machine, a tablespoon or two of cold brew concentrate works perfectly, too! It mixes in beautifully without messing up the blend.
What is the best way to sweeten this Thick Blended Vanilla Milk Shake Recipe?
Sweetness is tricky because so much depends on what kind of vanilla ice cream you buy! Premium ice creams can be super sweet already. So, my best advice for this **Thick Blended Vanilla Milk Shake Recipe** is always to taste *before* you fully commit. Add the recommended amount of vanilla syrup first, blend everything up, and then take a tiny sip directly from the blender lid (carefully, of course!). If it needs that extra boost of sugar, add just a teaspoon of syrup at a time and pulse it quickly a few times. Better to under-sweeten initially than end up with something cloyingly sweet!
Estimated Nutritional Data for Homemade Vanilla Bean Frappuccino
I always want to be upfront with you about what goes into the body when we’re indulging in treats like this **Homemade Vanilla Bean Frappuccino**. While this recipe is all about bringing that coffee shop joy home, remember that these numbers are just estimates! They depend heavily on what brand of ice cream you use, whether you choose whole milk or a non-dairy alternative, and how generous you are with that vanilla syrup drizzle!
This data is based on using whole milk, standard vanilla ice cream, and the basic recipe quantities listed. If you’re tracking things closely, feel free to adjust based on your specific ingredient labels. For more general recipe ideas and nutritional breakdowns, you can always browse the main blog index!
Here’s a quick snapshot of what you’re looking at for one serving:
- Serving Size: 1 drink
- Calories: Approximately 350
- Total Fat: About 12g (with 7g saturated fat)
- Carbohydrates: Around 58g
- Protein: Roughly 6g
- Sugar: Be aware, this clocks in near 55g, mostly from the ice cream and syrup!
- Cholesterol: Around 35mg
It’s definitely an indulgence, but what a delicious one! A great treat for a hot afternoon when you deserve something special, but maybe not something you’ll want every single day!
PrintHomemade Vanilla Bean Frappuccino
Make a creamy, blended vanilla bean drink at home that tastes like your favorite coffee shop version, using simple ingredients for a thick texture.
- Prep Time: 5 min
- Cook Time: 0 min
- Total Time: 5 min
- Yield: 1 serving
- Category: Beverage
- Method: Blending
- Cuisine: American
- Diet: Vegetarian
Ingredients
- 1 cup whole milk or preferred milk alternative
- 1/2 cup vanilla ice cream (high quality recommended)
- 1/4 cup strong vanilla syrup (or 3 tablespoons simple syrup plus 1 teaspoon vanilla extract)
- 1/2 teaspoon vanilla bean paste or seeds from 1/4 vanilla bean
- 1 1/2 cups ice cubes
- Optional: Whipped cream for topping
- Optional: Extra vanilla syrup for drizzling
Instructions
- Combine the milk, vanilla ice cream, vanilla syrup, and vanilla bean paste in a high-powered blender.
- Add the ice cubes to the blender last.
- Secure the lid and blend on high speed until the mixture is completely smooth and thick, stopping to scrape down the sides if necessary. Do not over-blend, or the drink will become watery.
- Taste the mixture and add a small amount more syrup if you prefer it sweeter.
- Pour the blended mixture into a tall glass.
- Top with whipped cream and an optional drizzle of vanilla syrup before serving immediately.
Notes
- For a thicker texture, reduce the amount of milk slightly or use a frozen milk base instead of liquid milk.
- If you do not have vanilla bean paste, use 1 teaspoon of high-quality vanilla extract, but the visual specks will be missing.
- Use good quality vanilla ice cream; this contributes significantly to the final flavor and creaminess.
Nutrition
- Serving Size: 1 drink
- Calories: 350
- Sugar: 55
- Sodium: 110
- Fat: 12
- Saturated Fat: 7
- Unsaturated Fat: 5
- Trans Fat: 0
- Carbohydrates: 58
- Fiber: 0
- Protein: 6
- Cholesterol: 35