

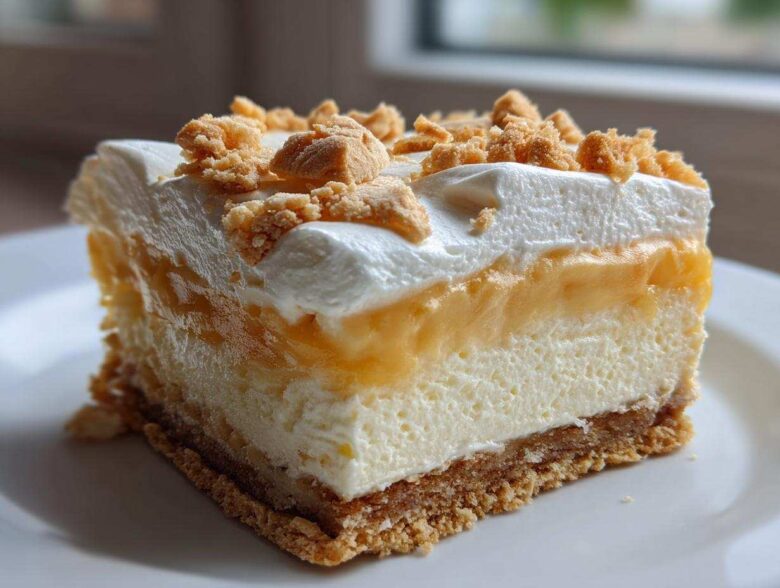
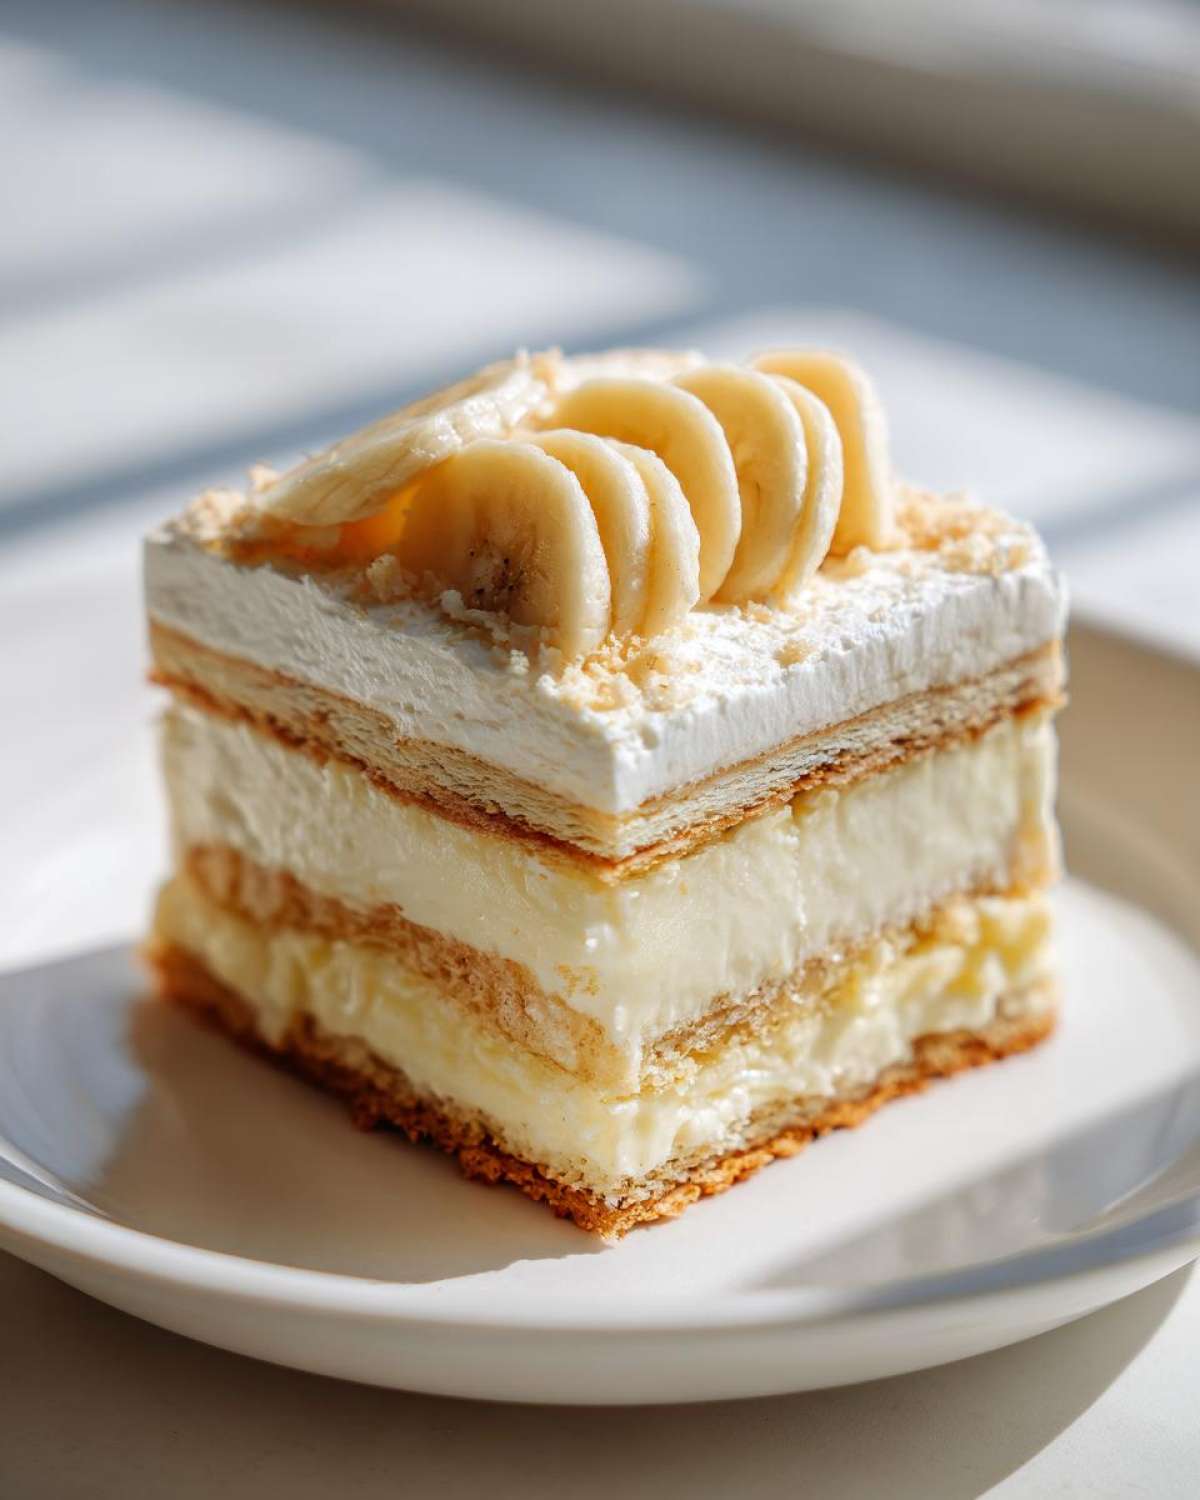
Oh, you know me! I live for those incredible desserts that mash up two perfect things into one glorious creation. When you marry creamy, tangy cheesecake with the pure, sweet nostalgia of Southern banana pudding? Magic happens! I’m talking about my absolute favorite hybrid dessert: Banana Pudding Cheesecake Bars. They hit every single spot—you get the buttery crunch from the vanilla wafer crust, the smooth, decadent cheesecake layer, and then that luscious, fruity pudding topping. After years of tweaking recipes that either got soggy or separated on me, I finally nailed the technique so these bars hold their shape beautifully and deliver that perfect bite every time. Trust me, these layered wonders are about to become your new obsession, especially when you see how easy they are to serve! Need more bar inspiration while you wait for this to set up? You absolutely have to check out my recipe for Churro Cheesecake Bars—it’s another showstopper!
Why You Will Love These Banana Pudding Cheesecake Bars
I promise, these aren’t just *another* dessert recipe. They are total crowd-pleasers! Plus, you can get ahead of the game since they need that long chill time. Here’s why these Banana Pudding Dessert Bars are worth making:
- Incredible texture contrast: crunchy base, creamy middle, soft topping.
- They are perfect Dessert Bars for Entertaining—easy to handle slices!
- The flavor combination of vanilla wafers and cream cheese is just divine.
- You get that authentic taste of Homemade Banana Pudding Recipe in a sturdy bar form.
Gathering Ingredients for Perfect Banana Pudding Cheesecake Bars
Okay, let’s talk supplies! Getting the right stuff ready beforehand is half the battle, trust me. You need your cream cheese totally soft and your bananas just right—not too green, not mushy brown! Since we are building layers, organization is key. If you’re looking to swap out some elements, I have a neat Lemon Blueberry Cheesecake Bars recipe that shows how versatile these bases can be, but for these beautiful Sweet Cream Cheese Bars, stick to the list below. Don’t skimp on the vanilla wafers; they are the backbone of this whole creation!
- For the Crust: We need 1 1/2 cups of vanilla wafer crumbs and 1/2 cup of unsalted butter that’s been melted smooth.
- For the Cheesecake Layer: Grab 16 ounces of cream cheese (make sure it’s soft!), 1 cup of granulated sugar, 1 teaspoon of vanilla extract, and 3 large eggs.
- For the Pudding Topping: You’ll need 1 package (3.4 ounce size) of instant vanilla pudding mix, 1 1/2 cups of cold milk, and 2 ripe bananas that you slice up just before mixing them in.
- For the Garnish because presentation matters!: Grab 1/2 cup of thawed whipped topping and 1/4 cup of crushed vanilla wafers.
Step-by-Step Instructions for Layered Banana Dessert
Now for the fun part! Here is how we turn those humble ingredients into the stunning Banana Pudding Cheesecake Bars everyone fights over. Pay close attention to cooling times; that’s where most layered desserts go wrong. We want structure, not soup! If you’re trying to convert a serious cheesecake skeptic, these bars are your secret weapon—it’s amazing how many people I’ve won over after they tried my recipe for cheesecake that converts non-cheesecake lovers!
Preparing the Vanilla Wafer Crust for Banana Pudding Cheesecake Bars
First things first, get that oven humming at 350 degrees Fahrenheit. Line your 8×8 pan perfectly with parchment paper, making sure you leave a nice overhang on two sides—that’s what lets you easily lift the whole dessert out later! Mix your wafer crumbs and melted butter until it resembles damp sand. Press this firmly down into the bottom of the pan. Bake it for just 8 minutes to set it up nice and strong, then pull it out to cool while you whip up the cheese layer.
Creating the Creamy Banana Cheesecake Filling
In a big, roomy bowl, beat your softened cream cheese, sugar, and vanilla until it’s totally lump-free. This is where you need to slow down: add the eggs one at a time, mixing only until it disappears into the batter. Seriously, stop mixing as soon as it blends! Overmixing the eggs causes air bubbles that lead straight to cracks. Pour this smooth mixture over your slightly cooled crust. Bake for about 25 to 30 minutes. You’re looking for edges that look firm, but the very center should just have a tiny wobble—that’s the sign of a perfect, creamy bake. Let it cool completely on a rack, please!
Assembling the Pudding Layer and Chilling Banana Pudding Cheesecake Bars
While that cheesecake cools off, whisk up your instant vanilla pudding following the box directions, using the cold milk. Whisk vigorously for two minutes until it thickens up nicely. Next, gently fold in those sliced bananas—don’t stir too hard or they’ll turn to mush! Spread this beautiful banana pudding evenly over your cooled cheesecake surface.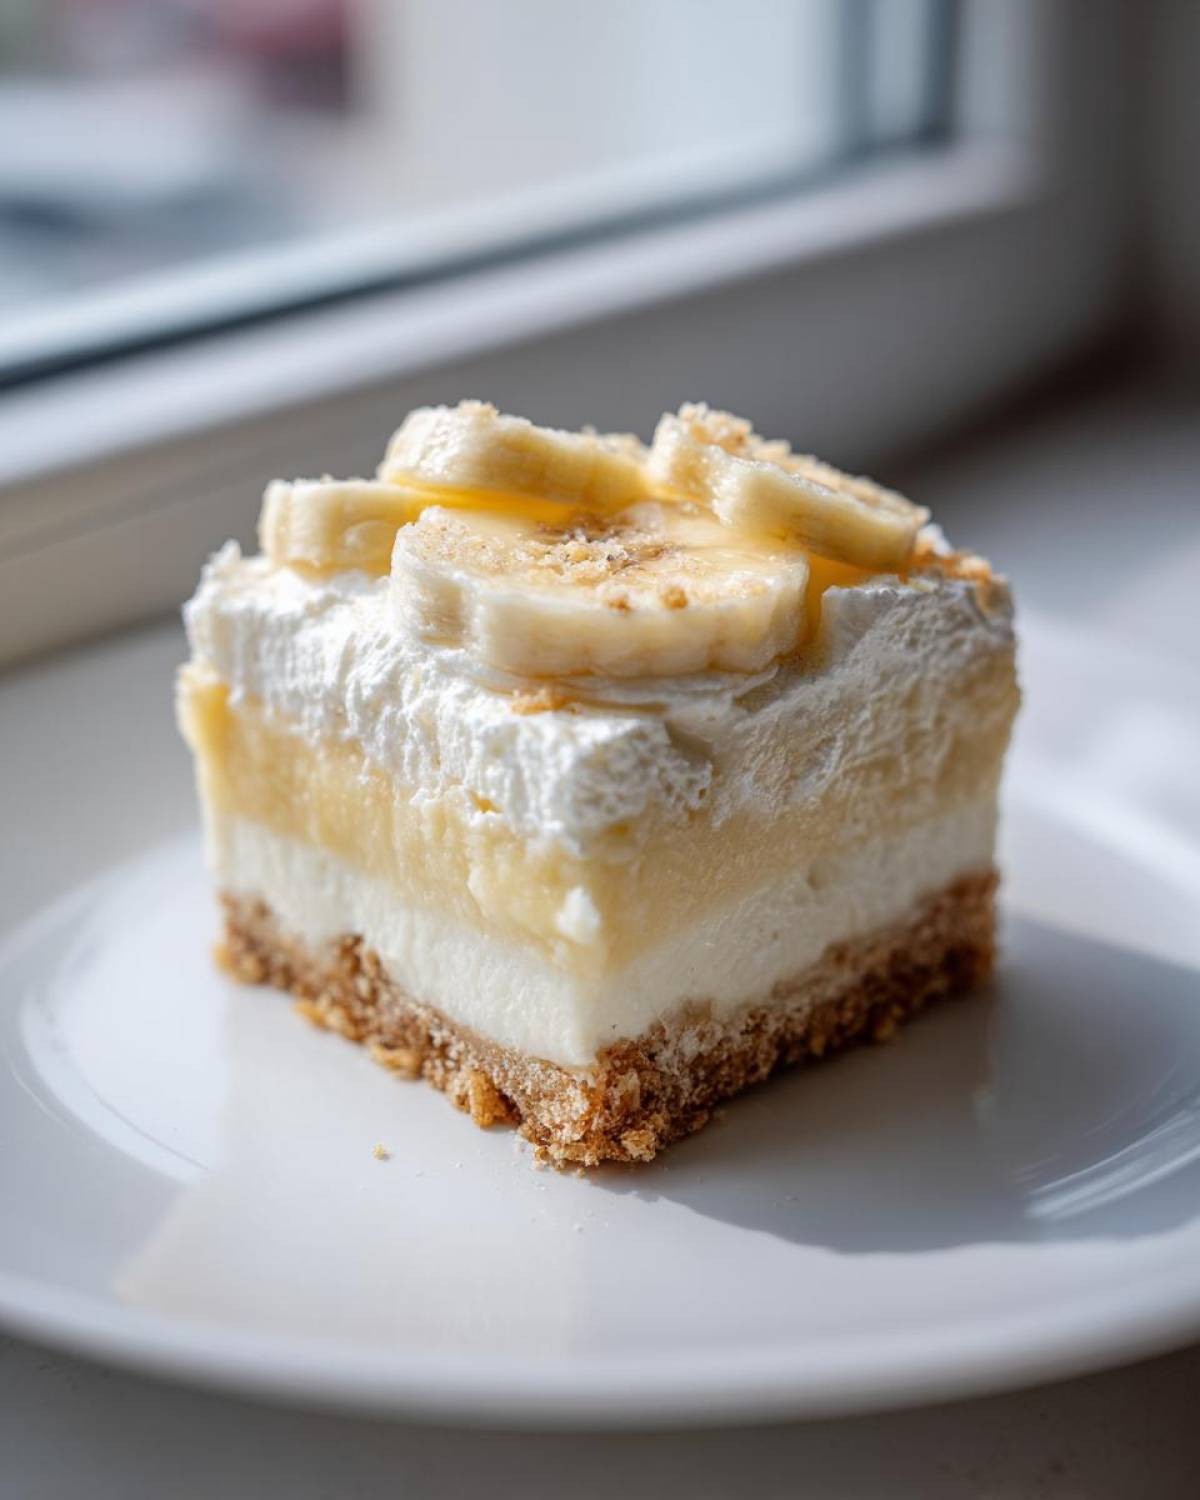 Now comes the hardest part: patience! Cover it up and let those Banana Pudding Cheesecake Bars chill in the fridge for a minimum of four hours. Overnight is truly best if you can manage it, because chilling is what makes those clean, gorgeous slices possible. Then, top with whipped topping and extra crushed wafers before you slice! If you want to dive deeper into pudding perfection, check out my guide to the best homemade banana pudding recipe, but remember to use the instant mix for these bars!
Tips for Perfect Banana Pudding Cheesecake Bars
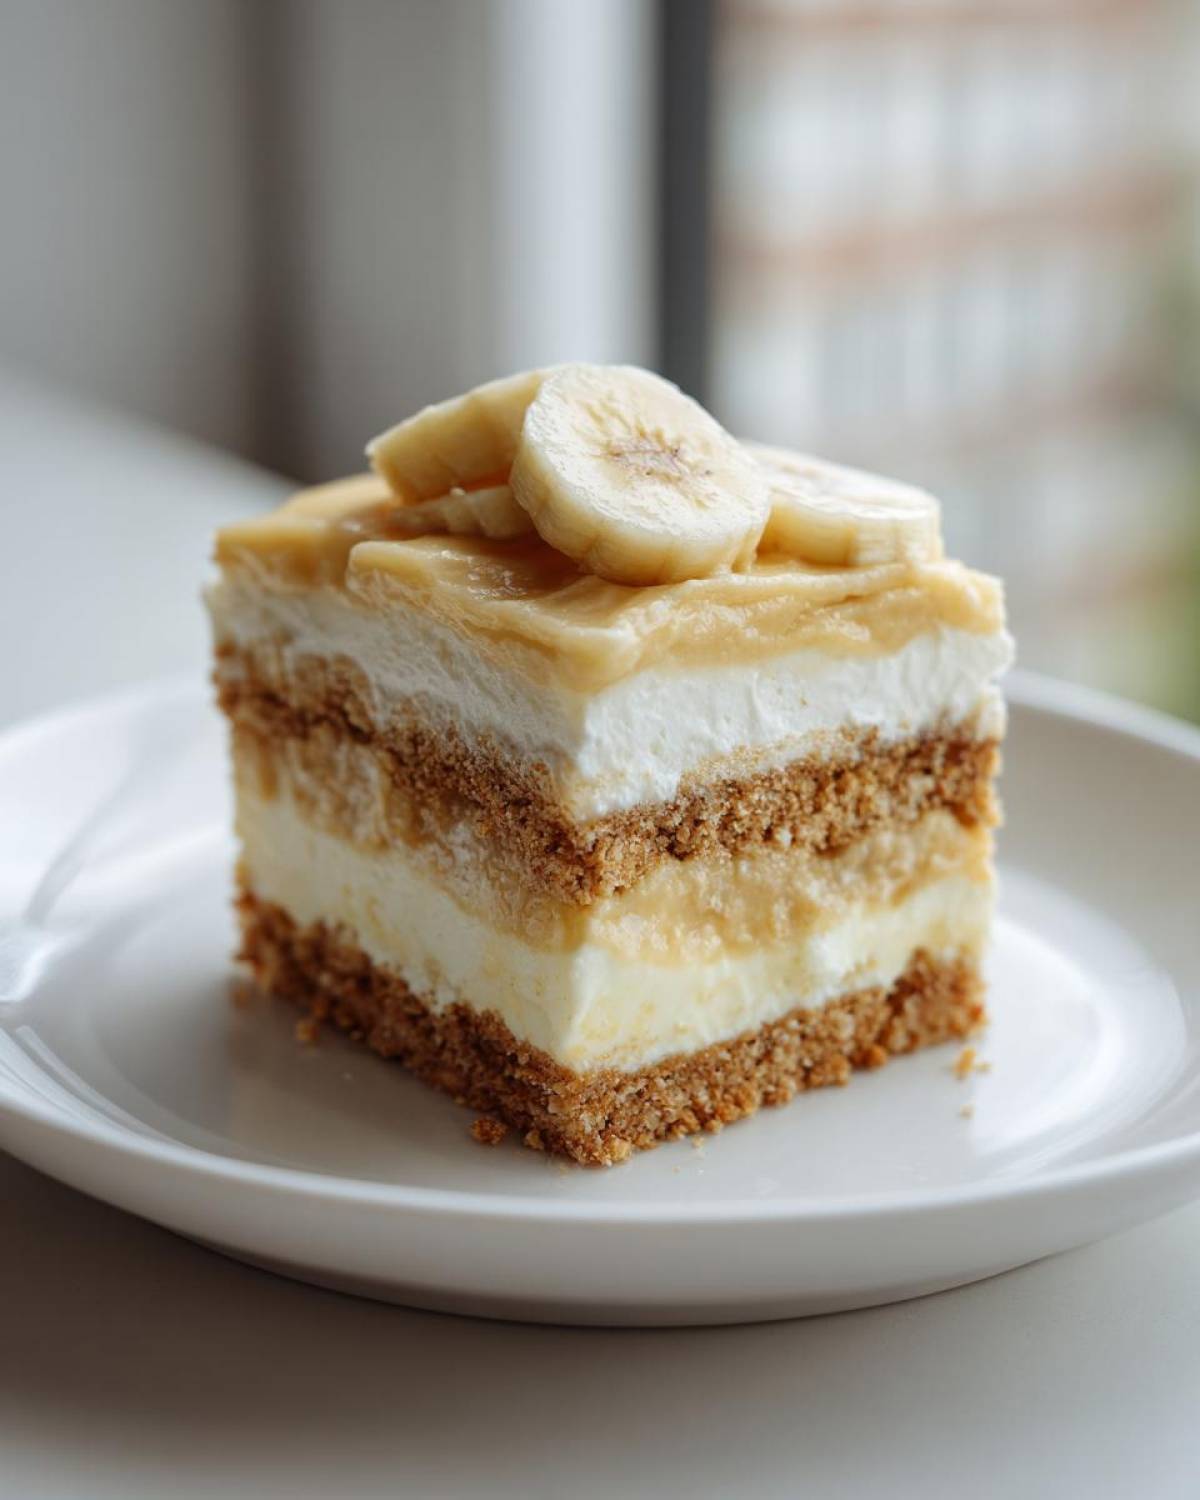
Listen, nailing this hybrid means paying attention to detail, especially where the layers meet! I’ve fought the good fight against soggy crusts and weeping pudding, so I’ve got a few tricks up my sleeve to make sure your Banana Pudding Cheesecake Bars turn out flawless every time. These little adjustments really make the difference between a good dessert and a truly decadent one.
- Seriously, don’t skimp on the chill time! I know waiting is the worst, but if you cut these bars before that four-hour minimum, the pudding layer will slide right off the cheesecake when you slice it. Give them time to firm up properly.
- Use slightly firm bananas for folding into the pudding. If they are too soft, they basically dissolve and make the whole pudding layer too mushy, which ruins that lovely texture contrast we need from the Best Banana Cream Desserts.
- When you mix the cheesecake batter, stop as soon as the eggs blend in. I cannot stress this enough! If you overmix, you pump too much air in, and when it cools, those air pockets collapse, leading you straight to crack city on your cheesecake layer.
- When you spread that banana pudding over the cooled cheesecake, be gentle! Pressing too hard can break the surface of the cheesecake, and you’ll end up mixing the layers when you really want distinct separation.
Variations for Your Creamy Banana Cheesecake
While these classic Banana Pudding Cheesecake Bars are perfect as they are, sometimes you just need a little twist, right? Don’t mess with the main structure, but we can certainly play with the edges! I love swapping out the vanilla wafers for something richer sometimes. Have you ever tried using crushed shortbread cookies for the crust? It adds a lovely buttery flavor!
Another idea for upgrading these Sweet Cream Cheese Bars is treating that whipped topping layer like a final cheesecake step. Instead of just plain whipped topping, cream it slightly with a couple of ounces of softened cream cheese, a touch of powdered sugar, and maybe a drizzle of caramel sauce.
For an extra decadent experience, try layering some thin caramel sauce right on top of the cheesecake layer, *before* you add the banana pudding. It makes for a gorgeous swirl when you cut into it.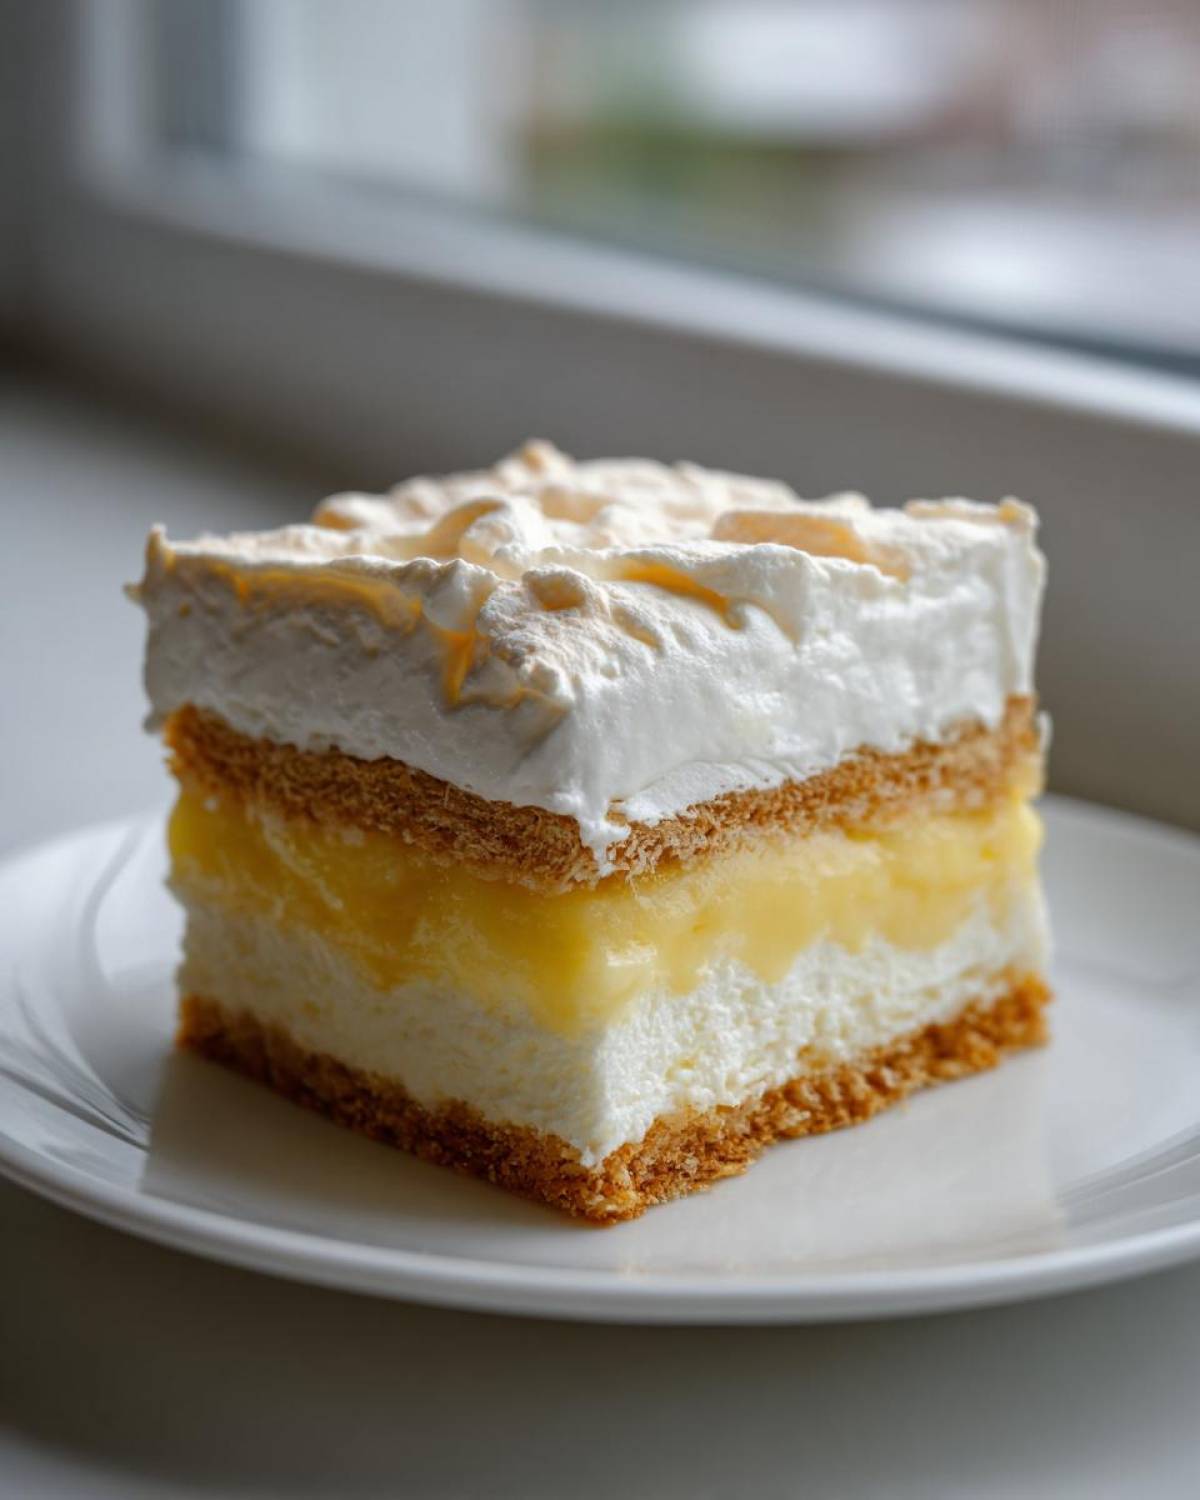 These little tweaks keep the recipe exciting year after year!
Serving Suggestions for Dessert Bars for Entertaining
These Banana Pudding Cheesecake Bars are sturdy and slice up so neatly, which makes them ideal for when you’re serving a crowd! Cut them into nice, manageable squares—about 16 pieces is what I aim for—so everyone can grab one easily. They are the ultimate Potluck Dessert Ideas because you don’t need plates or forks!
I always serve these chilled, right out of the container. The cold keeps the layers perfectly firm, which truly shows off that gorgeous layered effect. Honestly, these pair beautifully with a hot black coffee or a simple iced tea. They are so rich on their own, they don’t really need any extra fuss!
Storage and Reheating Instructions for Banana Pudding Cheesecake Bars
Because we have fresh bananas and that lovely instant pudding layer, storage is key to freshness! Keep these lovely Banana Pudding Cheesecake Bars covered tightly in the refrigerator. They stay really fresh and creamy for about 3 to 4 days—that’s how long the pudding really holds up its best texture.
Now, freezing? That’s trickier because of the bananas. I usually don’t recommend freezing once the pudding layer is on top, as thawing can make the fruit a bit watery. If you absolutely must save some, try freezing just the plain cheesecake layer (without the pudding or topping) for up to a month. Otherwise, stick to fridge storage for eating within the week!
Frequently Asked Questions About Banana Pudding Cheesecake Bars
I always get a ton of questions after people see these gorgeous layered desserts! They look complicated, but I promise they’re not, which is why they make such fun Dessert Bars for Entertaining. Here are some things I hear a bunch when folks ask about perfecting their Banana Pudding Cheesecake Bars.
Can I make these Banana Pudding Dessert Bars completely no-bake?
Yes, you totally can! If you’re feeling lazy or just don’t want to heat up the oven, skip step two entirely and just press that crust into the pan. Then, chill that whole thing while you make the cheesecake mixture to firm up before layering, just like my full No Bake Banana Pudding Cheesecake guide suggests.
What is the best way to prevent the banana layer from turning brown?
Oxidation, the enemy of all banana desserts! This is super important for keeping your top layer looking fresh. The second you slice those bananas, toss them gently into a bowl with about a teaspoon of fresh lemon juice before folding them right into the pudding. That little bit of acid works wonders!
Are these Easy Cheesecake Bars with Pudding suitable for large gatherings?
Absolutely! An 8×8 pan yields 16 decent-sized squares, so while you might want to double the recipe for a huge crowd, they are perfectly portable and easy to stack. They are one of my go-to Potluck Dessert Ideas because they travel so well once they are fully chilled and set.
If you didn’t use the lemon juice trick, sometimes drizzling a very thin layer of melted white chocolate right over the bananas before the final whipped topping will seal them away from the air, too. Finally, many people ask if these are better baked or chilled—I prefer them baked, but I’ve included notes on how to keep them Sweet Cream Cheese Bars if you skip the oven entirely!
Nutritional Estimates for Banana Pudding Cheesecake Bars
Now, let’s talk about the glorious reality of eating these magnificent treats! Keep in mind that since these are homemade, every oven, every brand of cream cheese, and even the size of your bananas can shift things around a bit. These numbers are just my best guess based on standard ingredient calculations, so consider this a tasty guideline rather than gospel truth.
- Serving Size: 1 glorious bar
- Calories: Right around 320
- Fat: About 18 grams
- Carbohydrates: We are looking at 35 grams
- Protein: A modest 5 grams
- Sugar: Roughly 25 grams (but they are worth every one, trust me!)
If you’re cutting these into 16 bars, this is a great estimation for planning any party menu. Enjoy every bite!
Share Your Banana Pudding Cheesecake Bars Experience
I truly hope you loved making these layered beauties as much as I do! If you whip up a batch of these Banana Pudding Cheesecake Bars, please come back and drop me a rating below. I love seeing your creations, so snap a picture and share it on social media—tag me so I can cheer you on! You can find all my latest baking failures and triumphs over at my main blog page. Happy baking, friend!
PrintBanana Pudding Cheesecake Bars
Make layered dessert bars combining a vanilla wafer crust, a creamy cheesecake layer, and a rich banana pudding topping.
- Prep Time: 25 min
- Cook Time: 35 min
- Total Time: 4 hours 60 min
- Yield: 16 bars
- Category: Dessert
- Method: Baking
- Cuisine: American
- Diet: Vegetarian
Ingredients
- 1 1/2 cups vanilla wafer crumbs
- 1/2 cup unsalted butter, melted
- 16 ounces cream cheese, softened
- 1 cup granulated sugar
- 1 teaspoon vanilla extract
- 3 large eggs
- 1 (3.4 ounce) package instant vanilla pudding mix
- 1 1/2 cups cold milk
- 2 ripe bananas, sliced
- 1/2 cup whipped topping, thawed (for garnish)
- 1/4 cup crushed vanilla wafers (for garnish)
Instructions
- Preheat your oven to 350 degrees Fahrenheit. Line an 8×8 inch baking pan with parchment paper, leaving an overhang on two sides for easy removal.
- Combine the vanilla wafer crumbs and melted butter. Press this mixture firmly into the bottom of the prepared pan to form the crust. Bake the crust for 8 minutes. Remove and let cool slightly.
- In a large bowl, beat the softened cream cheese, sugar, and vanilla extract until smooth. Beat in the eggs one at a time until just combined. Do not overmix.
- Pour the cream cheese mixture over the cooled crust. Bake for 25 to 30 minutes, or until the edges are set and the center has only a slight jiggle. Let the cheesecake cool completely on a wire rack.
- While the cheesecake cools, prepare the instant vanilla pudding according to package directions using the cold milk. Whisk until thickened, about 2 minutes.
- Gently fold the sliced bananas into the prepared pudding.
- Spread the banana pudding mixture evenly over the cooled cheesecake layer.
- Cover the pan loosely with plastic wrap and chill in the refrigerator for at least 4 hours, or preferably overnight, until firm.
- Before serving, top the chilled bars with the thawed whipped topping and sprinkle with crushed vanilla wafers. Lift the bars out using the parchment overhang and cut into squares.
Notes
- For a no-bake version, skip the crust baking step and chill the cheesecake layer for 2 hours before adding the pudding.
- Use firm, slightly underripe bananas for the best texture in the pudding layer.
- To prevent the cheesecake from cracking, do not open the oven door during the first 20 minutes of baking.
Nutrition
- Serving Size: 1 bar
- Calories: 320
- Sugar: 25g
- Sodium: 210mg
- Fat: 18g
- Saturated Fat: 10g
- Unsaturated Fat: 8g
- Trans Fat: 0g
- Carbohydrates: 35g
- Fiber: 1g
- Protein: 5g
- Cholesterol: 55mg