

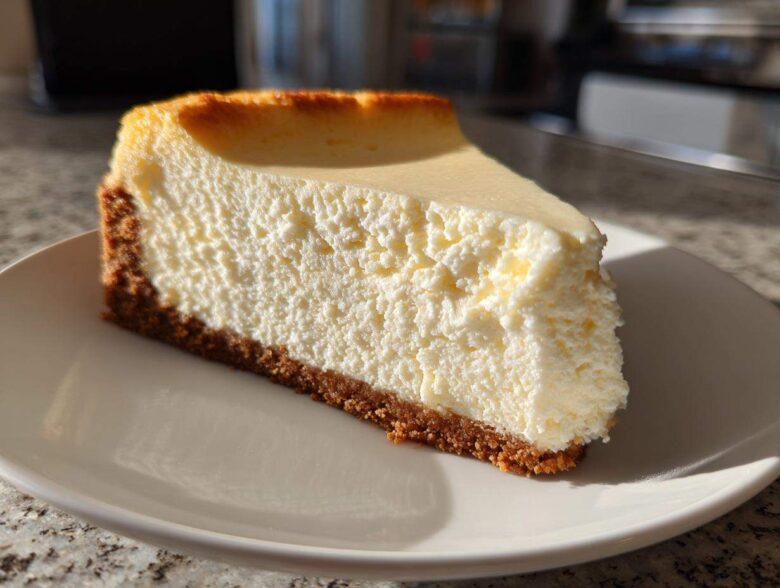
Oh, you’re looking for that perfect, decadent slice, aren’t you? The one that’s impossibly dense, wonderfully tangy, and so creamy it practically melts before you even chew? I know the feeling! For years, I thought making a real, authentic New York cheesecake at home was just a pipe dream. My first attempt ended up looking like a lunar landscape—all cracks and collapsed edges. It was a disaster! Don’t even ask! But I figured out the secrets. This recipe isn’t just good; it’s the definitive, crack-free new york cheesecake recipe you’ve been searching for. It’s so rich and smooth, it makes any gathering feel instantly special.
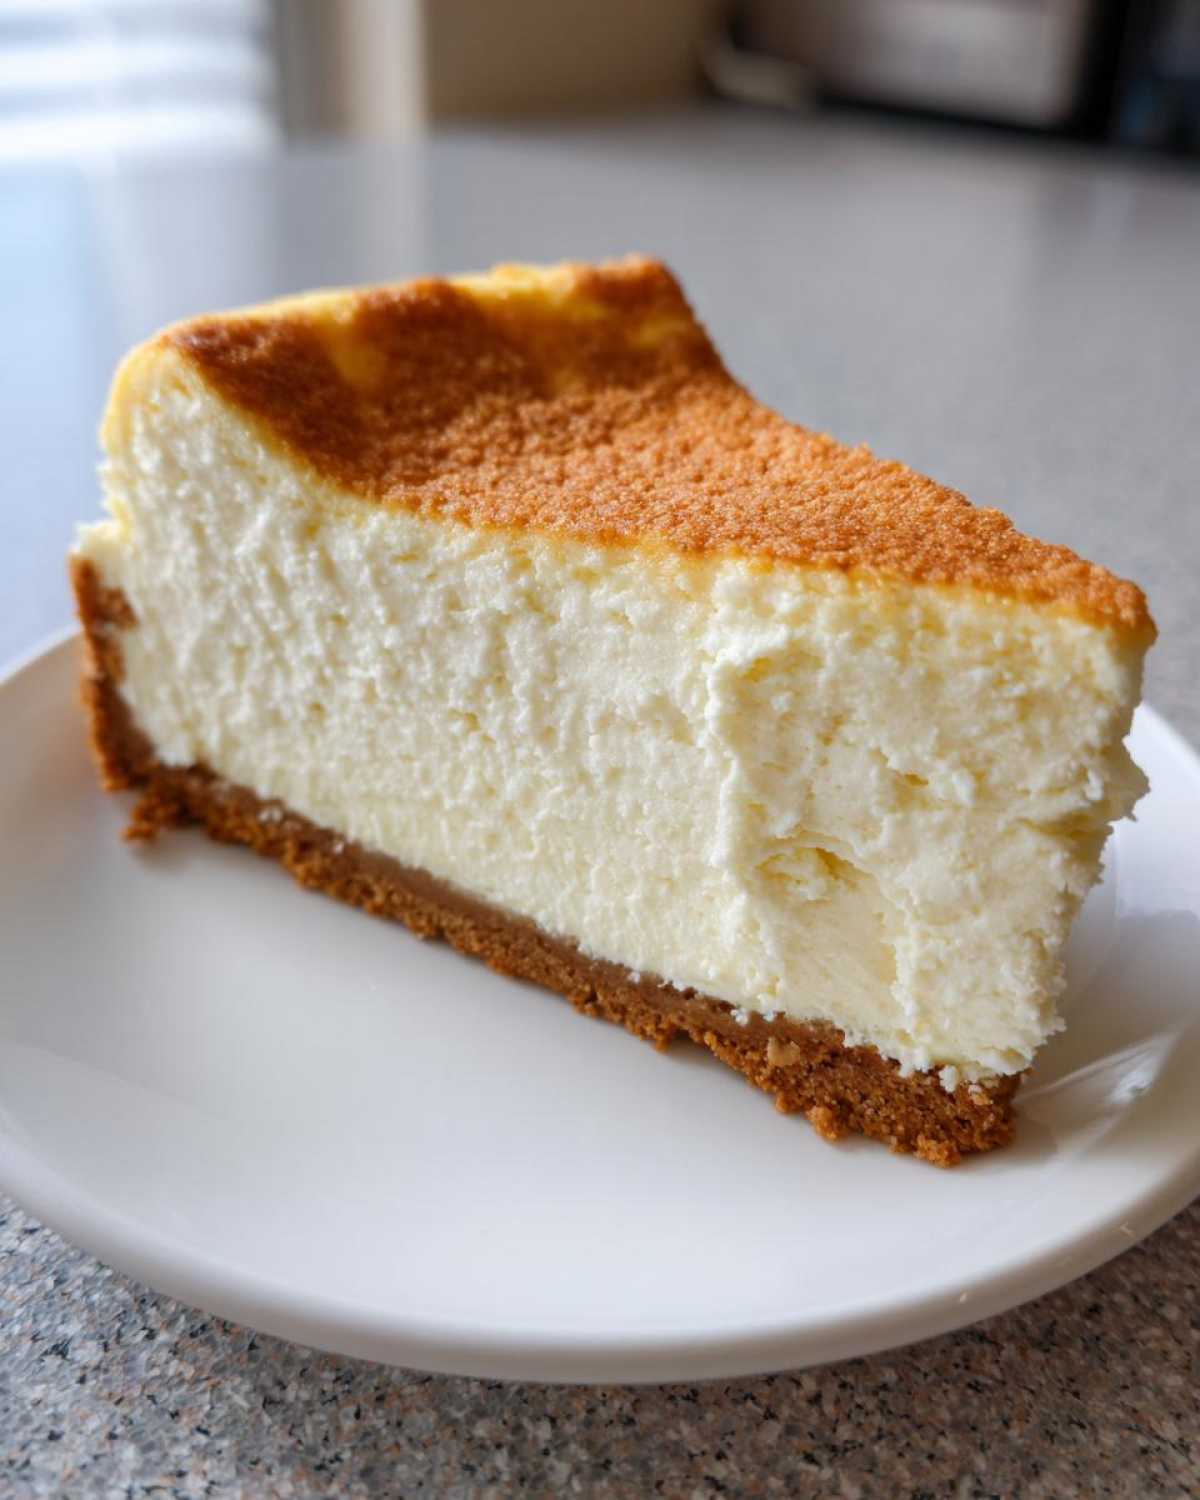
Why This New York Cheesecake Recipe Delivers Creaminess
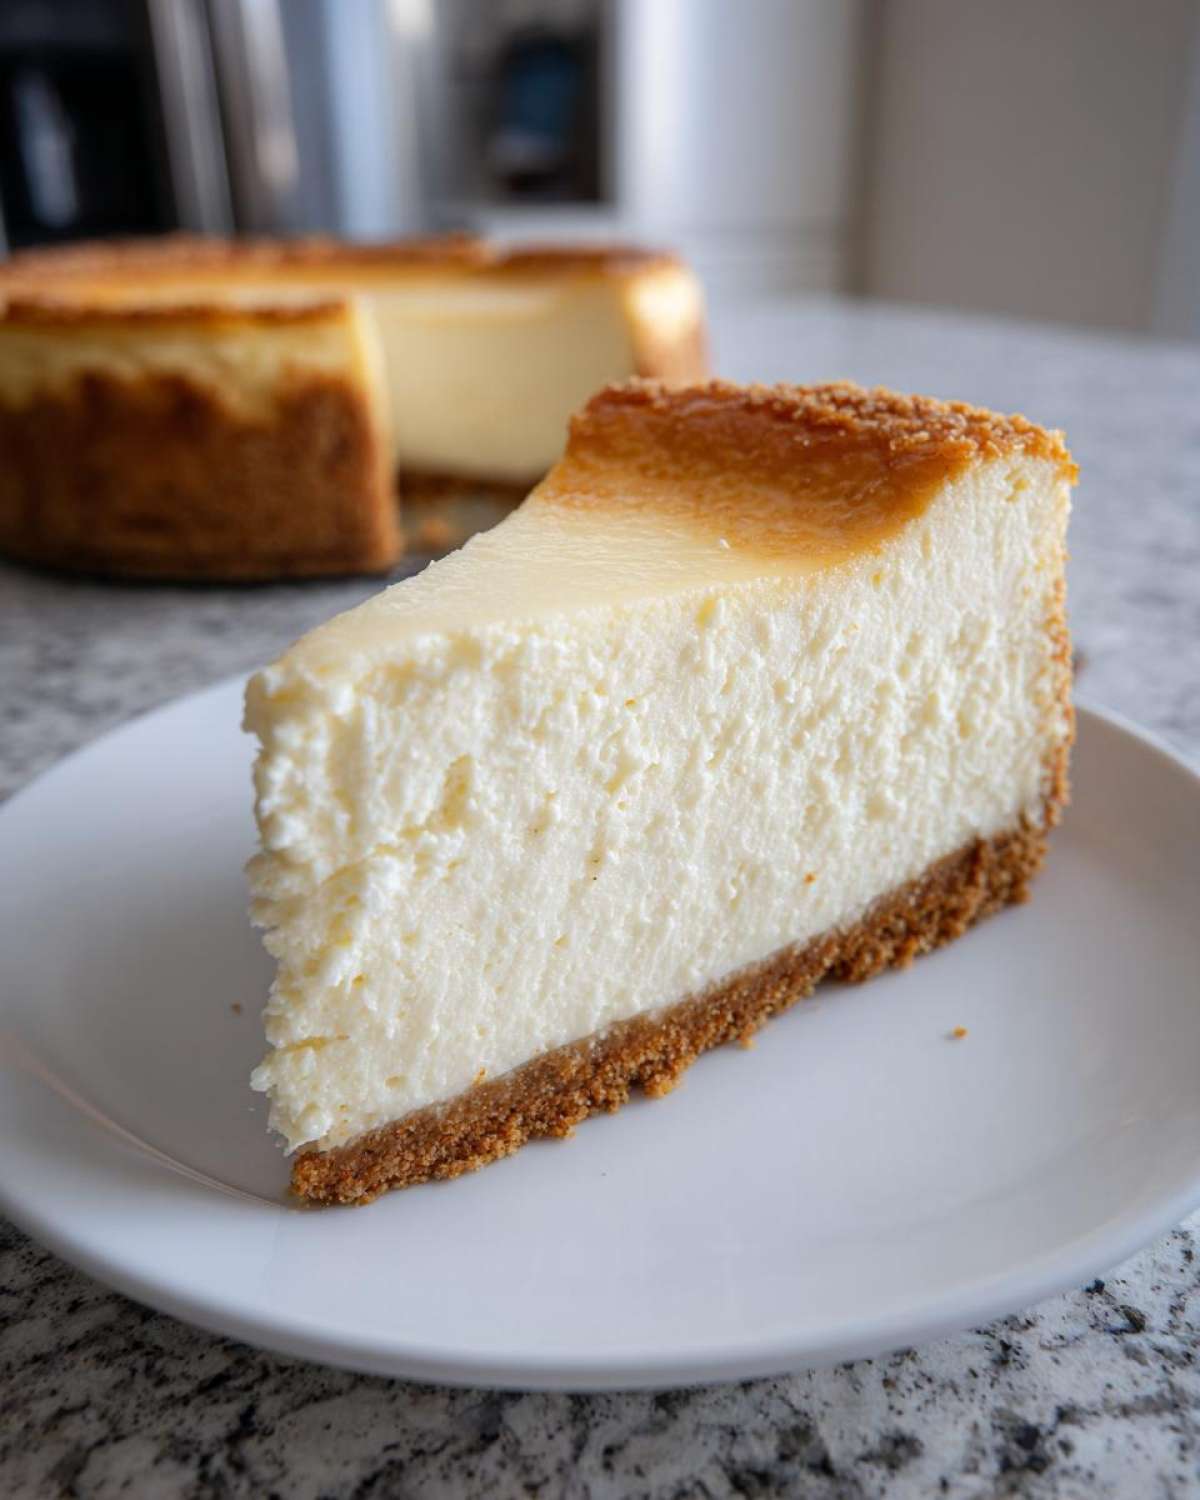
What sets a true New York cheesecake apart from the rest? It’s all about the density, honey. We aren’t aiming for fluffy here; we want that velvety, substantial slice that screams indulgence. This isn’t some delicate, airy dessert. Achieving that signature dense cheesecake texture hinges on two things: the ratio of cream cheese to the other ingredients, and how gently you treat the batter.
We use a full four blocks of cream cheese, which is key! Also, you absolutely must keep your mixer speed low once the eggs go in. If you beat it too fast, you introduce air bubbles. Air bubbles equal cracks down the line and a lighter texture we definitely don’t want. Trust me when I say low and slow mixing keeps this recipe a genuinely creamy baked cheesecake success every single time.
If you want to convert even the biggest skeptic, you need this richness. You can read all about how this style just wins people over!
Ingredients for the Perfect New York Cheesecake
Okay, now we get down to brass tacks. For the Best Cheesecake Recipe, you need quality ingredients ready to go. The absolute number one rule here, which I cannot stress enough, is that your cream cheese and eggs must be completely at room temperature. Cold ingredients refuse to blend nicely and that’s when you get lumps! It ruins the smooth texture we are aiming for.
I’ve laid everything out here so you can check your pantry. This recipe is built on simplicity, but the proportions are critical for achieving that perfect baked consistency. If you are prepping ahead, make sure you check out some other flavor profiles, but stick to this list for the true New York Cheesecake experience!
For the Buttery Graham Cracker Crust Recipe
- 1 1/2 cups graham cracker crumbs
- 1/4 cup granulated sugar (the little bit needed for the crust!)
- 6 tablespoons unsalted butter, melted
Mix these three up until it looks like wet sand, then use the bottom of a measuring cup to really pack it down into your pan. A firmly pressed crust means a sturdy base for that heavy filling!
For the Rich Filling of Your Classic New York Cheesecake
- 4 (8 ounce) packages cream cheese, softened like butter soft
- 1 1/2 cups granulated sugar
- 1/4 cup all-purpose flour (yes, flour helps stabilize it!)
- 1 teaspoon vanilla extract
- 1/4 teaspoon salt
- 4 large eggs, also at room temperature
- 1/2 cup sour cream
See? Simple stuff. But that 1/2 cup of sour cream? That’s what brings the slight delicious tang that separates a good cheesecake from a *Great* New York Cheesecake. Make sure you have everything soft!
Step-by-Step Instructions for Your New York Cheesecake Recipe
Now for the fun part—watching the magic happen! The key to making this entire process feel manageable is staying organized and moving piece by piece. We are using the water bath method because it’s the absolute best insurance policy against dryness and cracking, which is huge when you are aiming for that perfect slice of New York Cheesecake.
We need to set the stage before the filling even hits the pan. Remember, we’re baking low and slow to encourage that beautifully dense texture. If you need some inspiration while you wait for the oven to preheat, check out this incredible recipe!
Preparing and Pre-Baking the Graham Cracker Crust Recipe
First things first, get that oven up to 350°F (175°C). And here’s a little trick I learned the hard way: wrap that 9-inch springform pan TIGHTLY with heavy-duty aluminum foil. You need at least two thick layers so water can’t sneak in later! Mix your graham cracker crumbs, sugar, and melted butter, and press it firmly into the bottom and about an inch up the sides. Pop that crust into the preheated oven for just 10 minutes. Once it’s done, take it out and let it cool while you drop your oven temperature down to 325°F (160°C).
Mixing the Filling for a Smooth Creamy Baked Cheesecake
This step is where patience pays off! Start with that room-temperature cream cheese and beat it on medium speed until it is absolutely lump-free. Scrape down the sides of your bowl—this is vital! Now, slowly add the 1 1/2 cups of sugar and the flour. Once that’s just combined, it’s time for the eggs. You must beat them in one at a time. I mean it—wait until the first egg is fully incorporated before adding the next. Stop mixing as soon as you see it disappear. Over-beating here is a recipe for disaster!
Finish by gently stirring in the sour cream and vanilla until the batter is uniformly smooth. Pour this beautiful mixture right over your cooled crust.
Baking Your Tall and Creamy Cheesecake Using a Water Bath
Time to build the water bath, which is truly the secret weapon for a perfectly baked, tall and creamy cheesecake. Place your foil-wrapped springform pan inside a big, sturdy roasting pan. Then, carefully pour hot water into the roasting pan until it comes about halfway up the sides of the springform. This steam environment keeps the surface from overheating and cracking!
Bake it now for about 60 to 75 minutes. You’ll know it’s ready when the edges look set, but if you give the pan a gentle nudge, the middle inch or so still has a little wobble, like soft Jell-O. That slight wobble means it will set up perfectly as it cools.
No Crack Cheesecake Tips for Your Homemade Cheesecake
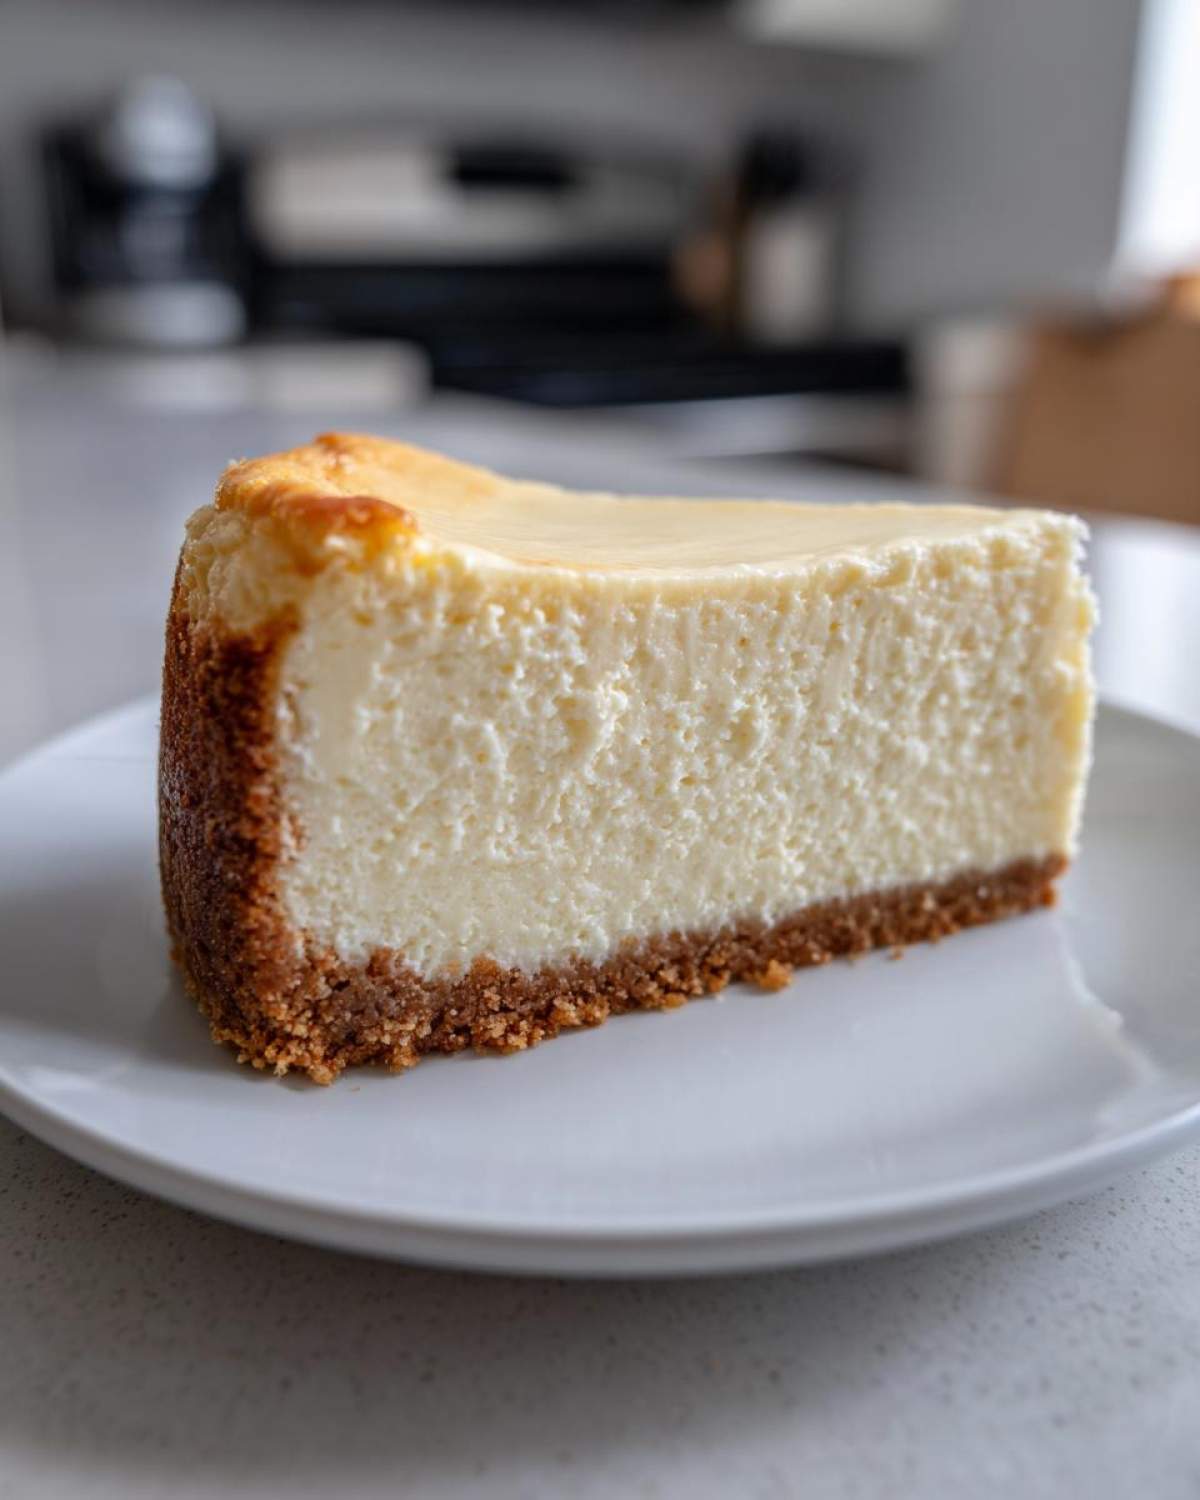
Listen, cracks happen. Even to me sometimes! But when you put this much effort into a Homemade Cheesecake, you want it pristine, right? The number one reason most people end up with spiderwebs across their beautiful dessert is temperature shock. If you go straight from that hot oven to the cool kitchen counter, the cake shrinks too fast, and *snap*—there goes your perfect top.
That’s why we have the two-part “slow cool” method. Once it’s baked—and you saw that slight wobble—turn the oven off completely. Don’t open the door yet! Just turn the heat off. Then, prop the oven door open about two inches. Seriously, use a wooden spoon handle or a folded towel to keep it slightly ajar. Let it sit in that gently cooling oven for a full hour. That hour lets the temperature equalize slowly, giving your Creamy Baked Cheesecake time to adjust.
After that hour in the cooling oven, pull it out of the water bath and peel off that foil wrap. Let it cool on the counter for another hour before covering it and chilling. It feels like forever, I know, but this patience results in that stunning, smooth top. It’s the ultimate No Crack Cheesecake Tip, truly!
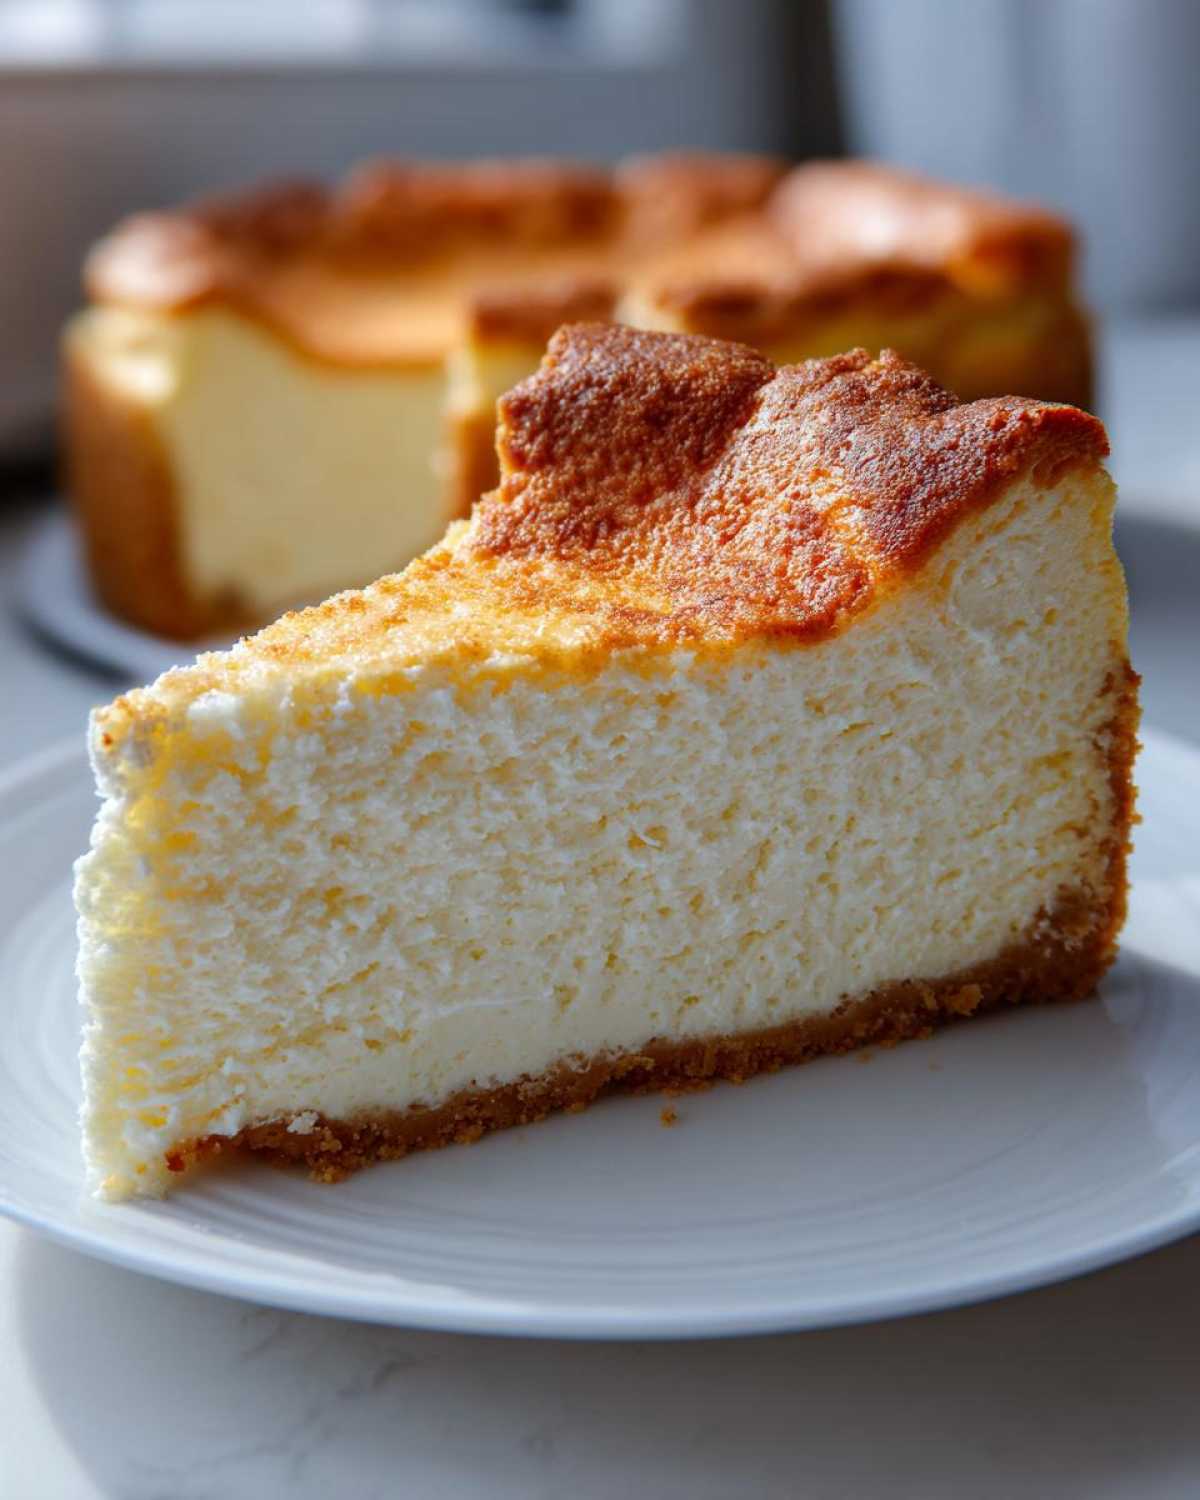
If you’re absolutely terrified of water baths, the recipe notes give you another option—bake it lower, like 300°F (150°C) for 90 minutes, and then follow the exact same slow cooling procedure in the oven. It still works brilliantly! You can even find some inspiration for wild flavors like candied bacon bourbon cheesecake, but trust me, the base technique has to be perfect first!
Storing and Serving Your Classic New York Cheesecake
Okay, you’ve done the hard work—you resisted eating it all night! Now comes the waiting game. You absolutely *must* chill this Classic New York Cheesecake for a minimum of six hours, but honestly, overnight is the magic number. That chilling time isn’t just to make it cold; it lets that dense texture firm up properly so you get a clean slice.
When you finally cut into it, serve it just plain! The flavor is perfection on its own. If you need something extra, a quick drizzle of simple caramel sauce or just a few fresh raspberries on the side is all you need. If you have leftovers (lucky you!), cover that pan loosely with plastic wrap—don’t let the wrap touch the surface—and keep it tucked in the fridge for up to four days. Enjoy savoring every last bite!
Ingredient Notes and Substitutions for This New York Cheesecake Recipe
I get asked all the time about ingredients, especially since this New York Cheesecake Recipe is so focused on texture. Honestly, you can mess around with toppings later, but the base structure depends entirely on the quality and state of your initial ingredients. So let’s talk specifics for a minute because cutting corners here means you might not get that signature silkiness.
The biggest non-negotiable? Room temperature cream cheese and eggs. I know, I know, sometimes you want to rush things! But if your cream cheese is cold, it will resist mixing evenly, resulting in tiny, hard lumps suspended in your batter. You’d have to over-mix to try and smooth them out, and what did we say about over-mixing? That’s how you invite air in and get cracks. So, please, plan ahead and let those blocks soften on the counter for an hour or two.
The sour cream is essential for that beautiful, gentle tanginess that makes this Rich Dessert so incredibly New York! If, and only if, you run out, you can swap it for the same amount of full-fat Greek yogurt. It has enough body and acidity to stand in for the sour cream, but again, make sure that yogurt isn’t ice-cold when you mix it in!
If you’ve ever wondered about baking substitutions in general, check out some tips right here. But for this specific recipe, focus on temperature above all else for that amazing, dense cheesecake finish!
Serving Suggestions for This Rich Dessert
This New York Cheesecake is seriously decadent all on its own. It’s so high-quality we call it a Rich Dessert for a reason! When you’ve gone through all the trouble for that perfect, crack-free surface, you don’t want to cover it up with something too loud, you know? The whole point is that unmistakable, slightly tangy, pure cream cheese flavor.
So, keep it simple for serving. My absolute favorite way to present this Classic New York Cheesecake is just plain, maybe with a dusting of finely sifted cocoa powder right before serving for a little visual drama. It looks so sophisticated!
If you need a little brightness to cut through the richness—especially if you’ve made this for the holidays—a simple, vibrant fruit topping works miracles. Skip the canned stuff! You want a fresh burst. I adore a quick, homemade cherry sauce. Just cook down some fresh or frozen dark cherries with a little pinch of sugar and maybe four glugs of water until they thicken slightly enough to spoon over.
Another fantastic pairing that keeps it elegant is a thin drizzle of pure, high-quality caramel—not the thick, sticky stuff from a jar, but the homemade kind that flows easily. Or, if you’re feeling festive, a little drizzle of melted dark chocolate works wonders. It just adds that extra layer of luxury!
And hey, while you’re thinking about cozy winter treats, you absolutely have to check out how I make my mulled wine. It’s the perfect warm-up beverage to have while you wait for that giant slice of Homemade Cheesecake to chill!
Frequently Asked Questions About Making New York Cheesecake
I figured since we covered all the nitty-gritty details, we should tackle any little head-scratchers you might have before you dive in. Making a Homemade Cheesecake can feel intimidating, but once you know the rules, it slides right into being an Easy New York Cheesecake win!
I always get asked about the crack situation, even though we covered the slow cooling technique. People worry if they can cheat the oven! Here are a few of the most popular questions I see popping up as bakers try this Classic New York Cheesecake for the first time.
Can I skip the water bath when making this New York Cheesecake?
Gosh, I wish I could tell you no, it’s not necessary, but if you want the absolute best, crack-free top—the kind that looks utterly professional—the water bath is your friend. It creates that humid little environment which is crucial for even cooking. However, if you absolutely cannot use one, you can totally skip it!
If you skip the water bath, you have to drop your oven temperature down to about 300°F (150°C) and be prepared to bake it a little longer, maybe closer to 90 minutes total. The most important part, though, is ensuring you follow the slow cool-down procedure exactly. That slow adjustment is what saves you from the cracks when skipping the steam!
How do I know when my Creamy Baked Cheesecake is done?
This is the million-dollar question for any baker trying to achieve the Best Cheesecake Recipe! Don’t rely just on a toothpick test like you might for a cake. When it’s right, the edges of the cheesecake will look firm and set up beautifully. But the center—that small circle right in the middle—should still have a slight jiggle when you gently tap or nudge the side of the pan.
I always tell people it should look like soft, set gelatin. It will firm up completely as it chills, usually for six hours or overnight. If you wait until the center is completely solid in the oven, you’ve waited too long, and you’ll end up with a dry or potentially cracked dessert when it cools. Remember that gentle wobble; it’s your sign that your Creamy Baked Cheesecake is ready to come out for the cooling process!
If you want to see some of my other favorite cookies that always win over a crowd, check out this post!
Estimated Nutritional Information for This Decadent Dessert
Now, let’s talk about the numbers for this incredibly satisfying, Decadent Dessert. Since this is a rich indulgence meant for special occasions, we aren’t counting calories here, but it’s good to have a ballpark idea of what’s in that glorious, dense slice!
Please remember that these figures are just estimates based on the ingredients listed. If you use a different brand of cream cheese or sweetened sour cream, the actual values will shift slightly. This is for general guidance only, so treat it as such!
Here is the approximate breakdown per slice (assuming the recipe yields 12 servings):
- Serving Size: 1 slice
- Calories: 450
- Sugar: 35g
- Sodium: 300mg
- Fat: 30g
- Saturated Fat: 18g
- Carbohydrates: 38g
- Protein: 8g
- Cholesterol: 120mg
As you can see, it brings the richness! That high fat content is what delivers that signature smooth mouthfeel in every bite of your New York Cheesecake. It’s worth every single calorie, especially when you know you nailed the crack-free top!
PrintClassic New York Cheesecake
Make a rich, dense, and creamy New York Style Cheesecake with a buttery graham cracker crust. Follow these steps for a smooth, crack-free result.
- Prep Time: 25 min
- Cook Time: 75 min
- Total Time: 140 min
- Yield: 12 servings
- Category: Dessert
- Method: Baking
- Cuisine: American
- Diet: Vegetarian
Ingredients
- 1 1/2 cups graham cracker crumbs
- 1/4 cup granulated sugar (for crust)
- 6 tablespoons unsalted butter, melted
- 4 (8 ounce) packages cream cheese, softened
- 1 1/2 cups granulated sugar (for filling)
- 1/4 cup all-purpose flour
- 1 teaspoon vanilla extract
- 1/4 teaspoon salt
- 4 large eggs
- 1/2 cup sour cream
Instructions
- Preheat your oven to 350°F (175°C). Wrap the outside of a 9-inch springform pan tightly with heavy-duty aluminum foil.
- Prepare the crust: Mix graham cracker crumbs, 1/4 cup sugar, and melted butter. Press firmly into the bottom and 1 inch up the sides of the prepared pan. Bake for 10 minutes. Remove and let cool.
- Reduce oven temperature to 325°F (160°C).
- Prepare the filling: In a large bowl, beat the softened cream cheese until smooth. Scrape down the sides.
- Gradually beat in 1 1/2 cups sugar and flour until just combined. Mix in vanilla extract and salt.
- Beat in the eggs one at a time, mixing only until each egg is incorporated. Do not overmix.
- Gently stir in the sour cream until the batter is smooth.
- Pour the filling over the cooled crust.
- Create a water bath: Place the foil-wrapped springform pan inside a larger roasting pan. Carefully pour hot water into the roasting pan until it reaches halfway up the sides of the springform pan.
- Bake for 60 to 75 minutes, or until the edges are set but the center still wobbles slightly when gently nudged.
- Turn off the oven. Prop the oven door open slightly (about 2 inches) and let the cheesecake cool inside the oven for 1 hour. This slow cooling prevents cracking.
- Remove the cheesecake from the water bath and foil. Cool completely on a wire rack.
- Chill the cheesecake in the refrigerator for at least 6 hours, preferably overnight, before serving.
Notes
- Use room temperature ingredients for the filling to ensure a smooth batter.
- Do not scrape the sides of the bowl excessively once the eggs are added; overmixing incorporates air, which causes cracking.
- If you do not want to use a water bath, bake at 300°F (150°C) for 90 minutes and follow the slow cooling method in the oven.
Nutrition
- Serving Size: 1 slice
- Calories: 450
- Sugar: 35g
- Sodium: 300mg
- Fat: 30g
- Saturated Fat: 18g
- Unsaturated Fat: 12g
- Trans Fat: 0.5g
- Carbohydrates: 38g
- Fiber: 1g
- Protein: 8g
- Cholesterol: 120mg