

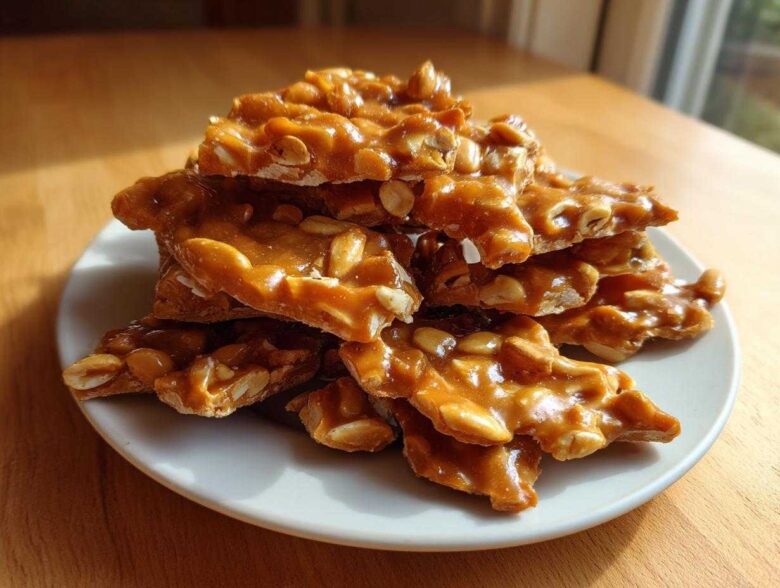
Oh, listen to that sound! You know the sound I mean—that sharp, clean *snap* you get when you break off a piece of true, old-fashioned peanut brittle. It’s just the best! So many people try making candy and end up with something soft and chewy, and honestly, I don’t blame them. Candy making seems scary because it’s all about temperature, and if you miss that perfect spot, you’ve got sticky toffee instead of glass-like crunch.
But trust me when I say you can conquer this! I spent my first few batches turning out what looked like peanut-studded fudge because I was too timid with the candy thermometer. I learned the hard way that precision is key, but the steps themselves are surprisingly straightforward. This is my go-to easy, old-fashioned peanut brittle recipe designed specifically for beginners who need that guaranteed, satisfying crack—no chewiness allowed!
Why This Classic peanut brittle recipe Guarantees a Perfect Snap
The single biggest reason people end up with chewy brittle? They stop cooking too soon! If your candy doesn’t hit that magic 300 degrees Fahrenheit mark—the hard-crack stage—it won’t ever fully set up hard. This foolproof peanut brittle recipe fixes that by making you trust your thermometer completely. We use corn syrup because it fights against sugar crystallization, which keeps the mixture smooth, glassy, and free from weird grainy spots.
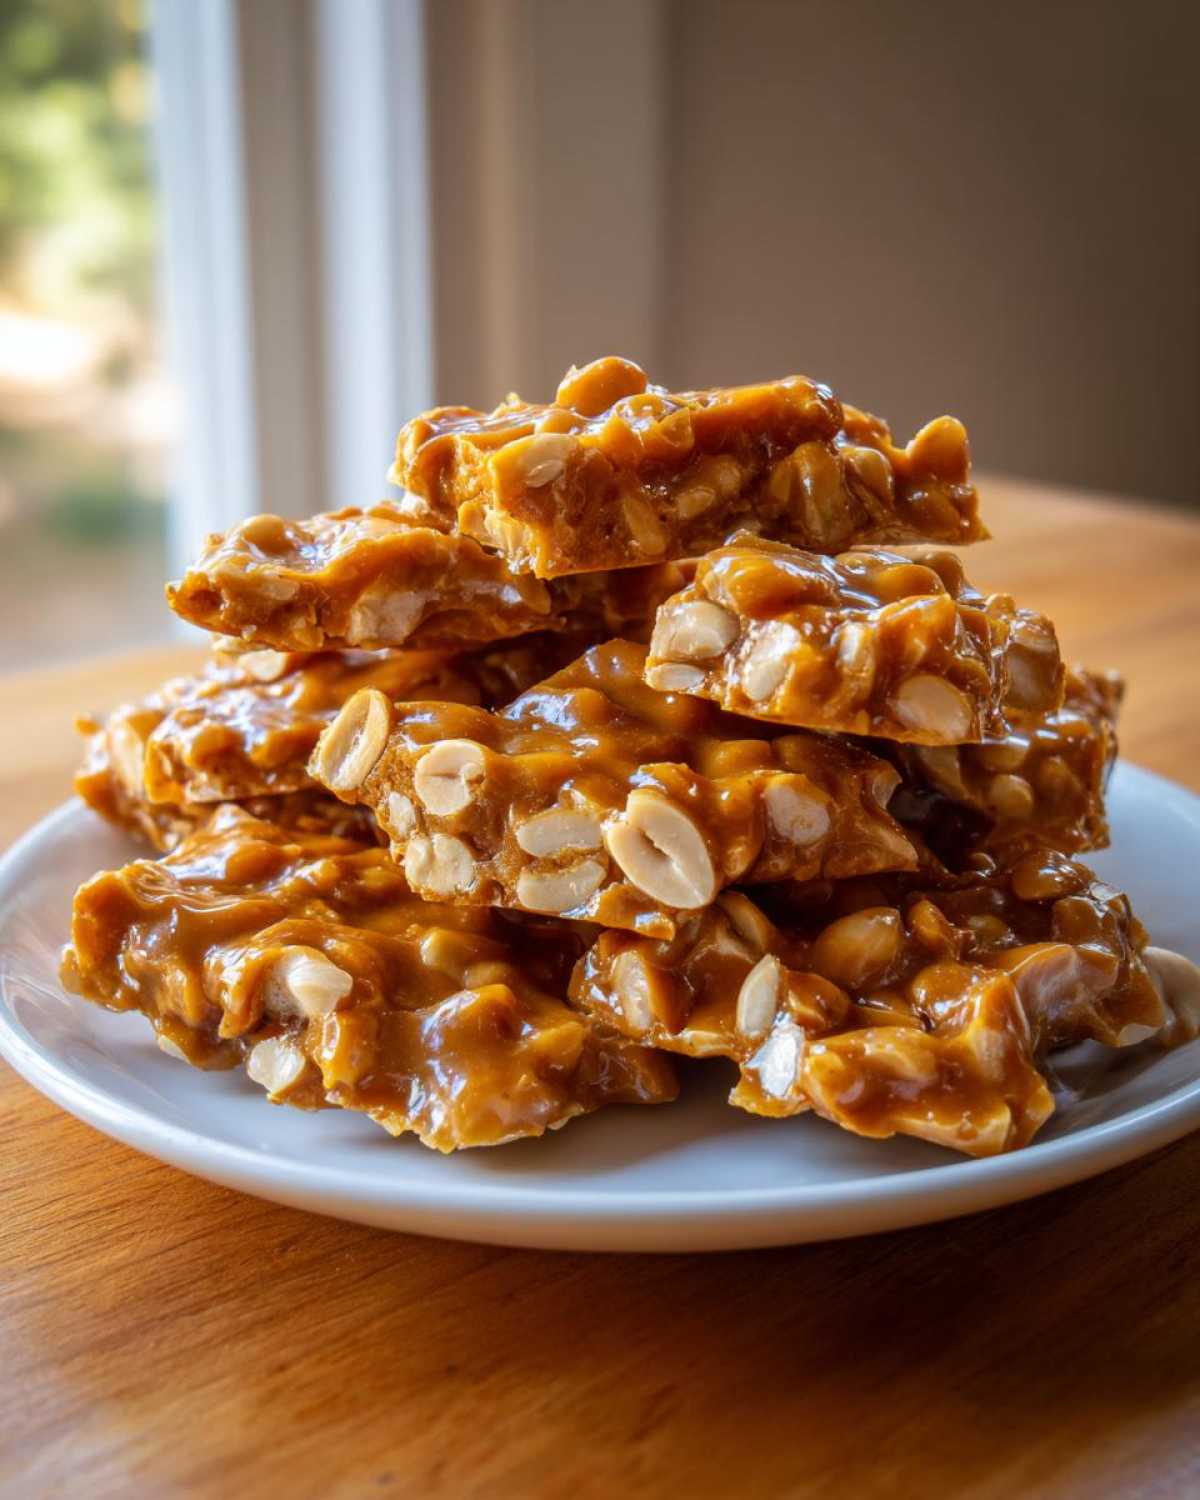
This method creates a truly Crunchy Candy Recipe, giving you that perfect, shatteringly crisp bite every single time. It’s seriously a No Fail Brittle if you just follow the temperature guide. Once you see that glorious deep amber color, you know success is seconds away!
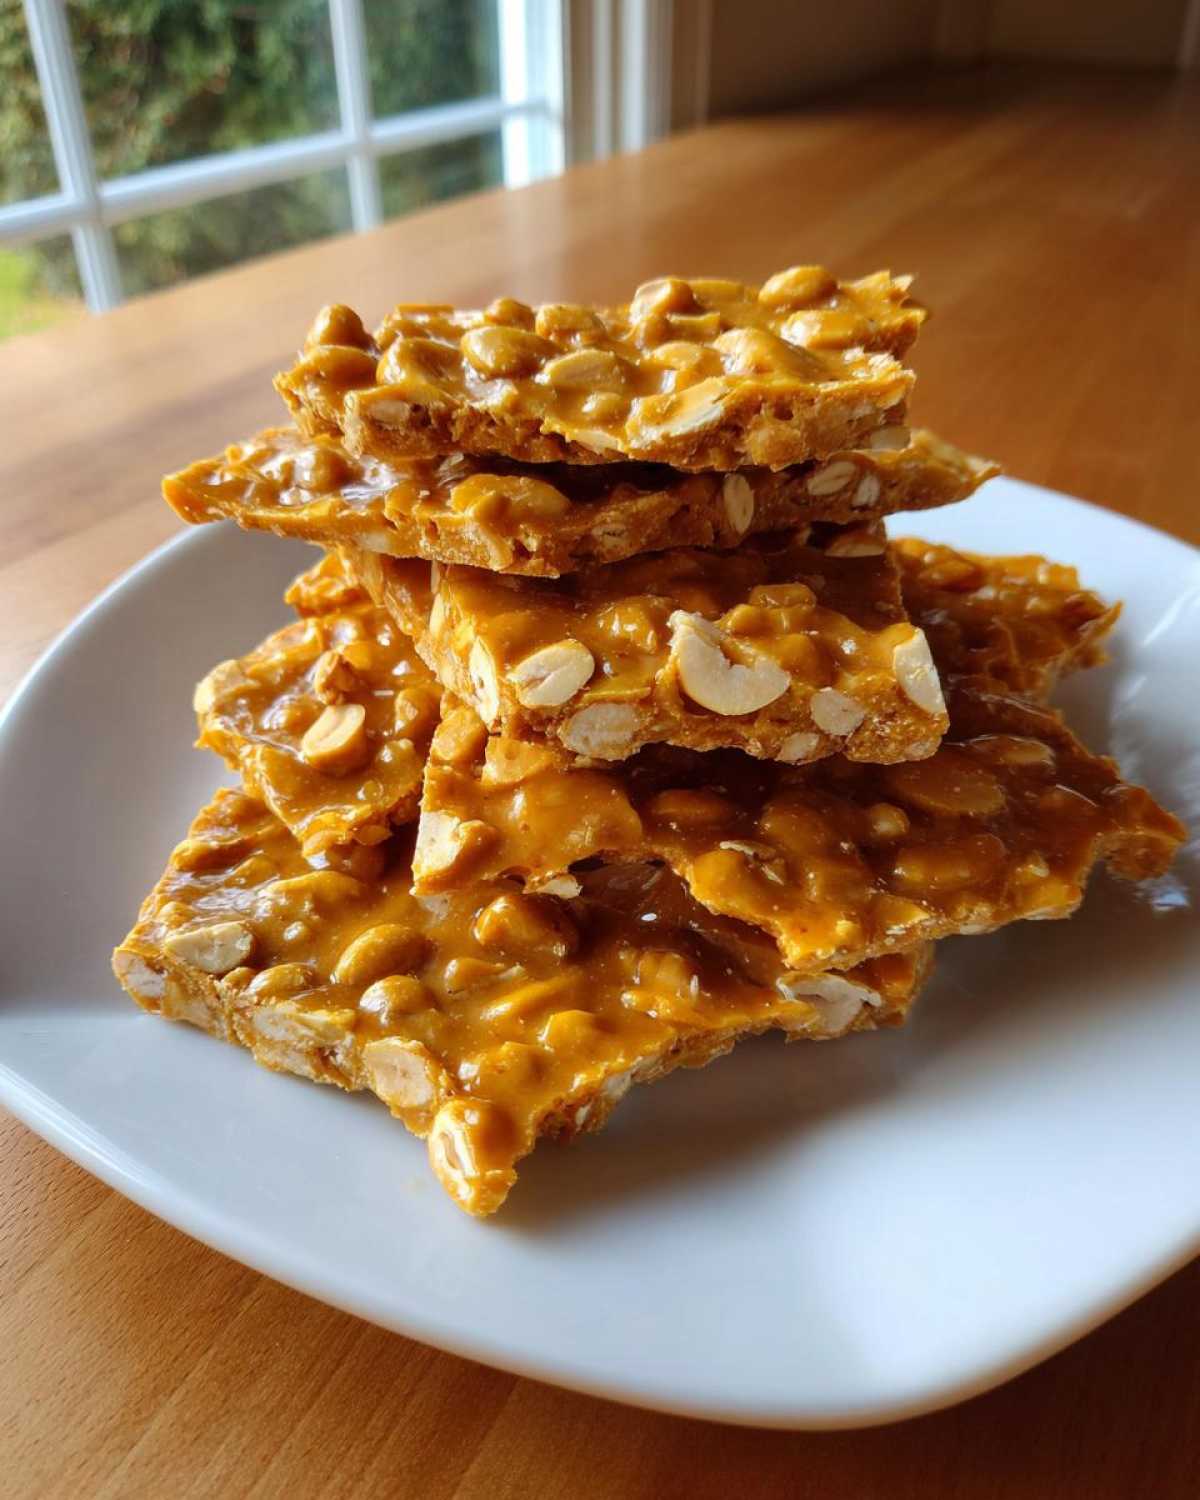
Essential Ingredients for Your peanut brittle recipe
When it comes to candy making, ingredient quality really shines through, and since this peanut brittle recipe is so simple, we need every item to be its best self! You don’t need anything wild here—just good, basic pantry staples that you probably already have lying around. The amounts listed are what I use for a standard batch that fills up a full sheet pan nicely.
Here’s what you’ll need for your crunchy treat:
- 2 cups granulated sugar
- 1 cup light corn syrup (Don’t skip this—it’s your secret weapon against grainy sugar!)
- 1 cup water
- 2 cups unsalted, roasted peanuts (See notes below on importance!)
- 2 tablespoons unsalted butter (It really needs to be real butter for the flavor)
- 1 teaspoon vanilla extract
- 1 teaspoon baking soda (This might seem like an odd amount, but hold tight, it’s vital!)
Ingredient Notes and Substitutions for Old Fashioned Brittle
Make sure those peanuts are roasted! If you only have raw ones, toss them in a dry skillet over medium heat until a wonderful, nutty smell hits you. That toasting brings out the flavor we need for our Old Fashioned Brittle. And that baking soda? Oh honey, that’s the magic. When it hits the 300-degree sugar, it causes a massive puff of air. That foam is what gives you those gorgeous, airy pockets instead of a dense slab!
The Candy Thermometer Guide for the Perfect peanut brittle recipe
If you take away only one thing from this entire process, please let it be this: you absolutely, positively need a good candy thermometer. Don’t even try to eyeball it! I’ve learned that temperature is the make-or-break moment for this peanut brittle recipe. We need to hit two very specific checkpoints for that amazing texture.
First, we aim for 250°F, which is the soft-ball stage. That’s where we stir in the peanuts. Then, the real mission begins: you have to keep heating it until that thermometer screams 300°F. This is the famous hard-crack stage, and it’s non-negotiable if you want that snappy, glass-like crunch! Anything lower, and you’re going to be wrestling with a sticky mess later. Following this Candy Thermometer Guide ensures delicious results every time. It just takes patience and keeping that pot on medium-high heat to push through.
Step-by-Step Instructions for Making Crunchy peanut brittle recipe
Okay, pull up a stool! This is where we go from liquid magic to perfect candy, and it happens fast. When you’re dealing with boiling sugar, you have to move with purpose, but don’t rush the heating part. Remember, a heavy-bottomed pot is your best friend here—seriously, use the thickest one you own! It distributes the heat evenly, which means one thing for us: no scorched sugar stuck to the bottom. That burnt smell will ruin the entire batch, and trust me, I’ve learned that lesson the hard way!
Preparing the Surface and Combining Initial Ingredients
Before you even turn the stove on, grab your sheet pan and grease it up really well. I usually use a silicone mat because cleanup is a breeze, but parchment paper works too. Now for the sugar mixture: combine the sugar, corn syrup, and water in that heavy pot. The secret here is to stir gently *only* until the sugar dissolves. Once it starts bubbling—and I mean truly boiling—step away from the spoon! No stirring, or you risk getting sugar crystals all over the sides, and that will ruin the whole batch and create a hard, grainy mess. We want smooth sailing! For more good baking tips, check out my thoughts on buttery dinner rolls.
Reaching the Hard-Crack Stage for Your peanut brittle recipe
Get that candy thermometer clipped in place—make sure it’s not touching the bottom of the pan! Now, turn the heat up to medium-high. Let it roll! We ignore it until it hits 250°F, which tells us we’re in the soft-ball zone, and that’s when we stir in those beautiful roasted peanuts. Keep stirring occasionally to make sure nothing burns while you watch the thermometer climb toward 300°F. This is the famous hard-crack stage, and it’s non-negotiable if you want that snappy, glass-like crunch! Anything lower, and you’re going to be wrestling with a sticky mess later. Following this Candy Thermometer Guide ensures delicious results every time. It just takes patience and keeping that pot on medium-high heat to push through.
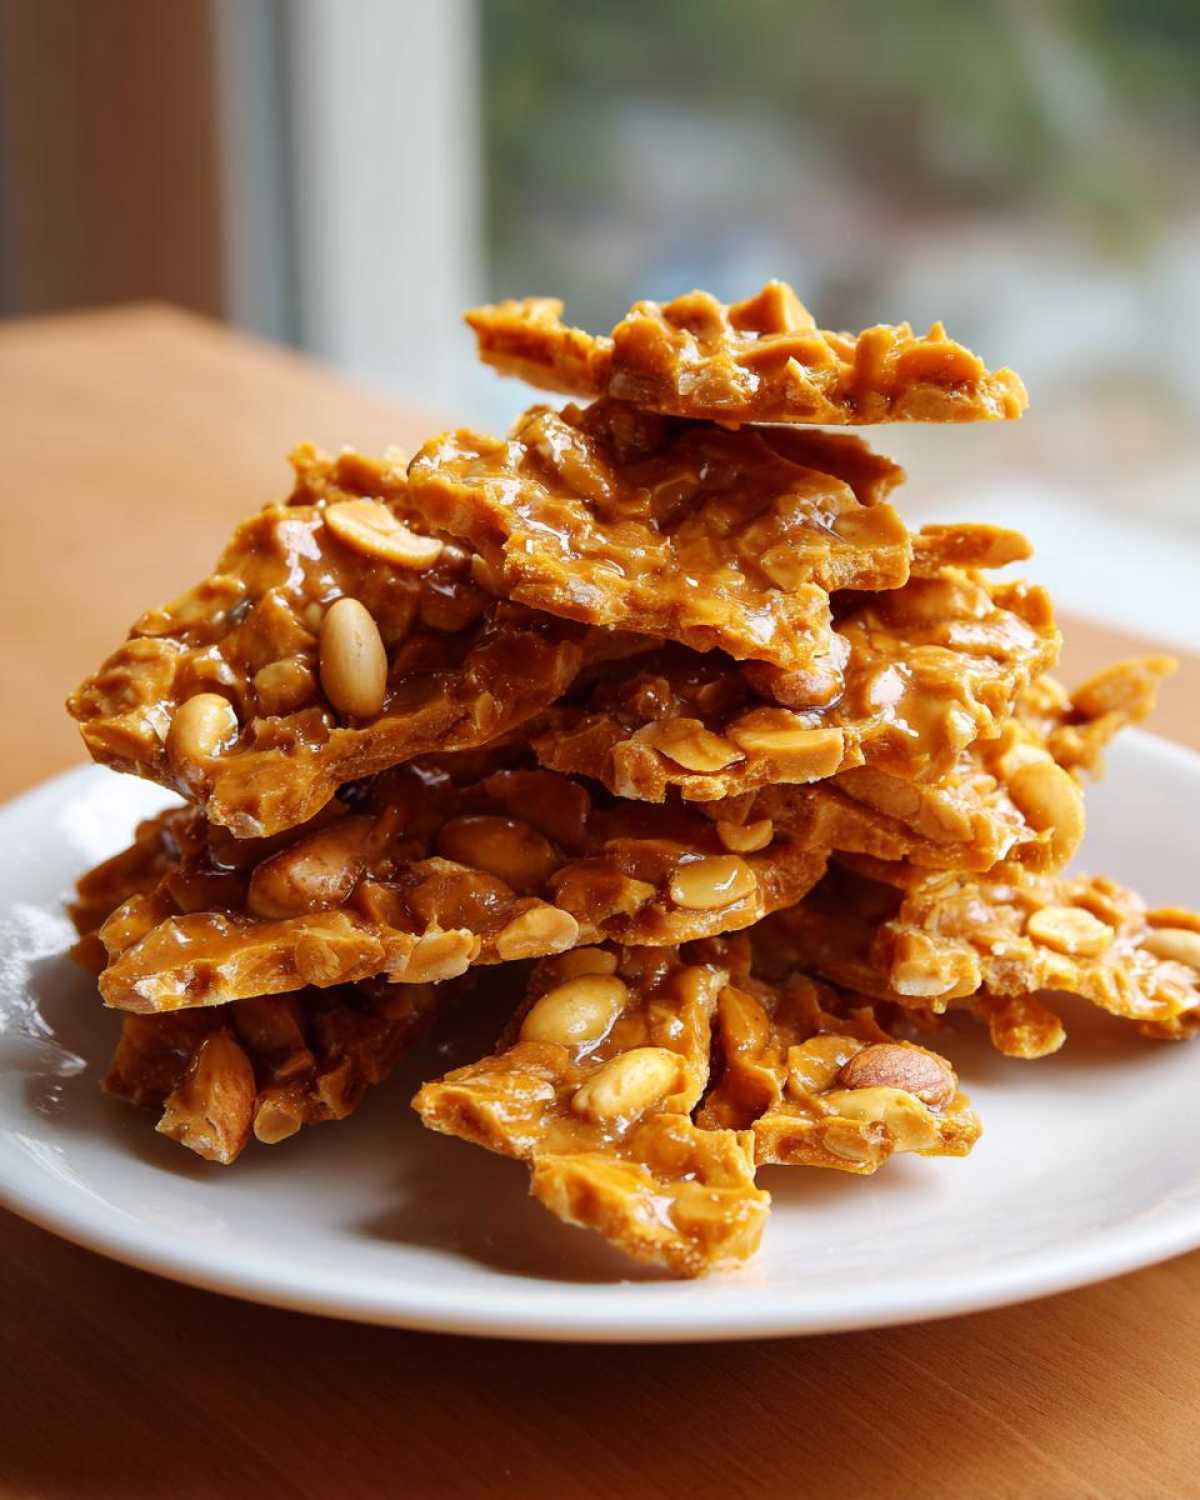
The Crucial Baking Soda Reaction and Pouring
The second that thermometer hits 300°F, yank that pan OFF the burner. You have seconds! Immediately stir in the butter, the vanilla, and then BAM—the baking soda. When the soda hits the hot sugar, it fizzes up like crazy; that foam is your texture developing! Stir it *just* until it’s incorporated, which takes about three seconds flat, and then do not touch it again. Pour the whole bubbly mixture right onto your prepared sheet. Do not spread it with a spatula, don’t poke it, don’t smooth it—just let gravity do the work as it flows out. Now, walk away! It needs at least 40 minutes to cool completely and harden.
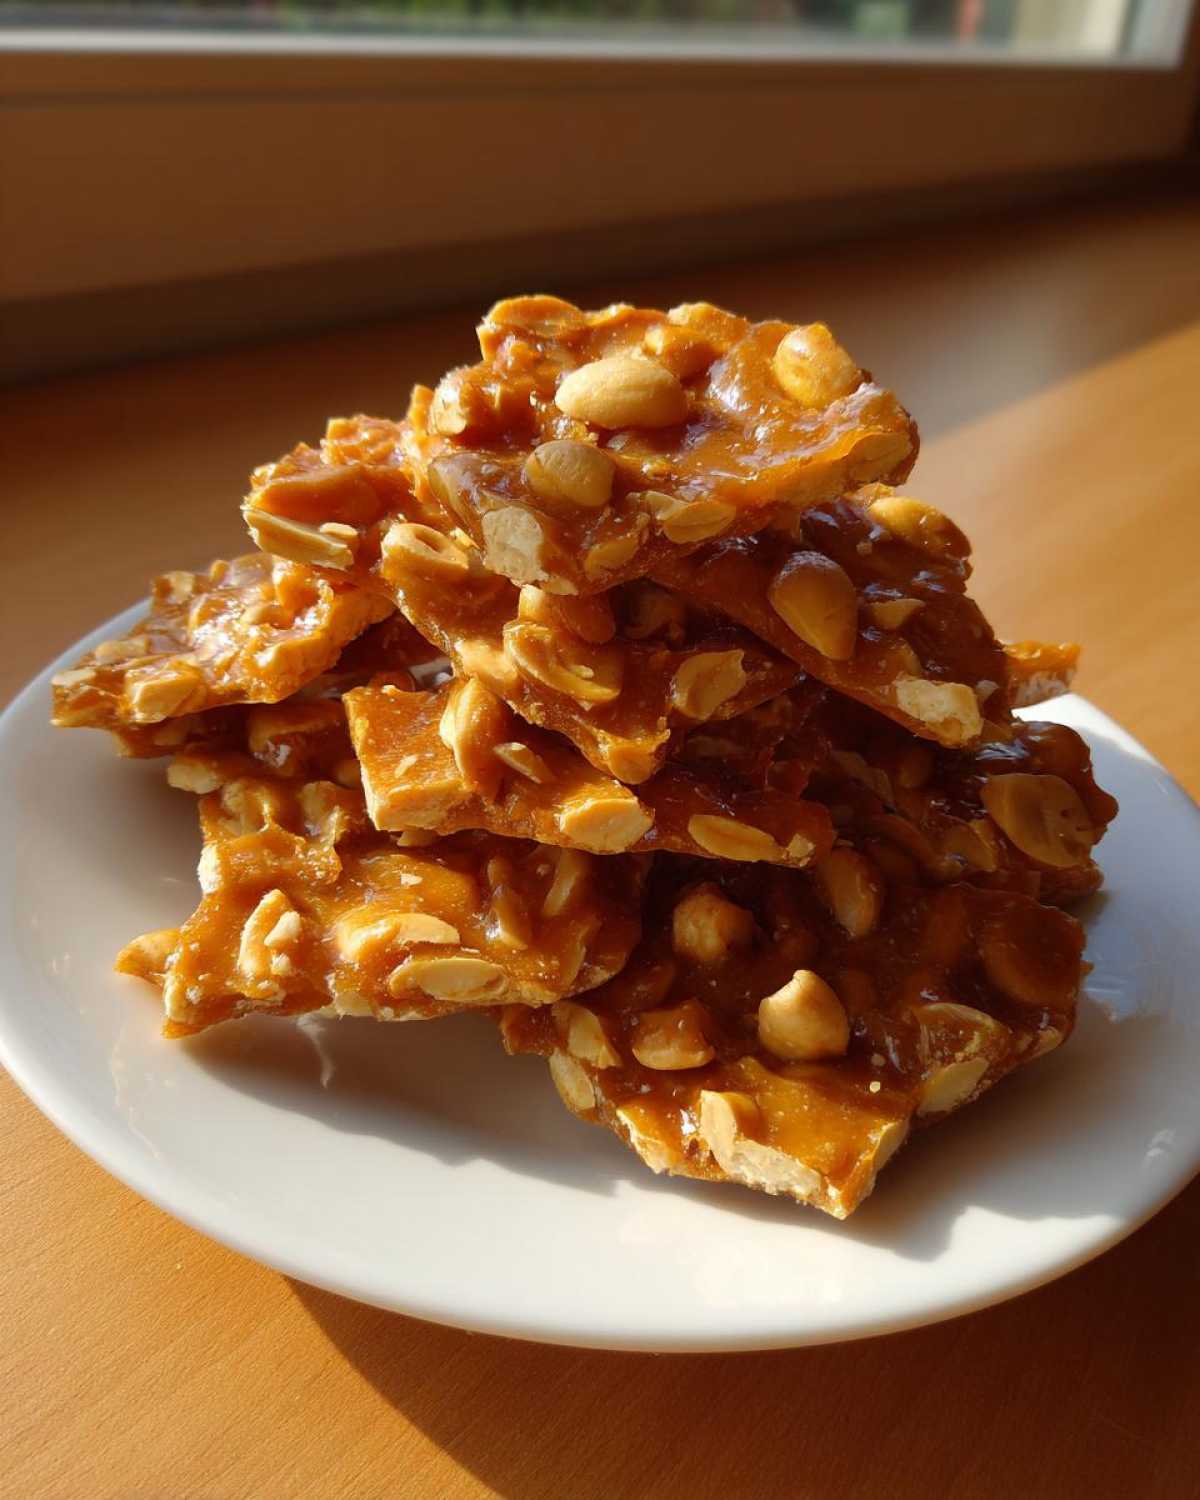
Troubleshooting Common peanut brittle recipe Issues
Even with the best peanut brittle recipe, things can sometimes go a little sideways, but don’t panic! The good news is that almost every problem has a simple root cause, and knowing what they are makes you a much better candy maker. I’ve definitely made these mistakes myself, so let’s fix them together.
If your brittle turned out chewy instead of snapping? That almost always means the sugar didn’t get hot enough. If your thermometer read 290°F instead of 300°F, it will never fully harden. Next time, push it all the way to that hard-crack mark!
Did your mixture get grainy and seize up on you? That’s crystallization! It happens when you stir too much while the sugar is dissolving, or if you have a stray sugar crystal on the side of the pot splashing down. Remember my rule: Stir gently to dissolve, then leave it alone.
Finally, if you see dark, bitter spots, the candy scorched. This means your pan was too thin, or you had the heat cranked too high during the final climb to 300°F. Use that thickest pot you own next time, and keep the temperature moderate but steady while cooking, okay?
Storage and Keeping Your Homemade peanut brittle Crisp
Now that you’ve made this glorious, crunchy Sweet and Salty Snack, we have to protect the glorious crunch! Humidity is the absolute enemy of hard candy. If you leave this out on a humid day, it’ll start weeping and turning sticky before you even finish your first batch.
Once the brittle is completely cool and hard—and I mean stone cold—you have to get it into storage immediately. Use a truly airtight container. If you’re making a big batch, I like to separate the pieces by wrapping them individually in plastic wrap or wax paper first. That extra barrier slows down any moisture transfer. Keep the container in a cool, dry cupboard, and resist the urge to peek!
Serving Suggestions for this Classic Confection Recipe
Once you’ve made this amazing Classic Confection Recipe, the hard part is over! While I usually just sneak pieces straight from the pan, this brittle is just as good dressed up a bit. It’s the perfect topper for vanilla ice cream—that sweet, salty crunch melts just a little bit. It makes a fantastic component for any Holiday Brittle Recipe tray, too.
Seriously though, don’t forget how wonderful this is when packaged up. A clear cellophane bag tied with a pretty ribbon makes this a beautiful Perfect Snack for Gifting. Neighbors and friends always ask for this one!
Frequently Asked Questions About peanut brittle recipe
Can I make this without a candy thermometer?
Oh, I really, really wish I could tell you yes, but for this peanut brittle recipe, you simply can’t! Candy making relies on precise heat transference. If you try to use the cold water test or guess, you are almost guaranteed to end up with soft, sticky candy instead of a clean snap. You need that thermometer to confidently hit that 300°F hard-crack stage for a truly crisp result.
What kind of peanuts work best for this Old Fashioned Brittle?
You absolutely want to use roasted peanuts! If you look at the ingredient notes, I mention giving raw peanuts a quick toast first if that’s all you have. Roasted peanuts have a deeper flavor that really comes through in the final product. If you can find them pre-roasted and salted, even better—that touch of extra salt balances the sweetness perfectly, making it an amazing Sweet and Salty Snack.
How long does it take to cool completely?
Don’t rush this part! Once you pour the hot mixture onto the sheet, you need to let it be. I usually leave it alone for a solid 40 minutes to be safe, sometimes even an hour if the kitchen is warm. It needs to be completely hard and cool before you even think about breaking it, or it will just smoosh instead of shatter. Patience here is vital for that final gorgeous snap!
I cooked it to 300°F, but it’s still a little soft. What went wrong?
If you hit 300°F but it’s still softer than you’d like, the problem is usually humidity or cooling time. If it’s a steamy or rainy day, the moisture in the air can cause the sugar to absorb water as it cools, leading to chewiness. Make sure you give it plenty of time to cool undisturbed in the driest spot you have. For future batches, maybe push the temperature just two degrees past 300°F, but be very careful not to burn it!
Sharing Your Nostalgic Dessert
Now that you’ve tried your hand at this beautiful, old-fashioned confection, I am just dying to know how it went! Did you get that perfect crack? Did your kitchen smell like the best candy shop in town? That’s the best part about making a recipe like this peanut brittle recipe—it gives you immediate, audible feedback!
Please, please leave a rating for me down in the comments below. I want all the details, especially about hitting that high-crack temperature—did you trust the thermometer, or did you panic? If you had any sticking issues or managed to get a super thin, glassy sheet, shout it out so the next person who tries it knows exactly what to aim for!
Seriously, if you snap a piece perfectly and it makes that wonderful sound, snap a quick picture and tag me! I love seeing your holiday treats and homemade gifts turning out beautifully. Happy candy making, and don’t forget to share the crunch!
PrintClassic Old-Fashioned Peanut Brittle
Make crunchy, snappy peanut brittle at home using this straightforward recipe. Follow the temperature steps exactly to avoid chewy candy.
- Prep Time: 10 min
- Cook Time: 25 min
- Total Time: 35 min
- Yield: About 1 pound
- Category: Dessert
- Method: Stovetop Cooking
- Cuisine: American
- Diet: Vegetarian
Ingredients
- 2 cups granulated sugar
- 1 cup light corn syrup
- 1 cup water
- 2 cups unsalted, roasted peanuts
- 2 tablespoons unsalted butter
- 1 teaspoon baking soda
- 1 teaspoon vanilla extract
Instructions
- Lightly grease a large baking sheet or line it with parchment paper or a silicone mat. Set aside.
- Combine the sugar, corn syrup, and water in a heavy-bottomed, medium saucepan. Stir gently over medium heat until the sugar dissolves.
- Insert a candy thermometer into the mixture, avoiding the bottom of the pan.
- Increase the heat to medium-high and boil the mixture without stirring until it reaches 250 degrees Fahrenheit (soft-ball stage).
- Stir in the peanuts. Continue cooking, stirring occasionally to prevent scorching, until the mixture reaches 300 degrees Fahrenheit (hard-crack stage). This is critical for a crisp brittle.
- Immediately remove the pan from the heat. Quickly stir in the butter, vanilla extract, and then the baking soda. The mixture will foam up rapidly.
- Pour the hot mixture onto the prepared baking sheet. Do not spread or touch the candy; let it flow naturally.
- Allow the brittle to cool completely, about 30 to 45 minutes, until hard.
- Once fully cool and hard, break the brittle into irregular pieces. Store in an airtight container at room temperature.
Notes
- Use a candy thermometer; guessing the temperature results in chewy brittle.
- Do not stir the sugar mixture until it starts boiling to prevent crystallization.
- The baking soda reacts with the hot sugar, creating air bubbles that give the brittle its light, snappy texture. Work fast after adding it.
- If you do not have roasted peanuts, toast raw peanuts in a dry skillet until fragrant before starting the recipe.
Nutrition
- Serving Size: 1 ounce
- Calories: 150
- Sugar: 18g
- Sodium: 10mg
- Fat: 8g
- Saturated Fat: 2g
- Unsaturated Fat: 6g
- Trans Fat: 0g
- Carbohydrates: 19g
- Fiber: 1g
- Protein: 3g
- Cholesterol: 5mg