

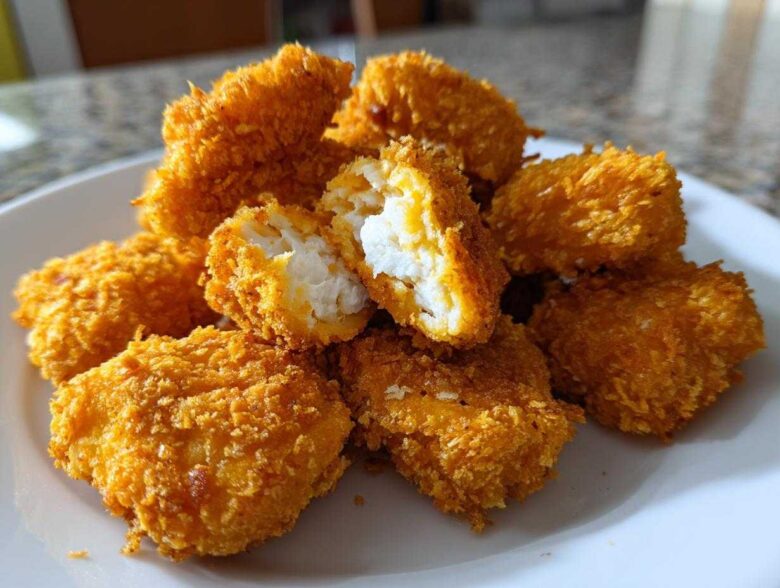
You know that moment when the kids are absolutely begging for chicken nuggets, and you just can’t justify that drive-thru bag of questionable crunch? Yeah, I’ve been there! For years, I tried to nail that perfect crispy exterior without resorting to messy, deep frying, and honestly, it took way too much testing. But trust me, I’ve finally cracked the code for truly amazing homemade chicken nuggets that are miles better than anything you get in a carton. My commitment to serving up genuinely satisfying weeknight meals means these aren’t just ‘good for homemade’—they actually outshine the fast-food versions, especially because we nail that crunchiness perfectly right in the oven. Everything tastes better when we use great ingredients, like those we pair with a nice chicken alfredo stuffed shells recipe sometimes! You’re going to love how simple this recipe is!
Why This Baked Recipe Makes the Best Homemade Chicken Nuggets
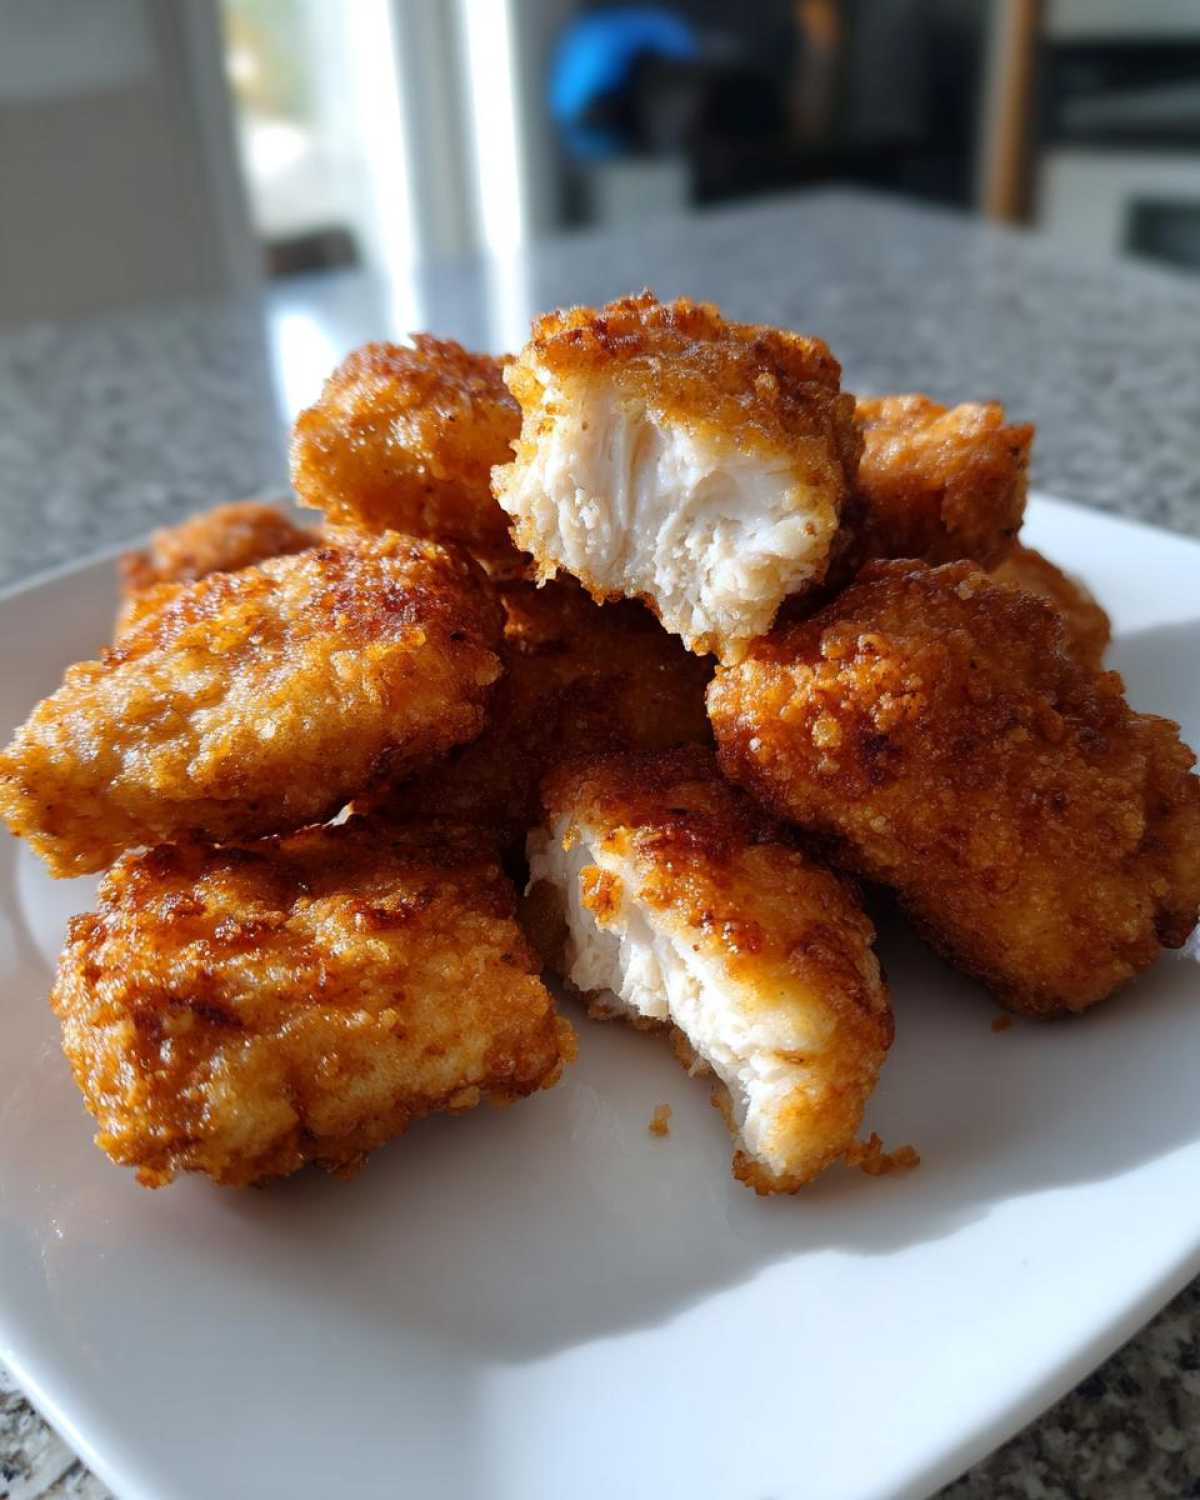
Okay, so the magic isn’t in a deep fryer, which is great news for keeping things light and easy! We are talking about crispy baked chicken nuggets that actually stay crispy, even after they’ve cooled down a bit. I tried so many things—too much oil, too little heat—and I finally figured it out: a double coating paired with a good spritz of olive oil before they hit the oven. My jaw actually dropped the first time I pulled a tray out; they had that beautiful, golden, bumpy coating you dream about. I actually tried a version of this crisping technique on my crispy ranch chicken thighs recipe, and it brought the same fantastic results here! If you’re looking for something that feels indulgent but qualifies as a healthy chicken nuggets option, this is it. It’s become my go-to for our Friday night ritual.
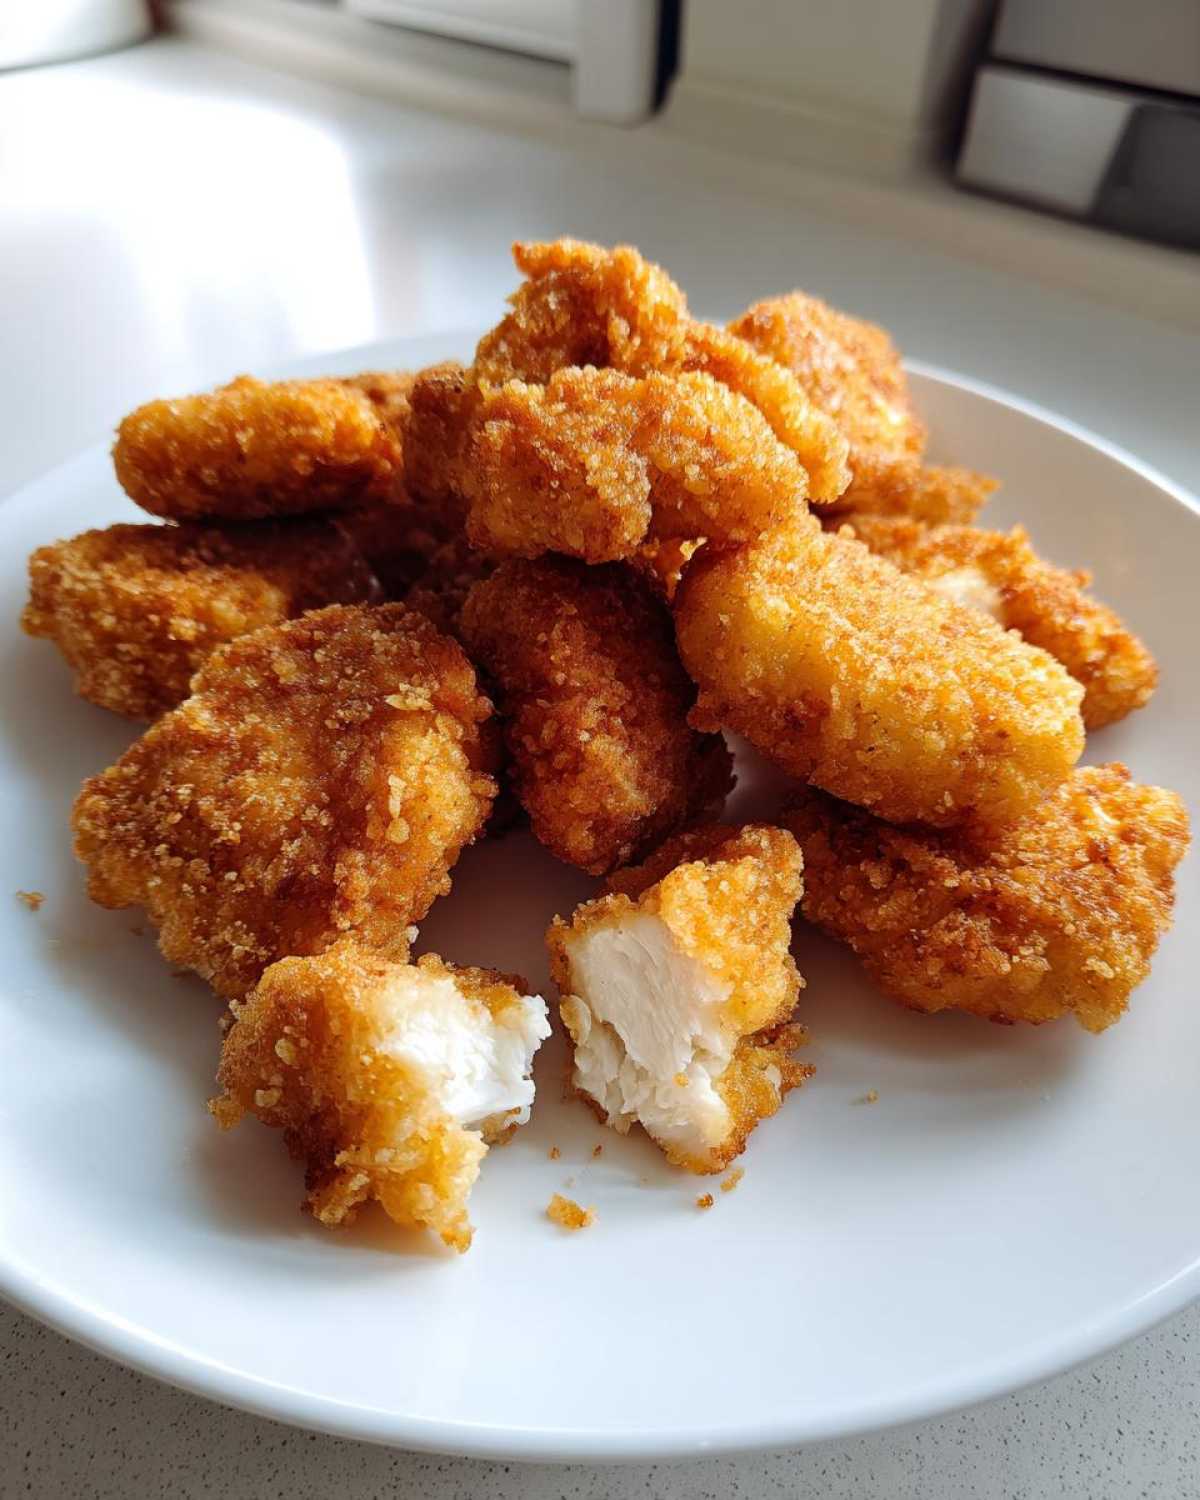
Achieving Juiciness in Homemade Chicken Nuggets
The secret to juicy nuggets starts before the breading station. You absolutely have to cut your chicken pieces consistently, about one inch, so they cook evenly. Then, the three-step breading process does heavy lifting. By making sure the flour shakes off well before the egg dip, we create a dry surface that the seasoned panko can really grab onto. That tight crust traps all that wonderful chicken flavor inside while baking, keeping them tender!
Ingredients for Perfect Homemade Chicken Nuggets
You can’t rush perfection, especially when it comes to sourcing the stars of the show! For this batch of wonderfully easy nuggets, grab about a pound and a half of boneless, skinless chicken breasts. Make sure you cut these into uniform, bite-sized pieces—think just about one-inch cubes max. Consistency is super important here so they all cook through at the exact same time. Don’t forget to have two big bowls ready for your eggs; we just need two large ones, beaten lightly so there are no big, ugly streaks of pure white when you dip the chicken.
Now for the real coating stars! You’ll need one cup of all-purpose flour for the first stage—always shake off the extra! Then, for the flavor explosion in the panko, mix up one and a half cups of panko breadcrumbs with your seasonings: one teaspoon of salt, half a teaspoon each of black pepper, garlic powder, and onion powder. This mix is what gives us that incredible texture we talked about. Finally, just to help everything brown up beautifully in the oven, have about a tablespoon of olive oil ready for spraying the tops later on. If you’re feeling inspired after this, you might want to try making my honey butter chicken biscuit sandwiches next week!
Setting Up Your Breading Station for Crispy Baked Homemade Chicken Nuggets
Listen, the secret weapon for getting that unbelievable crunch where the coating actually sticks? It’s all about the assembly line, your breading station! You need three shallow dishes lined up right next to your chicken. Make sure they’re wide enough so you can easily move the pieces around without juggling them.
Dish number one is your flour—just plain flour. This is where the chicken goes first. You want to dredge it completely, but here is the vital step: absolutely shake off all that loose flour before it moves into dish number two, which holds your lightly beaten eggs. If you leave too much flour on, it gets gummy when it hits the egg, and that ruins the whole process for the best chicken nugget coating. Seriously, give it a good flick!
Dish three is where the party is—that seasoned panko. Press that slightly damp, floured chicken firmly into the crumbs. You need to make sure every little nook and cranny is covered. This layering technique is what gives us that signature bumpy texture when baked. While you organize this setup, remember to preheat that oven we talked about; you want everything ready to go, kind of like setting up for a super easy garlic parmesan spaghetti bake recipe!
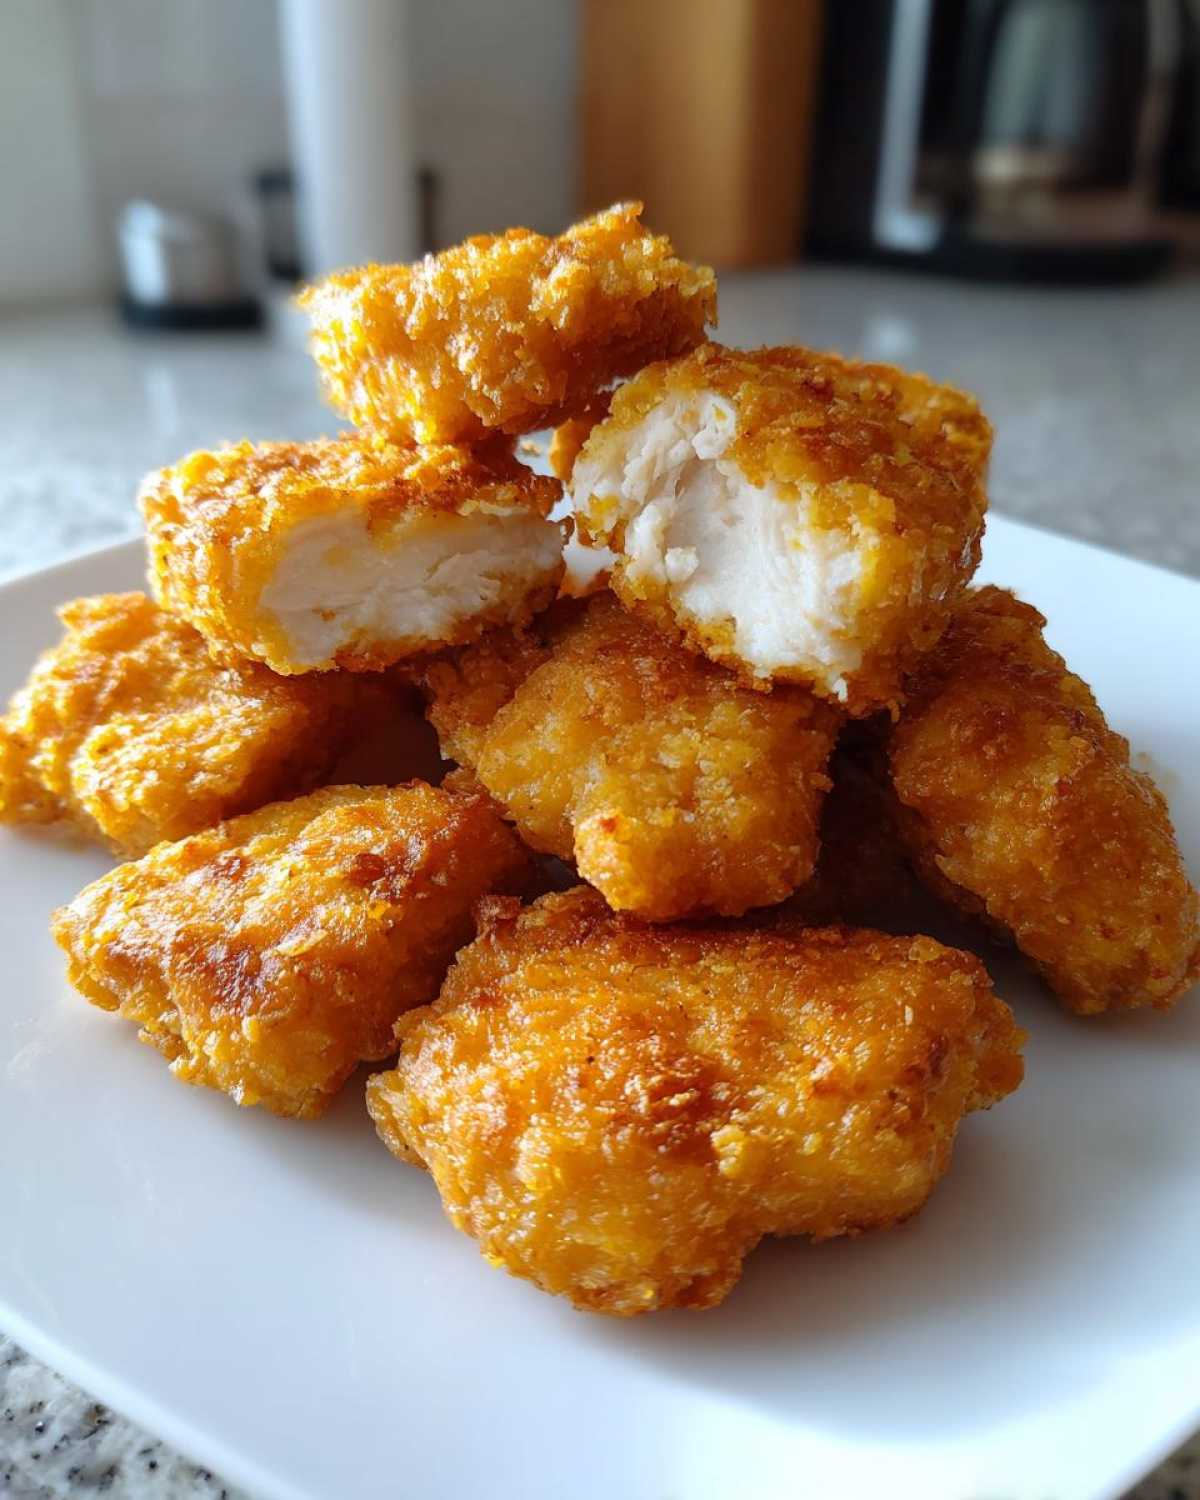
Step-by-Step Instructions to Make Chicken Nuggets for Kids
This is the fun part, and honestly, it’s where the kids can actually help without making too much of a mess! First things first, before you even touch the chicken, you gotta get that oven heating up to 400°F (200°C). While it’s warming, line a big baking sheet with parchment paper. Trust me on the parchment paper; it makes cleanup for these chicken nuggets for kids practically non-existent. Now, grab your first piece of cubed chicken.
You’re going to work quickly through that station we set up. First dip: completely coat the cube in the flour and shake off any major clumps before you dunk it into the egg wash. Let the extra egg drip back into the bowl—we don’t want a soggy foundation! Then you move it right into that delicious, seasoned panko mixture. You need to press down gently but firmly; you want that breading to stick like glue! We are making these homemade chicken nuggets hearty, and they need that jacket to stay perfect during baking. When you get these done, they are such a great companion to a cozy bowl of easy stuffed pepper soup recipe!
Baking Tips for Golden Homemade Chicken Nuggets
Once all your coated beauties are lined up on that parchment-covered sheet, put them in a single layer. Seriously, don’t crowd them, or they turn out steamed, not crispy! Once they are perfectly arranged, grab your olive oil (or use a light cooking spray) and give the tops a good, even misting. That oil is what helps them get golden brown without deep frying. Bake them for about 15 to 20 minutes total, but set a timer to flip them exactly halfway through. We’re looking for that internal temperature to hit 165°F (74°C) for food safety, but visually, they should look deeply golden and feel firm.
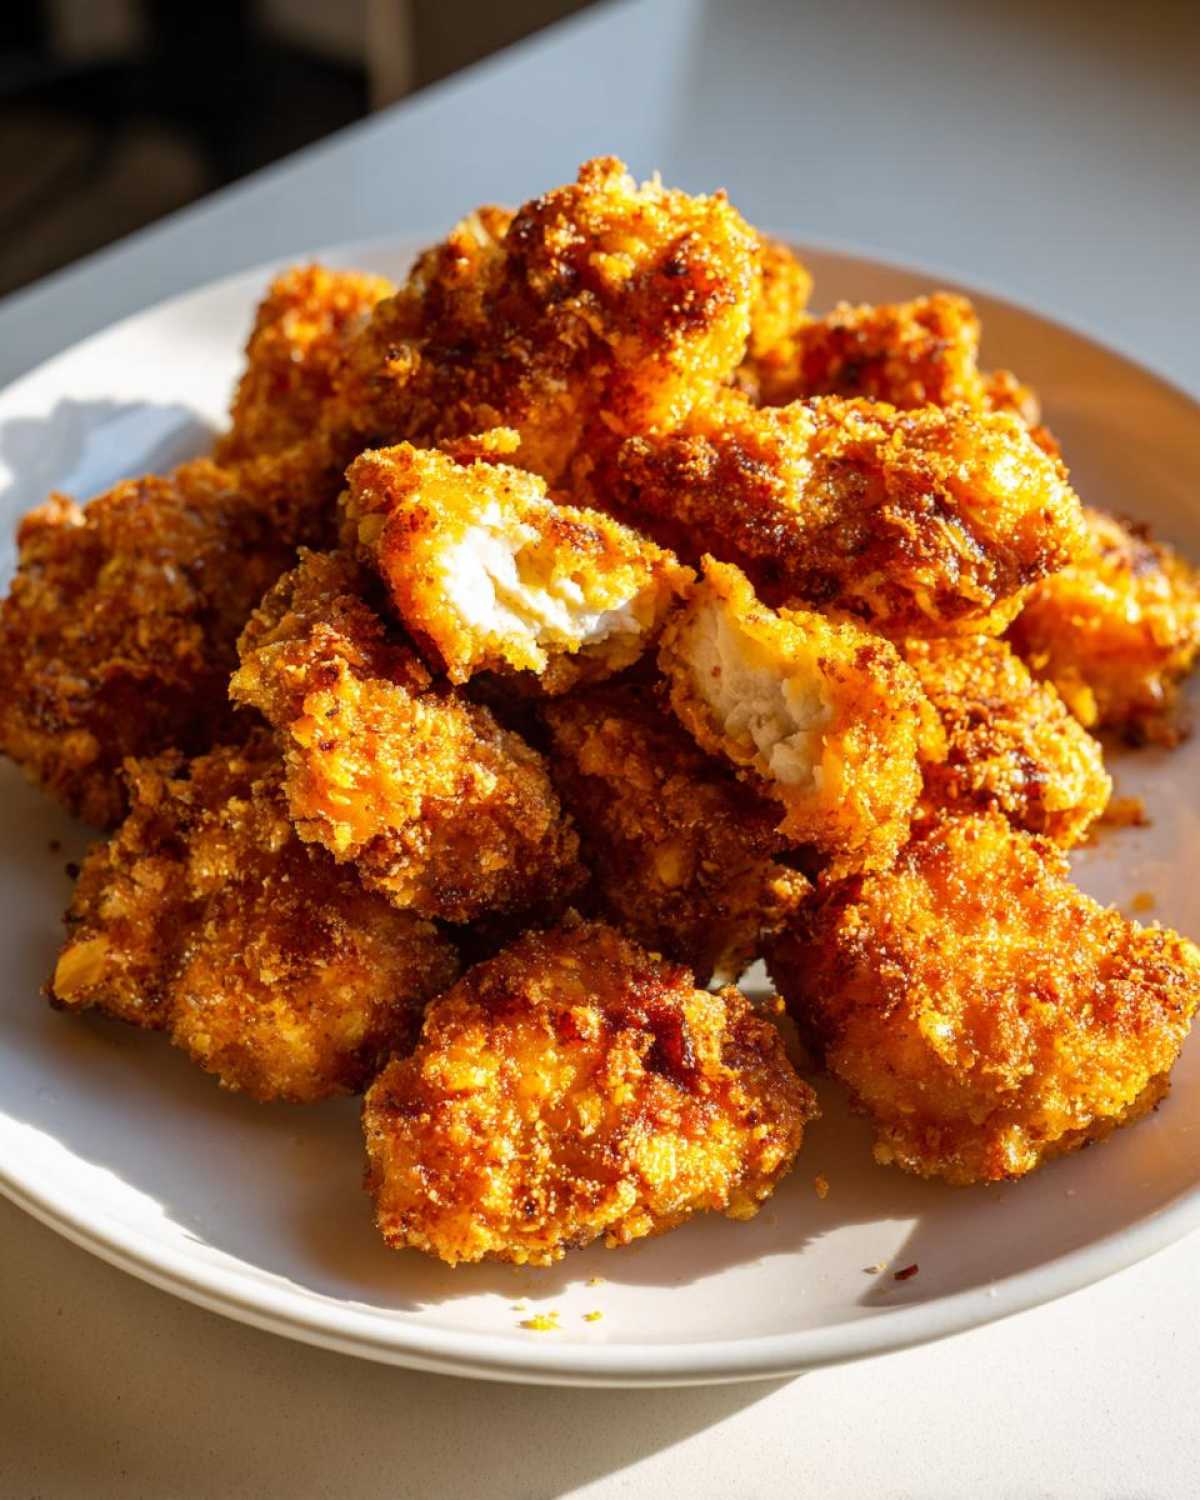
Alternative Cooking Methods for Homemade Chicken Nuggets
Now, I know some of you might not have the time (or the patience!) to wait the full 20 minutes for the oven to work its magic, or maybe your oven is currently packed with something else amazing. I get it! When I need these faster, I always turn to the air fryer. Honestly, air fryer chicken nuggets cook up unbelievably fast, usually done in about 10 to 12 minutes at 375°F (190°C). We prepped them for the oven, so they are already set up perfectly for air frying—just make sure you shake that basket halfway through so you get even coloring on all sides.
If you absolutely need that super-fried crunch but want to stick to using less oil than traditional deep frying, shallow frying is a possibility. Just heat about half an inch of a neutral oil, like canola, in a sturdy skillet until it’s shimmering. We aren’t deep-frying here, just pan-frying them until golden brown on each side. But if you’re here specifically for the chicken nuggets no frying route, stick to the oven or the air fryer—the crispness holds up so much better!
If you are using the air fryer often, check out my recipes for air fryer chicken taquitos; the cleanup there is just as easy!
Ingredient Notes and Substitutions for Homemade Chicken Nuggets
So, what if you don’t have chicken breasts on hand, or maybe you’re just looking to switch things up? Don’t you worry at all! One of the best variations I’ve stumbled upon involves using ground chicken. Yes, ground chicken nuggets work wonderfully here, but you need a tiny bit of technique. If you use ground chicken, you won’t be cutting cubes; instead, you’ll shape the meat into your desired nugget form *after* seasoning it slightly, but *before* you hit the breading station. Just press them firmly so they hold their shape!
And what about the coating? Panko is my absolute favorite because those flakes give you incredible texture, but if someone in your house is gluten-free, we have options! You can easily swap out the all-purpose flour for a plain gluten-free flour blend, and for the panko, look for gluten-free breadcrumbs. They don’t quite have the same airy crispness sometimes, but they work perfectly fine, especially when paired with that good olive oil spray. I bet they’d be amazing alongside these gluten-free dinner rolls that actually rise when you need a full GF meal!
Making Homemade Chicken Nuggets from Scratch: Troubleshooting
Even with the best intentions, sometimes things don’t turn out perfectly the first time you make chicken nuggets from scratch. Don’t stress, this is just part of the learning curve! The number one issue people run into is that sad, soggy coating that just peels away in the oven. Did you know the fix is usually keeping things cold and dry? Make sure your chicken cubes are patted bone-dry before they even see the flour.
If your crumbs are falling right off, it usually means your egg wash layer was too thick, or you didn’t press hard enough into the panko. Go back to that breading station, dip it in the egg, let it drip *really* well, and then really press that panko on there. You want that breading to feel totally saturated to the meat. A little extra effort during the breading stage saves you a huge headache later!
Serving Suggestions for Your Quick Chicken Dinner
We’ve made these incredible homemade chicken nuggets, and now comes the best part: choosing what to dip them in! Honestly, these need a sauce. My family defaults to classic ketchup and honey mustard, but don’t limit yourselves! A little tangy BBQ sauce is always a winner, especially for the kids.
Since these nuggets make such a fast and easy quick chicken dinner, you want sides that come together just as fast. I usually skip complicated sides entirely. A big green salad or maybe some fresh carrot sticks work well. But if you want something warm and satisfying, you absolutely have to try roasting some potatoes while the nuggets bake. I always use my recipe for lemon garlic roasted potatoes; they are tangy, savory, and only take about 20 minutes in the oven right alongside the nuggets!
Frequently Asked Questions About Homemade Chicken Nuggets
Can I make these homemade chicken nuggets ahead of time?
Oh yes, you absolutely can! These are perfect for meal prepping your easy weeknight chicken meals. Once they are fully cooked and cooled, just place them in an airtight freezer bag with parchment paper separating the layers to stop sticking. When you want to eat them later, the best way to reheat them is back in the oven or air fryer for about 8 to 10 minutes at 375°F. That wakes up the crunch again!
How can I make these taste more like copycat chicken nuggets?
That famous fast-food flavor usually comes down to two things: brine and seasonings. For that ultra-flavorful, tender texture resembling copycat chicken nuggets, try soaking your chicken cubes in a salty brine (or even pickle juice!) for about 30 minutes before you start the breading process. Also, make sure your seasoning mix in the panko has just a tiny bit more salt than I listed in the main recipe. If you want the ultimate guide to that famous sandwich shop taste, you should check out my full copycat Chick-fil-A nuggets recipe for the real deep dive!
How long do these crispy baked nuggets stay crispy?
Because we are baking them, they hold their crunch really nicely at first, maybe for about 30 minutes right after they come out of the oven. If you notice them softening up while they sit on the dinner table, don’t panic! Just pop them back into a 350°F oven for about 4 minutes, or toss them in the air fryer for 2 minutes. They reheat beautifully, which is why they are such a good option for a fast dinner.
PrintCrispy Baked Homemade Chicken Nuggets
Make juicy, crispy chicken nuggets at home using a simple baking method. This recipe is easy to prepare and makes a great quick dinner for kids.
- Prep Time: 15 min
- Cook Time: 20 min
- Total Time: 35 min
- Yield: 4 servings
- Category: Dinner
- Method: Baking
- Cuisine: American
- Diet: Low Fat
Ingredients
- 1.5 lbs boneless, skinless chicken breasts, cut into 1-inch pieces
- 1 cup all-purpose flour
- 2 large eggs, lightly beaten
- 1.5 cups panko breadcrumbs
- 1 teaspoon salt
- 0.5 teaspoon black pepper
- 0.5 teaspoon garlic powder
- 0.5 teaspoon onion powder
- 1 tablespoon olive oil (for spraying)
Instructions
- Preheat your oven to 400°F (200°C). Line a baking sheet with parchment paper.
- Set up a standard breading station with three shallow dishes. Place flour in the first dish.
- Place the beaten eggs in the second dish.
- Mix the panko breadcrumbs, salt, pepper, garlic powder, and onion powder in the third dish.
- Take one piece of chicken and dredge it thoroughly in the flour, shaking off any excess.
- Dip the floured chicken piece into the egg mixture, letting excess drip off.
- Coat the chicken piece completely in the seasoned panko mixture, pressing gently so the crumbs adhere well.
- Place the coated chicken pieces on the prepared baking sheet in a single layer.
- Lightly spray the tops of the nuggets with olive oil for extra crispness.
- Bake for 15 to 20 minutes, flipping the nuggets halfway through, until golden brown and the internal temperature reaches 165°F (74°C).
Notes
- For an air fryer, cook at 375°F (190°C) for 10 to 12 minutes, shaking the basket halfway through.
- You can substitute chicken breasts with ground chicken formed into nugget shapes before breading.
- Serve immediately with your favorite dipping sauces.
Nutrition
- Serving Size: 5 nuggets
- Calories: 280
- Sugar: 1
- Sodium: 350
- Fat: 6
- Saturated Fat: 1
- Unsaturated Fat: 5
- Trans Fat: 0
- Carbohydrates: 25
- Fiber: 1
- Protein: 32
- Cholesterol: 90