

Introduction
Are your weeknight dinners feeling like a sad surrender?
I get it. Too many recipes promise magic. They deliver soggy messes instead.
We’ve all been there, staring at a tray of baked chicken failure.
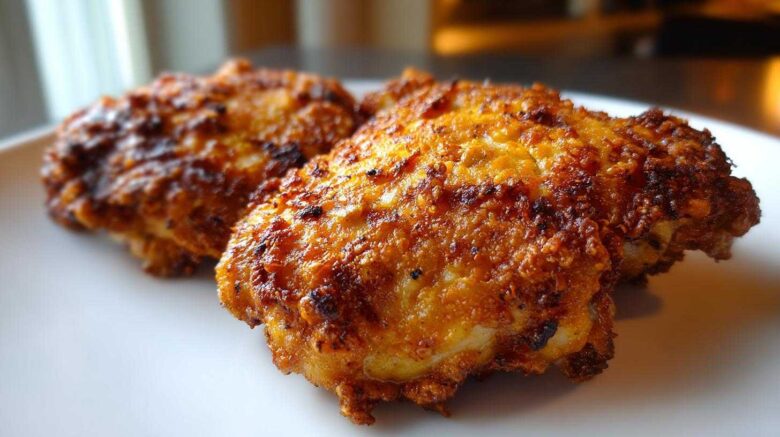
That’s why we created our perfect Crispy Ranch Chicken Thighs.
This recipe is our answer to broken food promises.
Here at Savor And Pin, we fix bad recipes. Ben, Noah, and I test everything hard.
We find the flaw, then we make it right.
Noah checks the science. Ben brings the wild ideas.
I bring it all together for you.
We tested this crunchy chicken until it was foolproof. It’s truly exceptional now.
This isn’t just another recipe online.
This is a guaranteed win for your dinner table.
We stand behind every single step we share.
You deserve chicken that actually stays crispy.
No more disappointing meals, I promise.
You’re going to love making this tonight.
Why You’ll Love Our Crispy Ranch Chicken Thighs
You need reliable weeknight food. I know that feeling well.
These Crispy Ranch Chicken Thighs are our family’s gold standard.
We fixed the common pitfalls here.
You get incredible flavor without the fuss.
This recipe simply works every single time.
Flavor Secured
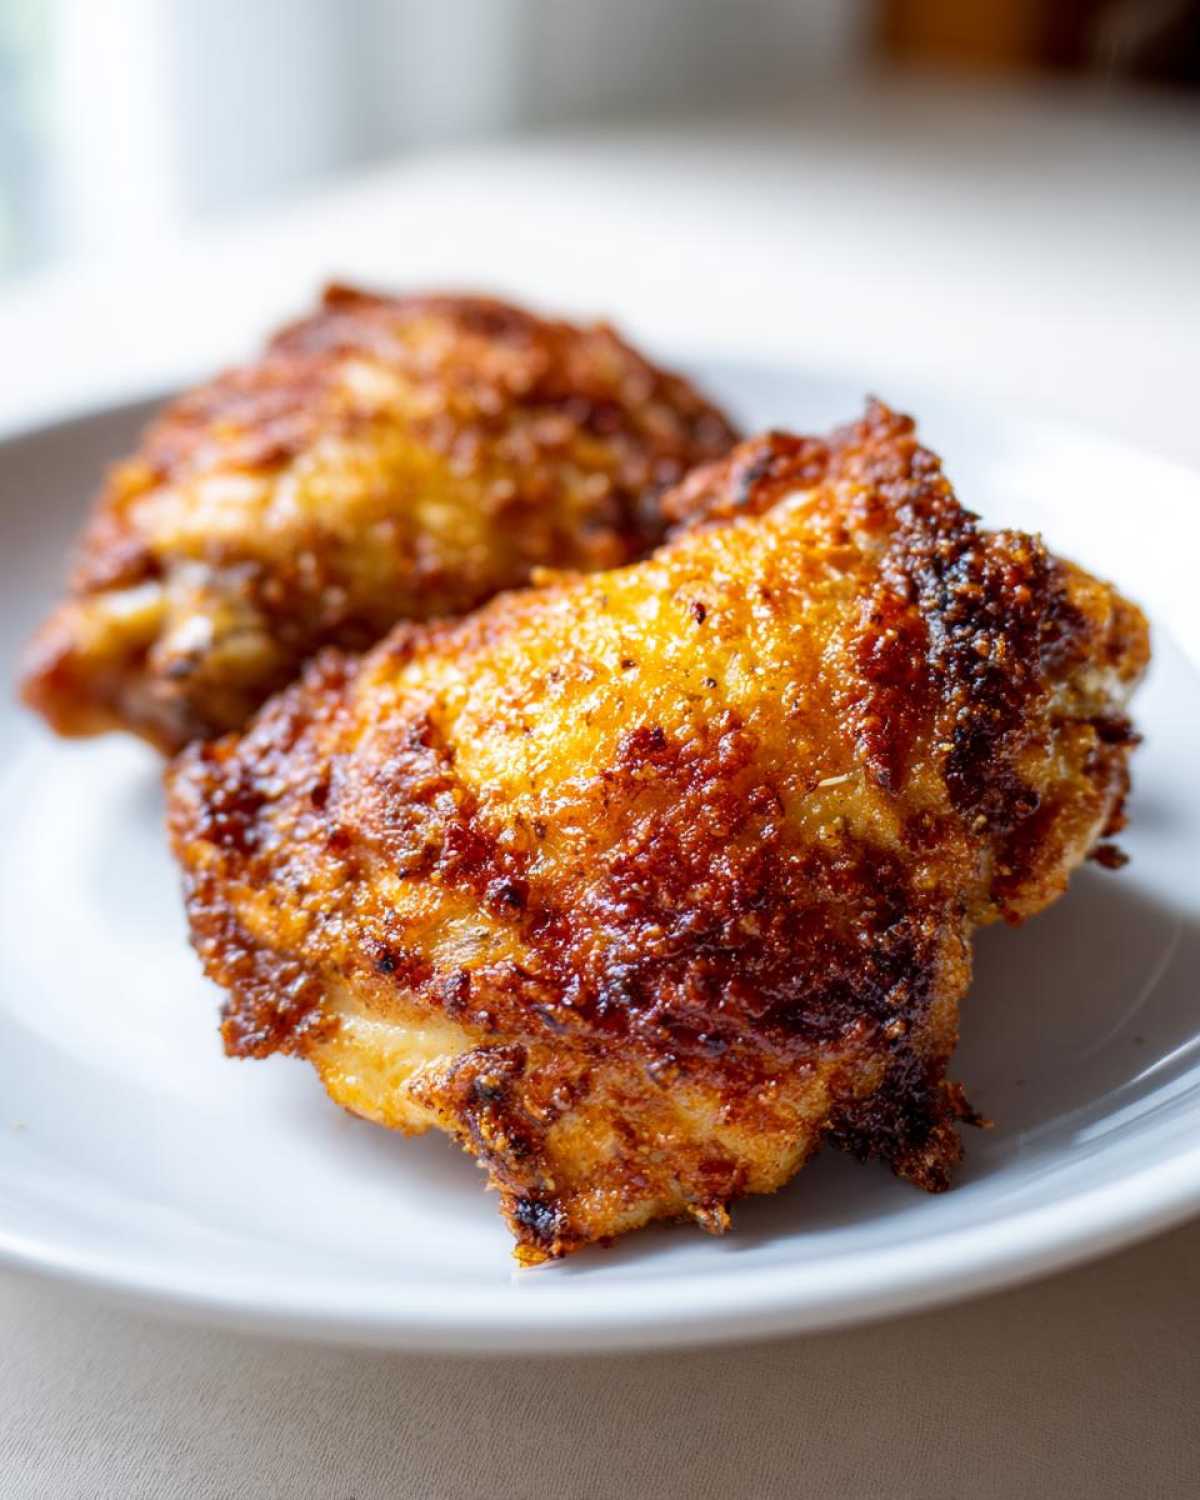
We pack in that savory, herby ranch taste.
It clings right to the chicken skin.
The seasoning is perfectly balanced, never bland.
Guaranteed Crunch
Forget sad, limp baked chicken skin.
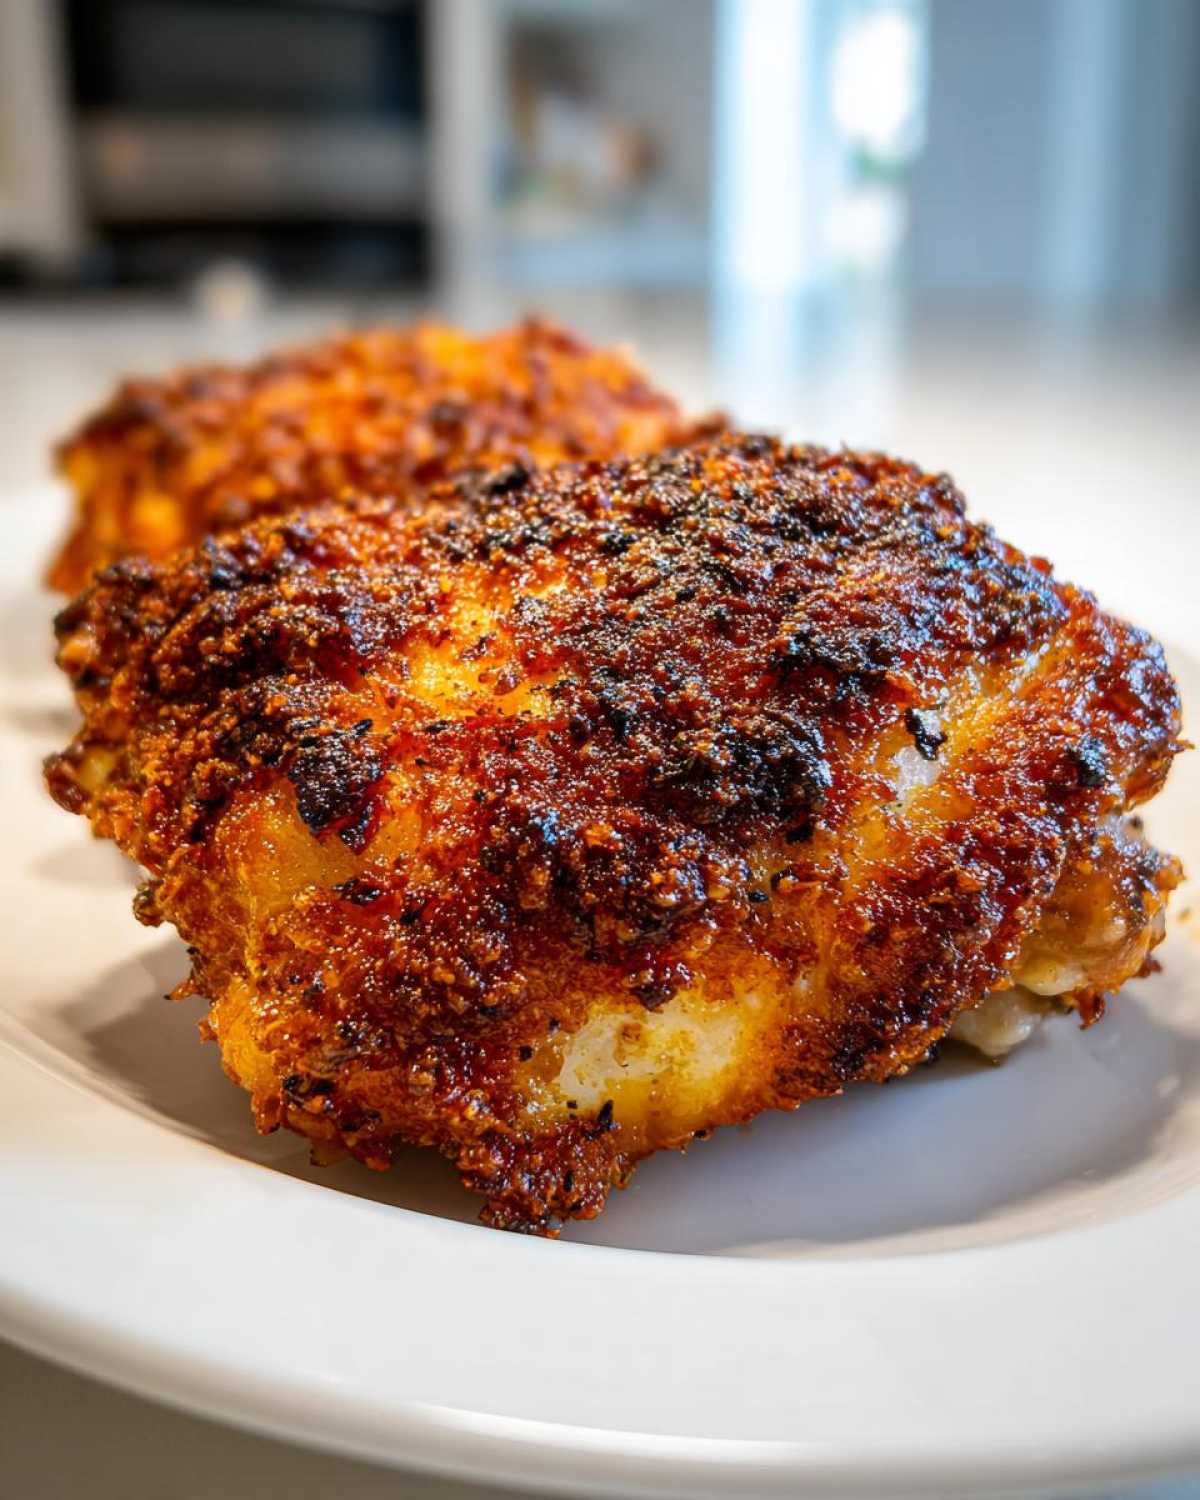
Our method locks in true crunchiness.
This coating stays crisp straight from the oven.
Equipment Needed for Perfect Crispy Ranch Chicken Thighs
Getting that perfect texture takes a little planning.
It is not about fancy gadgets, though.
It’s about using the right tools correctly.
We learned this after many failed batches.
Having these items ready makes baking easy.
Essential Tools for Baking Success
- A reliable oven for steady heat.
- A standard baking sheet works great.
- A wire rack is absolutely necessary.
- Plenty of paper towels for drying.
- Basic measuring cups and spoons.
Ingredients for Guaranteed Crispy Ranch Chicken Thighs
Ingredients are the foundation of any good meal.
We chose these items for maximum flavor and texture.
Using quality components makes my job easier.
You need to measure these precisely for success.
This short list delivers huge payoff later.
Trust me on the specific ratios we use here.
Ingredient Breakdown and Quality Check
- Four bone-in, skin-on chicken thighs.
- One tablespoon of good olive oil.
- One packet (one ounce) dry ranch mix.
- One-half cup all-purpose flour.
- One-quarter cup cornstarch for crispness.
- One-half teaspoon fresh black pepper.
That cornstarch is Noah’s secret weapon.
It helps create that light, airy crunch.
Make sure your ranch packet is sealed until use.
We need every bit of that seasoning power.
Step-by-Step Instructions for Crispy Ranch Chicken Thighs
Now we get to the fun part, friends.
This is where we turn simple ingredients into dinner gold.
Follow these steps exactly.
They are designed for guaranteed delicious results.
Don’t rush anything, especially the drying part.
That prep work pays off big time later.
Initial Preparation and Coating Technique
First, fire up your oven to 400 degrees F.
Line a baking sheet with foil for easy clean up.
Place your wire rack right on top of that foil.
Take your chicken thighs and pat them bone dry.
Seriously, use those paper towels well here.
Next, whisk your flour, cornstarch, and ranch mix.
Add in your black pepper to that dry mix.
Drizzle the olive oil over all the chicken pieces.
Rub that oil gently into the skin surface.
Now dredge each thigh completely in the flour mix.
Press that coating down firmly onto the skin.
Make sure that seasoning really sticks well there.
Baking and Checking for Doneness
Arrange the coated thighs skin-side facing up.
They need space on that wire rack.
Slide the rack into the hot oven carefully.
Bake for 35 to 45 minutes total time.
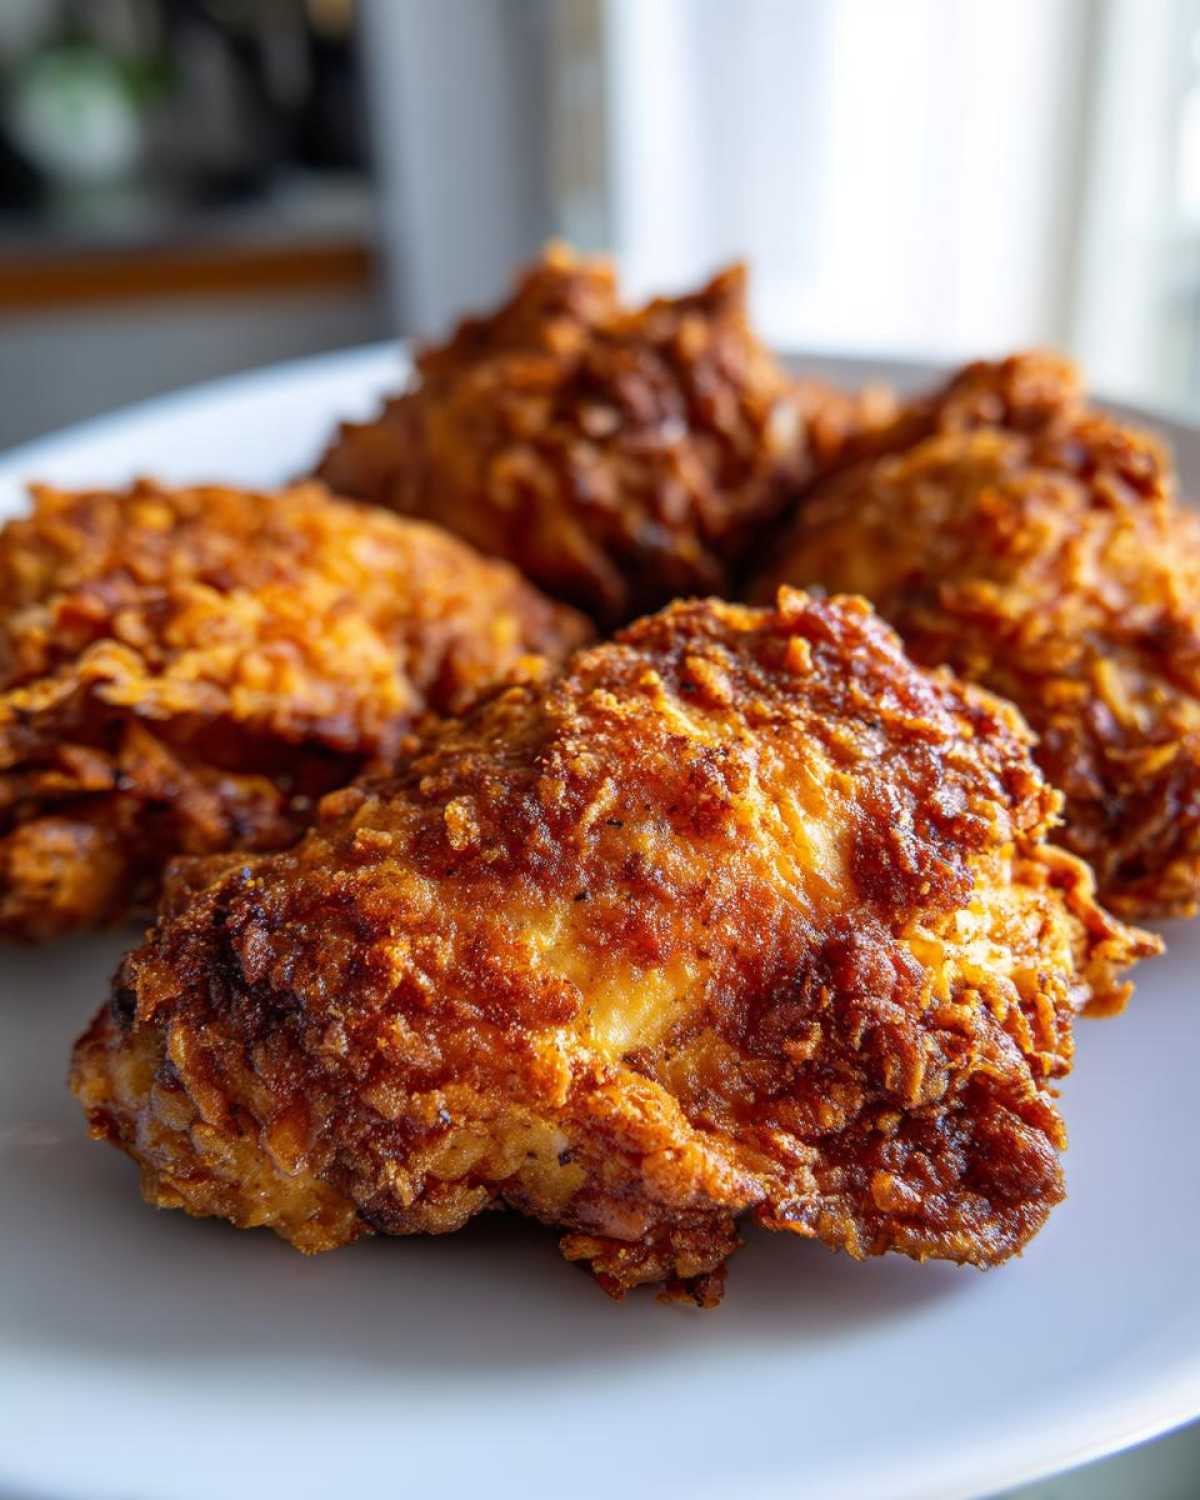
You are looking for golden brown skin.
The internal temperature must hit 165 degrees F.
Use a meat thermometer to check the thickest spot.
Once done, pull them out right away.
Let the chicken rest for five minutes now.
This resting step keeps the juices inside.
Then, serve up those amazing baked ranch chicken pieces.
Tips from Noah: Perfecting Your Crispy Ranch Chicken Thighs
Noah gets really intense about the science here.
He calls moisture the enemy of crispiness.
We learned this through sheer trial and error.
These little fixes make a huge difference for your Crispy Ranch Chicken Thighs.
Follow Noah’s wisdom for best results.
He won’t let a soggy thigh pass his inspection.
Moisture Control Secrets
You must pat your chicken skin totally dry.
I mean bone-dry, like desert sand dry.
If water remains, it steams the coating.
Steaming equals zero crunch, sadly.
This step guarantees maximum crispness.
Rack Placement and Airflow
Never skip that wire rack, please.
Noah says air needs to circulate underneath.
This allows the bottom skin to crisp too.
If it sits right on the pan, it will steam.
We want texture all around the chicken.
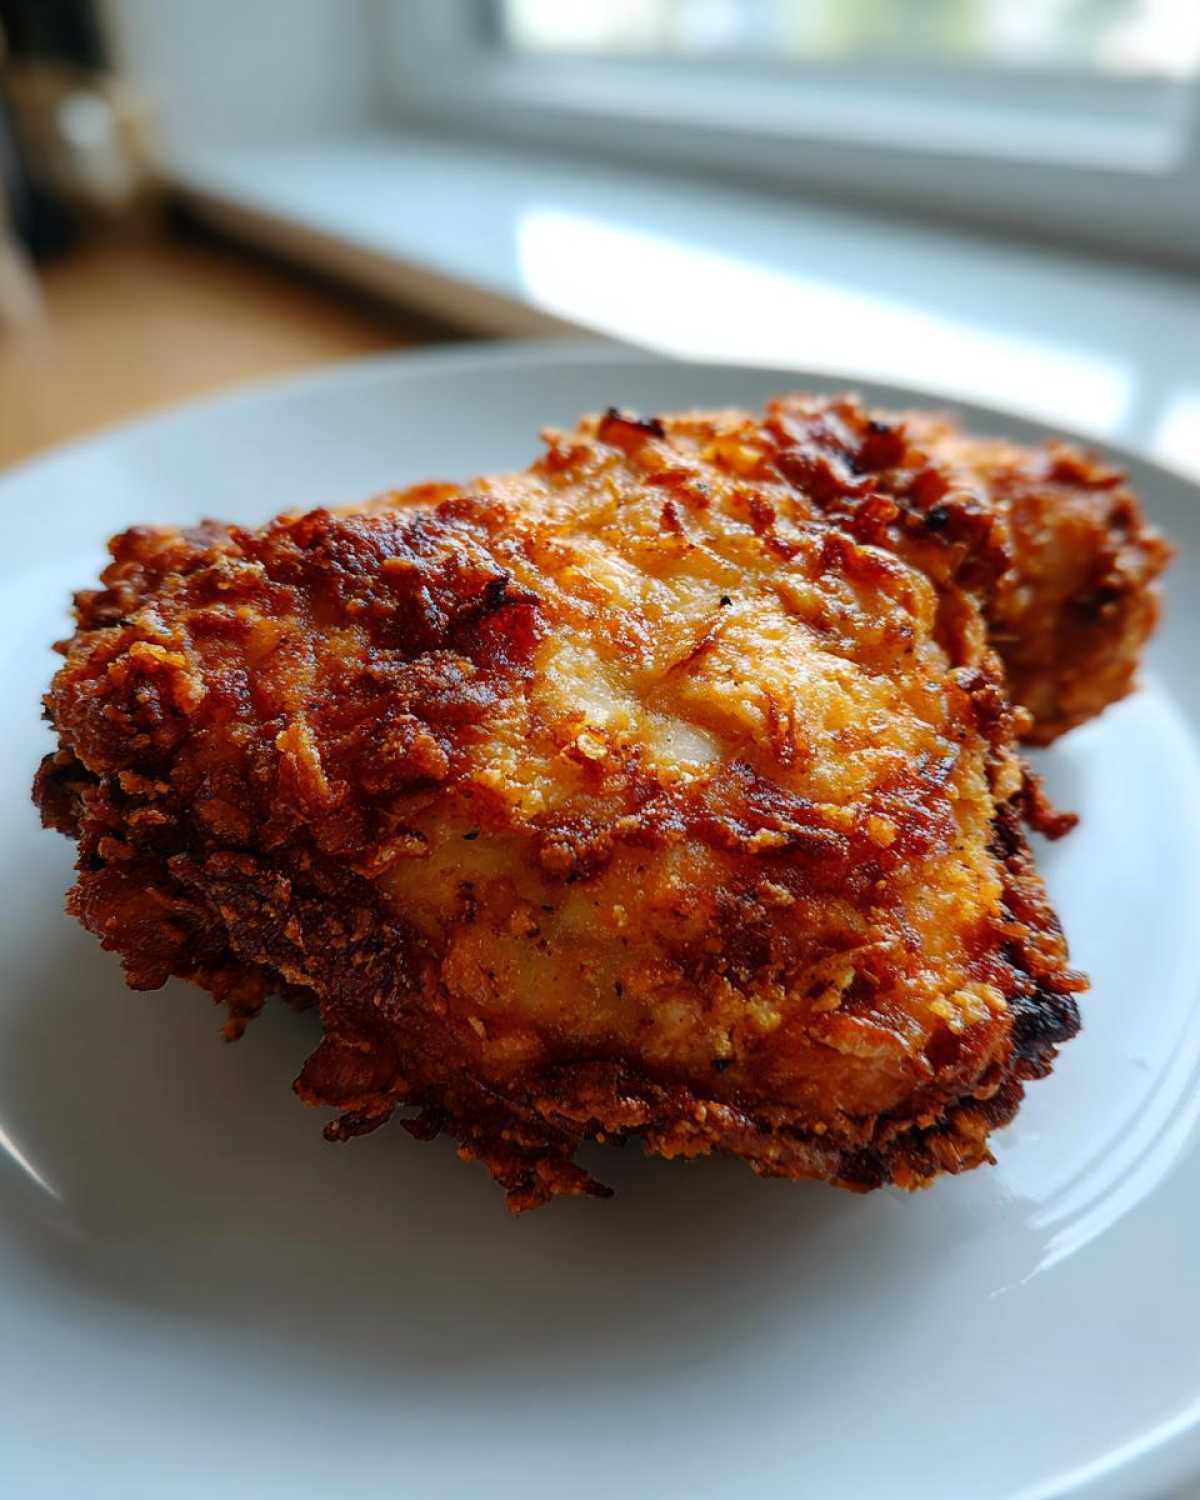
Frequently Asked Questions About Baked Ranch Chicken
We get asked these questions a lot.
It means you are trying hard to make great food.
Let’s clear up a few common concerns now.
These answers help you move past baking issues.
We want your next meal to be perfect.
Can I use boneless chicken thighs for this recipe?
That is a tricky substitution to make.
Our method relies on the skin for crunch.
Boneless thighs lack that protective skin layer.
The coating will likely just fall off.
Stick to skin-on pieces for this crunch.
How do I prevent the coating from burning during baking?
Sometimes the oven runs a little hot.
If the coating looks too dark too soon, act fast.
Lightly tent the chicken with aluminum foil.
This shields the surface from direct heat.
It lets the inside finish cooking safely.
What is the best way to store leftover Crispy Ranch Chicken Thighs?
Storing leftovers requires a quick cool down.
Let them cool completely before sealing them up.
Use an airtight container in the fridge.
We cover storage in the next section for you.
Storing and Reheating Your Flavorful Chicken
No one likes throwing away leftovers.
But soggy ranch chicken is a real letdown.
Store cooled leftovers in the fridge for three days max.
Use a shallow, airtight container for best results.
Reheating is where you save the crunch.
Do not use the microwave, please avoid that.
Your oven or air fryer works like a charm.
Heat at 350 degrees F until warmed through.
This brings back some of that original crispness.
Serving Suggestions for Your Meal
This chicken is already super flavorful.
Keep your side dishes simple and fresh.
They should complement the ranch, not fight it.
I love pairing this with light vegetables.
Think crisp green beans or a simple salad.
Roasted potatoes are always a safe bet too.
If you are looking for side dish inspiration, check out our general recipe index.
We Fixed This Recipe So You Can Trust It
That’s our mission here at Savor And Pin.
We took a recipe that often fails.
We made it truly exceptional for you.
You can bake this chicken with total confidence.
Tell us how your dinner turned out below.
We love hearing about your successful meals.
PrintSuper Crispy Ranch Chicken Thighs: 1 Foolproof Fix

You will love these Crispy Ranch Chicken Thighs. We fixed the common recipe issues to give you perfectly seasoned, crunchy chicken every time. This is a family favorite you can trust.
- Prep Time: 10 minutes
- Cook Time: 45 minutes
- Total Time: 55 minutes
- Yield: 4 servings
- Category: Main Dish
- Method: Baking
- Cuisine: American
- Diet: None
Ingredients
- 4 bone-in, skin-on chicken thighs
- 1 tablespoon olive oil
- 1 packet (1 oz) dry ranch seasoning mix
- 1/2 cup all-purpose flour
- 1/4 cup cornstarch
- 1/2 teaspoon black pepper
Instructions
- Preheat your oven to 400 degrees F (200 degrees C). Line a baking sheet with foil and place a wire rack on top.
- Pat the chicken thighs very dry using paper towels. This step helps with crispiness.
- In a shallow dish, whisk together the flour, cornstarch, ranch seasoning mix, and black pepper.
- Drizzle the olive oil over the chicken thighs. Rub the oil lightly over all surfaces.
- Dredge each chicken thigh completely in the flour mixture. Press the coating firmly onto the skin to make sure it adheres well.
- Place the coated chicken thighs skin-side up on the prepared wire rack.
- Bake for 35 to 45 minutes, or until the internal temperature reaches 165 degrees F (74 degrees C) and the skin is deeply golden brown and crisp.
- Let the chicken rest for 5 minutes before serving.
Notes
- Ensure your chicken skin is completely dry before oiling and coating for maximum crispness.
- Do not skip the wire rack; it allows air to circulate under the chicken for even cooking.
- If the coating starts to look too dark before the chicken is done, lightly tent the thighs with foil.
Nutrition
- Serving Size: 1 thigh
- Calories: Approx. 380
- Sugar: Approx. 1g
- Sodium: Approx. 550mg
- Fat: Approx. 25g
- Saturated Fat: Approx. 7g
- Unsaturated Fat: Varies
- Trans Fat: 0g
- Carbohydrates: Approx. 12g
- Fiber: Approx. 0.5g
- Protein: Approx. 28g
- Cholesterol: Approx. 100mg