

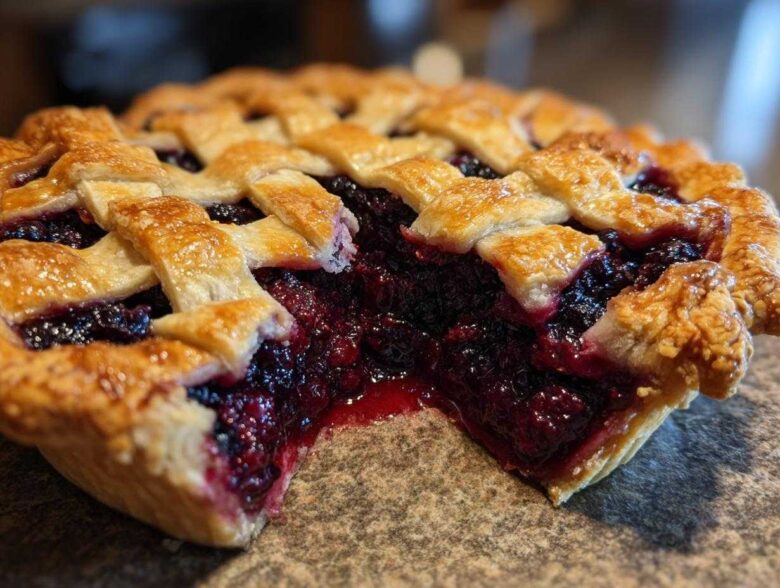
Oh, you know how it is—nothing beats the smell of something genuinely homemade baking in the kitchen, right? Forget those sad, store-bought freezer trays; we’re talking about real comfort food here. After years of testing, tweaking, and eating way too much fruit filling, I finally landed on *the* recipe. I’m so excited to share my absolute favorite berry pie. This isn’t just any fruit pie; this is the Ultimate Mixed Berry Pie with Flaky All-Butter Crust. It’s sweet, it’s tart, and trust me, the crust shatters perfectly in your mouth every single time. Get ready to make your new signature summer dessert!
Why This Ultimate Mixed Berry Pie is the Best Berry Pie You Will Make
I know there are a million recipes out there, so why should you trust me with your treasured Sunday dessert time? Because this berry pie recipe solves all the common problems! We’re talking about a filling that sets up beautifully—no soupy mess on your plate—and a crust that rivals that buttery goodness you get in the best dinner rolls. The foundation of any great dessert is the fat you use.
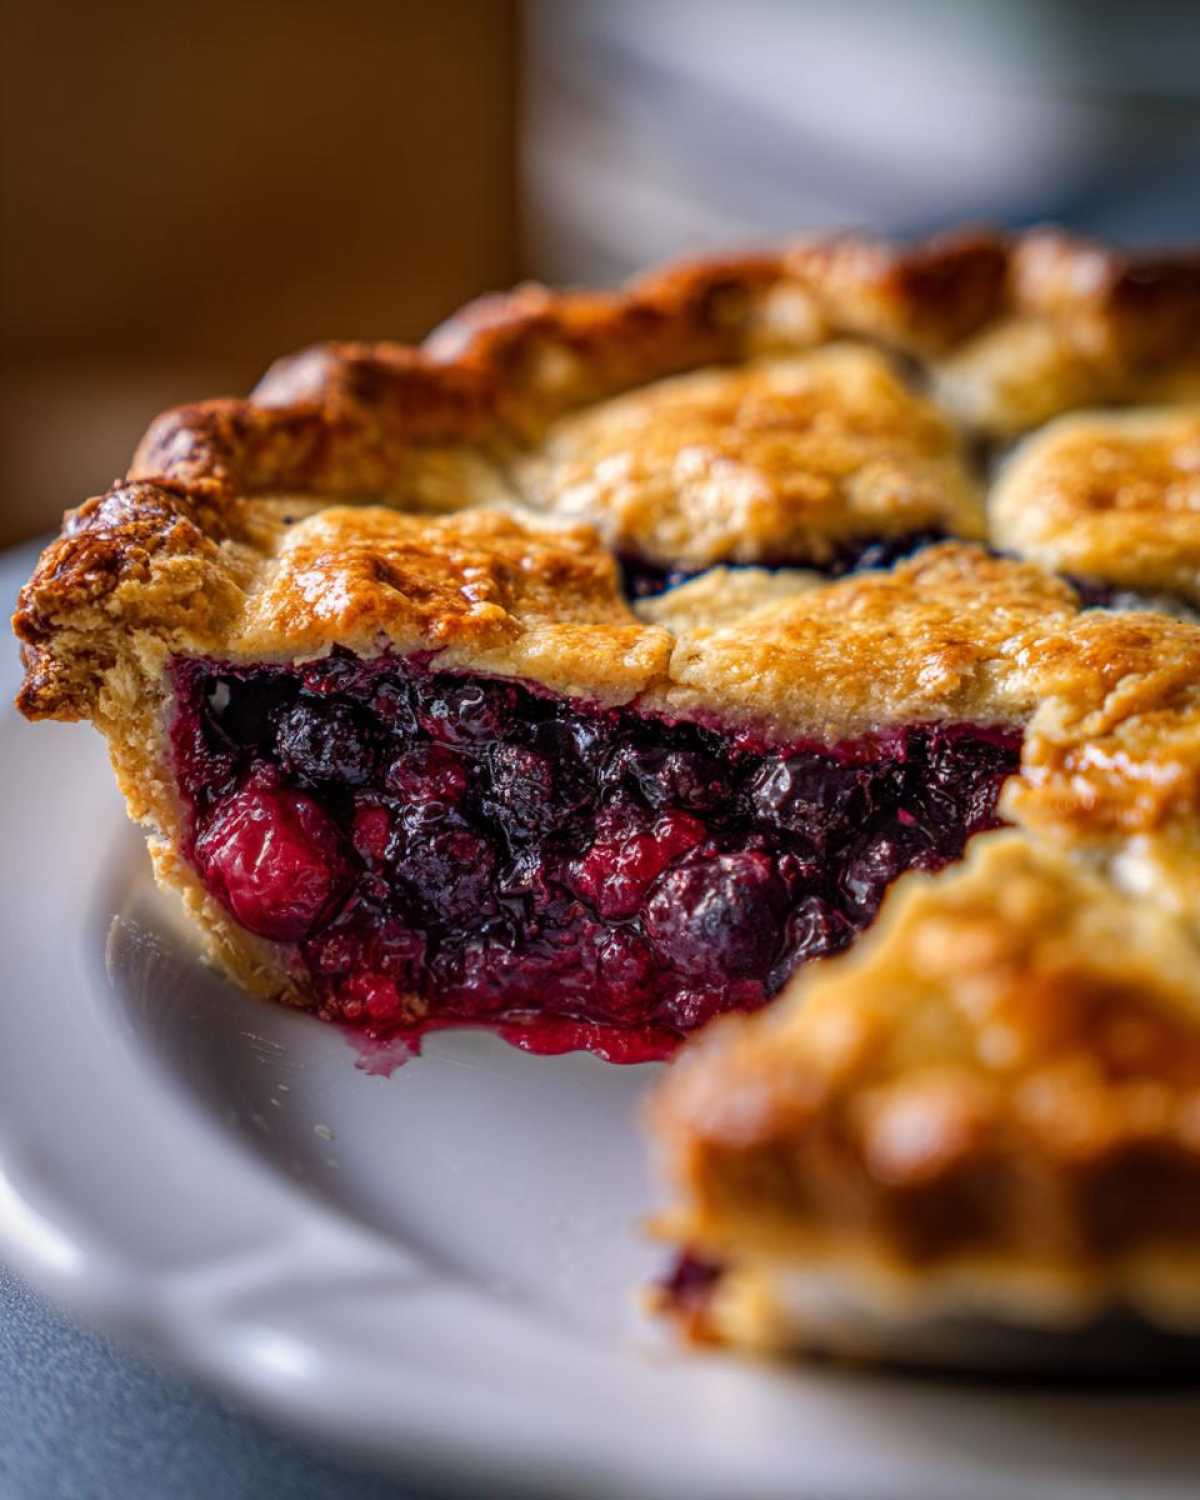
- It uses berries you have on hand, fresh or frozen, making it a true year-round treat.
- The filling achieves that amazing sweet and tart balance we all crave.
- You get to choose your adventure: a classic full top crust or a gorgeous lattice.
Achieving the Perfect Flaky Pie Crust Recipe
The word here is “all-butter,” my friend. Skip the shortening if you want real flavor! The key to that shatteringly flaky crust comes entirely from keeping everything—the butter, the water—ice cold right up until it hits the flour. We’re trying to create those beautiful little pockets of steam in the oven, not blend everything into paste. It’s fussy, but so worth it.
The Secret to a No Runny Pie Filling Trick
This is where so many amazing mixed berry desserts fall apart—literally! The absolute must-do step is using cornstarch, and you need to use it generously. When you mix your berries, make sure the cornstarch completely coats every single piece of fruit. This simple step activates when baking and creates that thick, luscious sauce that holds its shape. It’s the best no runny pie filling trick I know.
Gathering Ingredients for Your Homemade Berry Pie
Okay, let’s talk about what you actually need to pull off this stunning berry pie. Good ingredients really shine here, especially since the fruit flavors are doing most of the heavy lifting, but the crust needs to be perfect too! I’ve listed everything out for you below. Make sure you grab that very cold and cubed butter—it’s non-negotiable for flakiness, just like in my favorite biscuits.
- For the Crust: 2 1/2 cups all-purpose flour, 1 teaspoon salt, 1 cup (2 sticks) unsalted butter (seriously, keep it frozen until you cut it!), and about 1/2 cup of ice water.
- For the Filling: You’ll need 6 cups of mixed berries—I love using a mix of strawberries, raspberries, and blueberries. We match that with 3/4 cup granulated sugar, 1/4 cup cornstarch, 1 tablespoon lemon juice, and 1/4 teaspoon cinnamon.
- For Finishing: One beaten egg for the wash and a tablespoon of coarse sugar for that beautiful crunch on top.
Ingredient Notes and Substitutions for Your Berry Pie
A little note on the sugar: if your berries are super sweet, knock that sugar down to 1/2 cup. If you’re using tart raspberries, you might even want a touch more! Also, if you decide to skip the top crust and want a textural surprise, you can easily substitute the top crust ingredients with my berry crumble topping recipe instead. It bakes up deliciously golden over the fruit!
How to Make the Flaky Crust for This Berry Pie
This is where we earn that flaky texture we all dream about! Making the perfect pastry for your berry pie demands a little bit of attention, but honestly, it’s faster than you think if you keep things cold. You need a pastry blender or even just your fingertips—no food processor here, we want those butter pieces intact! We’re cutting the very cold, cubed butter into the flour mixture until it looks kind of ragged, like coarse crumbs with some bits the size of little peas floating around. Those pea-sized chunks are pure magic later; they melt and create all those flaky layers. When you master this for your pie, people will truly believe you’re an expert baker.
Next comes the ice water; this part takes restraint! Add it slowly, just a tablespoon at a time, mixing gently until the dough finally starts to stick together when you squeeze a small bit. Seriously, stop adding water the second it holds its shape. If you add too much, you get tough dough, and nobody wants a tough crust holding back this glorious fruit filling. Once you get it to come together, quickly divide it into two disks, wrap them tight, and get them into the fridge. Baking success depends on this step.
Chilling and Resting the Dough
Don’t even think about skipping this! The dough needs a solid hour in the refrigerator, minimum. This chilling time stops the butter from getting warm while you work, which is crucial. Plus, it lets the gluten relax so your bottom crust doesn’t shrink up while it bakes. It’s a little patience now for the reward of the most tender buttery crust dessert later!
Assembling the Best Berry Pie Filling
Alright, now that you have your chilled dough waiting patiently, let’s tackle the star of the show: the fruit! Mixing the filling for your berry pie needs to be done with the finesse of a gentle whisper. We want whole, beautiful berries, not berry mush, so grab a big bowl!
First, toss in all 6 cups of your mixed berries. Now, make sure you always combine the sugar, the cornstarch—that magical thickener—and the cinnamon together *before* adding them to the fruit. If you just dump the cornstarch on, it clumps up, and you end up with pockets of chalky goo instead of delicious sauce. Gently sprinkle that dry mixture over the berries.
Add your tablespoon of bright lemon juice for that perfect sweet and tart balance. Then, and this is the key, use a rubber spatula to turn the berries over *very slowly*. You only want to coat them evenly. Do this until everything looks uniformly dusted. If you beat them around, you’ll crush the raspberries and strawberries, and we want that lovely texture later when you bite into a sweet, slightly resistant piece of fruit!
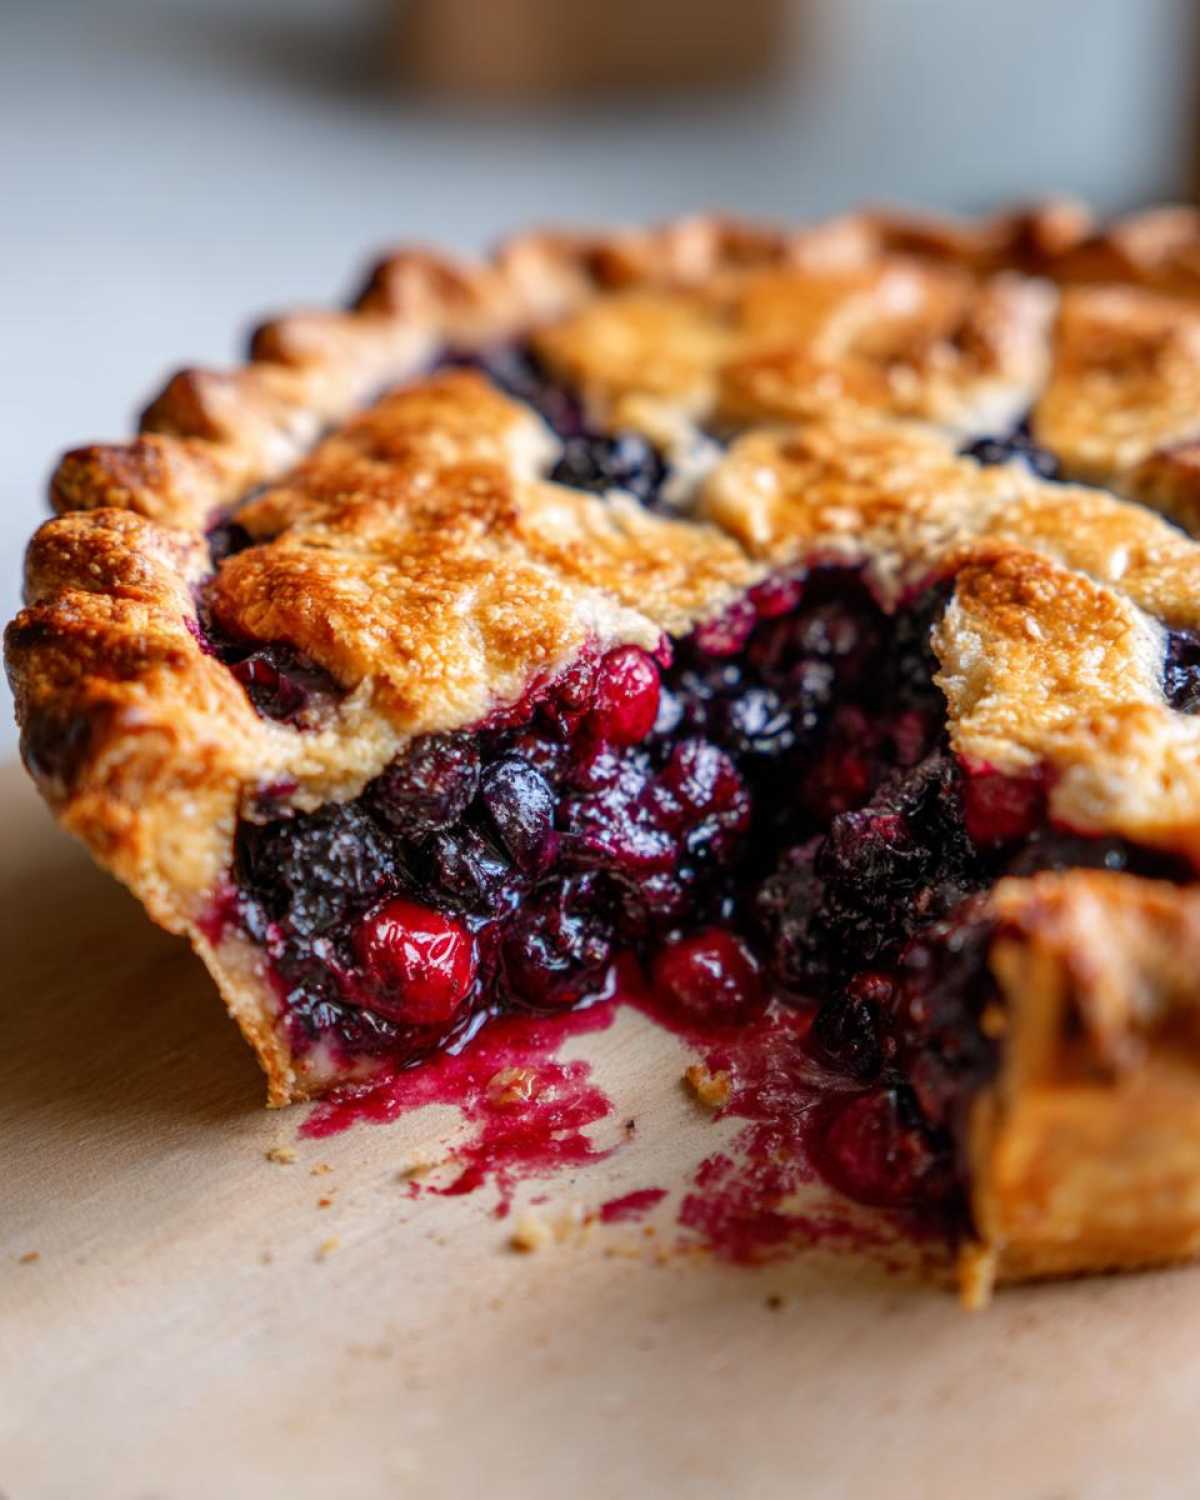
Top Crust Options for Your Berry Pie: Full Top vs. Lattice Pie Top
Now for the fun part of building your ultimate berry pie—the lid! This is where you get to decide if you want a cozy, rustic look or something a little more showy. Remember, you need to roll out that second disk of dough we chilled earlier. If you’re aiming for the classic look, roll that dough into about an 11-inch circle. Gently drape it right over your beautiful, set berry filling. Don’t stretch it; just let it settle in.
If you go for the full top, you absolutely *must* cut steam vents into it. I usually just make four or five slits right down the center. This lets the steam escape so your crust doesn’t puff up like a giant balloon and keeps the filling from boiling over too aggressively. Use a sharp knife and cut gently!
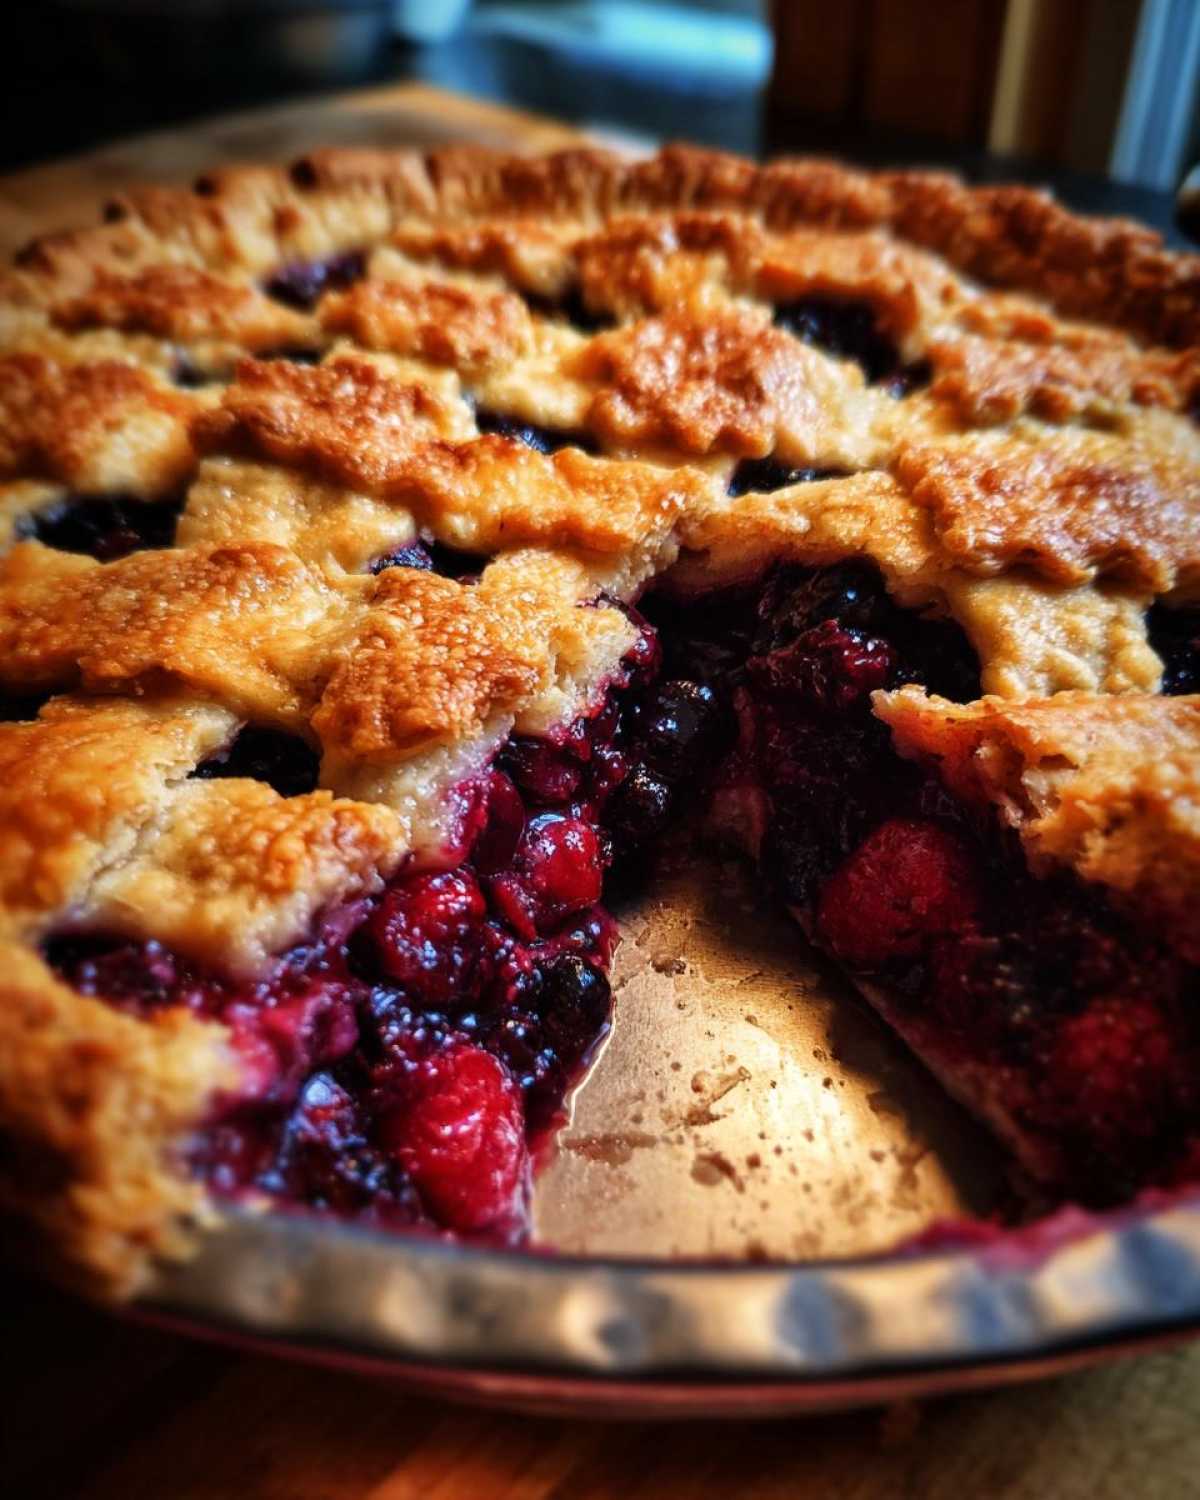
If you’re feeling artsy, you can weave a traditional lattice pie top! Cut your dough into even strips—about 3/4 inch wide is perfect for a standard pie. Lay half the strips vertically across the filling, then gently fold back every other strip to weave the first horizontal one across. Unfold and repeat with the next strip. It’s easier than it looks, I promise! When you have that gorgeous woven pattern, brush it with the egg wash. It makes the crust gleam wonderfully, sort of like the glaze on a good lemon raspberry loaf.
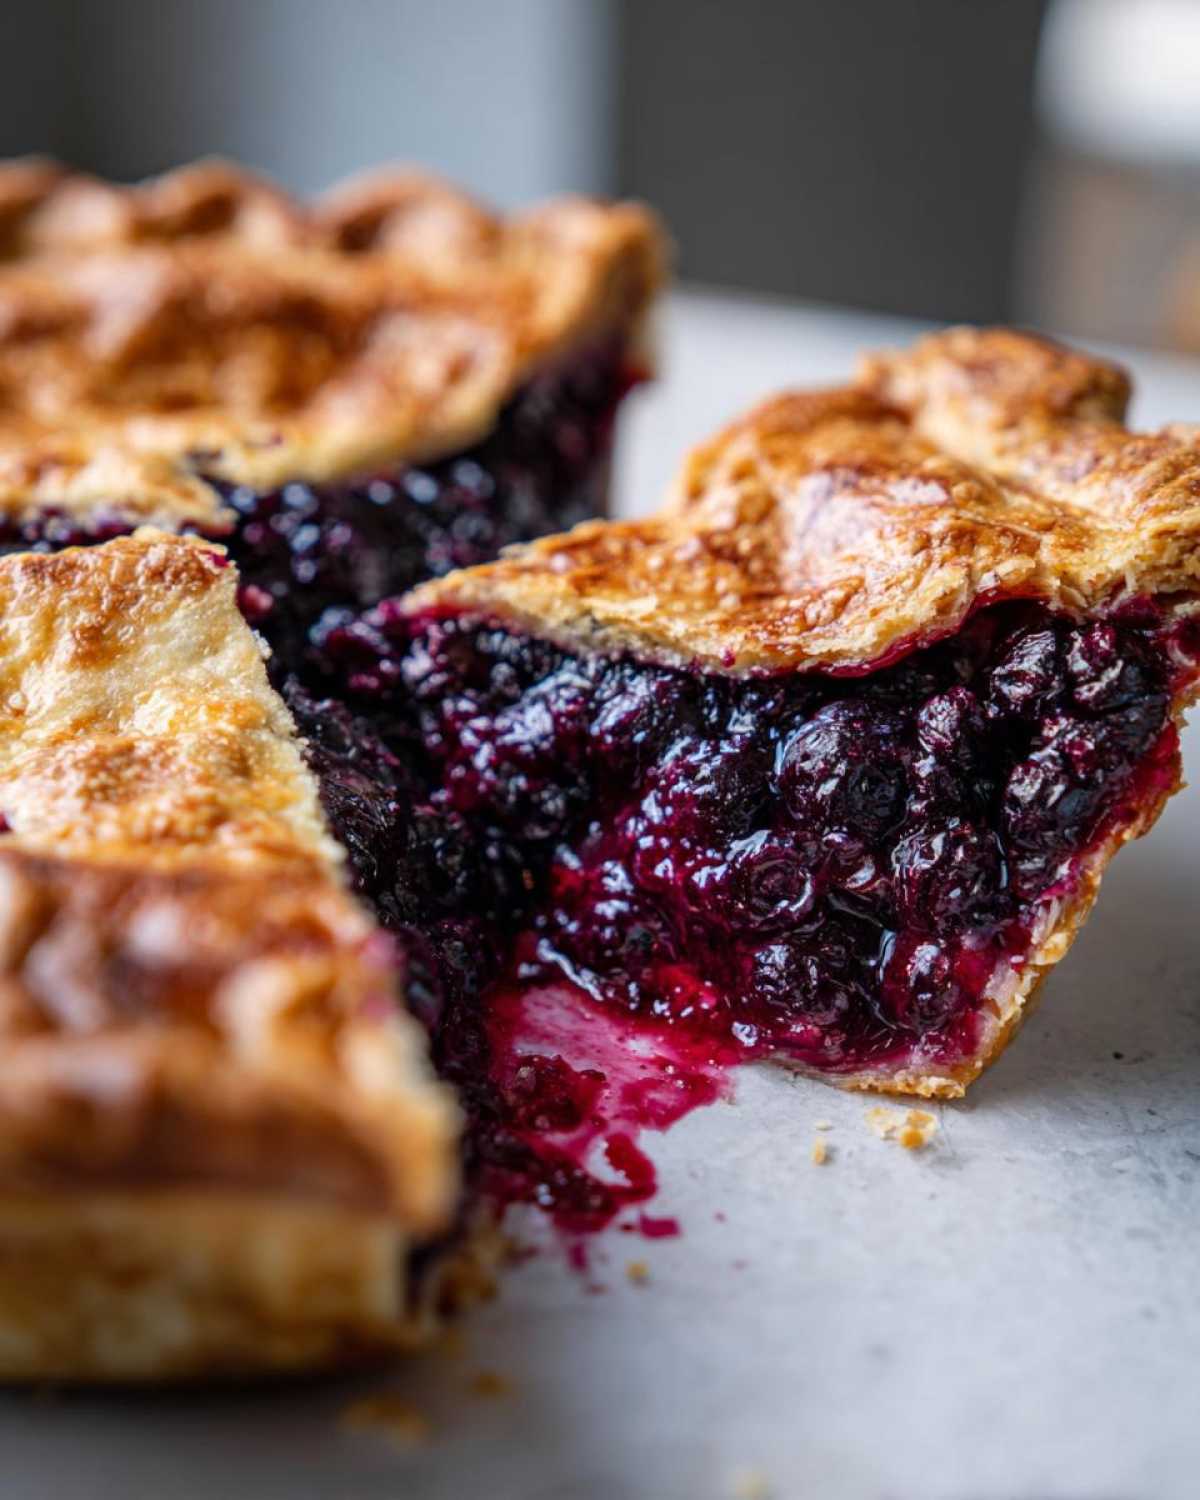
Baking Instructions for a Perfectly Cooked Berry Pie
Okay, deep breath! We’ve built the perfect vessel and filled it with fruit; now we have to bake it without burning the edges or ending up with soup! This is where timing our berry pie makes all the difference. First, get your oven preheated to a hot 400°F (200°C). I always place my pie—even if it’s in its fancy dish—on top of a standard rimmed baking sheet. Trust me on this: the baking sheet catches any inevitable berry juice drips, saving you a huge cleanup job later. It really makes cleanup as simple as making a one-skillet dinner!
We start hot, blasting the pie for the first 20 minutes at that high temp. This initial blast helps set your beautiful, flaky crust quickly and encourages steam production inside. After those 20 minutes, immediately drop the temperature down to 375°F (190°C). Keep baking for another 35 to 45 minutes. If you notice the edges of the crust getting too dark during this second phase—and they often do—just wrap strips of aluminum foil loosely around the crimped edges. It protects the color without stopping the center from cooking through.
Tips for Success When Making Any Berry Pie
You are so close to enjoying the best berry pie of your life! But I have to tell you my absolute biggest piece of advice—and this is one my grandmother drilled into me when I kept cutting her pies too soon. You *must* let this pie cool completely. I know, I know, the smell is incredible, and you want to dive right in, but that cooling time (at least four full hours!) is when the cornstarch sets up and turns your filling from liquid to perfect.
Don’t try to rush it, or you’ll end up with a puddle on your plate, no matter how much thickener you used. Also, if you’re using frozen berries for an off-season treat, remember you don’t thaw them first! Just toss them in frozen, maybe add an extra tablespoon of cornstarch. If you need more help prepping for pies, check out these great tips I learned making my famous honey butter chicken biscuits.
- Patience is mandatory: Cool for 4+ hours so the filling has time to gel.
- If using frozen fruit, do not thaw them beforehand to control moisture release.
- Protect the edges early! Foil strips keep the crust beautifully golden brown.
Storage and Make Ahead Pie Options
This incredible berry pie is fantastic for making ahead! You can totally make the dough a day early; just wrap those disks tightly and pop them in the fridge. If you have leftovers, store the cooled pie covered on the counter for up to two days—that buttery crust stays great! If you need more time, it freezes beautifully, too. For reheating, just warm a slice gently in the oven. It’s one of my favorite make ahead pie secrets for busy holidays!
Frequently Asked Questions About Berry Pie
I know you might still have a few nagging questions swirling around, just like I did when I first started obsessing over this recipe. Making a good berry pie is easy, but making the *best* one takes a little inside info. Here are the things people ask me the most!
Can I use only frozen berries for this mixed berry pie recipe?
You absolutely can! Honestly, sometimes I use a completely frozen bag when fresh berries aren’t in season. The most important thing is **do not thaw them first**. If you thaw them, they turn mushy and release all their water before they even hit the oven, guaranteeing a soupy disaster. Just use them straight from the freezer bag, and maybe add an extra tablespoon of cornstarch. It works like a charm for a wonderful easy fruit pie.
How long must the berry pie cool before slicing?
This is the biggest rookie mistake travelers make! If you slice into your beautiful triple berry pie when it’s still hot, the filling will run everywhere. You have to give that cornstarch time to work its magic and set up that thick, luscious texture. I insist on at least four hours on a wire rack. Seriously, aim for five if you can manage it. It’s the hardest part of the whole process!
What if I don’t want a double crust? Can I use a berry crumble topping?
Oh, I love that idea for a lighter, more rustic feel! Yes, you can switch it up easily. If you do this, you are turning it into a spectacular berry crumble topping dessert instead of a double-crust pie. Just skip the top crust steps entirely. My notes section tells you the simple ratios for the crumble itself, but you simply layer that buttery oat mixture right on top of the raw fruit before baking. It bakes up so golden and crunchy!
How do I keep my crust edges from burning on this classic fruit dessert?
That happens when the edges cook faster than the middle, especially since the crust is thinner around the rim. The trick is foil! Around the 30-minute mark of baking, just take a strip of aluminum foil and loosely crimp it around the outer edge of the pie dish. It shields the crust from the direct heat, letting the center cook through. It’s the little things that make this such a delicious homemade dessert.
PrintThe Ultimate Mixed Berry Pie with Flaky All-Butter Crust
A recipe for a classic mixed berry pie featuring a sweet-tart filling that sets perfectly and a rich, flaky all-butter crust. Includes instructions for a full top or lattice crust.
- Prep Time: 45 min
- Cook Time: 65 min
- Total Time: 170 min
- Yield: 8 servings
- Category: Dessert
- Method: Baking
- Cuisine: American
- Diet: Vegetarian
Ingredients
- 2 1/2 cups all-purpose flour
- 1 teaspoon salt
- 1 cup (2 sticks) unsalted butter, very cold and cubed
- 1/2 cup ice water, plus more if needed
- 6 cups mixed berries (strawberries, raspberries, blueberries), fresh or frozen (do not thaw if frozen)
- 3/4 cup granulated sugar (adjust based on berry sweetness)
- 1/4 cup cornstarch
- 1 tablespoon lemon juice
- 1/4 teaspoon ground cinnamon
- 1 large egg, beaten (for egg wash)
- 1 tablespoon coarse sugar (for sprinkling)
Instructions
- Prepare the Crust: In a large bowl, whisk together the flour and salt. Cut in the cold butter using a pastry blender or your fingers until the mixture resembles coarse crumbs with some pea-sized pieces of butter remaining. Gradually add the ice water, one tablespoon at a time, mixing until the dough just comes together. Do not overmix. Divide the dough in half, flatten each half into a disk, wrap in plastic, and chill for at least 1 hour.
- Prepare the Filling: In a separate bowl, gently combine the mixed berries, granulated sugar, cornstarch, lemon juice, and cinnamon. The cornstarch helps prevent a runny filling. Set aside while you roll out the bottom crust.
- Assemble the Bottom Crust: On a lightly floured surface, roll out one disk of dough into a 12-inch circle. Carefully transfer the dough to a 9-inch pie plate. Trim the edges, leaving a 1-inch overhang. Place the pie plate in the refrigerator while you prepare the top crust.
- Add Filling: Pour the berry mixture into the chilled bottom crust.
- Prepare the Top Crust: Roll out the second disk of dough. You can either place it over the filling for a full top crust (cut several vents for steam release) or cut the dough into strips to create a lattice top.
- Seal and Crimp: Trim the top crust overhang to match the bottom. Fold the edges under and crimp them decoratively.
- Chill and Bake: Brush the top crust with the beaten egg wash and sprinkle with coarse sugar. Chill the assembled pie for 15 minutes before baking. Preheat your oven to 400°F (200°C).
- Bake: Place the pie on a baking sheet (to catch drips). Bake for 20 minutes at 400°F. Reduce the oven temperature to 375°F (190°C) and continue baking for another 35 to 45 minutes, or until the crust is golden brown and the filling is bubbling thickly. If the edges brown too quickly, cover them loosely with foil.
- Cool: Cool the pie completely on a wire rack for at least 4 hours before slicing. This cooling time is essential for the filling to set properly.
Notes
- For the flakiest crust, keep all ingredients, especially the butter and water, very cold.
- If using frozen berries, do not thaw them first; this prevents the berries from releasing too much liquid before baking.
- If you prefer a crumble topping instead of a double crust, use 1 1/2 cups flour, 1/2 cup brown sugar, 1/2 cup cold butter, and 1/2 cup rolled oats mixed until crumbly.
Nutrition
- Serving Size: 1 slice
- Calories: 410
- Sugar: 35g
- Sodium: 220mg
- Fat: 24g
- Saturated Fat: 15g
- Unsaturated Fat: 9g
- Trans Fat: 0g
- Carbohydrates: 48g
- Fiber: 3g
- Protein: 5g
- Cholesterol: 60mg