

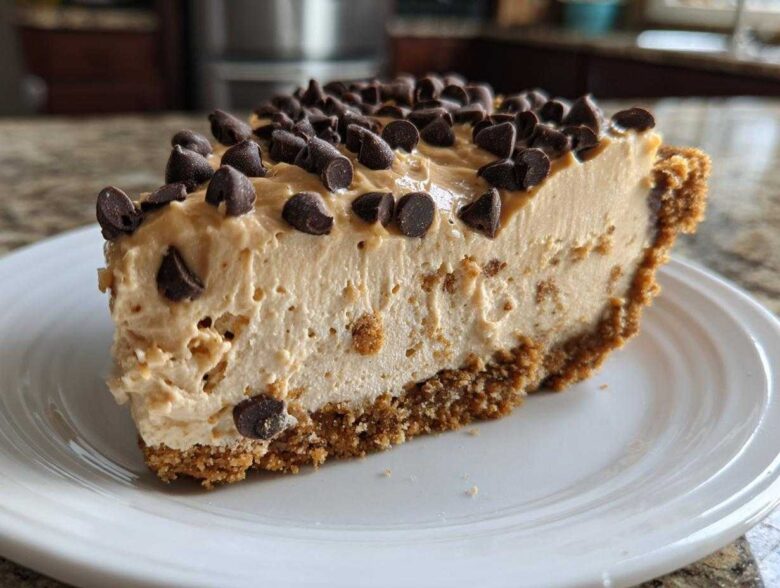
Oh my gosh, are you kidding me with this insane heat? When the thermostat spikes, the last thing I want to do is traipse into a hot kitchen and turn on the oven. If you feel me on that, then I have just the thing that will save your summer dessert game: the absolute best, quickest, no bake peanut butter pie you will ever make! Seriously, this recipe is magic. We are talking about a ridiculously creamy filling that practically floats, nestled right inside a buttery graham cracker crust. It’s the perfect, easy solution for when you need an indulgent treat without turning up the heat. You can find more of my favorite quick treats over at the blog, but trust me, you need this pie first!
Why This is the Best Easy No Bake Peanut Butter Pie Recipe
You know I cut the fluff where it counts, and this pie delivers on every single promise. This isn’t some sad, dense disaster you whip up in a panic; this is a truly indulgent, fluffy peanut butter dessert that looks like you spent hours on it. Since you don’t need the oven at all, it’s perfect for impromptu potlucks or when you just need a quick peanut butter treat at 9 PM.
You can explore more amazing recipes like this over at my simple dessert index, but none are as satisfying as this beauty.
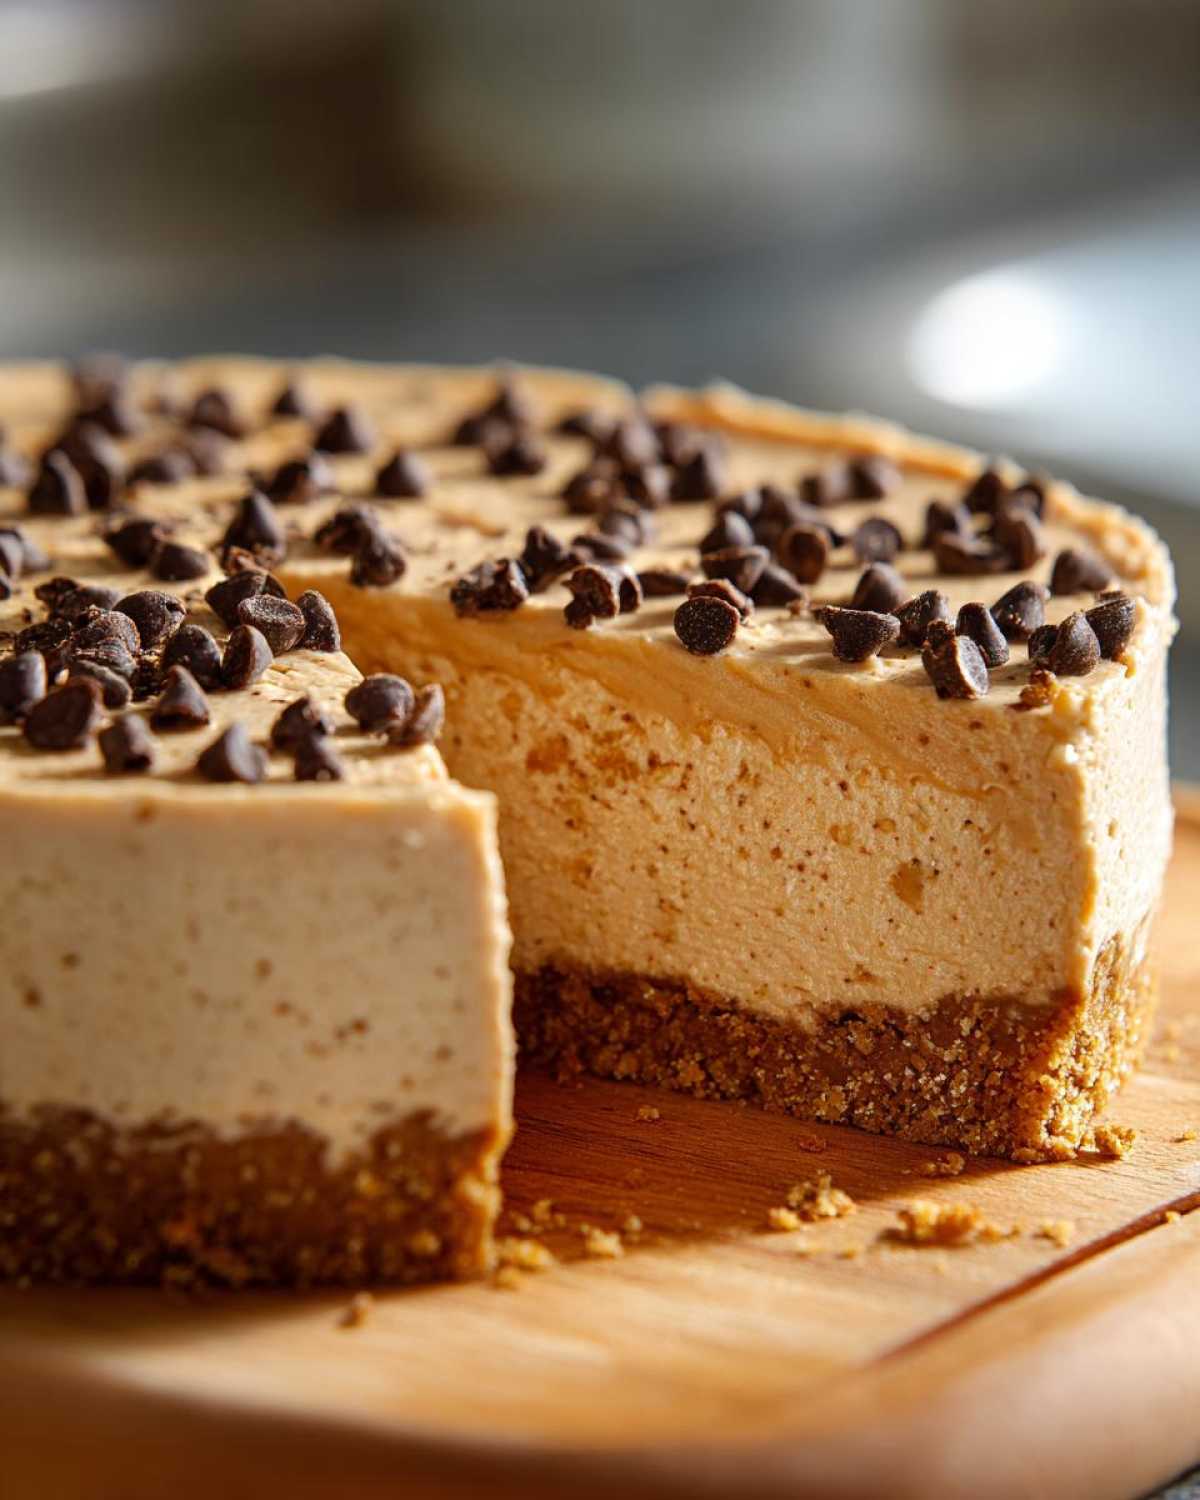
Perfect Creamy No Bake Filling Texture
The texture is everything here, right? We achieve that ethereal fluffiness by whipping softened cream cheese until it’s airier than city air, then layering in that glorious thawed whipped topping right at the end. It means the filling sets up beautifully firm—no sinking or weeping—but it melts in your mouth the instant you take a bite. It’s light, but still intensely peanut buttery!
Simple Steps for a Perfect No Bake Peanut Butter Pie
The process is just four easy steps—press the crust, beat the base, fold in the fluff, and chill. Honestly, if you can use a hand mixer (or even a sturdy wooden spoon), you can nail this no bake peanut butter pie. The crust is ready in five minutes, and the filling comes together even faster than that!
Ingredients for Your No Bake Peanut Butter Pie
The beauty of this recipe is that it uses standard pantry staples, but the way we combine them is what makes it a showstopper. Since this is a make ahead dessert powerhouse, it’s great to have all your components ready to go before you start mixing. Remember, we aren’t baking anything, so we need all our ingredients prepped correctly!
You can check out more tips for planning ahead with desserts like this on my make-ahead guide, but here is exactly what you need to gather for the magic to happen.
Crust Components for the No Bake Peanut Butter Pie
For the classic, sturdy base, grab 1 and 1/2 cups of graham cracker crumbs—that generally means you’ll need about 10 good sheets crushed up finely. You’ll mix that with 1/4 cup of plain granulated sugar and 6 tablespoons of unsalted butter that must be melted down smooth. Now, if you’re like me and sometimes crave that chocolate crunch, you can swap those for 24 crushed Oreos, but then you only need 5 tablespoons of melted butter. Keep it simple, or go chocotastic!
Achieving the Creamy No Bake Filling
This is where the real flavor comes from! Make sure you grab one full 8-ounce package of cream cheese and let it sit out until it’s truly softened—that’s crucial for avoiding lumps. Then, you’ll need 1 full cup of creamy peanut butter (please, no natural peanut butter here, we need stability!). Next up are 1 and 1/2 cups of powdered sugar for sweetness, 1 tiny teaspoon of vanilla extract for warmth, and the star of the show: one 12-ounce container of frozen whipped topping, which needs to be completely thawed before you fold it in.
How to Make the Ultimate No Bake Peanut Butter Pie
Okay, don’t panic about the steps! Even though this is the ultimate dessert, the timeline is completely relaxed because we aren’t juggling oven temperatures. You won’t need to preheat anything, thank goodness! I find it easiest to tackle the crust first so it can go chill while I focus on the filling. This recipe flows so well, and you can find more effortless recipes like this one over at my quick dessert index.
Assembling the Graham Cracker Crust
Grab your 9-inch pie plate! In a bowl, mix up those graham cracker crumbs and the 1/4 cup of sugar until they look like uniform sand. Now, slowly pour in the 6 tablespoons of melted butter and mix until everything is evenly moistened—it should hold together if you squeeze a little in your hand. Press that mixture down really firmly into the bottom and up the sides of your plate. Pay special attention to the edges, as this creates the structure for our graham cracker crust pie. Once it’s packed tight, tuck that whole thing into the freezer to firm up while you go make the main event!
Creating the Fluffy Peanut Butter Dessert Filling
This is where the softness comes in! Start with your softened cream cheese in a big bowl and beat it until it looks smooth and cloud-like. Next, beat in that whole cup of creamy peanut butter until it’s fully incorporated. After that, gradually beat in the 1 and 1/2 cups of powdered sugar until everything is sweet and blended. Finally, the secret to that amazing texture: gently fold in the entire thawed container of whipped topping just until you don’t see white streaks anymore. Stop mixing right there! Overmixing will deflate that beautiful volume we worked so hard to get for that creamy no bake filling.
Chilling and Serving the No Bake Peanut Butter Pie
Time to assemble your masterpiece! Take that lovely, firm crust out of the freezer and spoon all that glorious peanut butter mixture evenly into it. Use a spatula to smooth out the top nicely—presentation matters, even in a no-bake treat! Cover it loosely so the surface doesn’t get crusty in the fridge. Now comes the hard part: waiting. You absolutely must chill this pie for a minimum of 4 hours, but I always recommend chilling it overnight so it sets up super firm and sliceable. Right before you serve, you can sprinkle on those mini chocolate chips or drizzle on some syrup. Enjoy slicing up that perfect slice of no bake peanut butter pie!
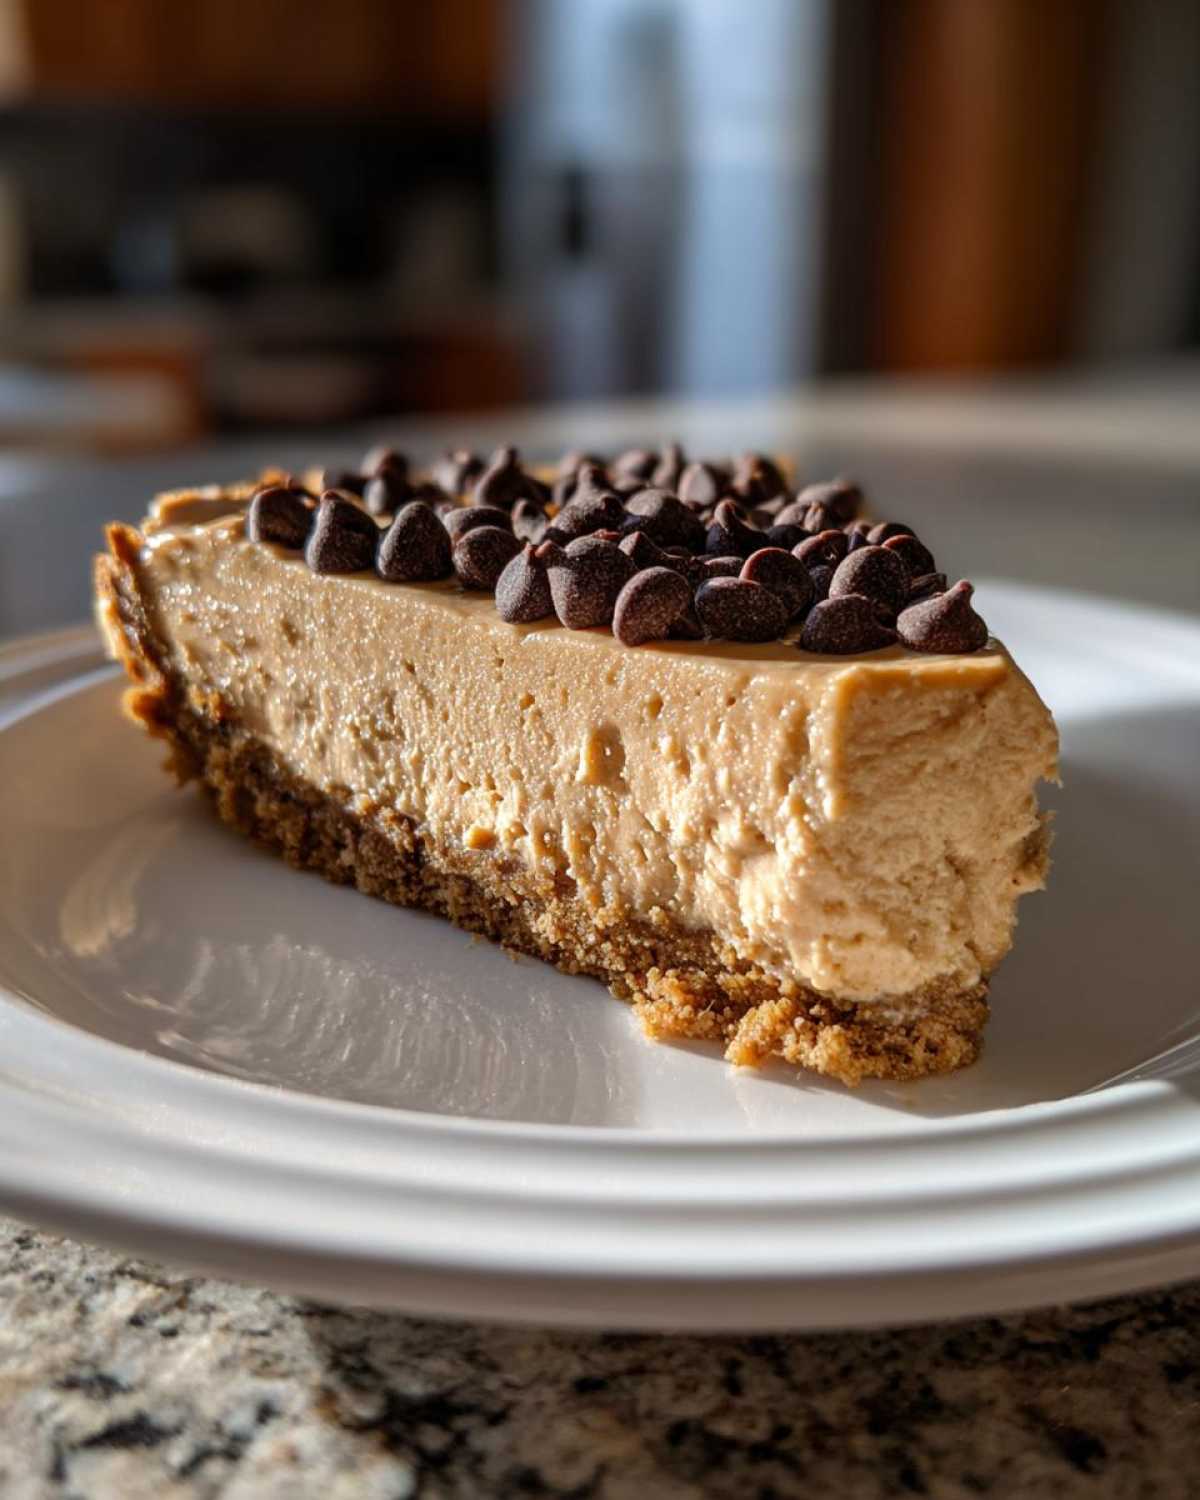
Tips for the Perfect No Bake Peanut Butter Pie Success
Listen, while this recipe is super easy, there are just a few little things you need to keep in mind to make sure your no bake peanut butter pie goes from ‘good’ to ‘call the bakery and ask for the recipe’ perfect. I learned these little secrets the hard way, mostly involving runny fillings and crumbly crusts, so you don’t have to! Pay attention to the peanut butter type, that’s step one for texture control.
If you’re looking for other foolproof recipes that just *work* every single time, you should check out the article I wrote on deceptively simple bread recipes. It follows the same ‘maximum flavor, minimum effort’ philosophy!
First, remember that crucial ingredient note: ditch the natural peanut butter. That stuff separates like crazy because of the oil, and it will make your filling watery and sad. You need that super-stabilized, jarred, creamy peanut butter—the kind that swirls satisfyingly when you stir it. It seems like a small swap, but trust me, it’s the key to that thick, decadent texture we’re aiming for. Don’t risk it!
When pressing your crust, pack it in tightly. I mean really compress it against the bottom and up the edges of the pie plate. This is essential whether you go with the graham cracker crumbs or the Oreo option. If it’s loose, you’ll end up with a heap of crumbs when you go to slice it later. A flat-bottomed measuring cup works great for tamping it down evenly before it hits the freezer.
Finally, use the full chilling time! I know you want to taste it right away, but those 4 hours minimum are non-negotiable, especially if you want neat slices. If you can manage to let it sit in the fridge overnight, even better. It ensures the filling firms up completely against that buttery crust and holds its shape beautifully when serving at your next summer gathering.
Variations on the Classic No Bake Peanut Butter Pie
This recipe is a fantastic base, and honestly, it’s so simple that it practically begs you to start experimenting! If you want to jazz it up, especially for a big summer party or when you’re just feeling extra indulgent, you have so many fun directions you can go. I’ve done a few tasty variations myself, many of which are inspired by my collection of chocolate peanut butter mug cakes when I need a quick fix!
If you’re looking for the ultimate crowd-pleaser, turning this into a Chocolate Peanut Butter No Bake dessert is the way to go. It’s so easy, you’ll wonder why you hadn’t done it sooner!
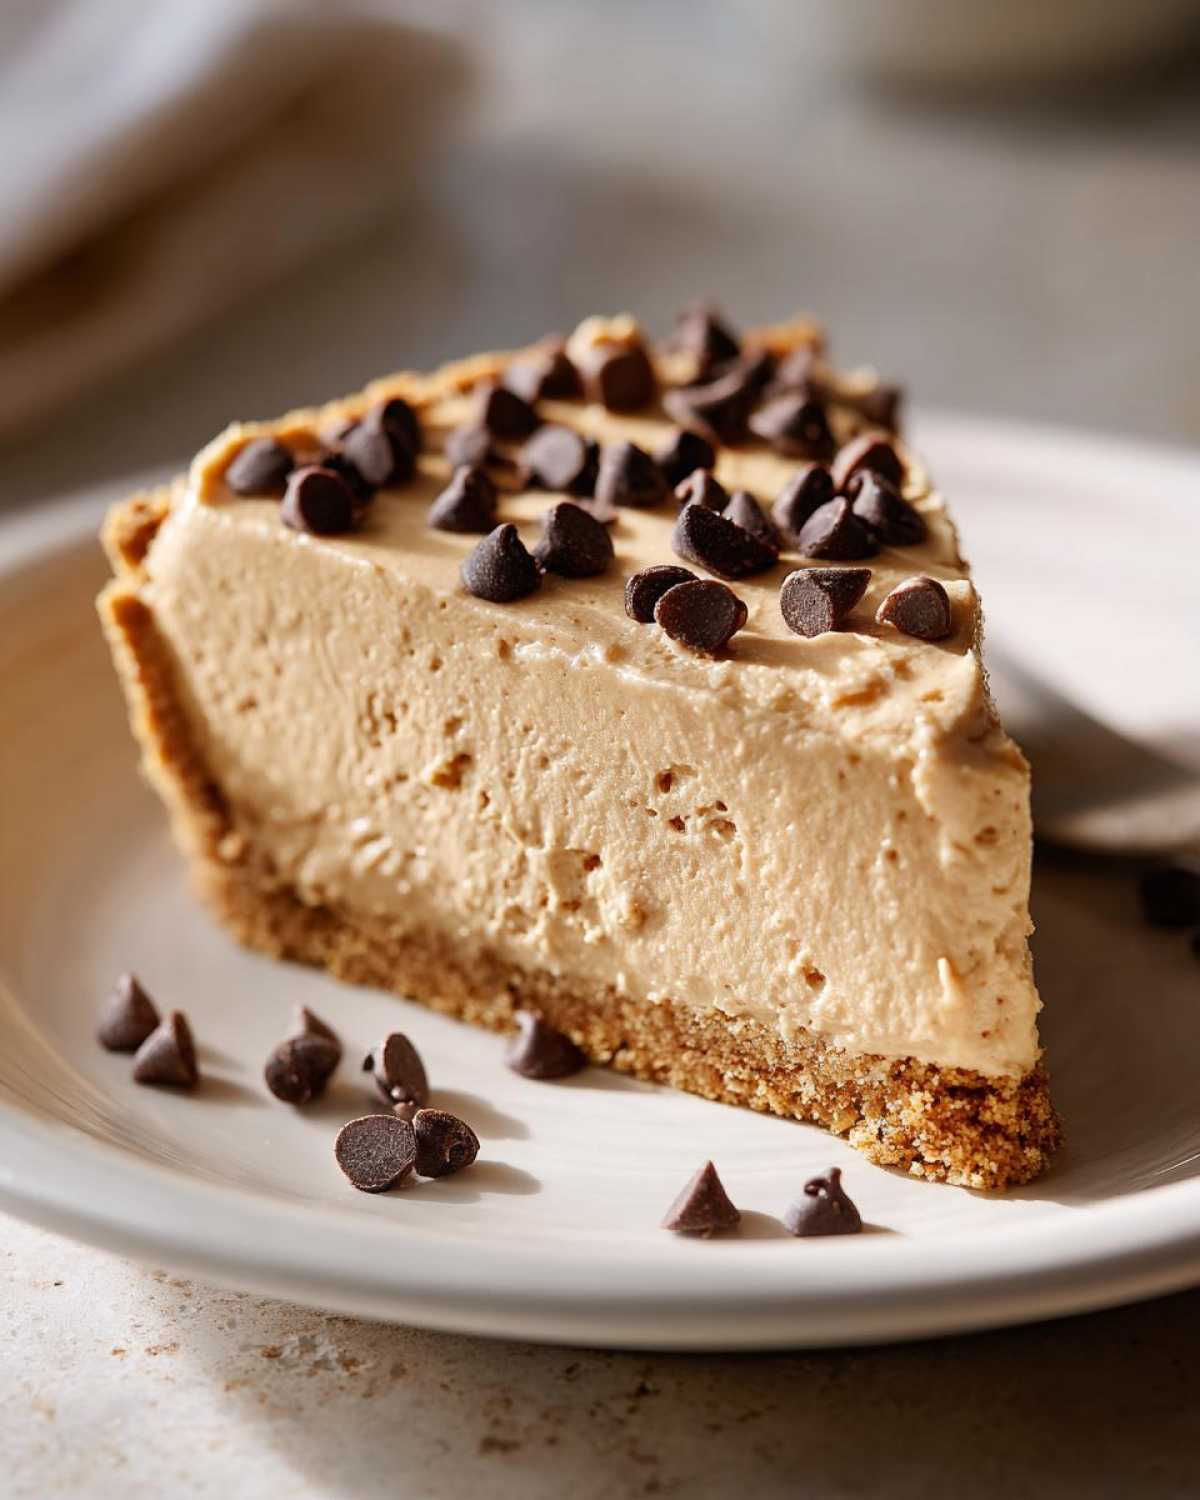
Here are a few ways I love changing things up for a perfect Summer Peanut Butter Pie:
- The Chocolate Crunch Factor: This is the easiest tweak! Once your filling is spread into the crust, don’t chill it yet. Instead, melt down about 6 ounces of semi-sweet chocolate chips with a teaspoon of coconut oil until smooth. Drizzle that chocolate generously all over the top. When it chills, you cut through a layer of firm chocolate shell. Incredible! Peanut Butter Cup Lover’s Dream: If you have some leftover mini peanut butter cups (who doesn’t?), roughly chop about a cup of them and gently fold them into the peanut butter filling right before you spread it into the crust. They stay wonderfully soft and give you those pockets of salty-sweet goodness in every slice.
- Crunchy Crust Swap: While I adore the graham cracker version, sometimes you want more chew! Try using finely crushed pretzels mixed into your crust instead of graham crackers. The saltiness balances the sweetness of the filling perfectly, making it a surprisingly addictive no bake peanut butter pie variation. Just reduce your melted butter by about 1 tablespoon since pretzels can be a bit drier.
- The Banana Layer: For an extra creamy and smooth variation, slice one cup of fresh banana rounds thinly and layer them directly onto the chilled, empty crust before you pour in the peanut butter filling. This works beautifully because the filling acts like glue, holding the bananas securely in place while they chill.
See? It’s an infinitely adaptable recipe! Just remember, whatever you add, make sure it’s cold or room temp—nothing hot or frozen that could mess with the delicate whipped topping we folded in.
Storage and Make Ahead Dessert Instructions for Your No Bake Peanut Butter Pie
Because this is built to be a make ahead dessert champion, storing leftovers (if you even have any!) is super simple, and you can totally plan this pie out a day or two before a big gathering. I always tell people that if they can find the time to make a filling, they should also find the time to let it chill properly. It makes serving so much nicer!
If you’re short on fridge space, I walk through lots of other make-ahead wonders over at my make-ahead guide, but for this pie specifically, here’s the lowdown on keeping it perfect.
The absolute best way to store your finished no bake peanut butter pie is tucked away in the refrigerator. Make sure you cover it loosely with plastic wrap—you don’t want to press it directly onto the surface, or you’ll smash your pretty filling or topping! In the fridge, this pie stays fantastic for about 3 to 4 days. Because it’s so rich, it tastes just as good on Day 3 as it did on Day 1, provided it stays covered and chilled.
Now, let’s talk about freezing. Can you freeze it? Yes, you technically can, but it’s not my first choice for this particular recipe. If you absolutely must freeze the pie, you need to cover it really well, preferably with a tight layer of plastic wrap followed by a layer of aluminum foil to protect it from freezer burn. You need to give it a really good thaw time—at least 12 hours in the refrigerator—before slicing. Freezing and thawing can sometimes slightly alter the whipped topping, making the texture a touch less fluffy than when it’s freshly made. If you can, make it the day before you plan to serve it and skip the freezer altogether!
The crust will stay crisp enough in the fridge, and the filling stays wonderfully creamy. It’s really the perfect dessert for taking to a barbecue because it travels well in a cooler and requires zero last-minute fussing. Just make sure it stays cold!
Frequently Asked Questions about this No Bake Peanut Butter Pie Dessert
I get so many questions about this recipe, which just shows how much everyone loves a good, easy dessert! I tried to answer things in the main text, but here are a few quick things people ask most often when they are trying to decide if this Easy Peanut Butter Pie Recipe fits their schedule. If you still have questions after reading through everything, feel free to reach out to me over at the contact page! Happy baking—or, well, *no* baking!
Can I use natural peanut butter in this no bake peanut butter pie?
Oh, I really wish you absolutely could, but honestly, no, you shouldn’t mess with the peanut butter type here. Natural peanut butter is made differently, and all that natural oil separates as soon as it starts to warm up, even just slightly in the mixing bowl. This will absolutely ruin the structure we’re trying to achieve for that signature, thick, creamy no bake filling. For this pie to set up beautifully, you really need that stabilized, processed peanut butter—you know the kind that stays perfectly smooth on the shelf. It just handles the structure better, promise!
What is the best crust alternative for this easy peanut butter pie recipe?
The graham cracker crust is classic, but if you’re looking for a crunchy treat that pairs perfectly with the richness, the Oreo crust is simply divine. We covered that substitution briefly, but just to reiterate, crushed Oreos mixed with a little butter is killer for an Oreo Crust Peanut Butter Pie. If you want something different yet simple, try crushing plain shortbread cookies instead! They bake into a beautifully buttery, slightly less sweet base that lets the peanut butter filling really shine. Whichever crust you choose, the ease of assembly stays exactly the same because it’s still a fantastic no oven dessert idea!
How long does this no oven dessert idea stay fresh?
Since this entire no bake peanut butter pie relies on refrigeration to set up, it stays wonderfully fresh in the fridge for quite a while because of all that cream cheese and sugar content! If you cover it tightly and keep it cold, it stays absolutely perfect for about 3 to 4 days. I find Day 2 is when the flavors have really melded together beautifully, but it holds its shape perfectly well right up until Day 4. Just remember the tip from earlier: try to avoid the freezer if you can, as the texture just isn’t quite as dreamy once it thaws.
Estimated Nutritional Data for One Slice of No Bake Peanut Butter Pie
Now, I know most of us aren’t reaching for a no-bake pie because we’re counting every single calorie—it’s meant to be an indulgence, right? But for those of you who are curious about what you’re digging into, here’s the nutritional breakdown. We calculated this based on the standard graham cracker crust version (that’s Option A if you’re comparing notes) for 8 generous slices. If you’re hosting a crowd, maybe just stick to the compliments!
If you want to learn more about my philosophy on food and balance, you can check out the About Us page. But for now, let’s look at the numbers for this beautiful slice of heaven:
- Serving Size: 1 slice
- Calories: Roughly 450—worth every single bite!
- Sugar: Around 35 grams, stemming mostly from the powdered sugar and graham crackers.
- Fat: About 28 grams total, which includes the butter and the fat from the peanut butter and cream cheese.
- Protein: A solid 10 grams, thanks to all that peanut butter!
- Sodium: About 280mg.
- Carbohydrates: Roughly 45 grams.
Just a quick little note here, because I always feel like I have to say it: these numbers are estimates. They can definitely shift depending on the brand of peanut butter you use or exactly how thick you make your crust! But essentially, this is a rich, satisfying dessert made with simple ingredients. Enjoy it responsibly, or don’t—it’s the weekend, after all!
Share Your Experience Making This No Bake Peanut Butter Pie
Alright, now that you have the foolproof guide to making the best no bake peanut butter pie, I absolutely need to hear about it! Honestly, seeing your results and hearing your stories is truly the best part of running this little kitchen blog. I put so much work into making sure this recipe delivers on that creamy, dreamy texture, and I want to know if it saved your day when the oven was off-limits.
If you made this pie, please take a moment and leave a rating right here on the page! Even a simple star rating helps other bakers know that this is a reliable, easy dessert, and it means the world to me. Did you stick to the graham cracker crust, or did you go rogue with the chocolate Oreo option? Tell me everything!
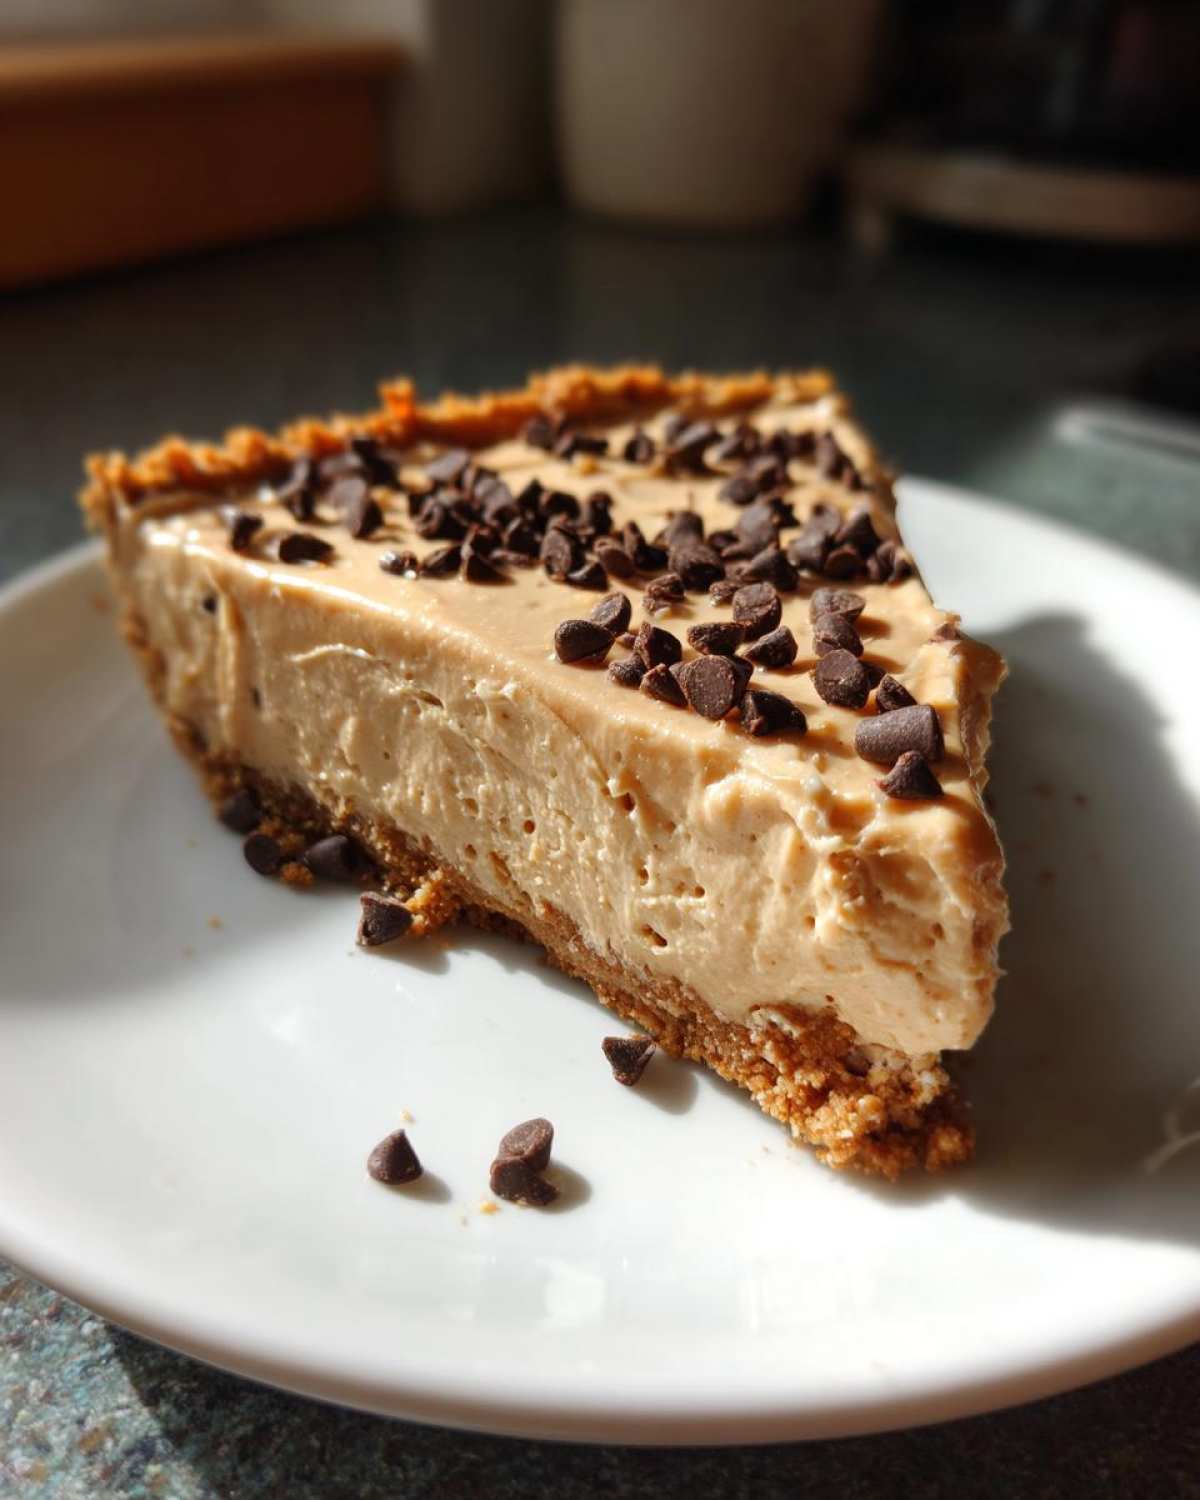
Especially if you tried one of the fun variations we talked about—maybe the pretzel crust or the peanut butter cup filling—I want to know how that turned out! Did you find any other clever ways to serve this quick dessert? Cooking is all about sharing what works, and your feedback helps everyone else feel confident trying out this wonderfully simple, zero-oven recipe.
If you had any hiccups or wanted to ask a specific question about ingredient temperatures or chilling times, don’t hesitate! You can always send me a direct note through the contact page, and I’ll get right back to you. But usually, the comments section works great for all the common questions!
Let’s get those ratings pouring in! I’m so excited for you to enjoy this scoop of pure, cool, peanut buttery goodness!
PrintThe Best Easy No Bake Peanut Butter Pie
Make this rich, creamy, no-bake peanut butter pie with a simple graham cracker crust. It is a quick dessert perfect for any occasion.
- Prep Time: 20 min
- Cook Time: 0 min
- Total Time: 4 hr 20 min
- Yield: 8 servings
- Category: Dessert
- Method: Chilling
- Cuisine: American
- Diet: Vegetarian
Ingredients
- 1 1/2 cups graham cracker crumbs
- 1/4 cup granulated sugar
- 6 tablespoons unsalted butter, melted
- 1 (8 ounce) package cream cheese, softened
- 1 cup creamy peanut butter
- 1 1/2 cups powdered sugar
- 1 teaspoon vanilla extract
- 1 (12 ounce) container frozen whipped topping, thawed
- Optional topping: 1/2 cup mini chocolate chips or chocolate syrup
Instructions
- Prepare the crust: Mix graham cracker crumbs and 1/4 cup granulated sugar in a medium bowl. Pour in the melted butter and mix until the crumbs are evenly moistened. Press the mixture firmly into the bottom and up the sides of a 9-inch pie plate. Place the crust in the freezer while you prepare the filling.
- Make the filling base: In a large bowl, beat the softened cream cheese until smooth. Add the peanut butter and beat until fully combined and creamy.
- Add sweetness: Gradually beat in the powdered sugar until incorporated. Mix in the vanilla extract.
- Lighten the filling: Gently fold in the thawed whipped topping until no streaks remain. Do not overmix.
- Assemble the pie: Spoon the peanut butter filling evenly into the chilled crust. Smooth the top with a spatula.
- Chill: Cover the pie loosely with plastic wrap and refrigerate for at least 4 hours, or until firm.
- Serve: Before serving, top with mini chocolate chips or drizzle with chocolate syrup, if desired. Slice and serve cold.
Notes
- For an Oreo crust, substitute 24 crushed Oreo cookies (filling included) for the graham cracker crumbs and sugar. Use 5 tablespoons of melted butter instead of 6.
- You can use a store-bought graham cracker crust to save time.
- If you prefer a firmer filling, chill the pie overnight.
Nutrition
- Serving Size: 1 slice
- Calories: 450
- Sugar: 35g
- Sodium: 280mg
- Fat: 28g
- Saturated Fat: 10g
- Unsaturated Fat: 18g
- Trans Fat: 0g
- Carbohydrates: 45g
- Fiber: 2g
- Protein: 10g
- Cholesterol: 35mg