

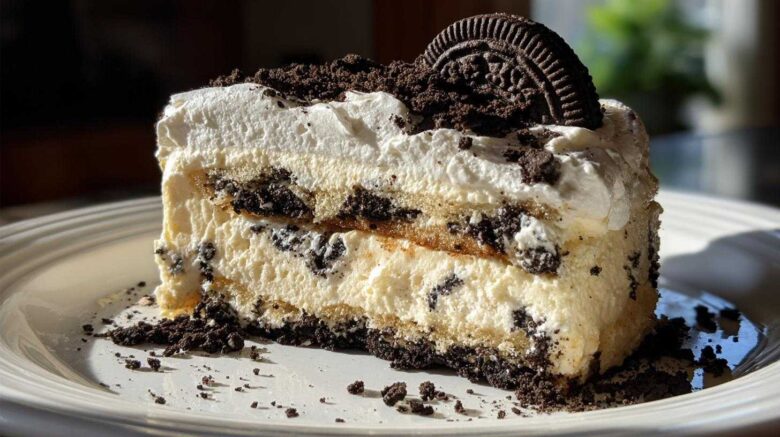
Get ready to meet your new favorite dessert: the Oreo Icebox Cake. This is truly the ultimate no-bake dessert. It’s so simple, yet it looks incredibly impressive. I remember Ben, one of our recipe rescue crew, attempting a fancy layered mousse cake once. It was… a disaster. A beautiful, fluffy mess. That experience actually sparked our mission to find and perfect recipes that promise deliciousness without the baking drama. This Oreo Icebox Cake is exactly the kind of rescue we love. It’s proof that you don’t need an oven to create something truly special. We’ve taken a classic idea and made it foolproof. You’ll be amazed at how easy it is.
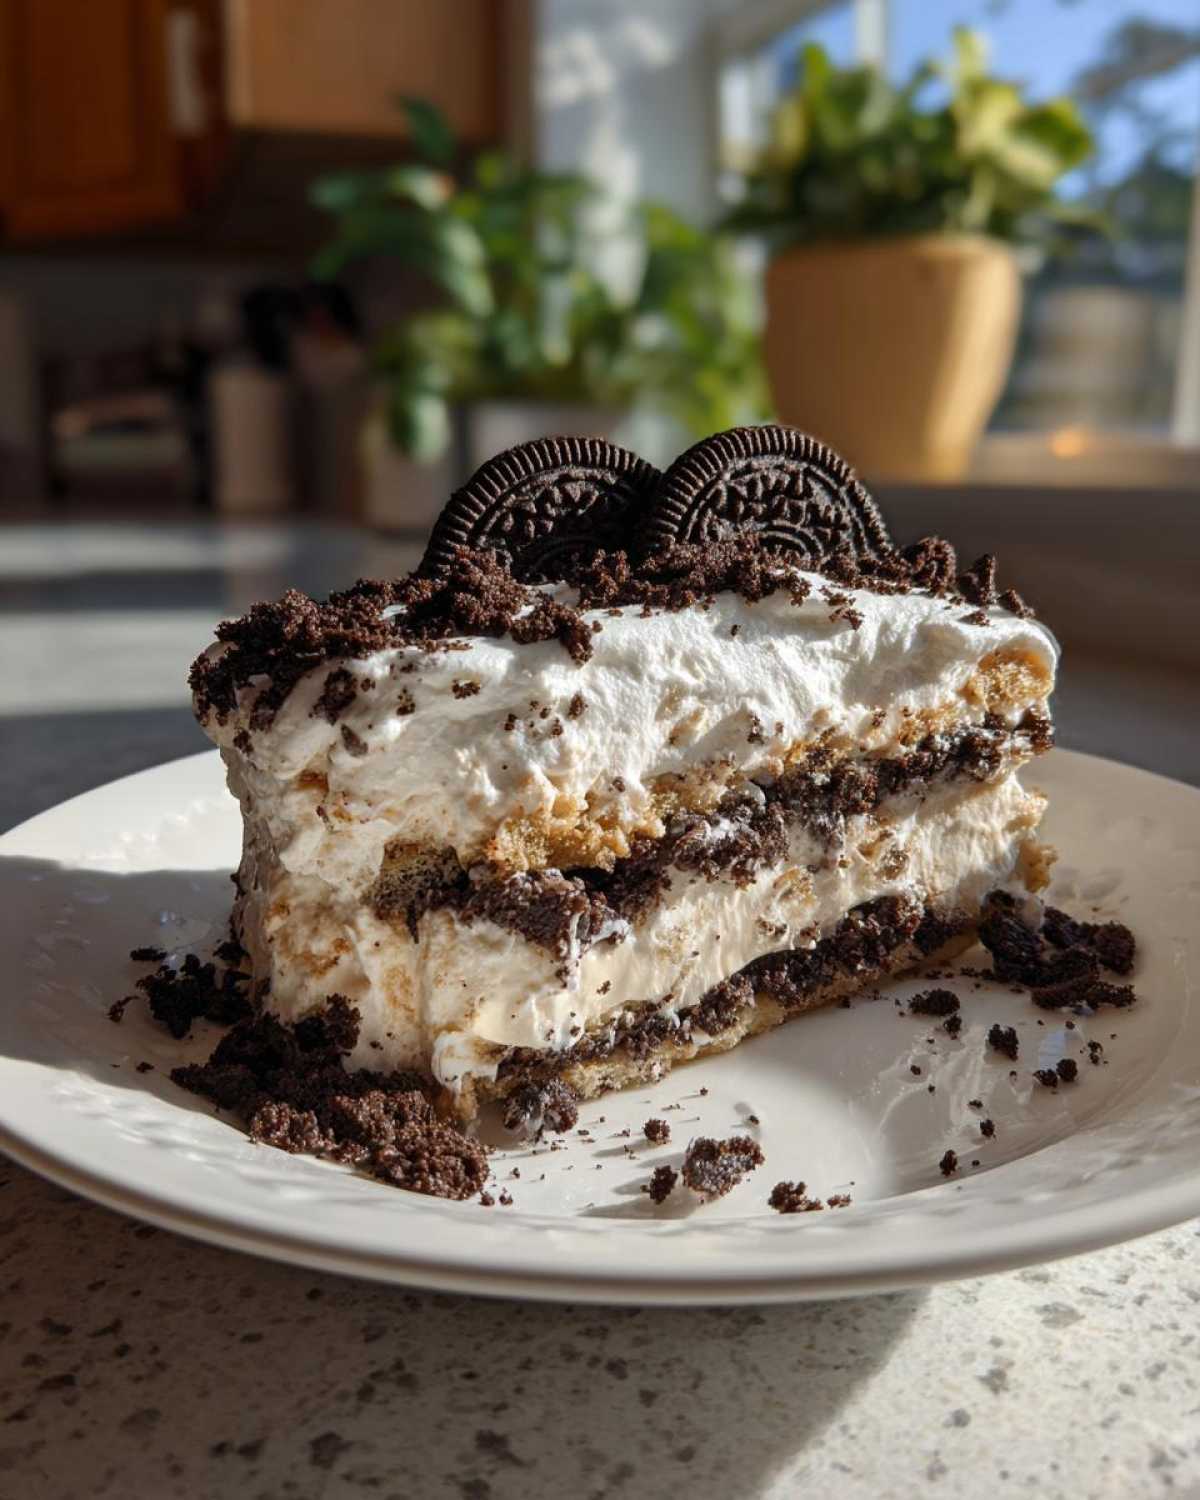
Why You’ll Love This Oreo Icebox Cake
- It’s a super simple, no-bake dessert.
- The layers of cookies and creamy pudding are pure bliss.
- It’s always a huge hit with friends and family.
- You can whip it up without turning on the oven.
- It’s the perfect make-ahead treat for busy days.
- The cookies soften beautifully, creating a cake-like texture.
Ingredients for Your Perfect Oreo Icebox Cake
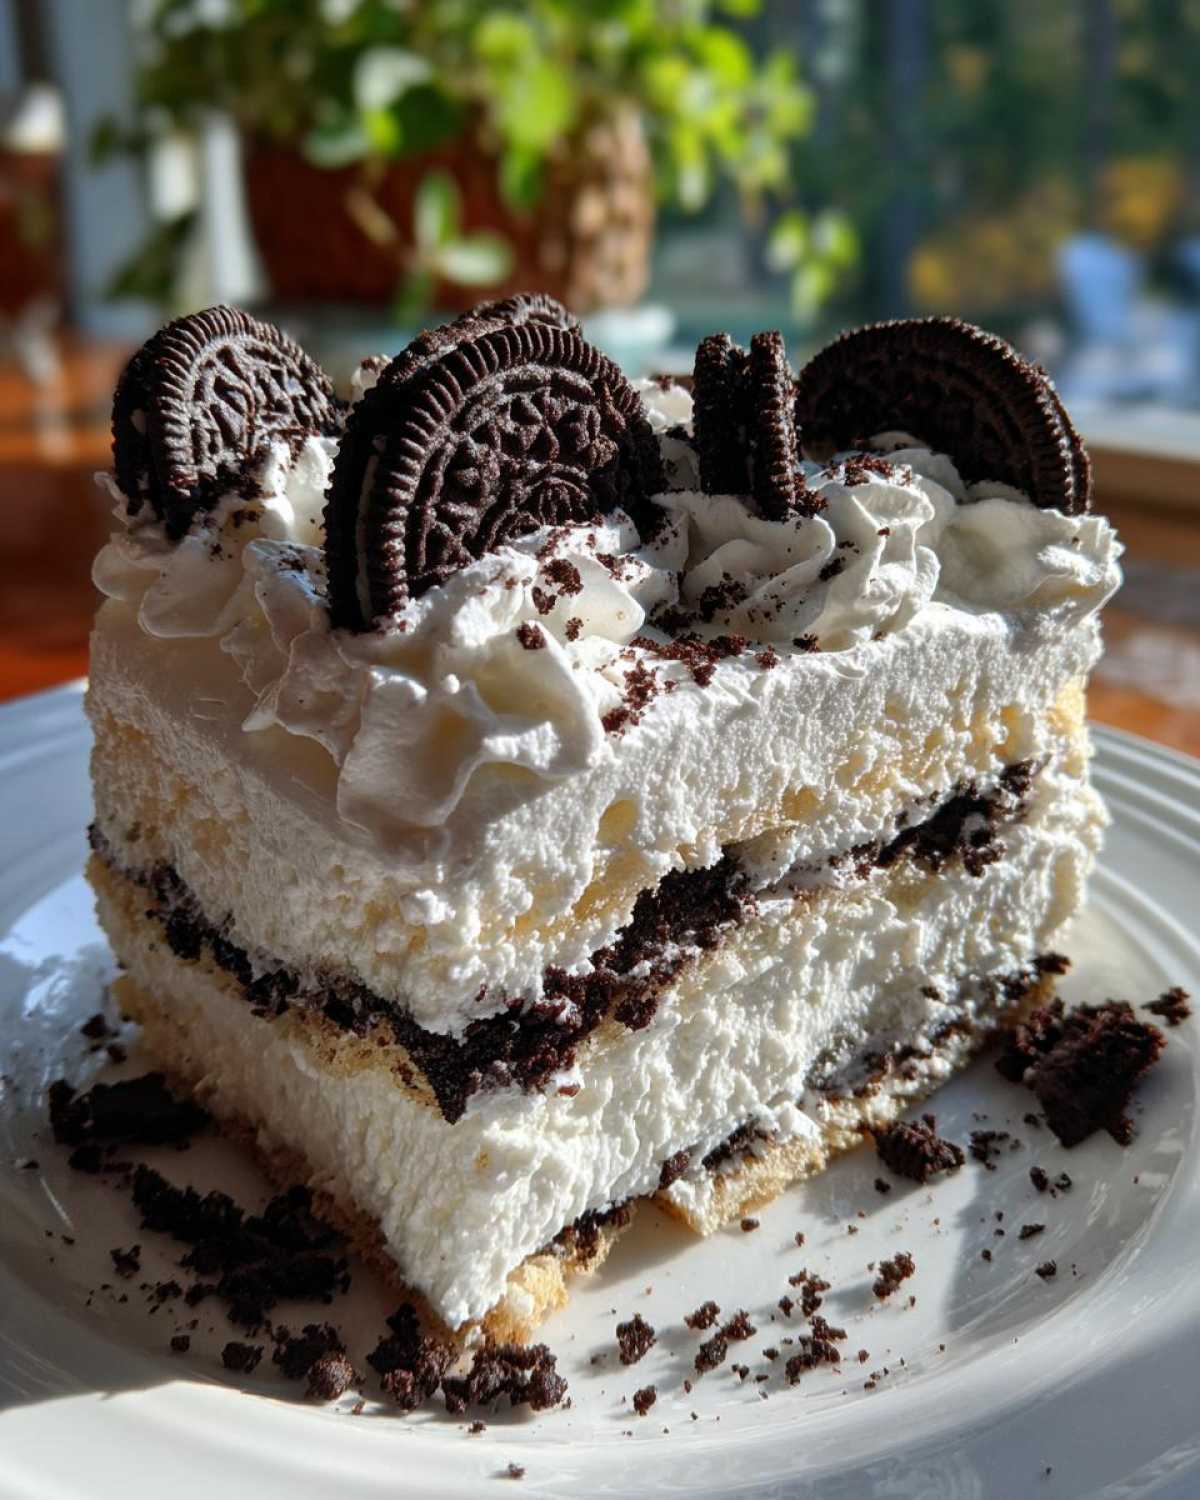
Making this delightful Oreo Icebox Cake is a breeze with just a few pantry staples. I always keep these on hand for spontaneous sweet cravings. The magic happens with simple ingredients that come together beautifully. You’ll need the classic crunch of Oreo cookies, of course. We’re talking about a whole lot of them! Then, we have the creamy filling, made with instant vanilla pudding and cold milk. Thawed whipped topping makes it extra fluffy. Don’t forget the ingredients for that dreamy final topping. It’s all about creating those lovely layers.
Essential Ingredients for Oreo Icebox Cake
- 1 (3.4 ounce) package instant vanilla pudding
- 2 cups cold milk
- 1 (8 ounce) container frozen whipped topping, thawed
- 36 Oreo cookies
- 1 cup heavy cream
- 2 tablespoons powdered sugar
- 1 teaspoon vanilla extract
- Oreo cookie crumbs for garnish
Ingredient Notes and Easy Substitutions
The vanilla pudding is key here, but feel free to swap it out! Chocolate pudding works wonderfully for an extra rich flavor. You could even try butterscotch if you’re feeling adventurous. And while 36 Oreos might seem like a lot, they’re essential for those soft, cake-like layers. If you can’t find frozen whipped topping, you can whip your own heavy cream with a little sugar, but the pre-made stuff is super convenient. The whipped cream topping adds a lovely finish. It’s a simple addition that really elevates the cake.
How to Prepare the Best Oreo Icebox Cake
Now for the fun part! Making this Oreo Icebox Cake is so straightforward. You’ll be amazed at how quickly it comes together. I love that it doesn’t require any baking. That means less fuss and more time enjoying this delicious treat. Just follow these simple steps. Your kitchen will smell amazing. Plus, you’ll have a showstopper dessert ready in no time. It’s perfect for last-minute gatherings.
Step 1: Prepare the Creamy Pudding Layer
First, grab a bowl. Whisk your instant vanilla pudding mix and cold milk together. Let it sit for about five minutes. It needs time to thicken up nicely. Then, gently fold in your thawed whipped topping. Be careful not to overmix! You want it to stay light and airy. This creates our luscious creamy layer.
Step 2: Assemble the Oreo Icebox Cake Layers
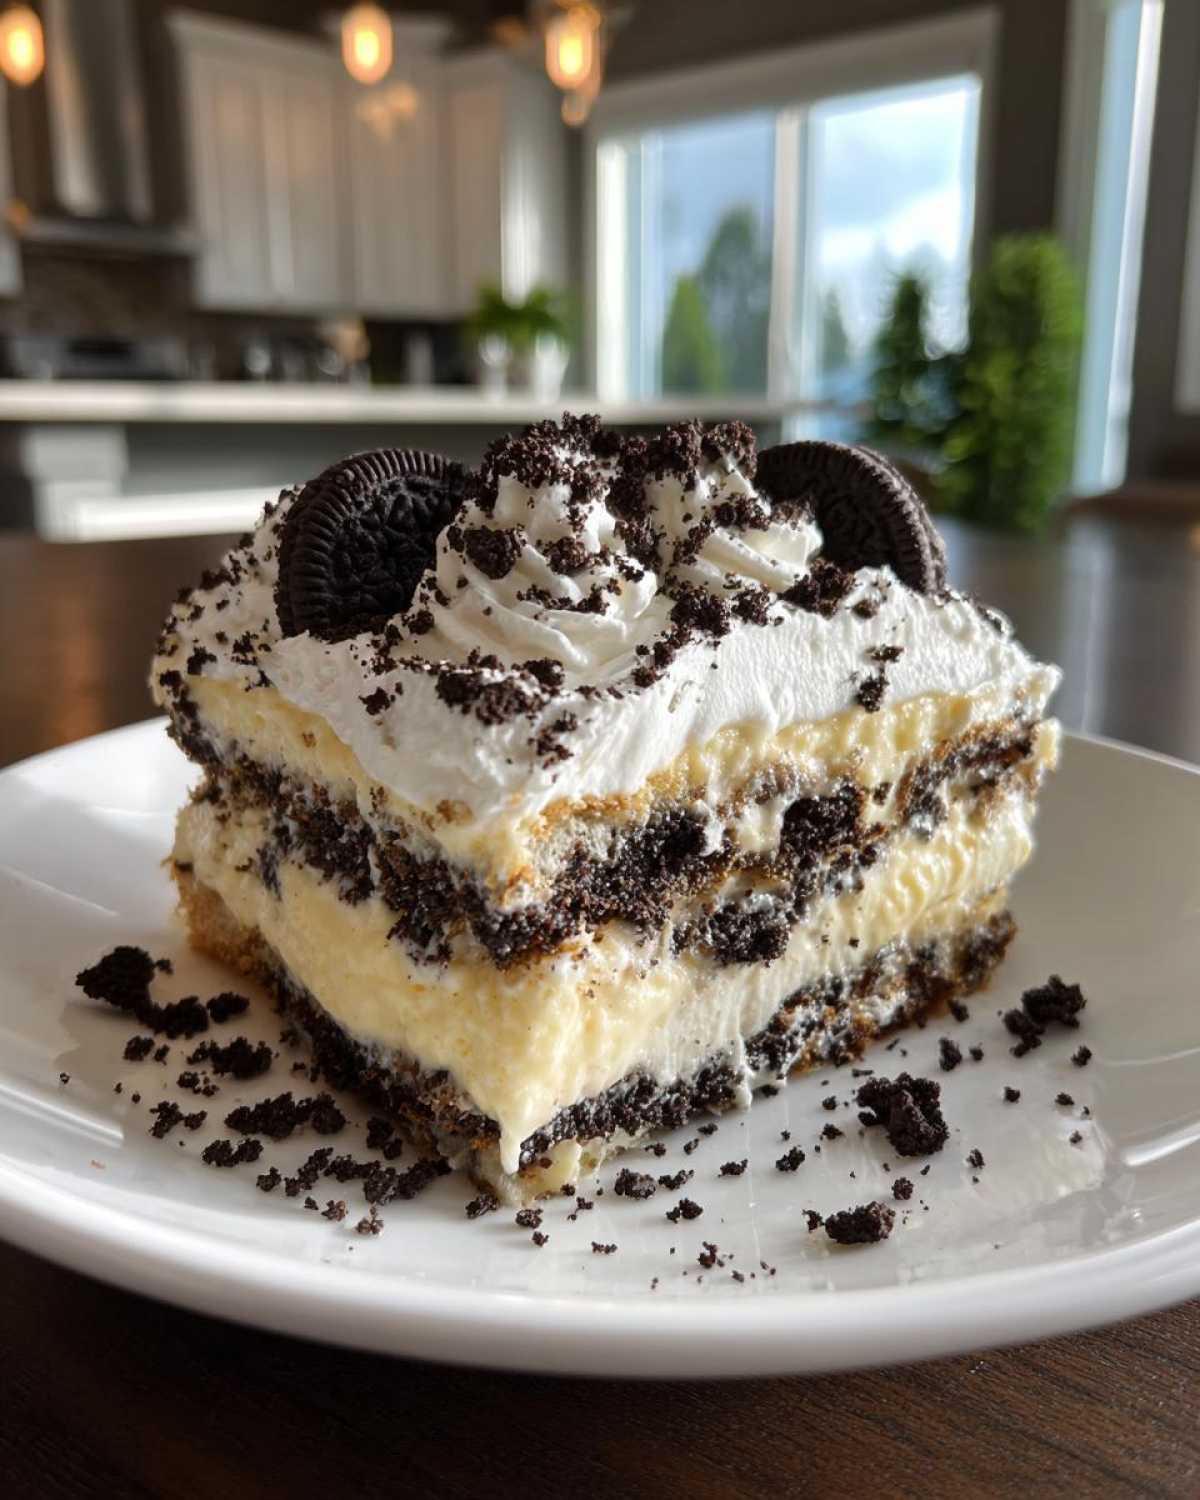
Get your 9×13 inch baking dish ready. Arrange a single layer of Oreo cookies on the bottom. You might need to break some cookies to fit snugly. Don’t worry if there are small gaps. Now, spread half of that yummy pudding mixture evenly over the cookies. Add another layer of cookies on top of the pudding. Finish with the rest of the pudding mixture. This layering is key!
Step 3: Chill Your Oreo Icebox Cake to Perfection
This is super important! Cover your baking dish tightly with plastic wrap. Now, pop it into the refrigerator. You need to chill it for at least 4 hours. Overnight is even better. This chilling time allows the Oreo cookies to soften. They’ll become wonderfully cake-like. Patience here is rewarded with amazing texture. For more tips on achieving the perfect dessert texture, check out this guide on dessert making techniques.
Step 4: Create the Whipped Cream Topping
While the cake chills, let’s make the topping. In a separate bowl, combine your heavy cream, powdered sugar, and vanilla extract. Use an electric mixer. Beat it until stiff peaks form. This means when you lift the beaters, the cream holds its shape. This fluffy topping is the perfect crown for our no-bake dessert.
Step 5: Finishing Touches for Your Oreo Icebox Cake
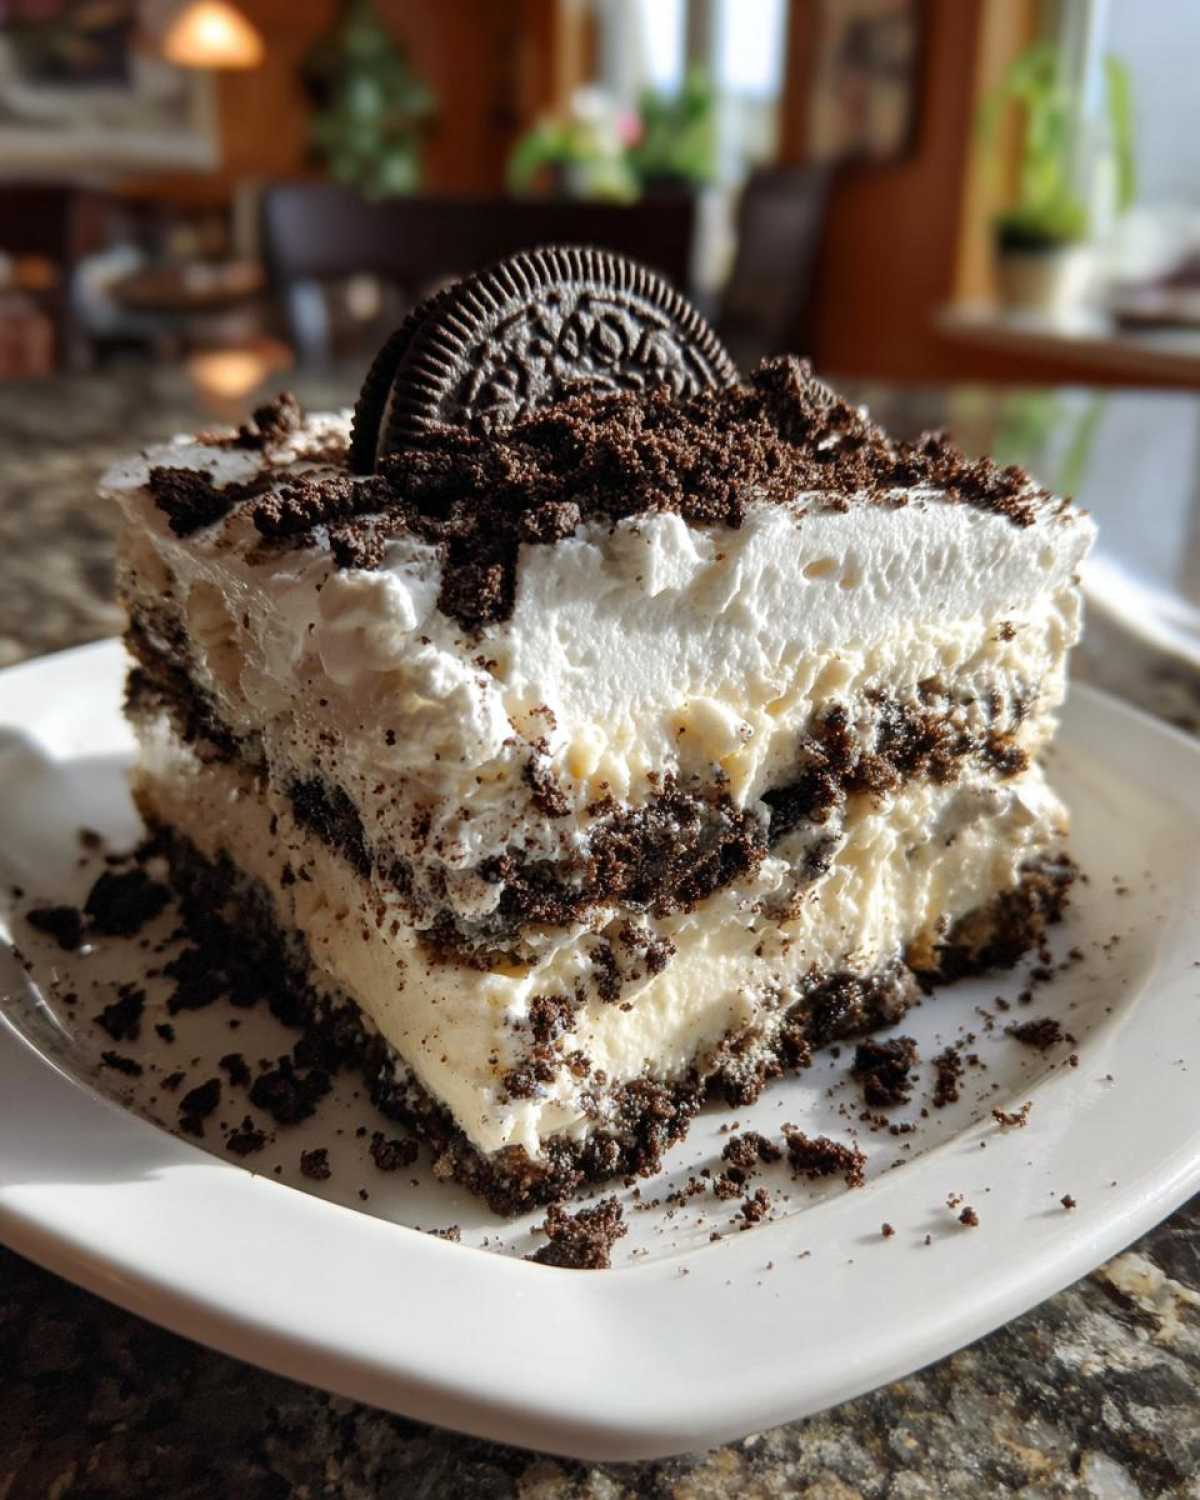
Once your cake is perfectly chilled, it’s time for the final adornments. Gently spread that glorious whipped cream over the top layer of cookies. Make sure it covers the entire surface. For that extra touch of Oreo goodness, sprinkle some crushed Oreo cookie crumbs over the whipped cream. It looks so professional!
Kitchen Tools for Making Oreo Icebox Cake
To make this delightful Oreo Icebox Cake, you won’t need a lot of fancy gadgets. My kitchen isn’t huge, so I appreciate recipes that use standard tools. You’ll need a sturdy 9×13 inch baking dish for layering. Make sure it’s deep enough to hold all those delicious layers! Two mixing bowls are helpful, one for the pudding and one for the whipped cream. A whisk is essential for getting the pudding properly thickened. You’ll also need an electric mixer, either a hand mixer or a stand mixer, to whip the cream to perfection. Spatulas are handy for folding and spreading. Finally, a good measuring cup and spoons will ensure accuracy. It’s really that simple!
Serving and Storing Your Oreo Icebox Cake
Serving this Oreo Icebox Cake is a joy! Just slice it into portions. The layers should be soft and cake-like. It’s already beautifully topped with whipped cream and crumbs. It needs no extra decoration, really. For storing leftovers, cover the dish tightly with plastic wrap. Keep it in the refrigerator. It should stay fresh for about 3 to 4 days. Honestly, it rarely lasts that long in my house! I haven’t found a need to reheat it. It’s best enjoyed chilled. This easy dessert is perfect for making ahead. For other make-ahead meal ideas, explore our dinner recipes.
Frequently Asked Questions About Oreo Icebox Cake
Got questions about this amazing Oreo Icebox Cake? I’ve got answers! This easy dessert is so forgiving. It’s perfect for beginners. Let’s tackle some common queries. Can you use a different pudding flavor? Absolutely! Chocolate pudding is a fantastic choice for an even richer taste. You could also try butterscotch or even cheesecake flavor. How long does it truly take for the cookies to soften? For that signature cake-like texture, chilling for at least 4 hours is crucial. Overnight is even better. This allows the moisture from the pudding to work its magic on the cookies. Can I make this no-bake dessert ahead of time? Yes, you can! In fact, making it the day before is ideal. This gives the flavors time to meld and the cookies plenty of time to soften. Just add the final whipped cream topping right before serving. Do you have to use Oreos? While Oreos are classic, you could experiment with other sandwich cookies. Just ensure they have a similar texture. This Oreo Icebox Cake is all about fun and flexibility! For more dessert inspiration, check out our dessert recipes.
Understanding the Nutrition of Your Oreo Icebox Cake
This Oreo Icebox Cake is a delightful treat! Here’s an estimated nutritional breakdown per serving: Calories: 350, Fat: 18g, Protein: 3g, Carbohydrates: 45g. Remember, these values are approximate. They can change based on specific ingredients and portion sizes. It’s a wonderful dessert for sharing! For more information on nutritional guidelines, you can refer to resources like the MyFitnessPal website.
PrintBen’s Amazing Oreo Icebox Cake

Create a delightful no-bake Oreo Icebox Cake. This recipe layers crunchy Oreo cookies with creamy whipped topping and pudding, chilling into a delicious cake-like dessert. It’s an easy and impressive treat for any occasion.
- Prep Time: 20 minutes
- Cook Time: 0 minutes
- Total Time: 4 hours 20 minutes
- Yield: 10 servings
- Category: Dessert
- Method: No-Bake
- Cuisine: American
- Diet: Vegetarian
Ingredients
- 1 (3.4 ounce) package instant vanilla pudding
- 2 cups cold milk
- 1 (8 ounce) container frozen whipped topping, thawed
- 36 Oreo cookies
- 1 cup heavy cream
- 2 tablespoons powdered sugar
- 1 teaspoon vanilla extract
- Oreo cookie crumbs for garnish
Instructions
- In a bowl, whisk together the instant vanilla pudding and cold milk. Let it sit for 5 minutes to thicken.
- Gently fold the thawed whipped topping into the thickened pudding until just combined.
- Arrange a single layer of Oreo cookies on the bottom of a 9×13 inch baking dish, breaking them to fit if necessary.
- Spread half of the pudding mixture evenly over the cookie layer.
- Add another layer of Oreo cookies over the pudding.
- Spread the remaining pudding mixture over the second cookie layer.
- Top with a final layer of Oreo cookies.
- Cover the dish with plastic wrap and refrigerate for at least 4 hours, or preferably overnight, to allow the cookies to soften.
- Before serving, whip the heavy cream, powdered sugar, and vanilla extract in a separate bowl until stiff peaks form.
- Spread the whipped cream over the top of the cake.
- Garnish with Oreo cookie crumbs.
Notes
- For an even richer flavor, you can use chocolate pudding instead of vanilla.
- Make sure to chill the cake for the recommended time for the best texture.
- Feel free to add chocolate chips or chopped nuts between layers for extra texture and flavor.
Nutrition
- Serving Size: 1 slice
- Calories: 350
- Sugar: 35g
- Sodium: 250mg
- Fat: 18g
- Saturated Fat: 10g
- Unsaturated Fat: 8g
- Trans Fat: 0g
- Carbohydrates: 45g
- Fiber: 1g
- Protein: 3g
- Cholesterol: 30mg