

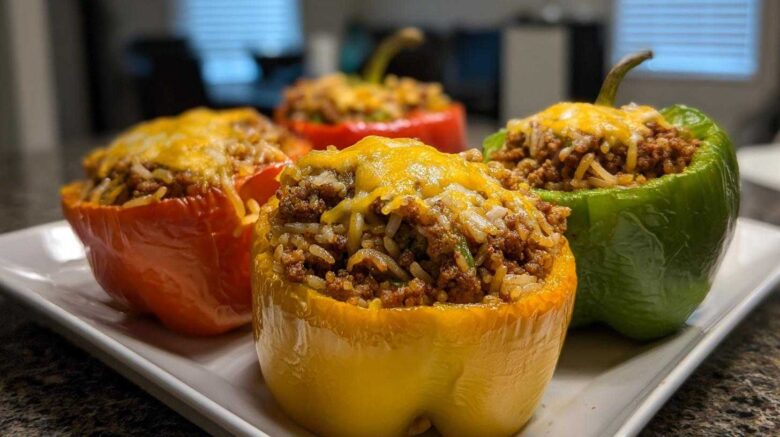
The Ultimate Guide to Perfect Stuffed Bell Peppers
There’s something so comforting about a classic dish. Stuffed bell peppers are a true favorite. They look amazing on a plate. Plus, they taste even better. Our goal is simple. We want to give you a recipe that just works. You get delicious, satisfying stuffed bell peppers every time. We’re Clara, Ben, and Noah from Savor And Pin. We fix recipes. We took a dish that can sometimes be tricky and made it foolproof. Get ready for a meal that will make everyone happy.
Why You’ll Love These Stuffed Bell Peppers
These peppers are a winner for so many reasons.
* They are super easy to make.
* The flavor is rich and satisfying.
* You can easily customize them.
* They make weeknight dinners a breeze.
* They look beautiful on any table.
Our Recipe Rescue Mission: Perfecting Stuffed Bell Peppers
At Savor And Pin, we love a challenge. We find recipes with great ideas but small flaws. Then we fix them. Noah, our resident scientist, looked at the original stuffed bell peppers recipe. He made sure the science was spot on. He checked the cooking times and temperatures. This ensures your peppers are tender. Your filling is perfectly cooked too. We believe in sharing recipes that deliver. We want you to have success in your kitchen.
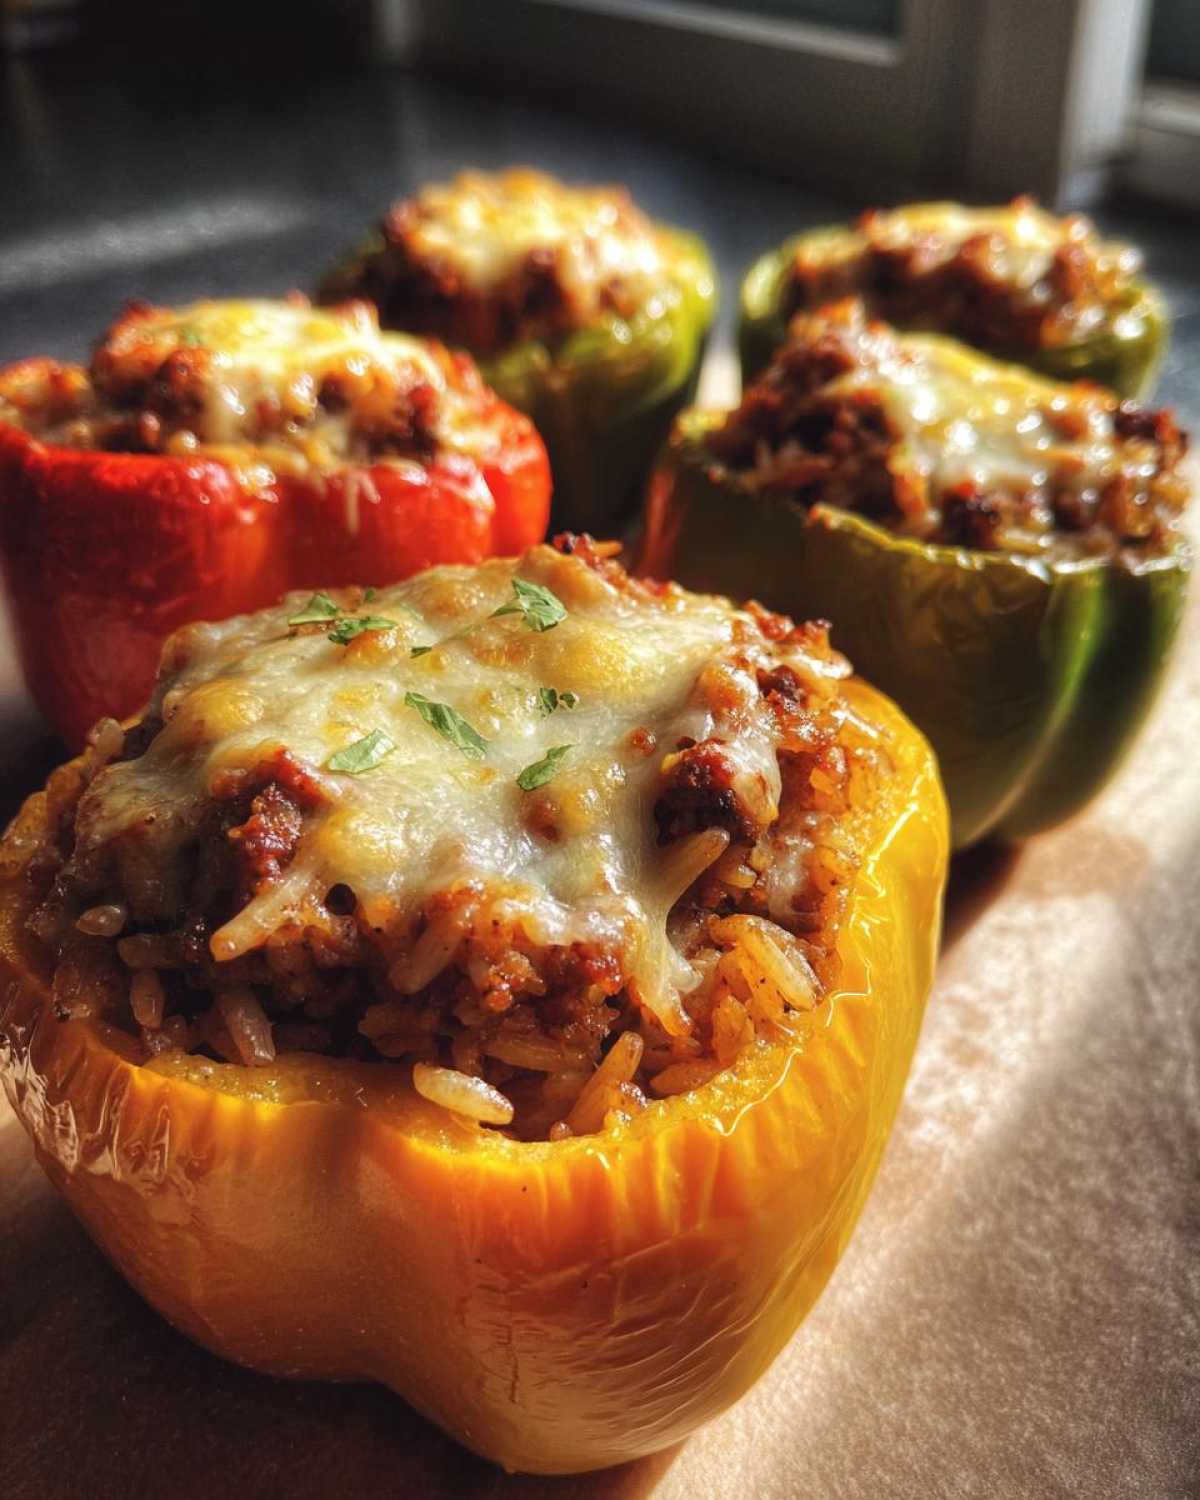
Gathering Your Ingredients for Stuffed Bell Peppers
Let’s get everything ready for our amazing stuffed bell peppers. Having all your ingredients prepped makes cooking a joy. It’s like setting the stage for a delicious performance. We need the right cast of characters for this dish. Precision here makes all the difference. It ensures the flavors meld perfectly. You’ll see how simple it is. We’ll go through each item. You’ll have your mise en place ready in no time. This makes the actual cooking smooth.
Bell Peppers: The Foundation of Your Stuffed Bell Peppers
We need four large bell peppers for our stuffed peppers. Any color works beautifully. Red, yellow, or orange peppers are a bit sweeter. Green peppers have a slight tang. Choose peppers that stand up straight. This makes them easier to fill and bake. Look for ones with a firm skin. Avoid any with soft spots.
The Flavorful Filling for Your Stuffed Bell Peppers
For the hearty filling, grab one pound of ground beef. We also need one onion, finely chopped. Two cloves of garlic, minced, add amazing flavor. A 15-ounce can of diced tomatoes, undrained, brings moisture. You’ll need one cup of cooked rice. Seasonings are simple but key: one teaspoon of salt. Half a teaspoon of black pepper. A quarter teaspoon each of dried oregano and dried basil.
Optional Toppings and Enhancements
Want to add a little extra something? About a quarter cup of shredded cheese is perfect. Cheddar or Monterey Jack work great. You can also add your favorite sauce. A dollop of marinara or a drizzle of hot sauce adds a nice touch. These extras let you make the dish your own.
Step-by-Step Instructions for Delicious Stuffed Bell Peppers
Now for the fun part! Turning these simple ingredients into a fantastic meal. We’ll walk through each step. You’ll see how easy it is to create these classic stuffed bell peppers. Follow along closely. This ensures perfect results every time. Precision matters here. It guarantees tender peppers. Your filling will be wonderfully flavorful.
Preparing the Bell Peppers
First, take your four large bell peppers. Use a sharp knife. Cut off the tops. Think of it like giving them little hats. Next, reach inside. Gently remove all the seeds and the white membranes. You want a clean, hollow pepper. This makes room for all that yummy filling.
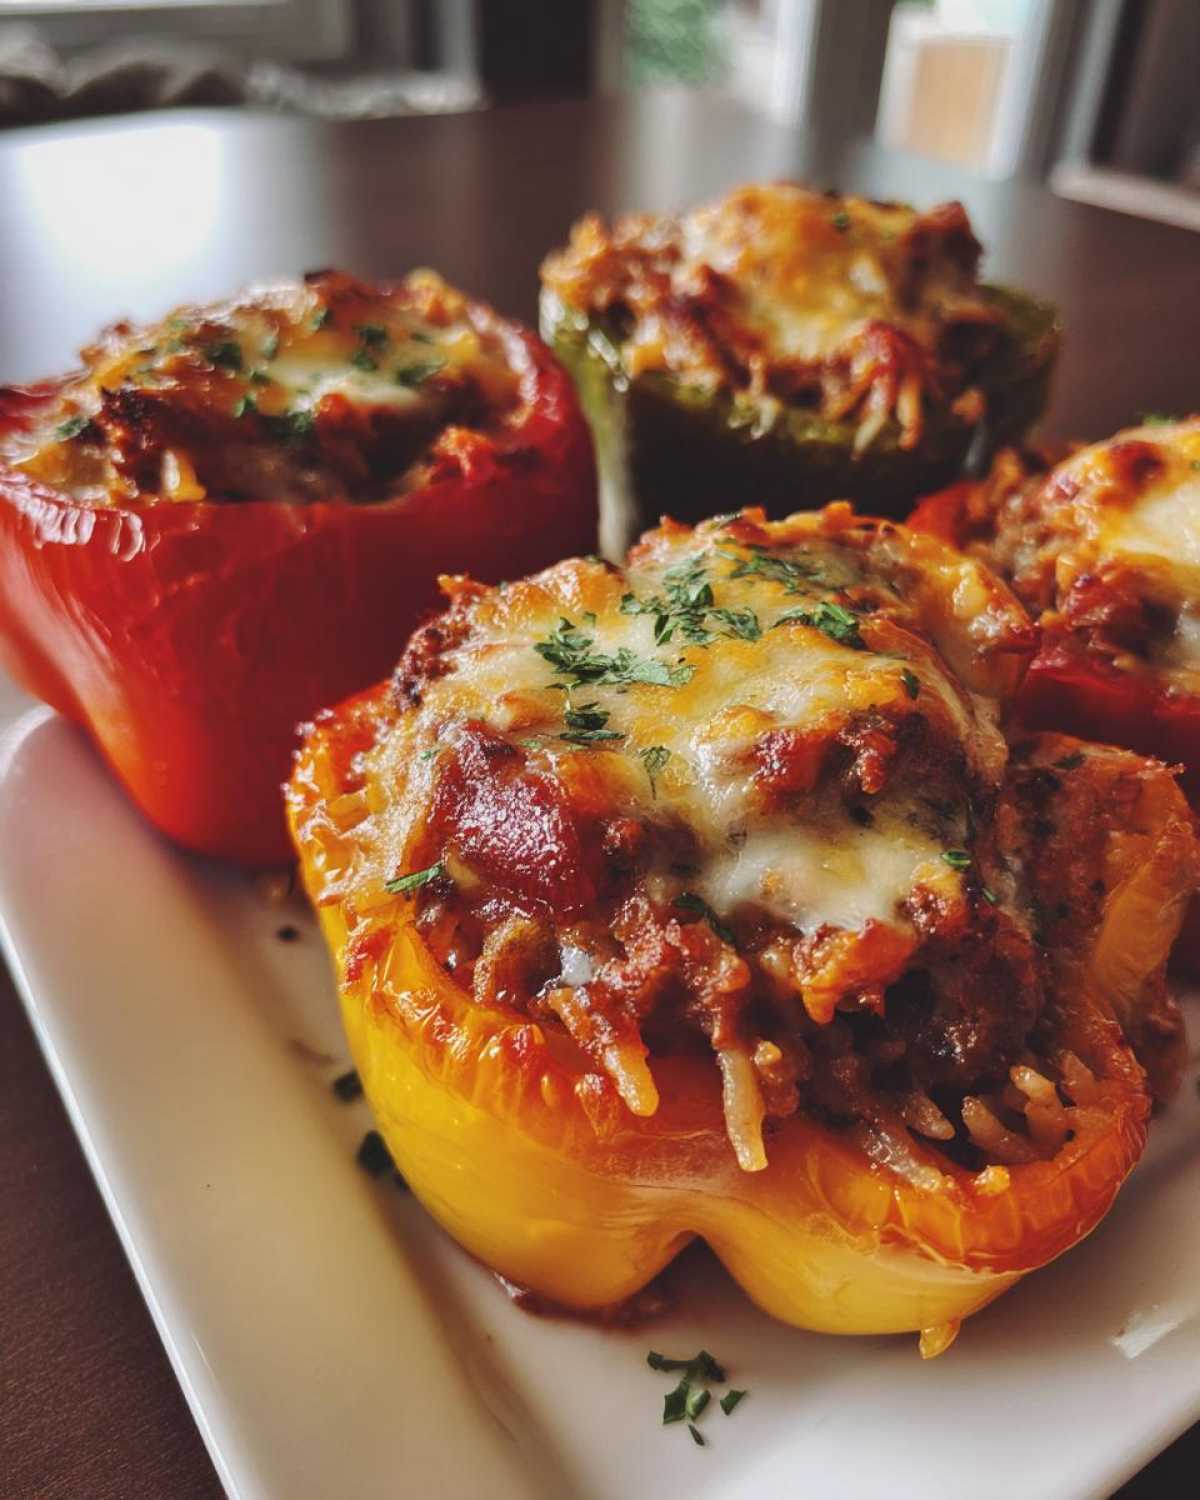
Crafting the Savory Filling
Grab a large skillet. Heat it over medium heat. Add your pound of ground beef. Cook it until it’s nicely browned. Break it up as it cooks. Then, drain off any extra fat. This keeps the filling from being too greasy. Now, toss in your chopped onion and minced garlic. Cook them with the meat for about five minutes. You want the onion to get soft and a bit see-through. Next up, add the entire can of diced tomatoes. Don’t drain them! Stir in the cooked rice. Season everything with salt, pepper, oregano, and basil. Mix it all up really well. Taste it! Does it need a little more salt? Go ahead and adjust.
Assembling and Baking Your Stuffed Bell Peppers
Carefully spoon the meat and rice mixture into each prepared bell pepper. Pack it in gently. You want to fill them right up to the top. Arrange the stuffed peppers in a baking dish. They should stand up nicely. Cover the dish tightly with aluminum foil. This traps the steam. It helps the peppers cook evenly. Pop it into your preheated oven. Bake for 30 minutes. Then, take off the foil. Let them bake for another 10 to 15 minutes. You’re looking for tender peppers. If you’re using cheese, it should be melted and bubbly. What a beautiful sight!
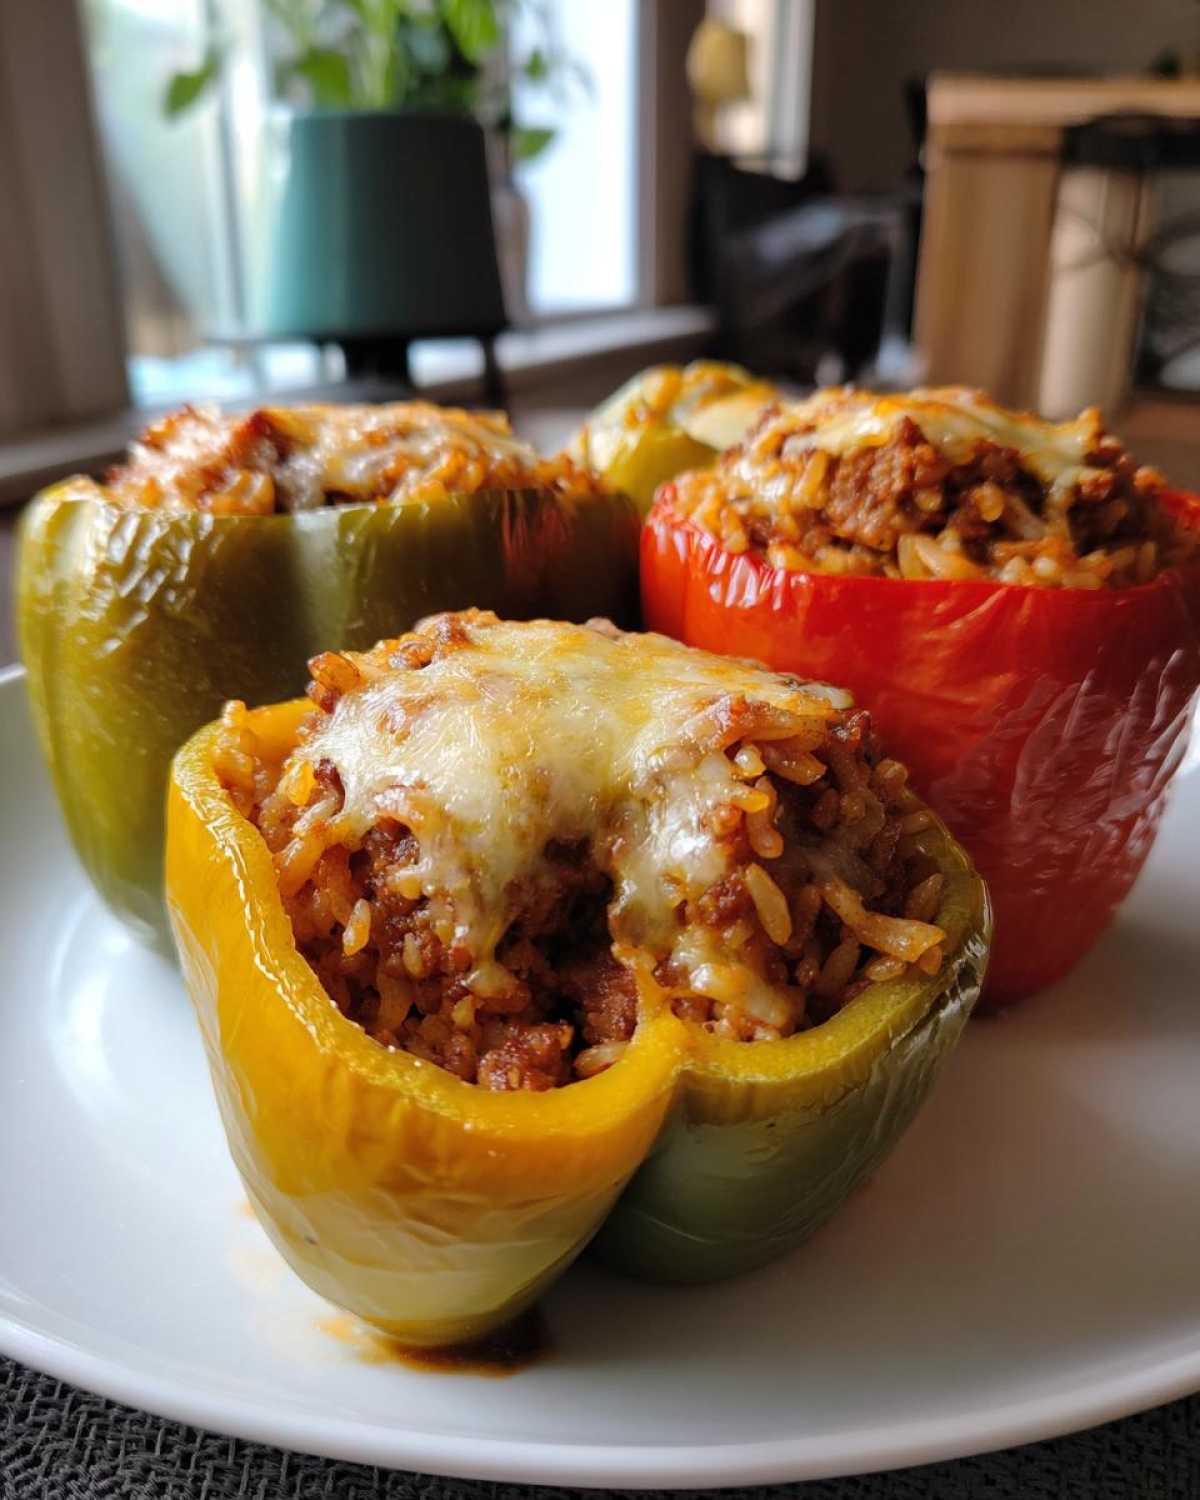
Pro Tips for Perfect Stuffed Bell Peppers
Making great stuffed bell peppers is all about a few key details. Want to avoid mushy peppers? Make sure they aren’t overcooked. You can even par-boil them slightly first. This helps them cook evenly with the filling. For extra flavor, add a pinch of smoked paprika. Or maybe some red pepper flakes. These little touches make a big difference. They elevate your stuffed bell peppers from good to truly amazing. We want you to have success.
Ingredient Substitutions for Stuffed Bell Peppers
Don’t have rice? No problem! Cauliflower rice is a fantastic low-carb swap. Just use an equal amount. Want to try a different protein? Ground turkey or chicken works wonderfully. You can even use a mix of ground meats. For a vegetarian version, try cooked lentils or quinoa. These simple changes make our stuffed bell peppers super adaptable. They fit any diet or preference.
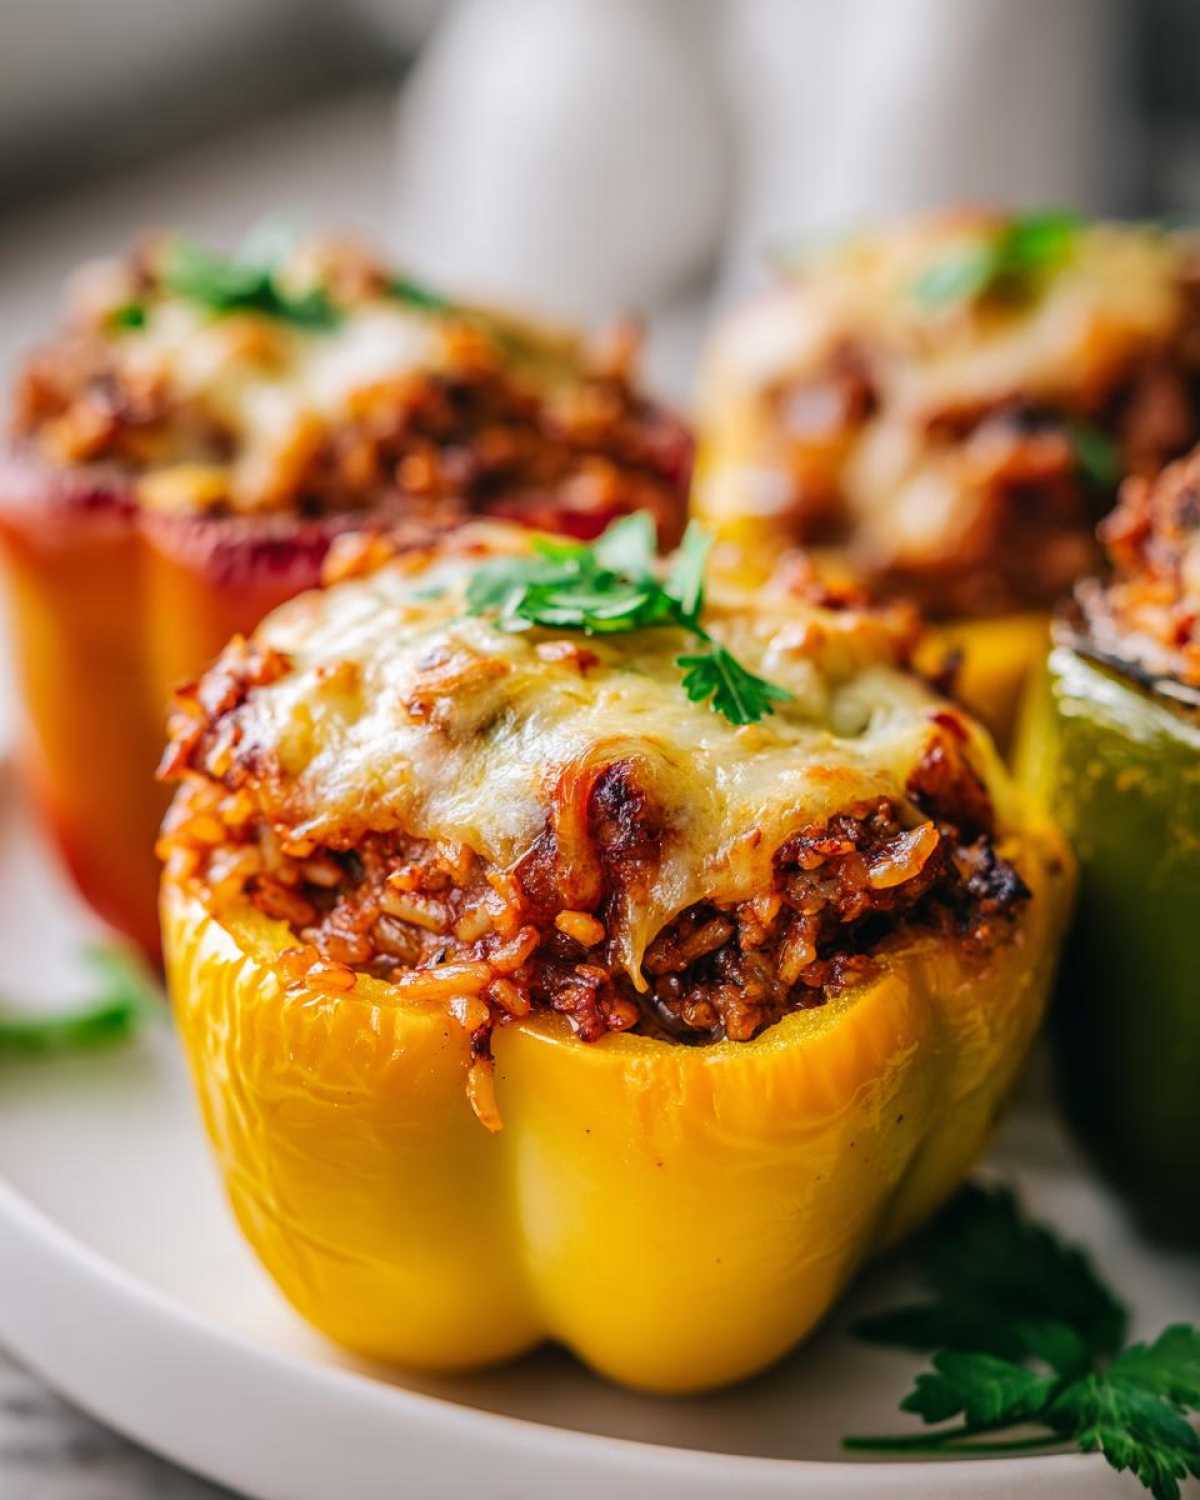
Serving and Storing Your Stuffed Bell Peppers
These stuffed bell peppers are a complete meal. They are also wonderful served with a simple side salad. A crusty bread is great for soaking up any extra sauce. To store, let them cool completely. Then, place them in an airtight container. They’ll keep well in the refrigerator for up to three days. Reheat gently in the oven or microwave. This keeps them from getting dry. Enjoy your delicious stuffed bell peppers!
Frequently Asked Questions about Stuffed Bell Peppers
Got questions about making these delicious stuffed bell peppers? We’ve got answers!
Can I make stuffed bell peppers ahead of time?
You sure can! Prep the filling and stuff the peppers. Store them covered in the fridge. Bake them when you’re ready. You might need to add a few extra minutes to the baking time. This ensures they are heated through.
What can I serve with stuffed bell peppers?
These are a meal on their own. But a simple green salad is nice. Garlic bread is always a crowd-pleaser. Some mashed potatoes or roasted vegetables also pair well.
How do I prevent stuffed bell peppers from being watery?
Drain excess fat from the ground meat well. Don’t overcook the peppers in the oven. Ensure your rice isn’t too wet before adding it. Baking them covered first, then uncovered, helps too. It allows moisture to escape. This keeps your stuffed bell peppers from getting soggy.
Can I use different kinds of meat?
Absolutely! Ground turkey, chicken, or even a mix of pork and beef work great. For a vegetarian option, try cooked lentils or a plant-based ground substitute.
How do I make stuffed bell peppers spicier?
Add some red pepper flakes to the meat mixture. A dash of your favorite hot sauce also works wonders. You can even top them with a spicy salsa before serving.
Nutritional Estimate for Stuffed Bell Peppers
Please remember that the nutritional details for these stuffed bell peppers are just an estimate. The actual numbers can change. This depends on the specific ingredients you use. Brands can also make a difference. Enjoy your delicious meal!
PrintStuffed Bell Peppers: Noah’s amazing 30-minute rescue
Create delicious and satisfying stuffed bell peppers with this easy-to-follow recipe. Perfect for a hearty weeknight meal, these peppers are filled with a flavorful mixture of ground meat, rice, and tomatoes, then baked to perfection.
- Prep Time: 15 minutes
- Cook Time: 45 minutes
- Total Time: 1 hour
- Yield: 4 servings
- Category: Main Course
- Method: Baking
- Cuisine: American
- Diet: Vegetarian
Ingredients
- 4 large bell peppers
- 1 pound ground beef
- 1 onion, chopped
- 2 cloves garlic, minced
- 1 (15 ounce) can diced tomatoes, undrained
- 1 cup cooked rice
- 1 teaspoon salt
- 1/2 teaspoon black pepper
- 1/4 teaspoon dried oregano
- 1/4 teaspoon dried basil
- 1/4 cup shredded cheese (optional)
Instructions
- Preheat your oven to 375°F (190°C).
- Cut the tops off the bell peppers and remove the seeds and membranes.
- In a large skillet, brown the ground beef over medium heat. Drain off any excess fat.
- Add the chopped onion and minced garlic to the skillet and cook until softened, about 5 minutes.
- Stir in the diced tomatoes, cooked rice, salt, pepper, oregano, and basil. Mix well.
- Spoon the mixture evenly into the prepared bell peppers.
- Place the stuffed peppers in a baking dish.
- Cover the baking dish with foil.
- Bake for 30 minutes.
- Remove the foil and bake for an additional 10-15 minutes, or until the peppers are tender and the cheese is melted and bubbly (if using).
Notes
- You can substitute cauliflower rice for regular rice for a lower-carb option.
- Feel free to add other seasonings like paprika or chili powder to the meat mixture.
- Top with your favorite sauce before serving if desired.
Nutrition
- Serving Size: 1 stuffed pepper
- Calories: 350
- Sugar: 8g
- Sodium: 600mg
- Fat: 15g
- Saturated Fat: 5g
- Unsaturated Fat: 10g
- Trans Fat: 0g
- Carbohydrates: 25g
- Fiber: 4g
- Protein: 25g
- Cholesterol: 80mg