


Worms & Dirt Pudding Cups: A Creepy Halloween Dessert
Halloween night is almost here, and the kids are buzzing with excitement – and maybe a little bit of sugar already! If you’re scrambling for a last-minute treat that’s both fun and frightfully delicious, I’ve got just the thing. These Worms & Dirt Pudding Cups are a total lifesaver. They’re so easy, even Ben and Noah could manage them (and you know how much culinary chaos they can create!). This dessert is all about that delightful, slightly gross-out factor that kids absolutely adore. Think of it as a miniature graveyard in a cup, with chocolatey soil and wiggly surprises. It’s the kind of treat that sparks giggles and maybe a few shrieks, making it perfect for any Halloween party or just a fun after-school surprise. We’ve perfected this recipe to ensure it’s always a win, just like all the recipes we rescue here at Savor And Pin.

Why You’ll Love These Worms & Dirt Pudding Cups
You’ll absolutely adore these Worms & Dirt Pudding Cups for so many reasons! They’re the ultimate solution when you need a quick Halloween treat.
* Super Easy: Seriously, the steps are so simple. Even the busiest parent can whip these up.
* Kid-Approved Fun: Children go wild for the spooky look and the “gross” factor of the worms. It’s a guaranteed hit!
* Lightning Fast: With minimal prep and no baking, they’re perfect for last-minute needs.
* Spooktacularly Creative: They look amazing and unleash your inner mad scientist with decorations.
* Totally Delicious: Rich chocolate pudding and crunchy cookie crumbs are a classic combo.
These cups deliver maximum Halloween impact with minimal effort.
Clara’s Experience with Worms & Dirt Pudding Cups
I remember the first time I made these Worms & Dirt Pudding Cups for my niece’s birthday party. She’s usually quite picky, but her eyes lit up when she saw the little cups. The kids were absolutely fascinated by the gummy worms poking out. It was such a hit; they kept asking for more! Seeing their delighted, slightly disgusted faces was priceless. It solidified my belief that simple, fun desserts can be the most memorable. It’s this kind of genuine joy, backed by recipes that actually work perfectly every time, that we aim for here at Savor And Pin. You can trust that this recipe is a winner for creating those special, happy moments.
Essential Ingredients for Worms & Dirt Pudding Cups
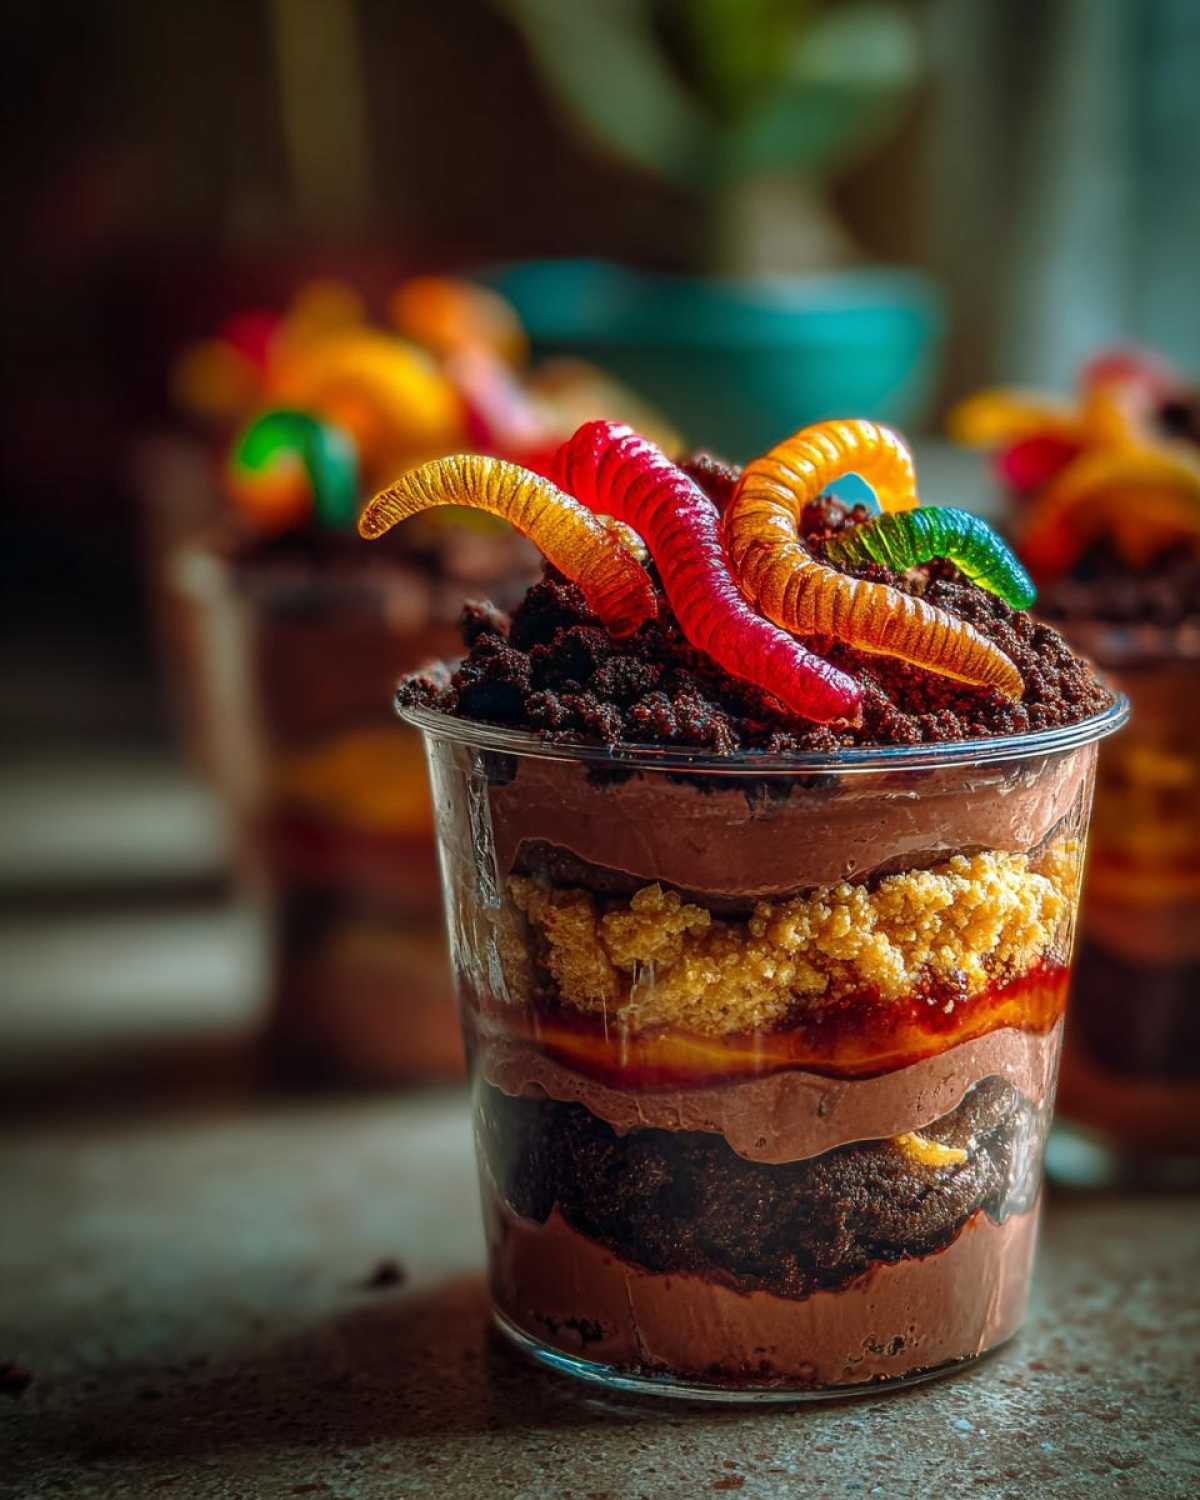
Gathering your supplies for these creepy cups is a breeze. You’ll find most of these pantry staples already at home. For the chocolatey base, grab one package (3.4 ounces) of instant chocolate pudding mix. This is your shortcut to deliciousness. You’ll also need 2 cups of milk to bring that pudding to life; just make sure it’s cold for the best texture. The “dirt” element comes from a package (about 15.6 ounces) of your favorite chocolate sandwich cookies. Think Oreos or a similar brand. You’ll want to crush these up really well. And, of course, no Worms & Dirt Pudding Cups are complete without the stars of the show: a generous handful of gummy worms. Assorted colors make them extra fun! For an even spookier touch, have some candy eyeballs on hand. They add that perfect creepy-crawly detail kids love.
How to Make Your Worms & Dirt Pudding Cups
Now for the fun part: bringing these creepy critters to life! Making these Worms & Dirt Pudding Cups is a simple process, perfect for getting kids involved in the kitchen. We’ve broken it down into easy steps so you get perfect results every time. Think of it as building your own miniature edible graveyard!
Prepare the Chocolate Pudding Base
First, let’s get that chocolate pudding ready. Grab a medium-sized bowl. Pour in your instant chocolate pudding mix. Add the cold milk. Whisk them together until they’re well combined. Let the mixture sit for about 5 minutes. It needs this time to thicken up nicely.
Creating the “Dirt” Effect
Next, we make the dirt! Take your chocolate sandwich cookies. Put them into a sturdy zip-top bag. Seal the bag, making sure to get most of the air out. Now, grab a rolling pin or a heavy glass. Gently, but firmly, crush the cookies. You want fine crumbs, like rich soil.
Assembling Your Creepy Cups
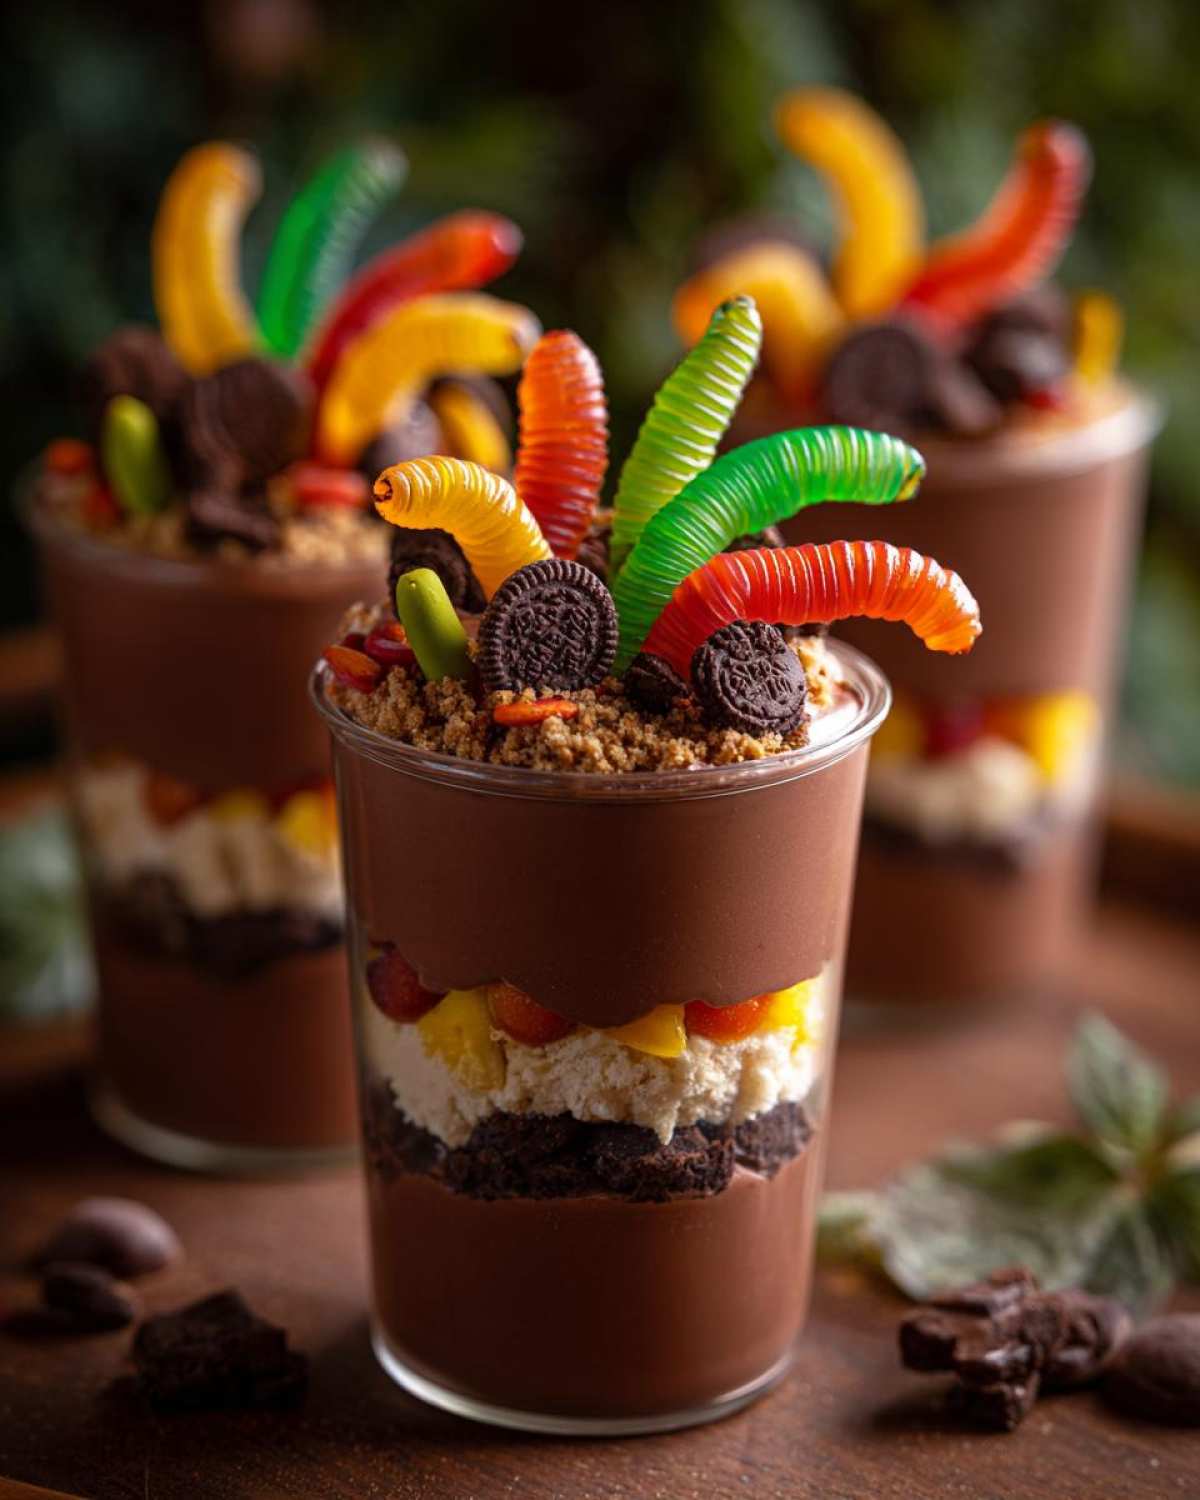
Time to build your edible landscapes! Grab your clear serving cups. Spoon a generous layer of your crushed cookie “dirt” into the bottom of each cup. Don’t be shy; pack it down just a little. Then, spoon a layer of your thickened chocolate pudding right on top of the cookie crumbs.
Decorating Your Worms & Dirt Pudding Cups
This is where the magic happens! Take your gummy worms. Gently push them into the pudding. Make them look like they’re wiggling out of the dirt. Some can hang over the edge. If you have candy eyeballs, pop a couple into the pudding too. They add an extra layer of spooky fun.
Chilling for Perfect Texture
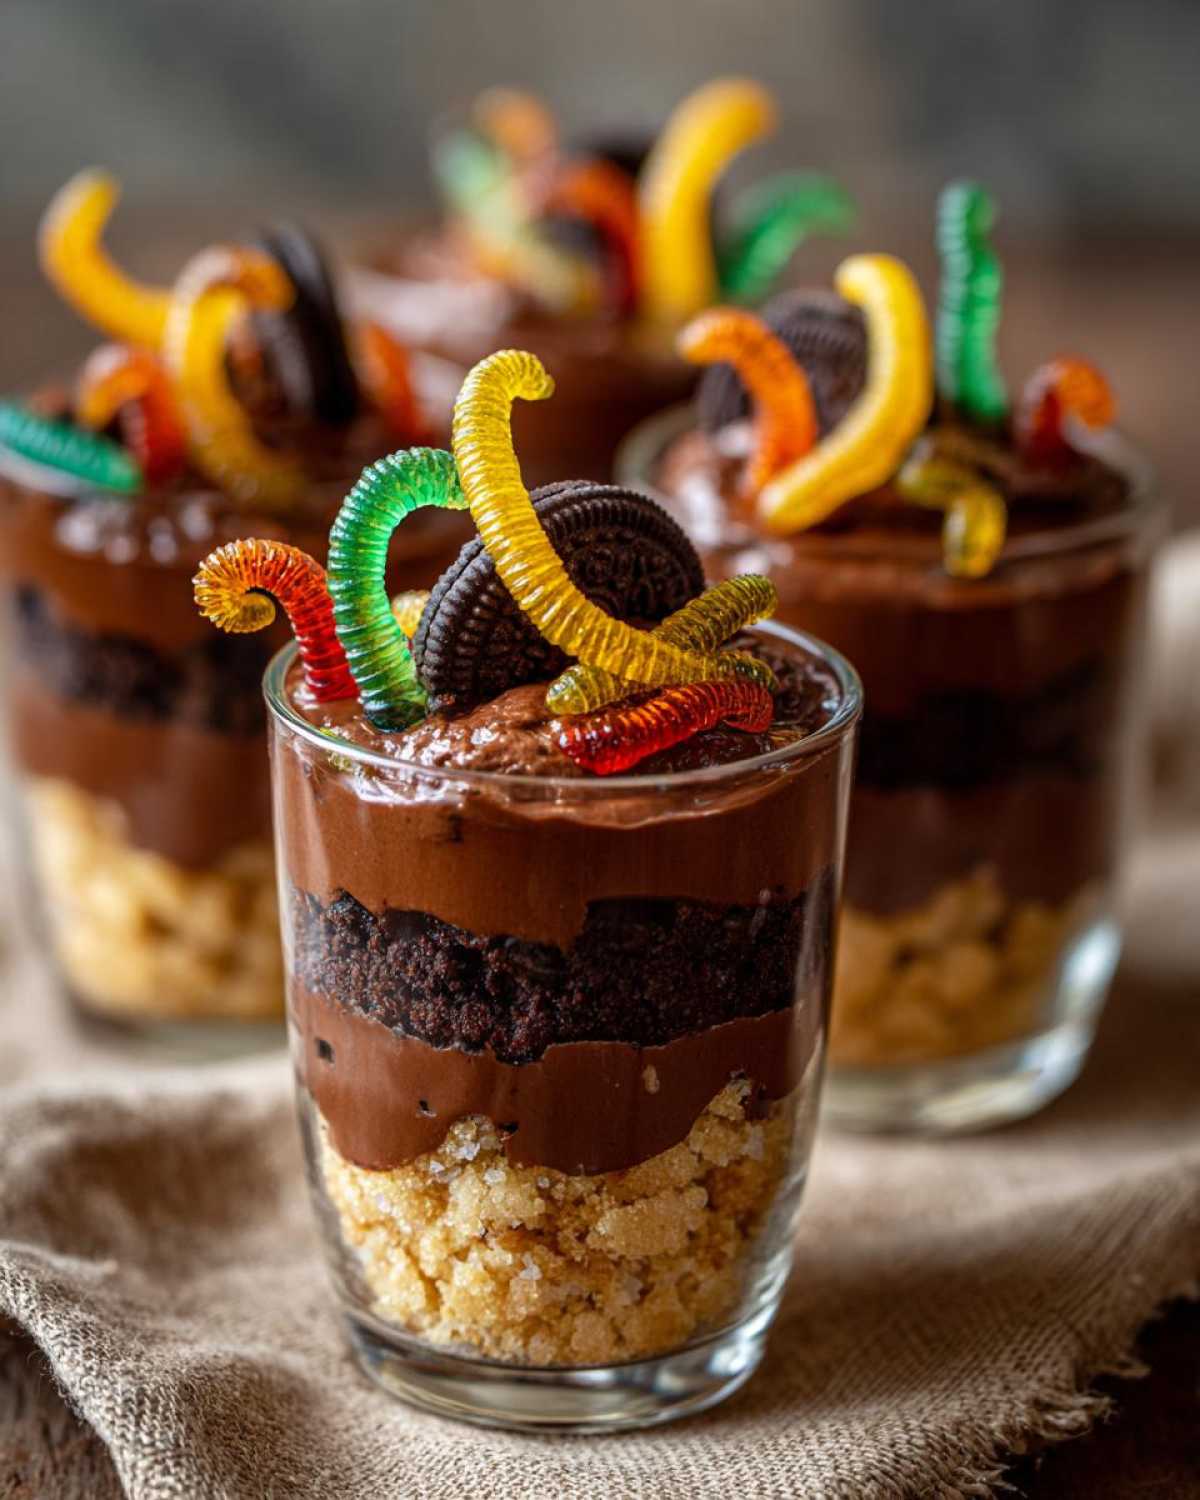
Almost done! Now, cover your cups. You can use plastic wrap. Pop them into the refrigerator. Let them chill for at least 30 minutes. This chilling time is important. It lets the pudding set completely. It also helps all those yummy flavors meld together.
Tips for Perfect Worms & Dirt Pudding Cups
Want to make your Worms & Dirt Pudding Cups even more spectacular? A few little tricks can elevate this simple dessert. For presentation, clear cups or jars really let the layers shine. Mason jars or small plastic tumblers work wonderfully. If you’re feeling extra adventurous, consider adding a tiny bit of green food coloring to a portion of the pudding. Mixing it in just slightly creates a cool, swampy effect beneath the dirt. And don’t hold back on the gummy worms! Get creative with their placement. Have them bursting from the sides, peeking from the top, or even forming a little worm convention. These little touches make your Worms & Dirt Pudding Cups truly memorable.
Frequently Asked Questions About Worms & Dirt Pudding Cups
Got questions about these creepy crawly treats? We’ve got answers! These Worms & Dirt Pudding Cups are such a hit, people often wonder about making them even easier or adapting them.
Can I make these Worms & Dirt Pudding Cups ahead of time?
Absolutely! These are fantastic make-ahead easy Halloween treats for kids. You can assemble them up to a day in advance. Just keep them covered and chilled in the refrigerator. The cookie crumbs might soften slightly, but they’ll still be delicious.
What kind of pudding mix should I use?
We recommend instant chocolate pudding mix for speed and ease. It thickens up beautifully without any cooking. You could technically use cook-and-serve, but you’d need to follow its specific instructions and let it cool completely before assembling.
Are there other “dirt” options besides crushed cookies?
While crushed chocolate sandwich cookies are classic, you can get creative! Finely crushed chocolate graham crackers or even a chocolate cookie and brownie mix combo work well. Noah once experimented with finely ground dark chocolate wafers, and that was a decadent surprise!
How many cups does this recipe make?
This recipe typically yields about 6 to 8 servings, depending on the size of your cups. It’s a great quick Halloween dessert for a small gathering or even just for the family. We find smaller cups are often more appealing to little hands.
Can I make this a dairy-free or vegan dessert?
Yes, you can easily adapt this! Use a dairy-free milk alternative like almond or soy milk for the pudding. For the cookies, choose a vegan chocolate sandwich cookie. Many brands are available now, so check the labels. This keeps it a delicious option for more dietary needs.
Storage and Reheating Instructions
Leftover Worms & Dirt Pudding Cups are best stored in the refrigerator. Keep them covered tightly with plastic wrap or place them in an airtight container. They’ll stay fresh and delicious for up to 2 days. Since these are pudding-based, reheating isn’t really necessary or recommended. They are meant to be enjoyed chilled, so just pull them from the fridge when you’re ready for another spooky treat.
Estimated Nutritional Information
Please keep in mind that the nutritional details for these Worms & Dirt Pudding Cups are approximate. Factors like the specific brands of pudding mix and cookies you use, as well as the exact serving size, can cause variations. This recipe is designed for festive fun, and we focus on making it delicious and easy for you.
PrintCreepy Worms & Dirt Pudding Cups: Spooktacular Halloween Treat

Create fun and creepy Worms & Dirt Pudding Cups for a quick and easy Halloween treat that kids will love. This dessert features layers of chocolate pudding and crushed cookies, topped with gummy worms for a spooky, gross-out effect.
- Prep Time: 15 minutes
- Cook Time: 0 minutes
- Total Time: 15 minutes plus 30 minutes chilling time
- Yield: 6-8 servings
- Category: Dessert
- Method: No-Bake
- Cuisine: American
- Diet: Vegetarian
Ingredients
- 1 package (3.4 ounces) instant chocolate pudding mix
- 2 cups milk
- 1 package (15.6 ounces) chocolate sandwich cookies (like Oreos)
- Gummy worms
- Optional: Candy eyeballs
Instructions
- Prepare the pudding: Whisk the instant chocolate pudding mix with the milk in a bowl. Let it sit for 5 minutes to thicken.
- Crush the cookies: Place the chocolate sandwich cookies in a zip-top bag and crush them into fine crumbs using a rolling pin or the bottom of a glass.
- Assemble the cups: Spoon a layer of crushed cookie crumbs into the bottom of each serving cup.
- Add pudding: Top the cookie crumbs with a layer of chocolate pudding.
- Repeat layers: Add another layer of cookie crumbs, then another layer of pudding.
- Decorate: Stick gummy worms into the pudding so they look like they are crawling out. Add candy eyeballs if desired for extra creepiness.
- Chill: Refrigerate for at least 30 minutes before serving.
Notes
- You can use any small clear cups or jars for serving.
- For a more ‘earthy’ look, you can mix a small amount of green food coloring into some of the pudding.
- Get creative with the gummy worm placement!
Nutrition
- Serving Size: 1 cup