


Mini Cherry Hand Pies: Your New Go-To Portable Dessert
Oh, the joy of a perfectly baked treat you can just grab and go! That’s exactly what these mini cherry hand pies deliver. They’re little pockets of sweet cherry goodness, wrapped in flaky, golden pastry. I remember when we first started Savor And Pin, we were on a mission to fix recipes that promised the world but fell flat. This recipe is a perfect example of that. We’ve taken the idea of a cherry pie and made it portable, easy, and utterly delicious. You can trust that we’ve tested this one until it was absolutely foolproof.
Why You’ll Love These Mini Cherry Hand Pies
- They’re super quick to whip up.
- Perfect for picnics or lunchboxes.
- Bursting with sweet cherry flavor.
- Easy peasy with store-bought pie crusts!
- They bake up to a gorgeous golden brown.
A Recipe Rescue Story: From Disaster to Delicious Mini Cherry Hand Pies
Remember that Infamous Lasagna Incident? It was a culinary catastrophe that ignited our passion. We, Clara, Ben, and Noah, are recipe rescuers. We find promising ideas that just don’t work and make them shine. This mini cherry hand pie recipe is a testament to that. We’ve taken a classic dessert and perfected it. No more watery filling or tough crusts here! We’ve poured our expertise into ensuring every step leads to a delicious, flaky, cherry-filled delight. It’s our promise to you.
Gather Your Ingredients for Perfect Mini Cherry Hand Pies
Alright, let’s talk ingredients! Having the right stuff on hand is the first step to baking success. For these delightful mini cherry hand pies, we’ve kept things simple. We believe in clear, precise measurements because, in baking, a little difference can mean a lot. So, grab your apron and let’s make sure you have everything ready to go. This list is designed to be super straightforward.
Essential Ingredients for Mini Cherry Hand Pies
- 1 package (14.1 ounces) refrigerated pie crusts (you’ll get 2 crusts)
- 1 can (21 ounces) cherry pie filling
- 1 large egg, beaten
- 2 tablespoons sparkling sugar (this is optional, but oh so pretty!)
Ingredient Notes and Substitutions for Your Mini Cherry Hand Pies
We chose refrigerated pie crusts because, let’s be honest, they make life so much easier! They’re designed for convenience and consistently give us flaky, delicious results without all the fuss of making dough from scratch. If you’re feeling adventurous, you could certainly use your favorite homemade pie dough, just make sure it’s chilled and ready to roll.
The canned cherry pie filling is a lifesaver here. It’s already perfectly sweetened and thickened, saving you a ton of time. While you could make your own cherry filling, the canned version is what keeps these mini cherry hand pies so wonderfully quick. Just make sure you get the standard 21-ounce can. The egg wash is key for that beautiful golden shine and helps the sparkling sugar stick. If you don’t have sparkling sugar, a little granulated sugar will do in a pinch for a touch of sweetness and crunch.
Step-by-Step Guide to Making Your Mini Cherry Hand Pies
Alright, bakers! It’s time to get our hands into some dough and create these little bundles of joy. We’ve made sure these instructions are super clear. Think of us as your kitchen guides, cheering you on. We’re going to walk through each step together to ensure your mini cherry hand pies turn out absolutely perfect. No guesswork here, just delicious results waiting to happen!
Preparing Your Workspace and Dough
First things first, let’s get that oven ready. Preheat it to 400°F (200°C). This hot start is key for a flaky crust.
Now, find a clean, lightly floured surface. Unroll your two refrigerated pie crusts. They’ll be soft and pliable, just right for working with.
Grab a 4-inch round cutter. This is your magic wand for creating the perfect pie shapes. You want to cut out 4 circles from each crust. That gives you a total of 8 circles. Set these aside gently.
Take 4 of those circles and place them on a baking sheet. Make sure the sheet is lined with parchment paper. This stops any sticky filling from becoming a baking-sheet nightmare. These are your pie bottoms.
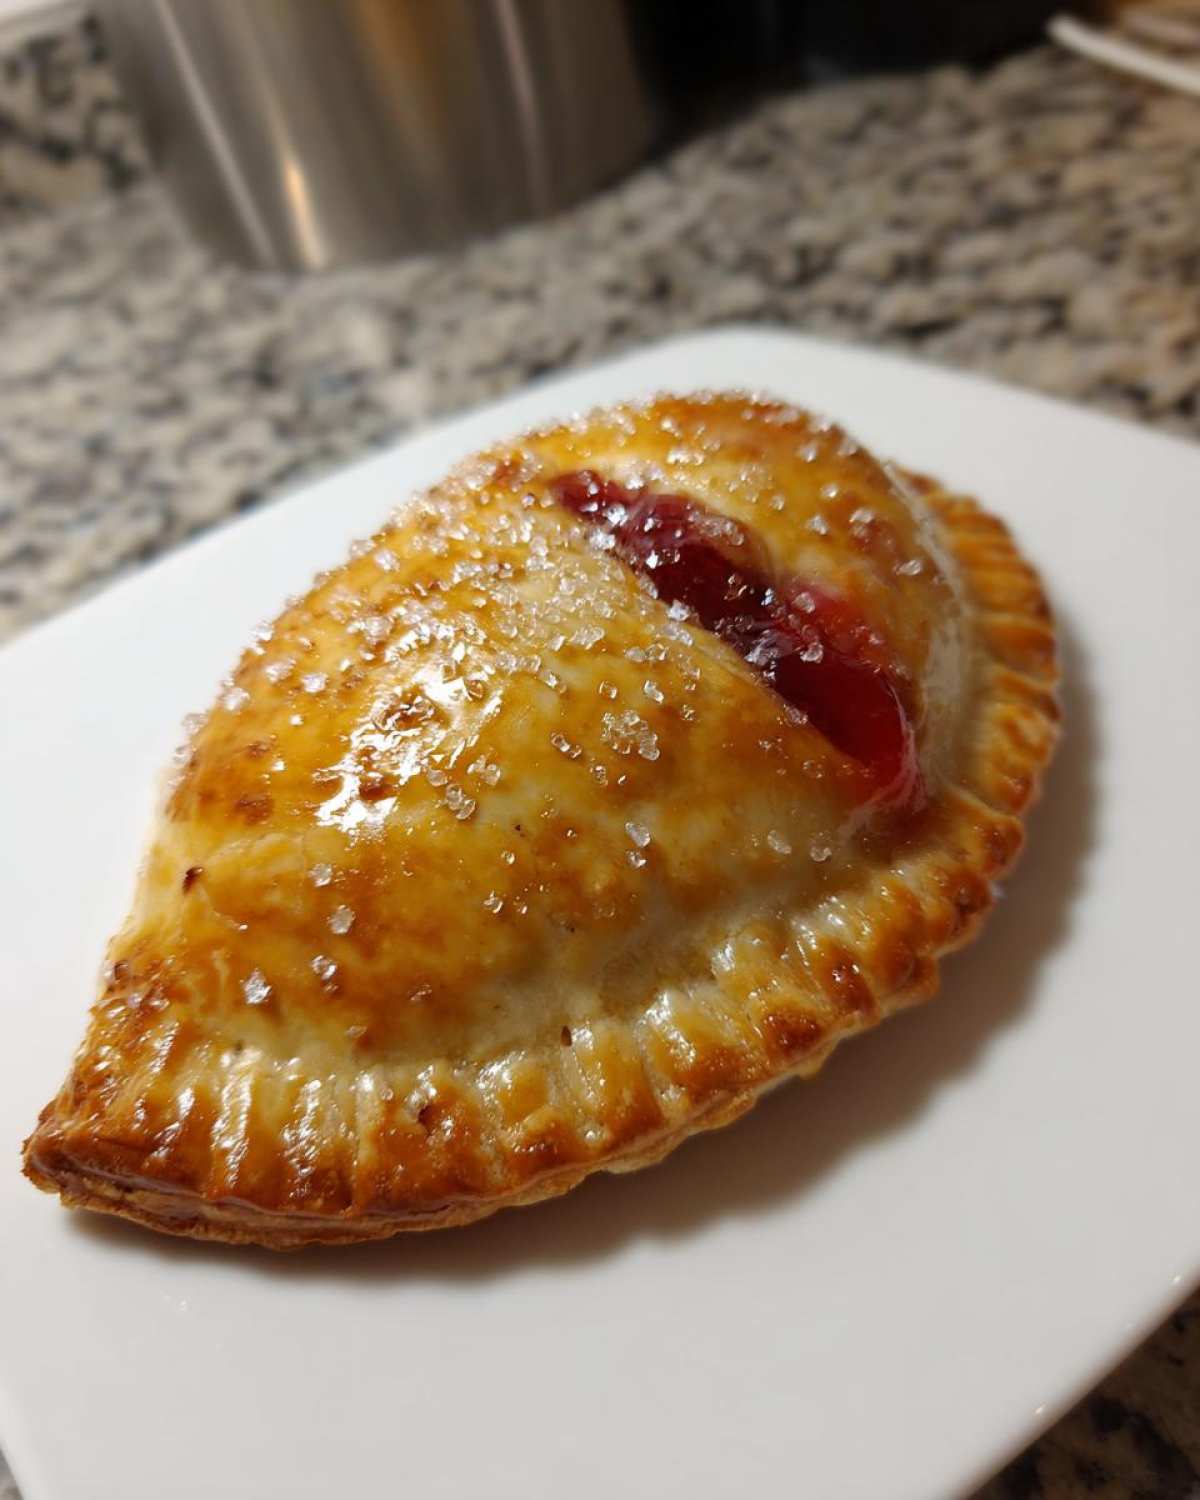
Filling and Sealing Your Mini Cherry Hand Pies
Time for the star of the show: the cherry filling! Spoon about 2 tablespoons of the cherry pie filling onto the center of each of those 4 bottom crust circles. Be generous, but leave about a 1/2-inch border all around. This border is crucial for sealing.
Now, take your beaten egg. Brush a little bit of it along the edges of the dough where you left that border. This acts like glue.
Carefully place the remaining 4 pie crust circles on top of the filling. Gently press the edges down to meet the bottom crust. You can use your fingers, or a fork works wonders for a nice, decorative seal. Make sure they are sealed tight! This is super important to keep all that yummy cherry goodness inside while baking.
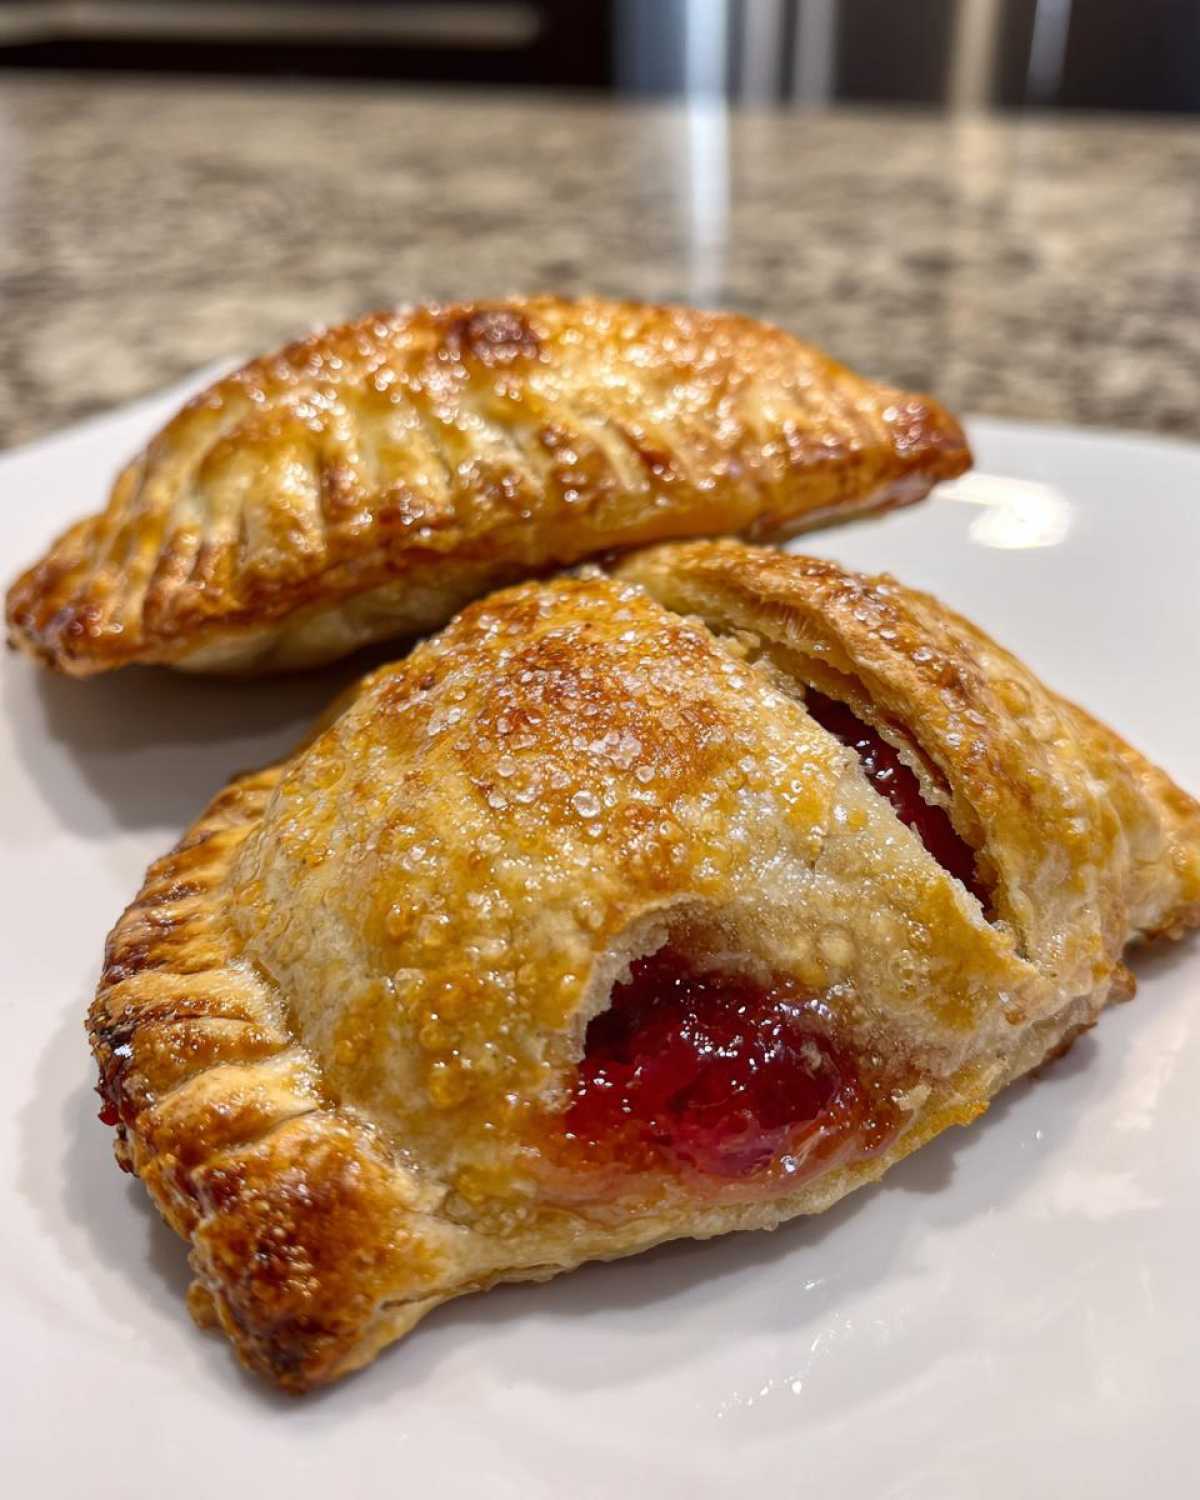
Baking and Cooling Your Delicious Mini Cherry Hand Pies
Almost there! To let the steam escape and prevent any explosions, cut a couple of small slits in the top of each hand pie. Just a little snip with a sharp knife will do.
Now, give the tops of your pies a nice coating with the rest of your beaten egg. This is what gives them that beautiful, golden-brown sheen. If you’re using sparkling sugar, sprinkle it over the egg wash now. It adds a lovely sparkle and a bit of crunch.
Pop that baking sheet into your preheated oven. Bake for about 15 to 20 minutes. You’re looking for a gorgeous, golden-brown crust and bubbly filling peeking through those slits.
Once they’re done, let them cool on the baking sheet for a few minutes. They’ll be very hot! Then, carefully transfer them to a wire rack to cool completely. Patience is a virtue here, but oh-so-worth-it!

Tips for Perfectly Golden Mini Cherry Hand Pies
Baking can sometimes feel like a science, can’t it? But with a few simple tricks, you can ensure your mini cherry hand pies are always a showstopper. We’ve learned a thing or two from our recipe rescues, and these tips are golden. They’re designed to help you achieve that perfect bake, every single time.
Achieving a Beautiful Golden Crust
That gorgeous golden color isn’t just for looks! It means your crust is perfectly cooked. Keep your oven at that 400°F (200°C) mark. The hot oven is crucial for puffing up the pastry.
Bake for the full 15-20 minutes. You want to see that deep golden hue. The filling should be visibly bubbly. If your crust is browning too quickly, you can loosely tent it with foil. But usually, the time given is just right for that perfect finish.
Preventing Leaks and Ensuring a Neat Finish
Nobody wants a cherry lava flow! A good seal is your best friend here. When you brush the edges with egg wash, make sure you get a nice, even coating. Then, press those edges firmly together. A fork is great for crimping and ensuring a tight seal.
Don’t overfill the pies! About 2 tablespoons of filling per pie is usually just right. Leaving that 1/2-inch border helps immensely. And remember those steam vents you cut? They’re not just decorative; they let the steam escape, preventing pressure buildup that can cause leaks.
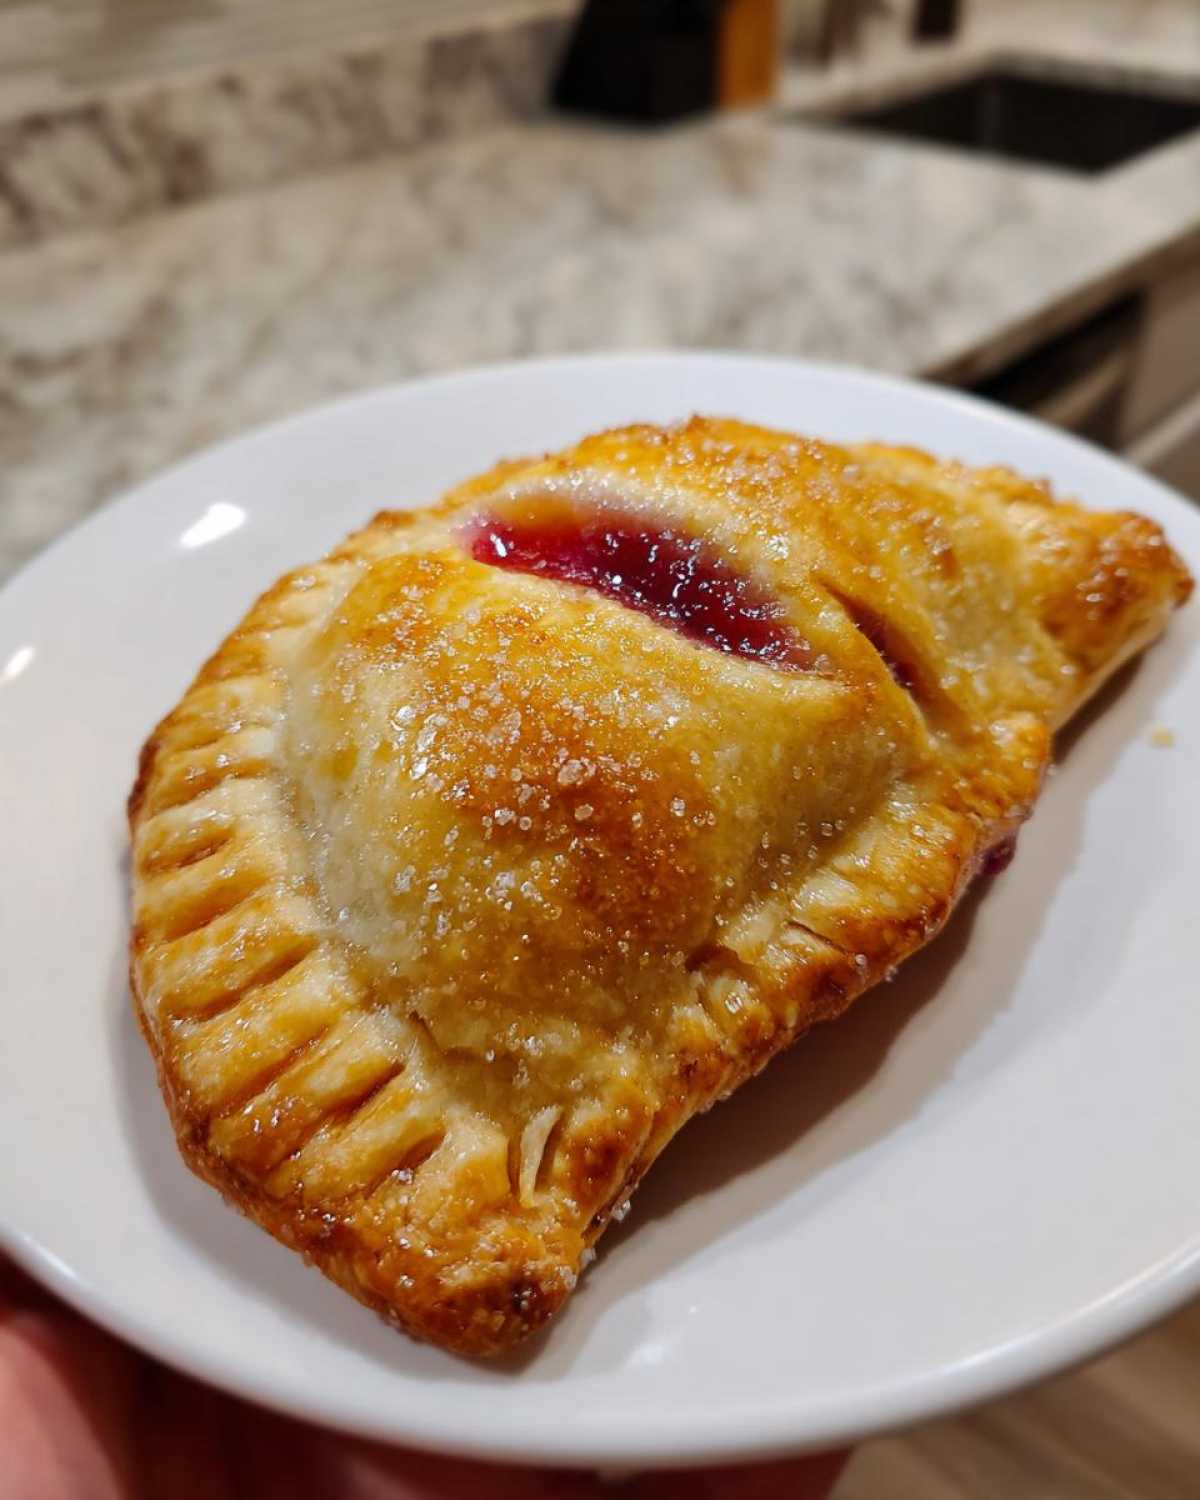
Frequently Asked Questions About Mini Cherry Hand Pies
Got questions about these tasty mini cherry hand pies? We’ve got answers! We’ve heard a few things pop up during our recipe rescues, and we’re happy to clear them up for you. These little pies are pretty forgiving, but a little knowledge goes a long way to perfect results.
Can I make these hand pies ahead of time?
Yes, you can! You can assemble the pies and refrigerate them for up to 24 hours before baking. Just be sure to seal them well. For best results, you might need to add a minute or two to the baking time if they are going into the oven cold.
What if I don’t have a 4-inch round cutter?
No worries! You can use a small bowl or even a wide-mouth glass. The key is to get circles that are large enough to hold the filling and allow for a good seal. You can also freehand cut circles if you’re feeling artistic!
How can I store leftover mini cherry pies?
Store any leftover cherry pies in an airtight container at room temperature for up to 2 days, or in the refrigerator for up to 4 days. They’re delicious at room temp or gently warmed.
Can I use fresh cherries instead of pie filling?
You certainly can! If you use fresh cherries, you’ll want to pit and chop them. You’ll also need to create your own filling by simmering them with sugar, cornstarch (or another thickener), and a bit of lemon juice until thickened. This adds a bit more prep time but offers a wonderfully fresh flavor. For more baking tips and tricks, check out our blog.
Nutritional Information for Mini Cherry Hand Pies
Just a friendly note from us here at Savor And Pin: the nutritional details for these mini cherry hand pies are an estimate. Think of it as a helpful guide! The exact numbers can change depending on the specific brands of ingredients you use, like the pie crust or cherry filling. Even the size of your egg can make a tiny difference. We always encourage you to use the freshest ingredients you can find for the best flavor and results. For more information on ingredient sourcing and nutritional guidance, please see our disclaimer.
PrintAstonishing Mini Cherry Hand Pies for Perfect Portable Bliss

Enjoy these delightful mini cherry hand pies, perfect for a portable sweet treat. This recipe is designed to be easy to follow and yields delicious results.
- Prep Time: 15 minutes
- Cook Time: 20 minutes
- Total Time: 35 minutes
- Yield: 8 hand pies
- Category: Dessert
- Method: Baking
- Cuisine: American
- Diet: Vegetarian
Ingredients
- 1 package (14.1 ounces) refrigerated pie crusts (2 crusts), softened as directed on package
- 1 can (21 ounces) cherry pie filling
- 1 large egg, beaten
- 2 tablespoons sparkling sugar (optional)
Instructions
- Preheat your oven to 400°F (200°C).
- Unroll both pie crusts on a lightly floured surface.
- Using a 4-inch round cutter, cut out 4 circles from each crust, for a total of 8 circles.
- Place 4 of the circles on a baking sheet lined with parchment paper.
- Spoon about 2 tablespoons of cherry pie filling onto the center of each of these 4 circles, leaving a 1/2-inch border.
- Brush the edges of the dough with the beaten egg.
- Top each with one of the remaining 4 circles. Press the edges together with your fingers or a fork to seal.
- Cut small slits in the top of each hand pie to allow steam to escape.
- Brush the tops of the hand pies with the remaining beaten egg and sprinkle with sparkling sugar, if desired.
- Bake for 15-20 minutes, or until the crust is golden brown and the filling is bubbly.
- Let the hand pies cool on the baking sheet for a few minutes before transferring them to a wire rack to cool completely.
Notes
- Using refrigerated pie crusts makes this recipe quick and easy.
- Ensure the edges of the hand pies are well sealed to prevent the filling from leaking out during baking.
- Sparkling sugar adds a nice crunch and visual appeal.
Nutrition
- Serving Size: 1 hand pie
- Calories: 350
- Sugar: 20g
- Sodium: 250mg
- Fat: 20g
- Saturated Fat: 8g
- Unsaturated Fat: 12g
- Trans Fat: 0g
- Carbohydrates: 40g
- Fiber: 2g
- Protein: 4g
- Cholesterol: 25mg