

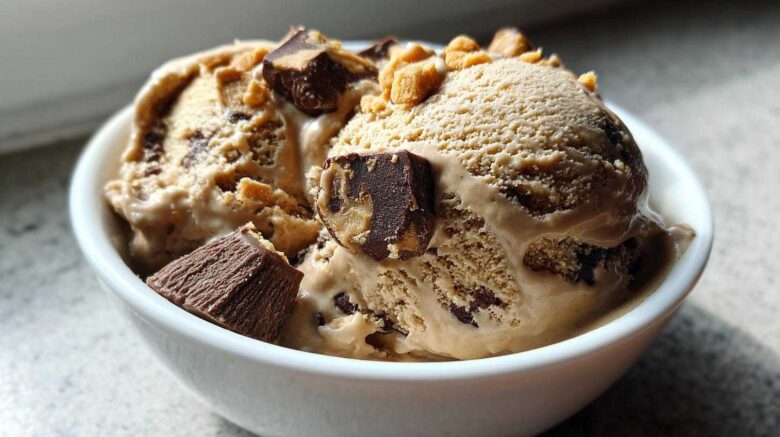
Peanut Butter Cup Coffee Ice Cream: The Ultimate Indulgent Treat
Oh, hello there! Are you ready for a dessert that’s going to make your taste buds sing? I know I am. There’s something truly magical about a dessert that combines two beloved flavors, and when it’s Ben from The Recipe Redux behind it, you know it’s going to be good. He’s the kind of guy who sees a recipe that’s *almost* there and goes, “Nope, we can make this better.” I remember one time, he spent hours trying to perfect a simple cookie recipe. He’s just got this passion for rescuing recipes that aren’t quite hitting the mark. And this Peanut Butter Cup Coffee Ice Cream? It’s a prime example of his dedication to creating something truly exceptional. It’s a decadent dream that blends the bold, invigorating kick of coffee with the sweet, nutty comfort of peanut butter cups. Get ready for a flavor explosion!
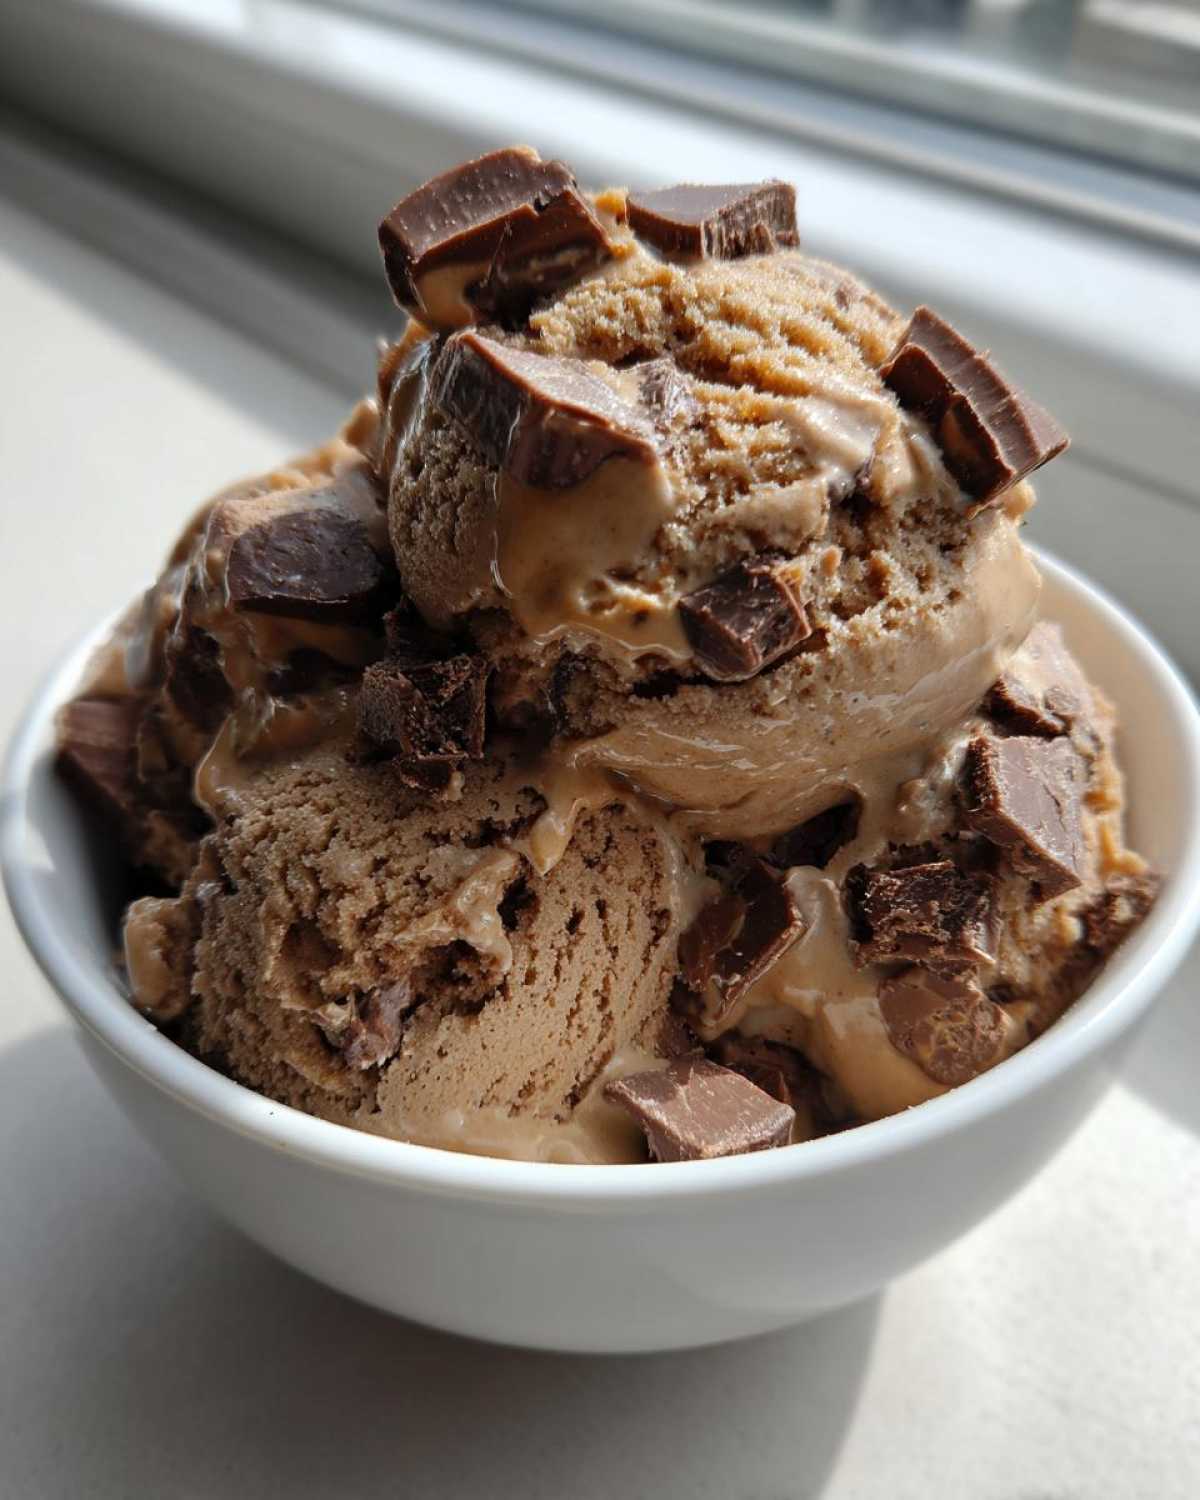
Why You’ll Love This Peanut Butter Cup Coffee Ice Cream
This isn’t just any ice cream; it’s a flavor revelation! You’ll adore it because:
- It delivers an intensely rich coffee flavor.
- The sweet, salty peanut butter cups are a perfect match.
- Making it is surprisingly straightforward.
- It’s the ultimate “rescue” recipe, perfected by Ben.
It’s the perfect balance of a caffeine boost and a sweet treat.
Equipment You’ll Need for Perfect Peanut Butter Cup Coffee Ice Cream
To whip up this delightful frozen treat, you’ll want a few key players in your kitchen. An ice cream maker is essential for that classic creamy texture. You’ll also need a couple of mixing bowls, a whisk for smooth blending, and a saucepan to gently cook our custard base. Don’t forget a fine-mesh sieve to ensure a silky smooth finish. Finally, an airtight container is crucial for storing your masterpiece. These tools help us create that perfect scoop every time.
Crafting Your Perfect Peanut Butter Cup Coffee Ice Cream
When Ben tackles a recipe, he’s all about the quality of the ingredients. He believes that even the most brilliant idea can fall flat with subpar components. For this Peanut Butter Cup Coffee Ice Cream, we’re using simple, wholesome ingredients that really shine. Think of it like building a house; you need a solid foundation. Our foundation here is a rich, creamy base that perfectly complements the star players: coffee and peanut butter cups. Ben’s approach is always about letting the core flavors speak for themselves, and that’s exactly what we’ve done here.
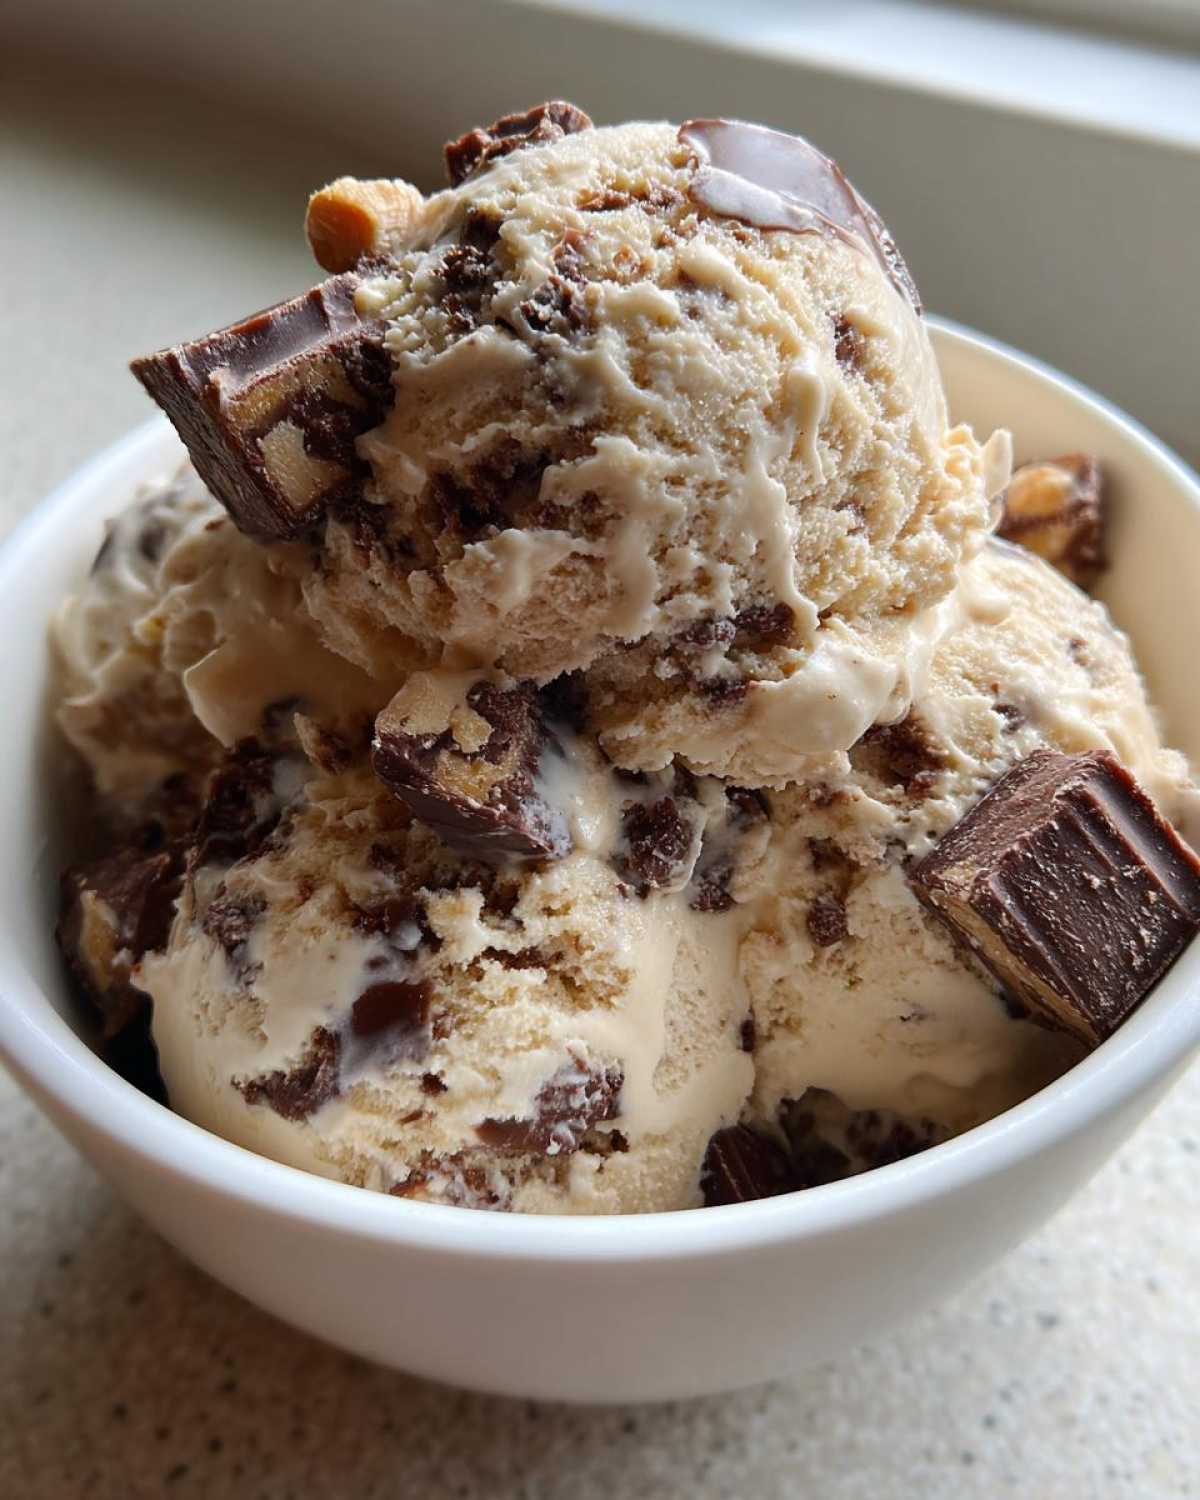
Essential Ingredients for Peanut Butter Cup Coffee Ice Cream
Here’s what you’ll need to gather for this delightful treat:
- 1 cup strong brewed coffee, cooled: Use a dark roast for a bolder flavor.
- 2 cups heavy cream: For that luscious, rich texture.
- 1 cup whole milk: Balances the creaminess.
- 3/4 cup granulated sugar: Sweetness is key!
- 1/4 cup unsweetened cocoa powder: Adds depth and a hint of chocolate.
- 5 large egg yolks: Creates a smooth, custardy base.
- 1 teaspoon vanilla extract: A little something extra.
- 1 cup chopped peanut butter cups: The irresistible stars of the show. Make sure they are well-chilled before chopping so they don’t melt too fast.
Ingredient Notes and Smart Substitutions
For the best Peanut Butter Cup Coffee Ice Cream, I always recommend using good quality ingredients. If you’re a serious coffee lover, using a freshly ground dark roast will really boost that coffee flavor. Don’t have a specific coffee? Any strong brewed coffee will work, but avoid flavored ones. If you’re looking for a slightly less rich base, you could try using half-and-half instead of all heavy cream, but it might affect the final texture. For a dairy-free option, it gets a bit trickier, but a full-fat coconut milk could be an experiment worth trying, though the flavor profile will change.
Step-by-Step Guide to Making Peanut Butter Cup Coffee Ice Cream
Alright, let’s get down to business! This is where the magic happens. Ben and I spent ages tweaking this part, making sure every step is clear and makes sense. We want to avoid any recipe disasters, remember? Our goal is a smooth, creamy, flavor-packed ice cream. We’ve refined these instructions from countless attempts to ensure you get perfect results. It’s all about patience and paying attention to the little details. This process is a testament to our recipe rescue mission. We’ve ironed out all the kinks so you don’t have to.
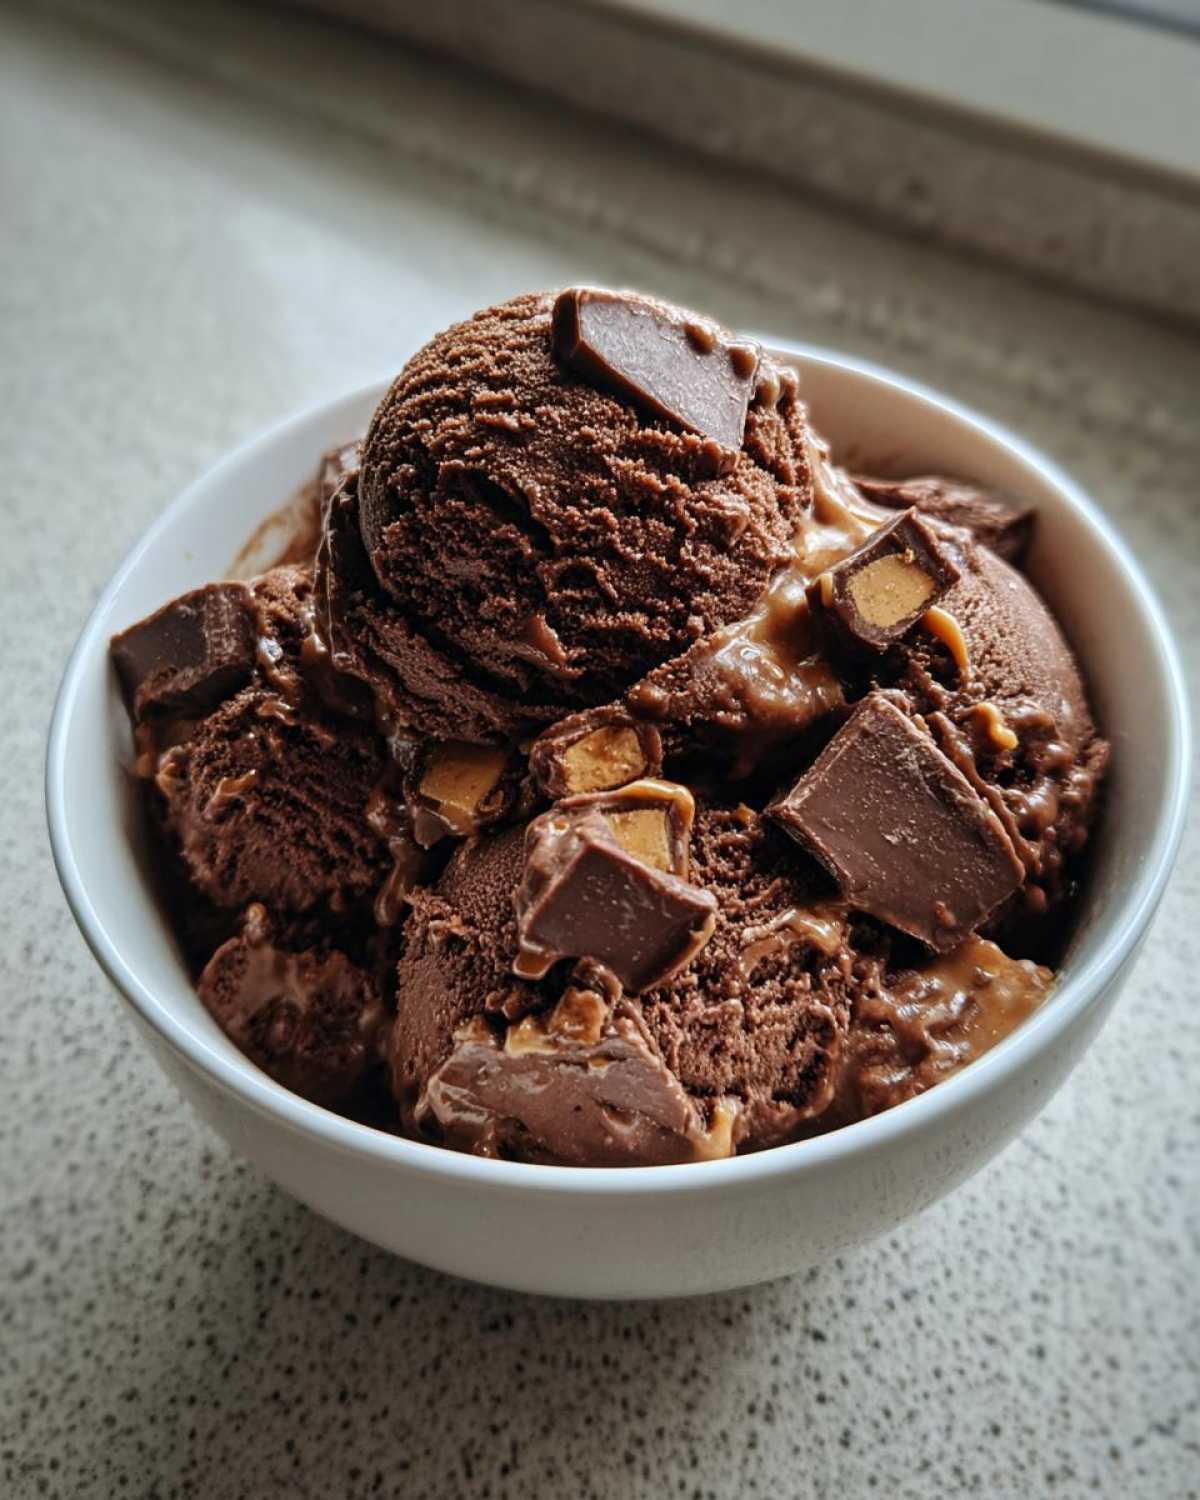
Preparing the Ice Cream Base
First, let’s make our delicious base. In a bowl, whisk together the cooled coffee, heavy cream, and milk. This is our liquid gold. In another bowl, whisk the sugar, cocoa powder, and egg yolks until they’re smooth and pale. Now, for a crucial step: tempering the eggs. Slowly add about half of the warm coffee mixture to the egg yolks, whisking constantly. This prevents the eggs from scrambling. Pour this tempered mixture back into the saucepan with the rest of the coffee liquid. Cook this gently over medium heat, stirring all the time with a wooden spoon. You’re looking for it to thicken just enough to coat the spoon. This usually takes about 5 to 7 minutes. Don’t let it boil! Once thickened, remove it from the heat and stir in the vanilla extract. For the silkiest ice cream, strain this base through a fine-mesh sieve into a clean bowl. This catches any tiny bits of cooked egg. Cover the surface directly with plastic wrap. This stops a skin from forming.
Chilling and Churning Your Peanut Butter Cup Coffee Ice Cream
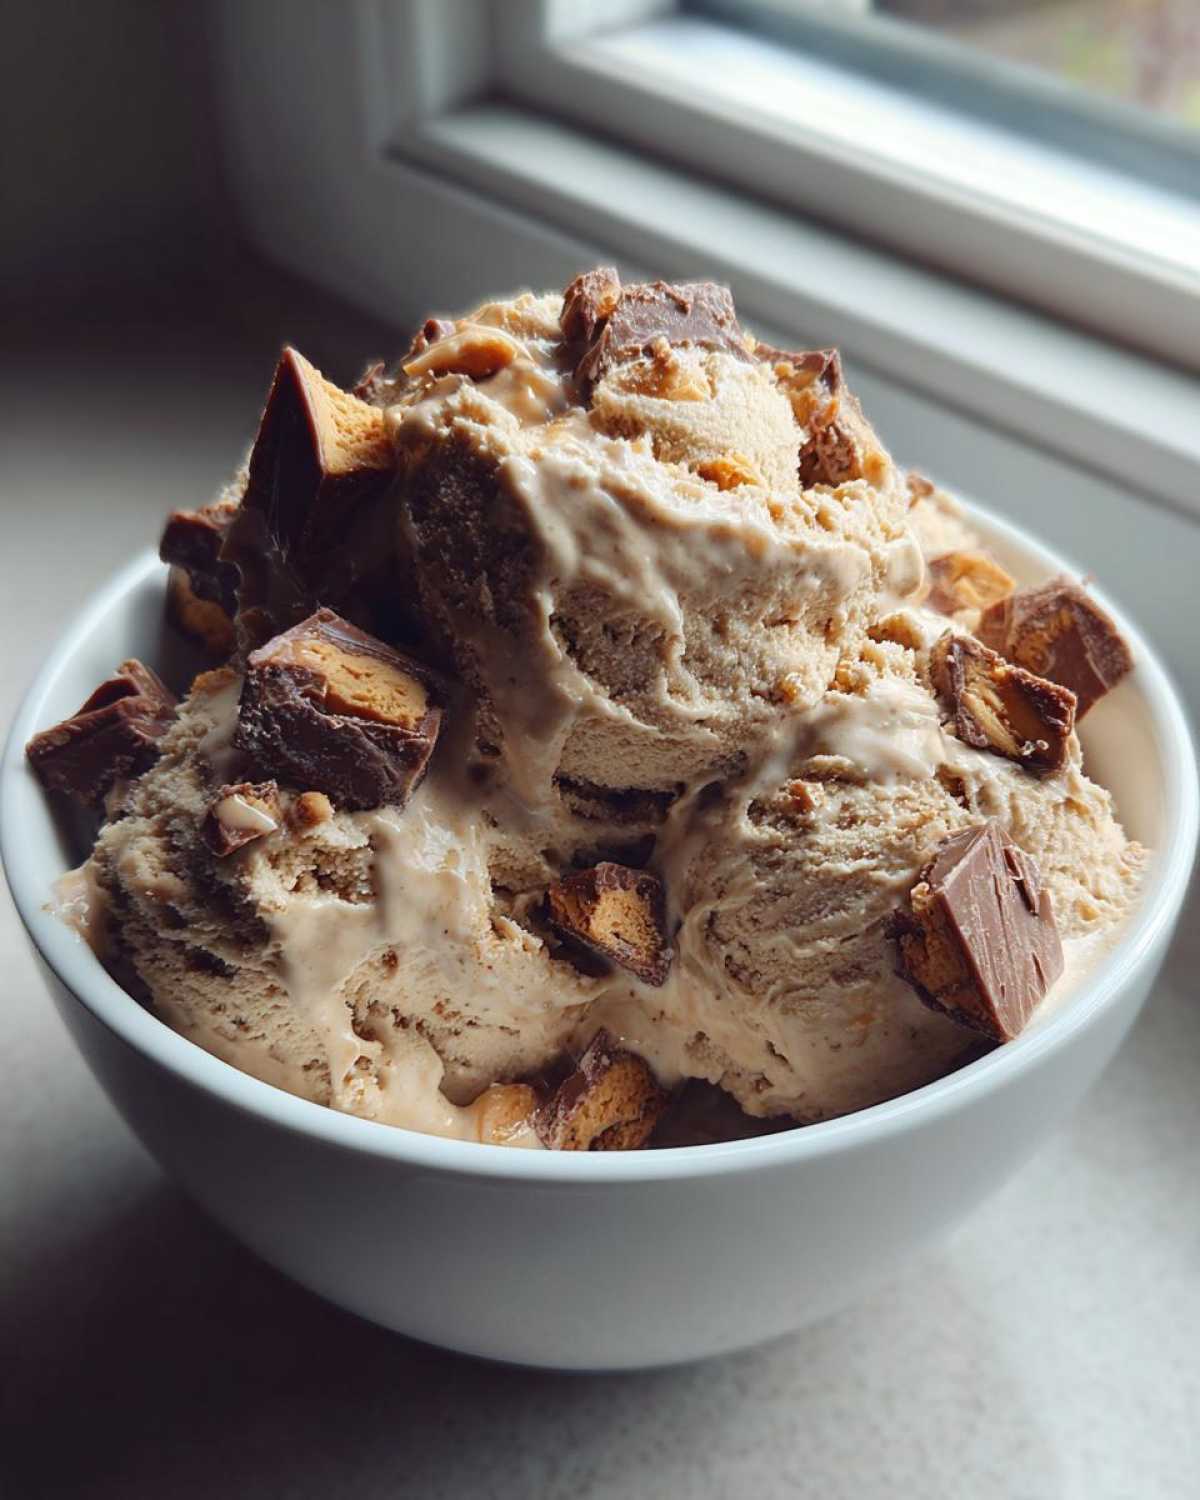
Now comes the waiting game, but it’s worth it. Pop that covered base into the fridge for at least two hours, or even better, overnight. This chilling is super important for getting that creamy texture. Once it’s thoroughly chilled, pour it into your ice cream maker. Churn it according to the manufacturer’s directions. When there are just a few minutes left in the churning cycle, toss in your chopped peanut butter cups. We want them to get mixed in but not completely pulverized. No ice cream maker? No problem! Pour the base into a shallow freezer-safe container. Stir it vigorously every 30 minutes for the first 2-3 hours. It will get there, I promise!
Freezing for the Perfect Texture
Once your ice cream is churned and looks wonderfully soft-serve-like, transfer it to an airtight container. Press a piece of parchment paper directly onto the surface before sealing the lid. This helps prevent ice crystals. Now, into the freezer it goes! Let it freeze for at least four hours. This allows it to harden up perfectly. Patience is key here for that firm, scoopable consistency we all love.
Frequently Asked Questions About Peanut Butter Cup Coffee Ice Cream
Got questions about this coffee ice cream dream? We’ve got answers! Ben and I have tested this recipe inside and out, so let’s tackle some common queries.
Can I Make This Peanut Butter Cup Coffee Ice Cream Without an Ice Cream Maker?
Absolutely! If you don’t have an ice cream maker, you can still achieve a delicious result. Simply pour your chilled ice cream base into a shallow, freezer-safe container. Every 30 minutes for the first 2-3 hours, give it a really good stir with a fork or whisk. This breaks up ice crystals. Your coffee ice cream might be a little less smooth than churned versions, but it will still be wonderfully tasty!
How Can I Get a Stronger Coffee Flavor in My Ice Cream?
For a bolder coffee punch, I suggest using a dark roast coffee. Brewing it strong is key too – use a bit less water than usual. You could even try adding a teaspoon of instant espresso powder to the base mixture before cooking. This really amps up the coffee notes without adding extra liquid. For more coffee-inspired recipes, check out our Chai Tea Latte or Pumpkin Spice Latte.
Why is My Ice Cream Not Freezing Properly?
Several things can affect freezing. Make sure your ice cream maker bowl is fully frozen beforehand. Also, ensure your base is super cold before churning; chilling overnight is best. If it’s still too soft after churning, it might need more time in the freezer. Sometimes, if your freezer isn’t cold enough, it can slow down the process. Your fat content is good here, so it should freeze well.
Storing and Reheating Your Delicious Peanut Butter Cup Coffee Ice Cream
Got leftovers? Lucky you! To keep your Peanut Butter Cup Coffee Ice Cream tasting its best, store it in an airtight container. Press a piece of parchment paper directly onto the surface before sealing the lid. This simple trick helps prevent those pesky ice crystals from forming. It’ll stay wonderfully scoopable in your freezer for up to two weeks. If it gets a little too hard, just let it sit on the counter for a few minutes before diving in. No need to reheat ice cream, just let it soften a bit!
Estimated Nutritional Information for Peanut Butter Cup Coffee Ice Cream
Here’s a look at the approximate nutritional values for a 1/2 cup serving of this decadent Peanut Butter Cup Coffee Ice Cream. Keep in mind these numbers can shift a bit depending on the brands of ingredients you use.
- Calories: 350
- Fat: 22g
- Saturated Fat: 14g
- Carbohydrates: 35g
- Sugar: 30g
- Protein: 6g
- Sodium: 150mg
Peanut Butter Cup Coffee Ice Cream: 5 Secrets

Indulge in this irresistible Peanut Butter Cup Coffee Ice Cream, a delightful blend of rich coffee and decadent peanut butter cups. It’s the perfect treat for a caffeine-infused dessert experience.
- Prep Time: 20 minutes
- Cook Time: 10 minutes
- Total Time: 2 hours 30 minutes (includes chilling)
- Yield: 1.5 quarts
- Category: Dessert
- Method: Ice Cream Maker
- Cuisine: American
- Diet: Vegetarian
Ingredients
- 1 cup strong brewed coffee, cooled
- 2 cups heavy cream
- 1 cup whole milk
- 3/4 cup granulated sugar
- 1/4 cup unsweetened cocoa powder
- 5 large egg yolks
- 1 teaspoon vanilla extract
- 1 cup chopped peanut butter cups
Instructions
- In a medium bowl, whisk together the cooled coffee, heavy cream, and whole milk.
- In a separate bowl, whisk together the granulated sugar, cocoa powder, and egg yolks until smooth.
- Gradually temper the egg yolk mixture by slowly whisking in about half of the warm coffee and cream mixture.
- Pour the tempered egg yolk mixture back into the remaining coffee and cream mixture in the saucepan.
- Cook over medium heat, stirring constantly with a wooden spoon, until the mixture thickens enough to coat the back of the spoon (about 5-7 minutes). Do not boil.
- Remove from heat and stir in the vanilla extract.
- Strain the ice cream base through a fine-mesh sieve into a clean bowl.
- Cover the surface of the ice cream base directly with plastic wrap to prevent a skin from forming.
- Chill the ice cream base in the refrigerator for at least 2 hours, or preferably overnight.
- Once chilled, churn the ice cream base in an ice cream maker according to the manufacturer’s instructions.
- During the last few minutes of churning, add the chopped peanut butter cups.
- Transfer the ice cream to an airtight container and freeze for at least 4 hours, or until firm.
Notes
- For a stronger coffee flavor, use a darker roast coffee.
- If you don’t have an ice cream maker, you can freeze the base in a shallow container, stirring vigorously every 30 minutes for the first 2-3 hours until firm.
- Ensure your peanut butter cups are well chilled before chopping to prevent them from melting too quickly during churning.
Nutrition
- Serving Size: 1/2 cup
- Calories: 350
- Sugar: 30g
- Sodium: 150mg
- Fat: 22g
- Saturated Fat: 14g
- Unsaturated Fat: 8g
- Trans Fat: 0.5g
- Carbohydrates: 35g
- Fiber: 2g
- Protein: 6g
- Cholesterol: 120mg