

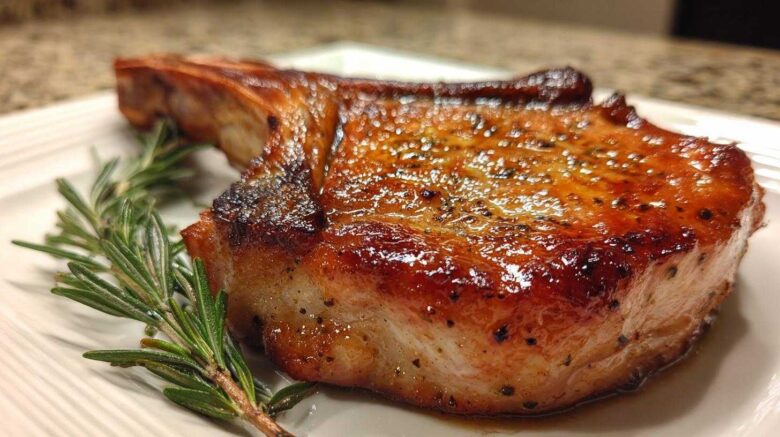
The Pork Chops That Finally Stay Juicy: Ending Dry Meat Disasters
Are you tired of sad, dry pork chops? I know I was. They always taste like shoe leather.
That culinary crime scene feeling? We know it well here at Savor And Pin. Clara, Ben, and I fix broken recipes. We promise you a great result.
That’s why we perfected these recipes. We guarantee you’ll make The Pork Chops That Finally Stay Juicy. Our secret blends a quick brine with a perfect sear. This method locks in every drop of moisture.
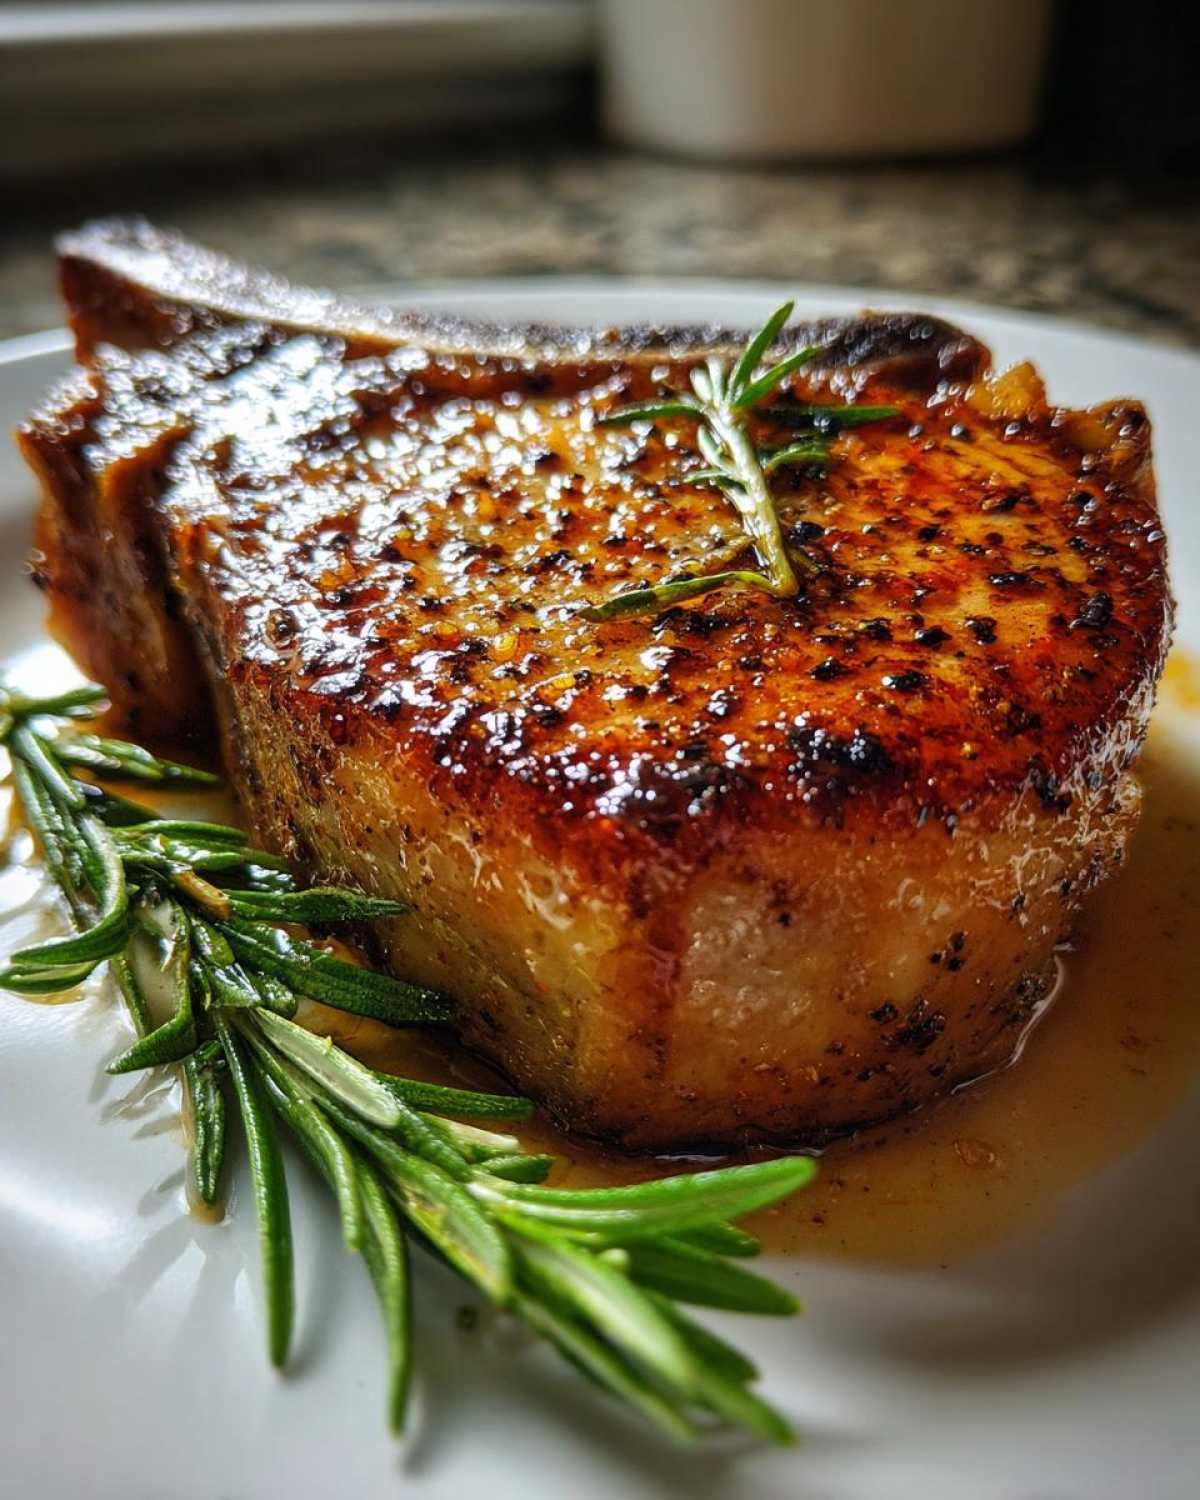
Forget everything you knew about cooking pork. This technique works every time. Prepare for tender, flavorful meat.
Why You’ll Love The Pork Chops That Finally Stay Juicy
I’m so excited for you to try this method. It really changes everything. You get tender pork every single time. No more kitchen sadness!
Here’s what makes this recipe a new family favorite:
- Guaranteed juiciness, thanks to smart prep.
- The simple sear builds amazing flavor fast.
- Basting adds that decadent, rich taste.
It’s foolproof cooking, I promise you that.
Quick Look at Cooking The Pork Chops That Finally Stay Juicy
We keep the active time low here. The brine does most of the heavy lifting.
- Prep Time: 15 minutes
- Cook Time: 15 minutes
- Total Time: 4 hours 30 minutes (Brining is mandatory!)
- Yield: 4 servings
The Essential Components for The Pork Chops That Finally Stay Juicy
Getting this right starts with the right building blocks. These ingredients aren’t fancy.
They are chosen for one job: moisture retention. We need four bone-in chops. They should be about one inch thick. Pick up kosher salt for our brine.
You’ll also need brown sugar for balance. Don’t forget the fresh peppercorns. Smashing the garlic cloves releases huge flavor. We use fresh rosemary too.
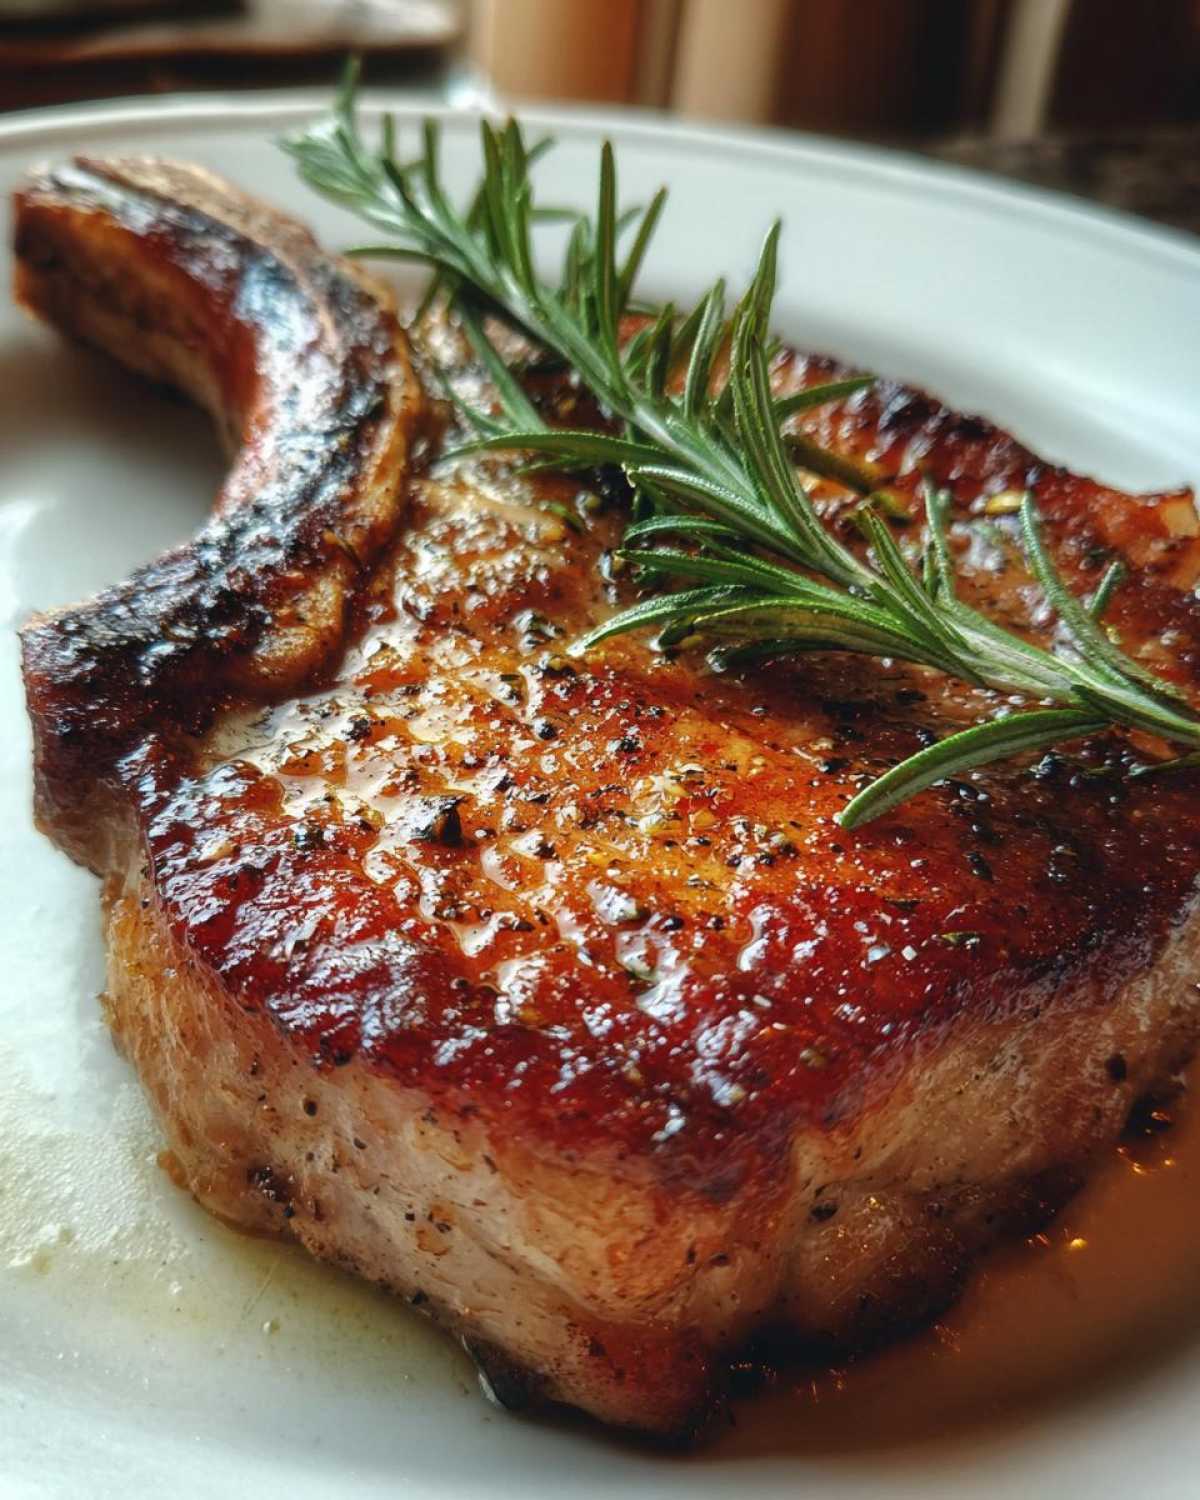
Finally, grab olive oil and some good unsalted butter. These fats create that amazing crust and help baste the meat.
Ingredient Checklist for Maximum Moisture
I want to talk about two key parts here. First, the cut of meat matters a lot.
Always choose bone-in pork chops if you can find them. The bone helps insulate the meat.
This means the chop cooks more evenly. It keeps more of that wonderful moisture locked inside.
Second, fresh pepper is non-negotiable. You must crack those peppercorns yourself.
Pre-ground pepper tastes flat. Freshly cracked pepper offers a sharp, bright counterpoint. It truly makes a difference in the final flavor profile.
Equipment Needed for Perfect Pork Chops That Finally Stay Juicy
Having the right tools makes cooking easy. It truly does.
When we fix a recipe, equipment is often the missing link. For these chops, a few items are absolute must-haves.
You cannot achieve the perfect sear without the right pan. Skip the thin aluminum ones.
We need something heavy. A cast iron skillet is my top choice here.
It holds heat beautifully. This means even browning on the pork surface.
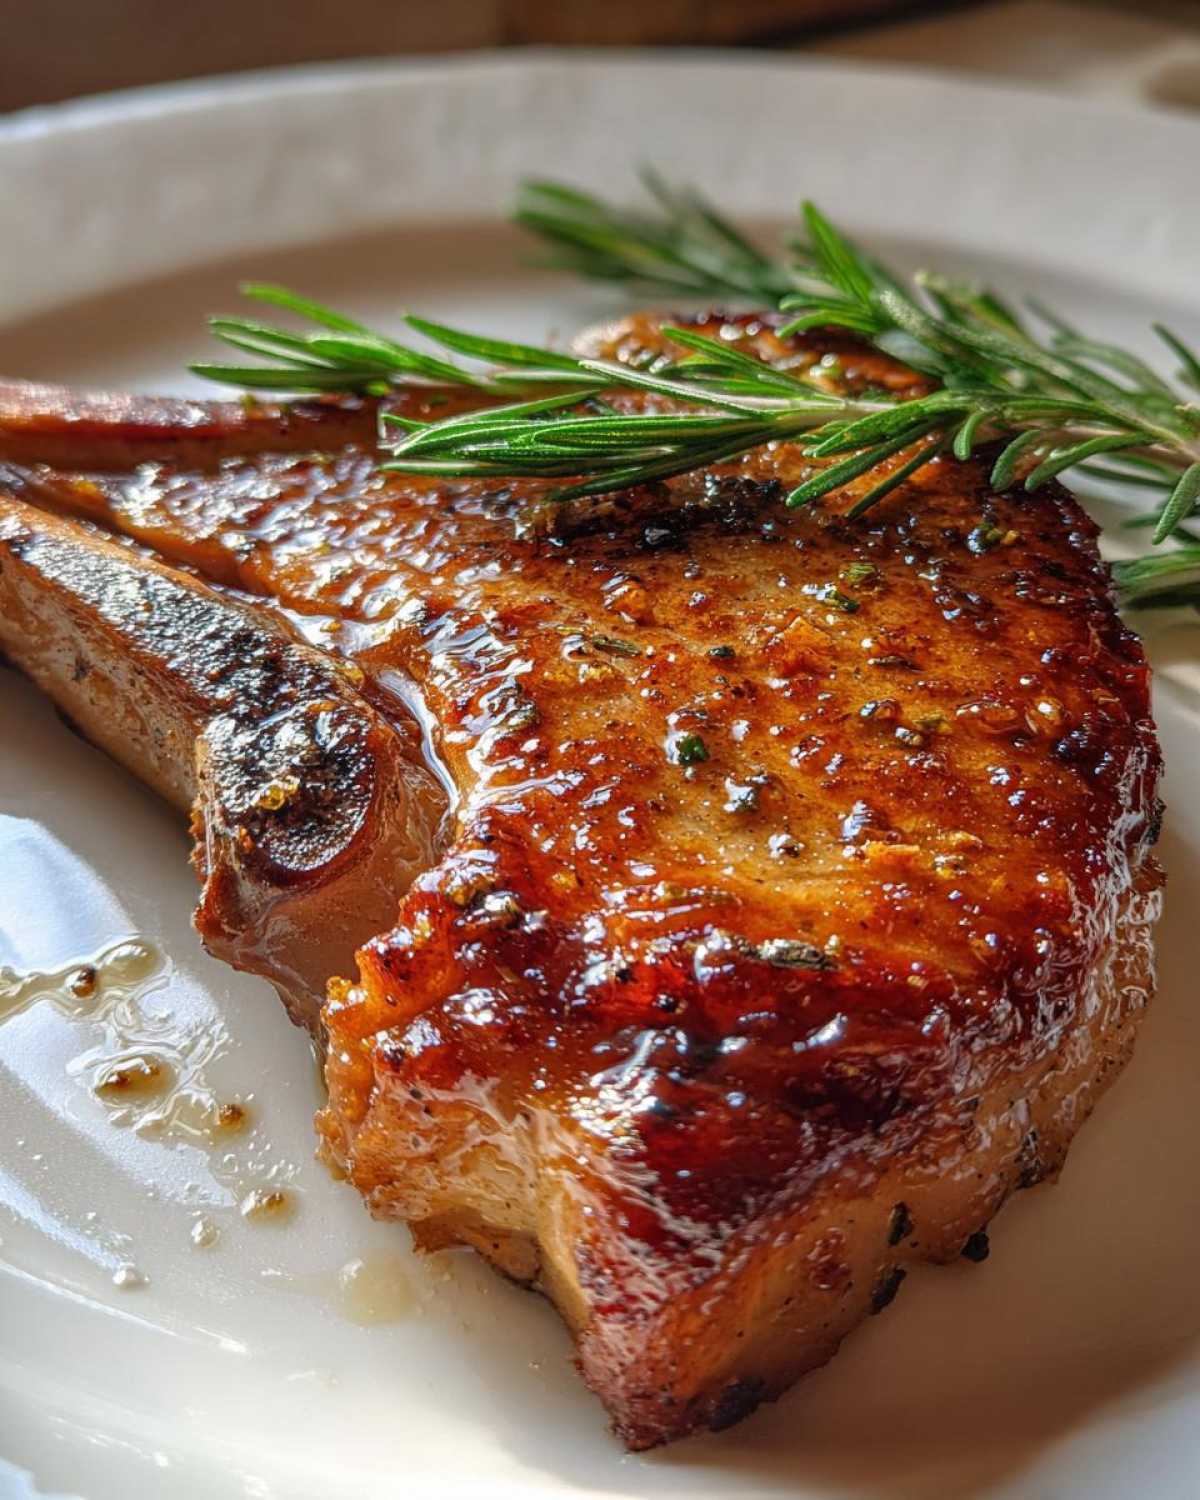
Here is what you absolutely need on your counter:
- A heavy-bottomed skillet, preferably cast iron.
- A reliable instant-read meat thermometer.
- Paper towels for drying the chops completely.
- A large bowl for making that essential brine bath.
- A sturdy spoon for all that butter basting action.
That thermometer is your secret weapon. Guessing leads to sadness.
It takes all the guesswork out of the cook time. Trust me on this one piece of gear.
Step-by-Step Method for The Pork Chops That Finally Stay Juicy
Now we get to the magic part. This process turns tough meat into silk. Follow these steps exactly.
We break this down into four clear phases. This ensures you nail the technique every time. Don’t rush the chilling or the resting steps.
Phase 1: Brining for Moisture Retention
This brining technique is Noah’s genius addition. It seasons deep down.
First, make the brine solution. Dissolve the salt and sugar completely in hot water. This takes a minute of stirring.
Then, cool it fast. Add ice water to drop the temperature quickly. We don’t want warm pork sitting around.
Submerge the chops fully in this liquid. They must chill in the fridge for four to twelve hours. This crucial step locks moisture in tight.
Phase 2: Preparing and Searing The Pork Chops That Finally Stay Juicy
Take the chops out of the brine. Pour that liquid down the sink immediately.
Now for the most important part before heat hits them. Pat every surface bone dry. Seriously dry them well.
Moisture is the enemy of a great crust. A dry surface sears beautifully.
Season them only with fresh black pepper now. Remember, they are already salty from the brine bath.
Heat your oil in that heavy skillet until it shimmers. Place the chops in carefully. Sear them hard for three to four minutes.
Do not touch them while searing! You want a deep brown color there.
Phase 3: Flavor Building and Finishing the Cook
Flip those gorgeous chops over. Reduce the heat to medium right away.
Toss in the butter, smashed garlic, and rosemary sprigs. Watch that butter melt down.
Tilt the pan slightly toward you. Use a spoon to scoop that fragrant butter over the chops. This is called basting.
Keep basting for three to five minutes total. This infuses amazing herbal flavor.
Phase 4: Resting for Internal Juiciness
Use your thermometer to check the internal heat. Pull them out at 140 degrees Fahrenheit.
Transfer the chops gently to a clean cutting board. Do not slice into them yet.
Tent them loosely with foil. Let them rest for a full ten minutes. This resting period is non-negotiable for tender pork.
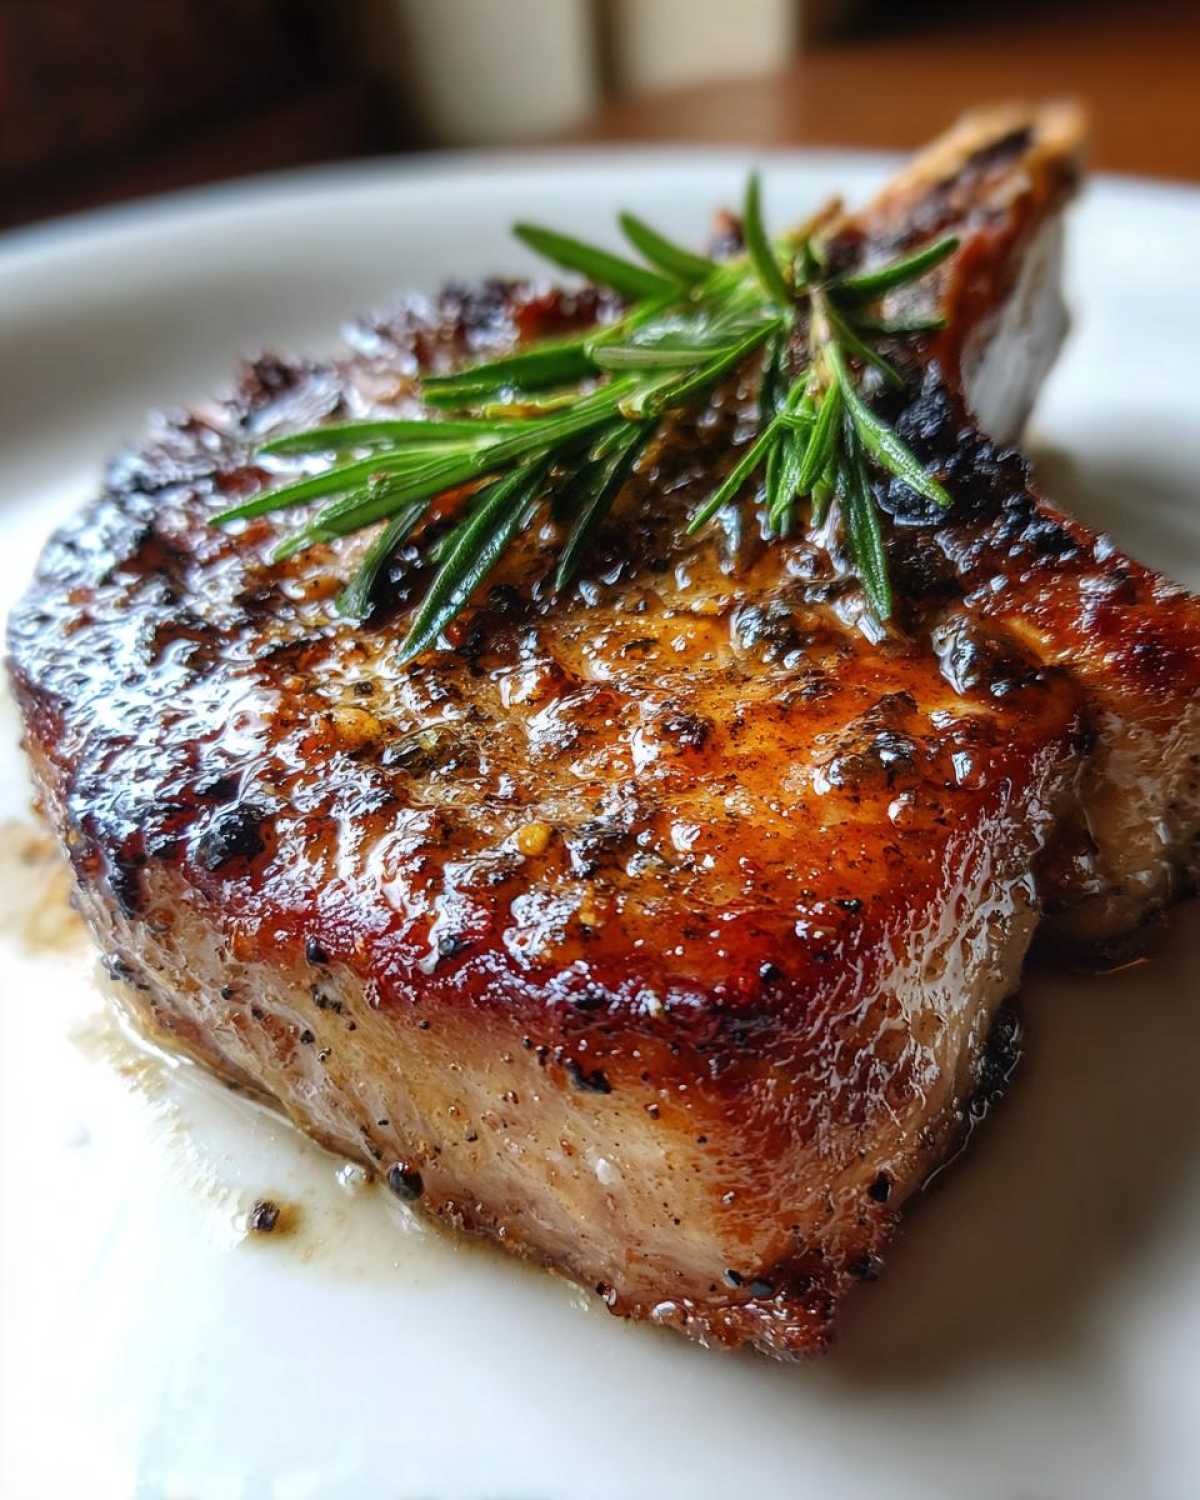
The temperature will climb safely to 145 degrees. Juices redistribute perfectly during this time. This guarantees your final result is juicy.
Tips for Success with The Pork Chops That Finally Stay Juicy
Even with a great recipe, little details matter most. I learned this early on.
These tips come from Ben and Noah’s testing notes. They are shortcuts to perfection.
Follow these three rules for legendary results every time you cook.
- Always go bone-in for the best outcome. The bone acts like a little heat shield. This helps prevent overcooking the edges.
- Your meat thermometer is truly your best friend here. I can’t stress this enough. Guessing is how we end up with dry meat. Aim for that 140°F pull temperature.
- Never, ever skip the resting phase. Ten minutes might seem long. But this wait lets the juices settle back in. It keeps your chop spectacularly moist.
If your chops are thinner than one inch, adjust your timing. Shave off a minute or two during the sear and baste. You want to be quick.
We want your experience to be a total win. These little things make the biggest difference.
Frequently Asked Questions About Juicy Pork Chops That Finally Stay Juicy
I know you might still have questions. Cooking pork well can feel tricky.
We gathered the most common worries we hear often. Let’s sort out any lingering doubts you have about this brining technique.
Can I skip the brine and still get tender pork?
Honestly, you shouldn’t skip it. The brine is the foundation here.
It pre-seasons the meat deeply. More importantly, it introduces necessary moisture. Skipping it makes achieving truly juicy pork much harder.
It’s the key to avoiding dry meat disasters.
What if I only have boneless chops available?
You can use boneless chops in a pinch. They cook faster, though.
If you must use boneless, reduce the cooking time slightly. Pull them from the heat closer to 135°F. The bone offers protection we lose here.
They might not be quite as perfectly tender.
Why do I need to pat them completely dry before searing?
This is purely about the Maillard reaction. That’s the fancy science term. If the surface is wet, the heat turns water to steam first. Steam prevents that beautiful brown crust from forming. You need that crust for flavor.
A dry surface gives you that perfect sear.
Is it safe to remove them at 140°F?
Yes, it is perfectly safe according to current USDA guidelines. The meat continues cooking after removal. This is called carryover cooking. Resting at room temperature brings it to 145°F safely.
This step is essential for ultimate juiciness.
Nutritional Disclaimer for Your Pork Chops That Finally Stay Juicy
We focus on flavor and technique here at Savor And Pin.
We aren’t registered dietitians, so treat these numbers as estimates.
Nutritional values always change based on your ingredients.
Brand differences affect the final count significantly.
Please note the sodium amount varies widely. This depends on how long you brine your chops.
Use this information for general guidance only, okay?
Share Your Success with The Pork Chops That Finally Stay Juicy
I truly hope this recipe changes your weeknight dinners.
You deserve perfectly cooked meat every time you turn on the stove.
Now that you’ve mastered the brine and the baste, I want to hear from you.
Did these chops finally stay juicy for you?
Head down to the comments section below. Tell me about your experience.
Leave a rating for this recipe so others can see your success!
PrintAmazing 4-Step Pork Chops That Finally Stay Juicy
Follow these steps to cook pork chops that remain incredibly juicy and tender every time. We focus on technique to defeat dry meat.
- Prep Time: 15 minutes
- Cook Time: 15 minutes
- Total Time: 4 hours 30 minutes (includes mandatory brining time)
- Yield: 4 servings
- Category: Main Course
- Method: Sear and Baste
- Cuisine: American
- Diet: Low Fat
Ingredients
- 4 Bone-in Pork Chops (about 1 inch thick)
- 1/4 cup Kosher Salt
- 2 tablespoons Brown Sugar
- 1 teaspoon Black Peppercorns, freshly cracked
- 2 sprigs Fresh Rosemary
- 4 cloves Garlic, smashed
- 2 tablespoons Olive Oil
- 2 tablespoons Unsalted Butter
Instructions
- Create the brine: Dissolve salt and brown sugar in 4 cups of hot water. Add 1 cup of ice water to cool the mixture quickly.
- Submerge the pork chops in the cooled brine. Place in the refrigerator for at least 4 hours, up to 12 hours. This step locks in moisture.
- Remove chops from brine. Discard brine. Pat the pork chops completely dry using paper towels. Drying the surface is key for a good sear.
- Season the dry chops generously with black pepper. Do not add more salt, as the brine has already seasoned them.
- Heat olive oil in a heavy-bottomed skillet (cast iron works best) over medium-high heat until shimmering.
- Carefully place the pork chops in the hot skillet. Sear for 3 to 4 minutes without moving them until a deep brown crust forms.
- Flip the pork chops. Reduce the heat to medium. Add the butter, rosemary sprigs, and smashed garlic to the pan.
- Tilt the pan slightly and use a spoon to continuously baste the melting butter over the chops for 3 to 5 minutes.
- Check the internal temperature with a meat thermometer. Remove the chops from the pan when they reach 140 degrees Fahrenheit.
- Transfer the chops to a cutting board. Tent loosely with foil. Let them rest for 10 minutes before serving. The temperature will rise to a safe 145 degrees while resting, keeping them juicy.
Notes
- Bone-in chops retain more moisture than boneless cuts.
- Do not skip the resting period; this allows juices to redistribute throughout the meat.
- Use a meat thermometer. Guessing leads to dry pork.
- If your chops are thinner than 1 inch, reduce the searing and basting times slightly.
Nutrition
- Serving Size: 1 pork chop
- Calories: 350
- Sugar: 1g
- Sodium: 900mg (varies based on brine time)
- Fat: 18g
- Saturated Fat: 6g
- Unsaturated Fat: 12g
- Trans Fat: 0g
- Carbohydrates: 1g
- Fiber: 0g
- Protein: 40g
- Cholesterol: 110mg