

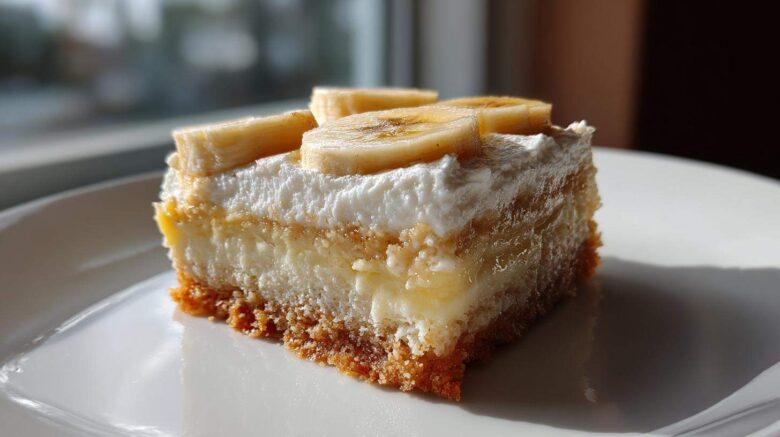
Say Goodbye to Soggy Layers: Your Perfect Banana Pudding Bars
Friends, I’m Clara from Savor And Pin. We’ve all been there, right?
You see a beautiful dessert photo. You try the recipe.
Disaster strikes. We hate broken promises in the kitchen.
That’s why we created these amazing Banana Pudding Bars.
We found the classic recipe had some real flaws.
Noah analyzed the science. Ben suggested wild fixes.
I brought it all together for you.
Our mission is simple: rescue bad recipes.
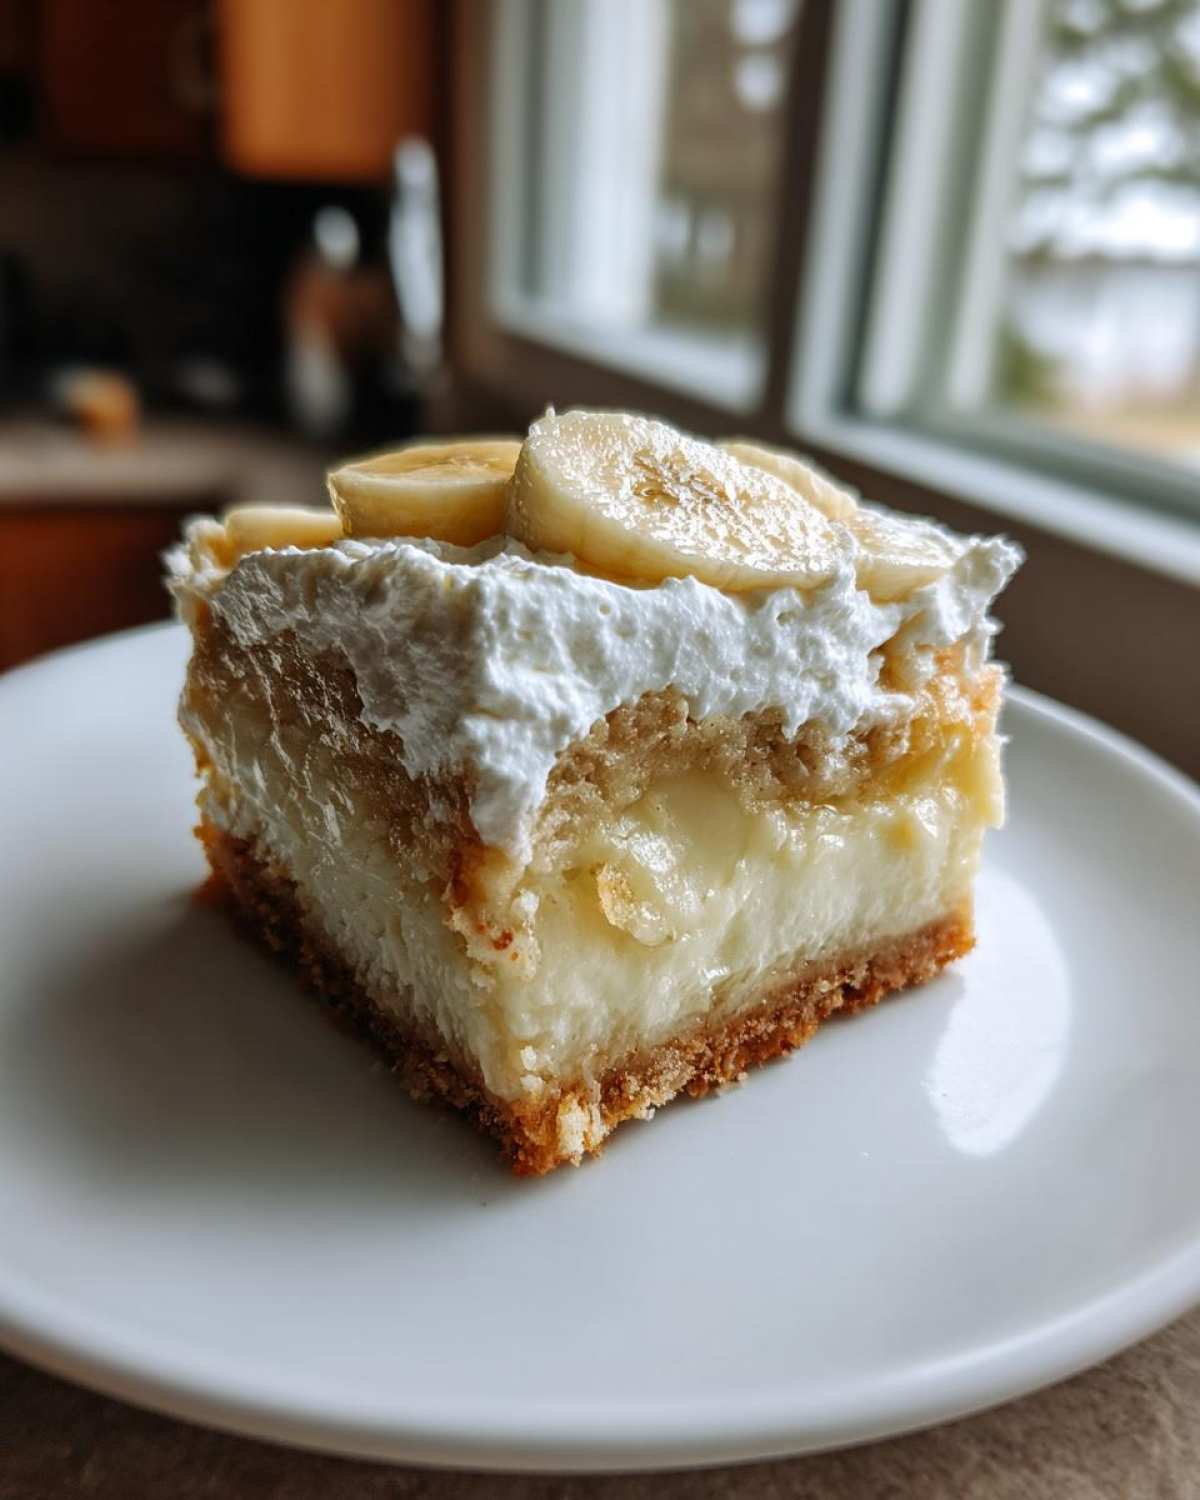
These bars deliver creamy, perfect layers.
You get the comfort of the classic dessert.
This version is portable and truly exceptional.
Say hello to your new favorite, fixed recipe.
Why You Need These Banana Pudding Bars Now
Honestly, why wait another minute to make these?
These treats solve so many dessert dilemmas.
You deserve a guaranteed win tonight.
Our Banana Pudding Bars are simply the best choice.
Quick Assembly, Big Flavor
Prep time flies by fast.
You get huge flavor payoff quickly.
The Portable Dessert Solution
Forget flimsy spoons and bowls.
These bars travel perfectly to any party.
Foolproof Layers Every Time
We fixed the common pitfalls here.
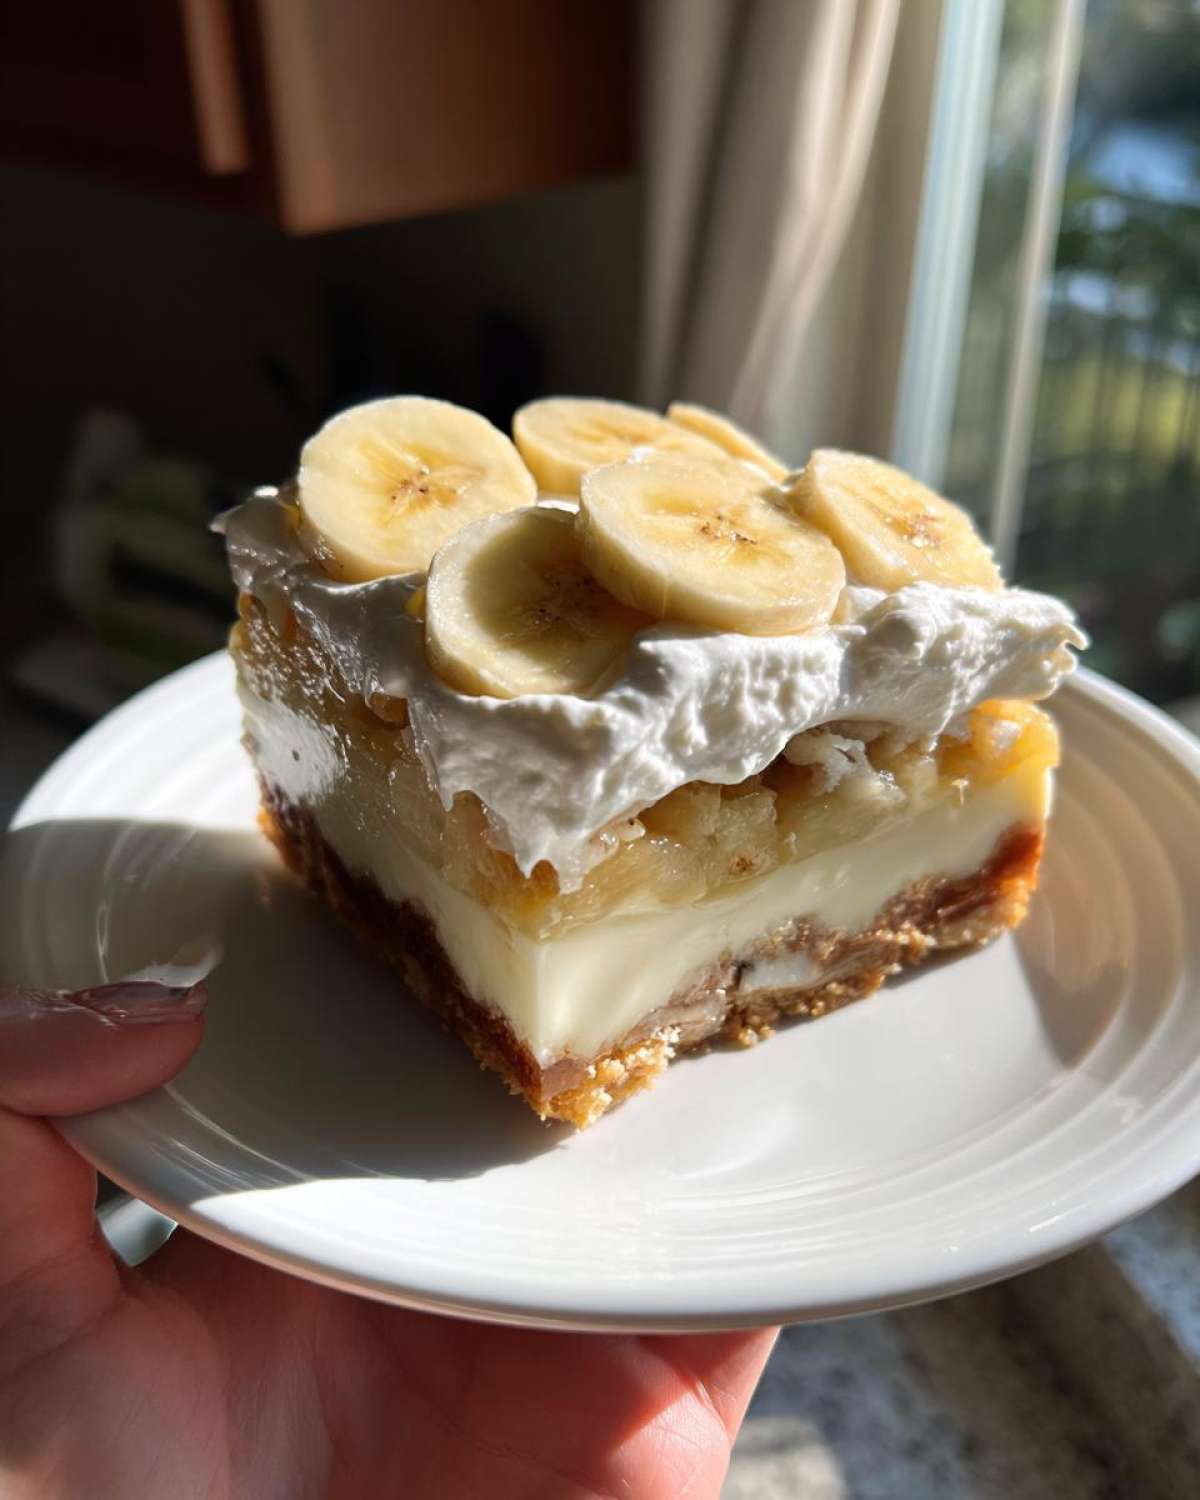
Expect gorgeous, set layers always.
Equipment You Will Need
Making great food starts with having the right tools.
Don’t stress, you probably have most of this already.
We keep things simple here at the kitchen counter.
Here is what you need for success.
- 8×8 inch baking pan
- Measuring cups and spoons
- Mixing bowls (small and medium)
- Whisk for pudding mixing
- Pastry blender or your hands
- Wire cooling rack
Grab these items before you start mixing.
Having everything ready speeds things up.
This makes the whole process smoother.
Assembling Your Banana Pudding Bars Ingredients
Gathering your ingredients is half the battle won.
When we rescue a recipe, measurements matter a lot.
We need precision for these perfect layers.
Don’t substitute wildly here, trust the process.
These components build that classic, comforting flavor.
You’ll need items for the crust and the filling.
Make sure your butter is softened, not melted.
That texture is key for our crumb base.
For the layers, grab your instant pudding mix.
Remember that milk must be ice cold.
Cold milk thickens the vanilla pudding fast.
For the fruit, use ripe yet firm bananas.
Overripe bananas make things too messy.
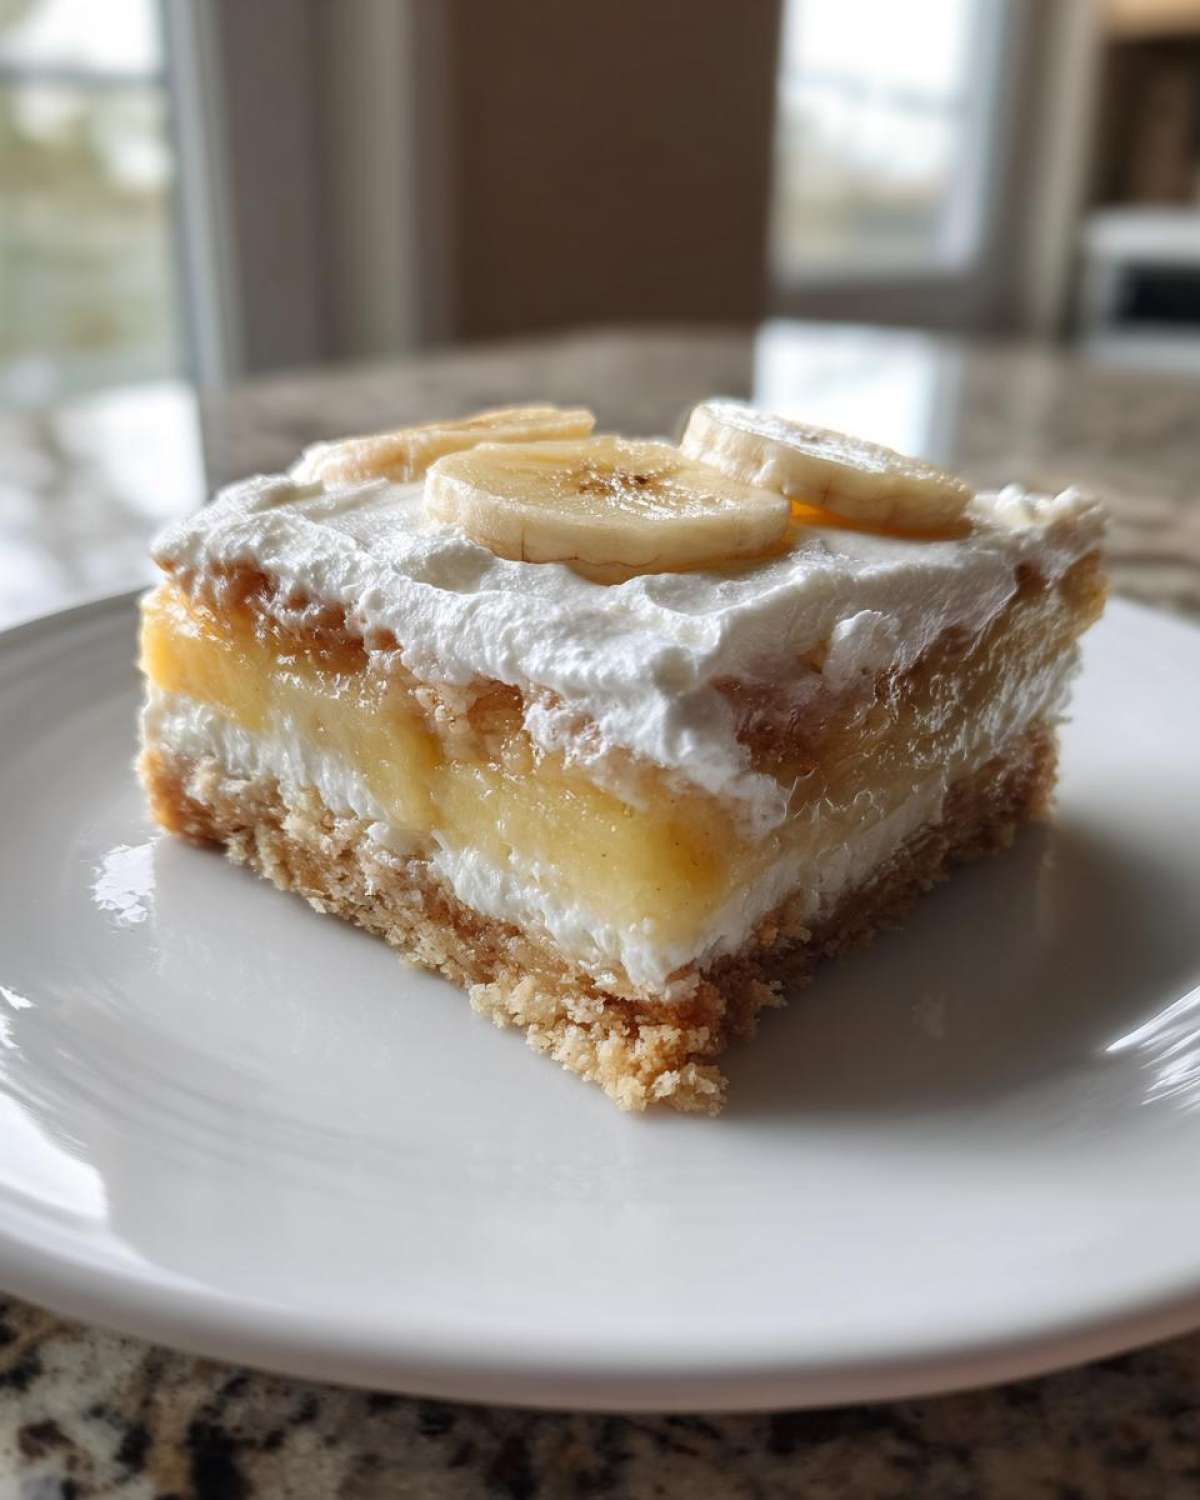
Finally, have your whipped topping ready to go.
It must be thawed before the final spread.
These simple items make amazing Banana Pudding Bars.
Check your pantry for flour and sugar now.
Step-by-Step Guide to Making Banana Pudding Bars
Ready to see the magic happen?
This process is straightforward, trust me.
We are building these layers carefully.
Follow these steps for perfect Banana Pudding Bars.
No more sinking or sliding layers here.
Preparing the Perfect Crust Base
First thing, get that oven warming up.
Preheat your oven to 350 degrees F.
Grease and flour your 8×8 inch pan well.
In a bowl, whisk the flour and sugar.
Add salt and baking powder to the mix.
Cut in the softened butter until it crumbs.
I use my fingers for this part best.
Whisk the egg and vanilla extract separately.
Mix wet into dry until a soft dough forms.
Press this dough evenly into your prepared pan.
This forms our sturdy bottom layer.
Bake this crust for just 15 minutes total.
Crafting the Instant Vanilla Pudding Layer
While that base bakes, let’s make pudding.
This instant pudding thickens up really fast.
Whisk the pudding mix with cold milk.
Keep whisking until it sets nicely.
It only takes about two minutes of work.
This sets up while the crust finishes baking.
Layering and Setting the Banana Pudding Bars
Pull that warm crust out of the oven now.
Arrange your sliced bananas right on top.
Make sure they cover the surface evenly.
Gently spread the vanilla pudding over the fruit.
Return the pan back into the hot oven.
Bake for another 10 to 12 minutes more.
We are looking for the pudding to look set.
This step locks the banana flavor in place.
The Final Chill and Topping
Take the pan out and let it cool down.
Cool it fully on a wire rack first.
This cooling step is really important.
Once cool, spread the thawed whipped topping.
Make sure that top layer is smooth.
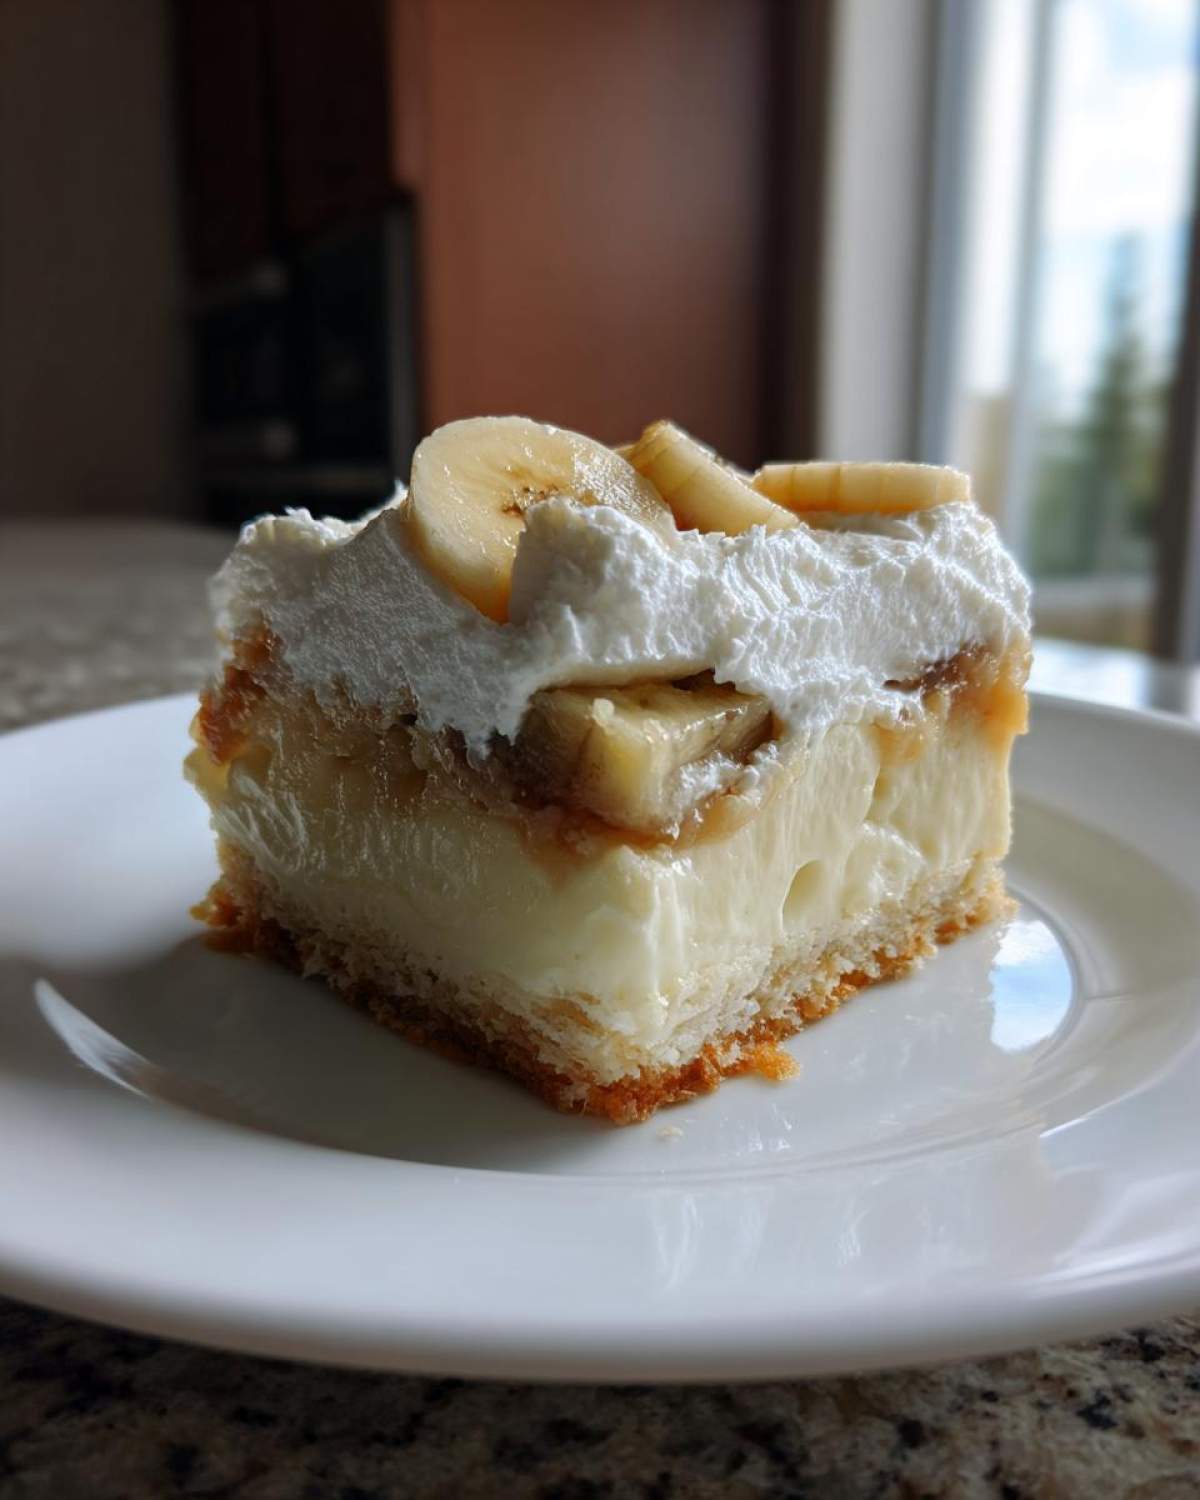
Now for the hardest part, patience!
You must chill these bars for two hours.
Chilling gives you those beautiful, clean cuts.
Don’t skip this crucial step, please.
Essential Notes for Perfect Banana Pudding Bars
We want your results to be amazing.
These small tips really make a huge difference.
Trust me; I learned these the hard way.
For the best texture in your Banana Pudding Bars…
- Use bananas that are ripe but still firm.
- Avoid fruit that looks too mushy or brown.
- Make sure the pudding layer sets fully before moving on.
That pudding needs to be firm, not jiggly.
Also, the chilling time is non-negotiable.
Chilling is what allows for those clean serving squares.
Plan ahead for that two-hour minimum chill time.
We promise the wait is worth the reward.
Frequently Asked Questions About Banana Pudding Bars
I get so many questions about this recipe.
It’s a popular one for good reason!
Let’s tackle a few common concerns now.
These answers should help you succeed.
Can I use homemade pudding instead of instant mix for these Banana Pudding Bars?
That is a fair question, truly.
The recipe calls for instant mix specifically.
Homemade cooked pudding behaves differently.
It might not set firm enough in the short bake time.
Sticking to the instant mix is safer here.
It guarantees those perfect, set layers.
How far in advance can I make these easy dessert bars?
These are best enjoyed the day after baking.
You can make them up to 24 hours ahead.
Keep them tightly covered in the fridge always.
The longer they sit, the softer the crust gets.
Serving them fresh keeps the texture best.
They are great easy dessert bars for potlucks.
What type of banana ripeness is best for this layered dessert?
This is crucial for any banana-based treat.
You want bananas that are yellow with few spots.
They should yield slightly to gentle pressure.
Avoid bananas that are green or too soft.
Mushy fruit breaks down during baking.
That ruins the structure of this layered dessert.
Storing and Reheating Your Treats
Once these bars are perfectly chilled, storing them is simple.
Keep them covered tightly in the refrigerator.
An airtight container works best for this.
They keep well for about three to four days.
The whipped topping doesn’t love long storage, though.
The crust might soften a little over time.
That’s normal for a creamy, layered dessert.
You don’t really reheat these creamy bars.
They are meant to be served cold or cool.
If they get too cold from the fridge,
just let them sit out for ten minutes.
This softens them just slightly before serving.
Enjoy the leftovers right from the cold.
Share Your Success with These Banana Pudding Bars
I truly hope you loved making these!
These Banana Pudding Bars are my pride and joy.
We worked hard to fix that old recipe.
Now you have a foolproof dessert ready.
Tell me how they turned out for you.
Did your family love this creamy twist?
Head to the comments section right now.
Leave a rating so others can see.
Your feedback helps our mission grow.
We love hearing about your wins.
Pin this recipe for later, too!
Happy baking from all of us!
PrintSavor 1 Flawless Banana Pudding Bars Rescue
You will love these Banana Pudding Bars, a portable and crowd-pleasing twist on the classic dessert. We fixed the flawed recipes to give you creamy, perfect layers every time.
- Prep Time: 20 minutes
- Cook Time: 30 minutes
- Total Time: 2 hours 50 minutes
- Yield: 16 bars
- Category: Dessert
- Method: Baking
- Cuisine: American
- Diet: Vegetarian
Ingredients
- 1 cup All-Purpose Flour
- 1 cup Granulated Sugar
- 1 teaspoon Baking Powder
- 1/4 teaspoon Salt
- 1/2 cup Unsalted Butter, softened
- 1 large Egg
- 1 teaspoon Vanilla Extract
- 1 (3.4 ounce) package Instant Vanilla Pudding Mix
- 1/2 cup Cold Milk
- 2 large Bananas, sliced
- 1 cup Whipped Topping, thawed
Instructions
- Preheat your oven to 350 degrees F. Grease and flour an 8×8 inch baking pan.
- In a medium bowl, whisk together the flour, sugar, baking powder, and salt.
- Cut in the softened butter using a pastry blender or your fingers until the mixture resembles coarse crumbs.
- Whisk the egg and vanilla extract in a small bowl. Pour this into the crumb mixture and mix until just combined, forming a soft dough.
- Press the dough evenly into the prepared baking pan to form the crust. Bake for 15 minutes.
- While the crust bakes, prepare the pudding. Whisk the instant vanilla pudding mix and cold milk in a bowl until thickened, about 2 minutes.
- Remove the crust from the oven. Immediately arrange the sliced bananas evenly over the warm crust.
- Spread the prepared vanilla pudding mixture over the banana layer.
- Return the pan to the oven and bake for an additional 10 to 12 minutes, or until the pudding is set.
- Let the bars cool completely on a wire rack.
- Once cool, spread the thawed whipped topping evenly over the top layer.
- Chill the bars for at least 2 hours before cutting into squares for serving.
Notes
- Use ripe, but not overly mushy, bananas for the best texture.
- Make sure the pudding is completely set before adding the whipped topping.
- Chill time is essential for clean cuts.
Nutrition
- Serving Size: 1 bar
- Calories: 210
- Sugar: 18g
- Sodium: 150mg
- Fat: 11g
- Saturated Fat: 7g
- Unsaturated Fat: 4g
- Trans Fat: 0g
- Carbohydrates: 28g
- Fiber: 1g
- Protein: 3g
- Cholesterol: 35mg