

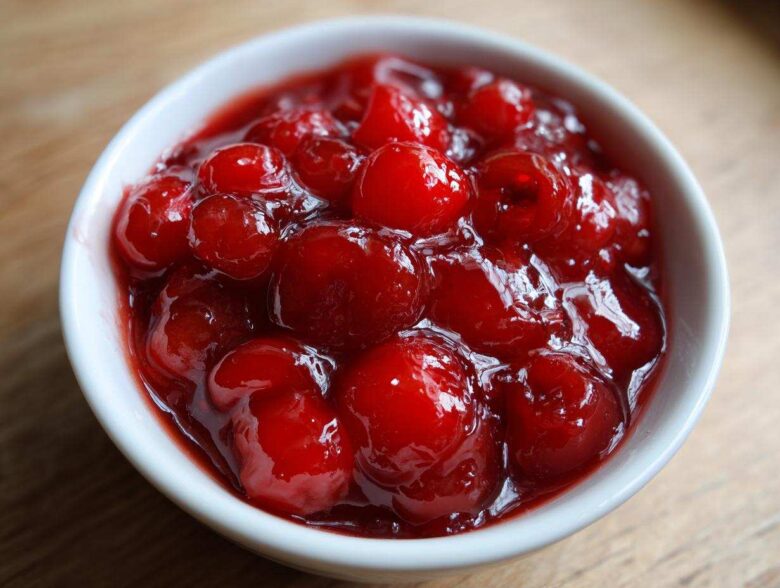
Oh, pie disasters! There is nothing worse than cutting into what you thought was a beautiful cherry pie only to have all that beautiful, jewel-toned fruit run straight out onto the plate. It’s heartbreaking! We’ve all been there, usually blaming that watery filling on needing a bigger scoop of ice cream to cover the mess.
Well, I’m here to save your next dessert because I finally perfected my formula for the absolute Best Cherry Pie Filling. Seriously, this is bakery-style thick, perfectly juicy, and bursting with that sweet-meets-tart flavor we all chase. I’ve been making this specific cherry pie filling recipe from scratch for years now—since way before those jars started showing up on grocery shelves—and I promise, once you try it, you won’t go back. If you love fruit pie as much as I love perfecting it, you should check out my famous recipe for apple pie that outsold all others!
What’s the secret? It’s simple technique, and the best part is that our recipe works beautifully whether you have buckets of fresh summer cherries or just a bag of frozen ones stashed away. Trust me on this one; runny days are over!
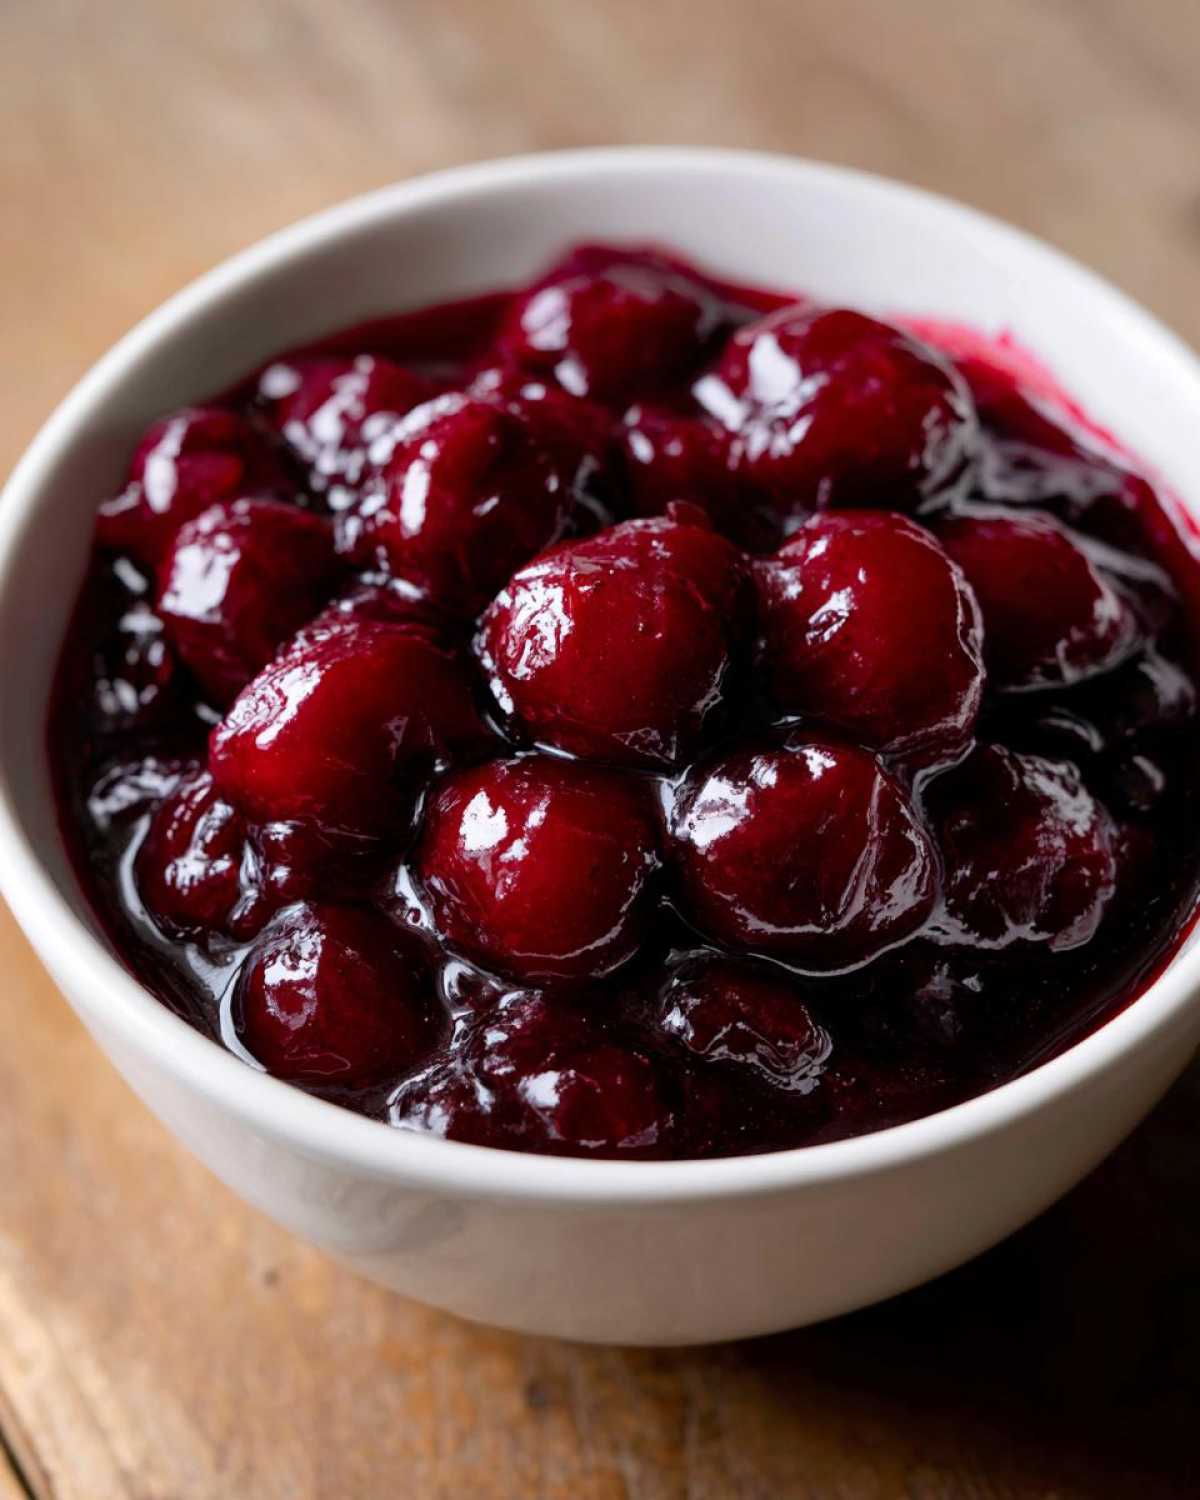
Why This Homemade Cherry Pie Filling Recipe Works (The Secret to Thick Cherry Pie Filling)
So, what makes this Homemade Cherry Pie Filling Recipe stop that watery mess in its tracks? It all comes down to balance and controlling that simmer time. Store-bought slop is often thin because they use a weak thickener or rush the cooking process. My method ensures we get those beautiful, glossy juices that grab onto your crust and won’t run!
We rely on cornstarch, but we use it correctly. You need to create a smooth slurry—that’s the secret to getting that perfect Thick Cherry Pie Filling without lumps. We cook it just long enough for the starch to fully activate and thicken the liquid released by the fruit. Seriously, taste this compared to anything you’ve ever bought in a can; the fresh burst of sweet and tart is unbeatable!
Fresh vs. Frozen Cherries for Your Cherry Pie Filling
This is my favorite part about this recipe—it’s so flexible! You can use gorgeous fresh cherries from the farmer’s market, but if you’re making pie in January, don’t worry. If you grab frozen cherries, just toss them straight into the pot! Do not thaw them first; they release too much liquid too fast if thawed on the counter.
If you are working with fresh fruit, just make sure you take the time to pit them first. It’s a little messy, but totally worth the effort for that truly Juicy Cherry Filling From Scratch. You can even snag some tips on using other great ingredients—I wrote about some famous cookies over at my cookie post that might inspire you!
Gathering Ingredients for the Best Cherry Pie Filling
Okay, let’s look at what you need to grab for the absolute Best Cherry Pie Filling. Since we are making this entirely from scratch, we control the quality, and that’s what matters most. You’ll need about four cups of cherries, pitted, plus water to get things simmering nicely. Sugar and cornstarch are the power duo for thickness, so measure those carefully!
Then we boost the flavor with just a splash of lemon juice for tartness, a little salt to make everything pop, and my secret weapon: almond extract. I know, almond in a cherry pie sounds wild, but it really deepens that fruit flavor. You can use some of my tips for buttery rolls; the meticulous measuring is the same principle!
Ingredient Notes and Substitutions for Cherry Filling With Frozen Cherries
Pay close attention to that cornstarch and sugar ratio! That 1/4 cup of cornstarch needs to be whisked completely into your sugar bowl first; that’s the only way to guarantee there aren’t any dry pockets of starch floating around once you add it to the pot. Don’t skip that pre-whisk step, or your filling will be lumpy, not glossy.
If you don’t have almond extract—though I highly recommend trying it—you can always swap it for pure vanilla extract. For a different twist later on, you could try substituting some of the sugar with the brown sugar mixture I use over on my famous cookie post to give your cherries a richer, almost molasses note.
How To Make Cherry Pie Filling: Step-by-Step Instructions
Alright, let’s get cooking! This is where the magic happens, and honestly, learning How To Make Cherry Pie Filling From Scratch is much faster than you think; we’re talking under 30 minutes total! First things first: get those pitted cherries—fresh or frozen, remember—into a medium saucepan with one cup of water. Get that on medium heat and bring it up to a gentle simmer. You want the fruit to start releasing those lovely juices.
While that’s heating gently, you need to manage your thickener! In a separate small bowl, take your sugar and cornstarch and whisk them together like your life depends on it until every speck of white powder is gone. Now, this is important: slowly whisk that dry sugar mix into your simmering cherries. Don’t dump it all in at once; we want smooth, not clumpy!
Keep stirring! You’ll notice the mixture gets clear and glossy, and then—whoosh—it thickens up quick. You’ll need to stir constantly for just three to five minutes until it’s thick enough to coat the back of a spoon. Once it does that, pull it right off the heat immediately! Stir in your lemon juice, salt, and that amazing almond extract. The final, most crucial step for a perfect Thick Cherry Pie Filling? You have to let it cool completely before you even think about putting it in a crust. Seriously, cooling is half the battle!
Achieving the Perfect Sweet Tart Cherry Filling Consistency
I cannot stress this enough: how you know it’s done is by that spoon test. If you drag your finger across the back of a spoon coated in the filling, the line should stay put and not run back together. That’s when you know the cornstarch has done its job for our Sweet Tart Cherry Filling! If you have that perfect line, remove it from the heat pronto, because it will keep cooking down a bit even off the burner.
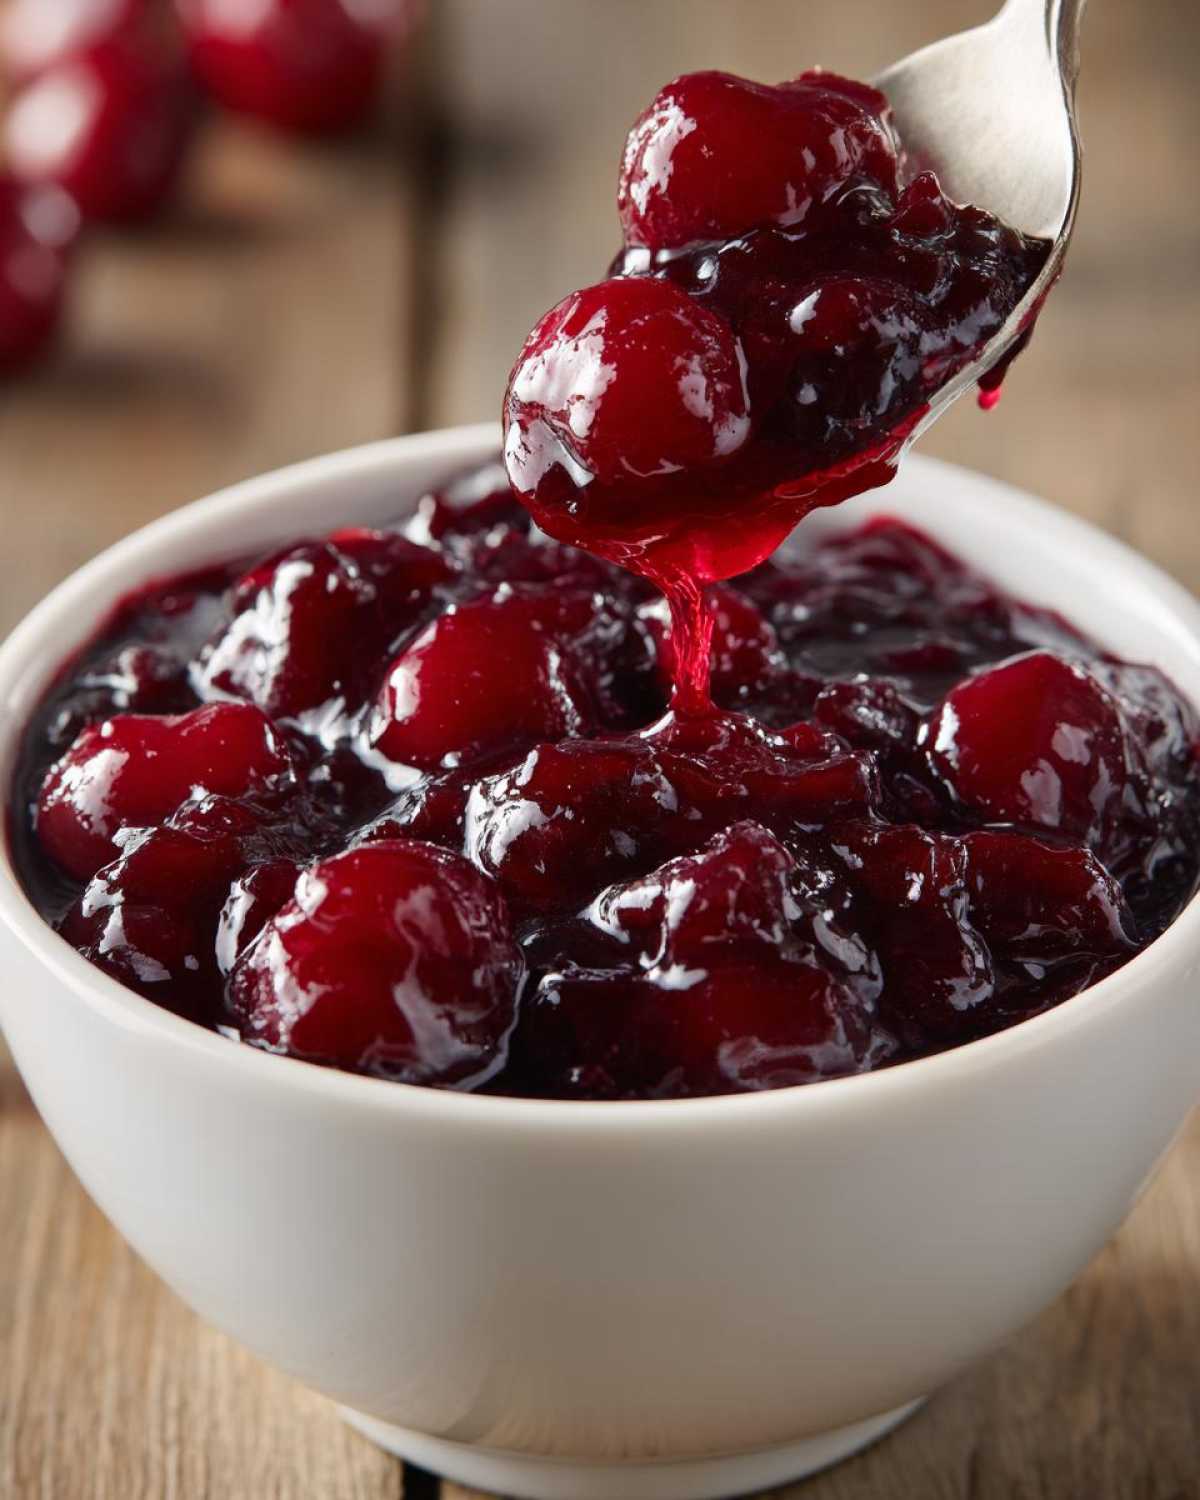
Now, if you are headed over to my noodle recipe, you know I love things instant, but fruit filling hates being rushed at the end! You MUST let this cool down, preferably on the counter until it’s just warm, and then cover it with plastic wrap right on the surface of the filling itself—this stops a weird skin from forming. Once it’s cool, it sets up perfectly firm, hitting that ideal texture you were looking for.
Tips for Success When Making Your Easy Cherry Pie Filling
Okay, now that you’ve mastered the basic steps for this quick sauce, let’s talk about elevating it past just ‘good’ to ‘I need the recipe now’ level! This Easy Cherry Pie Filling is simple, but a few little tricks I picked up over the years really make it shine and show off your expertise.
First, always add a tiny pinch of ground cinnamon when you add your salt and extracts near the end. It’s nothing dramatic, but it grounds the cherry flavor profile beautifully and makes people think you simmered those things for hours! I use the same philosophy of sneaking flavor into my beef stroganoff.
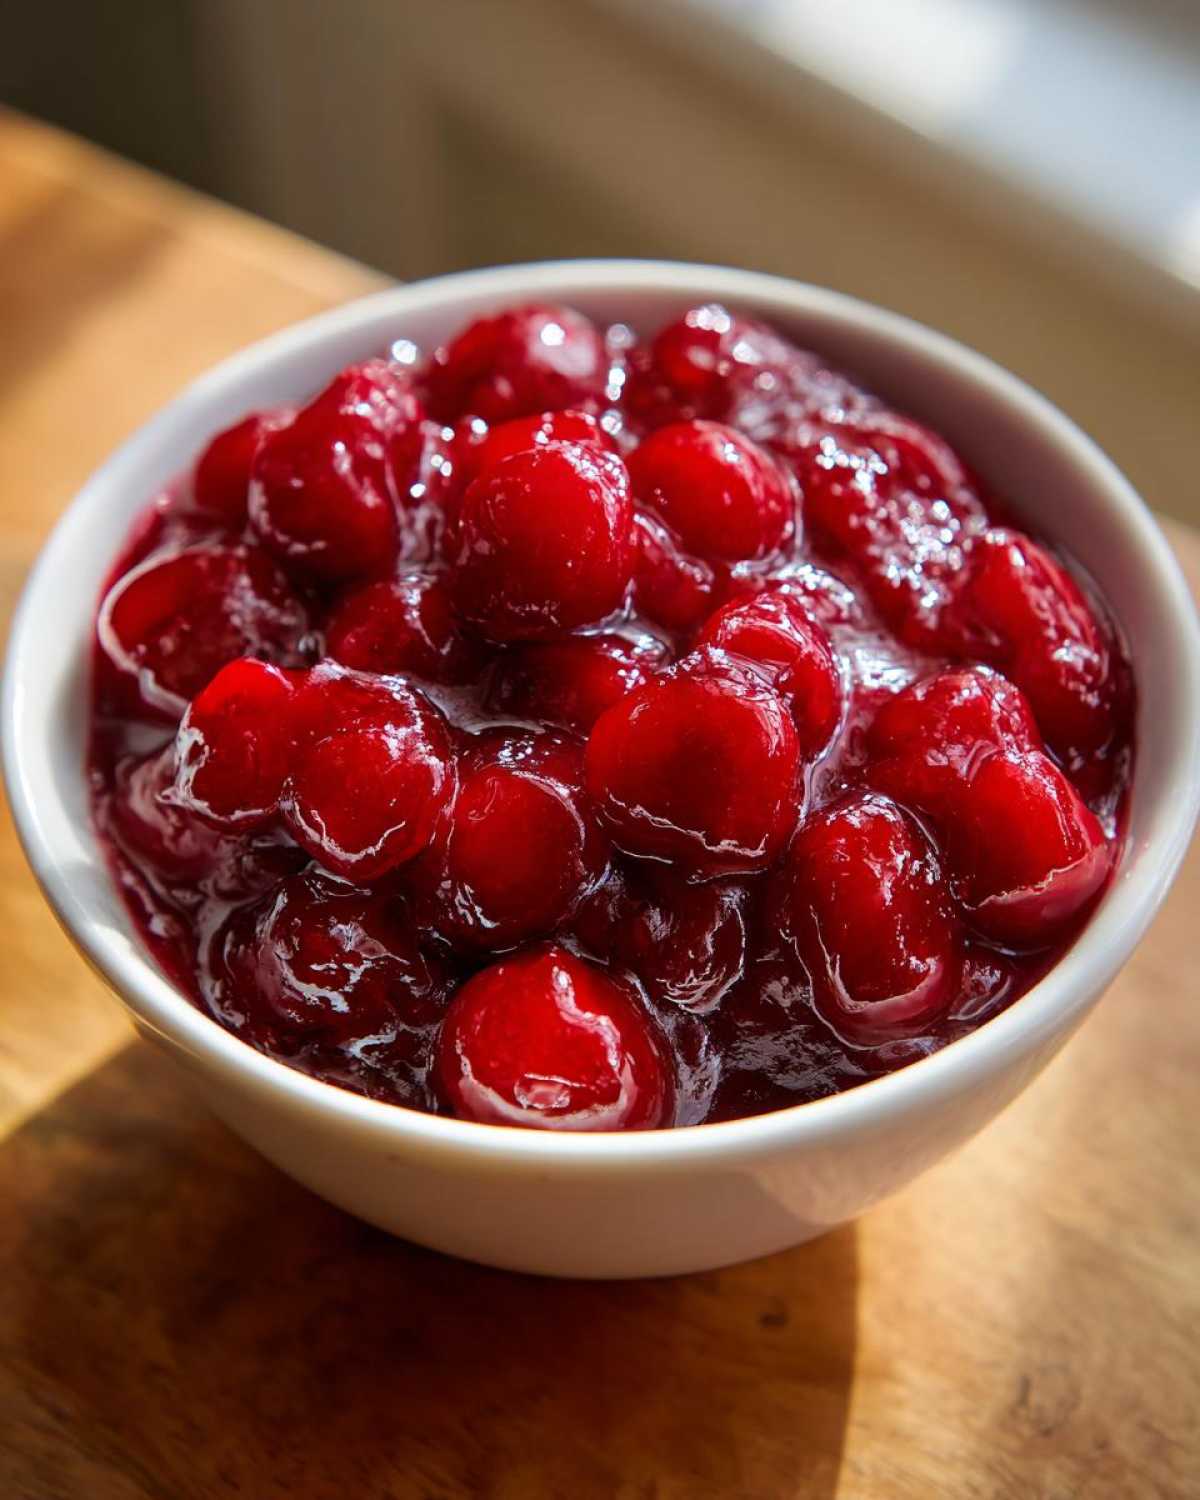
Second, the stirring during the thickening phase is non-negotiable. I know you might be tempted to step away, but if you don’t keep that spoon moving, the cornstarch sinks and scorches right to the bottom of your pan. Once that scorch happens, you get an off-flavor that’s really hard to hide, even in a double crust pie!
My final pro-tip for a little adult fun: If you aren’t serving this to kids, stir in about a teaspoon of good quality Kirsch (cherry brandy) right when you take the pan off the heat. It doesn’t change the texture, but wow, does it intensify that pure cherry aroma. It gives the filling that slightly deeper, professional bakery note without making it taste boozy at all!
Versatile Uses for Your Homemade Glaze for Fruit Pies
Everyone thinks this beautifully thick cherry pie filling is just for double-crust pies, but oh my goodness, you’d be missing out if you only used it that way! Once it cools down and sets up—remember how perfectly thick it gets?—it transforms into the most amazing topping for nearly anything sweet you can think of.
For cheesecakes, skip the dull strawberry sauce and dollop a spoonful of this sweet-tart goodness right on top. It looks so elegant! It’s heavenly spooned warm over vanilla ice cream or used as a layer inside a trifle. I also love using it on waffles or pancakes instead of syrup; it feels like a special Saturday brunch treat.
If you’re making tarts, use it as the primary focus! I always make sure to have a batch of this on hand just for those last-minute dessert needs. It’s easier and tastier than anything you can buy, and it’s great on things that aren’t even baked, like my famous honey butter chicken biscuits—just imagine a sweet cherry version for dessert!
Storage and Reheating Instructions for Cherry Filling For Pies
So you made a giant batch of this incredible sauce, or maybe you have leftover glorious Cherry Filling For Pies that you just couldn’t fit into one dessert? Smart move! This recipe is excellent for meal prepping because it stores beautifully, which means you always have dessert covered.
The best way to store any extra filling is in an airtight container. I prefer glass containers for this so I can see exactly how much I have left for my next project—maybe those churro cheesecake bars need a cherry topping!
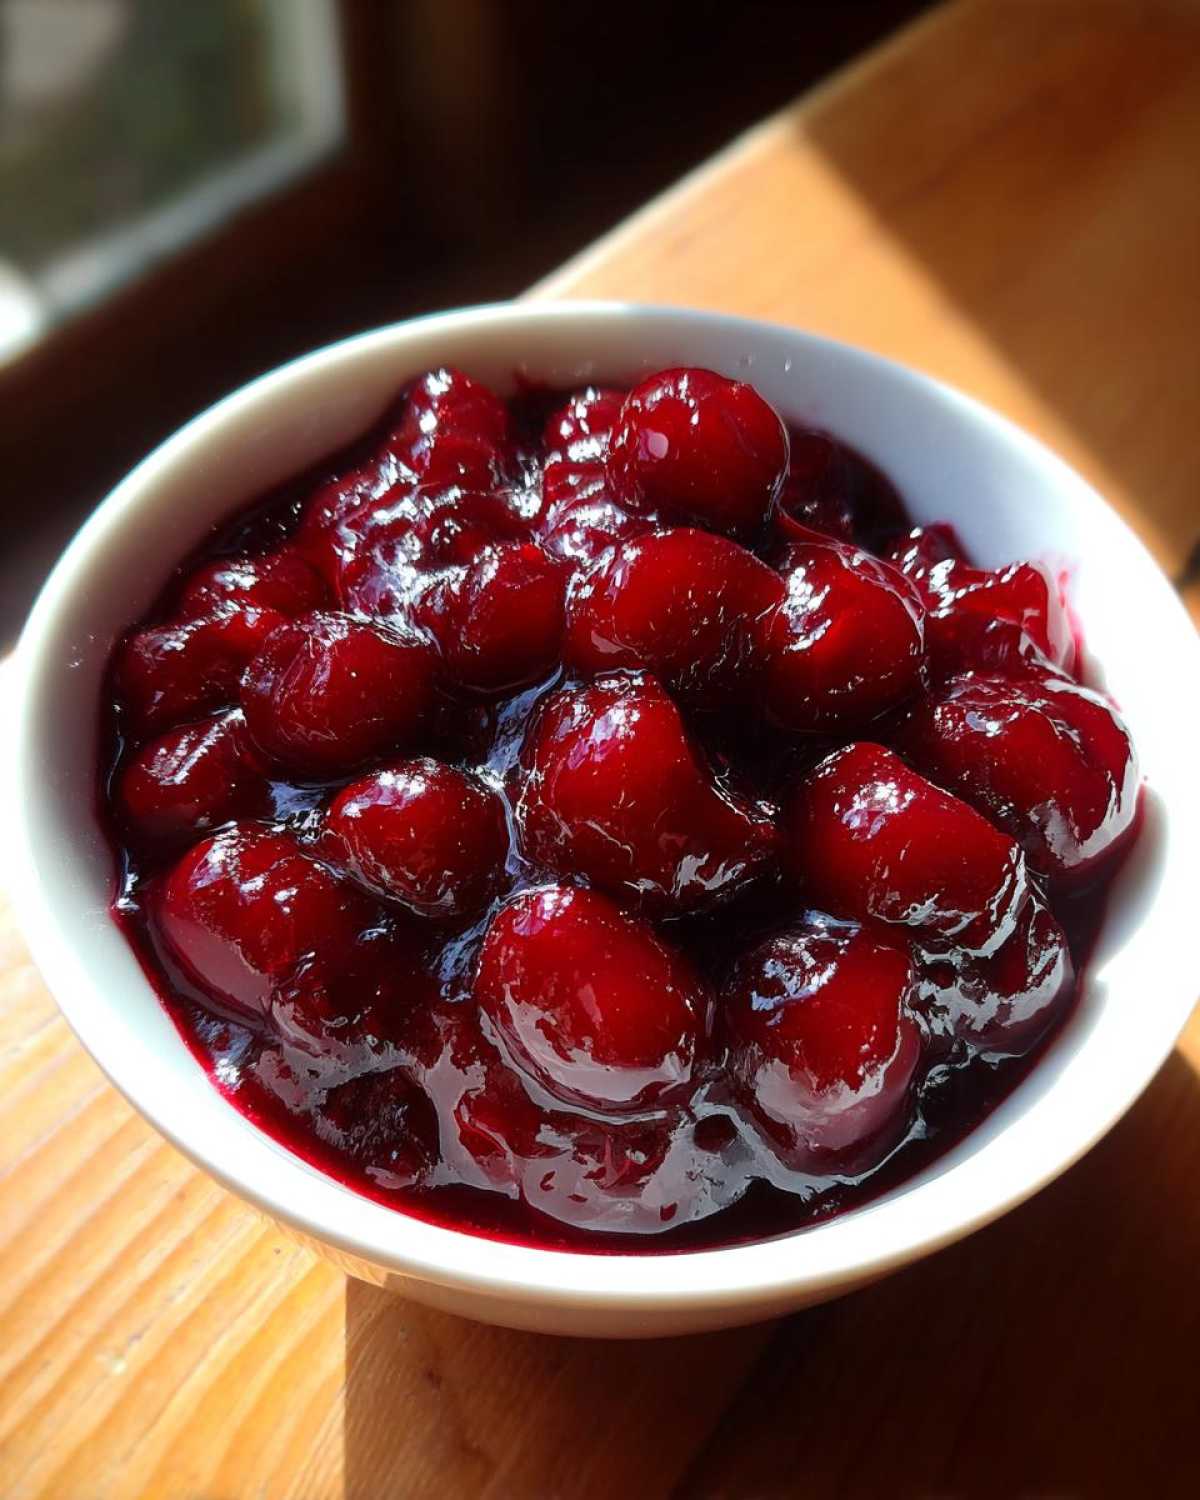
In the refrigerator, this filling should stay fresh and utterly delicious for about a week. Because it’s already cooked down and thickened, it holds up really well. Just make sure to cover the surface with plastic wrap before putting the lid on, just like we did when cooling it down; it prevents that weird, slightly sticky skin from forming on top.
Can you freeze it? Absolutely! While I always say nothing beats fresh, this recipe freezes remarkably well because of the cornstarch structure. I always portion mine out into small, freezer-safe zip-top bags, laying them flat on a cookie sheet before they freeze solid. Once they are flat hockey pucks of cherry goodness, you can stack them up! This way, you only thaw exactly what you need for a single-serve topping or a small tart.
When you want to reheat it, just pull out what you need and microwave it in short 30-second bursts, stirring in between until it’s warm. It might look a touch looser when it first warms up, but give it a good stir, and that glossy thickness snaps right back into place! It’s practically designed for make-ahead convenience.
Frequently Asked Questions About Making Cherry Pie Filling
I know you’ve probably got this gorgeous cherry pie filling simmering away now, but sometimes those little questions pop up right when you need the answer most! I’ve compiled the most common things folks ask me when they are learning How To Make Cherry Pie Filling, so you can avoid any little hiccups.
And speaking of planning ahead, if you want another great recipe to keep stashed for holidays, you absolutely must check out my guide to mulled wine; it’s the perfect cozy companion when you’re baking in the fall!
How do I fix my cherry filling if it turned out too runny?
Oh dear, the dreaded runny filling! If you’ve already cooled it down and it’s still too thin for your liking, don’t panic—it’s an easy fix. Pull the filling back out and put it back on the stove over low heat. In a little bowl, mix one tablespoon of cornstarch with two tablespoons of cold water until it’s perfectly smooth (super important: NO lumps!). Whisk that slurry right into your runny filling. Bring it back to a gentle simmer while stirring constantly. You’ll see it thicken up in just a minute or two! It sets up fast once it heats up again.
Can I use dried cherries for this filling?
You know, dried cherries have a totally different structure than fresh or frozen, so I generally don’t recommend swapping them directly into this recipe. Dried fruit needs a lot of rehydrating, and that changes the liquid ratio we carefully set up for that perfect thickness. If you’re absolutely set on dried cherries, you’d need to soak them in hot water or even cherry juice for at least an hour first, drain them, and then reduce the added water in the recipe slightly. It takes some trial and error, so I always suggest sticking to fresh or frozen cherries for your first batch of this From Scratch Pie Filling.
How can I make this sweet tart cherry filling less sweet?
I love how customizable this is! If your starting cherries are naturally sweeter, or if you just prefer a sharper tang, it’s easy to adjust. The best way is to boost the acid content! Add the full teaspoon of lemon juice, and then try adding another half teaspoon of lemon juice or even a tiny splash of apple cider vinegar near the end of cooking. Sometimes, a small pinch of that salt does wonders to balance the perceived sweetness, too, so make sure you didn’t skip that!
Can I use this recipe for Canning Cherry Pie Filling Guide?
That’s a great question if you want to stock up for the year! While this mixture tastes absolutely heavenly right off the stove, standard home canning requires very precise, tested recipes and specific sterilization processes to ensure safety, especially with fruits like cherries. Since our primary goal here is that beautiful, thick texture achieved on the stovetop, it isn’t technically formulated as a tested recipe for a Canning Cherry Pie Filling Guide.
If you want to safely can this sauce, I would strongly suggest you look up official FDA or USDA approved water bath canning guidelines that specifically feature a cornstarch-thickened fruit filling. For this batch, the safest bet is always refrigeration for a week or freezing for best quality!
Estimated Nutritional Information for This Cherry Dessert Fillings
Now, I’m not a certified nutritionist, so please take this information with a grain of salt—just like you would any recipe that doesn’t come from a lab! If you’re tracking macros or thinking about serving sizes, it’s always smart to do your own calculation, but here is a solid estimate for this delicious sauce.
Based on the yield of about five cups of filling, we’re looking at roughly 220 calories per half-cup serving. Given that this uses fresh fruit and sugar for sweetness, the headline number here is sugar, coming in around 35 grams. That’s why we call this a treat, right?
The good news is that this Cherry Dessert Filling is naturally almost fat-free and contains very little sodium. It’s mostly carbs from the fruit and sugar, which translates to quick energy for your dessert! It’s a great way to sweeten up something simple, like a dollop over my famous Mexican street corn dip (hear me out—savory and sweet is a thing!).
Remember, these numbers change slightly if you swap out the sugar or choose different toppings for your final dessert, but this gives you a great baseline for enjoying this Homemade Cherry Pie Filling guilt-free!
Share Your Perfect Cherry Pie Filling Creations
Now that you’ve mastered the technique for that unbelievably perfect, thick, and glossy cherry pie filling, I want to see what you’ve made! Honestly, there is nothing that makes my day more than seeing your beautiful bakes pop up in my social feeds. You put in the time to make this Homemade Cherry Filling from scratch, and it deserves applause!
If you tried this recipe—whether it’s nestled inside a flaky crust, spooned over cheesecake, or used as the best topping for a scoop of vanilla ice cream—please take a second to come back here and leave a review. Five stars are awesome, but knowing *why* you loved it helps me feel connected to your kitchen!
Did you add those optional flavor boosters? Did you use fresh or frozen cherries without a hitch? Let me know how this recipe worked for you! I love reading your tweaks and successes, especially if you adapted it for something totally unexpected. If you enjoyed this recipe, you might also want to try the perfect centerpiece for any holiday table, like my foolproof prime rib roast!
Drop your thoughts, star ratings, and stories in the comments below. Happy baking, everyone!
PrintThick and Juicy Homemade Cherry Pie Filling

Make a thick, sweet, and tart cherry pie filling from scratch using fresh or frozen cherries. This recipe yields a perfect texture for pies, cheesecakes, or toppings.
- Prep Time: 10 min
- Cook Time: 15 min
- Total Time: 25 min
- Yield: About 5 cups filling
- Category: Dessert Filling
- Method: Stovetop Cooking
- Cuisine: American
- Diet: Vegetarian
Ingredients
- 4 cups sweet cherries, pitted (fresh or frozen)
- 1 cup water
- 1 cup granulated sugar
- 1/4 cup cornstarch
- 1 tablespoon lemon juice
- 1 teaspoon almond extract
- 1/4 teaspoon salt
Instructions
- Combine cherries and water in a medium saucepan. Bring the mixture to a simmer over medium heat.
- In a separate small bowl, whisk together the sugar and cornstarch until fully combined.
- Slowly whisk the sugar and cornstarch mixture into the simmering cherries.
- Continue stirring constantly until the mixture thickens significantly, about 3 to 5 minutes. It should coat the back of a spoon.
- Remove the pan from the heat. Stir in the lemon juice, almond extract, and salt.
- Allow the filling to cool completely before using it in your pie crust or dessert. Cooling helps the filling set to its final thick consistency.
Notes
- If using frozen cherries, do not thaw them before cooking; add them directly to the saucepan.
- For a deeper flavor, substitute 1/4 cup of the granulated sugar with light brown sugar.
- This filling can be stored in an airtight container in the refrigerator for up to one week.
Nutrition
- Serving Size: 1/2 cup
- Calories: 220
- Sugar: 35
- Sodium: 5
- Fat: 0.2
- Saturated Fat: 0
- Unsaturated Fat: 0.2
- Trans Fat: 0
- Carbohydrates: 56
- Fiber: 2
- Protein: 0.5
- Cholesterol: 0