

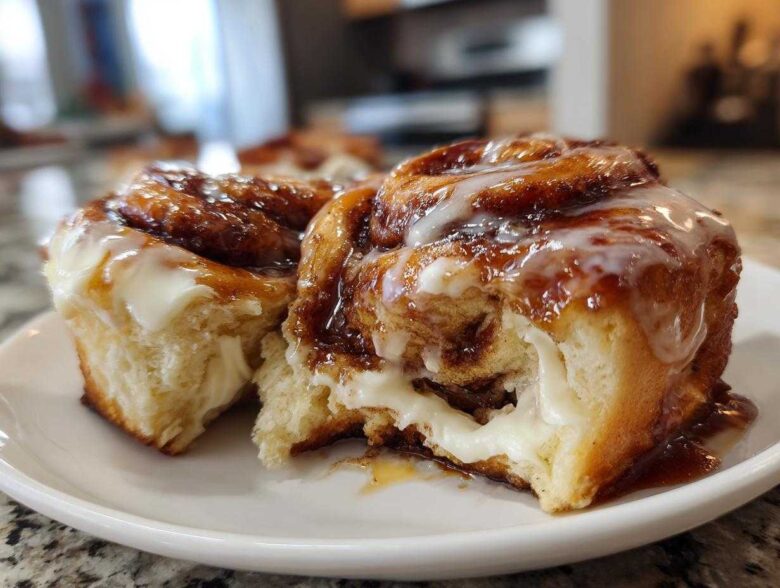
Seriously, is there anything better than waking up on a Saturday morning when the whole house smells like warm sugar and cinnamon? If you’ve been dreaming of that impossibly soft, bakery-quality cinnamon roll that pulls apart in gooey layers, stop dreaming! I’m Clara Alena from Savor And Pin, and trust me, we fixed the disaster recipes that flood the internet. This isn’t just another attempt; this is the foolproof, tested-and-approved recipe for fluffy perfection. You won’t find any culinary crime scenes here—just the best sweet breakfast recipe you’ll ever need. Learn more about our mission to rescue broken recipes over at our story.
Why This is the Best Cinnamon Roll Recipe You Will Ever Make
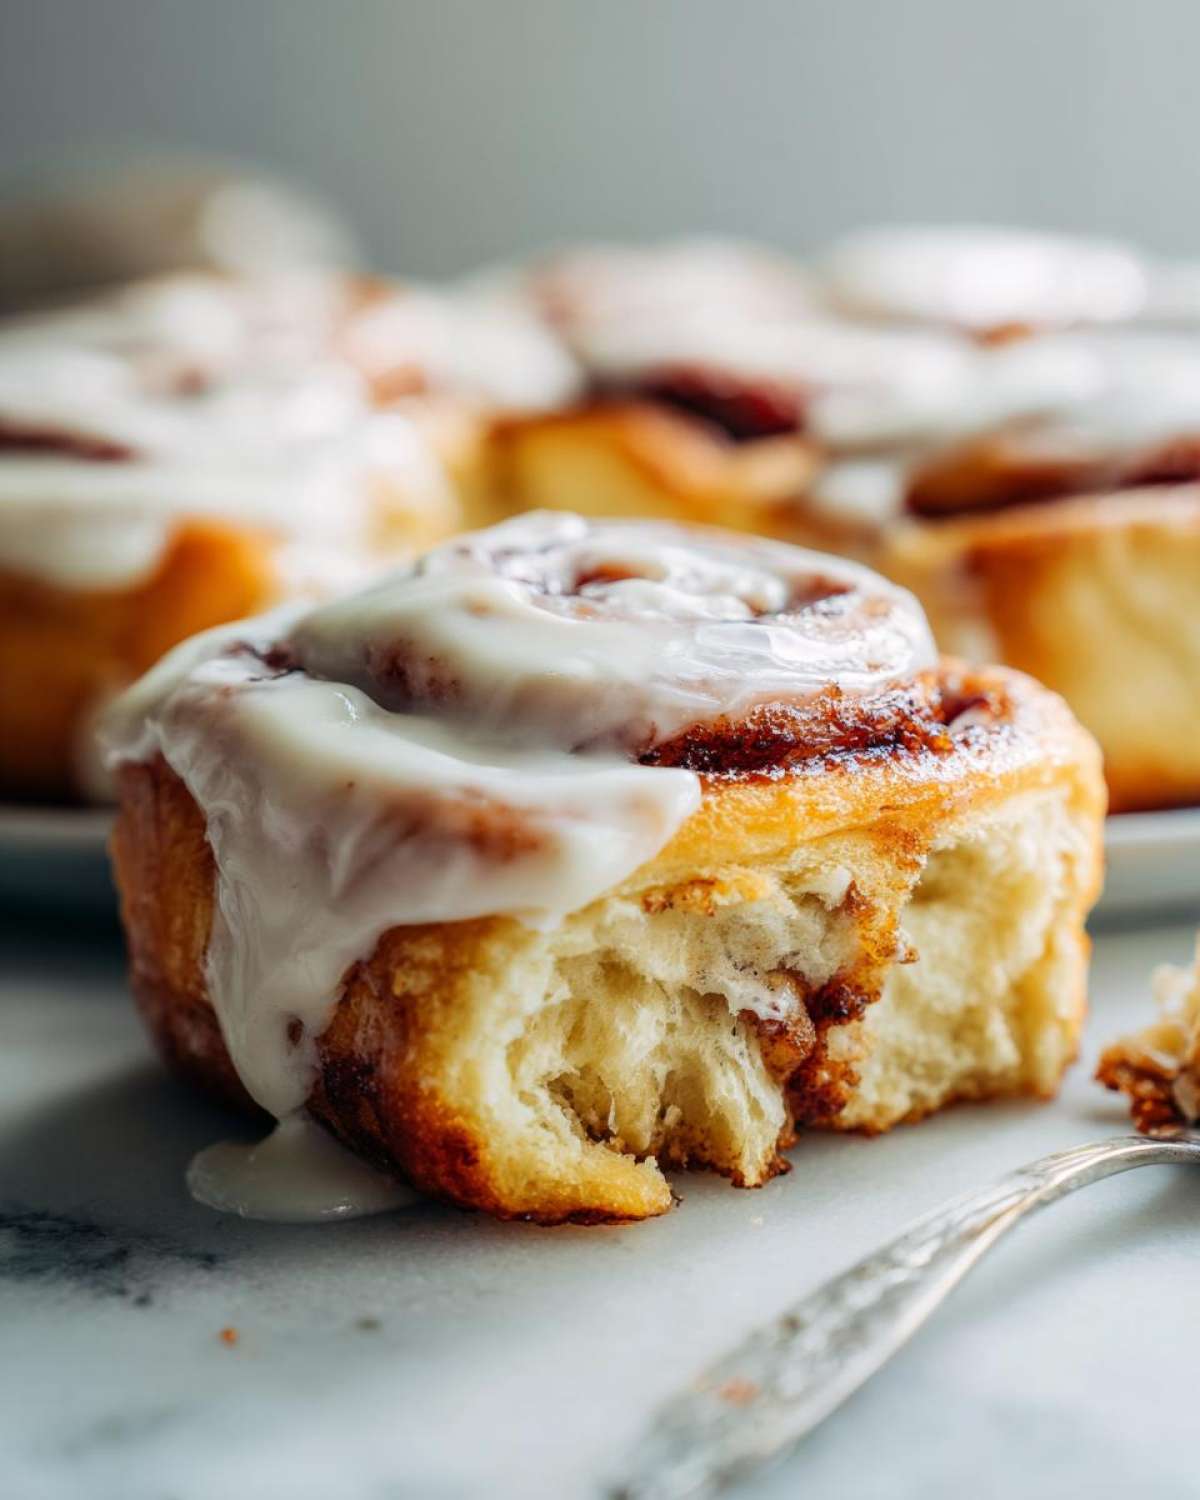
I promise you, making the best cinnamon roll at home shouldn’t require a degree in baking science, but getting that bakery softness? That takes some real technique. Our result here is just heavenly gooey goodness, rich filling, and a glaze that sets up perfectly without getting hard. When we tested this, our resident food scientist, Noah, analyzed the hydration levels of the yeast dough several times. He tweaked the initial liquid ratio just so, which keeps the final product incredibly tender and fluffy—something most recipes totally miss. This will quickly become your go-to sweet breakfast recipe. If you want to see more of Noah’s science magic on dough, check out what he did with bread!
Achieving Bakery-Quality Soft Rolls
The magic starts way before the oven! Listen, you absolutely must use room temperature eggs. Cold eggs shock the yeast mixture and fight the softened butter we use. Also, pay close attention to your milk temperature—it needs to be warm, check it with a thermometer, aiming right for 110°F. Too hot, and you kill the yeast; too cold, and it takes forever to wake up. This little act of patience ensures your yeast activates beautifully, giving your cinnamon roll dough the lift it needs.
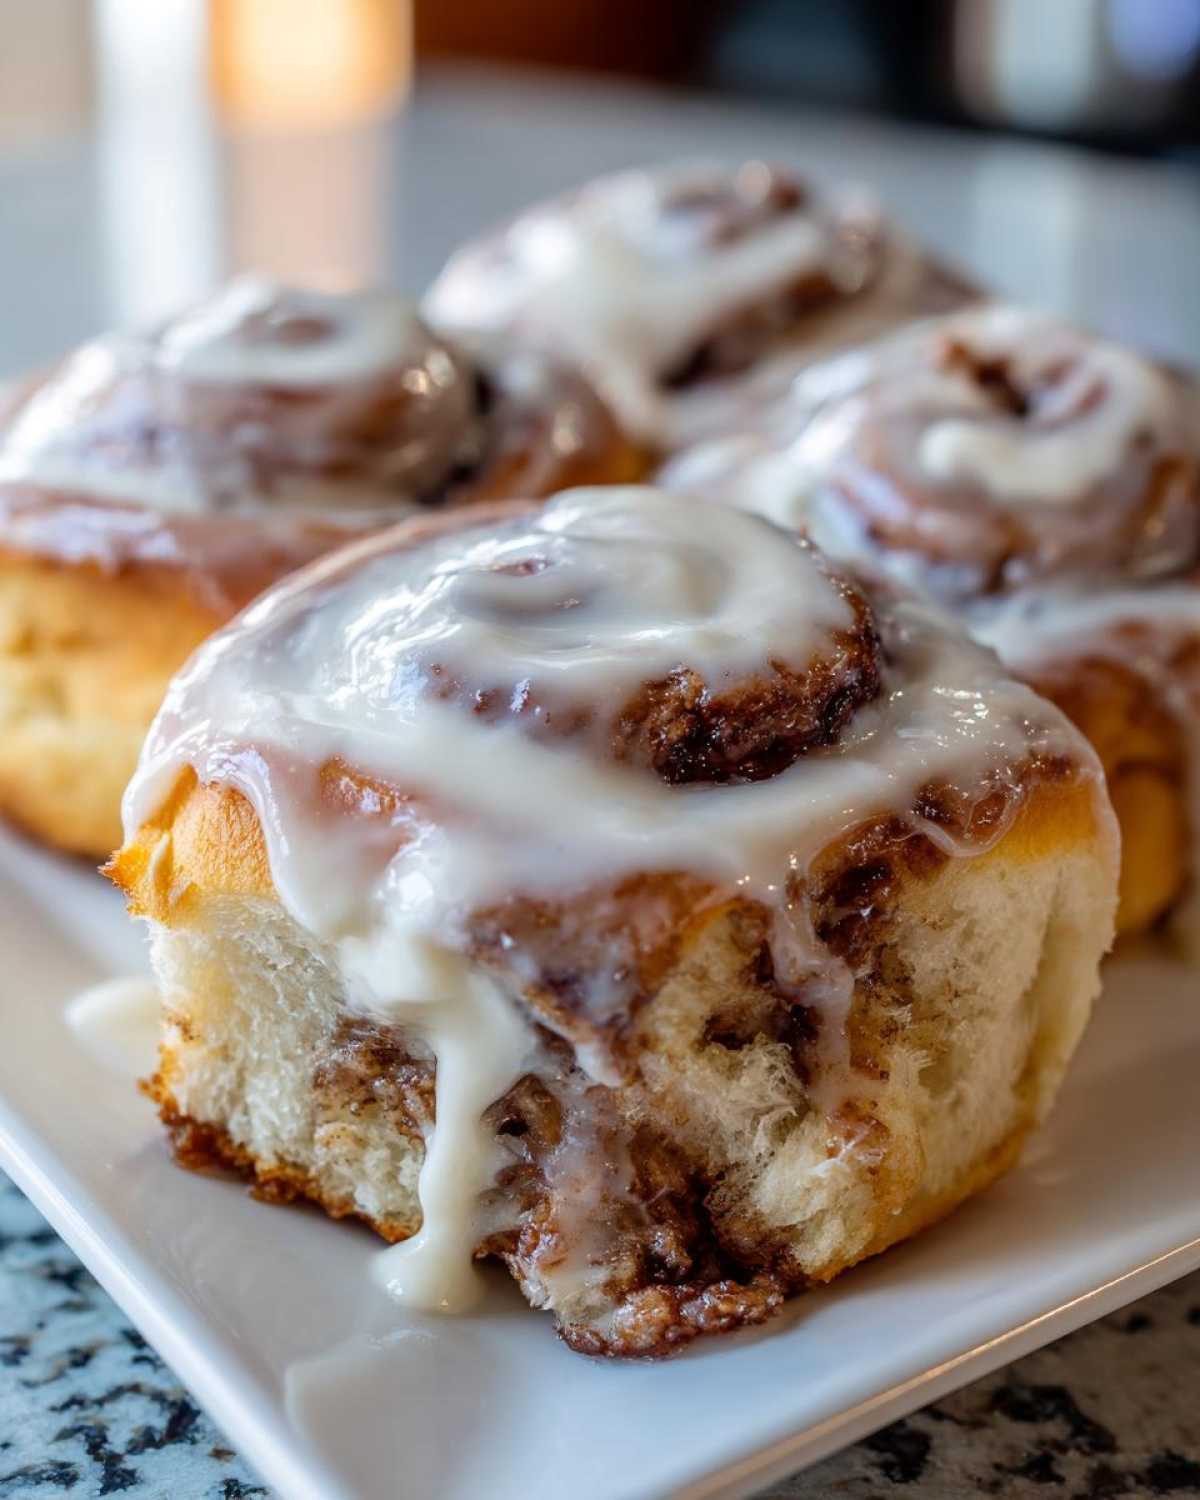
Ingredients for Your Perfect Cinnamon Roll
Okay, we’re getting serious now! The ingredients list is where a lot of “broken promises” recipes fail, usually because they skip the quality or don’t stress the exact state of things—like temperature! You need everything lined up and ready before you even turn your mixer on. Since this is a yeast roll recipe, precision really matters upfront so we get those perfect swirls later. Here are the exact things I keep on hand for my batch of 12 glorious rolls.
For the Yeast Roll Dough
For this recipe, I specify active dry yeast because it’s reliable and readily available for all my readers. It needs that little warm bath to wake up, which is essential for a good rise! Don’t substitute it with instant yeast without tweaking the process, since we give it that standalone foamy start.
- 1 cup whole milk, warm (about 110°F—please use a thermometer!)
- 2 1/4 teaspoons active dry yeast
- 1/2 cup granulated sugar, plus 1 teaspoon for yeast
- 1/2 cup unsalted butter, softened
- 2 large eggs, room temperature (this is vital for texture!)
- 4 cups all-purpose flour, plus more for dusting
- 1 teaspoon salt
For the Gooey Cinnamon Filling
This is the core flavor, so don’t skimp! The secret here is the butter. It must be truly soft—like it’s been sitting out for an hour—but definitely NOT melted. Melted butter will just soak into the dough instead of creating that luxurious layer of filling.
- 3/4 cup unsalted butter, softened
- 1 cup packed light brown sugar (make sure it’s packed in there!)
- 2 tablespoons ground cinnamon
For the Cream Cheese Icing
If you skip sifting the powdered sugar, you’re asking for lumpy icing, and we don’t do lumpy cakes here! Trust me, sifting is worth the extra 30 seconds. This icing comes out so dreamy and creamy when it’s warm over the fresh rolls.
- 8 ounces cream cheese, softened
- 1/2 cup unsalted butter, softened
- 3 cups powdered sugar, sifted
- 1 teaspoon vanilla extract
- 2-4 tablespoons milk (we use this to adjust consistency)
Step-by-Step Instructions for Homemade Cinnamon Rolls
This is the part where we transform simple ingredients into that incredible aroma that haunts your dreams. Follow these steps exactly, and I promise you, that ‘foolproof’ guarantee holds up! We’re handling yeast, so be patient with the rising times, but the payoff is worth every minute. Remember how Ben always worries about the dough? Well, even he finally trusted this method after seeing the results!
Mixing and First Rise of the Cinnamon Roll Dough
First things first: wake up that yeast mixture with the warm milk and sugar; it needs to look foamy, confirming it’s alive and happy (Step 1). Once it’s bubbly, toss in everything else. When you start mixing, the dough will feel a bit soft—maybe even slightly sticky—and Ben was convinced we needed to dump in a full extra cup of flour. Don’t listen to him! Stick with it; the dough hook needs to work those gluten strands for 5 to 7 minutes until it smoothes out but still holds a tiny bit of tackiness (Step 2 & 3). Then, tuck it in the oiled bowl, cover it, and let this beauty double in size—we’re looking for 1 to 1.5 hours.
Assembling and Cutting the Cinnamon Rolls
Once doubled, punch the air out gently. Now for the rolling! You want a large, even rectangle—aim for about 12 by 18 inches, and try to keep the thickness consistent at 1/4 inch (Step 5). Spread that glorious cinnamon butter mixture evenly over the whole thing, but leave about a half-inch strip bare along one long side. That border is important; it’s basically the glue that seals your roll (Step 6)! Starting on the opposite side, roll that log as tightly as you can—imagine rolling up a jelly roll—and pinch that border seam closed. Then, use dental floss or a sharp knife to cut 12 even pieces—this keeps your swirls defined.
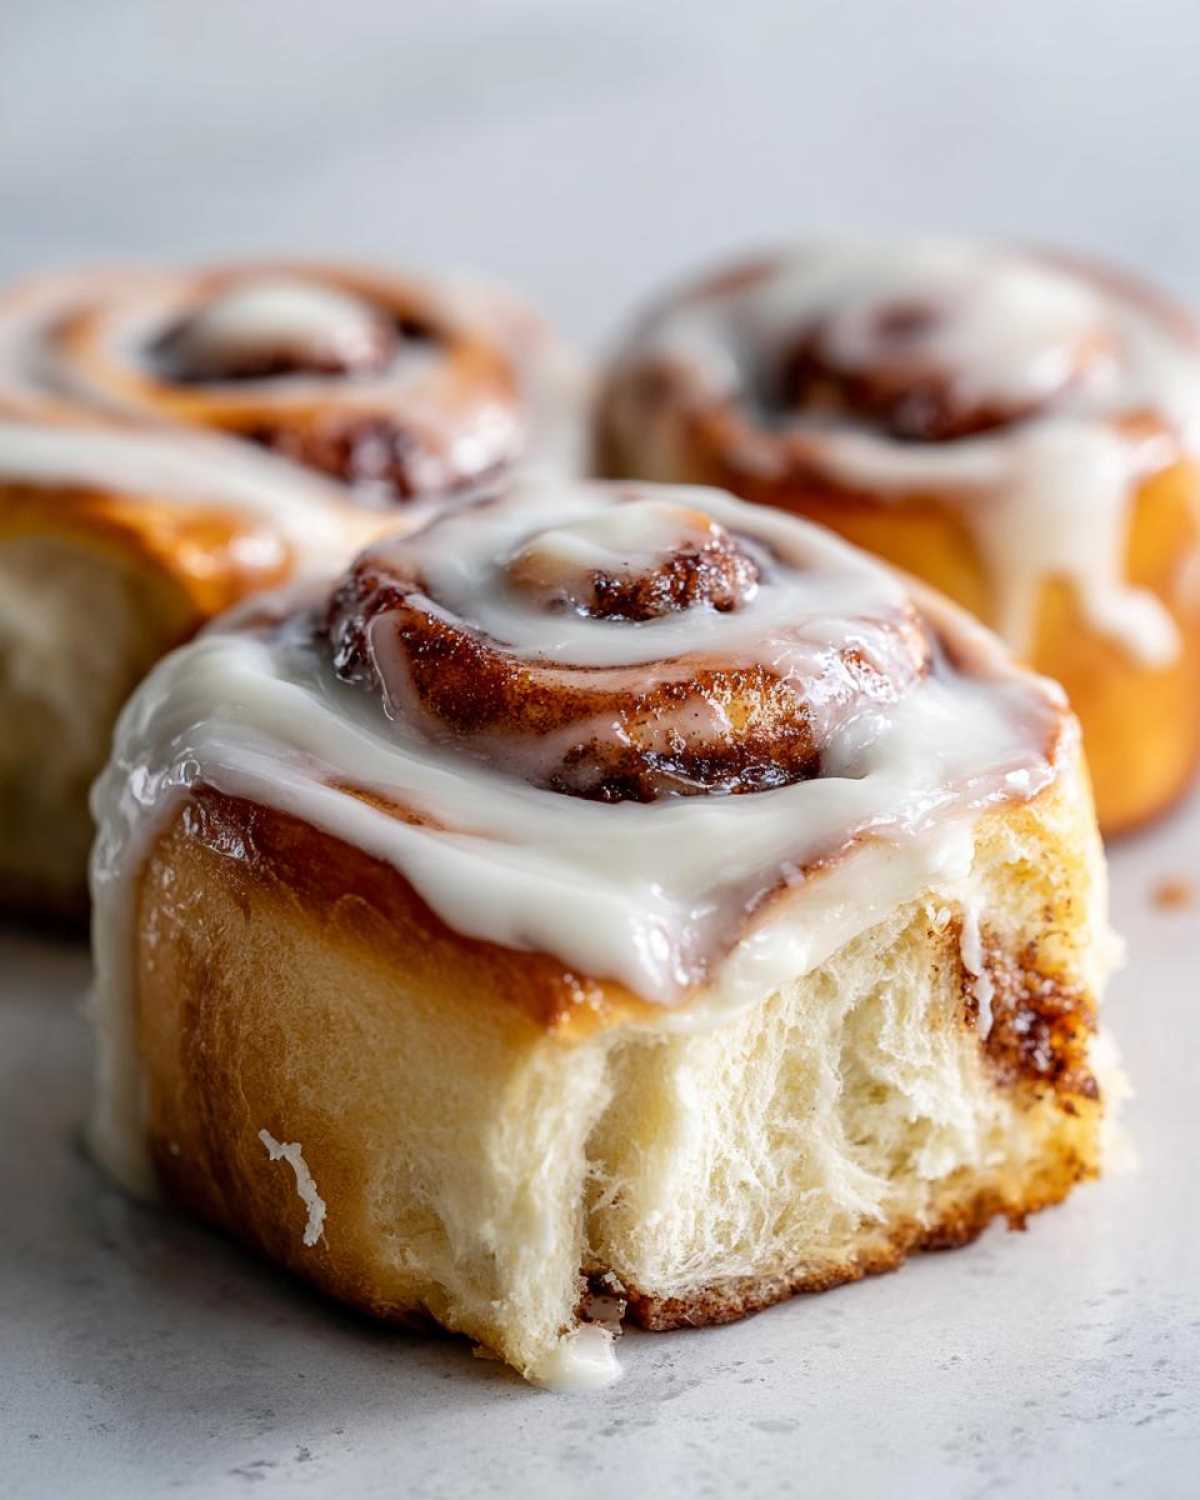
Baking and Making the Cream Cheese Icing
Nestle those cut rolls snugly into your greased 9×13 pan and let them puff up again for another 30 to 45 minutes—this is the second rise. Then, crank that oven to 375°F! Bake for 20 to 25 minutes until they’re golden. Pro tip: Pop a piece of foil loosely over the top for the first 10 minutes of baking. This steams them just enough to make them crazy soft inside! While they cool just a bit, whip up that glaze until it’s thick and spreadable, adding milk just one tablespoon at a time until it flows nicely (Step 10). Ice them while they’re still warm!
If you’re looking for other impressive bread skills, check out this recipe for great buttery dinner rolls!
Tips for the Ultimate Soft Cinnamon Roll Experience
We’ve made the dough, we’ve swirled the filling, and now we’re going the extra mile to make sure these aren’t just good, but legendary. Mastering the yeast dough takes practice, but knowing these little tricks will guarantee that melt-in-your-mouth texture every single time you make these cinnamon rolls. These tips come straight from our testing notes to ensure your success!
Troubleshooting Dough Stickiness
Remember when I mentioned the dough feels a bit sticky after the first knead? If you followed the instructions perfectly and it is still aggressively sticking to your hands during the shaping stage (after the first rise), don’t panic and dump in a cup of flour! That extra flour leads to dry, tough rolls later. Instead, just add **flour one tablespoon at a time** while you briefly knead it again on your counter. Just enough to make it manageable for rolling out the rectangle. It’s about micro-adjustments, not complete overhauls!
Make-Ahead Strategy for Easy Cinnamon Rolls
If you want to wake up to that amazing aroma without doing any work, I have a fantastic secret for you: you can prepare this entire recipe the night before! After you slice the rolls and place them snugly in the baking pan (Step 8), instead of letting them rise on the counter, cover them tightly with plastic wrap and pop the whole pan right into the refrigerator. The cold slows the yeast way, way down. When you wake up, just pull them out about 45 minutes before you want to bake them so they can warm up a bit, then bake as directed. Hello, dream breakfast!
Ingredient Notes and Substitutions for Your Cinnamon Roll
We went over what you need, but now let’s talk about *why* these specific things made the cut! Since we’re aiming for that rich, tender crumb that makes these cinnamon rolls special, the fat content matters a ton. That’s why I insist on whole milk for the dough. Skim milk just doesn’t give the yeast the right environment, and it results in a leaner, less tender homemade pastry structure overall. The fat in whole milk creates the softness we’re after—it’s non-negotiable for that gooey center!
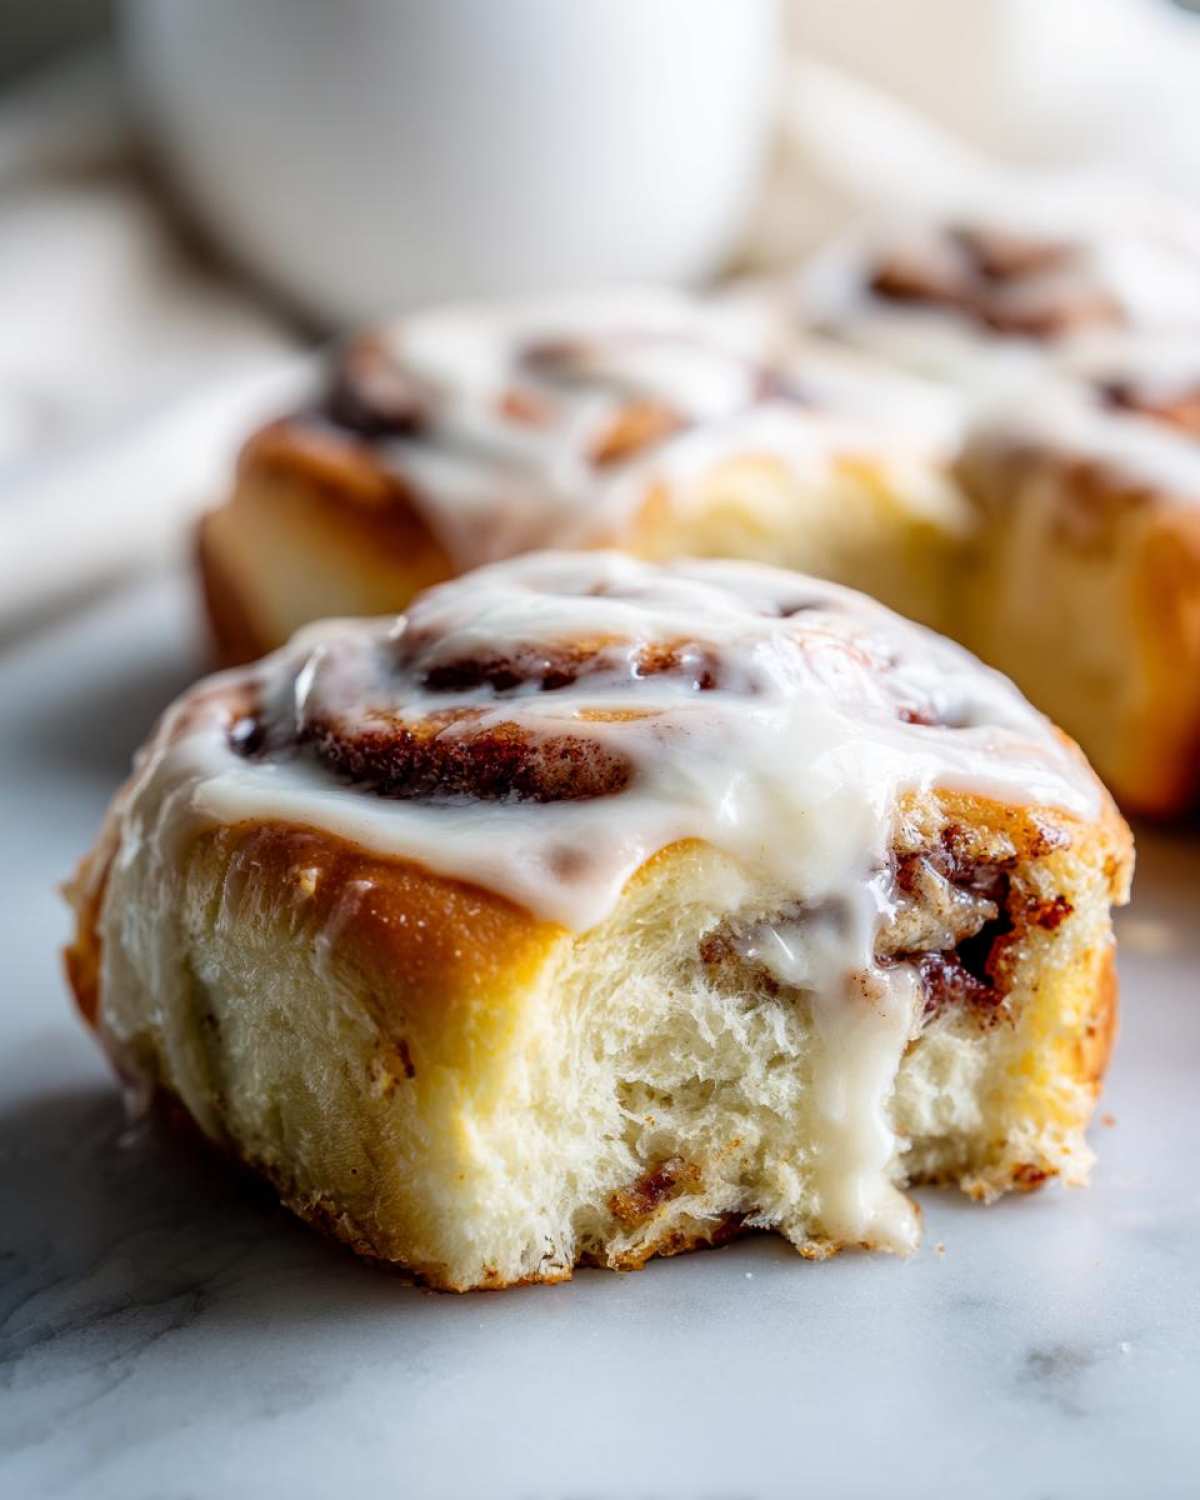
Now, what if you’re looking at your fridge and only have salted butter instead of unsalted? No problem, we can pivot! If you use salted butter in the dough, just cut the added salt in the recipe to about 1/2 teaspoon instead of the full teaspoon. For the filling and the icing, I still recommend unsalted butter because we need total control over the salt level there. The salt in the dough prevents the yeast from running wild, but the filling needs pure sweetness!
One more quick note on the brown sugar: make sure you are using light brown sugar as listed! Dark brown sugar has too much molasses, and while it tastes great, it can actually weigh down the dough slightly, making it harder to get that great second rise. We want fluffy, not dense, in this sweet breakfast recipe!
Serving Suggestions for Your Sweet Breakfast Recipe
These aren’t just breakfast; they’re an event! When you pull these glorious, dripping cinnamon rolls out of the oven, you need the perfect supporting cast. You certainly don’t want to overpower that stunning, sweet, buttery flavor we worked so hard to achieve, but a little balance is always welcome.
First up: coffee. You need coffee. A rich, dark roast is the absolute best counterpoint to that heavy sugar and cream cheese icing—it cuts right through the richness beautifully. If you are trying to squeeze some nutrients into this glorious morning, maybe pair it with something simple. Fresh berries burst wonderfully against the warm spice, or even a small side of scrambled eggs if you need to balance the sweet with something savory.
If you are looking for a truly decadent pairing that still brings some flavor complexity, you HAVE to try a smoothie on the side. I know, I know, but hear me out! We developed this amazing Coffee Banana Protein Shake that has just enough bitterness from the coffee and natural sweetness that it actually marries perfectly with the roll. It makes the whole experience feel incredibly special, without making you feel quite so guilty!
Storage and Reheating Your Leftover Cinnamon Rolls
I know, right? Sometimes you can’t eat all 12 in one sitting, even if you try! Don’t let those beautiful, gooey cinnamon rolls go to waste. The good news is that because we used that rich dough and that lovely cream cheese icing, they actually hold up pretty well. But we have to store them correctly so they don’t dry out or get weird crusts.
If you know you’ll be eating the rest within two days, just cover them tightly right in the pan they were baked in, maybe adding a layer of plastic wrap first, and leave them sitting on the counter. They’ll be fine at room temperature, especially if the weather isn’t super hot. If you need them to last longer—say, up to five days—pop the whole covered pan into the refrigerator. The icing might get a little firmer, but that’s easily fixed!
Now, the reheating is the key to getting that ‘fresh-out-of-the-oven’ experience back. Forget the toaster! For a single roll, the microwave is your friend. Just wrap it in a paper towel that’s slightly damp and zap it for about 10 to 15 seconds. It brings the butter and sugar right back to that soft, melty state. If you’re bringing a whole pan back to life, tent it loosely with foil and warm it up in a 300°F oven for about 8 to 10 minutes. That quick blast of heat softens the bread through without burning the tops. Trust me, they’ll taste brand new!
Frequently Asked Questions About Making Cinnamon Rolls
I know you’ve got questions bubbling up—I always do when I try a new yeast roll recipe! That’s totally normal. Making true homemade pastry relies on timing and technique, and it’s better to be sure than sorry before you invest all that rising time. We’ve answered the biggest queries we get right here to ensure your batch of cinnamon rolls is absolutely perfect.
Can I skip the kneading time for this yeast roll recipe?
Oh, tempting, isn’t it? When you see that dough hook churning away, you just want it to be done! The truth is, you really shouldn’t skip kneading time entirely for this recipe. Kneading is what forces the gluten proteins in the flour to line up and create that elastic network. That network is what traps all the gas bubbles the yeast creates, allowing the dough to stretch and trap the filling without ripping. If you cut that time too short, you end up with a denser final product that won’t have that gorgeous, fluffy structure you see in the photos. Try to give it at least 5 minutes with the hook, aiming for that smooth texture described earlier!
How do I prevent the cream cheese icing from melting completely into the roll?
This is so frustrating, especially on a warm day! If you ice the rolls piping hot, you’re guaranteed a sticky, runny mess. The key to getting that thick, slightly set glaze is temperature control. You need to wait until the rolls are still warm—like, pleasantly warm to the touch—but not steaming hot. If you can hold them without flinching, they are ready for icing. Also, ensure your icing isn’t too warm itself! If your room is hot, try chilling your cream cheese and butter slightly before you beat them. A slightly cooler, thicker icing will hold its shape better on the warm pastry.
Can I use bread machine yeast instead of active dry yeast?
Yes, you absolutely can adapt this recipe! Bread machine yeast is another name for instant yeast, which is stronger and doesn’t need the initial foamy warm-up step. If you decide to use instant yeast, you can skip Step 1 entirely! Just mix the yeast straight in with the dry ingredients (flour, sugar, salt). Then, when you add the liquid ingredients, the yeast will hydrate immediately. Just make sure your milk isn’t too hot, even though you aren’t “proving” the yeast first, because instant yeast still hates boiling temperatures!
What is the best way to get those defined, tight spirals in my cinnamon rolls?
Tight spirals come from two main things: even rolling and aggressive sealing! First, make sure that 12×18 inch rectangle is evenly thick—if one side is thin, it will stretch out more than the thicker side during rolling, leading to inconsistent swirls. Second, and this is critical: roll the dough **tightly** like you mean it! Imagine you are trying to squeeze every bit of air out as you roll toward that 1/2-inch border you left. When you get to the end, really pinch that final seam together firmly. A loose seam is what causes the roll to unravel and flatten when it bakes off!
Final Thoughts on Your Homemade Pastry Success
I truly hope you found this recipe a genuine rescue from all those lackluster versions out there! Creating this perfect cinnamon roll, from the soft dough to the decadent icing, is incredibly satisfying. Don’t forget to come back here, leave a comment telling me how many you ate in one sitting, and give the recipe a rating! We love seeing your successes over at the Savor And Pin blog!
Final Thoughts on Your Homemade Pastry Success
I truly hope you found this recipe a genuine rescue from all those lackluster versions out there! Creating this perfect cinnamon roll, from the soft dough to the decadent icing, is incredibly satisfying. Don’t forget to come back here, leave a comment telling me how many you ate in one sitting, and give the recipe a rating! We love seeing your successes over at the Savor And Pin blog!
PrintThe Best Homemade Cinnamon Rolls with Cream Cheese Icing

Follow this foolproof recipe to create soft, fluffy, bakery-quality cinnamon rolls filled with sweet cinnamon sugar and topped with a rich cream cheese glaze. This is the sweet breakfast recipe you will want to make again and again.
- Prep Time: 30 min
- Cook Time: 25 min
- Total Time: 2 hr 40 min
- Yield: 12 servings
- Category: Breakfast
- Method: Baking
- Cuisine: American
- Diet: Vegetarian
Ingredients
- 1 cup whole milk, warm (about 110°F)
- 2 1/4 teaspoons active dry yeast
- 1/2 cup granulated sugar, plus 1 teaspoon for yeast
- 1/2 cup unsalted butter, softened
- 2 large eggs, room temperature
- 4 cups all-purpose flour, plus more for dusting
- 1 teaspoon salt
- For the Filling:
- 3/4 cup unsalted butter, softened
- 1 cup packed light brown sugar
- 2 tablespoons ground cinnamon
- For the Icing:
- 8 ounces cream cheese, softened
- 1/2 cup unsalted butter, softened
- 3 cups powdered sugar, sifted
- 1 teaspoon vanilla extract
- 2-4 tablespoons milk
Instructions
- Activate the yeast: In a large bowl, combine the warm milk, yeast, and 1 teaspoon of sugar. Let stand for 5 to 10 minutes until foamy.
- Make the dough: Add the remaining 1/2 cup sugar, softened butter, eggs, flour, and salt to the yeast mixture. Mix with a stand mixer using a dough hook until a soft, slightly sticky dough forms. Knead for 5 to 7 minutes until smooth.
- First rise: Place the dough in a lightly oiled bowl, turning once to coat. Cover the bowl with plastic wrap and let it rise in a warm place for 1 to 1.5 hours, or until doubled in size.
- Prepare the filling: While the dough rises, combine the softened butter, brown sugar, and cinnamon in a small bowl until well mixed. Set aside.
- Shape the rolls: Punch down the risen dough. On a lightly floured surface, roll the dough into a large rectangle, about 12 by 18 inches and 1/4 inch thick.
- Spread the filling: Evenly spread the cinnamon filling mixture over the entire surface of the dough, leaving a small 1/2-inch border along one long edge.
- Roll and cut: Starting from the long edge opposite the border, tightly roll the dough into a log. Pinch the seam closed. Slice the log into 12 equal rolls, about 1 1/2 inches thick.
- Second rise: Place the rolls cut-side up in a greased 9×13 inch baking pan. Cover loosely and let rise again for 30 to 45 minutes until puffy.
- Bake: Preheat your oven to 375°F. Bake for 20 to 25 minutes, or until golden brown.
- Make the icing: While the rolls cool slightly, beat the cream cheese and butter together until smooth. Gradually add the powdered sugar and vanilla. Add milk one tablespoon at a time until you reach a thick, spreadable consistency.
- Ice and serve: Spread the cream cheese icing generously over the warm rolls. Serve immediately for the best experience.
Notes
- For extra soft rolls, cover the pan with foil for the first 10 minutes of baking, then remove the foil to allow the tops to brown.
- If your dough feels too sticky after the first rise, add flour one tablespoon at a time while kneading briefly.
- You can make the dough ahead of time and let it rise slowly in the refrigerator overnight for easier morning preparation.
Nutrition
- Serving Size: 1 roll
- Calories: 450
- Sugar: 45g
- Sodium: 350mg
- Fat: 25g
- Saturated Fat: 15g
- Unsaturated Fat: 10g
- Trans Fat: 0.5g
- Carbohydrates: 55g
- Fiber: 2g
- Protein: 6g
- Cholesterol: 70mg