

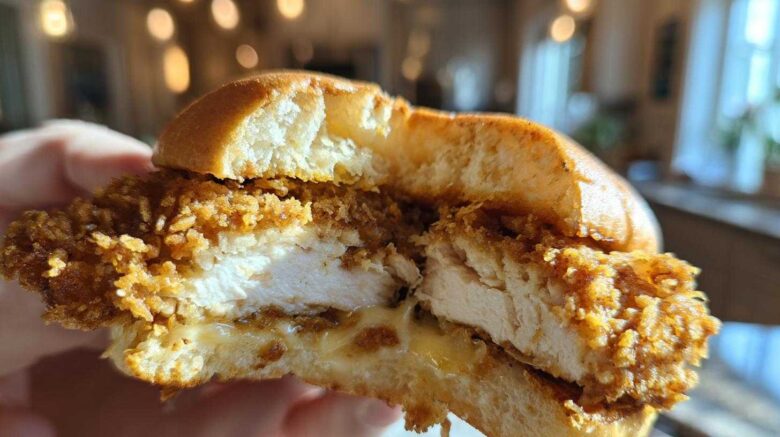
The Perfect Crispy Garlic Chicken Sandwich Rescue Mission
Welcome to Savor And Pin. We’re Clara, Ben, and Noah.
Remember that watery lasagna disaster of 2018? We hated broken food promises.
That’s why we fix recipes. We find flawed ideas that need rescue.
Our mission is making that restaurant-quality dream real. Today, we tackle the ultimate goal.
We are perfecting the Crispy Garlic Chicken Sandwich for you.
Noah always checks the science first. He finds the weak spots immediately.
He ensures our coating sticks perfectly every time.
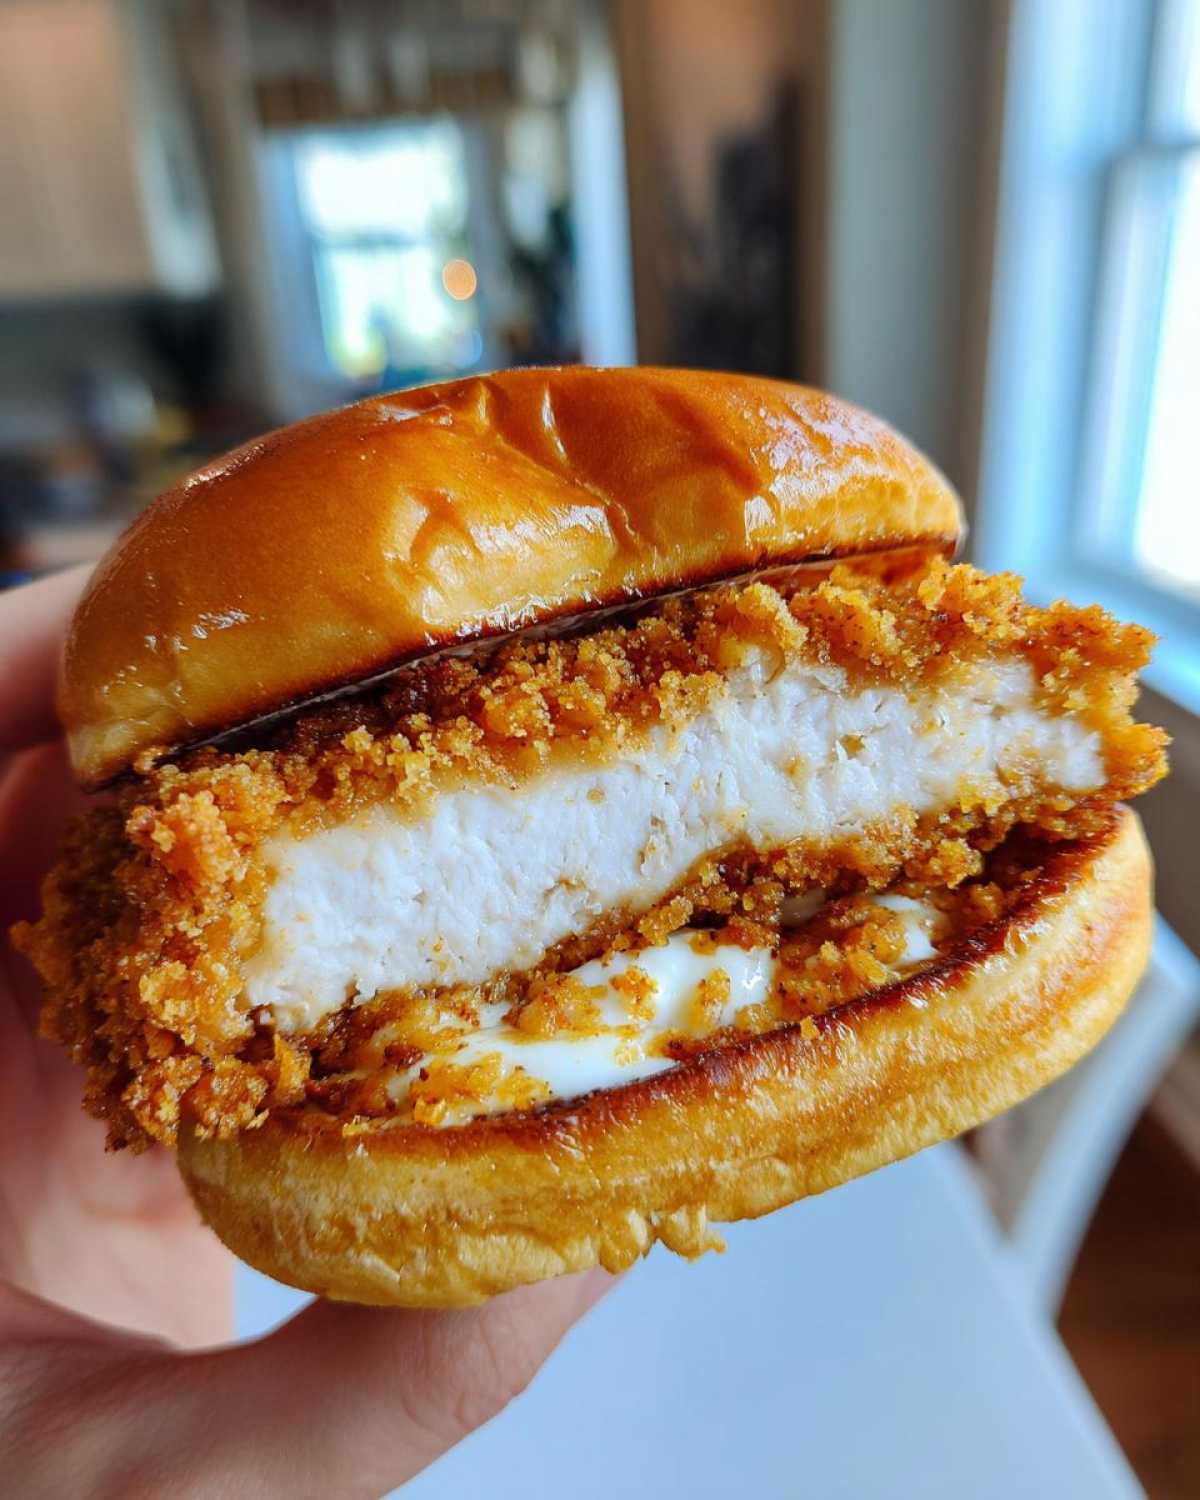
We want juicy inside, loud crunch outside. No more soggy disappointments!
This recipe delivers pure fried chicken joy.
Get ready for your new favorite sandwich.
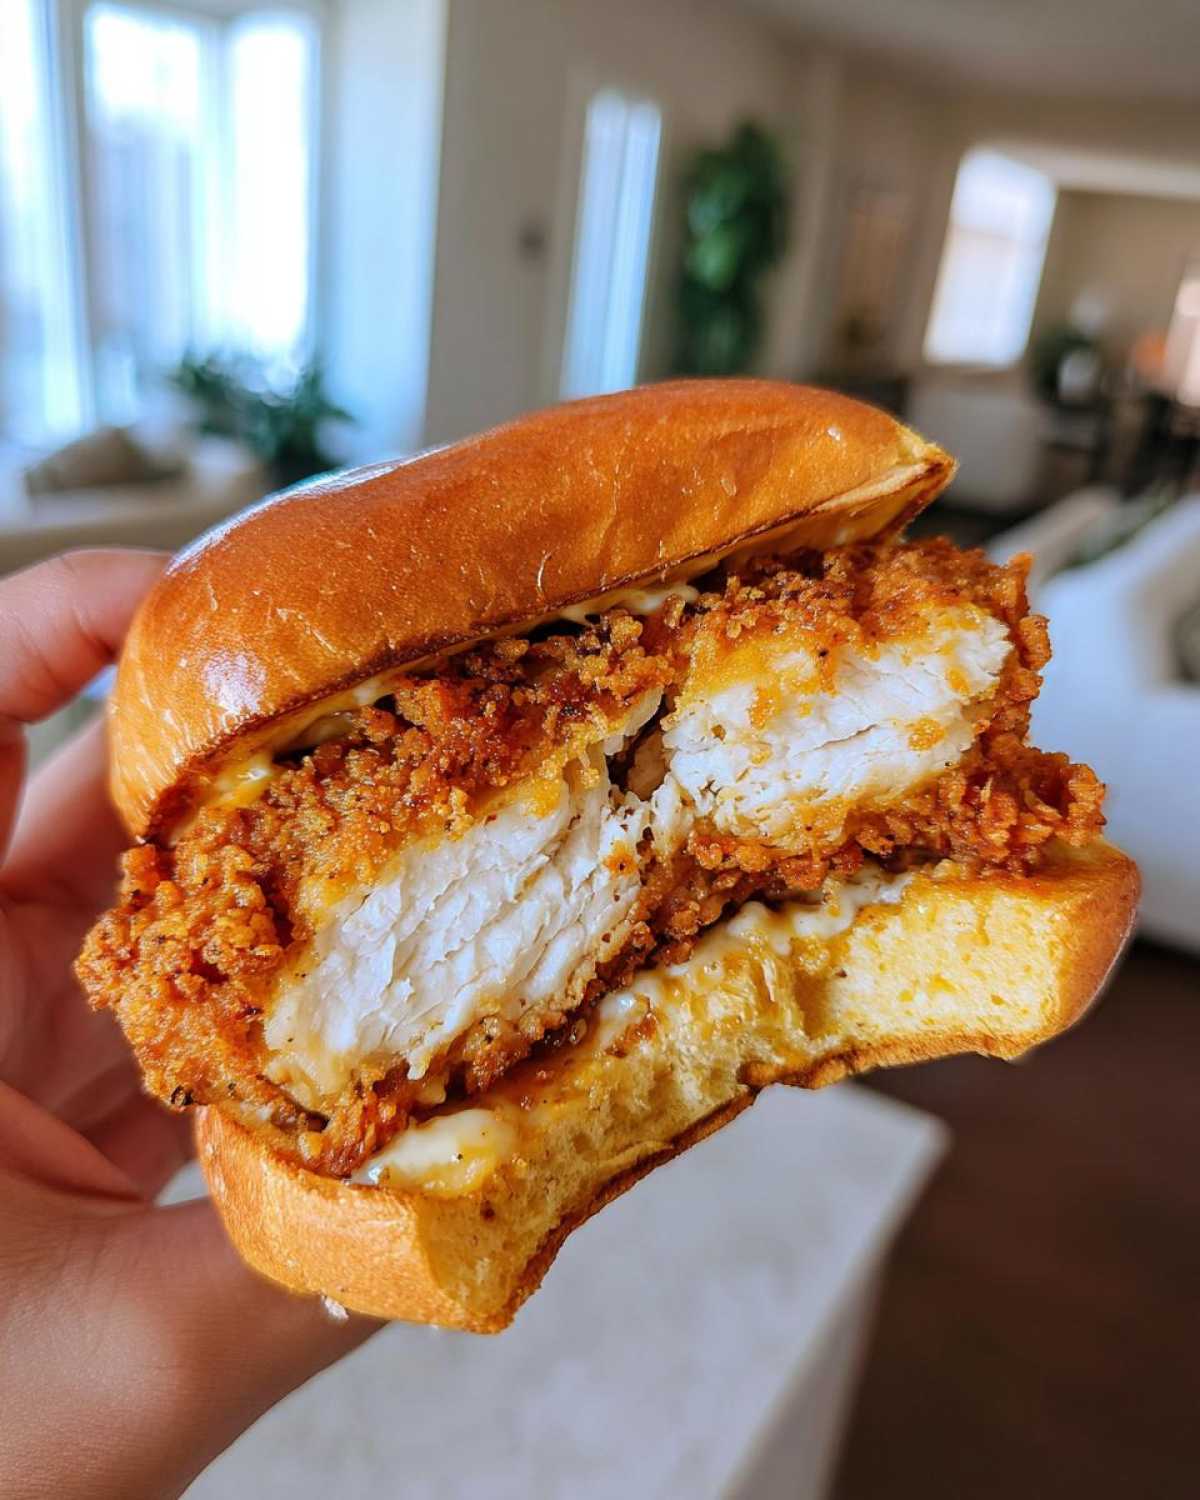
Essential Ingredients for Your Crispy Garlic Chicken Sandwich
Making a truly great Crispy Garlic Chicken Sandwich needs precision.
We don’t guess here at Savor And Pin.
Every component matters for that perfect crunch.
Follow these exact measurements, please.
This list guarantees restaurant-level results at your home.
Chicken Preparation Components
Start with two large boneless, skinless chicken breasts.
Slice them horizontally into four thin cutlets.
You need one cup of buttermilk for brining.
Add just one teaspoon of hot sauce to that milk.
This brine tenderizes the meat deeply.
The Flavorful Dredge Mix
Your dry mix needs one and a half cups of flour.
Crucially, mix in half a cup of cornstarch.
Two teaspoons of garlic powder bring the punch.
Don’t forget onion powder, paprika, salt, and pepper.
That cornstarch is key for the shatteringly crispy texture.
Assembly and Finishing Touches
Grab two sturdy brioche or potato rolls.
Use vegetable or canola oil for frying, about three cups.
We make a simple garlic butter spread too.
Mix two tablespoons of softened butter with fresh minced garlic.
This finishes the bun beautifully, trust me on this.
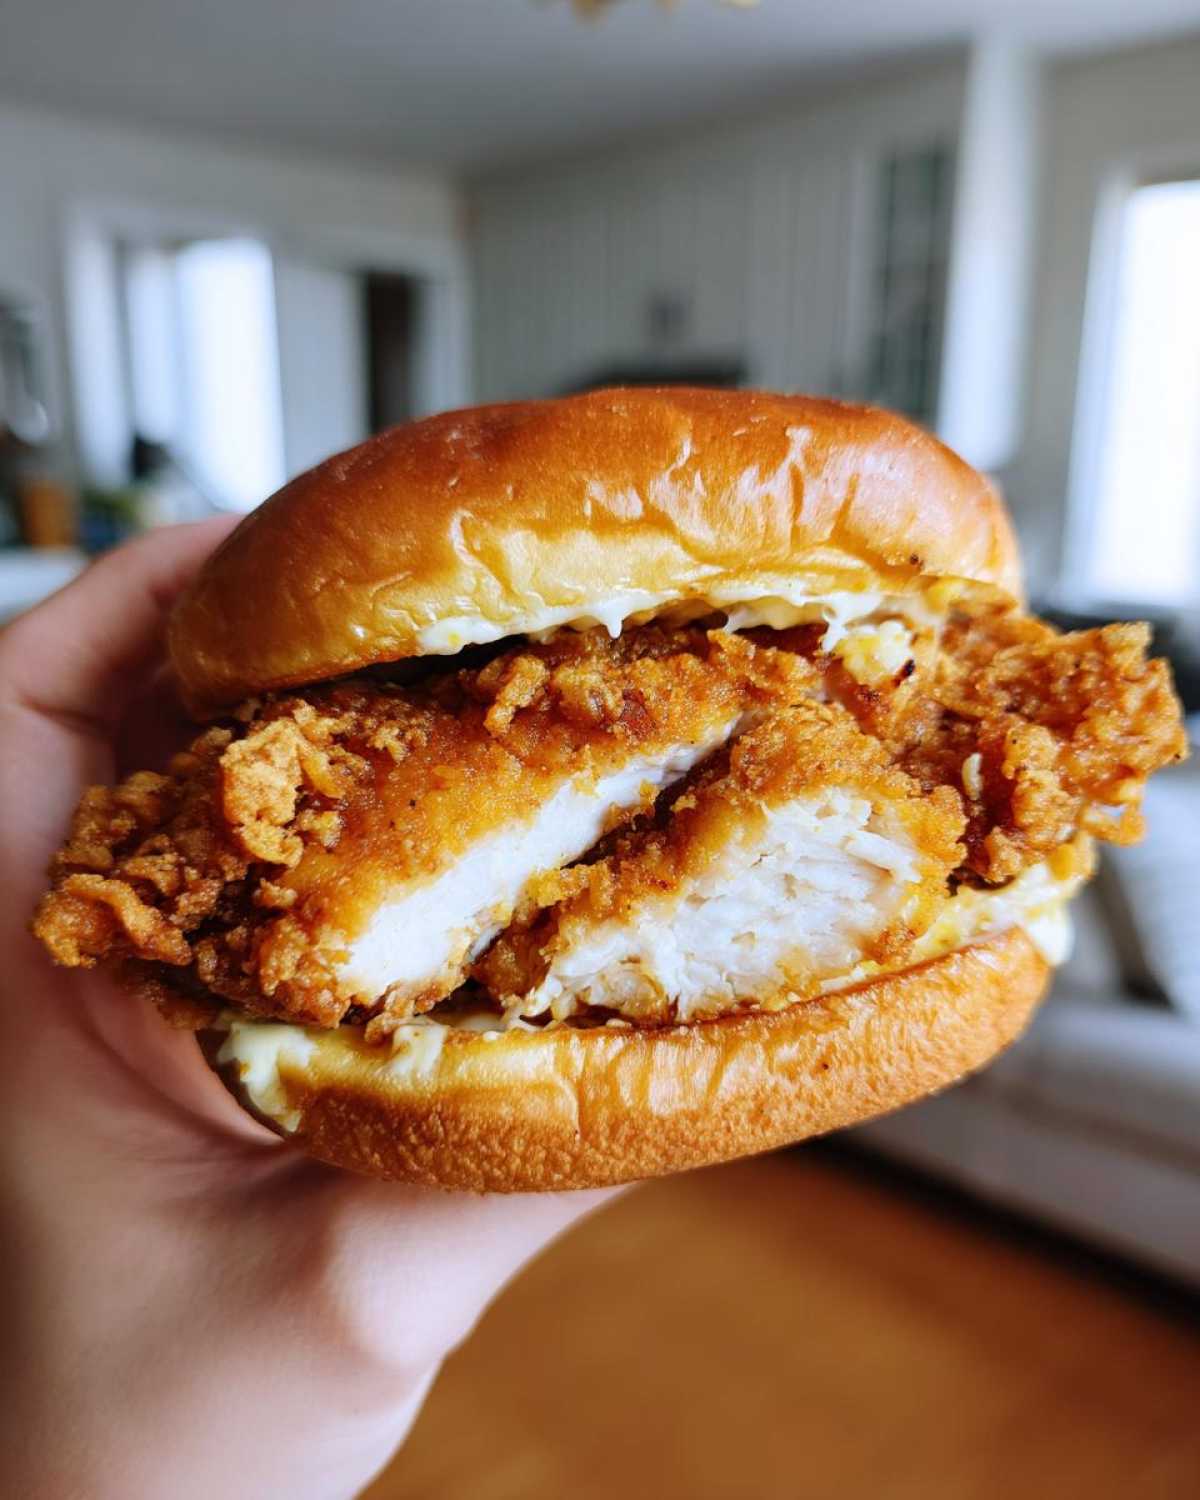
Step-by-Step Instructions for the Crispy Garlic Chicken Sandwich
Now for the fun part, friends. We turn ingredients into magic.
Follow these steps for your perfect Crispy Garlic Chicken Sandwich.
We break down the frying process simply.
This ensures your chicken stays juicy inside.
It guarantees that famous, loud crunch outside.
Preparing the Chicken for Maximum Flavor
First, slice those big chicken breasts in half.
We want four thinner cutlets total.
Gently pound them to a uniform half-inch thickness.
This helps them cook evenly, which is super important.
Next, mix the buttermilk and hot sauce in a bowl.
Submerge the chicken completely in this brine.
Cover it up and let it chill for at least two hours.
Twelve hours is even better for tenderness!
Mastering the Coating Technique
Whisk your dry dredge ingredients together well.
This is where that amazing garlic flavor really sets in.
Pull the chicken from the buttermilk.
Let the extra liquid drip off naturally.
Dredge each piece in the flour mix. Press hard!
You must press firmly so the coating sticks tight.
Shake off any loose, extra flour gently.
Want extra crunch? Try that double-dip trick mentioned earlier.
Achieving Oil Temperature Perfection
Heat about two inches of oil in a heavy pot.
Use a thermometer; this is non-negotiable for crispiness.
We need that oil hitting exactly 350 degrees Fahrenheit.
If the oil is too cool, your sandwich gets greasy fast.
Carefully add only one or two cutlets at a time.
Never overcrowd your frying vessel.
Crowding drops the oil temperature fast, ruining the crust.
Frying and Building Your Crispy Garlic Chicken Sandwich
Fry each side for four to six minutes.
Turn the chicken occasionally while cooking.
Check the internal temperature; it must hit 165 degrees.
The coating should look deep golden brown and loud.
Place the cooked chicken on a wire rack to drain.
Let it rest for a few minutes before assembly.
Toast your buns in a dry skillet with the garlic butter spread.
Slather that yummy butter on the cut sides.
Then stack that juicy chicken and your toppings high.
Serve this incredible Crispy Garlic Chicken Sandwich right away.
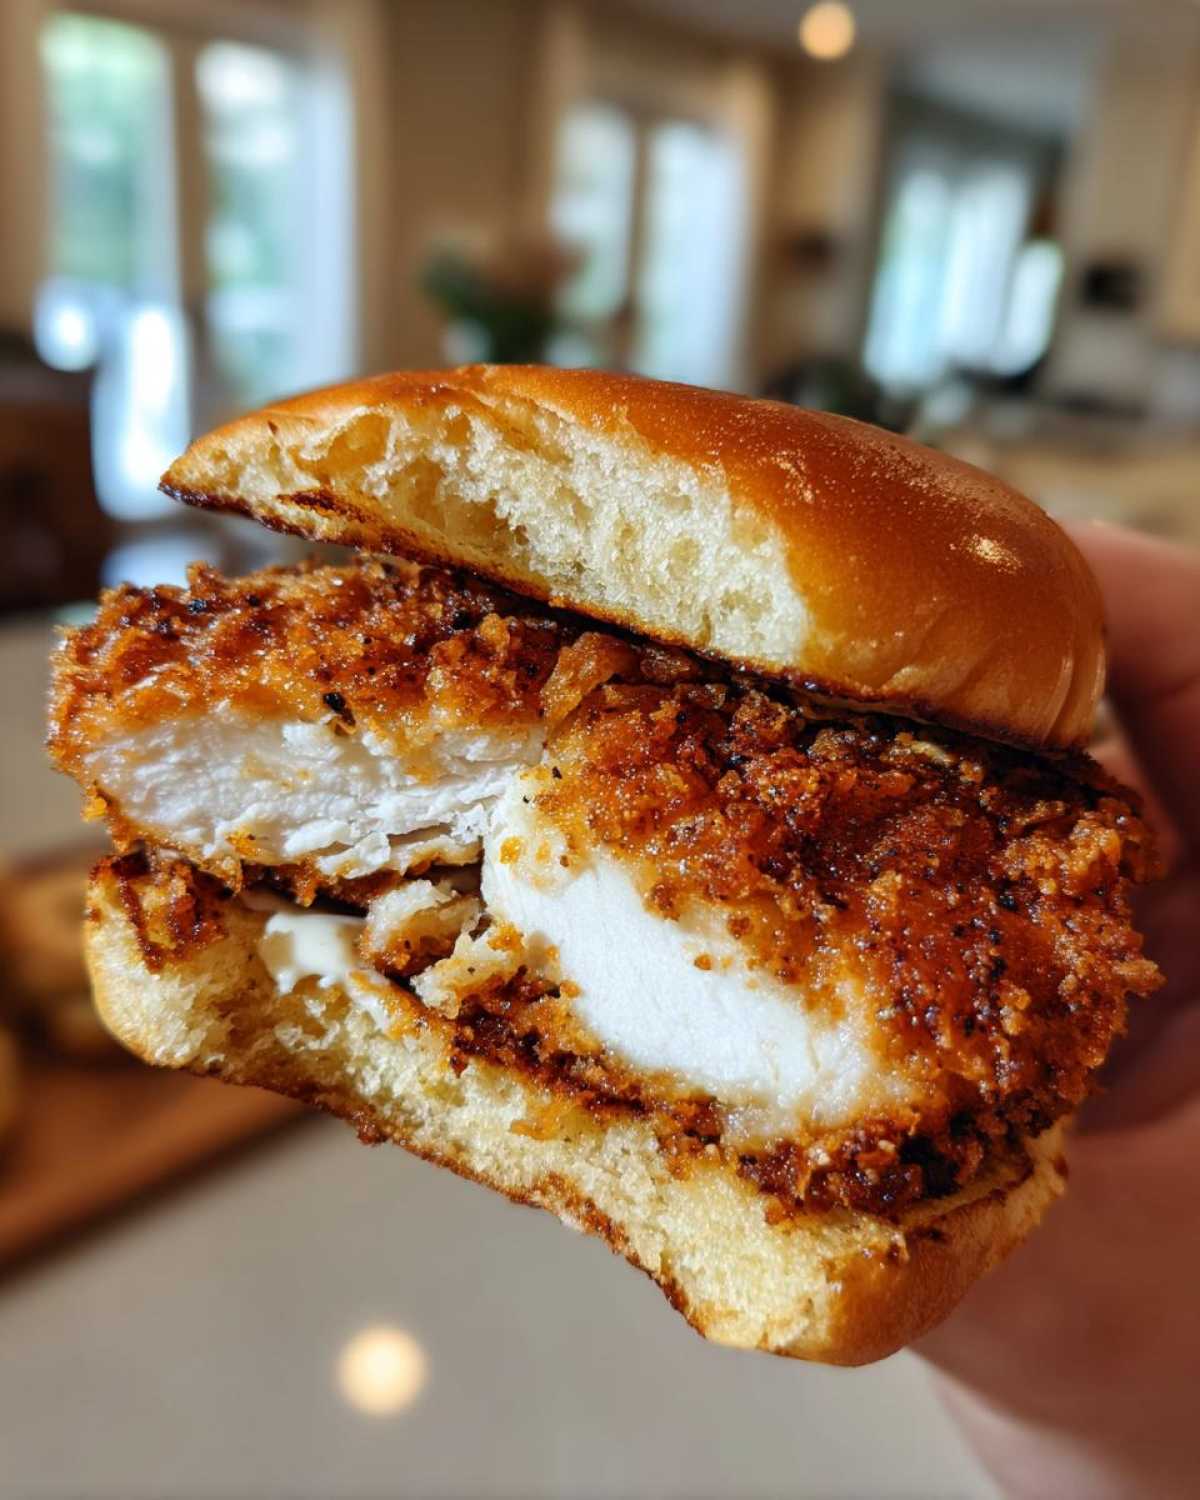
Tips from Our Recipe Rescuers for a Perfect Crispy Garlic Chicken Sandwich
We want your homemade fried chicken to sing!
Here are a few tricks we learned fixing this recipe.
These little steps make a huge difference.
They help you nail that restaurant quality every time.
Ben suggested a wild idea for extra texture.
If you want maximum shatter, double-dip the chicken.
Dip it back into the buttermilk, then flour again.
This builds up those craggy, crunchy bits we love.
Noah insists on the oil thermometer check.
He says oil that’s too cold breaks down the coating.
That makes your Crispy Garlic Chicken Sandwich absorb oil.
Soggy chicken is a culinary tragedy we avoid.
Also, don’t skip toasting the bun in garlic butter.
It adds a necessary aromatic layer right there.
That small step seals the deal beautifully.
Ingredient Notes and Substitution Guidance
Choosing the right oil matters a lot here.
We recommend vegetable or canola oil highly.
These oils have high smoke points for frying.
They stay stable at 350 degrees easily.
Peanut oil works wonderfully as a substitute, too.
If you lack buttermilk, mix one cup of regular milk.
Stir in one tablespoon of white vinegar or lemon juice.
Let that mixture sit for five minutes to curdle slightly.
That creates a fine, homemade tenderizer for your meat.
Frequently Asked Questions About Your Crispy Garlic Chicken Sandwich
I know you have questions about making this perfect.
It’s normal when attempting restaurant-quality food.
Let’s clear up a few common points.
We want your homemade fried chicken experience to be great.
Can I bake or air fry this?
You absolutely can try baking or air frying.
However, the deep-fried texture is hard to match.
Air frying works best if you spray the coated chicken.
Spray it generously with oil before cooking.
Baking will yield a drier, less craggy crust.
How long can I brine the chicken?
The sweet spot for brining is two hours.
You can go up to a full twelve hours safely.
More time means more tender meat.
Don’t go past twelve hours, though.
The texture might start to break down a bit.
How do I keep the sandwich from getting soggy?
Sogginess is the enemy of a great sandwich.
First, drain the chicken well on a rack.
Second, toast those buns well with garlic butter.
This creates a moisture barrier against the juices.
Apply any wet sauces only right before serving.
Estimated Nutritional Data for One Crispy Garlic Chicken Sandwich
We tried to keep things reasonable here.
But deep frying adds richness, naturally.
These numbers are just estimates for one serving.
They reflect the full recipe ingredients used.
Use these figures as a general guideline only.
Serving Size and Key Values
The serving size is one complete sandwich.
Calories hover around 650 for this treat.
Expect about 40 grams of pure protein.
Fat content is roughly 35 grams total.
Carbohydrates come in around 45 grams per serving.
Share Your Perfect Crispy Garlic Chicken Sandwich
We put our hearts into fixing this recipe for you.
Now it’s your turn to try this masterpiece.
Did you achieve that incredible crunch?
Tell us about your experience making the Crispy Garlic Chicken Sandwich.
Rate the recipe below for others to see.
We love seeing your amazing culinary results!
PrintFixing 1 Crispy Garlic Chicken Sandwich Disaster

Create restaurant-quality Crispy Garlic Chicken Sandwiches at home. You get a juicy interior encased in a crunchy, flavorful coating thanks to our tested and perfected recipe.
- Prep Time: 20 minutes
- Cook Time: 25 minutes
- Total Time: 2 hours 45 minutes (includes brining time)
- Yield: 4 sandwiches
- Category: Main Dish
- Method: Deep Frying
- Cuisine: American
- Diet: None
Ingredients
- Chicken Breasts: 2 large, boneless, skinless
- Buttermilk: 1 cup
- Hot Sauce: 1 teaspoon
- All-Purpose Flour: 1 1/2 cups
- Cornstarch: 1/2 cup
- Garlic Powder: 2 teaspoons
- Onion Powder: 1 teaspoon
- Paprika: 1 teaspoon
- Salt: 1 teaspoon
- Black Pepper: 1/2 teaspoon
- Oil for frying: 3 cups (vegetable or canola)
- Buns: 2 brioche or potato rolls
- Garlic Butter Spread (for toasting): 2 tablespoons softened butter mixed with 1 teaspoon minced fresh garlic
- Optional Toppings: Pickles, lettuce, mayonnaise
Instructions
- Prepare the Chicken: Slice the chicken breasts in half horizontally to create four thinner cutlets. Pound them lightly to an even 1/2-inch thickness.
- Brine: In a bowl, combine the buttermilk and hot sauce. Submerge the chicken cutlets completely. Cover and refrigerate for at least 2 hours, or up to 12 hours.
- Make the Dredge: In a shallow dish, whisk together the flour, cornstarch, garlic powder, onion powder, paprika, salt, and pepper.
- Coat the Chicken: Remove the chicken from the buttermilk, letting excess drip off. Dredge each piece thoroughly in the flour mixture, pressing firmly to make sure the coating adheres well. Shake off any loose flour.
- Heat the Oil: Pour the oil into a deep, heavy-bottomed pot or Dutch oven to a depth of about 2 inches. Heat the oil to 350°F (175°C). Use a thermometer to check the temperature; this step is crucial for crispiness.
- Fry the Chicken: Carefully place one or two chicken cutlets into the hot oil, ensuring you do not overcrowd the pan. Fry for 4 to 6 minutes per side, turning occasionally, until the internal temperature reaches 165°F (74°C) and the coating is deep golden brown and crisp.
- Drain: Remove the cooked chicken and place it on a wire rack set over a baking sheet to drain excess oil. Let rest for a few minutes.
- Toast the Buns: Spread the garlic butter mixture evenly on the cut sides of the buns. Lightly toast them in a dry skillet over medium heat until golden brown and fragrant.
- Assemble: Place the crispy chicken cutlet on the bottom bun. Add your preferred toppings like pickles or lettuce. Top with the remaining bun half. Serve immediately.
Notes
- For extra crunch, double-dip the chicken: After the first dredge, dip the chicken back into the buttermilk for a second, quick dip, and then back into the flour mixture.
- Do not skip checking the oil temperature. If the oil is too cool, the chicken will absorb too much oil and become soggy.
- The garlic butter toast adds a great aromatic layer to the sandwich.
Nutrition
- Serving Size: 1 sandwich
- Calories: Approx. 650
- Sugar: Approx. 8g
- Sodium: Approx. 1100mg
- Fat: Approx. 35g
- Saturated Fat: Approx. 7g
- Unsaturated Fat: Approx. 28g
- Trans Fat: Approx. 0g
- Carbohydrates: Approx. 45g
- Fiber: Approx. 2g
- Protein: Approx. 40g
- Cholesterol: Approx. 150mg