

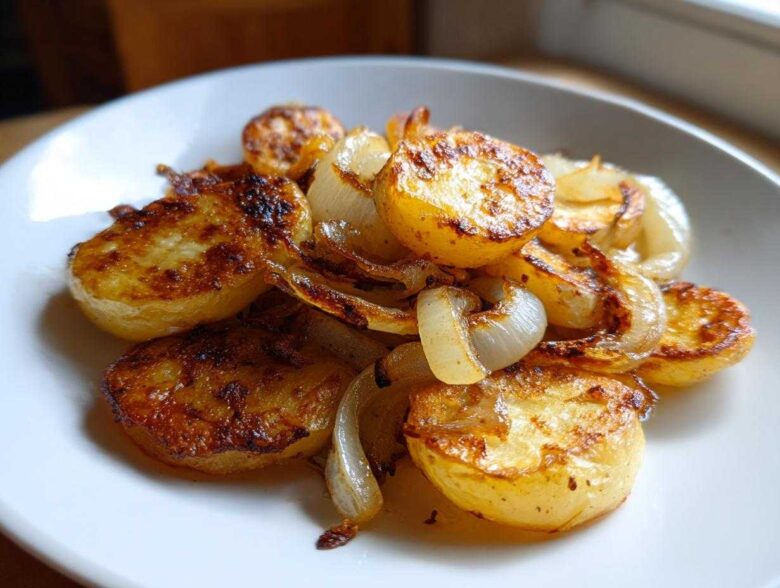
Listen, I know the struggle. You want those amazing diner-style potatoes—golden brown, screaming crispy on the edges, but still soft and fluffy inside? For years, my attempt at making fried potatoes ended in one of two ways: soggy, pale messes or potatoes that were burnt on the outside and hard as rocks inside. Yuck! But trust me, I finally cracked the code. The secret to achieving the absolute best Crispy Fried Potatoes isn’t just about the heat; it’s about what you do *before* they ever touch the hot grease. We are focusing intensely on starch removal and heat management in this Pan Fried Potatoes Recipe, and I promise, the results will change your breakfast game forever. If you’re looking for another fantastic potato side, make sure you check out my recipe for Lemon Garlic Roasted Potatoes! I’ll show you exactly how I stopped steaming my potatoes and started frying them properly!
Why This Pan Fried Potatoes Recipe Guarantees Golden Brown Potatoes
There are a lot of recipes out there for potatoes, but finding that perfect balance—Fluffy Inside Crispy Outside Potatoes—is sometimes the hardest part of cooking, right? I’ve really focused on perfecting the texture here. This isn’t your average Home Fries How To Make tutorial; we are dialing in the detail so you get that beautiful color and incredible crunch every single time. It’s all about preparation before the heat gets involved!
Achieving Fluffy Inside Crispy Outside Potatoes
The biggest game-changer for me was mastering the soak. See, potatoes are loaded with surface starch, and if you just keep that starch on there, what happens when you fry them? They turn gummy and steam themselves! Soaking them in cold water for at least half an hour is non-negotiable. This rinsing action gets rid of the excess starch, which means less stickiness in the pan and way more surface area available to turn delightfully crisp when it hits the fat.
The Secret to Perfect Skillet Potatoes and Onions
Next up is the grease. While vegetable oil works fine for basic Skillet Potatoes and Onions, if you want that true, deep flavor—that real comfort food vibe—you simply must try cooking these in bacon grease. I save mine every time I make bacon! The key to getting that beautiful crust development, those Golden Brown Potatoes, is starting your pan hot. You need the oil shimmering before those dried-out potatoes even go in. That immediate sizzle sets the crust and locks in the fluffy interior. Trust me, if you start them cold, you’ll never get the crust you want. Don’t forget to check out the one-pan magic I do with my Best Fried Potatoes Technique article for more tips!
Gathering Ingredients for Crispy Fried Potatoes
Okay, before we get to the serious cooking part, we have to talk about what you need! Getting the right ingredients ready makes the whole process smooth, especially since we are trying to manage heat and moisture so closely. Don’t skip the prep on the potatoes; it’s what makes these Crispy Fried Potatoes so famous in our house!
Here is what you’ll need for about four generous servings. Feel free to swap out the bacon grease for a good neutral cooking oil if that’s easier for you, but bacon grease just adds that classic Southern touch!
- 2 lbs Russet potatoes, peeled and sliced a nice 1/4 inch thick—not too thin, not too chunky!
- 1 large yellow onion, sliced up nice and thin.
- 4 tablespoons bacon grease or vegetable oil—this is what we need for that sizzle!
- 1 teaspoon salt, and trust me, you need that much.
- 1/2 teaspoon black pepper, freshly ground is best.
- 1/4 teaspoon garlic powder—just a little boost of flavor.
Once you have these laid out, you can feel good knowing you are ready for the technique portion. Planning ahead like this is half the battle! If you ever need a side dish idea that uses a lot of fresh ingredients, check out my Loaded Chicken Burrito Bowls!
Mastering the Best Fried Potatoes Technique: Step-by-Step Instructions
This is where the magic happens, friend. Seriously, ditch any recipe that tells you to just chop and fry. We already soaked our spuds to remove all that pesky starch, so now we have to treat them right! Follow these steps carefully, especially when it comes to stirring. If you rush this part, you end up with soft, steamed potatoes, and that’s just not what we came here for when making fried potatoes.
Preparation: Soaking and Drying Your Potatoes
Remember that soaking step? Now you have to pay attention to the drying! This is non-negotiable for getting that crispy exterior we crave. Drain those potato slices really well. Then, you need paper towels—lots of them. Lay the slices out on a clean dish towel or layers of paper towels and pat them until you think they are dry. Now for my pro tip: Pick up a slice and press it firmly onto the towel. If you see *any* moisture transfer from the potato surface to the towel, they aren’t dry enough. Keep patting until they feel completely dry to the touch!
Cooking Phase 1: Building the Crust on Your Fried Potatoes
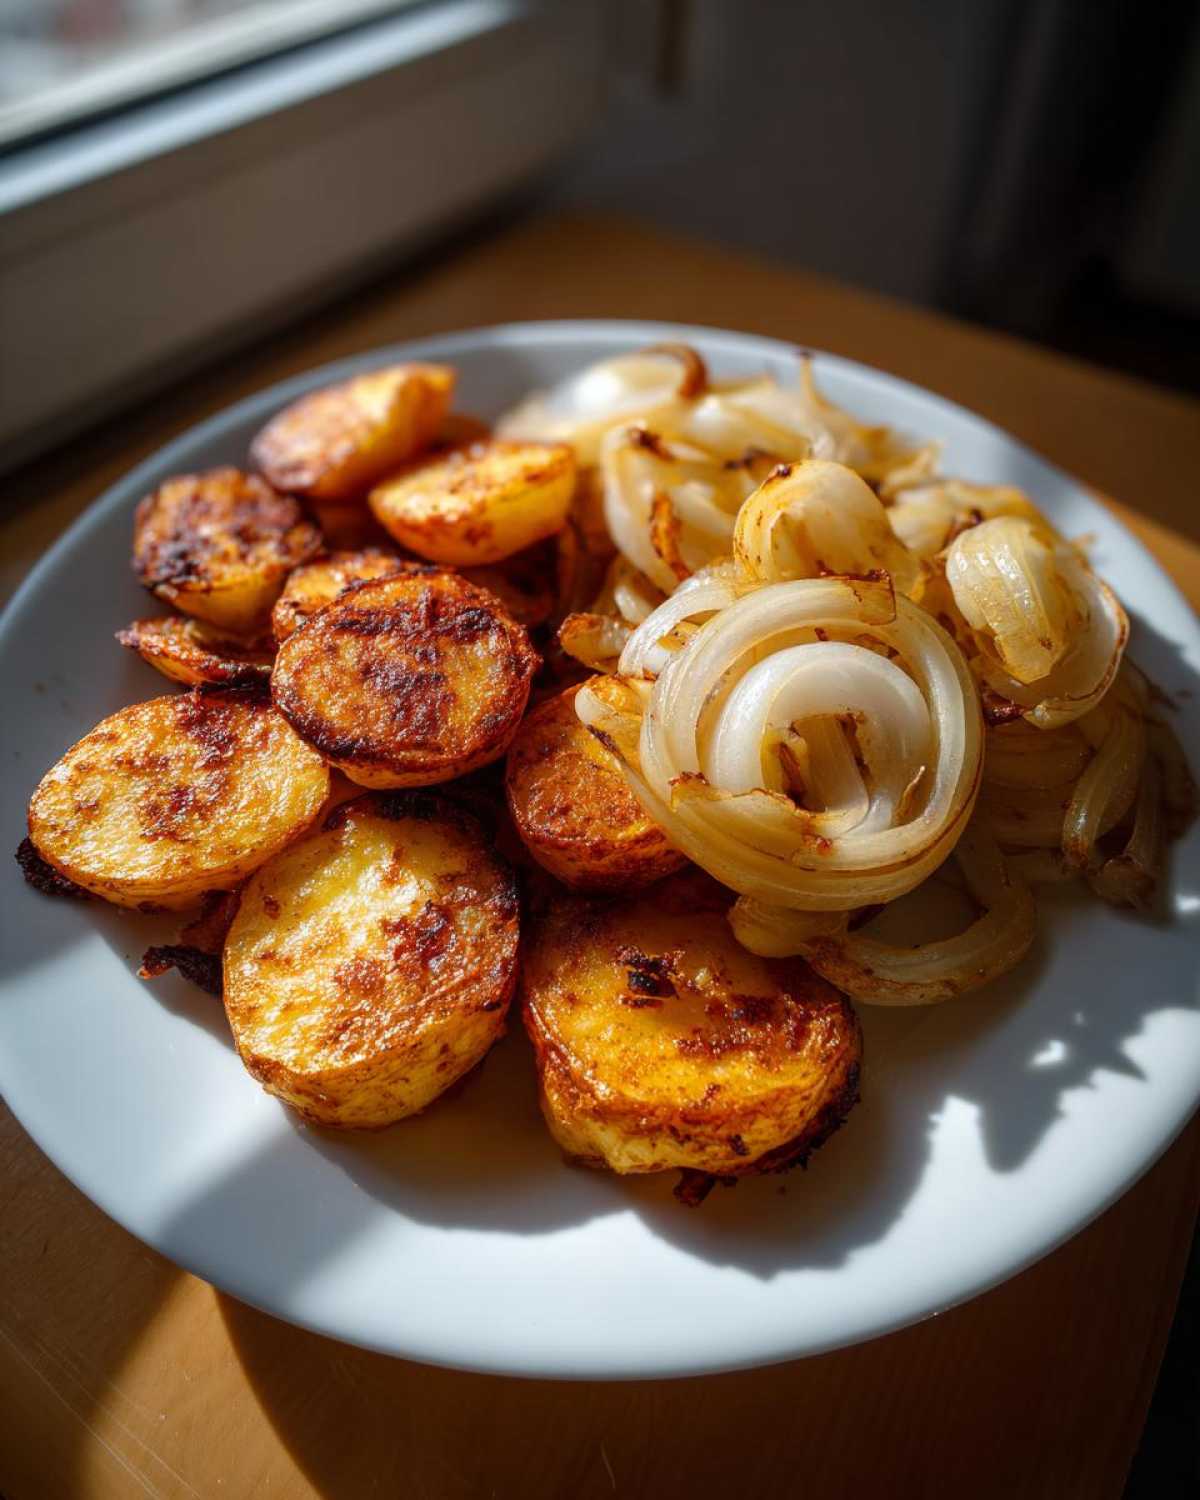
Time to heat up that heavy skillet! Get your bacon grease or oil shimmering over medium heat. We want that fat hot enough so the potatoes start frying immediately, not slowly cooking. Gently place your dried potato slices into the hot fat. Here is the toughest part: You have to let them sit. Do NOT stir them for a full 10 minutes. That initial, undisturbed cook time is when the foundational crust develops on your fried potatoes. Resist the urge to poke at them!
Cooking Phase 2: Achieving Tender Centers and Adding Onions
After that first 10 minutes, you can stir them gently. Now, reduce the heat down to medium-low. This is important for cooking the inside all the way through without burning the outside crust we just worked so hard to build. Continue cooking for about another 15 minutes, stirring every five minutes or so until they look wonderfully golden brown and pierce easily when poked with a fork. During the last 10 minutes of this stage, toss in those sliced onions. They soften up nicely and mingle with the potatoes perfectly. When everything is tender and caramelized, hit them with your salt, pepper, and garlic powder. Stir one last time and serve them straight from the pan! If you want to see how I handle a whole different kind of pan meal, check out my guide for One Skillet Beef Stroganoff!
Variations on Country Fried Potatoes and Home Fries How To Make
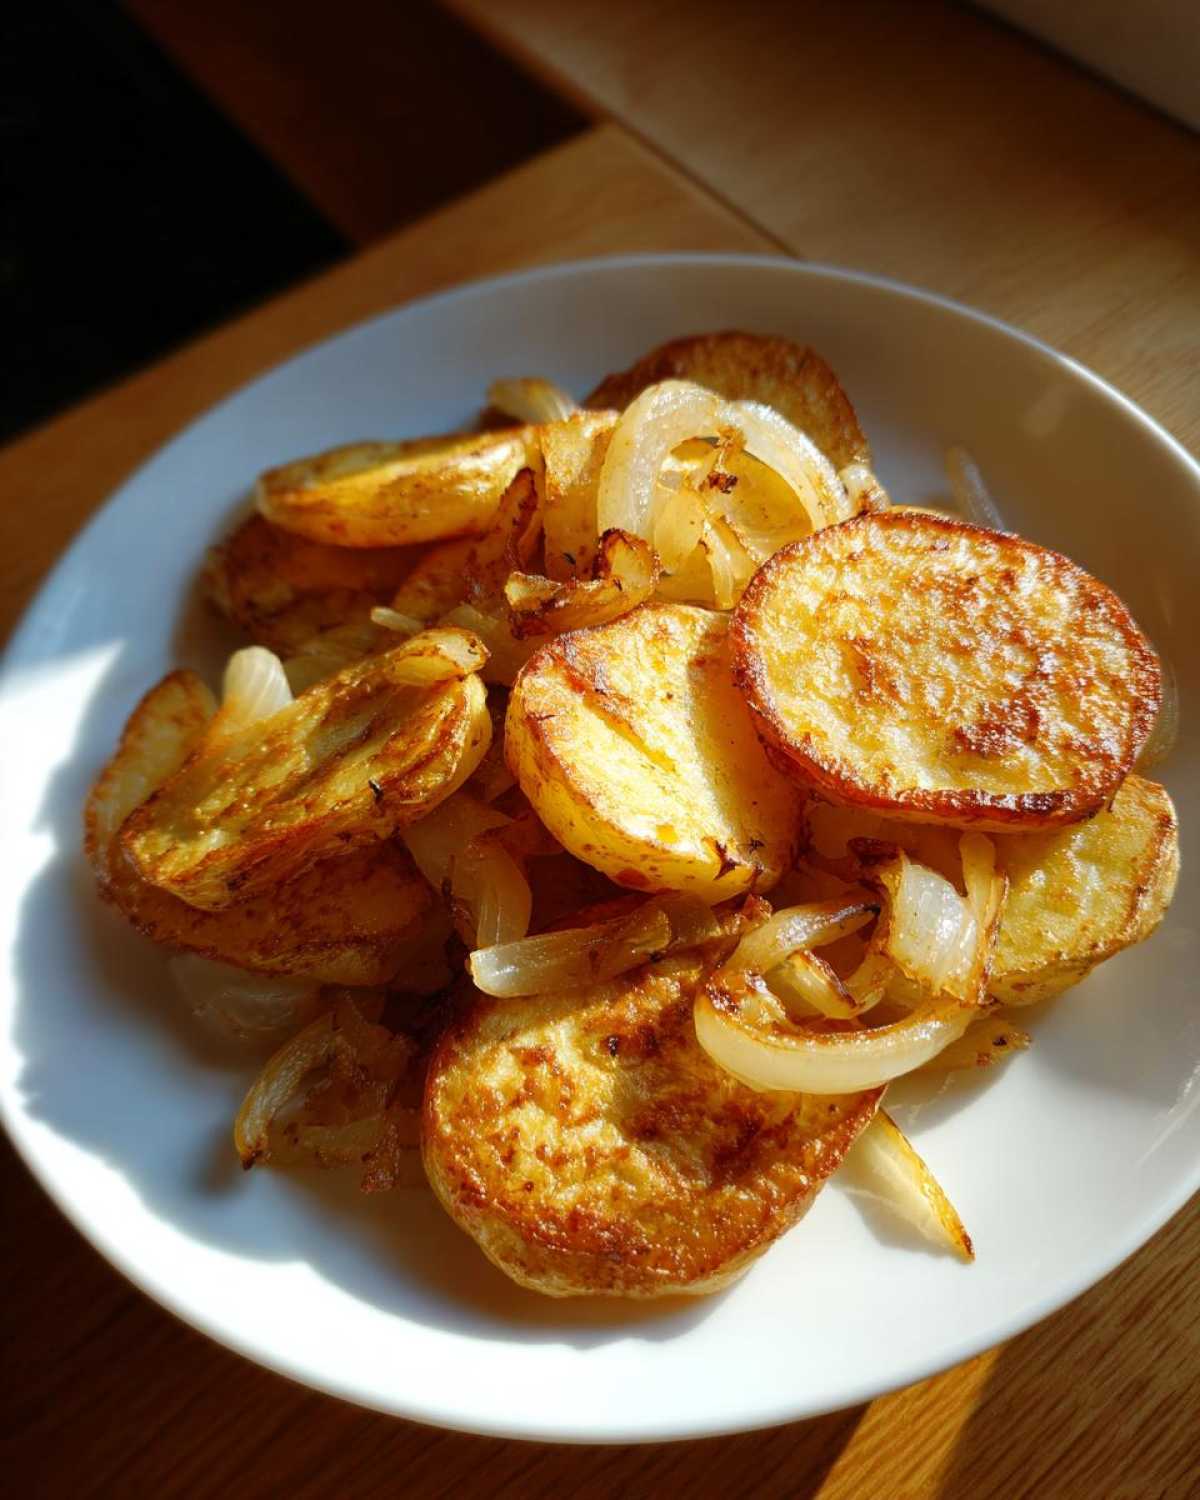
Now that you’ve mastered the basic technique for truly crispy fried potatoes, it’s time to make them your own! This recipe is super adaptable, so don’t feel stuck just making the classic version. For me, transforming this into a hearty Breakfast Potatoes Recipe is my favorite thing to do on a lazy Saturday morning.
If you want heartier Country Fried Potatoes, wait until the potatoes are almost done, then toss in some cooked, crumbled breakfast sausage or crispy bacon bits. The grease from the meat adds incredible flavor! Also, feel free to experiment with the potato type. While Russets give you that fluffy interior, Yukon Golds stay a bit firmer, which some folks prefer for their Home Fries How To Make version.
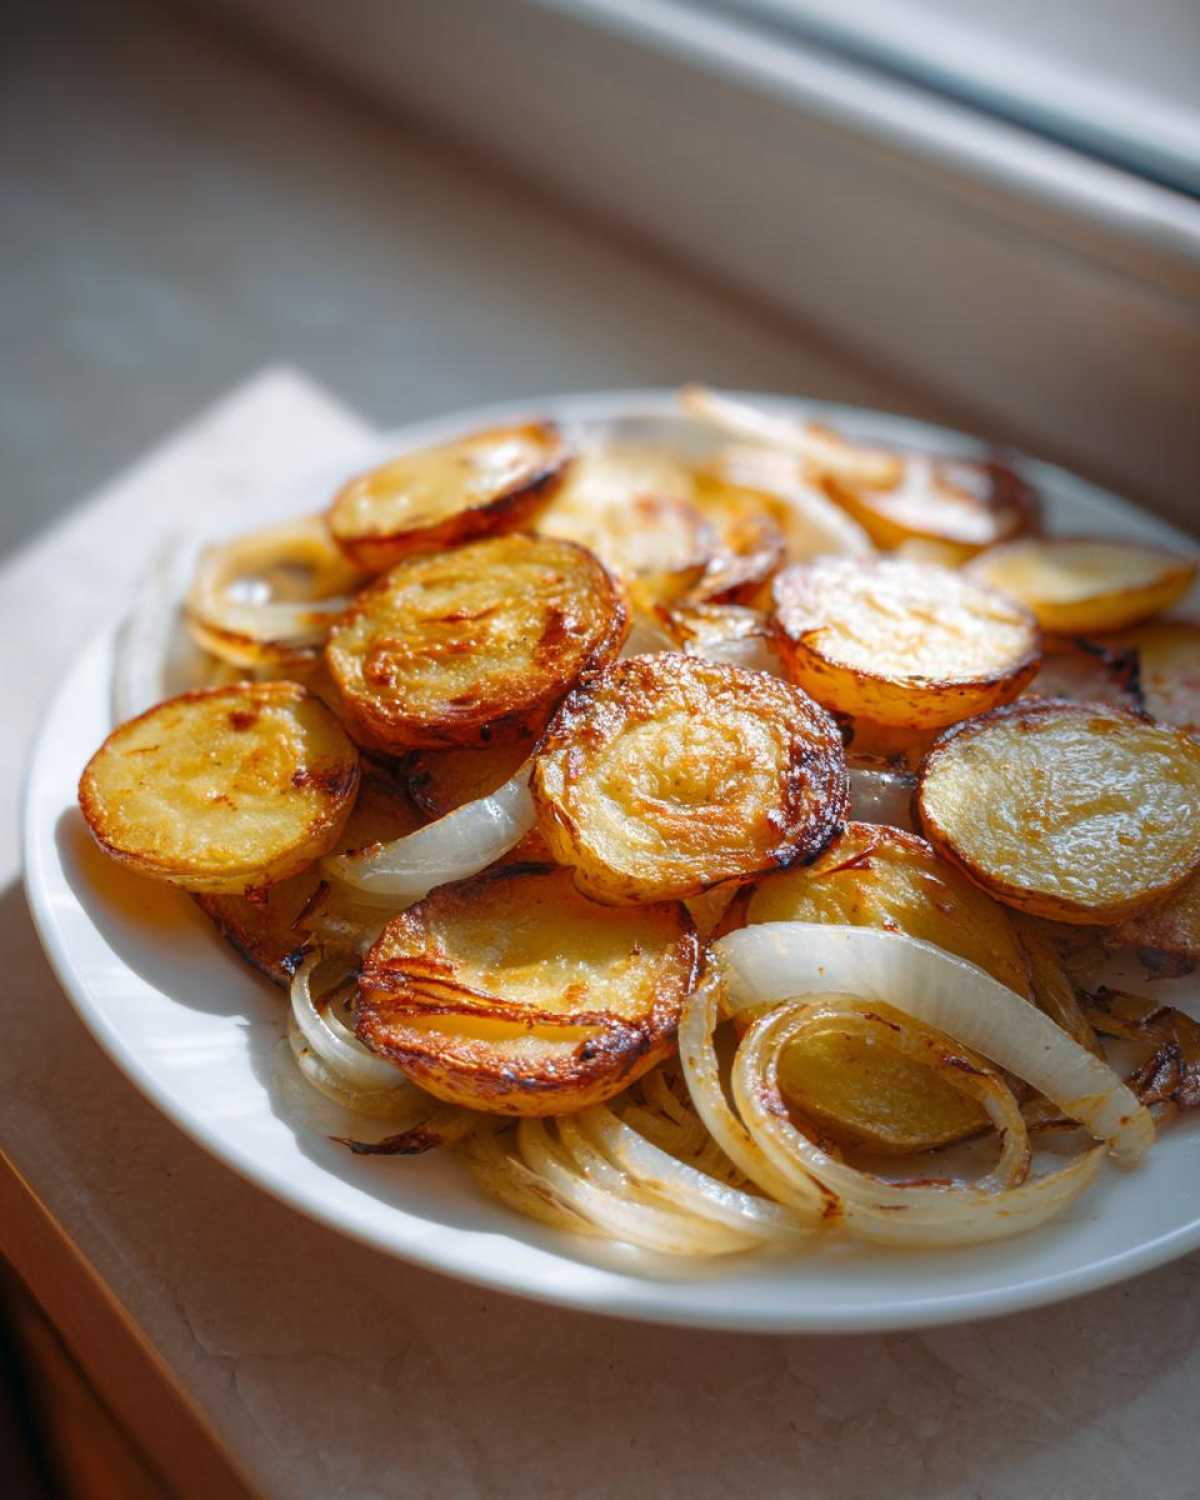
You can also turn this into an easy sheet pan meal. If you are looking for an easier clean-up route, check out my guide for Sheet Pan Breakfast Hash—it uses similar concepts but skips the stovetop chaos!
Tips for Perfect Southern Fried Potatoes Every Time
Okay, listen up, because getting that perfect Southern texture requires avoiding a few common traps. I learned these lessons the hard way with many soggy batches! If you follow these few crucial rules, your fried potatoes will behave exactly as they should—crisp and golden, never steamed.
First, and this is one Grandma always drilled into me: never cover the skillet while the potatoes are frying! Covering the pan traps the steam released by the potatoes. Steam equals moisture, and moisture equals mushy potatoes. We want dry heat hitting that starch layer to make it sizzle and crisp up. Keep that lid off the whole time!
If you are really pressed for time and can’t soak your potatoes for 30 minutes, you can try my secret cheat code: par-boiling. You can quickly boil the slices in salted water for about five minutes. This softens the interior slightly ahead of time. But here’s the main rule that applies after par-boiling: you must dry them even more diligently than usual! Seriously, when you think they are dry, dry them again. Don’t skip this step if you go this route.
Another tip for texture is making sure you use the right fat. While I love bacon grease, if you use too little oil, the potatoes will stick and burn instead of frying evenly. Make sure you have enough fat to coat the bottom of the pan well, especially during those first 10 minutes of crust building. For serving inspiration later, once you have your perfect fried potatoes, you have to try them alongside my Buttery Dinner Rolls, they make a fantastic comfort food pairing!
Serving Suggestions for Your Homemade Fried Potatoes
Honestly, these fried potatoes are so good, they could be the star of the show, but they pair beautifully with almost anything! They work equally well as the anchor for a big breakfast or as a simple, hearty side dish for dinner. I never make a batch without thinking about what they will accompany!
For breakfast, you know the drill: load them up next to sunny-side-up eggs where that runny yolk can coat the potatoes slightly. A side of crispy bacon or savory sausage links just makes the whole plate sing. They shine next to my famous Honey Butter Chicken Biscuit Sandwiches if you are going all out!
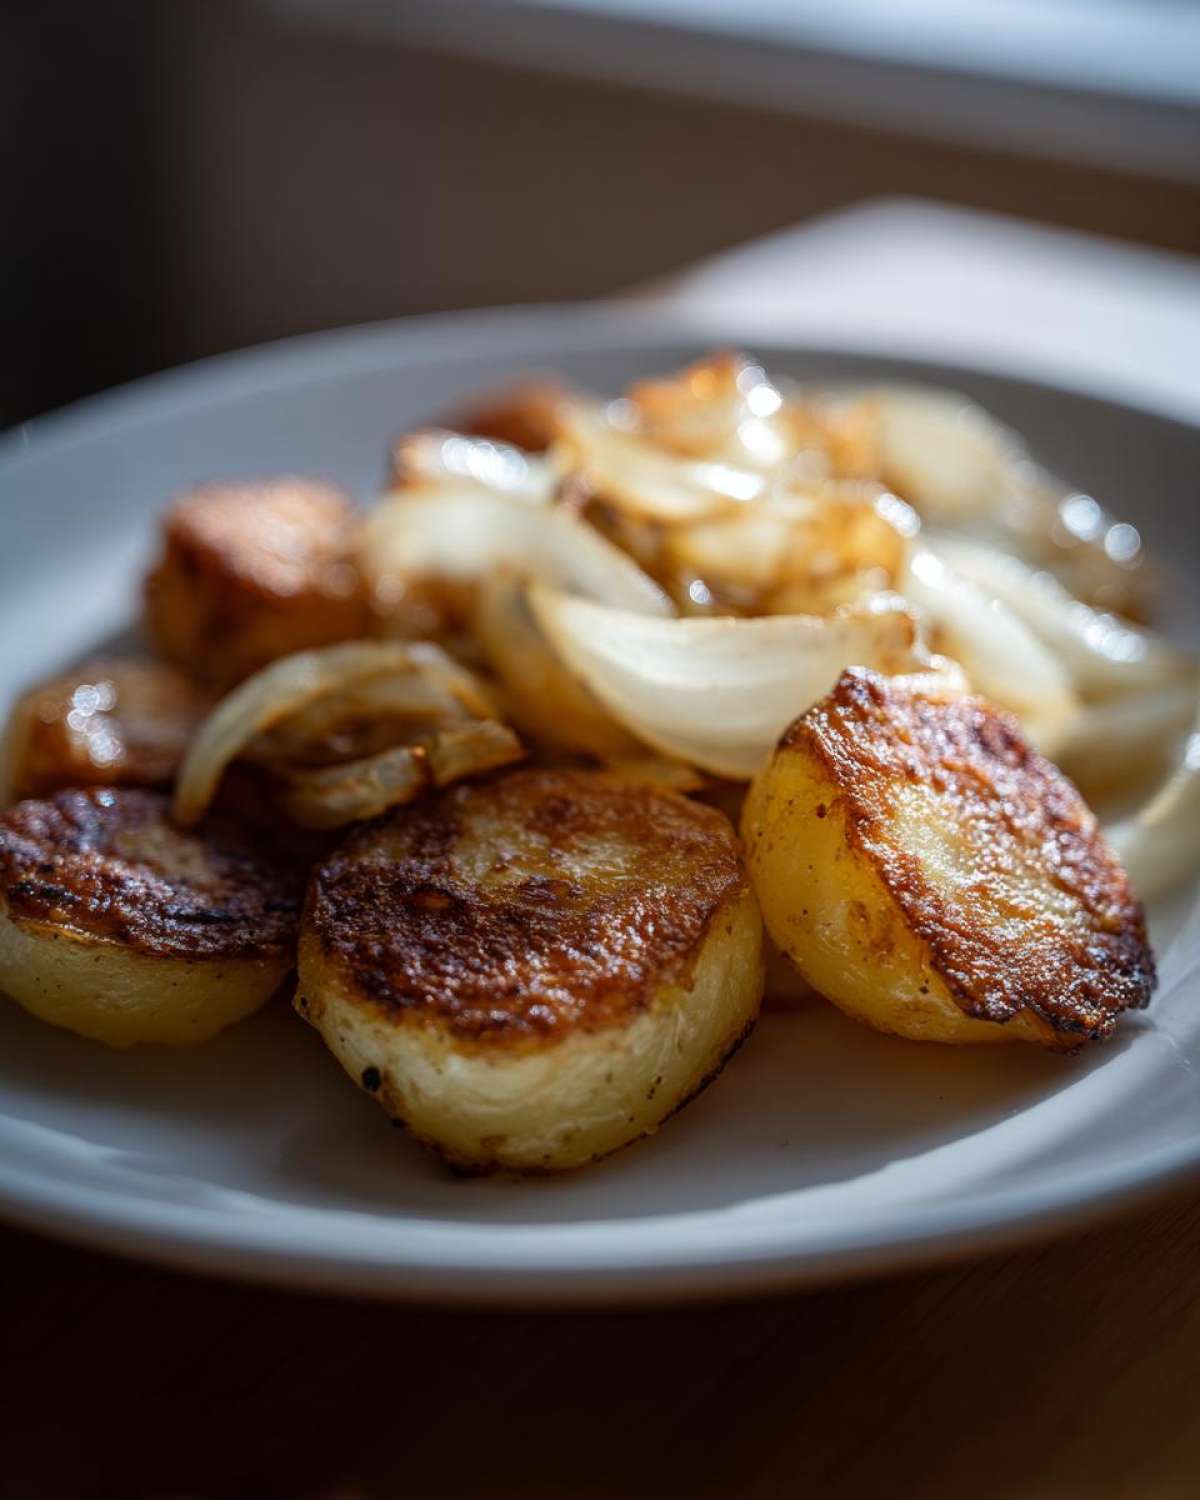
As a dinner side, they are perfect for soaking up the juices from a perfectly grilled steak or a slow-roasted chicken. They are way more satisfying than plain baked potatoes, and they don’t take as much fuss as a mashed version. Just pile them high on the plate, and watch them disappear!
Storage and Reheating Instructions for Leftover Fried Potatoes
Don’t you just hate when perfectly crispy fried potatoes go soft overnight? Me too! But these leftovers are too good to waste, so we have to handle them gently. The main enemy here is moisture, so we have to pack them correctly and reheat them with dry heat. If you made a big batch of these killer potatoes when you were making that amazing Slow Cooker Maple Dijon Chicken, here is how you salvage that crispness for tomorrow!
The absolute best way to store them is in an airtight container. Plastic containers or glass dishes with tight lids are my go-to. You want to separate them from anything steamy or wet. They should stay good in the fridge for about three days, although honestly, they are best eaten within 24 hours if you want maximum crispness.
Now, reheating is a challenge because the microwave will just steam them into a soggy mess, which defeats the entire point of our hard work! You have two main options to bring that golden glory back:
- The Oven/Toaster Oven Method: This is my preferred method. Spread the leftover potatoes in a single layer on a baking sheet. You can toss them with just a tiny drizzle of fresh oil if they look dry. Bake them at about 375°F (190°C) for 8 to 12 minutes. Watch them closely! They should crisp right back up as the heat dries the surface again.
- The Air Fryer Method: If you have an air fryer, this is lightning fast. Toss them gently with maybe half a teaspoon of oil, place them in the basket without overcrowding, and blast them at about 350°F (175°C) for about 5 minutes. They come out shockingly close to freshly made!
Just avoid the microwave unless you absolutely must eat them immediately—it really ruins that wonderful texture we worked so hard to achieve earlier!
Frequently Asked Questions About Making Fried Potatoes
I get so many questions about making these potatoes because everyone wants that perfect crunch! I pulled together some of the most common ones I hear regarding getting the best fried potatoes results. I hope these help clear up any confusion so your next batch is amazing!
What is the best potato type for fried potatoes?
For that glorious contrast—fluffy inside and crispy outside—you really want a high-starch potato like a Russet. Russets break down just enough on the edges when fried to create that beautiful crust we are obsessed with. If you use a waxy potato, like a red potato, they tend to hold their shape too well, and you end up with firm, boiled-tasting potatoes instead of tender ones. Stick to Russets for the classic Diner Style Potatoes!
Can I use butter instead of bacon grease for my Pan Fried Potatoes Recipe?
You absolutely can, but you have to be careful! Butter tastes fantastic with potatoes, but it has a lower smoke point than bacon grease or straight vegetable oil. If you use straight butter over medium heat, it will brown and burn before your potatoes even start crisping up. If butter is your preference for flavor, I suggest mixing it with an equal amount of a neutral oil, like canola. This raises the smoke point and keeps your Golden Brown Potatoes from turning black too fast!
How do I prevent my fried potatoes from steaming while cooking?
This is the number one reason people end up with mushy potatoes! Steaming happens when moisture gets trapped. Make sure you are taking two key steps: One, dry your potatoes absolutely perfectly after soaking them—I mean towel-dry them completely! And two, never, ever cover the pan while they are cooking. Covering them traps that steam and turns your hot fat into a moist environment, which is the exact opposite of what you want when aiming for crispy fried potatoes. Keep that lid off!
Can I turn this into Southern Fried Potatoes using pre-cooked potatoes?
If you are aiming for true Southern Fried Potatoes, you need to follow the soaking and slow-frying method we discussed. However, if you have leftover boiled or baked potatoes, you can certainly use them to make a fast batch of hash browns or home fries! Just make sure to chop them into roughly uniform pieces and dry them well. When reheating them, use plenty of fat and high heat to get that characteristic brown crust, though they might not get quite as fluffy inside as the raw, soaked version.
If you’re looking for other great side dish ideas after mastering these, check out my general recipe index for more inspiration!
Nutritional Estimates for Pan Fried Potatoes Recipe
Okay, let’s chat real quick about the numbers. Since we are using bacon grease and Russet potatoes, these aren’t going to be a diet miracle, but they are genuine Comfort Food Potato Side goodness! I always like to provide a rough idea of what you are eating, but keep this in mind: these are just estimates, so don’t take them as gospel!
These numbers reflect one serving of the Pan Fried Potatoes Recipe, based on the ingredients listed, and assuming you divide it evenly into four portions. How much you eat is always up to you, right? If you use less oil or skip the bacon grease for something lighter, your numbers will definitely shift!
- Serving Size: 1 serving
- Calories: 320
- Fat: 18g (This is where the bacon grease makes an appearance!)
- Saturated Fat: 5g
- Carbohydrates: 38g
- Protein: 4g
- Sodium: 550mg (Seasonings add up!)
- Fiber: 4g
- Sugar: 3g
Please remember that these values can change based on the exact brand of oil you use or how much salt you sprinkle on after seasoning! If you are counting strictly, you might want to weigh your portions. When I make these Homemade Fried Potatoes, I usually pair them with something leaner to balance out the meal. So maybe serve them up next to my Honey Butter Chicken Biscuit Sandwiches for the perfect salty-sweet combo!
PrintCrispy Pan-Fried Potatoes and Onions
Learn the technique for making pan-fried potatoes that are crispy on the outside and tender inside, cooked with onions.
- Prep Time: 35 min
- Cook Time: 35 min
- Total Time: 70 min
- Yield: 4 servings
- Category: Side Dish
- Method: Pan Frying
- Cuisine: American
- Diet: Vegetarian
Ingredients
- 2 lbs Russet potatoes, peeled and sliced 1/4 inch thick
- 1 large yellow onion, sliced
- 4 tablespoons bacon grease or vegetable oil
- 1 teaspoon salt
- 1/2 teaspoon black pepper
- 1/4 teaspoon garlic powder
Instructions
- Place the sliced potatoes in a bowl and cover them completely with cold water. Let them soak for at least 30 minutes. This removes starch and helps them crisp.
- Drain the potatoes thoroughly and pat them completely dry using paper towels. Moisture prevents crisping.
- Heat the bacon grease or oil in a large, heavy-bottomed skillet over medium heat until shimmering.
- Add the dried potatoes to the hot skillet in a single layer if possible. Do not overcrowd the pan; work in batches if necessary.
- Cook for 10 minutes without stirring to allow a crust to form on the bottom.
- Reduce the heat to medium-low. Stir the potatoes gently, then continue cooking for another 15 minutes, stirring every 5 minutes until they are golden brown and tender when pierced with a fork.
- Add the sliced onions to the skillet during the last 10 minutes of cooking. Cook until the onions are soft and translucent.
- Season the potatoes and onions with salt, pepper, and garlic powder. Stir once more and cook for 2 minutes before serving hot.
Notes
- For extra crispness, you can par-boil the potato slices for 5 minutes before soaking and drying them.
- Use Russet potatoes for the best fluffy interior texture.
- Do not cover the skillet while frying; this traps steam and makes the potatoes soft instead of crispy.
Nutrition
- Serving Size: 1 serving
- Calories: 320
- Sugar: 3
- Sodium: 550
- Fat: 18
- Saturated Fat: 5
- Unsaturated Fat: 13
- Trans Fat: 0
- Carbohydrates: 38
- Fiber: 4
- Protein: 4
- Cholesterol: 0