

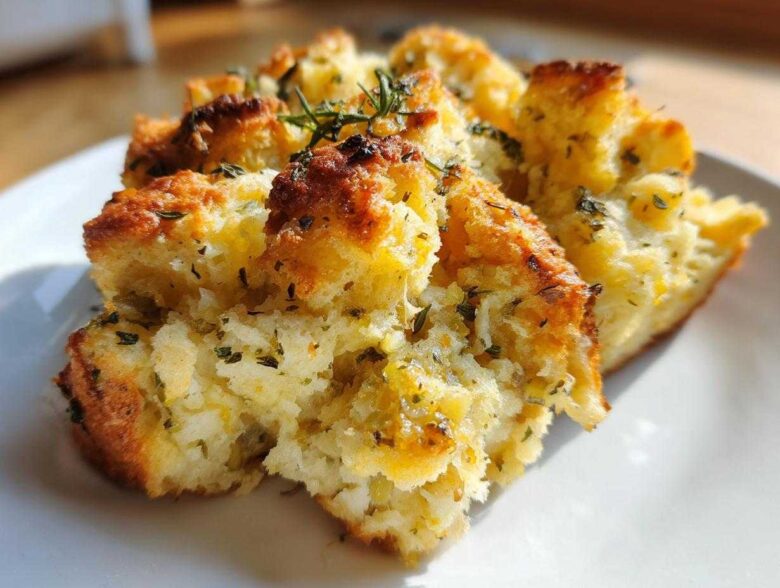
Oh, bless your heart if you’re already feeling that holiday cooking panic setting in! Trust me, I know exactly what that feels like—trying to juggle a turkey, potatoes, gravy, and somehow still have room for that perfect side dish. That’s why I lean SO hard on my slow cooker a few years back. It literally changed my life. When I talk about my secret weapon for big meals, I’m talking specifically about this crock pot stuffing recipe. It gives you the most wonderfully moist, buttery, herb-filled result without stealing one single precious inch of oven real estate. Trust me, this little stuffing hack makes holiday cooking so much easier. Embracing the slow cooker for sides means I can actually breathe during the big dinner rush. This recipe is pure gold, and you absolutely need it on your table this year!
Why This Buttery Herb Stuffing Belongs on Your Holiday Menu Planning (Crock Pot Stuffing)
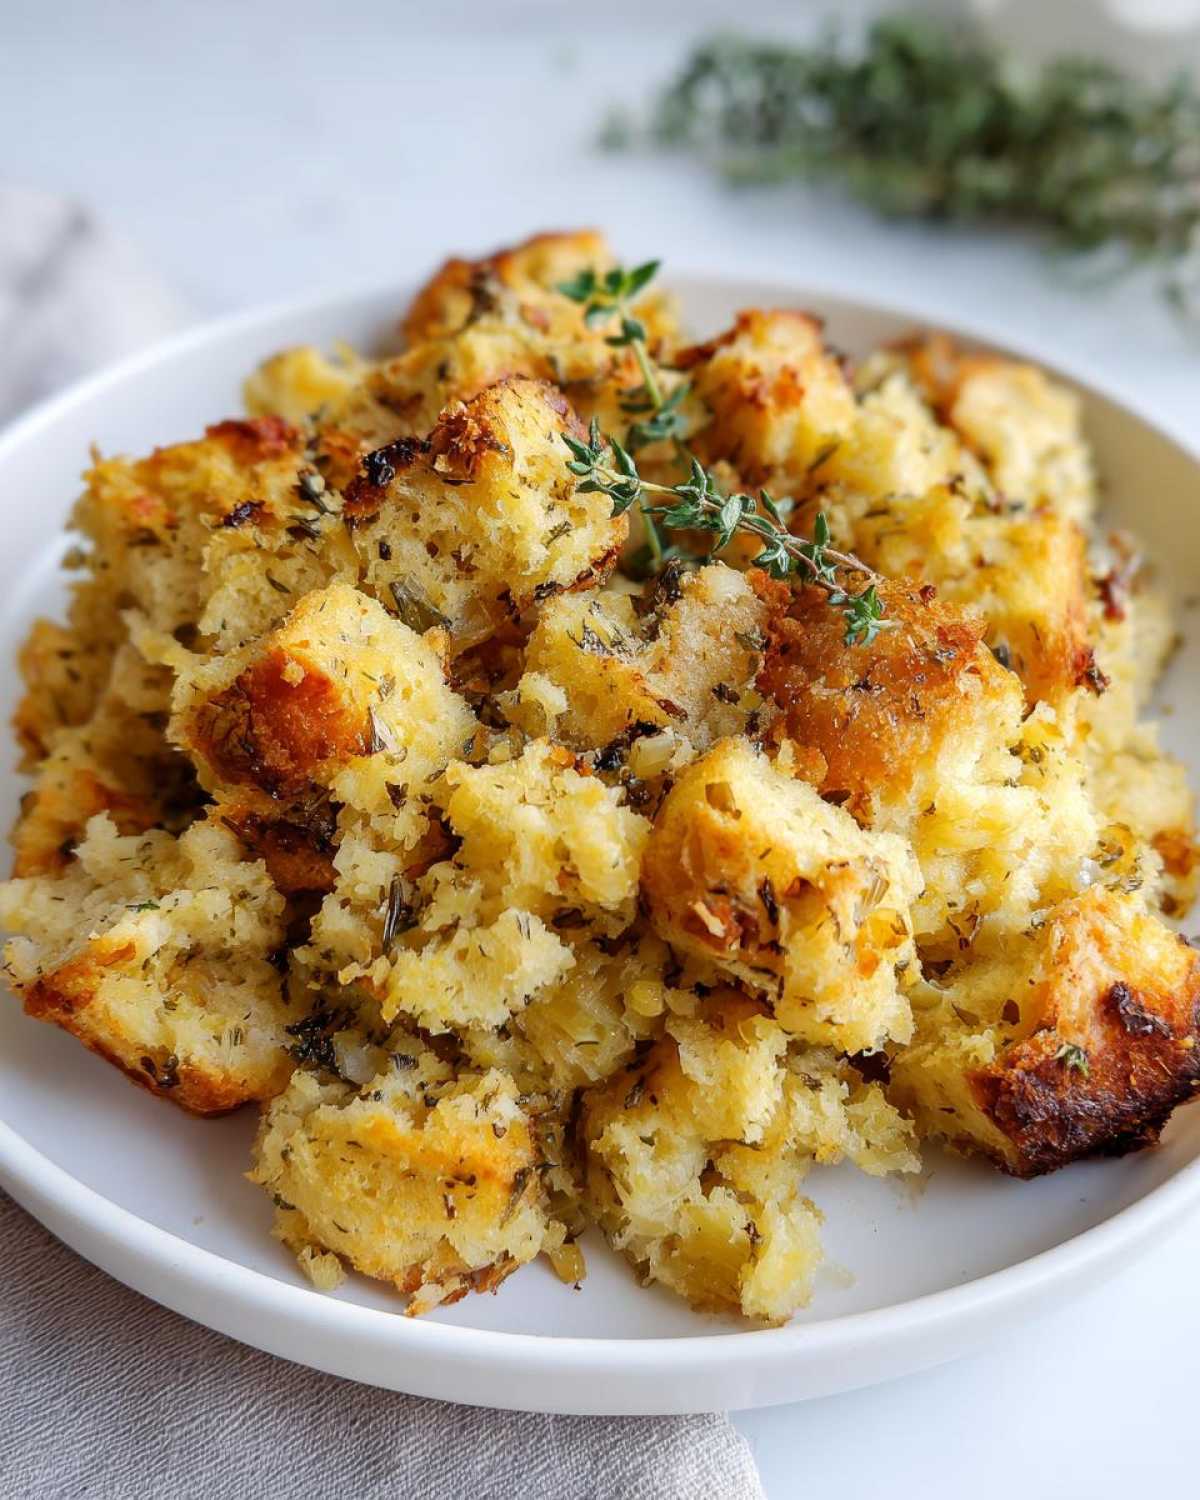
Listen, the oven is the MVP during the holidays, but it only has two hands! When you use this crock pot stuffing recipe, you instantly downgrade your stress level to zero. This isn’t some complicated, fussy recipe; it’s truly one of the best set and forget sides you can possibly make. It’s brilliant for crowd feeding tips because the slow cooker handles temperature perfectly. This method guarantees that your thanksgiving side dish is moist, rich with butter, and ready whenever you are. It really streamlines the whole holiday menu planning drama. Honestly, if you’re not using the slow cooker for *something*, you’re missing out.
Key Benefits of Making Crock Pot Stuffing
- It unlocks precious oven space for your turkey or ham—think of the room you save!
- The slow cooking environment locks in moisture, ensuring it’s never dry or crumbly.
- You can mix this up the night before and let it cook low and slow while you focus on everything else.
- It handles big batches beautifully; just grease a bigger slow cooker if you need more!
Ingredients for Perfect Crock Pot Stuffing
Okay, let’s talk about what goes into this magic. Because this is a buttery herb stuffing, the quality of your ingredients really shines through, especially since the slow cooker concentrates those flavors. You don’t need a million things, just the right ones prepared correctly. Don’t even think about using anything but real, unsalted butter here—it makes such a difference!
Here’s exactly what you need to gather for that 6-quart cooker:
- 10 cups dry bread cubes (make sure they’re a little stale—about one whole loaf’s worth!)
- 1 cup unsalted butter, melted, warm from the pot.
- 1 large yellow onion, nicely chopped.
- 4 celery stalks, also chopped.
- 2 teaspoons dried sage (the star!)
- 1 teaspoon dried thyme
- 1 teaspoon salt and 1/2 teaspoon black pepper
- 2 large eggs, just lightly beaten in a small bowl.
- 2 cups chicken or vegetable broth—your choice!
Getting your veggies chopped and your butter melted first really sets you up for success when it’s time to combine everything. It’s all about being organized!
Expert Tips for Perfect Slow Cooker Stuffing
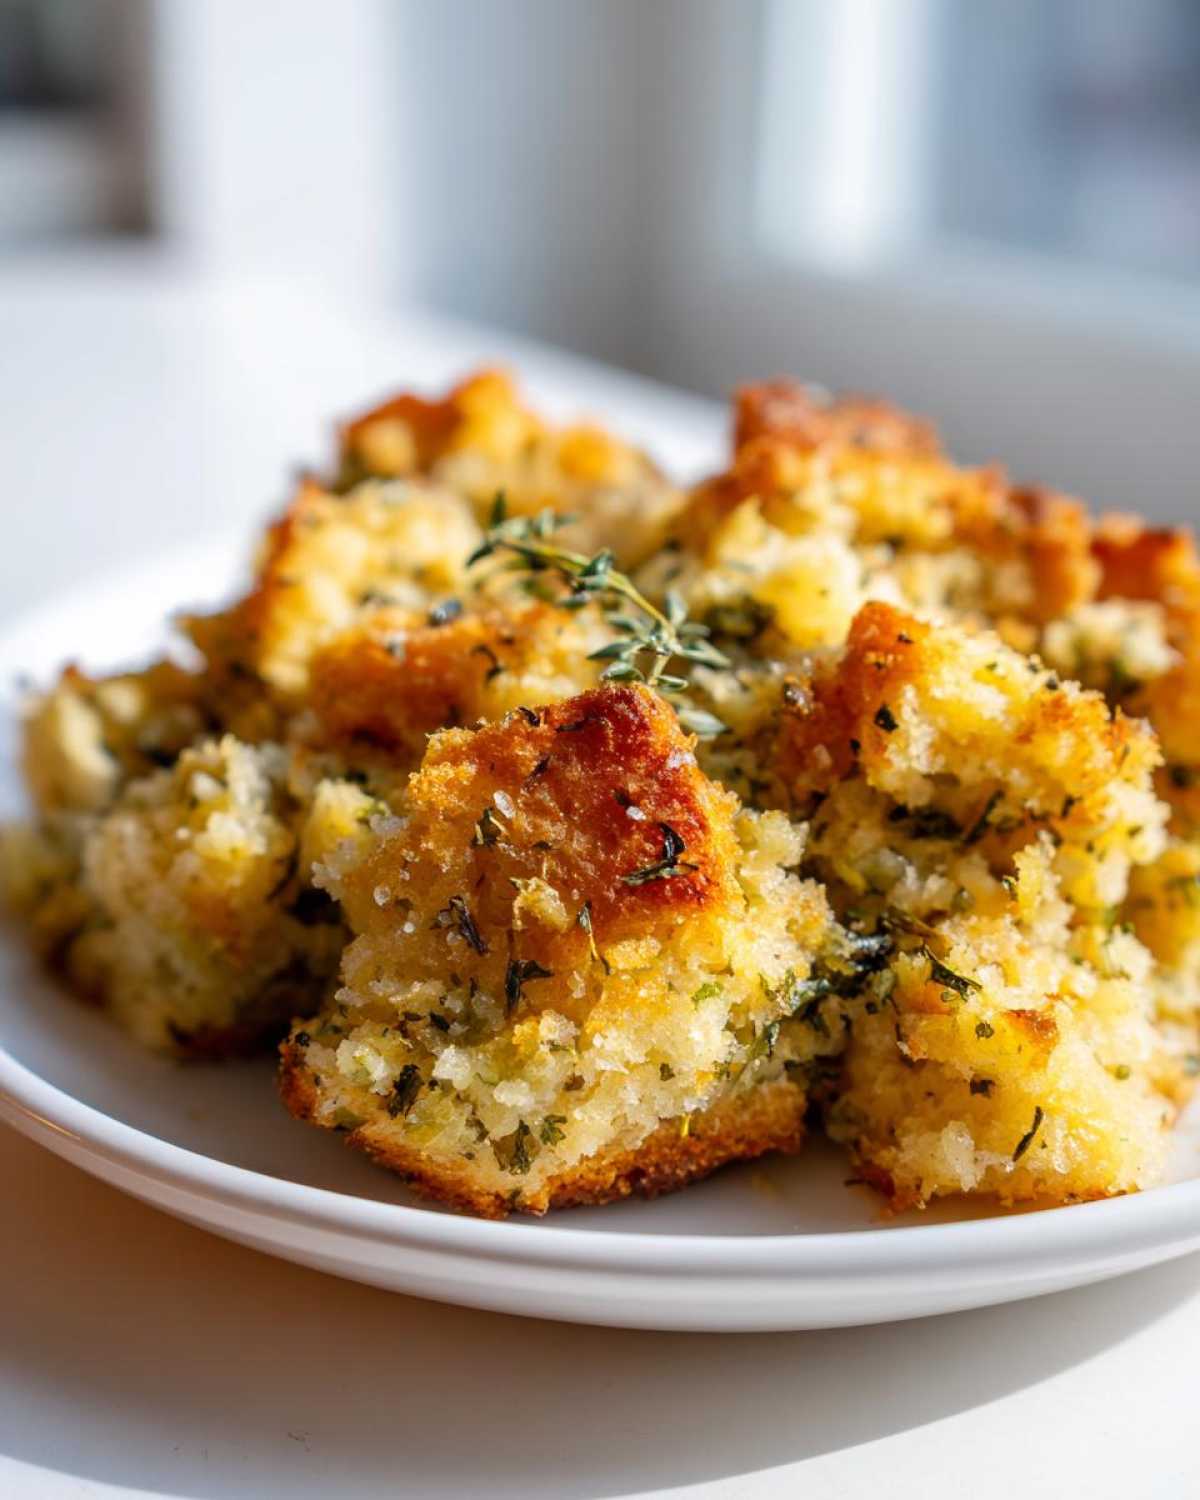
There are a few little tricks that take this from being good stuffing to being truly magnificent, legendary buttery herb stuffing. First, please, please, please use day-old or dried-out bread cubes! Fresh bread soaks up liquid like a sponge and turns mushy, and we want structure, not sludge. A little prep the night before makes a huge difference. That’s why I always recommend checking out this stuffing hack—it helps prep the bread perfectly!
When you sauté those onions and celery, make sure they are soft—we aren’t caramelizing them, just softening them up so they don’t stay crunchy in the final product. And when you pour your egg/broth mixture over the bread, use your hands (clean hands, obviously!) to toss gently. The goal is even moisture distribution, not mashing the cubes into paste. It’s about lovingly coating every piece of bread.
Achieving the Best Sage and Thyme Flavor in Your Slow Cooker Stuffing
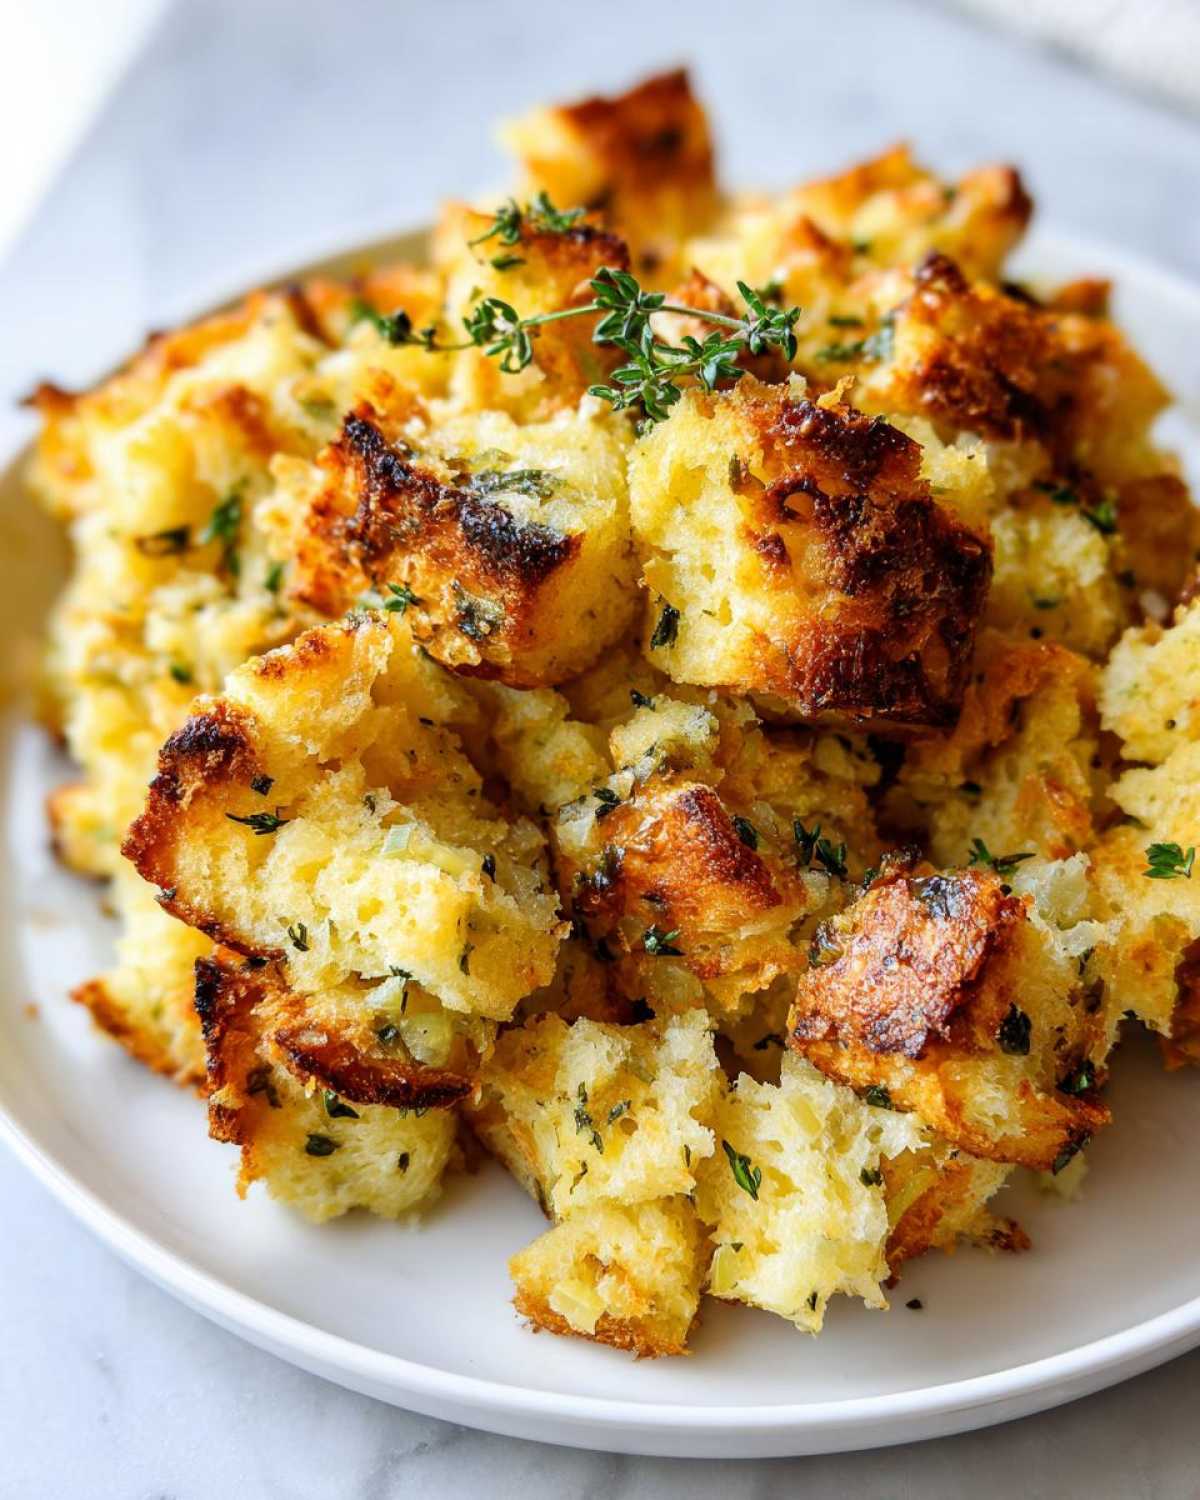
The beautiful thing about cooking stuffing in the slow cooker is that the enclosed, moist heat really makes those herbs sing. Since we are using dried sage and thyme, make sure your spices are fresh. If your dried herbs are older than a year, they’ve lost their punch, so ditch ‘em and grab new ones!
I always add my herbs during the sauté step with the vegetables. Cooking them briefly in the butter wakes them up and releases their oils before they even hit the bread. That way, the flavor is fully integrated right from the start! Don’t be tempted to under-season—the bread soaks up so much flavor.
Step-by-Step Instructions for Crock Pot Stuffing
Alright, buckle up, because this is where the magic happens with your crock pot stuffing! Don’t panic about timing; the slow cooker is forgiving, which is why I love it for big meals. The first thing to do is get your bread ready. Just spread those 10 cups of dry cubes across a huge bowl—the bigger the bowl, the easier this next part is going to be!
Next, we have to wake up those aromatics. Grab a skillet, melt all that beautiful butter, and toss in your chopped onion and celery. You need to cook these until they just start to soften up, which takes about 8 minutes. This step is totally crucial for flavor because it removes that raw crunch from the veggies. Once they’re soft, stir in your salt, pepper, sage, and thyme right there in the skillet—this helps bloom the herbs!
Now, pour those buttery, fragrant veggies right over your bread cubes. Toss it all together gently. In a separate cup, whisk up your two eggs with the broth, and then pour that liquid over the bread mixture. You need to toss this really well until everything looks evenly moist—but I mean *gently* toss! Then, transfer the whole beautiful mess into your greased 6-quart slow cooker. Here’s the thing: Do not, I repeat, do not pack it down! If you press it, it turns into dense garbage. Just let it sit loosely at the bottom. Then, cover it up and let your slow cooker do the work on LOW for 3 to 4 hours, or on HIGH for about 2 hours. Set your timer and go enjoy a cup of coffee!
How to Get Crispy Edges Stuffing from the Slow Cooker
If you followed the mixing steps correctly, the inside of this slow cooker stuffing is going to be impossibly moist, which is perfect! But if you’re like me and love that slightly crunchy top or edge, the slow cooker has a little trick up its sleeve. About 30 minutes before the timer goes off, you need to carefully take the lid off the machine.
Leaving the lid off allows the moist steam to escape, letting that top layer start to dry out just enough to get that wonderful texture. It won’t get crunchy like an oven-baked stuffing, but you’ll get those delightful, slightly firmer bits that you look for in excellent crispy edges stuffing. Trust me, this simple move makes a huge difference!
Make Ahead Stuffing: Prep for Easy Holiday Menu Planning
This is where the true holiday magic happens, friend. If you follow my advice on holiday menu planning, you know that anything you can prep ahead is a win. Good news: this make ahead stuffing is designed for it! You can assemble literally every single step—sauté the vegetables, mix everything with the broth and eggs—then cover the whole mixture right in the slow cooker insert (or a big container) and stick it in the fridge for up to 24 hours. Isn’t that amazing?
This is such a game-changer when you’re mastering crowd feeding tips. When you pull it out the next day, the bread will have sucked up a little more of that moisture. So, I always tell folks to just add an extra 1/4 cup of broth before cooking. This recipe is just so flexible, and it means less time fussing on Thanksgiving morning. If you love prep-ahead ideas, you absolutely have to check out how I handle mashed potatoes the night before too!
Troubleshooting Common Crock Pot Stuffing Issues
Even the best recipes sometimes have hiccups, especially when you’re using an appliance like a slow cooker that operates differently than a conventional oven. Don’t panic if things look a little off halfway through the cooking time! We’re talking about easy fixes here—nothing that ruins the batch, I promise. The beauty of this crock pot stuffing is its richness, but sometimes that richness leans a little too far toward soggy.
The number one issue I hear about is sogginess. If your stuffing looks way too wet after the initial two hours on low, don’t just keep letting it steam! You need to pull that lid off immediately. That trapped steam is your enemy when you want substance. Try removing the lid for the last 45 minutes instead of just 30. That extra exposure really dries things out beautifully.
Now, what if you’re not getting any color, even after removing the lid? Browning relies on direct, dry heat, which the slow cooker just can’t provide on its own. It’s not supposed to look golden brown like it came out of the oven, but if the top looks pale and unappetizing, you have two easy options. First, make sure you followed that lid removal step! Second, if you want that true golden top, just scoop the cooked stuffing into an oven-safe dish and pop it under the broiler for three or four minutes. Watch it like a hawk—it goes from perfectly done to burnt in two seconds flat!
Serving Suggestions for Your Buttery Herb Stuffing
This buttery herb stuffing is so rich and savory, it really sings alongside almost anything roasted! Since we are aiming to save the oven for the main event, this side dish plays perfectly with whatever protein you’re featuring. It’s the ideal partner for that gorgeous roasted turkey, obviously, but don’t overlook how incredible it is next to a holiday ham.
Honestly, if you are cooking a beautiful main course like a prime rib—and if you are, you should check out these prime rib roast rules—the stuffing soaks up the pan juices beautifully. A dollop of rich gravy over both the roast and this slow cooker stuffing? That’s just heaven on a plate, plain and simple. It’s the savory anchor for any big holiday spread!
Storage and Reheating Instructions for Leftover Crock Pot Stuffing
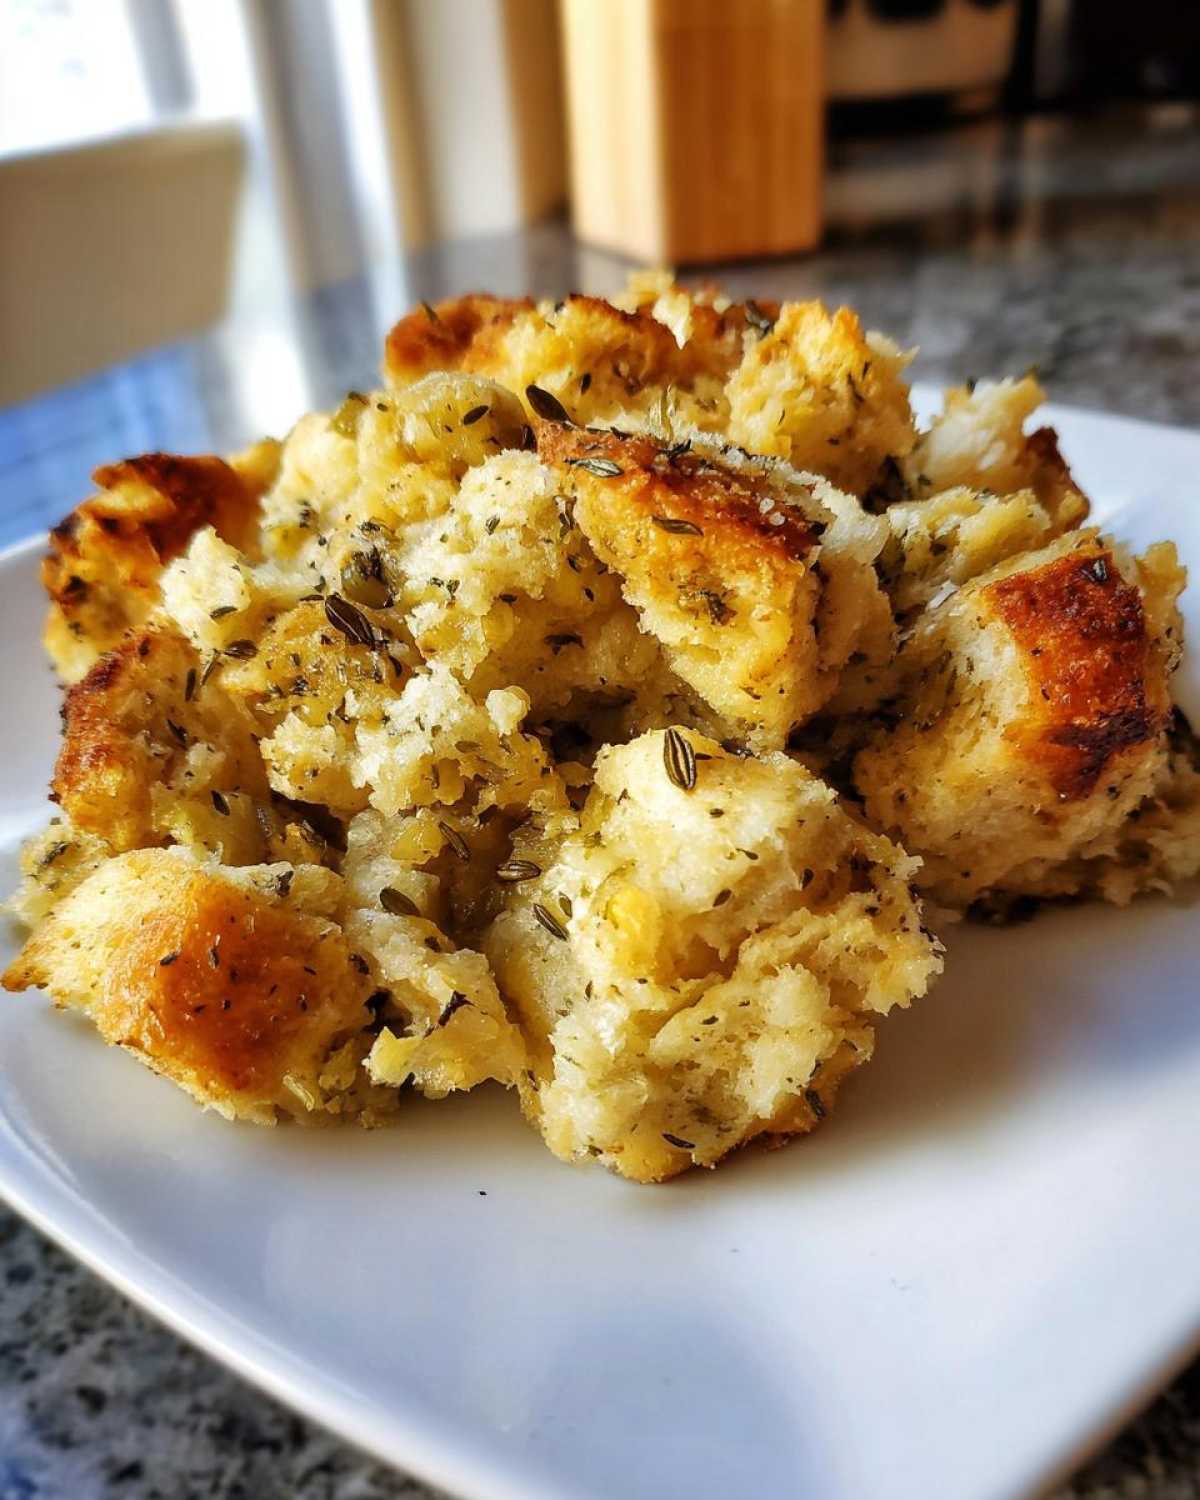
Oh, leftovers! My favorite part of any holiday, honestly. This crock pot stuffing keeps wonderfully because it cooks low and slow, retaining so much moisture. Just let any leftovers cool completely, then pack them tightly into an airtight container. You can safely keep this buttery goodness in the fridge for up to three days. It’s fantastic when you pull those leftover stuffing waffles out later on!
When it’s time to reheat, avoid the microwave if you can, unless you are in a huge rush—it makes things a little spongy. For the best texture, pop your portion into a casserole dish, add just a splash of broth (maybe a tablespoon), cover it with foil, and heat it in the oven at 350°F until it’s warmed through. If it seems too moist still, pull that foil off for the last five minutes to crisp those edges right up again!
Frequently Asked Questions About Slow Cooker Stuffing
It’s totally normal to have questions when you’re trying a new method, especially for something as sacred as holiday stuffing! Here are the main things folks ask me when they first try my crock pot stuffing recipe. Don’t worry, we’ve got answers for all of them so you can feel confident!
Can I use fresh herbs instead of dried?
Oh, that is a great question! Yes, you absolutely can. Fresh herbs are wonderful, but they are much stronger than dried herbs, so you need more. If you use fresh rosemary, sage and thyme, I’d suggest using about three times the amount you see listed in the dried recipe. So if it calls for 2 teaspoons of dried sage, use about 6 teaspoons of finely chopped fresh sage. Remember to cook those fresh herbs along with the onions and celery so their flavor really blooms!
What kind of bread works best for this crock pot stuffing?
This is honestly the secret to avoiding mush! You want bread that’s already a bit dry and sturdy. Country white bread, sourdough, French loaves—anything that holds its shape when slightly damp works perfectly. The key thing is to avoid soft, squishy sandwich bread. If your bread isn’t stale, just cube it up and leave it out on sheet pans overnight to dry out a little bit. That pre-drying is crucial for getting that nice texture, even in the moist environment of the slow cooker stuffing.
Can I cook this on the HIGH setting?
You sure can, especially if you are running behind schedule! If you cook this buttery herb stuffing on HIGH, just make sure you adjust your timing drastically. The recipe calls for 3 to 4 hours on LOW, but on HIGH, you are looking at closer to 1.5 to 2 hours total. Since the HIGH setting cooks hotter and faster, I highly recommend checking it around the 90-minute mark. You want it done, but you don’t want it tough, so keep an eye on it. It’s a fantastic option for those last-minute make ahead stuffing emergencies!
PrintCrock Pot Buttery Herb Stuffing
Cook classic buttery herb stuffing in your slow cooker to save oven space for your holiday meal. This recipe produces moist stuffing with optional crispy edges.
- Prep Time: 20 min
- Cook Time: 4 hours
- Total Time: 4 hours 20 min
- Yield: 10 servings
- Category: Side Dish
- Method: Slow Cooking
- Cuisine: American
- Diet: Vegetarian
Ingredients
- 10 cups dry bread cubes (about 1 loaf)
- 1 cup unsalted butter, melted
- 1 large yellow onion, chopped
- 4 celery stalks, chopped
- 2 teaspoons dried sage
- 1 teaspoon dried thyme
- 1 teaspoon salt
- 1/2 teaspoon black pepper
- 2 large eggs, lightly beaten
- 2 cups chicken or vegetable broth
Instructions
- Place the bread cubes in a very large bowl.
- Melt the butter in a skillet over medium heat. Add the onion and celery. Cook until softened, about 8 minutes.
- Stir the cooked vegetables, sage, thyme, salt, and pepper into the bread cubes.
- In a separate bowl, whisk together the eggs and broth. Pour this mixture over the bread mixture and toss gently until the bread is evenly moistened.
- Transfer the stuffing mixture to a greased 6-quart slow cooker. Do not pack it down.
- Cover and cook on LOW for 3 to 4 hours, or on HIGH for 1.5 to 2 hours.
- For crispy edges, remove the lid for the last 30 minutes of cooking.
Notes
- You can prepare the entire mixture, cover it, and refrigerate it for up to 24 hours before cooking. Add 1/4 cup extra broth if cooking from cold.
- If you prefer a drier stuffing, reduce the broth by 1/4 cup.
- For extra crispiness, transfer the cooked stuffing to a baking dish and bake at 350°F (175°C) for 10 minutes after slow cooking.
Nutrition
- Serving Size: 1 cup
- Calories: 320
- Sugar: 3
- Sodium: 450
- Fat: 18
- Saturated Fat: 11
- Unsaturated Fat: 7
- Trans Fat: 0.5
- Carbohydrates: 35
- Fiber: 2
- Protein: 7
- Cholesterol: 65