

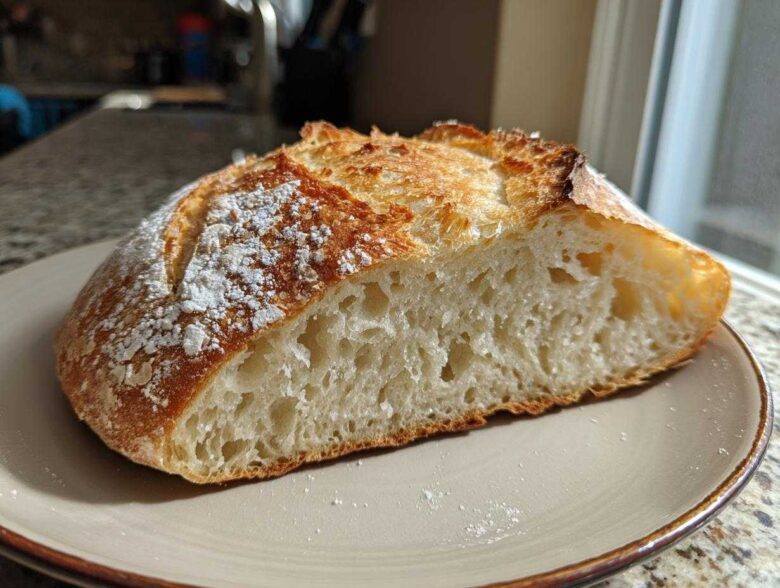
Listen, there is nothing that beats walking into the kitchen and being immediately hit by the smell of real italian bread baking. It’s instant comfort, isn’t it? But let’s be honest—we’ve all been there, right? You follow a recipe that promises bakery-style perfection, and you end up with something that could double as a doorstop. We see those gorgeous, crackly loaves online and think, “I can never do that at home.” Well, you can! When Ben and I started Savor And Pin, it was because we were tired of broken promises in baking. This recipe is different. It’s the result of Noah analyzing exactly what makes that crust—that perfect, bakery-style crust—without needing a fancy oven or a crazy schedule. If you want to learn more about making bread that fools professional bakers every time, check out our guide on the bread that makes people think you’re a baker. I promise, this is the one that finally works for you, every single time.
Why This Homemade Italian Bread Recipe Works (The Science Behind the Crust)
A lot of bread recipes online are disasters waiting to happen, I’m telling you. They look great, but they miss the crucial technical bits. That’s where Noah steps in. He looked at dozens of disappointing attempts at classic italian bread and figured out the flaw wasn’t the ingredients—it was the execution, especially relating to hydration and temperature. We’ve fixed it, and you can see all our testing adventures over on the main savor and pin blog!
When we cracked this recipe, we made sure to nail the balance: we needed that incredible snap on the outside, but the inside had to be light and chewy, not dense brick territory. This version is foolproof because we controlled the two things that matter most: steam and gluten structure. It’s officially rescued!
Achieving the Perfect Golden Brown Crust Bread
The secret weapon for that bakery-style crust is simple: steam! When the dough first hits that super hot oven, a blast of steam keeps the outer layer flexible for a few precious minutes. This lets the loaf expand fully before the crust sets. If the dry oven air hits it too soon, the crust locks up before the bread has finished rising, leading to a tough, dense exterior. We use a pan of hot water right below the baking sheet to create this effect. Trust me, that little bit of humidity makes all the difference for that gorgeous, crackly shell.
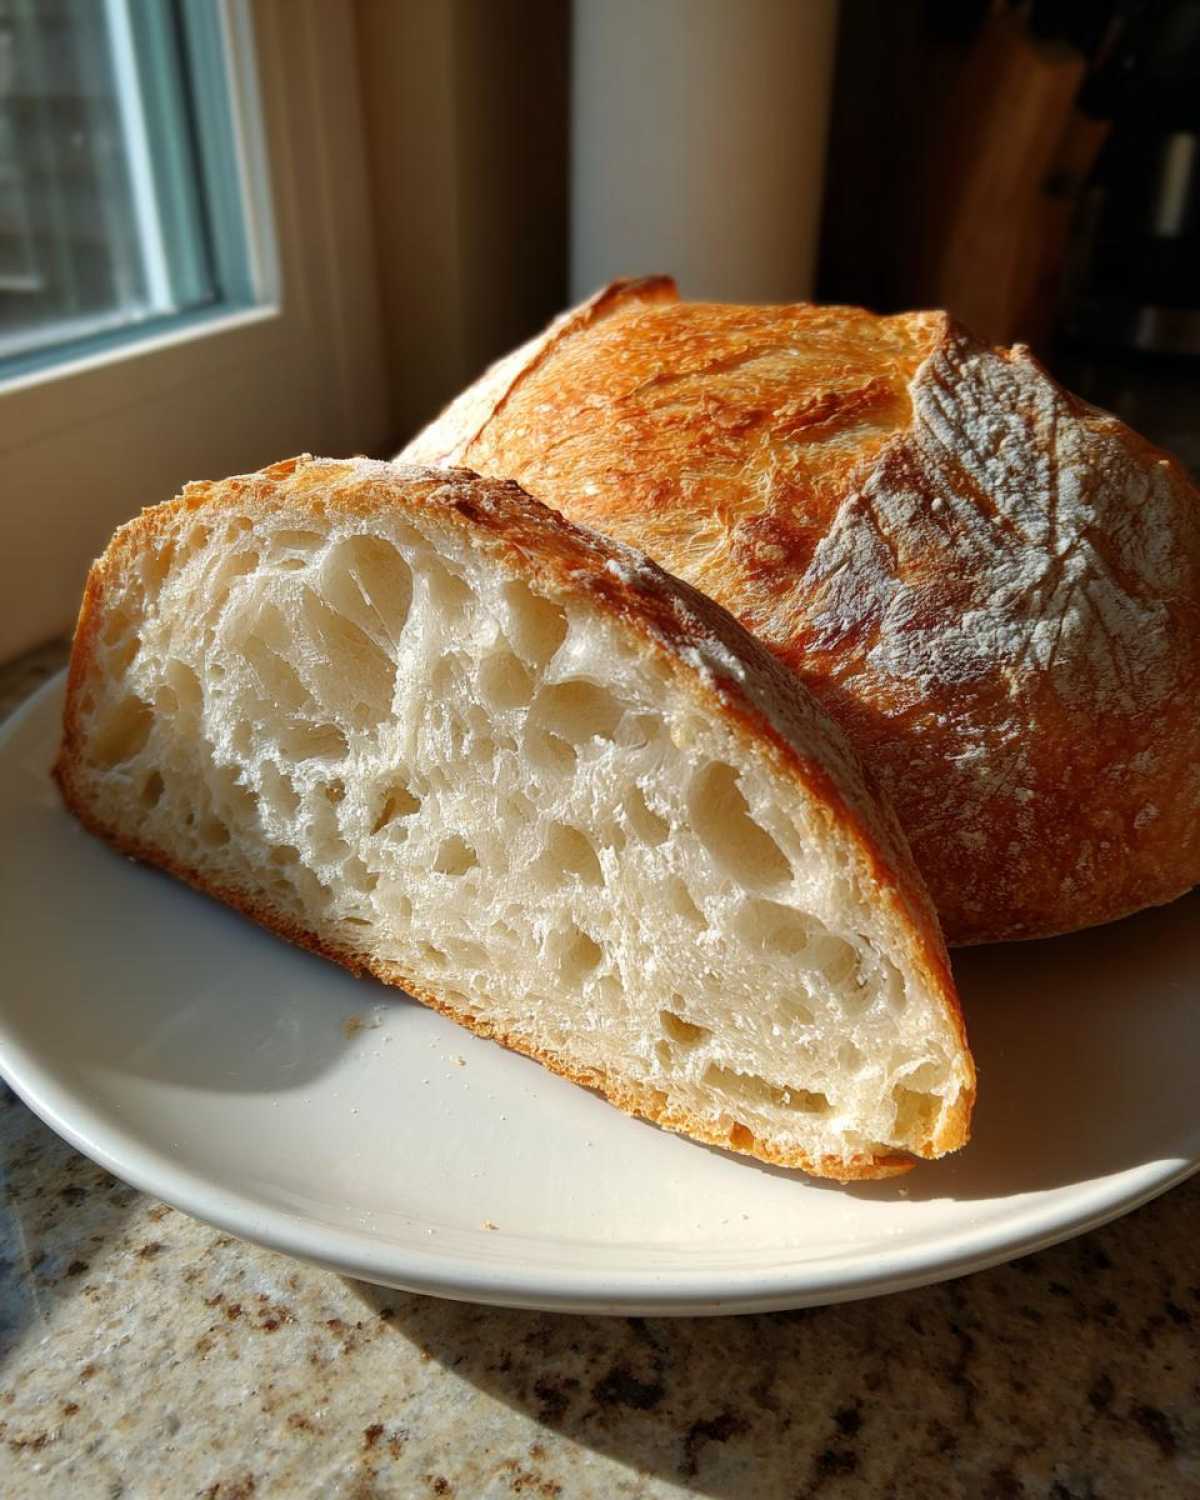
Tips for a Chewy Italian Loaf Interior
For that satisfying, slightly stretchy chew you want in a proper italian bread, you have to develop the gluten network properly. That’s the structure holding everything together. In the instructions, you see a specific kneading time—don’t skimp on it! Noah was adamant about this: five to seven minutes on the counter is non-negotiable for this particular dough. If you cut that short, you’ll end up with a loaf that’s too soft and cakes out instead of giving you that wonderful resistance when you bite into it. A well-worked dough equals a happily chewy interior!
Ingredients for Your Easy Crusty Italian Bread Baking
Okay, the best part about finally nailing this classic bakery style italian loaf is how ridiculously simple the ingredient list is. Seriously, you probably have everything sitting in your pantry right now. When Ben and I rescue a recipe, we always try to minimize the trips to the specialty store. This one is pure comfort food, built on basics.
We need accuracy here, though, because baking is a science, even when it feels like magic. You’ll want to pay careful attention to the water temperature—that’s crucial for waking up our little yeast friends! For a full list of what you need, grab your measuring cups and let’s get organized. If you want something equally simple but maybe a little richer for dinner later, you should check out how we fixed the buttery dinner rolls recipe!
- 3 1/2 cups all-purpose flour (Just standard AP flour works great here—no need for fancy bread flour for this easy crusty bread baking!).
- 1 1/2 teaspoons salt (Don’t skip this, or your bread will taste totally flat).
- 1 teaspoon granulated sugar (This is just a tiny snack for the yeast, nothing major).
- 2 1/4 teaspoons active dry yeast (This should equal exactly 1 packet, which is perfect for beginners).
- 1 1/2 cups warm water (About 105–115°F—if it feels hot to your wrist, it’s too hot!).
- 2 tablespoons olive oil, plus more for the bowl (We use this to keep the dough from sticking during its nap).
Step-by-Step Instructions for Artisan Bread at Home
Alright, let’s switch gears from the science talk to getting flour everywhere! Baking your own top-tier italian bread isn’t hard, but it absolutely requires you to follow the timing cues. We’ve broken it down into three main phases so you can track your progress and know exactly when to step away and let the dough do its thing. If you can manage to get this right, you’ll feel like you’re channeling a true artisan baker right here in your own kitchen. Head over to our guide on artisan bread at home if you want to see how we handle other tricky doughs!
Activating Yeast and Mixing the Dough
First things first—we have to make sure our yeast is alive and ready to party! In a big bowl, gently mix your warm water, the little bit of sugar, and all your active dry yeast. You must let this sit, untouched, for five to ten minutes. If you don’t see foam or bubbles forming on top? Stop right there! That means your yeast is dead, and you need to start over with fresh yeast. Once it looks happy and foamy, toss in the salt and the flour. Stir it up with a wooden spoon until it gets super shaggy. Don’t try to panic-knead it now; that’s what comes next.
Kneading and First Rise for Perfect Italian Bread
Now for the muscle work! Turn that shaggy mess out onto a lightly floured surface. We need to knead this dough until it feels smooth and elastic, and that takes focused effort—about 5 to 7 minutes. Noah says this time is essential for building that strong gluten network we discussed earlier to get that amazing chew in your italian bread. Once it feels smooth, find a clean bowl, lightly coat the inside with a drizzle of olive oil, and drop your dough ball in. Turn it once so it’s coated all over, cover it up tight, and leave it in a warm spot. It needs about an hour to an hour and a half to just double in size. Patience is your main ingredient here!

Shaping and Steam for Golden Brown Crust Bread
When the dough has doubled, punch it down gently—you want to release that gas, but gently! Now, shape it into a tight loaf or two smaller ones if you prefer. Place your shaped loaf(ves) on a baking sheet lined with parchment paper. Cover it loosely and let it rest for a second, puffy rise: about 30 to 45 minutes. While this is resting, crank your oven up to 400°F (200°C) and stick a shallow baking pan on the bottom rack. Right before it slides in, brush the top of your loaf with plain water—this is key! Then, very quickly and carefully, pour about a cup of hot water into that hot pan on the bottom rack to create your necessary steam. Quick, close the door, and bake for 30 to 35 minutes until it’s deep golden brown.
Tips for Success When Baking Your Italian Bread
Even though we’ve designed this italian bread recipe to be super forgiving, baking always comes with little hiccups, right? That’s why Ben and I always write down every single way things can go sideways! Getting that perfect golden brown crust bread relies on a few key decisions you make during the bake. If you want to explore more advanced techniques once you master this one, check out our deep dive into artisan bread at home.
Remember, we made this recipe versatile. If you aren’t looking for a sharp, crackly crust—maybe you need a simpler loaf for making soft, big sandwiches—you have control over the final result!
Troubleshooting Common Issues in Bread Making
It happens to all of us! Here are two common problems and how to fix them:
- My Italian bread came out slightly dense: Usually, this means the yeast wasn’t happy, or you didn’t knead long enough (see Noah’s rule about 5-7 minutes!). If your dough didn’t double in size during the first rise, it won’t spring up properly in the oven. Try letting the dough rest in a slightly warmer (but definitely not hot!) spot next time.
- The crust is soft, not crunchy: You probably skipped the steam step! The goal is to keep that outer layer moist for the first 10 minutes of baking. If you don’t have a pan to put water in, you can quickly mist the inside walls of the oven every three minutes for the first ten minutes. That burst of moisture creates the best kind of brittle crust on your italian bread.
If you absolutely prefer a softer texture, don’t use the steam trick! Instead, brush the top of the loaf with a little bit of milk right before it goes into the oven. That will give you a beautiful, soft, golden top perfect for slicing thick for dinner.
Serving Suggestions for Your Fresh Baked Bread Aromas
Oh, the aroma! That’s seriously half the joy of baking, isn’t it? When this loaf comes out, the incredible, yeasty, warm smell takes over the entire house. It’s instant comfort, isn’t it? It’s almost painful waiting for it to cool down enough to slice, but I promise, it’s worth it to protect the texture we worked so hard to achieve!
Now that you have this magnificent, crusty loaf—or maybe you opted for the softer one for big sandwiches—what are you going to eat it with? Honestly, this bread deserves to be the star of the show, not just a tired side dish.
Here’s how we always use up our loaves before they last too long (which, let’s be real, they never do):
- The Dipping Champion: You absolutely HAVE to serve this alongside some really good olive oil mixed with a splash of balsamic vinegar. If you want to make the oil extra special, try adding some fresh herbs. We often whip up a batch of lemon garlic roasted potatoes, and that savory pan jus is just begging for this crust to soak it all up. It’s simple perfection. Check out how we make those amazing potatoes here: lemon garlic roasted potatoes.
- The Sandwich Savior: If you baked a softer loaf (by skipping the water/steam bomb), slice it thick and load it up! This bread doesn’t get soggy like thin supermarket stuff. Think hearty layers of deli meat, provolone, and maybe some pickled peppers.
- The Pasta Partner: Whenever we have a saucy dinner—lasagna, spaghetti, you name it—this bread is mandatory. It’s perfect for mopping up every last bit of sauce from the bowl. Clara calls it the ultimate “clean plate” facilitator. Don’t feel bad about hoarding the last piece for yourself!
It’s basically built to accompany any Italian meal you can throw at it. Seriously, the smell alone makes the whole meal feel instantly better!
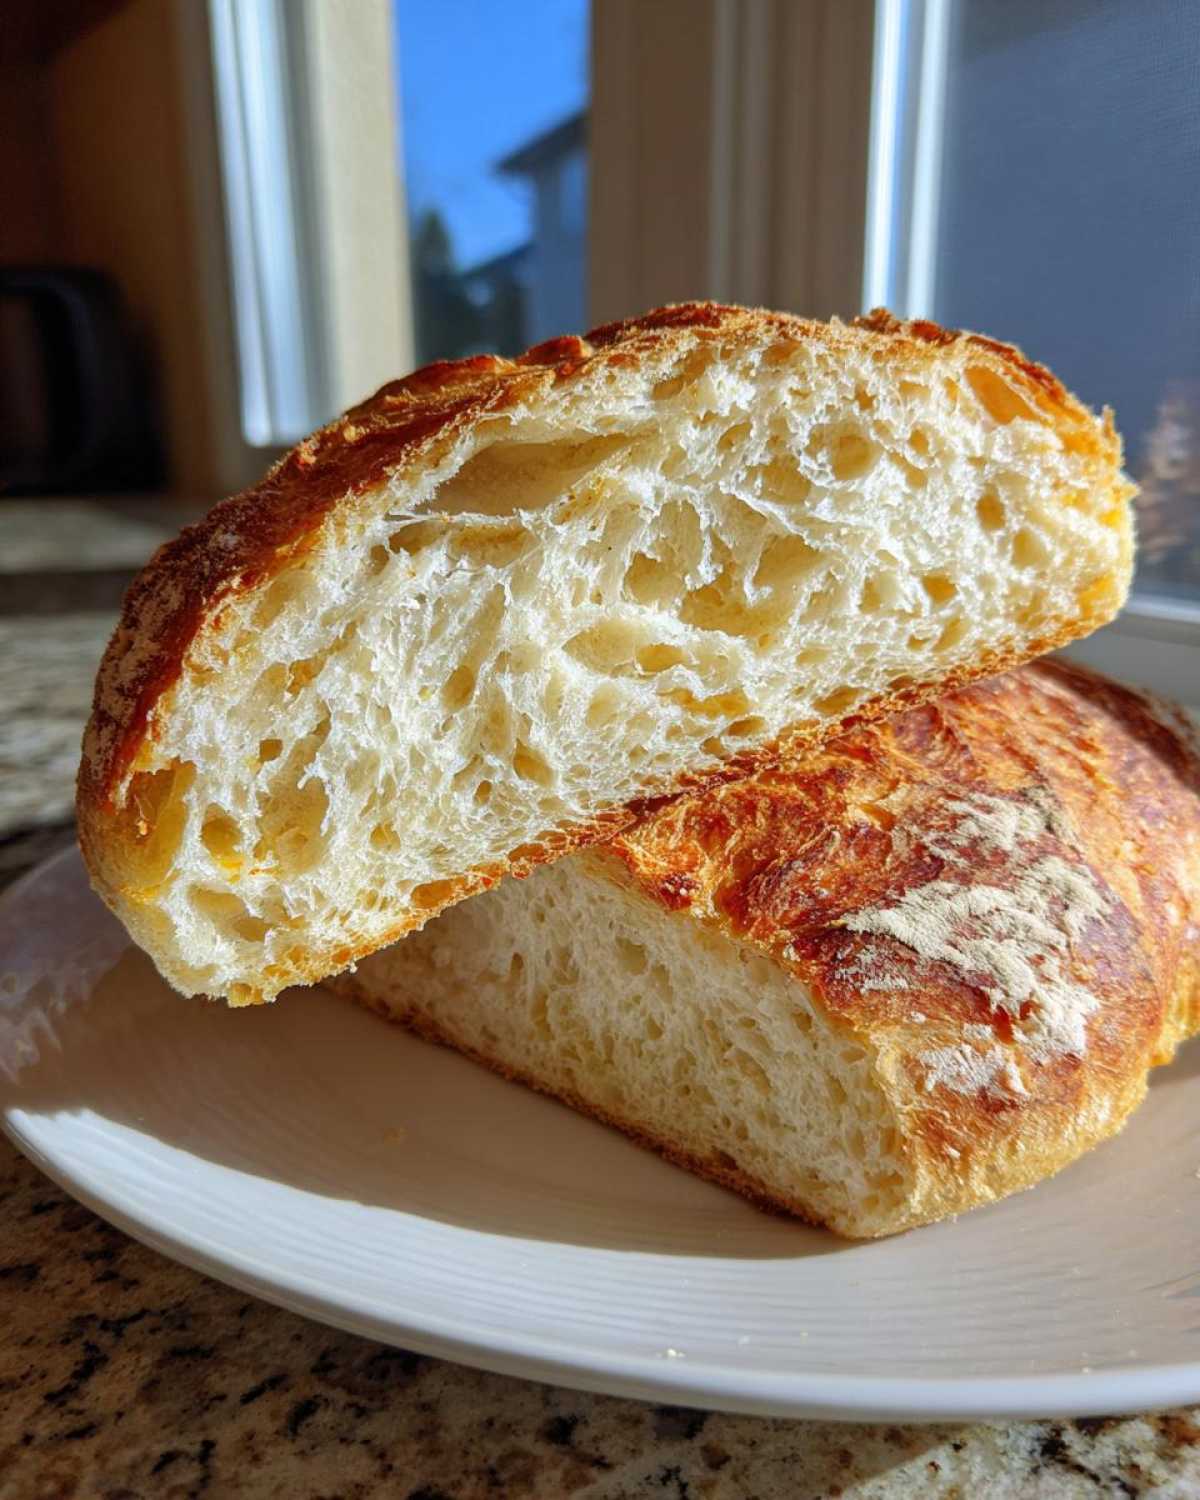
Storage and Reheating Instructions for Leftover Italian Bread
Okay, you baked an amazing, crusty loaf of italian bread, and yes, you absolutely have leftovers (that’s a win in my book!). The main issue with any great crusty loaf is that crust. Humidity kills crunch, so how do we keep it tasting like it just came out of the 400°F oven?
You definitely don’t want to just toss it in a plastic bag—that traps moisture, and you’ll wake up to soft, chewy bread, which is fine for sandwiches, but we want that *snap*!
Here’s my trick for storage. If you plan on eating the loaf within a day or so, leave it on the counter, but place it cut-side down on a wooden cutting board. This lets any residual moisture escape while keeping the top crust from drying out completely. You can cover the whole thing loosely with a clean kitchen towel. That helps keep those beautiful characteristics of fresh italian bread intact!
If you need it to last longer than two days, slicing it first and freezing it is the safest bet. Wrap the slices tightly in plastic wrap first, then slip them into a heavy-duty freezer bag. Most of the flavor holds strong for about three months this way.
Waking Up That Golden Brown Crust Bread
Reheating is the key to bringing back that bakery feel. Don’t just zap it in the microwave; that’ll make it tough! Instead, if you have half a loaf, you want to mimic that early baking step where we used steam.
Take your bread—sliced or whole—and wet the outer crust very lightly with a spray bottle or your fingers until it’s just damp, not soaked. Pop it directly onto the oven rack (or a baking sheet) at about 350°F (175°C). Bake it for about 5 to 8 minutes.
Watch it! You want the crust to crisp up again, not brown any further. When you pull it out, the inside will be wonderfully soft and steamy, and the crust will have that satisfying crackle again. It’s like time travel for your golden brown crust bread!
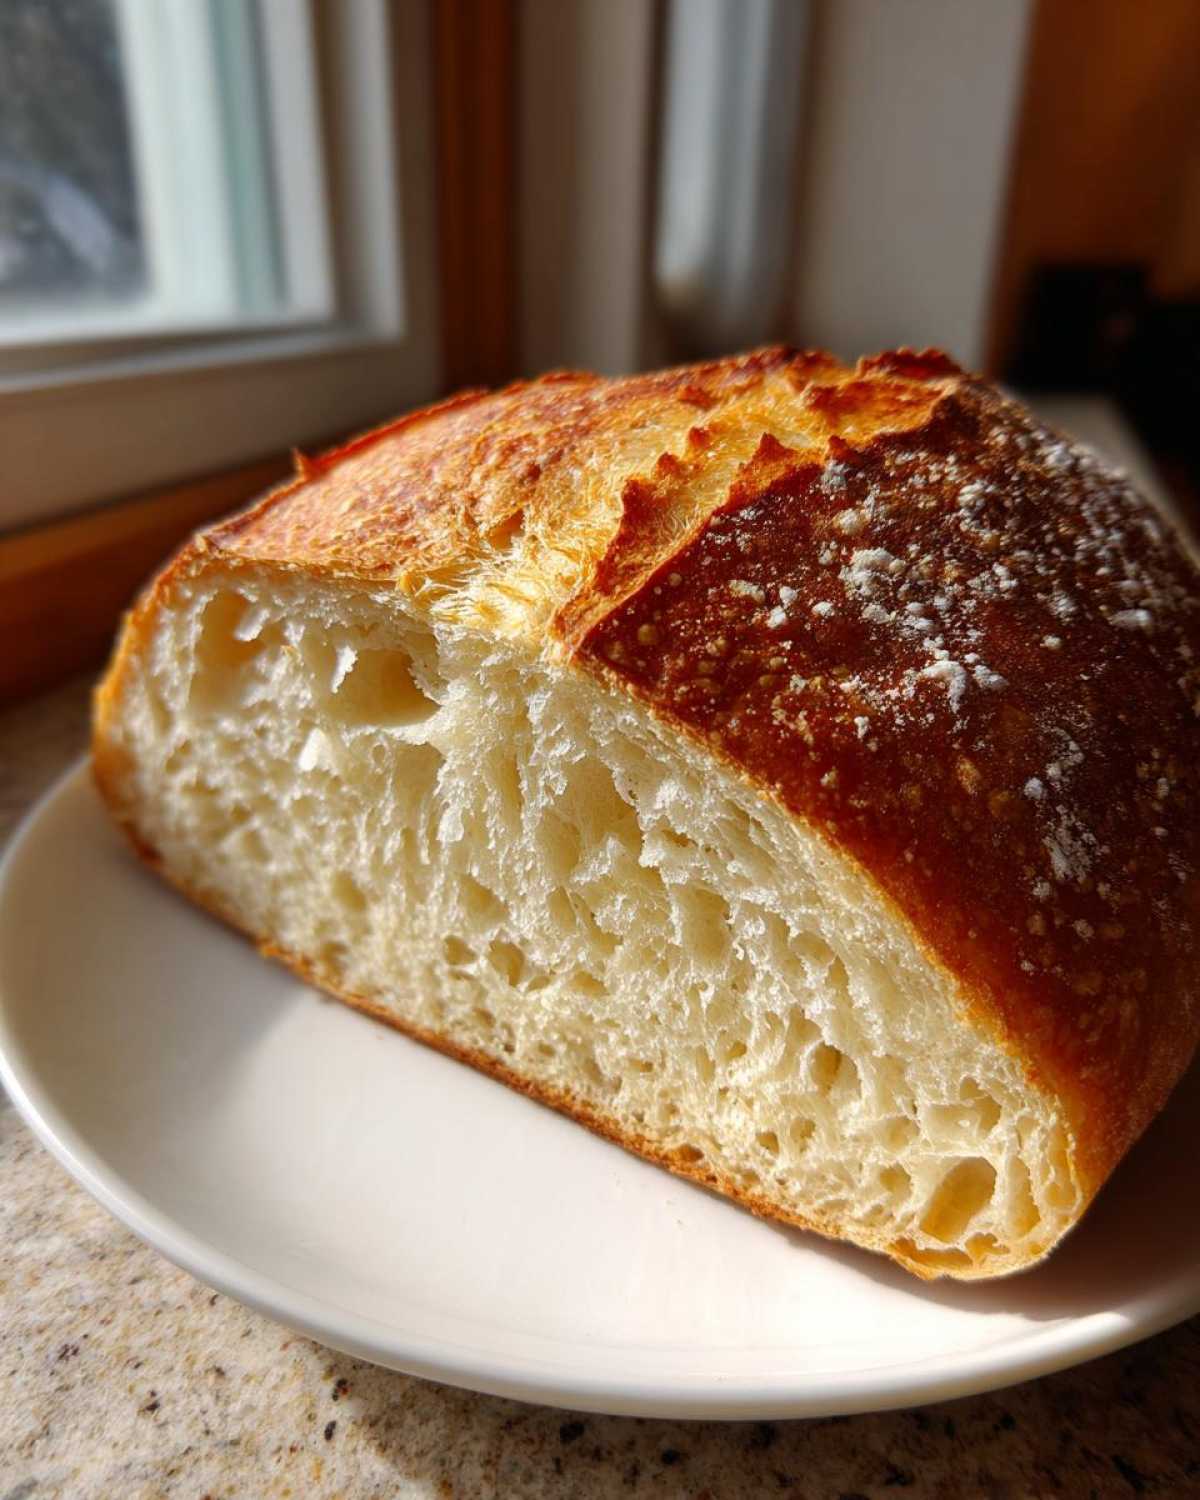
Frequently Asked Questions About This Quick Italian Bread Tutorial
I totally get it. When you’re trying a new bread recipe, you’re going to have little questions pop up, especially when you’re aiming for that perfect soft inside crusty outside bread. We tried to make this a truly quick Italian bread tutorial, but baking always deserves a double-check! If you’re looking for more recipes that we’ve rescued and perfected over time, you have to check out the fix we did on the chili garlic noodles—it’s wild how many ways that recipe goes wrong!
Can I make this a No Knead Italian Bread?
That’s a super common question, especially since no knead recipes are popular now! Here’s the tough love part: for THIS specific loaf, short of a miracle, no, you really shouldn’t skip the kneading. Remember we talked about the chewy Italian loaf interior? That specific texture requires us to develop the gluten structure through active work—that 5 to 7 minutes of kneading is what gives you that satisfying chew instead of a crumb that just crumbles apart. If you desperately need a no-knead, you’ll have to look for a recipe specifically designed for a long, cold bulk fermentation, because this recipe relies on that mechanical action to create a great sourdough-like crumb. For this recipe, though, put the elbow grease in!
What is the best flour for a Bakery Style Italian Loaf?
When we tested this recipe for achieving the signature bakery style, we stuck to all-purpose flour. Why? Because it’s accessible, and honestly, it gives enough protein to build a great crusty exterior bread structure without becoming overly tough. If you switch to standard bread flour (which has higher protein), you risk making the bread too tight and chewy—a bit like leather, honestly! Bread flour is great for sourdough or heavily enriched loaves, but for this simple, crusty Italian bread baking, stick with the all-purpose flour listed. It keeps the texture light enough for dipping while still being sturdy enough!
Is this recipe quick enough for a weeknight dinner side?
It’s definitely on the quicker side for homemade bread! While you do need two rises, the total active time is only about 25 minutes. Most of the time is just waiting for the yeast to work. Once you get the rhythm down, you can have it in the oven in under 20 minutes of actual work. It won’t be ready in 30 minutes like some advertised ‘quick bread’ recipes, but if you toss the dough in the oven to rise while you cook dinner, you’ll have the most amazing dinner side bread recipes waiting for you by the time the pasta is done!
Why does my dough stick to the bowl during the first rise?
Oops! That means you didn’t oil the bowl enough in Step 4. It’s a tiny step, but a big deal! The olive oil coating the dough ball stops the surface from drying out and forming a tough ‘skin’ while it rises. If that skin forms, it restricts the dough’s ability to expand evenly, leading to a flatter loaf. A quick fix? Use a spotlessly clean bowl next time and make sure you use the 2 tablespoons plus extra for coating the bowl, turning the dough over so every part of the exterior gets slicked with oil!
Estimated Nutritional Data for This Italian Bread Recipe
Now, I know what you’re thinking. When you’re baking something this delicious—something that tastes like it came straight from that gorgeous bakery-quality crusty Italian bread you see online—you should probably know what you’re eating, right? Ben always wants to know, and I always say a little bit of info is better than none!
We calculated this based on the recipe yielding one large loaf, sliced into what we feel are standard, generous slices. Please take these numbers with a grain of salt—literally! Since flour brands differ slightly, and you might use a bit more oil in your bowl than I did, these are solid estimates, but they aren’t going to match a lab test.
Here is the breakdown for one slice of this wonderful, homemade bread:
- Serving Size: 1 slice
- Calories: 150
- Sugar: 0.5g (That’s why it pairs so well with savory sauces—not too sweet!)
- Sodium: 250mg
- Fat: 2g
- Saturated Fat: 0.3g
- Unsaturated Fat: 1.7g
- Trans Fat: 0g
- Carbohydrates: 30g
- Fiber: 1g
- Protein: 4g
- Cholesterol: 0mg
See? Really honest, simple ingredients cooked up with dedication. That low sugar content is part of what makes it such a perfect dinner side bread, ready to soak up all that extra tomato sauce. It’s proof that you don’t need a ton of fat or sugar to make something that tastes absolutely amazing. Just good technique!
Share Your Perfect Italian Bread Creations
So there you have it! We’ve resurrected a basic pantry formula and turned it into a truly exceptional, crusty loaf. It’s proof that you don’t need to enroll in a baking academy to get that perfect, golden brown crust bread right at home. Ben and I are so proud of how this recipe turned out, and I really, really hope you try it immediately!
We designed this as a promise keeper: a recipe that actually works and gives you that soft inside crusty outside bread experience every time. We want to know what you think! Did the steam trick work its magic for you? Did you manage to get that perfect crackle on your loaf? We are building this community together, and your feedback helps us confirm that we’ve truly rescued another broken recipe.
Jump down to the comments and leave a rating—we love seeing those five-star signals come through! If you managed to snap a photo of your finished loaf, especially if you’re dipping it into some fresh olive oil (or maybe using it to clean up some sauce from the kitchen floor, no judgment here!), tag us! We feature our favorites on our social channels. If you need help or have a burning question about your bake, don’t hesitate to reach out via our contact page!
If you’re feeling brave, go ahead and save this one for later, or click over to see how other bakers tackled that tricky crust on the Crusty Italian Bread recipe here. Happy baking. Now go slice that bread before I eat the whole thing warm!
PrintEasy Crusty Homemade Italian Bread: Bakery-Style Loaf
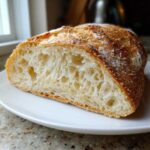
You can bake bakery-style Italian bread at home with this simple recipe. It delivers a golden, crunchy crust and a soft, chewy interior using basic pantry ingredients. This recipe is perfect for beginners.
- Prep Time: 20 min
- Cook Time: 35 min
- Total Time: 2 hours 45 min
- Yield: 1 large loaf
- Category: Bread
- Method: Baking
- Cuisine: Italian
- Diet: Vegetarian
Ingredients
- 3 1/2 cups all-purpose flour
- 1 1/2 teaspoons salt
- 1 teaspoon granulated sugar
- 2 1/4 teaspoons active dry yeast (1 packet)
- 1 1/2 cups warm water (about 105-115°F)
- 2 tablespoons olive oil, plus more for the bowl
Instructions
- In a large bowl, mix the warm water, sugar, and yeast. Let this stand for 5 to 10 minutes until it becomes foamy. This shows the yeast is active.
- Add the flour and salt to the yeast mixture. Mix with a wooden spoon until a shaggy dough forms.
- Turn the dough out onto a lightly floured surface. Knead the dough for 5 to 7 minutes until it becomes smooth and elastic. Noah says the gluten structure needs this time to develop for a good chew.
- Lightly oil a clean large bowl with olive oil. Place the dough in the bowl and turn it over to coat the surface with oil. Cover the bowl with plastic wrap or a clean kitchen towel.
- Let the dough rise in a warm place for 1 to 1.5 hours, or until it has doubled in size. This is the first rise.
- Gently punch down the risen dough to release the air. Shape the dough into a tight loaf or two smaller loaves.
- Place the shaped loaf(ves) on a baking sheet lined with parchment paper or in a prepared loaf pan. Cover loosely and let it rise again for 30 to 45 minutes, or until puffy. This is the second rise.
- Preheat your oven to 400°F (200°C). If you like a very crusty exterior, place a shallow pan on the bottom rack while preheating to create steam later.
- Just before baking, lightly brush the top of the loaf with water. If using the steam method, carefully pour 1 cup of hot water into the preheated shallow pan and quickly close the oven door.
- Bake for 30 to 35 minutes, or until the crust is deep golden brown and the internal temperature reaches 200°F (93°C).
- Remove the bread from the oven and transfer it to a wire rack to cool completely before slicing. Enjoy the aroma of fresh baked bread!
Notes
- For an extra crunchy crust, mist the oven walls with water a few times during the first 10 minutes of baking.
- If you want a softer crust for sandwiches, skip the steam pan and brush the loaf with a little milk before baking.
- This bread is excellent for dipping into olive oil or serving alongside pasta dishes.
Nutrition
- Serving Size: 1 slice
- Calories: 150
- Sugar: 0.5
- Sodium: 250
- Fat: 2
- Saturated Fat: 0.3
- Unsaturated Fat: 1.7
- Trans Fat: 0
- Carbohydrates: 30
- Fiber: 1
- Protein: 4
- Cholesterol: 0