

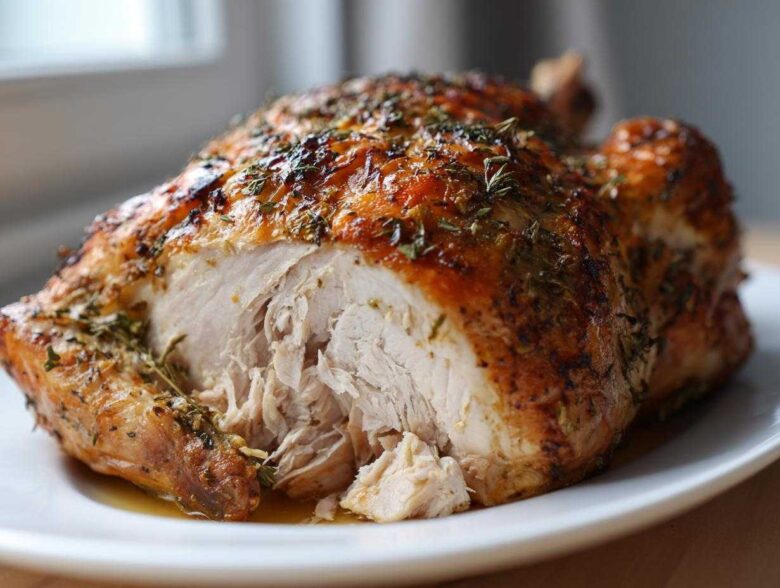
Oh, the horror of the dry holiday bird! We’ve all been there, haven’t we? You spend hours fussing over the bird, basting it until your arm aches, and then—BAM—you carve into it, and it tastes like slightly seasoned cardboard. It’s the ultimate Thanksgiving letdown, and frankly, it’s just sad when you’ve put so much love into the meal.
Well, I’m here to tell you to throw that sad, dry turkey memory right out the window! For years, I was terrified of roasting because of that one disastrous bird incident back in ’08. But then I discovered the magic of the wet turkey brine, and let me tell you, my life—and my holidays—changed forever.
This isn’t some complicated, messy project. This is my go-to, foolproof, easy wet turkey brine recipe. It’s packed with bright citrus and tons of fresh herbs, making sure every single bite of your holiday centerpiece is spectacularly juicy and unbelievably flavorful. Trust me when I say my family now expects this recipe; I’ve been perfecting this citrus herb blend for almost a decade now for our big family dinners. It just works!
If you want that ‘wow’ factor when you slice into the breast, stick with me. We’re making sure that bird stays moist, tender, and tastes like the best holiday turkey you’ve ever had. And don’t forget to check out my general story and philosophy on cooking while you’re here!
Why This Easy Turkey Brine Recipe Guarantees a Juicy Turkey Brine
Look, the main reason people dread roasting a turkey is always the same: it dries out! But this easy turkey brine solves that problem before the turkey even sees the oven. Wet brining might sound intimidating, but honestly, it’s the simplest way to guarantee moist results. We’re essentially forcing flavorful, seasoned water into every muscle fiber of the bird through osmosis.
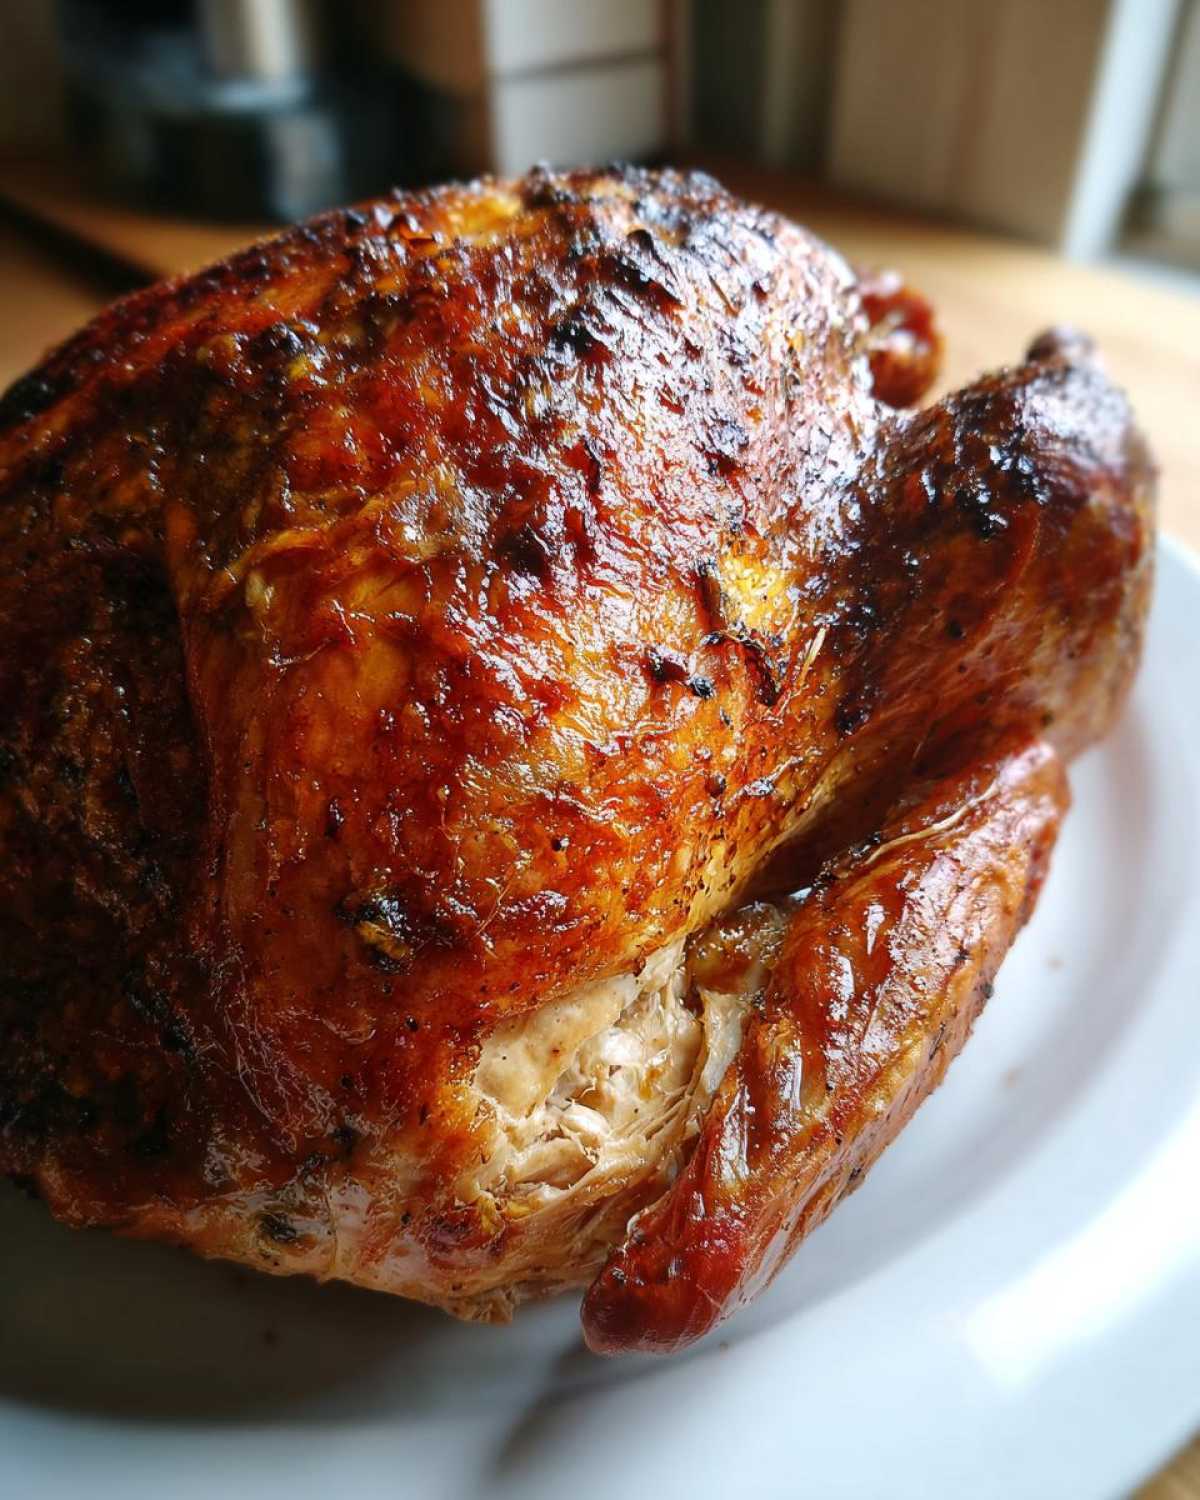
When you pull that gorgeous bird out of the brine, it’s already plumped up and seasoned right down to the bone. That means the meat stays incredibly juicy, even if you accidentally leave it in the oven five minutes too long. This is truly my secret weapon for a reliably delicious juicy turkey brine every single year for Thanksgiving.
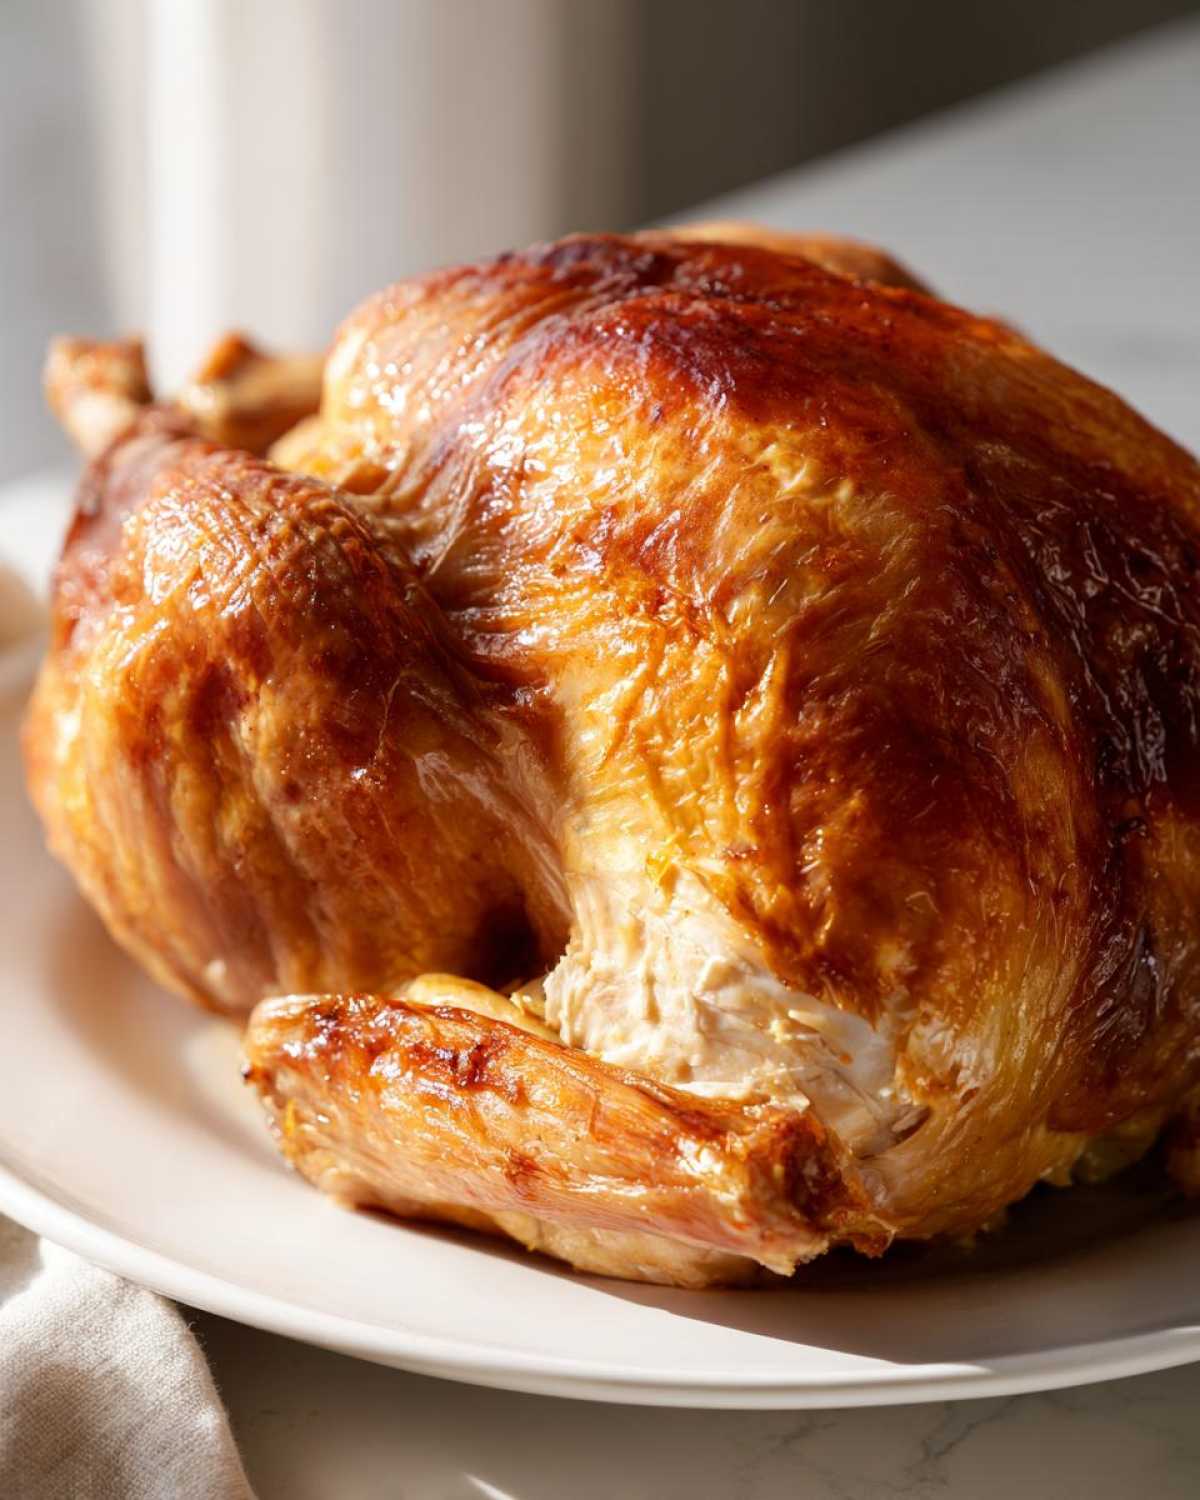
The Flavor Profile: Citrus Herb Turkey Brine
What sets this apart from just salt and water is the aromatic punch! We aren’t just adding moisture; we’re infusing flavor. The lemon and orange bring a brightness that cuts through the richness of the bird, and the thyme and rosemary are just classic holiday perfection. They create a beautifully balanced, flavorful turkey brine that seasons the meat subtly so the turkey still tastes like, well, turkey!
Ingredients for Your Flavorful Turkey Brine Recipe
Okay, let’s gather our supplies! Seriously, you need to make sure you have what it takes before you start heating anything up. The quality of your ingredients matters here, especially the salt. Forget that thin, shelf-stable table salt; we are using kosher salt only. Grandma always said table salt makes things taste metallic, and I agree 100%!
This recipe is designed for a standard 12 to 14-pound turkey, but you can easily double it if you have a monster bird coming for dinner. Make sure your pot is huge—like, the biggest thing you own! If you need a quick refresher on how I assemble some of my favorite holiday baking supplies, check out my thoughts on the cookies that always win bake sales; it’s all about good, reliable staples.
Here is everything you need to create that perfect, aromatic bath for your bird:
- 1 gallon water (you’ll use 1 quart for the concentrate)
- 1 cup kosher salt (don’t substitute this, seriously!)
- 1/2 cup brown sugar, packed firmly
- 1 whole lemon, halved straight down the middle
- 1 whole orange, halved the same way
- 1 whole head garlic, cut in half crosswise (you’ll see the cloves!)
- 1 generous bunch fresh thyme
- 1 nice bunch fresh rosemary
- 1 tablespoon black peppercorns
- 1 (12-14 pound) whole turkey—make sure the giblets and neck are already removed!
How to Prepare the Wet Turkey Brine for Maximum Moisture
Now we get into the “how-to” part of how to brine a turkey. Some folks just throw everything in a bucket, but that’s how you get uneven flavor and, worse, you risk overcooking the meat if the brine isn’t handled right! We have to make a concentrate first. Think of this like making a super-strong, flavorful tea that the turkey is going to steep in later. This technique is key to getting a real wet brine for turkey that sinks deep into the meat.
I always use my biggest stockpot for the first step. It’s usually reserved for making giant batches of soup, but Thanksgiving means it’s brine-making time. We only use a quarter of our water here—just enough to get all that salt and sugar to melt away completely.
Making the Turkey Brine Concentrate
Grab that stockpot and throw in just one quart of water—that’s four cups, don’t use the whole gallon yet! Add the cup of kosher salt and the brown sugar. Turn the heat to medium and stir, stir, stir. You have to keep stirring until you can’t feel any gritiness at the bottom of the pot. That means the salt and sugar are totally dissolved into the water. If they don’t dissolve, you’re just sprinkling dry salt crystals onto your bird later, and that’s no good for even seasoning!
Cooling and Flavor Infusion for Your Turkey Brine
Once everything is dissolved, kill the heat immediately. Now for the fun part: tossing in the aromatherapy team! Add your halved lemon and orange, that whole halved head of garlic, the thyme bunch, the rosemary bunch, and those peppercorns. Let those sit in the hot concentrate for just a minute or two to open up their essential oils. If you want to see how I make my signature spicy chili sauce, it uses a similar flavor-steeping trick, check out that recipe here!
Now, listen up, because this is the most important flavor-and-safety tip I can give you: The brine MUST be cold before the turkey goes in, or you risk letting bacteria grow right onto your bird. You’ve used one quart of hot water, so now you add the remaining three quarts of ice-cold water into the pot. This brings the temperature down fast so we can safely tuck in our bird later. If your tap water isn’t terribly cold, you can even dump in a few bags of ice at this stage—just make sure the saltiness level stays correct!
The Brining Process: Timing Your Turkey Brine
Alright, time to introduce the turkey to its aromatic spa treatment! Once your brine is completely cooled—I mean cold to the touch, not just lukewarm—it’s ready for the main event. You need a container that is definitely food-safe and big enough so that the turkey is absolutely, completely submerged. I’ve used gigantic, clean beverage coolers, or even just a giant plastic tub lined with a food-safe bag in a pinch. We aren’t messing around here; every exposed inch of skin is going to dry out and taste salty later.
I learned this the hard way once when I was rushing to get the bird into the fridge an hour before a huge dinner party. I thought I had it covered, but when I checked halfway through, one wingtip was poking out just above the liquid line. That one tiny wingtip turned out salty and rubbery compared to the rest of the bird! Never again. Ensure that bird is swimming deep.
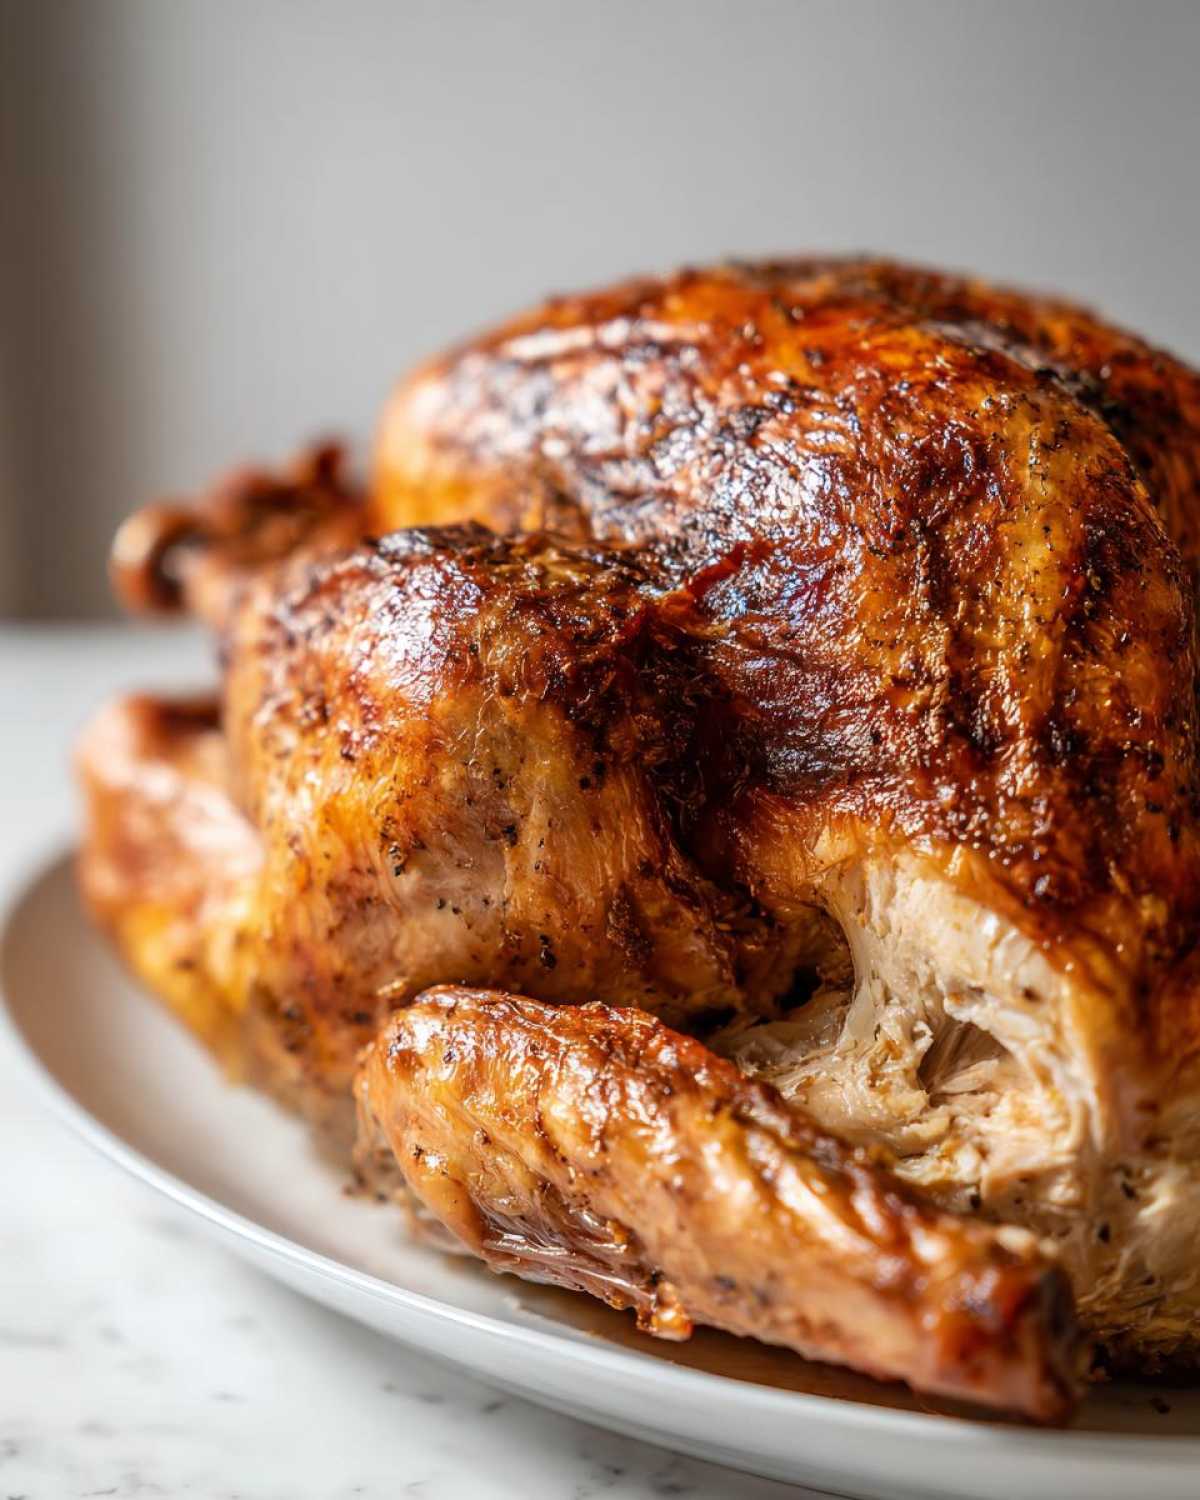
Once the turkey is submerged in your beautiful citrus herb brine, cover that container tightly. I usually wrap the whole thing in plastic wrap first, just for an extra seal, and then place the whole setup into the refrigerator. For this 12 to 14-pound bird size, you are looking at a minimum of 12 hours, but honestly, 18 hours is the sweet spot for maximum flavor and moisture uptake. If you have a 20-pound bird, push it closer to 24 hours. Keep in mind, while this is an easy turkey brine process, it’s not a *quick* one, so plan to start this the day before your big roast!
When I’m planning my whole Thanksgiving schedule, I make sure this brine goes in first thing Wednesday morning. Then, Thursday morning, I have plenty of time to rinse it off and get it ready for the oven. Speaking of one-pan cooking, if you ever need a shortcut for a weeknight meal, my one-skillet beef stroganoff is a lifesaver when you’re busy!
Crucial Post-Brine Steps for a Perfect Roast Turkey Moisture Secret
You’ve done the hard part—the waiting! But trust me, pulling the turkey out of that gorgeous herb bath is only halfway there. If you skip the next two mandatory steps, all that beautiful brining work can be undone in minutes. We are going after that legendary roast turkey moisture secret, and that means we have to deal with excess salt.
When you pull the turkey out of your container, it’s going to look a little wrinkly and definitely very wet. Do not just plop it on the roasting pan! You must discard that brine—don’t even think about saving it for later or using it in gravy; it is ridiculously salty now. Pour that liquid down the drain.
Then comes the rinsing. This is non-negotiable! I know it feels wasteful after all that work, but leftover surface salt will make the skin taste like a salt lick. Think of it like washing off salty water from your hands before drying them. Take that bird to the sink and rinse it thoroughly, inside and out, under cold, running water. Spend a good minute just washing away that exterior saltiness. If you aren’t rinsing, you might as well have skipped the brine entirely!
Once it’s rinsed, here is the final, critical component for success: drying. You absolutely have to pat it bone-dry with paper towels. If the skin is damp, it steams instead of roasts, and guess what you get? Soggy skin. Nobody wants soggy turkey skin! Grab a whole roll of paper towels and blot every square inch of that turkey until it feels almost dry to the touch. I like to let it sit on a rack on the counter for about 15 minutes after blotting to air-dry a bit more, which helps with crispiness. Don’t be shy with the paper towels!
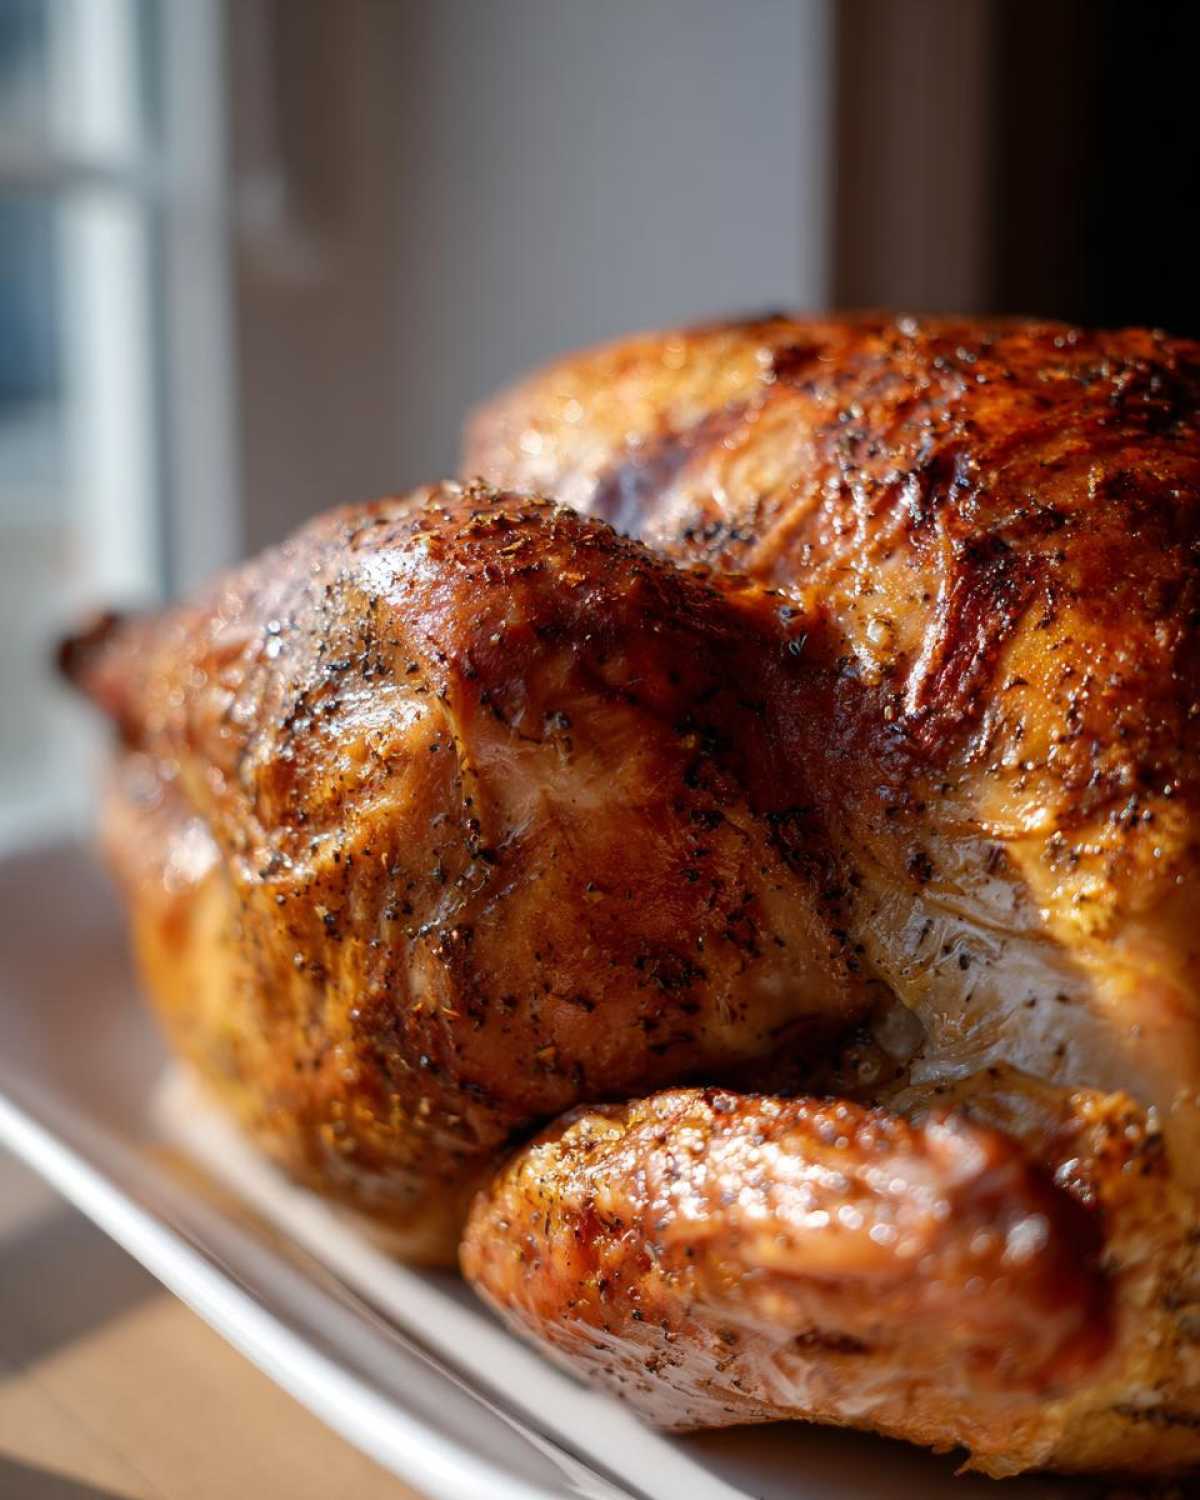
Once it’s dry, you can rub it down with your favorite butter or oil mixture, and it’s ready to roast. That rigorous rinsing and drying technique is truly one of the best ways to ensure a crisp skin over that perfectly juicy meat. Speaking of amazing things you can make with poultry, have you tried my recipe for honey butter chicken biscuit sandwiches? It’s pure comfort food!
Tips for Success with Your Homemade Turkey Brine
I always tell people, the recipe is only 80% of the battle; the other 20% is technique and knowing the little shortcuts that save you stress on a hectic holiday. Since you nailed the brining itself, I want to give you a few pointers that I picked up over the years—things my notes definitely emphasized when I was learning how to brine a turkey correctly.
My first big tip is something I touched on when we listed the ingredients, but I’m bringing it up again because it’s that important: Always, always use kosher salt. Table salt has those anti-caking agents in it, and they can really mess with the texture and give the final meat a funky, almost metallic flavor. We want pure, clean seasoning here! Keep your salt supply modern, but your methods time-tested.
Next up: The container issue. If you look at the instructions, they call for a gallon of water, which is great for a 14-pound bird. But what if Aunt Carol brings an enormous twenty-pound turkey? You need a bigger tub, which means you need more liquid. Don’t just dump in more salt and hope for the best!
Here’s my hack from the recipe notes: if your available stockpot isn’t huge, you can make a double-strength brine concentrate by using only two quarts of water initially. Dissolve all your salt and sugar in just those two quarts. Once it’s dissolved, add your flavorings, and then add the last two quarts of water as ice cubes or ice water. This keeps the ratio correct but lets you build a stronger base flavor that you can stretch with cold water later. It’s a lifesaver!
Finally, let’s talk about the rinse again because I’ve seen people skip it. The one note that absolutely had to be reinforced for my own family was about rinsing the turkey well after it comes out of the bath. The brine saturates the meat, but the excess salt sits on the skin. If you don’t rinse it off thoroughly, your beautiful Thanksgiving dinner ideas will turn into a salt lick disaster. A good, long rinse under cold water is mandatory before you even think about patting it dry for roasting. It’s the final step to balancing out all that wonderful salt the turkey absorbed!
Storage and Reheating Instructions for Brined Turkey
Okay, we’ve talked a lot about getting that turkey *into* the brine, but what about after the brining time is up? Once you’ve pulled that bird out, rinsed it until your hands are cold, and patted it bone-dry, it needs to stay cold until it hits the oven. Since you rinsed off all the surface liquid, you can safely rest it on a rack in the fridge—uncovered—for a few hours, which actually helps the skin dry out even more for better crisping!
The leftover brine? You have to toss it. I know, it feels wasteful, but that liquid is now full of turkey juices and needs to go straight down the drain. Never try to reuse or reheat brine for any other purpose. Honestly, I usually celebrate by putting on some relaxing music while I clean up the mess—it helps me relax before the big roast!
Frequently Asked Questions About Turkey Brine
I get so many questions every year leading up to the holidays about this setup! Brining seems totally confusing when you read the complicated guides online, but I promise, once you get the hang of this basic turkey brine ratio, you’ll never go back. Here are the things I hear most often from first-timers.
Can I use table salt instead of kosher salt in this turkey brine recipe?
Oh gosh, please don’t! I know it’s tempting if you’re running out the door to swap it, but table salt is much more dense than kosher salt. If you use the same volume, your turkey will end up unbearably salty. Plus, table salt usually has fillers or iodine that can give your final roast a slightly metallic or off-taste. For a truly flavorful turkey brine, the texture of kosher salt is non-negotiable. Stick to kosher or sea salt flakes!
How long is too long to leave the turkey in the wet brine?
This is where planning comes in handy! For a standard 12-14 pound bird following this recipe, 18 hours is perfect. You *can* push it to 24 hours, but I start getting nervous after that, especially if you are using a smaller bird. If you brine for too long, the cellular structure can break down too much, and you might end up with that kind of mushy texture—the opposite of the juicy results we want! If you’re making a smaller bird, aim for maybe 12 hours max.
Can I use this easy turkey brine recipe on a turkey breast or smaller bird?
Absolutely! That’s one of the great things about this approach. If you’re only cooking a turkey breast (which is still a fantastic choice for Thanksgiving dinner ideas if you don’t need a whole bird!), you just scale down the recipe. You don’t need a full gallon of water—maybe half a gallon total liquid is plenty. Just keep your salt ratio correct: generally, 1 cup of kosher salt per gallon of water is the standard starting point for any wet brine for turkey.
If I skip the citrus and herbs, is it still a good brine?
It will definitely still work! Salt and water alone will make your meat moist and seasoned, which is better than nothing. But honestly, why stop there? The citrus herb blend is what elevates this from just a moisture-delivery system to a truly best turkey brine experience. The herbs make the aromatics in the cooking pan taste better, too! It’s a whole experience, trust me.
Next Steps for Your Thanksgiving Turkey Brine Plan
Wow, we made it through the whole guide! Now that you have the complete roadmap for your perfect, juicy bird, I don’t want you to just close this tab and forget about it. The best part of following a recipe like this is seeing the results and sharing the joy!
As soon as you pull that beautifully roasted, flavorful bird out of the oven this year, I want to know how it went. Did your family notice the difference this Thanksgiving turkey brine made? Did the skin crisp up perfectly? Head over to the comments section below and give this recipe a star rating—it really helps other nervous holiday cooks know this is the method they can trust.
While you’re planning out those final roasting steps, don’t forget to check out my recipe for mulled wine! It’s the perfect cozy drink to sip on while you’re enjoying the fruits of your brining labor. Happy cooking, and I can’t wait to hear about your success!
PrintEasy Wet Turkey Brine Recipe for Juicy Thanksgiving Turkey
This simple wet brine recipe uses citrus and herbs to ensure your holiday turkey stays moist and flavorful after roasting.
- Prep Time: 20 min
- Cook Time: 0 min (Brining time)
- Total Time: 18 hr 20 min
- Yield: 1 turkey (serves 8-10)
- Category: Poultry Preparation
- Method: Wet Brining
- Cuisine: American
- Diet: Low Lactose
Ingredients
- 1 gallon water
- 1 cup kosher salt
- 1/2 cup brown sugar, packed
- 1 whole lemon, halved
- 1 whole orange, halved
- 1 head garlic, halved crosswise
- 1 bunch fresh thyme
- 1 bunch fresh rosemary
- 1 tablespoon black peppercorns
- 1 (12-14 pound) whole turkey, giblets and neck removed
Instructions
- In a large stockpot, combine 1 quart of water, kosher salt, and brown sugar. Heat over medium heat, stirring until the salt and sugar completely dissolve. This is your brine concentrate.
- Remove the concentrate from the heat. Add the lemon halves, orange halves, garlic, thyme, rosemary, and peppercorns to the pot.
- Add the remaining 3 quarts of cold water to the pot to cool the mixture quickly.
- Place the turkey in a clean, food-safe container large enough to hold the bird and the brine.
- Pour the cooled brine mixture over the turkey, ensuring the bird is completely submerged. Add more cold water if necessary to cover the turkey.
- Cover the container and refrigerate for 12 to 24 hours. For a 12-14 pound turkey, 18 hours is a good target.
- Remove the turkey from the brine. Discard the brine. Rinse the turkey thoroughly inside and out with cold running water.
- Pat the turkey completely dry with paper towels before seasoning and roasting as usual.
Notes
- If you do not have a container large enough, you can make a double-strength brine concentrate using only 2 quarts of water, then add the remaining 2 quarts of ice water to cool it down before pouring over the turkey.
- Always use kosher salt for brining; table salt contains additives that can make the meat taste metallic.
- Do not skip rinsing the turkey after brining, as excess salt will remain on the skin.
Nutrition
- Serving Size: 1 cup brine
- Calories: 50
- Sugar: 10g
- Sodium: 28000mg
- Fat: 0g
- Saturated Fat: 0g
- Unsaturated Fat: 0g
- Trans Fat: 0g
- Carbohydrates: 12g
- Fiber: 1g
- Protein: 0g
- Cholesterol: 0mg