

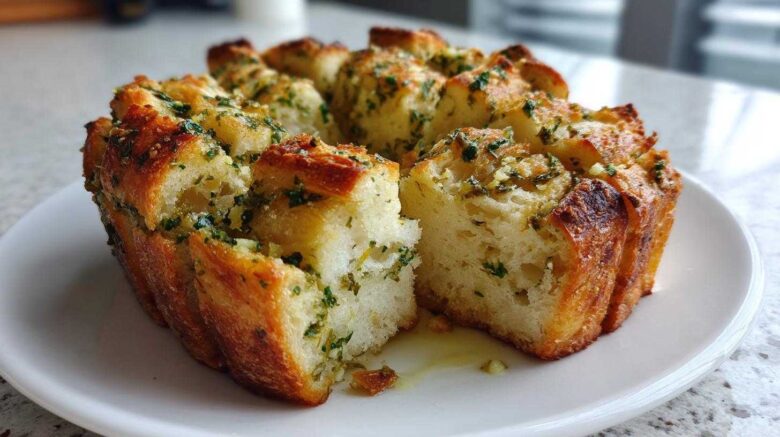
The Ultimate Rescue Mission: Perfecting Your Garlic Herb Pull-Apart Bread
No heading needs to be written for the introduction. We’ve all been there. You see a picture online. It looks divine. You try the recipe. Disaster strikes.
That’s exactly why Clara, Ben, Noah, and I started Savor And Pin. We fix broken recipes. Many promising pins lead to bland results. We hate those broken promises deeply.
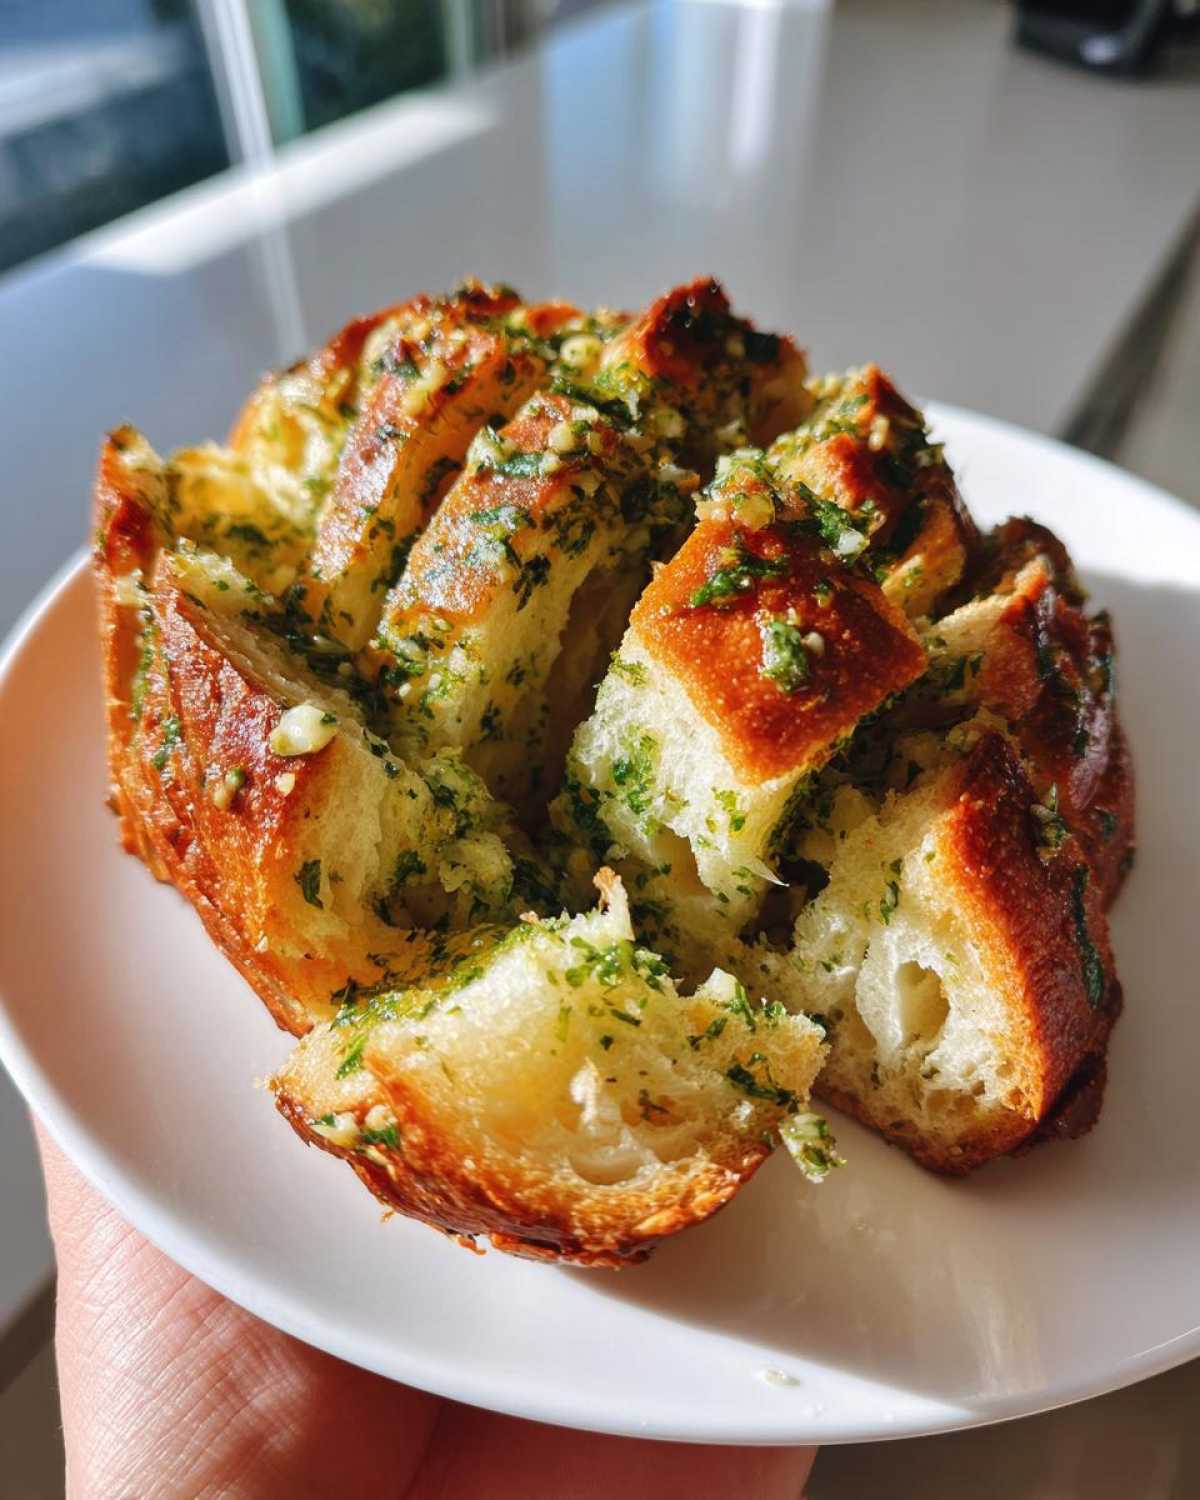
We took a concept that should be amazing—soft, savory layers—and made it foolproof. This Garlic Herb Pull-Apart Bread is our latest rescue success. Get ready for the best shareable side dish ever.
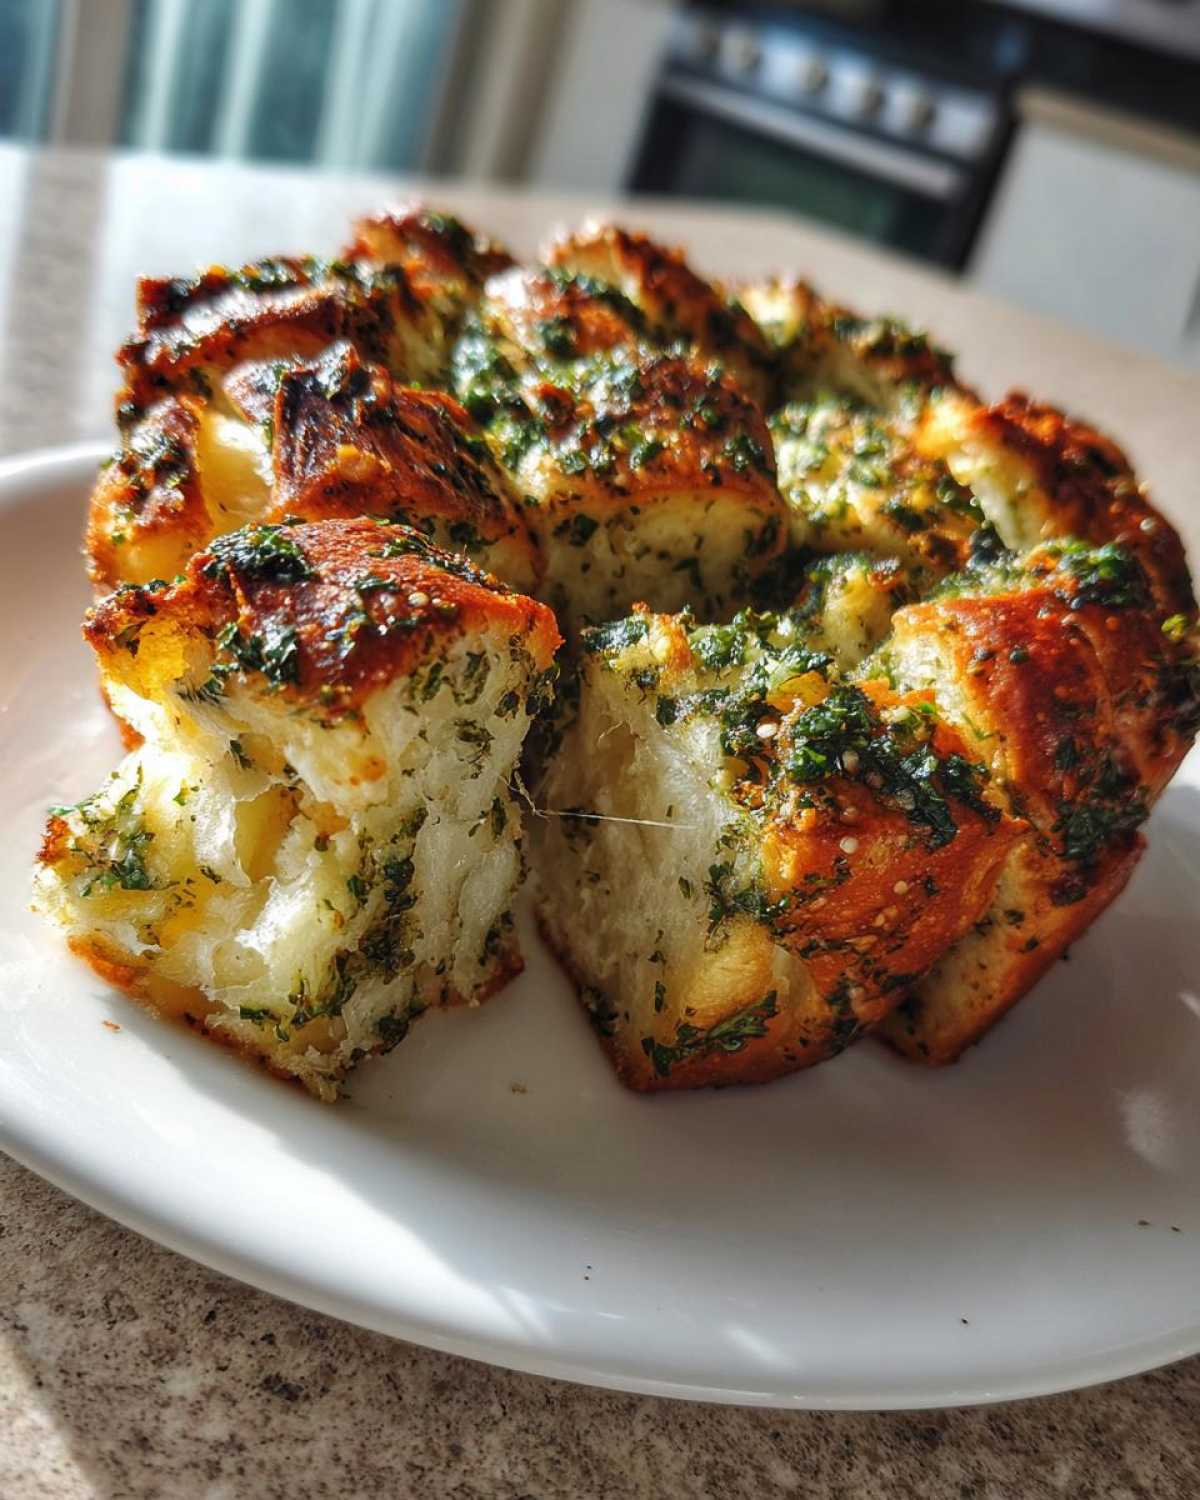
Why You’ll Love This Garlic Herb Pull-Apart Bread
Forget dry, sad dinner rolls. You deserve better bread. This recipe delivers huge flavor fast. It is seriously simple to put together. You will impress everyone at the table.
We engineered this version for maximum enjoyment. It’s the perfect appetizer or side dish. Here is why this iteration is a winner for you:
Benefits of Our Refined Garlic Herb Pull-Apart Bread
- Layers stay incredibly soft inside.
- The garlic herb butter penetrates deeply.
- Prep time is lightning quick, under ten minutes.
- It is absolutely perfect for sharing moments.
Essential Components for Incredible Garlic Herb Pull-Apart Bread
Making truly great bread starts with good ingredients. We stand by quality here at Savor And Pin. Don’t just toss things in. Precise measurements make all the difference.
This recipe relies on simple pantry staples. But we treat them with respect. Follow these ingredient details closely. You get that perfect soft texture every single time.
Biscuit Dough Foundation
You need one package of refrigerated biscuit dough. This should be a standard 13.5 ounce size. Make sure you separate all those individual biscuits first.
We aren’t using canned bread here. We are upgrading it. Remember to cut every piece into quarters.
Creating the Signature Garlic Herb Butter
This is where the magic happens, truly. Melt half a cup of unsalted butter first. Next, add four cloves of garlic, finely minced.
Then, mix in two tablespoons of fresh chopped parsley. Use one tablespoon of fresh chives, also chopped. Finally, add one teaspoon of dried oregano. Season with salt and pepper, too.
Ben loves adding a pinch of red pepper flakes here. It gives a nice little kick without overwhelming the herbs.
Optional Cheese Layer for Texture
If you want that lovely, stringy pull, add cheese. We suggest half a cup of shredded mozzarella cheese. Sprinkle it evenly over the dough pieces before baking.
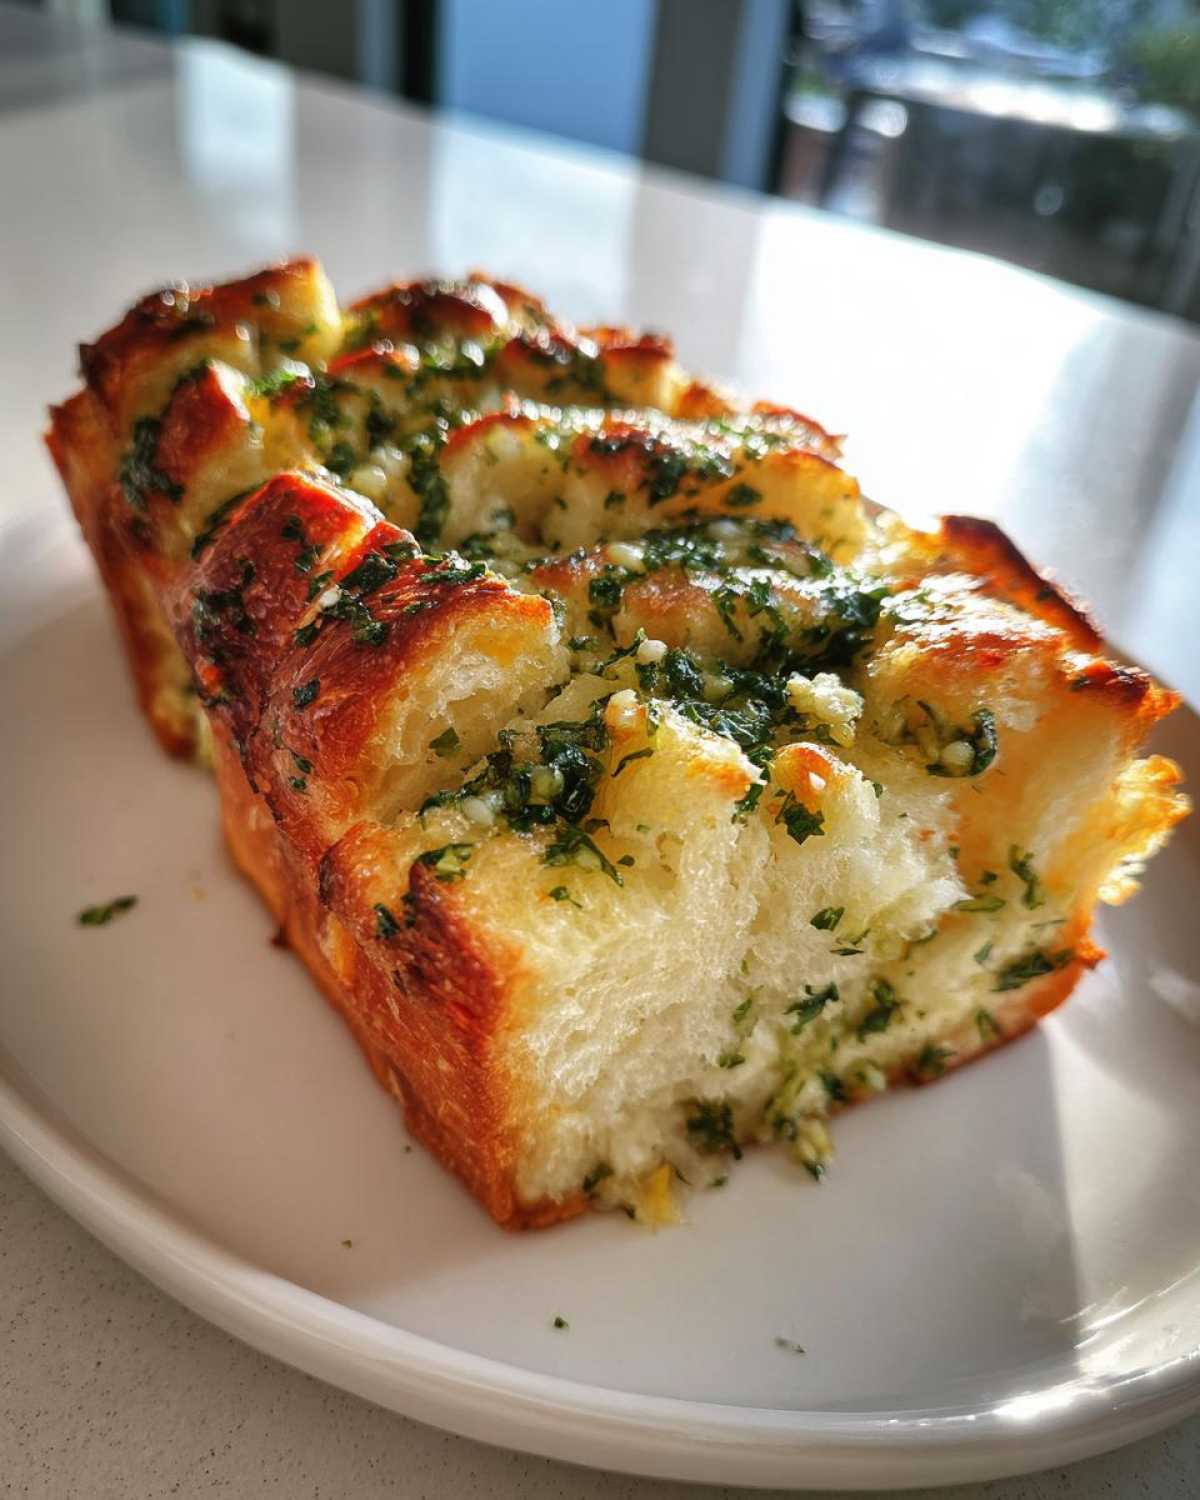
Equipment Needed for Your Garlic Herb Pull-Apart Bread Project
Having the right tools ready helps everything flow smoothly. We learned this after many mid-recipe searches for a whisk. Don’t let that happen to you!
Gathering these simple items ensures success. It shows you respect the process. Here is what you need for this baking project:
- One standard loaf pan for shaping.
- A large mixing bowl for coating dough.
- A small bowl for mixing the butter sauce.
- Measuring cups and spoons for accuracy.
- A sharp knife or bench scraper for cutting.
Step-by-Step Guide to Making Flawless Garlic Herb Pull-Apart Bread
Now for the fun part. Turning simple dough into something amazing takes just a few easy moves. Follow these steps exactly. You’ll see why we call this recipe foolproof.
We want every single piece coated perfectly. That even distribution of flavor matters a lot. Don’t rush the tossing step, please.
Preparation and Coating Technique
First, get that oven preheated to 350 degrees F. That is 175 degrees C for our international friends. Grease your standard loaf pan well. This prevents sticking later.
Open up that biscuit dough package now. Separate every single raw biscuit. Use a knife to cut each one into four small pieces. Drop these dough quarters into a large bowl.
In your smaller bowl, whisk that melted butter mixture. Make sure the garlic and herbs are mixed in well. Pour this rich butter mixture right over the dough pieces.
Gently toss everything together using your hands or a big spatula. You must coat every dough piece evenly. This is crucial for great flavor.
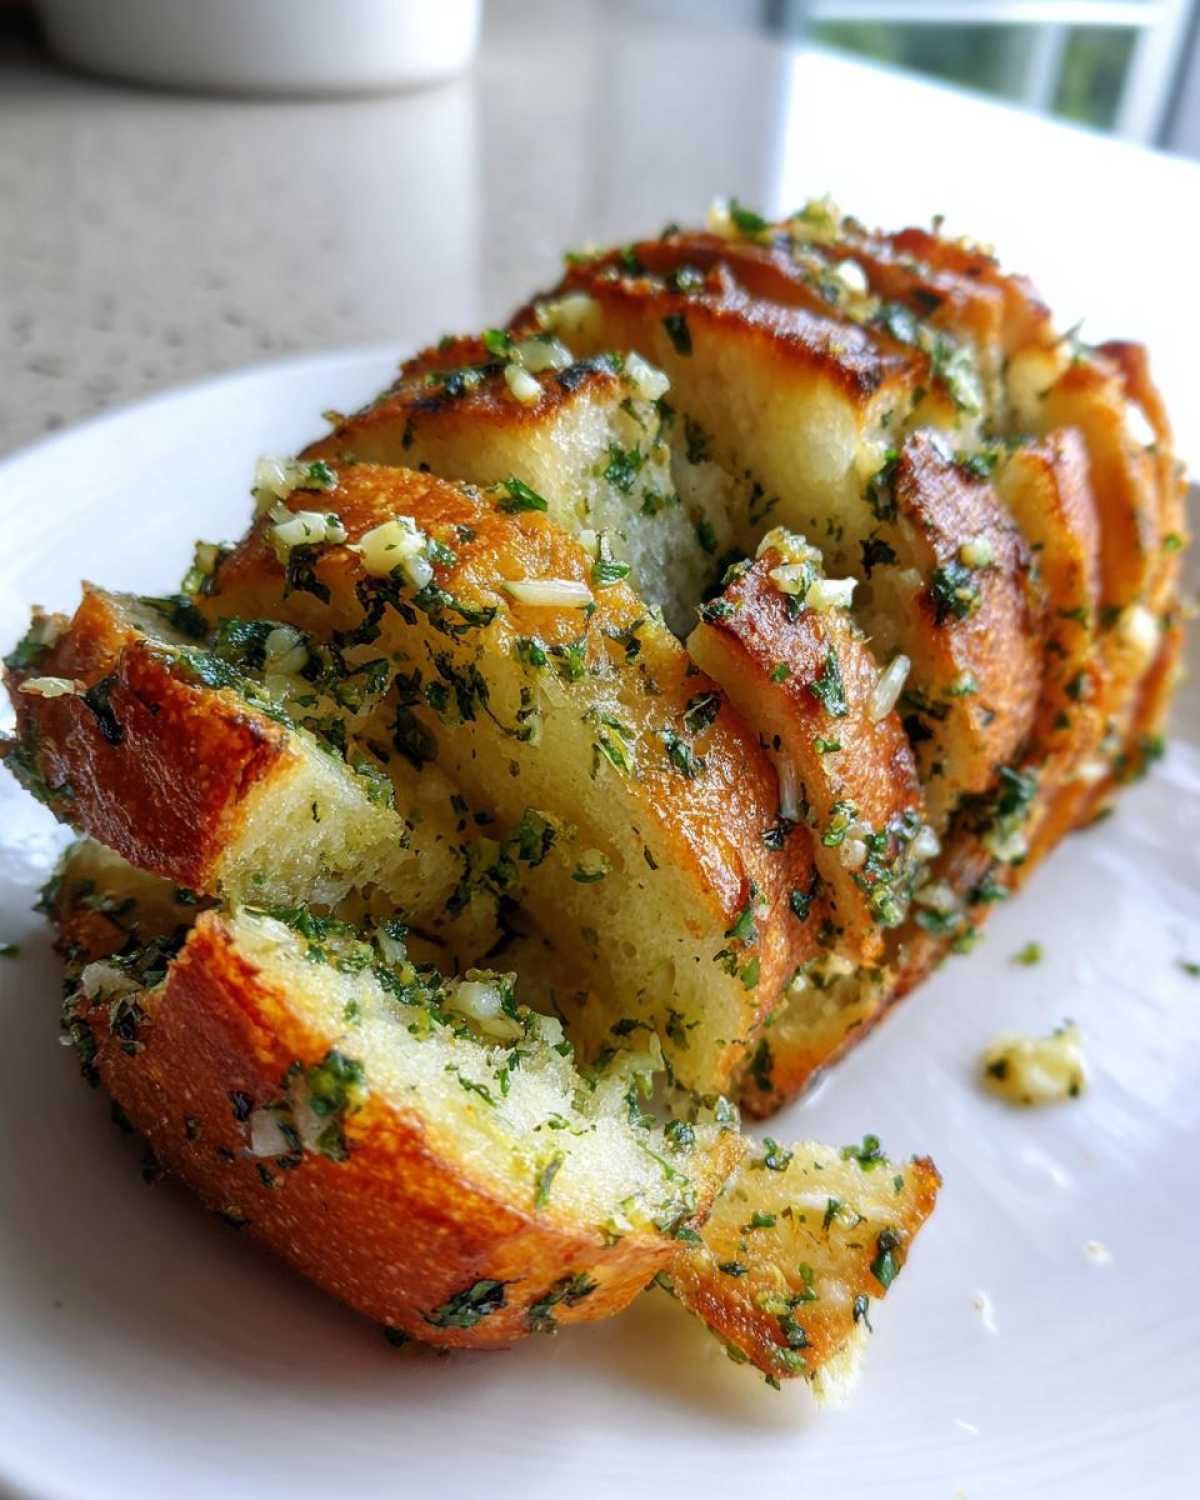
Assembling and Baking the Garlic Herb Pull-Apart Bread
Transfer those coated biscuit pieces into your greased loaf pan. Layer them loosely. They need room to expand while baking. Don’t pack them down too tightly.
If you are using cheese, sprinkle it over the very top layer now. Close the oven door gently. Bake this bread for 25 to 30 minutes total time.
How do you know when it’s done baking? Insert a toothpick into the center. It should come out clean without wet dough sticking.
Serving Temperature and Presentation
Resist the urge to dig in right away. Let the bread cool inside the pan for five minutes. This short rest helps it set up nicely.
Place a serving plate over the loaf pan opening. Carefully flip the whole thing over. The bread should release easily onto the plate.
Serve this savory side immediately while it’s warm. Nothing beats pulling apart those soft, buttery pieces.
Pro Tips for Perfecting Your Garlic Herb Pull-Apart Bread
Even with a great recipe, little tweaks make food shine. Noah and Ben always suggest small changes. These tips come from our trial and error kitchen chaos. They truly elevate this simple bake.
Think of these as finishing moves for your bread. They ensure a restaurant-quality result every time. You want that perfect balance of soft inside and flavorful crust.
Adjusting Herbs and Flavor Intensity
Fresh herbs are always best here for bright flavor. If you must use dried herbs, cut the amount in half. Dried herbs pack a stronger punch, remember that.
Want more zing? Add a tiny bit more salt next time. For heat, Ben insists on red pepper flakes in the butter mix. Start small with the flakes, though.
Controlling Crust Texture
The pan material really changes the final texture. A metal loaf pan gives you a crispier exterior crust. I prefer that slight crunch sometimes.
If you love pure softness everywhere, use a glass pan. Glass retains heat differently. It shields the dough slightly. Choose your pan based on your texture goal.
Frequently Asked Questions About Garlic Herb Pull-Apart Bread
We know you might have a few lingering questions about this easy bread. That is totally normal! We have answers ready for you. We want your baking experience to be stress-free.
Here are some things we hear often about making this shareable side dish. We hope this clears things up for your next bake.
Can I make this Garlic Herb Pull-Apart Bread ahead of time?
You can assemble the bread ahead of time. Coat the dough pieces and place them in the pan. Cover it tightly with plastic wrap. Refrigerate for up to 12 hours.
When ready to bake, let it sit out twenty minutes. Then, bake as directed. Do not let it sit too long before baking.
What kind of biscuits work best for this pull-apart bread?
We specifically use refrigerated biscuit dough for this recipe. Look for the flaky or layer style biscuits. They separate nicely for good coating.
Avoid the smaller, canned “grands” style dough. Those pieces get too large. You need that uniform quarter size for even baking.
Can I use garlic powder instead of fresh garlic?
Yes, you absolutely can substitute. Fresh garlic is superior for flavor, though. If using powder, use one teaspoon of garlic powder. This replaces the four fresh cloves.
Remember to increase the dried oregano slightly. We want that strong garlic herb flavor still present.
Serving Suggestions for Your Flavorful Bread
This bread is a showstopper on its own. But what should you serve it with? Think about dishes needing a savory companion. This bread soaks up sauces beautifully.
It pairs wonderfully with simple weeknight meals. Try it alongside a big bowl of soup. It’s fantastic with marinara sauce for dipping, too. Or serve it next to roasted chicken.
It simply makes any dinner feel special.
Storing and Reheating Leftover Garlic Herb Pull-Apart Bread
Even the best bakes sometimes have leftovers. We want your leftovers tasting great later. Store the bread in an airtight container. Keep it at room temperature for up to two days.
The microwave is not your friend here. It makes soft bread rubbery fast. For the best texture, use your oven to reheat.
Wrap the cooled bread tightly in foil. Heat it at 300 degrees F for ten minutes. This revives the soft interior perfectly. Enjoy the second-day flavor!
Share Your Successful Garlic Herb Pull-Apart Bread Creation
We put our expertise into this recipe for you. Now it is your turn to shine in the kitchen. We truly hope this bake brought joy.
Did you try the cheese layer or maybe add extra spice? Tell us about your results below.
Rate this recipe if it became your new favorite. Sharing your success reinforces trust for future cooks. Happy baking until next time!
PrintFix 1 Bad Recipe Try: Garlic Herb Pull-Apart Bread
You will love this Garlic Herb Pull-Apart Bread. It features soft layers packed with garlic, butter, and herbs. This bread is simple to make and perfect for sharing at any gathering. It turns simple dough into an exceptional, flavorful centerpiece.
- Prep Time: 10 minutes
- Cook Time: 30 minutes
- Total Time: 40 minutes
- Yield: 8 servings
- Category: Side Dish
- Method: Baking
- Cuisine: American
- Diet: Vegetarian
Ingredients
- 1 (13.5 ounce) package refrigerated biscuit dough
- 1/2 cup (1 stick) unsalted butter, melted
- 4 cloves garlic, minced
- 2 tablespoons fresh parsley, chopped
- 1 tablespoon fresh chives, chopped
- 1 teaspoon dried oregano
- 1/2 teaspoon salt
- 1/4 teaspoon black pepper
- 1/2 cup shredded mozzarella cheese (optional)
Instructions
- Preheat your oven to 350 degrees F (175 degrees C). Grease a standard loaf pan.
- Open the biscuit dough and separate the biscuits. Cut each biscuit into quarters. Place the pieces in a large bowl.
- In a small bowl, whisk together the melted butter, minced garlic, parsley, chives, oregano, salt, and pepper.
- Pour the butter mixture over the biscuit pieces. Gently toss until all the dough pieces are evenly coated with the garlic herb butter.
- Transfer the coated biscuit pieces into the prepared loaf pan, layering them loosely.
- If using, sprinkle the mozzarella cheese evenly over the top layer of the dough pieces.
- Bake for 25 to 30 minutes, or until the bread is golden brown and cooked through. A toothpick inserted into the center should come out clean.
- Let the bread cool in the pan for 5 minutes before carefully turning it out onto a serving plate.
- Serve warm and let everyone pull off a piece.
Notes
- You can substitute dried herbs for fresh if needed, but reduce the amount slightly.
- For an extra punch, add a pinch of red pepper flakes to the butter mixture.
- If you prefer a crispier top, use a metal loaf pan instead of glass.
Nutrition
- Serving Size: 1 serving
- Calories: 280
- Sugar: 3g
- Sodium: 550mg
- Fat: 17g
- Saturated Fat: 10g
- Unsaturated Fat: 7g
- Trans Fat: 0.5g
- Carbohydrates: 25g
- Fiber: 1g
- Protein: 5g
- Cholesterol: 40mg