

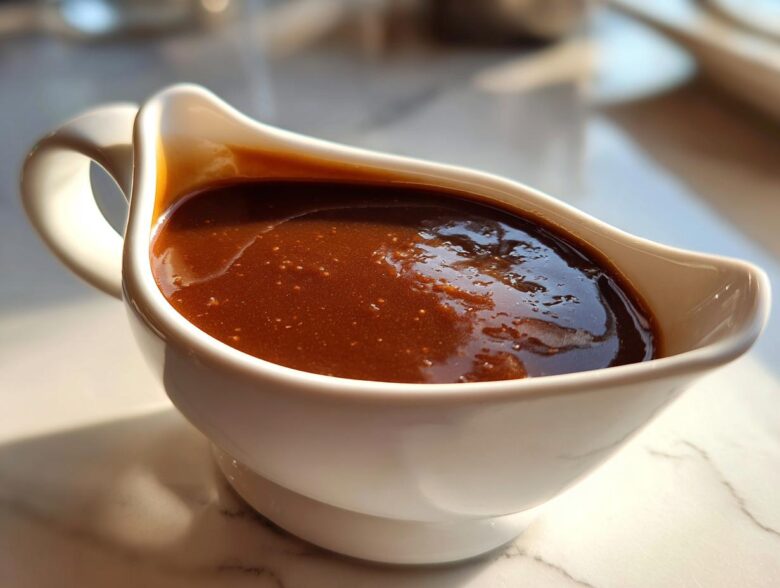
Oh, listen to me, nothing says ‘home’ quite like a steaming pile of mashed potatoes drowning in thick, savory gravy. For years, I was stuck waiting for a roast to finish, hoping there were enough drippings left over for a decent sauce. If you’ve ever been there too, staring into an empty pan, I have HUGE news for you: you don’t need drippings! This recipe is my secret weapon for the absolute best homemade brown gravy. It comes together faster than you can chop your parsley, and the flavor? It’s deep, rich, and totally velvety. Trust me, once you master this simple roux method, you’ll never go back to the packet stuff again. It’s my go-to for every comfort food night!
Why This Homemade Brown Gravy Recipe Works (No Drippings Needed)
Folks think you need those wonderful, fatty drippings from a roast chicken or beef to make real gravy, but that’s just not true! That’s the biggest hurdle when trying to learn how to make brown gravy from scratch. I learned that when I wanted gravy on a Tuesday night with zero meat pan! This recipe focuses on building flavor layers right in the saucepan instead of relying on what’s left in the roasting dish.
We use a dual broth—beef and chicken—to get that perfect, savory base. It fools everyone into thinking you’ve been roasting something all day. This is the ultimate reliable gravy without drippings because the flavor comes from smart seasoning and a perfectly cooked roux, not accident.
Quick Stovetop Gravy Prep Time
The best part is just how fast this comes together. Seriously, you can have this ready faster than you can mash the potatoes!
- Prep Time: 5 minutes
- Cook Time: 15 minutes
- Total Time: 20 minutes
That’s right, a whole batch of rich, homemade brown gravy in under twenty minutes. It’s my secret for quick weeknight wins!
The Secret to Velvety Brown Sauce Texture
The roux—that paste of butter and flour cooked together—is everything here. If you cook it just right, you get that beautiful, velvety brown sauce that coats a spoon perfectly. The mistake everyone makes is rushing the roux or not whisking the liquid in slowly enough.
If you add the broth too fast, you get sad little flour pebbles floating around, and nobody wants that clumpy mess! Whisking slowly and bringing it to a gentle simmer makes sure that starch molecules swell up evenly, creating that smooth, luscious texture every single time. You can find more details on a deep flavor gravy in my stew recipe, but the roux secret is the same!
Ingredients for Your Homemade Brown Gravy
When you’re making a classic savory gravy from scratch, you have to treat your ingredients with respect. Since this recipe doesn’t rely on drippings, every single item on this list matters! I always keep these staples stocked because you never know when an emergency gravy situation is going to pop up—maybe someone just made a massive batch of mashed potatoes!
I insist on low-sodium broth because we are adding salt later, and it gives us so much more control over the final seasoning. Also, use real, unsalted butter; don’t even think about margarine in this, please! It really affects the flavor profile of the roux. Here’s exactly what you need for about three cups of glorious, rich sauce:
- 4 tablespoons unsalted butter
- 4 tablespoons all-purpose flour
- 2 cups beef broth (low sodium preferred)
- 1 cup chicken broth (low sodium preferred)
- 1 teaspoon onion powder
- 1/2 teaspoon garlic powder
- 1/2 teaspoon dried thyme
- 1/2 teaspoon salt, or to taste
- 1/4 teaspoon black pepper, or to taste
- 1 teaspoon Worcestershire sauce (optional, for deeper color/flavor)
That little bit of Worcestershire sauce? That’s my secret for getting that extra beautiful, dark color without overcooking the flour. It really punches up the savory notes if you’re aiming for that quintessential homemade brown gravy flavor!
How to Make Brown gravy From Scratch: Step-by-Step Instructions
Okay, time to get down to business! Making this from scratch means we are making a roux, which is just a fancy word for the flavor base. Don’t panic; it’s super easy, but you have to give it your full attention for a few minutes. This is where the magic happens for that perfect simple roux gravy.
Creating the Flavorful Roux Base
First things first, get that butter melted over medium heat. It should sizzle a little when it hits the pan. Once it’s foamy, dump in all your flour—yes, all of it at once! Start whisking immediately. You need to cook this paste, stirring nonstop, for a good two to three minutes. We aren’t aiming for dark brown yet, just a nice smooth, light tan color—almost like peanut butter. If you stop stirring, the flour will burn on the bottom, and that gives your lovely homemade brown gravy a bitter taste. We want nutty, not burnt!
Whisking in Liquids and Seasoning for Classic Savory Gravy
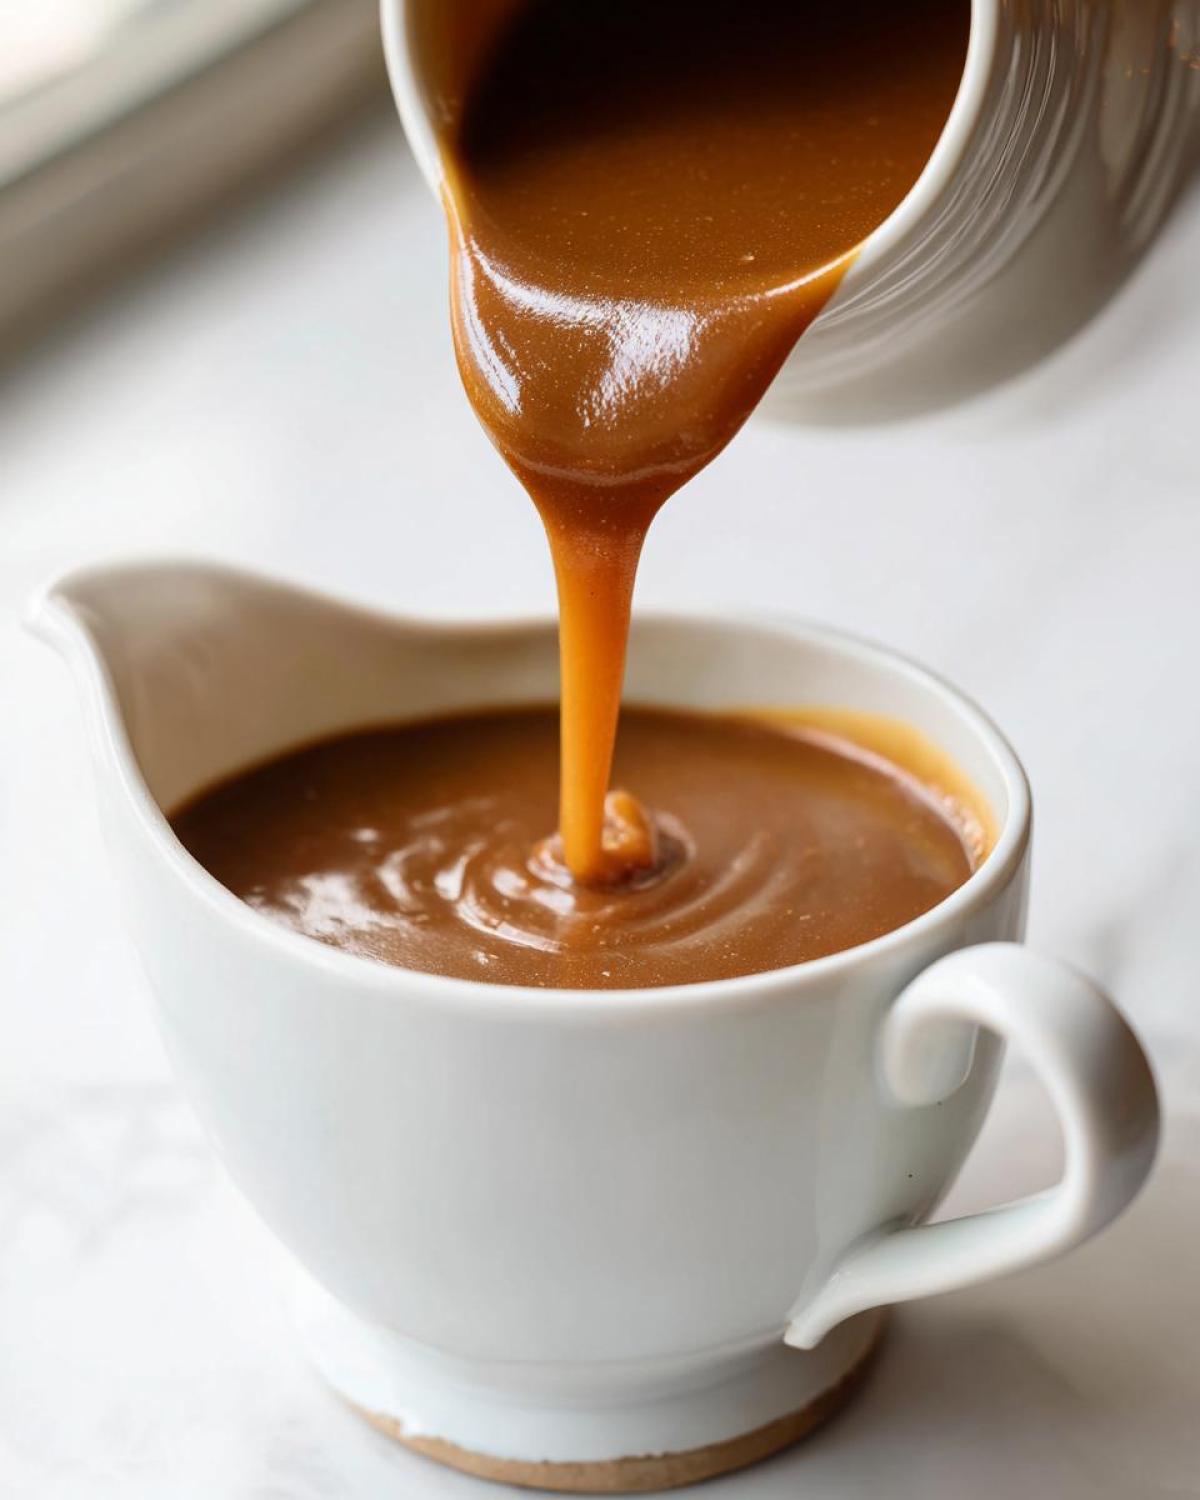
Now, take your broth, and this is key: pour it in slowly, whisking like a maniac! Don’t dump it all, or you’ll create lumps that are impossible to beat out later. Pour just a little bit in, whisk until it smooths out completely, and then add a tiny bit more. Once all the broth is incorporated and smooth, turn the heat down to low. Stir in all your powders—onion, garlic, thyme—plus the salt, pepper, and that little splash of Worcestershire. Let it all simmer gently for at least five minutes. This resting time allows the starch to do its job and deepens the flavor of your classic savory gravy.
Tips for Perfect Homemade Brown Gravy Consistency and Color
Getting the thickness just right is where most folks decide they’re making sauce instead of gravy, but don’t you worry! This is where testing your roux pays off bigger than anything else. Remember I mentioned cooking that butter and flour until it’s the color of peanut butter? If you leave it pale, you’ll end up with a pale, creamy coating. If you cook it just a minute or two longer until that nutty, light brown aroma really hits you, you get that beautiful, deep brown color you’re looking for in your homemade brown gravy.
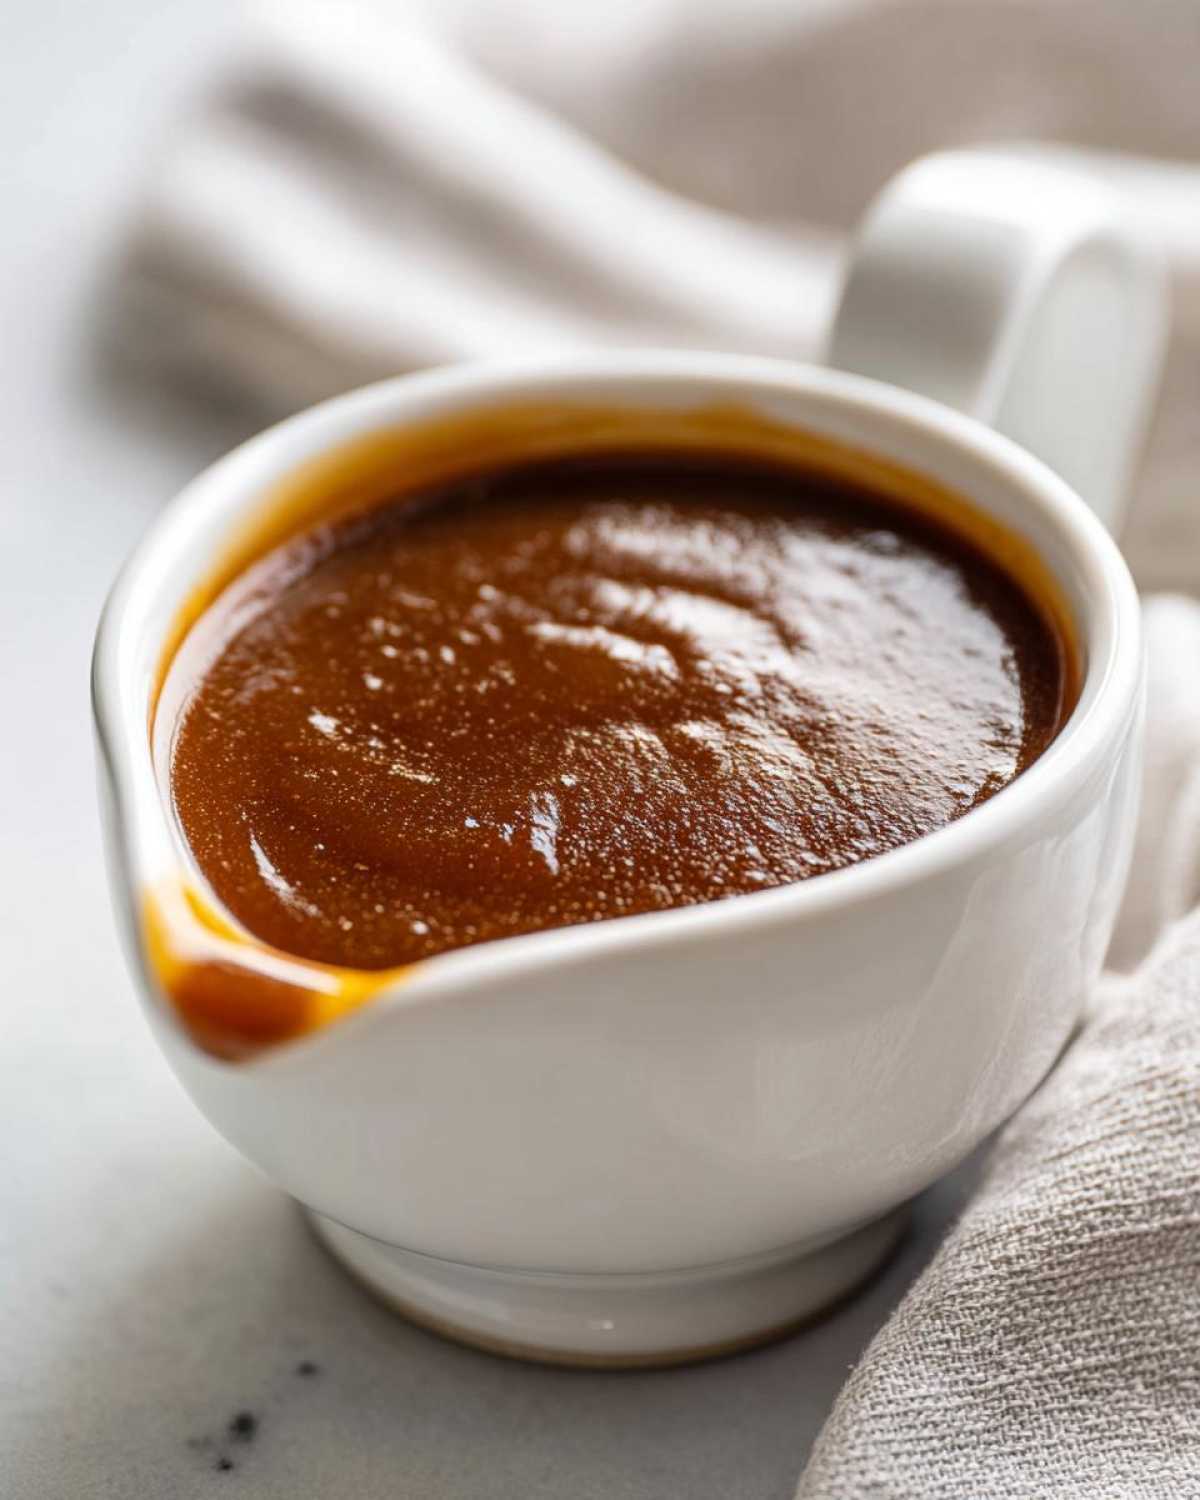
If you follow the simmer time and your gravy still seems a bit thin, it’s not ruined! For making gravy thicker, I usually make a small slurry: take about a teaspoon of cornstarch and whisk it into a tablespoon of cold water until smooth. Slowly drizzle that mixture into your simmering gravy while whisking constantly. It should thicken up in about 30 seconds! You can see the full rundown on this technique over in my guide about making gravy thicker.
If it ever gets too thick—which happened to me once when I walked away too long—just warm up a splash of broth or water and whisk it in until you get that perfect coating consistency again. The key, as you can see, is patience and a good whisk. That’s how you get professional results from this simple approach!
Variations for Your Stovetop Gravy Recipe
While this recipe is absolutely perfect as a standard, all-purpose homemade brown gravy, I love customizing it depending on what I’m serving that night. It’s amazingly flexible! Since we are using a broth blend of beef and chicken, it works for almost anything, but sometimes you need a little nudge in a specific direction.
For instance, if you’re making something that really needs that deep, meaty punch—like smothered steak or even certain savory pies—you should definitely switch over to using only beef broth. That gives you a fantastic, pure savory beef gravy recipe that tastes like it simmered for hours. You can find all my tricks for getting maximum beef flavor in that dedicated recipe linked right here: savory beef gravy recipe.
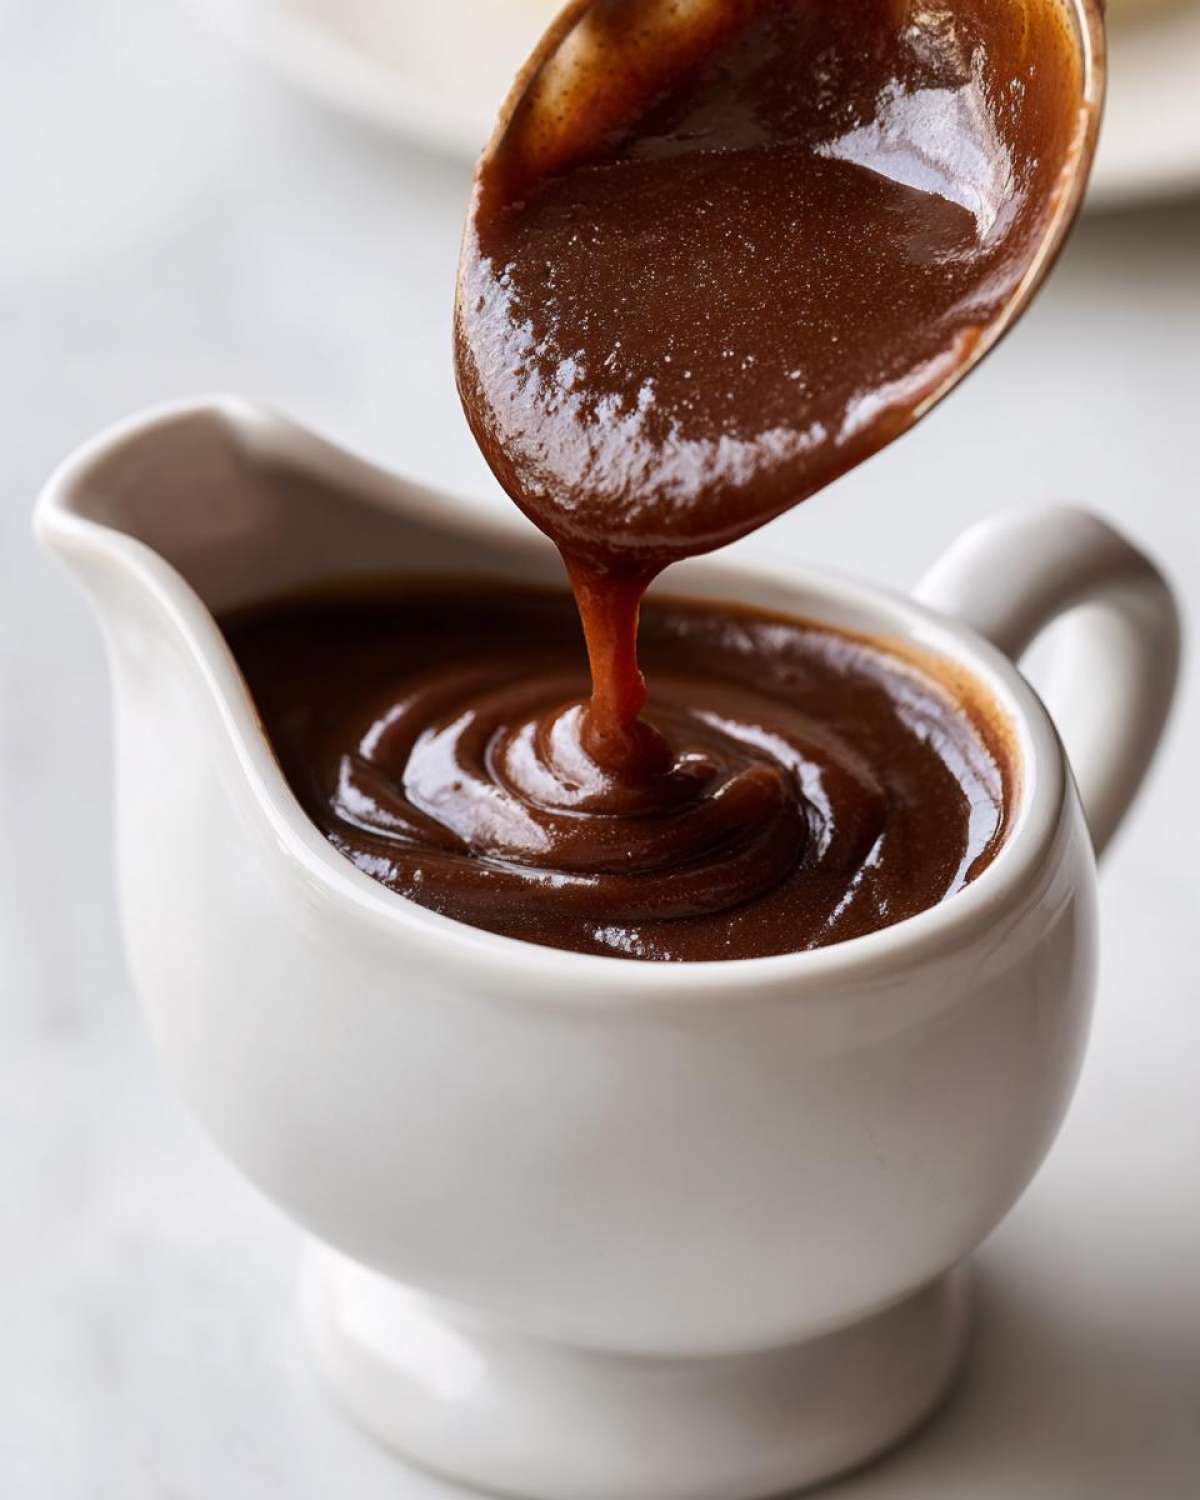
Now, if you are roasting turkey or chicken that week, you can easily tweak this recipe! Just skip the beef broth entirely and use two cups of chicken broth and one cup of water, or if you have it, turkey stock works like a dream. That lighter base is perfect for a classic brown gravy recipe for turkey. Sometimes, I’ll even add a tiny pinch of rubbed sage to that poultry batch. It makes it smell like Thanksgiving—even in July!
The key takeaway here is that once you master that 4-tablespoon butter to 4-tablespoon flour roux, the world of homemade sauces opens right up for you. It’s all just an easy substitution game from there!
Serving Suggestions: The Best Comfort Food Gravy Pairings
Okay, we finally have this gorgeous, dark, and flavorful homemade brown gravy ready to go—20 minutes flat! Now is the moment of truth: what are you smothering this liquid gold on? This recipe stops being just a sauce and starts being the foundation of an entire comfort meal instantly.
My absolute favorite thing to pair this with is classic roast beef, sliced thin. The gravy melts right into the meat juices, creating this amazing, rich homemade concoction that no restaurant can beat. But honestly, it shines just as bright on other favorites, too! Think thick, pan-fried pork chops or even savory shepherd’s pie before it goes into the oven.
The real test, though, is when you look at what’s waiting for it on the plate. When I make my creamy mashed potatoes (I have a great dairy-free recipe if you need one over at dairy-free mashed potatoes nobody believed were dairy-free!), I purposely leave a little basin right in the middle for the gravy to pool. It’s essential!
Ideal Mashed Potato Topping
If you are serving mashed potatoes, you must treat the gravy like the star it is! It’s the number one, undisputed, champion-tier mashed potato topping. Don’t just pour it near the potatoes; make sure every single forkful has a little bit of that rich, buttery flavor coating it. A runny gravy just soaks in and disappears. But this thick, **velvety brown sauce** clings right there, making sure you get the full experience in every bite.
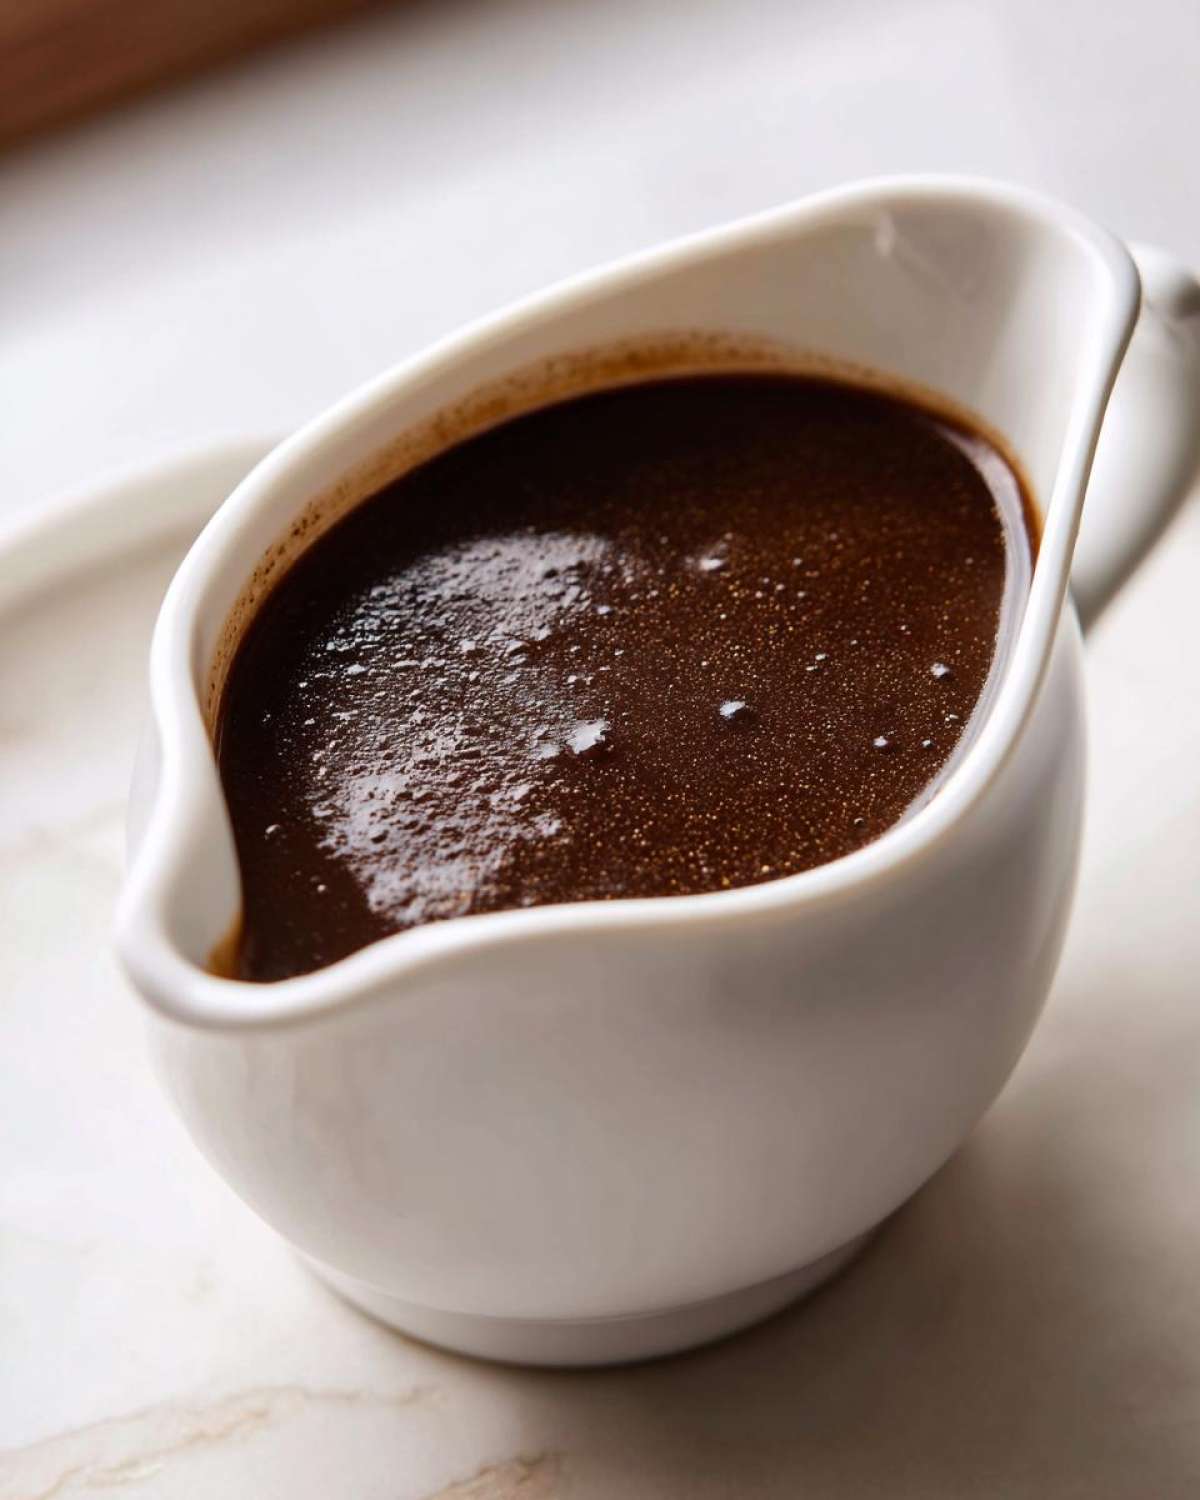
Another place this gravy absolutely sings is over meatloaf. Forget that ketchup-based topping some people use; a slice of hearty meatloaf dipped in this deeply savory sauce is just heaven. It elevates the whole dish, making it taste like Sunday dinner happened right in the middle of the week!
Storage and Reheating Instructions for Brown Gravy
Good news! Even though this homemade brown gravy tastes like it took all day to simmer, it stores like a dream. I always make a huge batch because leftovers are just as amazing, especially if you’re having them again over biscuits the next morning!
When you have leftovers, you want to cool them down as fast as you safely can. Pop them into an airtight container—a nice glass jar works perfectly for me—and stick it in the fridge. It stays delicious and perfectly safe in the refrigerator for up to four days. If you happen to make a truly massive pot, freezing is your best friend! You can easily freeze this gravy for up to three months. I like to use small freezer-safe containers or even ice cube trays if I only want a little bit later for seasoning something.
Now, the reheating part is where you really have to remember the ‘velvety’ part. If you just blast it in the microwave without stirring, it can sometimes separate or get a bit tight and gloppy. If you are reheating a big batch on the stove, put it in a saucepan over medium-low heat. It’s going to look very thick at first—that’s normal because the roux firms up when it’s cold. Keep stirring, and when it starts to warm up, slowly whisk in a tablespoon or two of warm water or even just warm broth. Just keep adding liquid a little bit at a time until you get that beautiful, pourable, velvety brown sauce back. It’s honestly that simple to revive it and make it taste like it was just made!
Frequently Asked Questions About Homemade Brown Gravy
I know when I first started tackling making gravy from scratch, I had a million little worries about it going wrong! It’s much easier than people think once you know the tricks. Here are some of the things people ask me most often about this homemade brown gravy recipe:
Can I make this gravy ahead of time?
Absolutely! This is one of the best things about learning how to make brown gravy from scratch using the roux method—it holds up beautifully in the fridge. As I mentioned before, it stores perfectly for up to four days. It will look super thick when you pull it out of the cold, but don’t worry, that’s just the butter setting up. Just reheat it gently on the stove, whisking in a little warm liquid until it flows perfectly again. Honestly, sometimes I think it tastes even better the next day!
What if I want a richer, deeper brown color?
That’s a great question if you are aiming for that super dark, rich appearance! If you want a seriously deep **savory beef gravy recipe** look, the key is just cooking your roux a little longer. Once it’s that pale peanut butter color, keep cooking and stirring until it hits a deep, medium brown—think the color of a roasted pecan. Be careful, though, because the longer it cooks, the richer the flavor gets, but the faster it can burn! If you are worried about burning but still want that depth, a tiny splash more of the Worcestershire sauce or even a drop of dark soy sauce stirred in right at the end can really deepen the color without changing the texture much at all.
How do I fix gravy that is too thin?
Oh, we’ve all been there. You simmer it, you wait, and it still pours like soup. Don’t panic! This is the easiest fix, and it’s how you manage the consistency when you want that perfect, thick result for your mashed potato topping. If simmering longer isn’t doing the trick, you need a slurry.
Take a small bowl—like a little ramekin—and put one tablespoon of cornstarch in it. Add about two tablespoons of *cold* water or broth, and whisk really hard until it’s totally smooth. Then, while your gravy is simmering gently, slowly drizzle that slurry into the pot while whisking continuously. Watch it! It thickens up almost immediately. If you need it even thicker, just make a bit more slurry and add it in tiny increments. This is your best tool for **making gravy thicker** without worrying about ruining the flavor!
Share Your Rich Homemade Sauce Experience
Well, that’s it! We’ve built a powerhouse of flavor in under 20 minutes, and you are now armed with the knowledge to make the richest homemade brown gravy whenever the craving hits, no drippings required!
I truly want to see what you’re pouring this golden deliciousness over! Did you finally conquer the perfect roux? Are you drowning your Sunday roast in it? Head down to the comments below and tell me how it went. Tell me honestly, are you giving this recipe five stars?
And I’m always looking for new ideas for what to make next on my blog. What other homemade dinner sauces are you struggling with? Maybe you need a cheese sauce or a mushroom gravy next? Let me know what you want to see featured here on the blog next, or just show off your gravy skills over on my social channels! Don’t forget to check out all my other **homemade dinner sauces** recipes when you have a second: I’ve got tons of pantry staple ideas waiting for you!
PrintThe Ultimate Homemade Brown Gravy (No Drippings Needed)

Make a rich, savory brown gravy from scratch using basic pantry staples. This recipe creates a velvety sauce perfect for mashed potatoes, meatloaf, or roast beef without needing meat drippings.
- Prep Time: 5 min
- Cook Time: 15 min
- Total Time: 20 min
- Yield: About 3 cups
- Category: Sauce
- Method: Stovetop
- Cuisine: American
- Diet: Vegetarian
Ingredients
- 4 tablespoons unsalted butter
- 4 tablespoons all-purpose flour
- 2 cups beef broth (low sodium preferred)
- 1 cup chicken broth (low sodium preferred)
- 1 teaspoon onion powder
- 1/2 teaspoon garlic powder
- 1/2 teaspoon dried thyme
- 1/2 teaspoon salt, or to taste
- 1/4 teaspoon black pepper, or to taste
- 1 teaspoon Worcestershire sauce (optional, for deeper color/flavor)
Instructions
- Melt the butter in a medium saucepan over medium heat.
- Whisk the flour into the melted butter. Cook this mixture, stirring constantly, for 2 to 3 minutes until it forms a smooth, light brown paste (this is your roux). Do not let it burn.
- Gradually whisk in the beef broth and chicken broth, ensuring no lumps form. Continue whisking until the liquid is smooth.
- Bring the mixture to a simmer, stirring occasionally. The gravy will begin to thicken as it heats.
- Once simmering, reduce the heat to low. Stir in the onion powder, garlic powder, dried thyme, salt, pepper, and Worcestershire sauce, if using.
- Allow the gravy to simmer gently for 5 to 10 minutes, stirring occasionally, until it reaches your desired thickness. If you need it thicker, simmer for a few more minutes.
- Taste the gravy and adjust salt and pepper as needed before serving hot.
Notes
- For a darker color, cook the roux for an extra minute until it reaches a deep peanut butter color.
- If the gravy becomes too thick upon standing, whisk in a tablespoon of warm broth or water until the consistency is correct.
- To make a savory beef gravy, use only beef broth instead of the blend.
Nutrition
- Serving Size: 1/2 cup
- Calories: 110
- Sugar: 1
- Sodium: 450
- Fat: 8
- Saturated Fat: 5
- Unsaturated Fat: 3
- Trans Fat: 0
- Carbohydrates: 7
- Fiber: 0
- Protein: 3
- Cholesterol: 20