

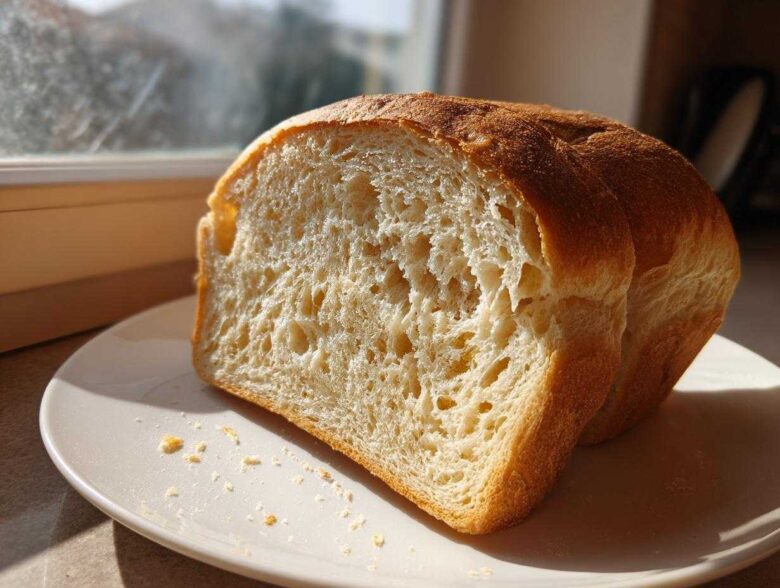
I swear, store-bought bread is just sad these days. It promises that fluffy, wholesome goodness, but you get that weird, squishy texture that falls apart the second you look at it funny. Honestly, after the infamous Lasagna Incident of 2018, Noah, Clara, and I decided we weren’t going to stand for broken culinary promises anymore. That’s why we spent weeks perfecting this Soft Honey Whole Wheat Bread. We took the idea of a healthy, hearty whole wheat bread and completely rebuilt it to ensure it’s tender, naturally sweet from honey, and perfect every single time. Trust me, this is the rescue mission your sandwich routine needed. If you want to see how we fixed the failures others run into, check out our team’s story right here.
Why This Soft Honey Whole Wheat Bread Recipe Works (The Rescue Mission)
When most people try to make soft whole wheat bread, they end up with something dense enough to stop a speeding car. That’s usually because they rely on too much protein from the flour without balancing the moisture or the fat. It’s a classic baking mistake! Our easy whole wheat bread recipe beats that by focusing on enriching the whole grain experience rather than fighting against it.
We use melted butter—not just softened—which coats the starch particles and keeps that hearty whole wheat flour from seizing up during baking. Plus, the honey doesn’t just add sweetness; it’s a liquid sweetener that locks in moisture better than granulated sugar would. It’s these small adjustments, like Noah pointing out the hydration balance we needed, that turns this into a truly successful loaf.
If you’re tired of dense results, this approach guarantees the tender interior you’re looking for. We documented all the science behind keeping the loaf airy and light over here!
Achieving the Perfect Fluffy Crumb in Whole Wheat Bread
The fluffiness comes down to a good knead and letting the dough feel loved. Whole wheat flour has sharper edges on its bran pieces, which can cut the gluten strands if you’re too rough. We knead until it feels smooth, but we don’t overwork it into a rock. This gentle persuasion locks in those air bubbles we created when mixing the honey and butter, resulting in that beautiful, fluffy wheat bread structure!
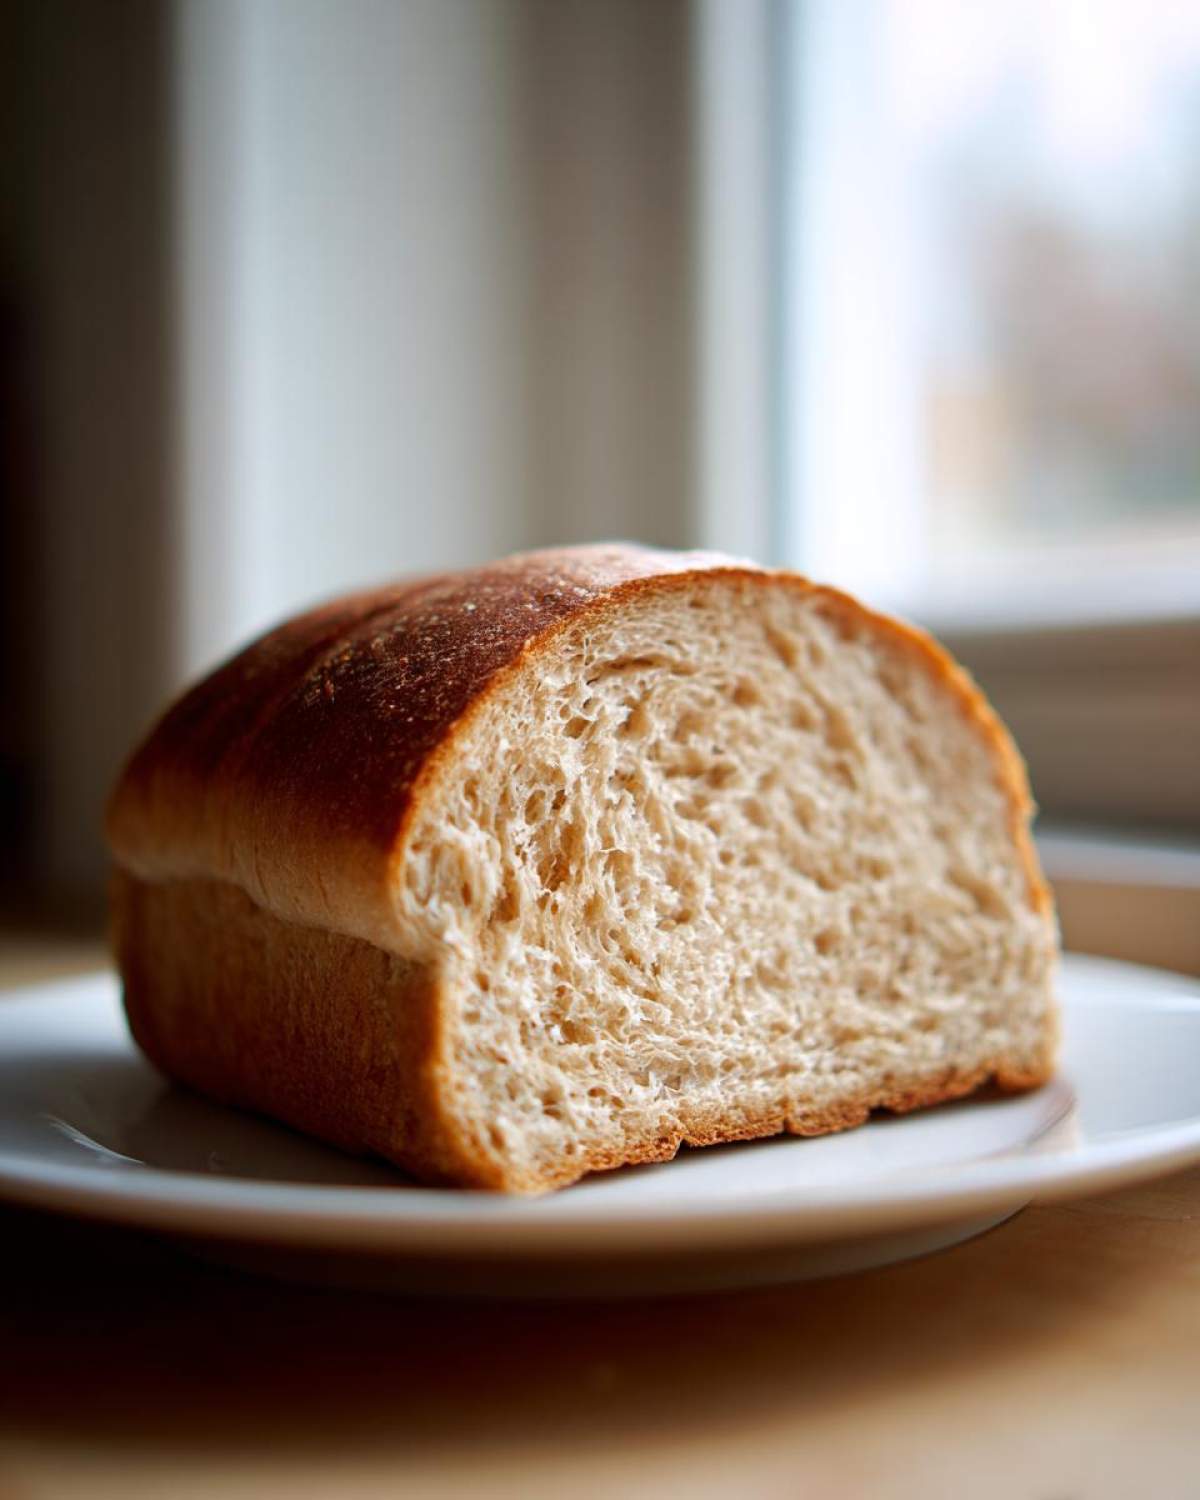
Ingredients for Your Soft Honey Whole Wheat Bread
Okay, now for the good stuff! When gathering supplies for this whole wheat bread, exactness matters—especially with the water temperature for the yeast. You absolutely need the water warm enough to wake up the yeast, hovering between 105°F and 115°F. Don’t forget the honey; that’s what gives us that lovely natural sweetness we’re aiming for. Make sure your butter is melted and ready to mix right in with the yeast bath before we introduce the flour, keeping everything smooth and cooperative.
Ingredient Notes and Substitutions for Whole Grain Loaves
We start with 3 1/2 cups of whole wheat flour, but I want you to treat that like a suggestion until you see how the dough feels. Every bag of flour is different, so always keep an extra spoonful handy just in case your dough is a little too shaggy! If you’re chasing that bakery-style crumb and want to try for truly *100 percent whole wheat bread* while keeping it tender, sometimes you need a little training wheels. That’s why the recipe notes mention swapping out a quarter cup of the whole wheat flour with regular bread flour—it gives the gluten a slight boost without sacrificing that wholesome flavor.
Oh, and that milk? If you’re brushing the top before it goes in the oven, use it! It just adds that beautiful, sun-kissed color to the crust we all love on our whole grain loaves.
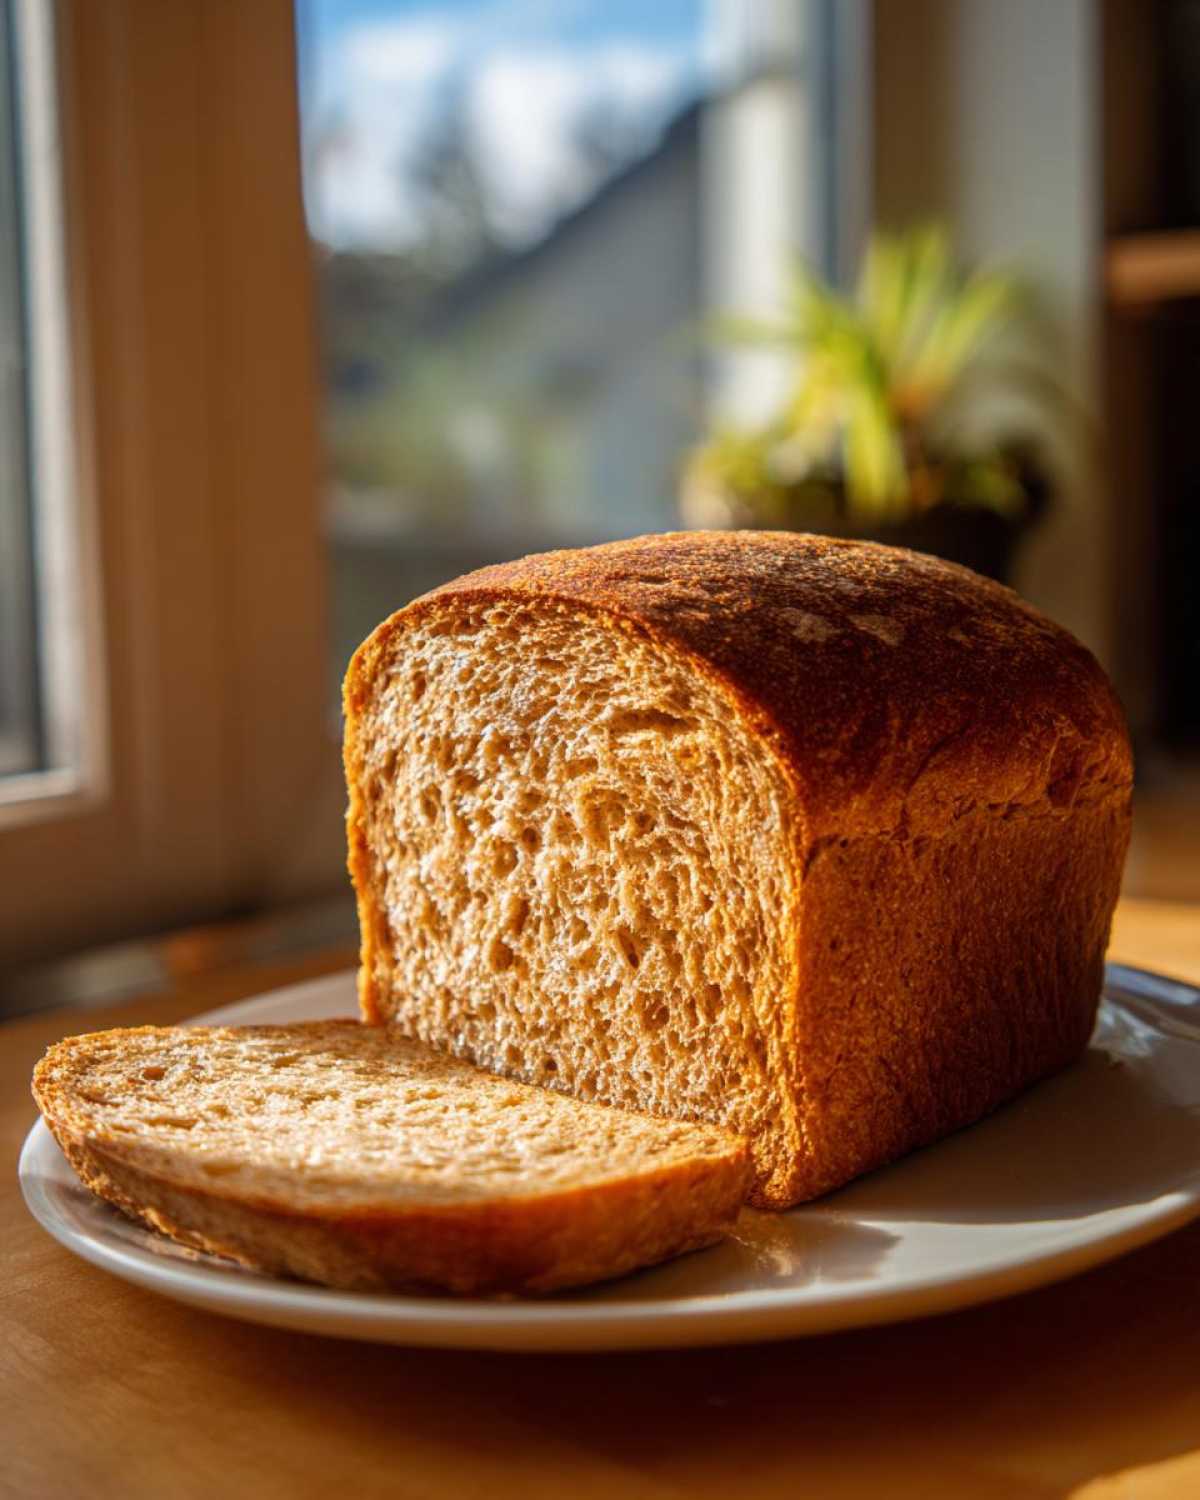
Step-by-Step Instructions for Homemade Whole Wheat Bread
Alright, let’s get baking this stunning whole wheat bread. I know instructions can look intimidating, but we’re going to walk through this so gently. My biggest tip here is patience during the rising stages—that’s where the real magic happens, not under Ben’s frantic mixing eye! Remember, baking from scratch is a process, but every step here builds toward that wonderfully soft slice waiting for you.
We’ve broken down the technique into clear phases so you can focus on one thing at a time. If you’ve ever failed at homemade bread from scratch before, I promise you, this method is the one that sticks. Don’t forget to preheat that oven to 375°F (190°C) before the final proof is even done so you’re ready to roll! Don’t forget to check out our main recipe blog for more tips on fixing broken recipes right here.
Activating Yeast and Mixing the Whole Wheat Dough
First things first, we need happy yeast! Get that water warm—it must be between 105°F and 115°F. If it’s too cold, nothing happens. If it’s too hot? You’ve killed your little yeast buddies instantly. We learned that the hard way. Stir in the honey and let it bubble up happily after about ten minutes. Once you see that foamy layer, stir in your melted butter and salt. Now you’re ready to slowly introduce the flour until a shaggy mass forms. See? That’s the start of genuine homemade bread from scratch!
Kneading and the First Rise for Your Whole Wheat Bread
Time to stretch those arms a bit! Turn that shaggy mass onto a lightly floured counter. Kneading this dough takes a solid six to eight minutes. You’re looking for the dough to transform from something sticky and rough into something that feels smooth, springy, and elastic—like the softest earlobe you’ve ever touched. If it’s clinging to your hands like cheap glue, Ben would probably suggest a demolition overhaul, but I say just add just a tiny bit more flour, one tablespoon at a time. Once it’s smooth, put it in a lightly oiled bowl, cover it up, and let it relax in a warm spot for an hour or maybe a little more, until it’s doubled up. Don’t poke it too much!
Shaping and Final Proofing for the Whole Wheat Sandwich Loaf
Once it’s doubled, you need to gently punch the air out—don’t flatten it completely, just deflate it enough to manage! Shape it tightly into a log. This tight shape is crucial for getting that even rise in the pan. Tuck it snugly into your greased 9×5 inch pan. Now, we wait again! The second rise takes about 45 to 60 minutes. Watch the dough: when it crests neatly about an inch above the rim of the pan, it’s perfectly proofed and ready for the oven. That nice high crown guarantees you get that beautiful whole wheat sandwich loaf shape.
Tips for Baking the Best Whole Wheat Bread
Even when you follow every step perfectly, sometimes whole wheat bread can still throw you a curveball! That’s where Noah’s science and Ben’s willingness to experiment come in handy. The biggest issue people run into with whole grain dough is density. If your loaf didn’t rise enough during that final proof, don’t panic! It usually means the water was slightly too cool when you activated the yeast, or you just need to let it proof a little longer in a warmer spot. It needs time to work its airy magic.
Now, if you’re looking for a great crust instead of those typical soft sandwich sides, we have a fun little modification you can try from our recipe notes.
Troubleshooting Common Whole Wheat Bread Issues
To move away from that soft, uniform crust you get from a metal pan, try making a rustic whole wheat bread variation! If you skip the loaf pan entirely and shape your dough free-form on a preheated baking stone or even a heavy, inverted cast-iron pan, the direct heat transfers immediately. This blast of heat helps set a beautiful, crunchy outer shell while keeping the inside wonderfully tender. It’s a total game-changer if you want that artisan crunch in your homemade loaf.
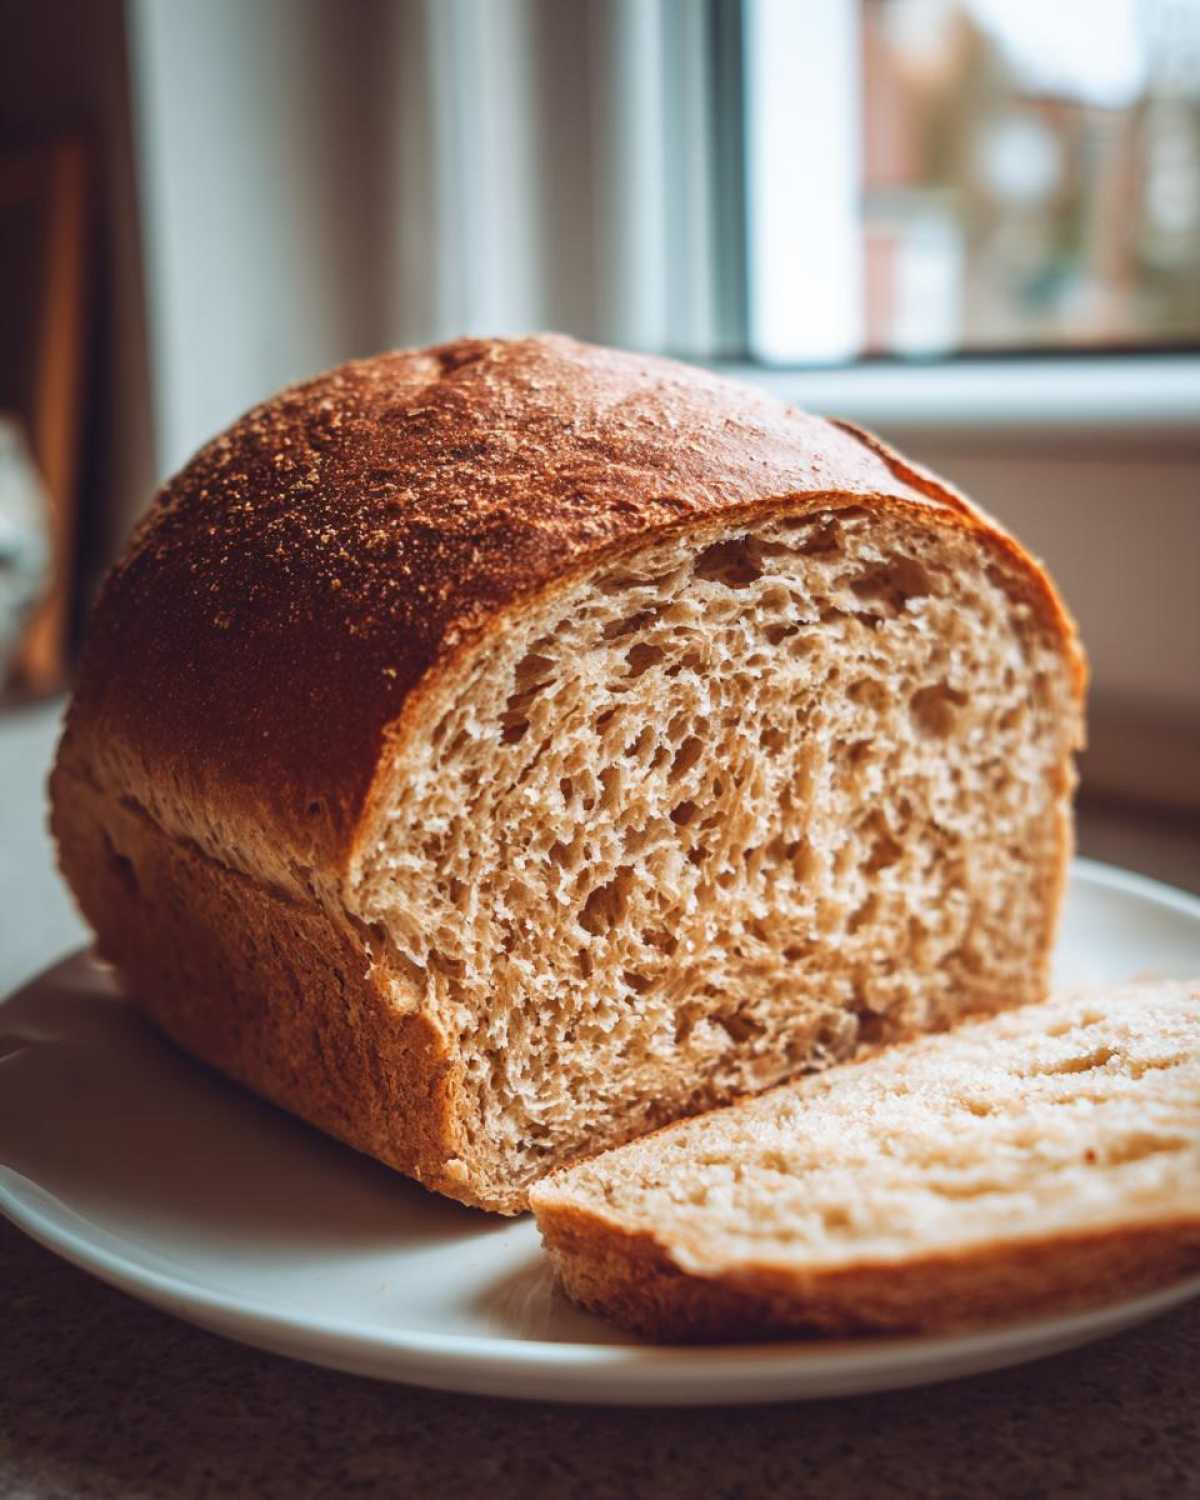
Storage and Keeping Your Whole Wheat Bread Fresh
Baking this amazing whole wheat bread means tackling the storage issue, right? Because it’s so wonderfully moist thanks to that honey, it doesn’t behave like that preservative-laden store stuff. If you plan on eating the whole loaf within two days—which, honestly, is likely given how tasty it is—just keep it tightly wrapped on the counter. A plastic bag or wrapping it loosely in foil works great to stop it from drying out too fast.
But if you made a double batch (smart move!), freezing is your best friend. Wait until the loaf is completely cool—and I mean *completely*, or condensation will make it gummy—then slice it first. Wrapping the slices tightly in plastic wrap and then popping them into a freezer bag means you can pull out exactly what you need for toast!
It thaws lightning fast on the counter or, even better, toss a slice right into the toaster! This keeps that soft texture locked in until you enjoy that next bite.
Serving Suggestions for Honey Whole Wheat Bread
Now that you’ve mastered baking this beautiful loaf, the real question is, how do you eat it first? We developed this to be the perfect whole wheat sandwich loaf replacement, so pile those lunch meats high or go completely vegetarian! The slight sweetness from the honey means it holds up perfectly to salty fillings without tasting like dessert.
But honestly, my favorite way to enjoy this fresh honey whole wheat bread is immediately after it has cooled just enough that it won’t shred when you cut it. I like to grab one end piece—you know, the slightly uneven end bits that nobody else wants—and just smash a thick layer of salted butter on it. The butter melts instantly into those little air pockets Clara always marvels at. It’s heaven with a big cup of coffee.
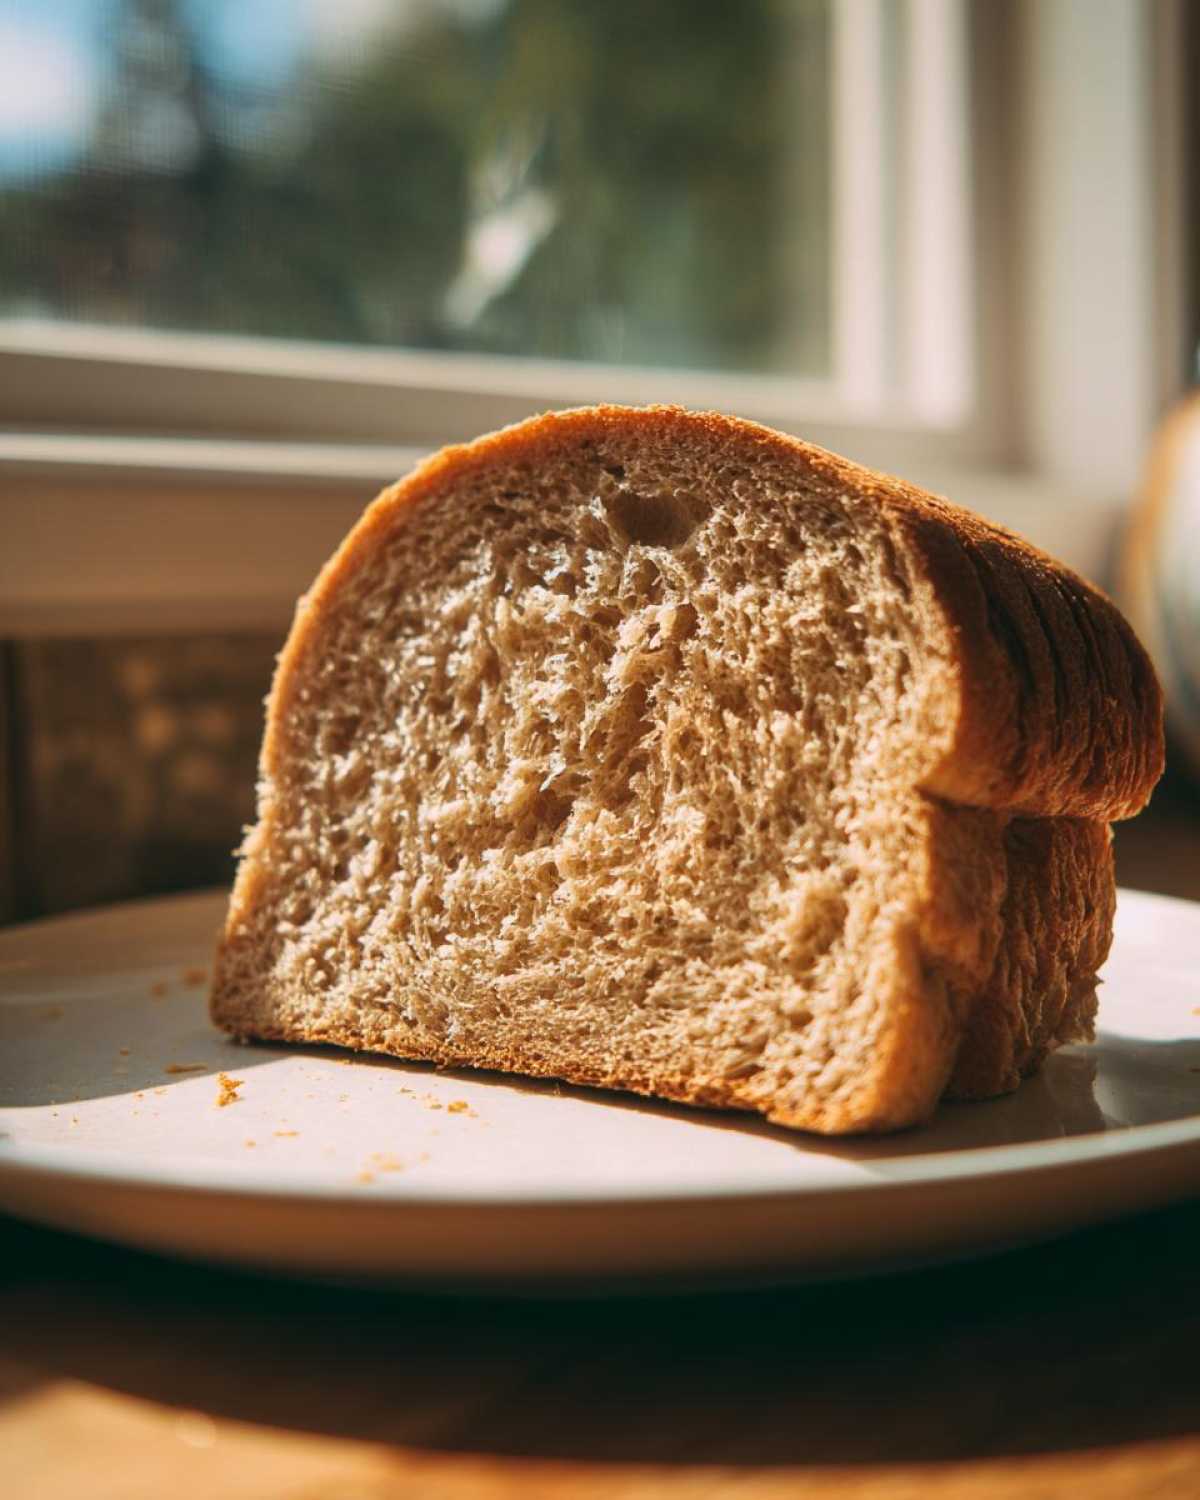
For breakfast, this bread absolutely shines; it’s the best bread for toast. The honey gives it a natural caramelization in the toaster slot that plain bread just can’t match. Or, when we make a big soup, Ben usually ends up tearing off chunks to dip. If you’re looking for other ways to use delicious homemade bread, check out how we use biscuits in our biscuit sandwiches—it gives you sandwich inspiration!
Frequently Asked Questions About Baking Whole Wheat Bread
I know baking bread can feel like chemistry class, so let’s clear up any lingering worries you have about this whole wheat bread recipe! Often, people ask if they can just swap out all their regular flour, or if this whole process is too intense for a weeknight. As Noah always reminds us, the science is simple once you know the flaw we fixed!
For instance, if you’re wondering about that stickiness, remember what I said about kneading—don’t add too much flour all at once! It’s a common pitfall that turns a lovely dough into something heavy. Also, don’t worry if you don’t see huge bubbles right away; baking with whole wheat flour sometimes requires a little extra time for those long rises to develop fully compared to white flour.
Is this an easy whole wheat bread recipe for beginners?
Yes, I absolutely believe this is one of the best recipes out there for beginner bread baking! The only part that takes real effort is the seven minutes of kneading to develop the gluten. If you can handle gentle stretching and folding, you can nail this recipe. It’s straightforward and doesn’t require fancy equipment or confusing temperature gauges!
Another frequent question is about the “no knead whole wheat bread” options out there. While we include kneading here to ensure maximum softness for our healthy homemade bread, the prep work is minimal. If you want a true hands-off approach next time, we can look at a Dutch oven method, but for this particular honey whole wheat bread, a little elbow grease gives you the fluffiest reward!
Nutritional Estimates for This Whole Wheat Bread
Okay, I know we are making this for flavor and that amazing homemade smell, but people always ask about the numbers, so here they are! We calculated these estimates for one slice based on all the butter, the honey, and using the whole-wheat measurements in the recipe.
Just a heads-up, though—this isn’t coming from Noah’s lab equipment, so consider these numbers approximate values that can change depending on your exact brand of flour or how much honey you sneak off the spoon! Baking is an art, after all, and sometimes the art leans a little sweeter or a little richer, you know?
- Serving Size: 1 slice
- Calories: 145
- Sugar: 4g
- Sodium: 250mg
- Fat: 3g
- Protein: 5g
- Fiber: 3g
See? Still wonderfully wholesome, even with the honey and butter working their magic to keep it soft. It’s a great improvement over that packaged stuff we used to buy out of desperation, that’s for sure.
Pin This Soft Honey Whole Wheat Bread Recipe Now
If you’re already picturing that perfect whole wheat bread loaf cooling on your rack, do me a huge favor and save the recipe! We put a lot of work into fixing the common failures in this soft honey whole wheat bread, so let’s make sure you can find it again easily when the craving hits. If you try this out, please drop a rating and tell us in the comments how it came out for you—Ben loves checking those results!
And hey, if you want to check out some other recipes we’ve rescued and perfected, you can see some of my current favorites over at Savory Realm!
PrintSoft Honey Whole Wheat Sandwich Loaf

You can bake a soft, fluffy whole wheat sandwich loaf at home using this simple recipe. This bread uses honey for natural sweetness and results in a tender crumb perfect for daily sandwiches and toast.
- Prep Time: 20 min
- Cook Time: 35 min
- Total Time: 2 hours 55 min
- Yield: 1 loaf
- Category: Baking
- Method: Kneading and Baking
- Cuisine: American
- Diet: Vegetarian
Ingredients
- 1 cup warm water (105°F to 115°F)
- 2 1/4 teaspoons active dry yeast
- 1/4 cup honey
- 1/4 cup unsalted butter, melted
- 1 1/2 teaspoons salt
- 3 1/2 cups whole wheat flour, plus more for dusting
- 2 tablespoons milk (optional, for brushing)
Instructions
- Activate the yeast: In a large bowl, combine the warm water and yeast. Let it stand for 5 to 10 minutes until foamy.
- Mix wet ingredients: Stir the honey, melted butter, and salt into the yeast mixture.
- Combine dry ingredients: Gradually add the whole wheat flour, mixing until a shaggy dough forms.
- Knead the dough: Turn the dough out onto a lightly floured surface. Knead for 6 to 8 minutes until the dough is smooth and elastic. If the dough is too sticky, add flour one tablespoon at a time.
- First rise: Place the dough in a lightly oiled bowl, turning to coat. Cover the bowl with plastic wrap or a clean towel. Let it rise in a warm spot for 1 to 1.5 hours, or until doubled in size.
- Shape the loaf: Gently punch down the risen dough. Shape it into a log and place it into a greased 9×5 inch loaf pan.
- Second rise: Cover the pan loosely and let the dough rise again in a warm place for 45 to 60 minutes, or until it has crested about 1 inch over the rim of the pan.
- Preheat and bake: Preheat your oven to 375°F (190°C). Brush the top of the loaf lightly with milk, if using.
- Bake for 30 to 35 minutes, or until the top is golden brown and the internal temperature reaches 200°F (93°C).
- Cool: Remove the bread from the pan immediately and let it cool completely on a wire rack before slicing for the best texture.
Notes
- For a 100 percent whole wheat bread that is extra soft, you can substitute 1/4 cup of the whole wheat flour with bread flour.
- If you want a rustic whole wheat bread, you can skip the loaf pan and bake it free-form on a baking stone after the second rise.
- This recipe makes a great homemade whole wheat bread for sandwiches.
Nutrition
- Serving Size: 1 slice
- Calories: 145
- Sugar: 4g
- Sodium: 250mg
- Fat: 3g
- Saturated Fat: 1.5g
- Unsaturated Fat: 1.5g
- Trans Fat: 0g
- Carbohydrates: 27g
- Fiber: 3g
- Protein: 5g
- Cholesterol: 5mg