

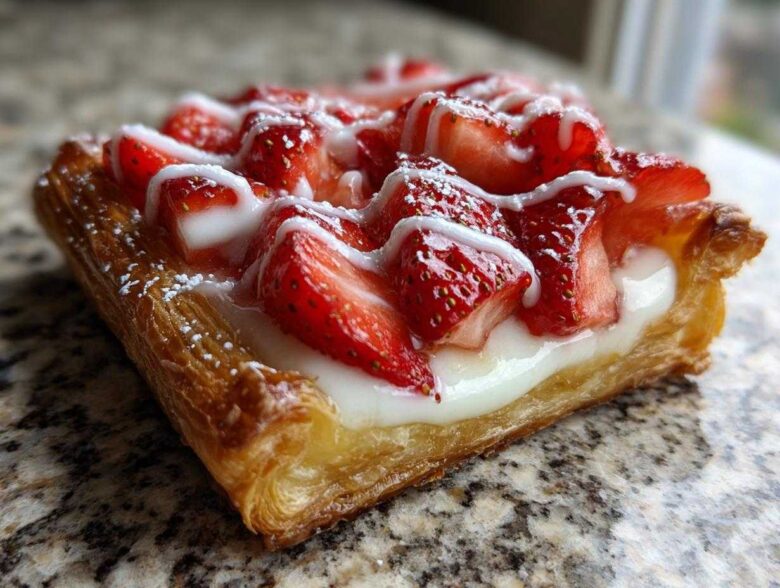
There is just something magical about slowly shuffling into the kitchen on a Saturday morning, knowing you have time to actually *bake* something wonderful. Forget the dry, sad muffins; we’re aiming for something truly special, something that tastes like you spent hours at a fancy patisserie. And honestly? With this recipe, you basically haven’t!
Today we’re making the Strawberry Cream Cheese Danish, and I promise you, this recipe is the key to effortless flakiness. The absolute secret weapon here is using good quality, frozen puff pastry. Trust me on this one—we skip all the fussy folding and chilling required for dough from scratch, and we still get those amazing, towering layers of puff.
I remember the first time I served these to my girlfriends; everyone raved about the light texture. I just winked and didn’t tell them how quickly they came together! They are perfect for a weekend brunch or when you just need a little sweet moment, which is why I keep them saved right here in my breakfast collection.
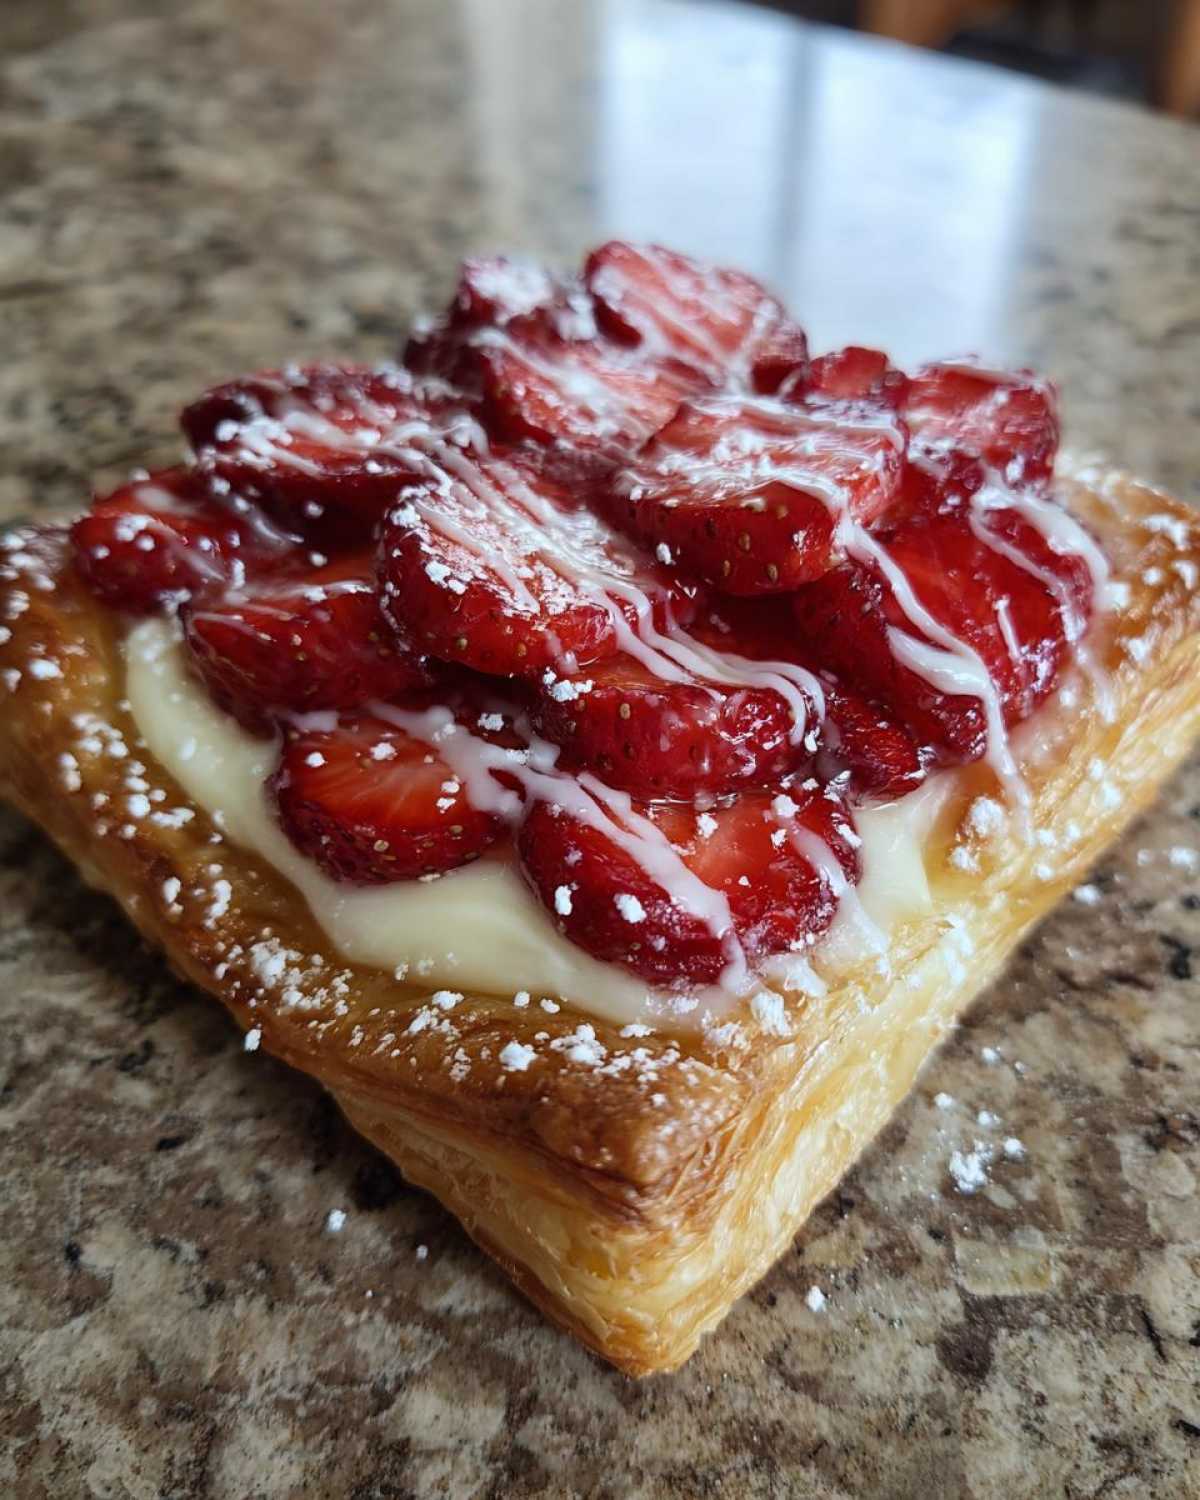
Why This Strawberry Cream Cheese Danish Recipe Works So Well
I know you want that bakery look without all the anxiety. This simple method absolutely delivers, which is why I’m so excited to share it with you! We get incredible results because we aren’t trying to reinvent the wheel on the dough front.
- We get guaranteed lift and shatteringly crisp edges every single time, thanks to the pastry base.
- The filling has just the right amount of tang to cut through the sweetness of the berries and glaze.
- The final look is just gorgeous—perfect for showing off at brunch! It’s truly the best way to make a Flaky Breakfast Pastry at home.
Time-Saving Puff Pastry for Your Strawberry Cream Cheese Danish
Don’t even think about making dough from scratch for these! The frozen puff pastry available in your grocery store freezer aisle is truly amazing these days. It’s already laminated with tons of butter layers, so when it hits the hot oven, those layers steam apart and puff up beautifully. It’s my non-negotiable shortcut.
The Perfect Cream Cheese Filled Pastries Balance
What makes these danishes land so perfectly? It’s that sweet and savory dance happening right in the middle. The filling is rich from the cream cheese and sugar but has that little acidic kick from the yolk and salt. It’s exactly what makes great Sweet Cheese Filling Recipes shine, preventing the whole thing from tasting too flat or too sweet.
Gathering Ingredients for Your Bakery Style Danish
Okay, let’s talk about what you need to grab. Because we’re using puff pastry, the list looks surprisingly short, which is fantastic for a mid-week treat when you probably already have most of this stashed away. Remember, baking success starts with ingredients that are ready to go where they need to be!
For the base, you need that one package of frozen puff pastry. Crucially, make sure it’s actually thawed—not raw, not half-frozen, but soft enough to unfold gently on your counter. I talk more about getting that bread-like perfection in my post about bread that tricks people, and the same principle applies here: good starting material makes homemade look professional.
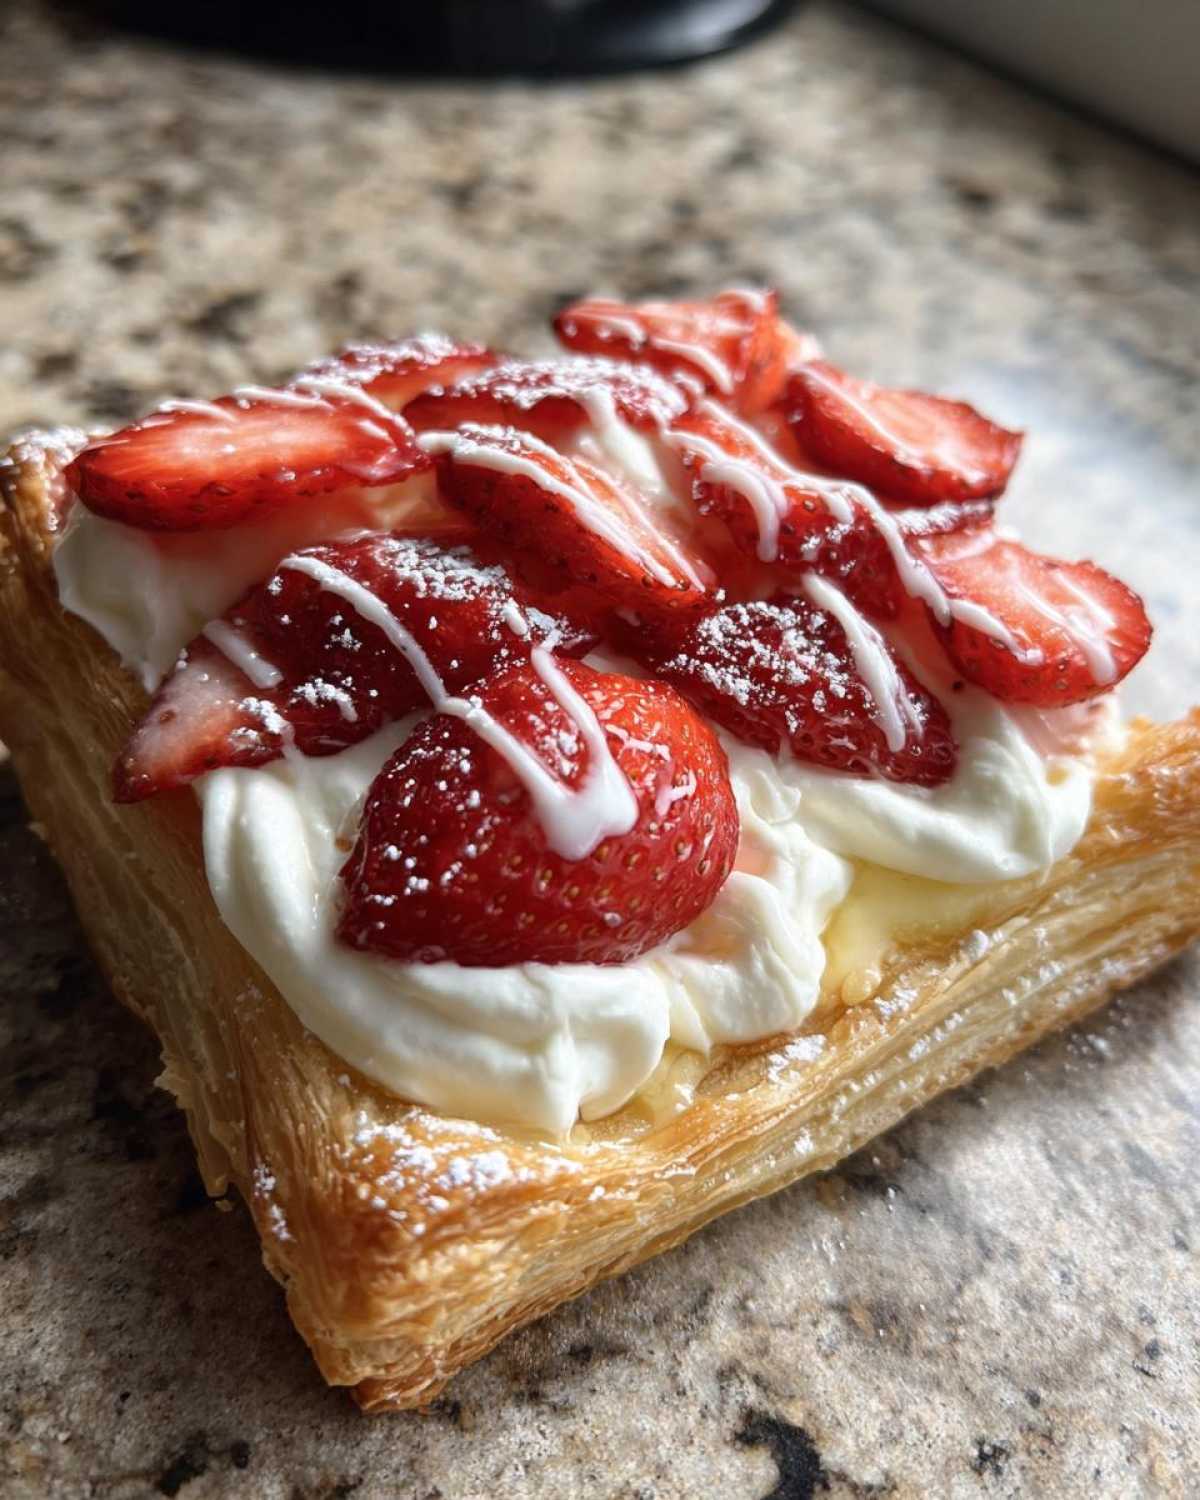
Now, for the luscious filling, the cream cheese absolutely must be softened. If it’s hard, your filling will turn into little cheesy chunks, and we want smooth sailing! You’ll mix that with sugar, one egg yolk for richness, vanilla, and a pinch of salt to balance everything out.
Finally, the berries. We’re using fresh strawberries here because wow, do they look pretty baked, but don’t panic if you only have frozen ones! I’ll explain the trick for using frozen berries in the variations section later on so your pastry doesn’t end up soggy.
- For the Pastry: One 14.1-ounce package of frozen puff pastry, completely thawed.
- For the Filling: 8 ounces of room-temperature cream cheese, granulated sugar, one egg yolk, vanilla, and salt.
- For the Topping: About 1 cup of fresh strawberries, sliced.
- For the Finish: One beaten egg for the wash, and powdered sugar/milk for the drizzle later!
Expert Tips for the Best Strawberry Cream Cheese Danish Assembly
This is where we move from just baking *something* to baking incredible Homemade Strawberry Danishes. The assembly might seem simple, but the little tricks are what keep the cream cheese contained and make the edges puff up exactly right. If done well, these look like they came straight from the display case!
You have your squares cut, and now it’s all about gentle precision. We need to trap that delicious filling so it doesn’t ooze out and burn on the pan, but we also need the edges free to rise into those lovely flaky sails. It’s that delicate dance of pastry management!
Achieving the Perfect Puff Pastry Border
This is perhaps the most important visual step! Take your sharpest, thinnest knife—do not use a dull one, or it will tear the layers—and very gently score a line about half an inch in from the edge of each square. You’re just marking the inside area; you must not pierce all the way through to the bottom layer of dough. Think of it as drawing a soft rectangular picture frame on the pastry. That outer, unscored rim is going to lift tall and golden while the center stays slightly lower to hold our filling.
Assembling Your Strawberry Cream Cheese Pastry
Once you have your borders scored, it’s time to fill them up. Start by spooning the cream cheese mixture right into the center rectangle you just defined. Don’t overfill! We only need about a tablespoon and a half each. Next, gently arrange your sliced strawberries over the top of that filling. Think of it like placing jewelry gently onto a perfect cushion.
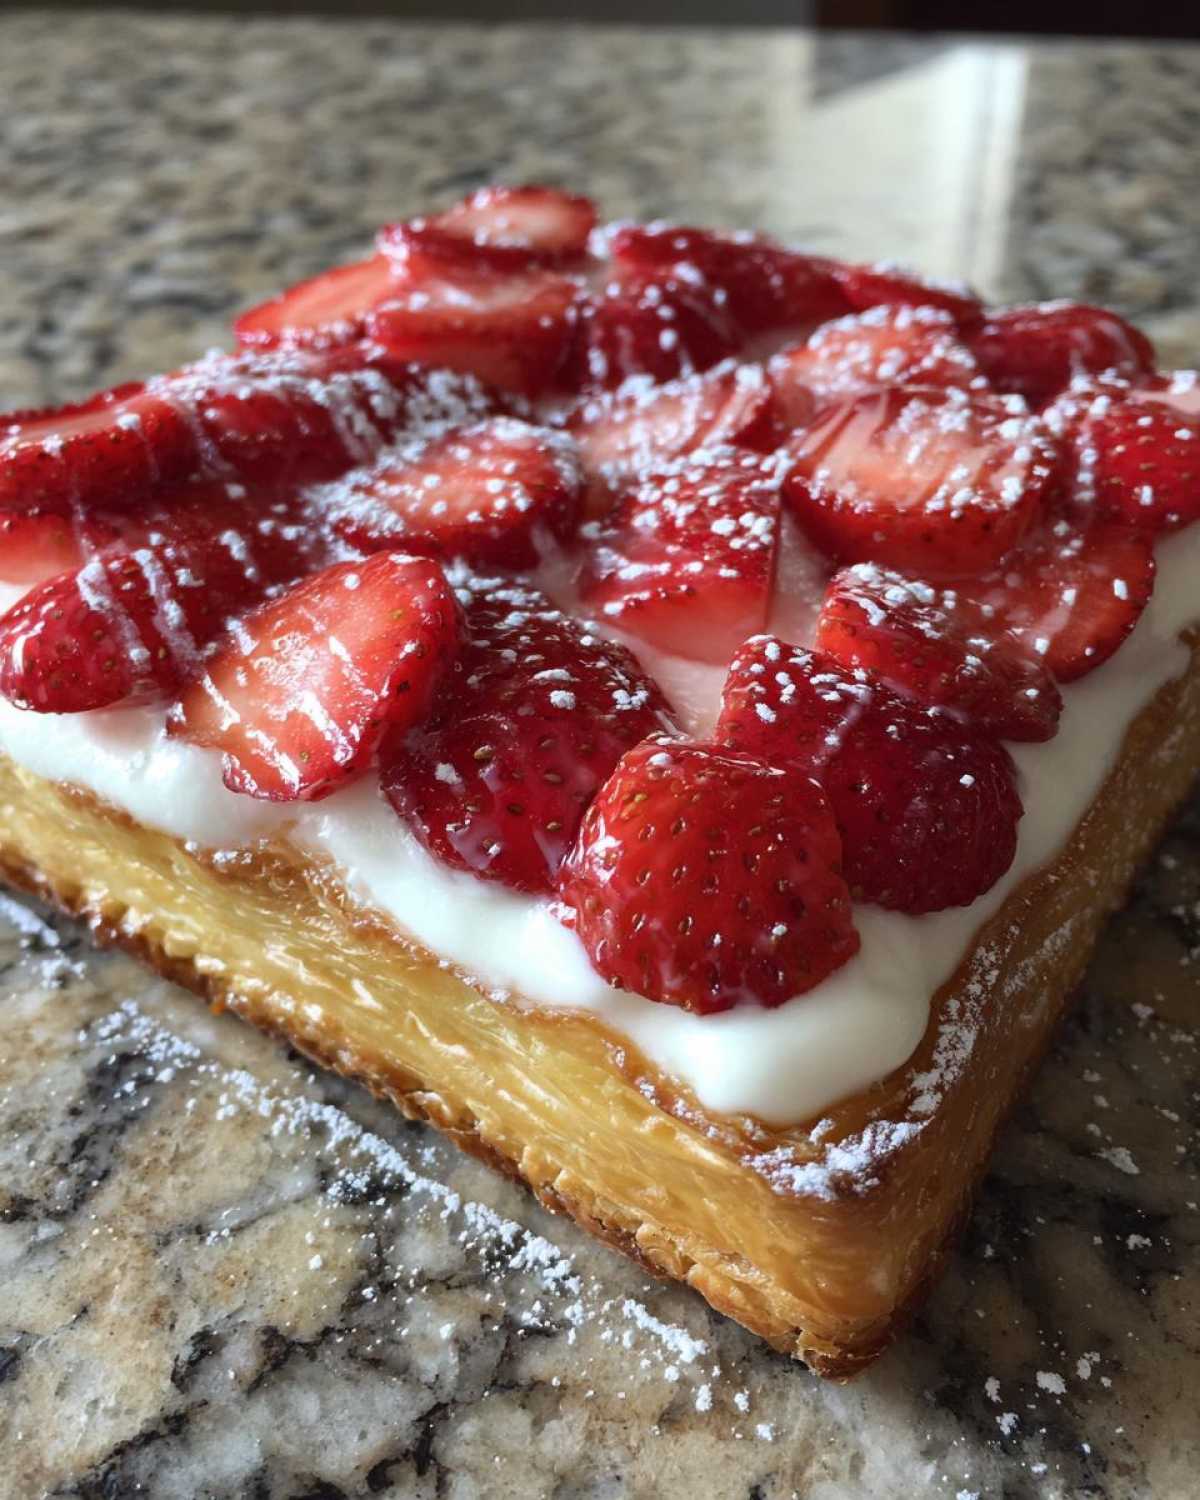
After the fruit is settled, take your beaten egg—what we call the egg wash—and lightly brush *only* those outer, unscored borders. The egg wash acts like glue for the layers and gives you that gorgeous, shiny, deep golden brown color we all love on a beautiful Strawberry Cream Cheese Pastry. Don’t let the wash drip into the middle! If you want more inspiration on making your baked goods look professional, check out my tips for handling buttery roll sides—the care needed is similar!
Baking Instructions for Golden Strawberry Cream Cheese Danish
Now that we’ve built these little beauties, the oven does the hard work! Preheat is a non-negotiable step here, so make sure it’s fully up to temperature before you slide anything in. We want 400 degrees Fahrenheit (that’s 200 Celsius). If your oven runs cool, maybe creep it up a tiny bit, but stay close!
Get your assembled danishes onto parchment-lined baking sheets. Remember that egg wash we brushed on the edges? That comes into play now. It’s what gives us that rich, appetizing shine and helps seal the edges so they puff up instead of flattening out. You want them to look like they’ve been professionally glazed before they even get frosting!
Bake these gems for 15 to 18 minutes. Keep an eye on them, especially if you are baking two trays at once! You’ll know they are done when the pastry looks gloriously golden brown and has puffed up around the sides, creating little nests for the filling. The filling itself might look slightly set, but the pastry edges are your best indicator.
Once they come out, let them cool on the sheets for just a couple of minutes before trying to move them. Over-handling hot pastry is a rookie mistake—I’ve done it! If you need more ideas on how those lovely pockets of air form in rich doughs, check out how I handle the baking process for my monkey bread; the heat science is similar!
Finishing Touches: Glazing Your Strawberry Cream Cheese Danish
We are so close to tasting perfection! You’ve baked them, they smell incredible, and now it’s time for the final flourish—that little drizzle that screams “bakery treat.” You don’t need anything fancy here; just whisk together your powdered sugar with a tiny splash of milk until it’s smooth and just thin enough to drip off your whisk. Don’t rush this part by making it too runny, or it just disappears into the pastry!
Here’s my pro tip for the drizzle: Let the danishes cool down just slightly—warm, not scorching hot. If they are too hot, the glaze melts right away and soaks in, giving you a sweet bite but zero visual appeal. We want that nice, slightly hardened white ribbon on top!
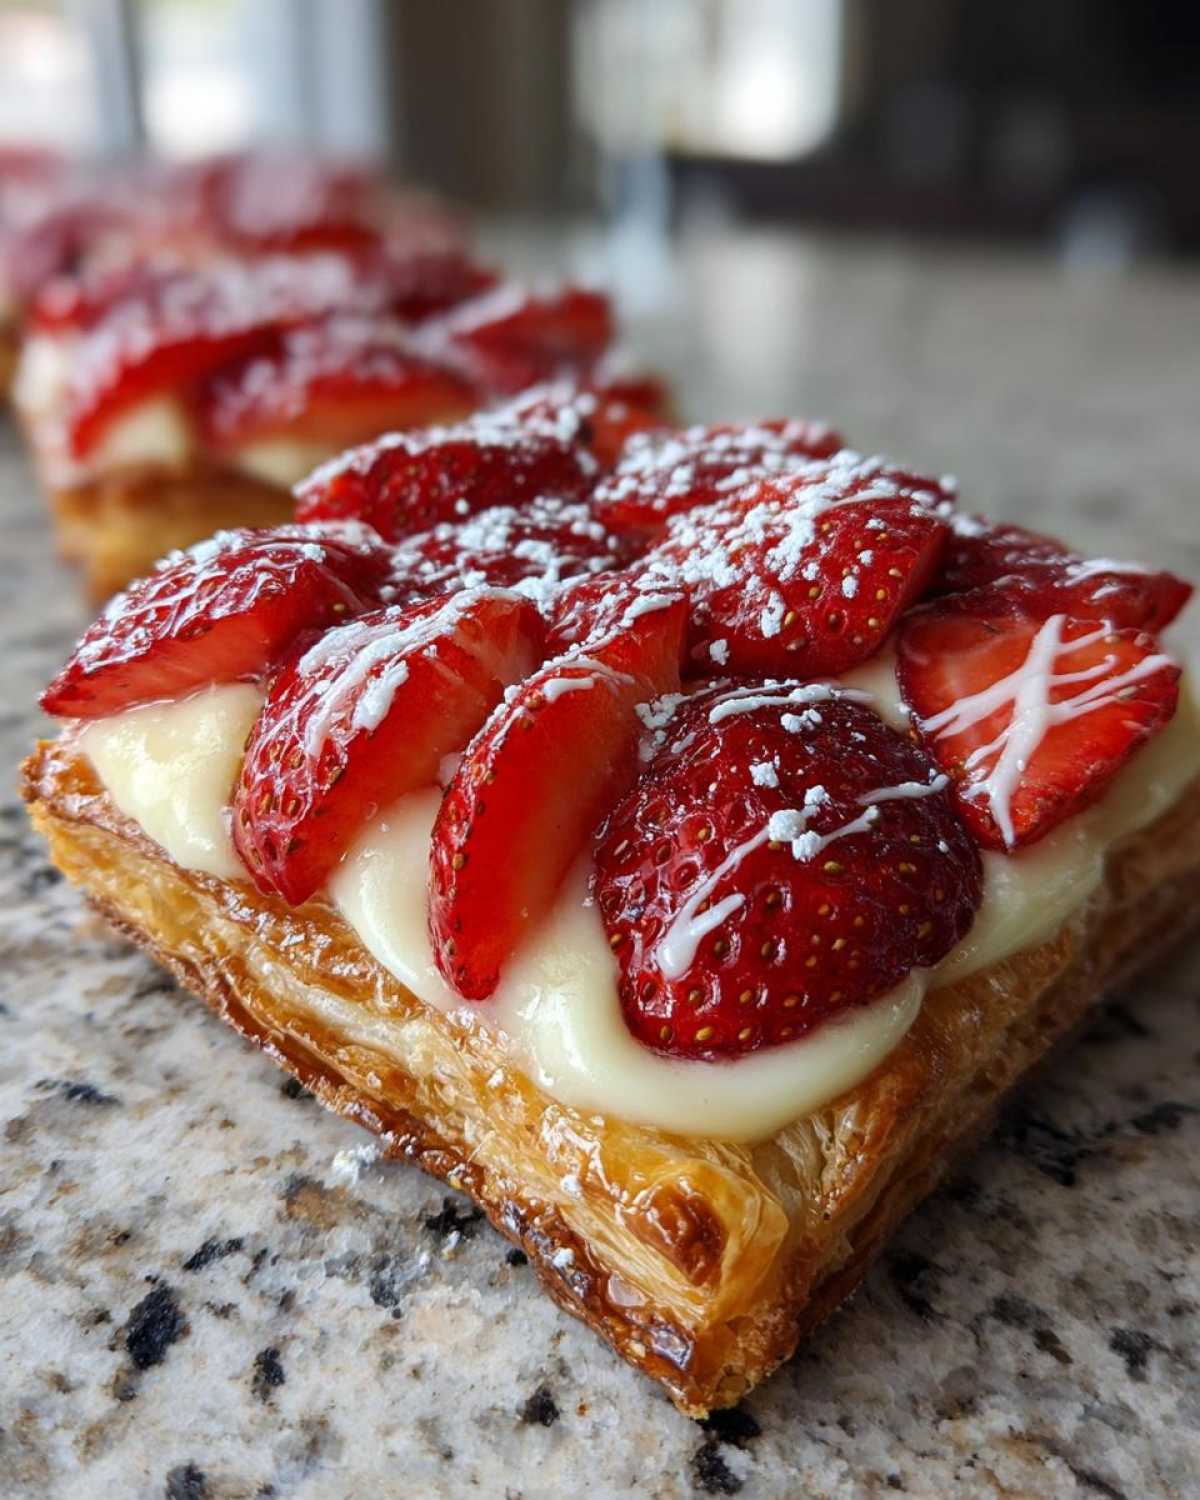
Now, if you want that *super* shiny, professional look, skip the powdered sugar altogether. This is a trick I learned years ago: gently warm up about a quarter-cup of apricot jam until it’s runny, then brush it lightly over the baked strawberry tops. It gives them a beautiful, glossy coat that makes them look like they belong behind glass. Either way, these finishing touches turn a great pastry into an unforgettable one!
Ingredient Notes and Variations for Your Strawberry Cream Cheese Danish
Even though we are keeping this recipe super simple thanks to the pre-made pastry, we still have a few places where a little extra attention makes a huge difference. Let’s talk about those strawberries because that’s usually where folks get tripped up!
If you have to use frozen strawberries—and hey, I totally understand the convenience!—the most important thing you have to do is thaw them completely and then drain, drain, drain. You want those berries dry before they ever touch the cream cheese. If they release juice while baking, that moisture sinks right into the puff pastry layers below, and suddenly your flaky bottom turns into a sad, soggy mess. We can’t have that!
For a fun little twist that really brightens up the whole thing, try adding a teaspoon of fresh lemon zest right into that cream cheese filling when you mix it. It cuts the sweetness beautifully and pairs so well with the berries. If you love that citrus zing, you might also love the flavors in my lemon raspberry loaf. A little zest really wakes up any fruit pastry!
Another variation I sometimes play with is swapping out half the strawberries for raspberries if they are in season. Just make sure whatever fruit you pick is well-drained, just like the strawberries!
Frequently Asked Questions About Making Strawberry Cream Cheese Danish
I always get so many questions when people try this recipe for the first time, and that’s awesome! It means you’re paying attention to the details, which is the difference between a good pastry and a *great* pastry that tastes just like a professional made it. Here are the top things I hear about making these beautiful Strawberry Cream Cheese Danish.
Can I use other berries instead of strawberries?
Absolutely! This recipe is so versatile. Blueberries work wonderfully, though you might want to toss them lightly with a teaspoon of flour just to help them stay put. Raspberries are fantastic, but remember they release a lot of water, so you must blot them dry. Anything you use, just make sure it’s not screaming wet before it goes near that cream cheese filling. If you love other fruit bakes, check out my general baking blog for more ideas!
How do I prevent the cream cheese filling from being lumpy?
This is all temperature, my friend! If you try to mix cold cream cheese, you end up fighting it, and the result is guaranteed to be lumpy, no matter how hard you beat it. The single most important thing you can do for your Cream Cheese Filled Pastries is let that block of cream cheese sit out on the counter for at least 30 minutes until it’s genuinely soft. It should yield easily when you press it with your finger. If it’s still cool in the center when you start mixing, it will never get smooth!
Can I prepare and assemble these danishes ahead of time?
You can assemble them up to a point, but I wouldn’t recommend baking them ahead of time if you can help it. Pastry needs to be eaten fresh to be truly flaky! You can certainly mix up the cream cheese filling and slice your fruit the night before and store both, covered, overnight in the fridge. Then, assemble them first thing in the morning before baking. If you do have leftovers, make sure you check the storage section for how to reheat them to bring that crispness back!
What is the best way to serve these Breakfast Sweet Rolls?
Honestly, these are perfect all by themselves with a strong cup of coffee—that’s how I prefer them! They are rich enough that they don’t really need much accompaniment. If you’re making a larger spread for a Sunday brunch, pair them with something refreshing, like fresh sliced melon or perhaps a nice, light smoothie. Speaking of coffee, if you need a quick breakfast companion, you might like my recipe for a coffee protein shake that gets you energized fast!
Storage and Reheating Your Cream Cheese Filled Pastries
We all hope these delicious danishes disappear immediately, but sometimes life happens, and you have leftovers! That’s totally fine. The best way to keep any leftover Cream Cheese Filled Pastries fresh is to store them in a container that seals tightly—an airtight Tupperware style works great.
Because puff pastry loses its crispness just sitting out, plain storage only gets you so far. When you’re ready to eat the leftovers the next day, resist the temptation to use the microwave! That just makes them chewy. Instead, reheat them briefly—maybe 4 or 5 minutes—in a toaster oven or a regular oven set to about 300 degrees Fahrenheit. This warms them through and brings back some of that lovely, flaky texture. Serve them warm with an extra little dusting of powdered sugar if you have it!
Serving Suggestions for This Delicious Breakfast Sweet Rolls
Honestly, these are perfect all by themselves with a strong cup of coffee—that’s how I prefer them! They are rich enough that they don’t really need much accompaniment. If you’re making a larger spread for a Sunday brunch, pair them with something refreshing, like fresh sliced melon or perhaps a nice, light fruit salad.
If you need something quick to drink alongside your beautiful Breakfast Sweet Rolls, you might like my recipe for a coffee protein shake that gets you energized fast!
PrintStrawberry Cream Cheese Danish

A recipe for making flaky, bakery-style danishes filled with sweet cream cheese and topped with fresh strawberries.
- Prep Time: 20 min
- Cook Time: 18 min
- Total Time: 38 min
- Yield: 12 danishes
- Category: Breakfast
- Method: Baking
- Cuisine: American
- Diet: Vegetarian
Ingredients
- 1 package (14.1 ounces) frozen puff pastry, thawed
- 8 ounces cream cheese, softened
- 1/2 cup granulated sugar
- 1 large egg yolk
- 1 teaspoon vanilla extract
- 1/4 teaspoon salt
- 1 cup fresh strawberries, sliced
- 1 large egg, beaten (for egg wash)
- 1/4 cup powdered sugar
- 1 tablespoon milk
Instructions
- Preheat your oven to 400 degrees Fahrenheit (200 degrees Celsius). Line two baking sheets with parchment paper.
- Unfold the thawed puff pastry sheets onto a lightly floured surface. Cut each sheet into 6 equal squares, resulting in 12 squares total.
- In a medium bowl, beat the softened cream cheese, granulated sugar, egg yolk, vanilla extract, and salt until the mixture is smooth.
- Place one square of pastry on the prepared baking sheet. Score a border about 1/2 inch from the edge using a sharp knife, being careful not to cut all the way through the pastry.
- Spread about 1 1/2 tablespoons of the cream cheese mixture inside the scored border of each pastry square.
- Arrange a few slices of fresh strawberries over the cream cheese filling on each pastry.
- Brush the edges (the border) of each pastry with the beaten egg wash.
- Bake for 15 to 18 minutes, or until the pastry is golden brown and puffed.
- While the danishes cool slightly, whisk together the powdered sugar and milk in a small bowl to create a simple glaze.
- Drizzle the glaze over the warm danishes before serving.
Notes
- If you use frozen strawberries, thaw them completely and drain off any excess liquid before placing them on the filling to prevent soggy pastry.
- For a shinier finish, you can brush the baked danishes with a thin layer of warmed apricot jam instead of the powdered sugar glaze.
- If your cream cheese is not fully softened, the filling will be lumpy. Let it sit at room temperature for at least 30 minutes before mixing.
Nutrition
- Serving Size: 1 danish
- Calories: 280
- Sugar: 18
- Sodium: 190
- Fat: 18
- Saturated Fat: 10
- Unsaturated Fat: 8
- Trans Fat: 0
- Carbohydrates: 26
- Fiber: 1
- Protein: 4
- Cholesterol: 55