

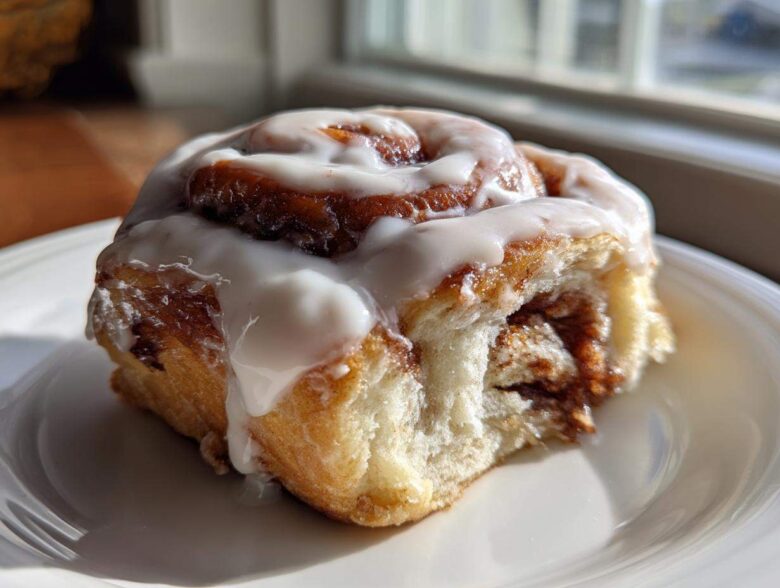
Oh my gosh, stop what you’re doing right now, because if you’ve spent your entire life chasing that elusive, melt-in-your-mouth, bakery-perfect experience, congratulations—your search is finally over! I’ve been testing doughs and tweaking frostings for years, and I finally cracked the code. This isn’t just another recipe; this is my absolute blueprint for the Ultimate Cinnamon Rolls with Creamy Glaze. Trust me, once you try this soft sweet dough recipe, you’ll never look back. They are incredibly fluffy, slightly gooey, and topped with the richest, smoothest frosting you can imagine. Forget those dry, sad rolls you get somewhere—we are aiming for pure breakfast decadence here!
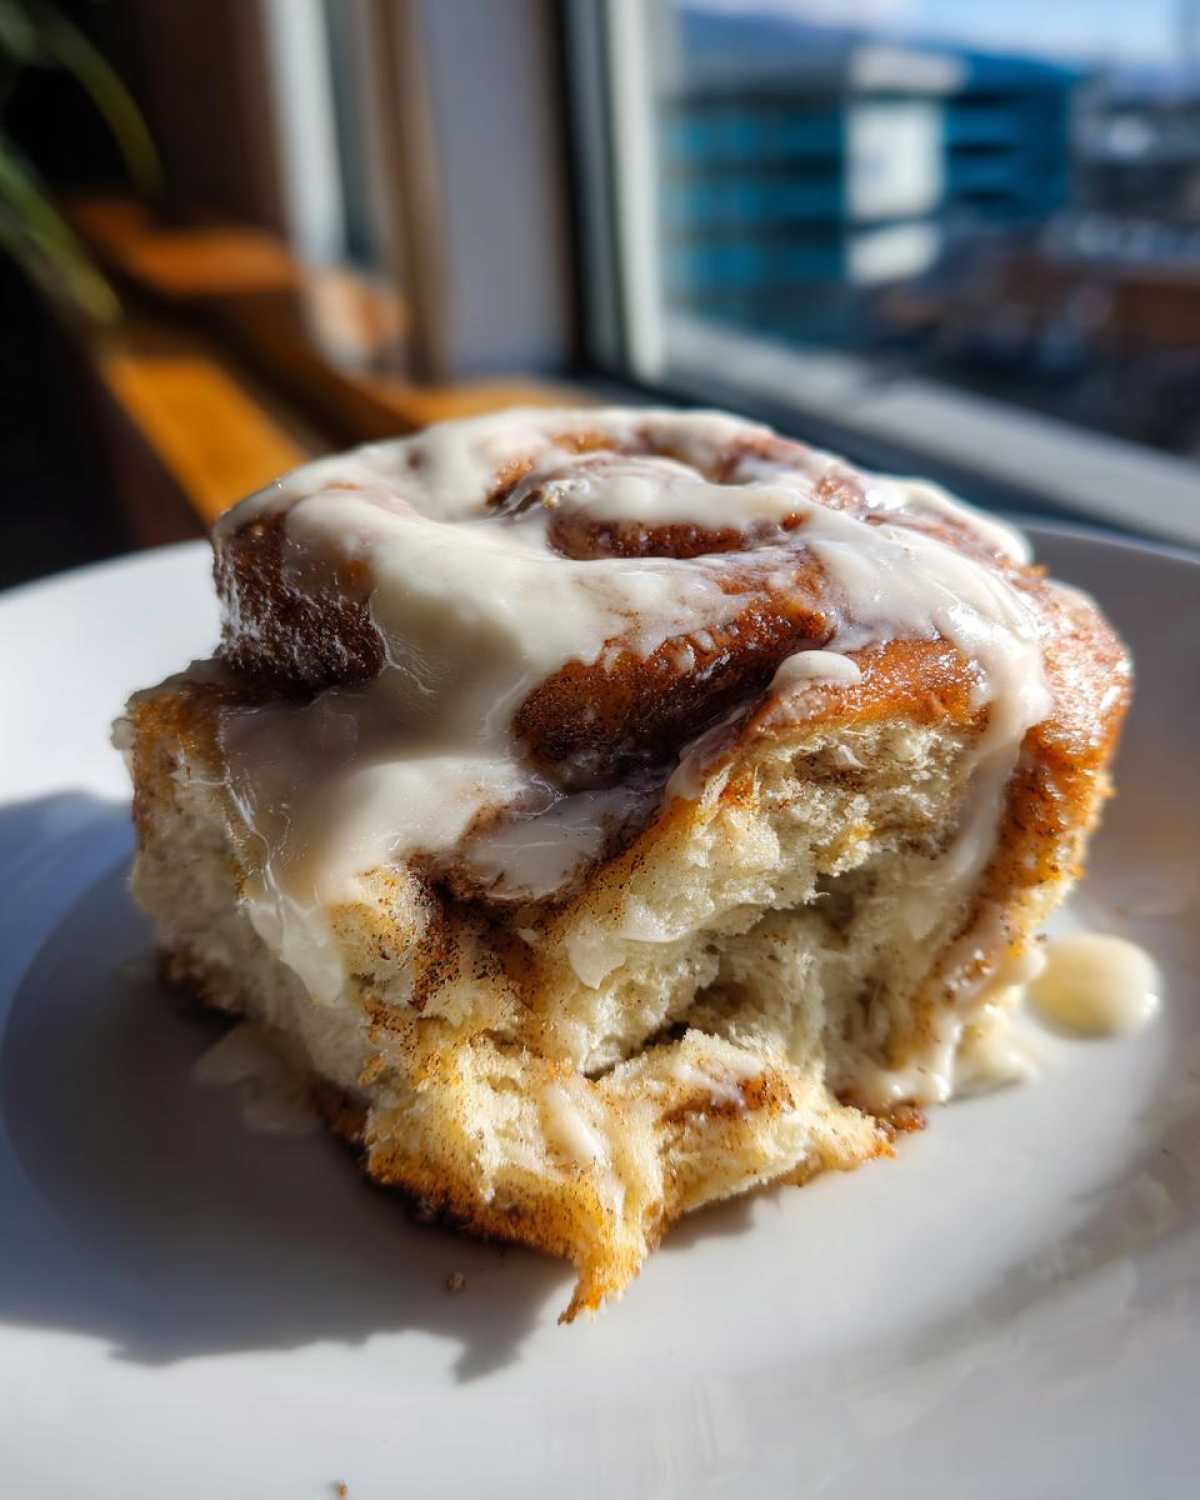
We make sure every single component works together. From activating the yeast just right to making sure that cream cheese frosting is perfectly smooth, I’m walking you through every little secret I learned the hard way so you don’t have to!
If you’re looking for more show-stopping breakfast bakes, you should definitely check out my main Breakfast category for other showstoppers!
Why You Will Make the Ultimate Cinnamon Rolls with Creamy Glaze Repeatedly
It’s not enough for a cinnamon roll to just be okay, right? We want show-stoppers! These rolls earn their ‘ultimate’ title because they check every single box for a truly perfect pastry experience. I keep making them because I can count on them to impress every single time, whether it’s a quiet Sunday morning or the holidays.
- Unbeatable Fluffiness: That enriched dough turns out impossibly soft and fluffy after the second rise. They practically dissolve when you bite into them.
- Gooey Center Guarantee: The filling uses softened butter, meaning the cinnamon and brown sugar melt right into the dough without tearing it, giving you that rich, gooey center we all crave.
- The Perfect Contrast: The rich, deeply spiced filling is perfectly balanced by the cool, tangy, and completely smooth frosting.
- Make-Ahead Magic: You can easily proof these overnight, meaning you wake up to warm cinnamon rolls with minimal morning effort!
Gathering Ingredients for Ultimate Cinnamon Rolls with Creamy Glaze
You know how sometimes a recipe looks great but then you get halfway through and realize you need some weird, single-use ingredient? Not here! This recipe relies on pantry staples and good quality dairy, which is why I love handing this guide out. For these Ultimate Cinnamon Rolls with Creamy Glaze to really shine, you need to pay attention to temperatures, especially for our yeast and our butter. If you mess up the butter temperature, the frosting will be a disaster, trust me! I love a good flaky biscuit, but for these rolls, we need everything soft and cooperative.
We’ve broken everything down so you can organize your mise en place—get your station ready before you start mixing that dough. If you want those perfect, bakery-style results, check out how I handle my biscuit prep for perfectly flaky layers; the same idea applies here: prep is everything! My approach to biscuit prep is a great starting point for organizing your kitchen for this bake.
For the Soft Sweet Dough Recipe
- 1 cup whole milk, warmed to 110°F (This is crucial for waking up the yeast!)
- 2 1/4 teaspoons active dry yeast
- 1/2 cup granulated sugar, divided
- 1/2 cup unsalted butter, softened, plus more for greasing
- 2 large eggs, room temperature (Room temp eggs mix in much smoother!)
- 1 teaspoon salt
- 4 to 4 1/2 cups all-purpose flour
For the Rich Gooey Cinnamon Filling
- 1 cup (2 sticks) unsalted butter, softened (Make sure this is actually soft, not hard butter!)
- 1 cup packed light brown sugar
- 3 tablespoons ground cinnamon
For the Cream Cheese Frosting Recipe that Sets Creamy
- 8 ounces cream cheese, softened
- 1/2 cup unsalted butter, softened
- 3 cups powdered sugar, sifted (Sifting prevents lumps in the glaze!)
- 1 teaspoon vanilla extract
- 2 to 4 tablespoons heavy cream
The Soft Sweet Dough Recipe: Making The Fluffiest Cinnamon Roll Dough
Okay, deep breath! The dough is where we build the foundation for those incredibly fluffy overnight cinnamon rolls people rave about. It’s all about waking up that yeast correctly and then giving our muscles a little workout with the kneading. Don’t rush this part; the texture of your final roll hinges right here. If you skip the kneading, you end up with something heavy, and we are striving for weightlessness!
Yeast Activation and Dough Mixing
First up, we wake the yeast! Grab your milk and make sure it’s warm—I mean pleasantly warm to the touch, not hot. If it burns your finger, it’s too hot and you’ll kill the yeast instantly, and then we’re back to square one! Mix that warm milk with just a tablespoon of the granulated sugar and the yeast. Set it aside for about ten minutes. When it gets foamy and bubbly on top? Success! That’s the sign that your yeast is alive and ready to work its magic.
Next, toss in the rest of your sugar, the softened butter (not melted, just nice and soft), your room-temperature eggs, and the salt. Mix that up gently before you start adding the flour. Once the flour goes in, switch to the dough hook on your mixer or get ready to work those arms! We knead for a good five to seven minutes. The dough should feel soft and slightly tacky, but it absolutely shouldn’t stick all over your hands like glue. If it’s too sticky, introduce flour slowly, a quarter cup at a time. Remember, we want a pillowy-soft dough, not one that’s stiff as a board. Learning to handle dough like this is the first step to becoming the baker everyone asks for recipes from—check out more of my bread secrets here!
First Rise and Proofing Techniques
Once you’ve got that perfectly smooth, soft ball of dough, place it into a bowl you’ve greased with a tiny bit of oil. Turn it around so it gets coated. Cover it tightly with plastic wrap or a clean towel. Now, time for the first nap! Let it chill out in a warm spot for about an hour and a half, or until it has doubled in size.
Now, here’s the game-changer for making fluffy overnight cinnamon rolls: If you want these ready for a leisurely Sunday brunch without starting at 5 AM, put that covered bowl straight into the fridge after the initial rise. The cold slows the yeast way down. It develops flavor overnight, and you just pull them out in the morning when you wake up, let them sit on the counter for an hour to warm slightly, and then proceed with shaping. It’s the best way to get true bakery-style results with less morning stress!
How to Prepare Instructions for Ultimate Cinnamon Rolls with Creamy Glaze
This is where the magic happens, folks! We take that beautiful, airy dough and turn it into the sweet spirals everyone fights over. Get your filling ready *before* you punch down the dough, because once that dough is deflated, you need to move fast to keep all that lovely air trapped inside. We are focused on technique here to ensure every roll bakes up perfectly uniform and gooey.
Preparing the Filling and Shaping the Rolls
First, mix up that filling until it’s a smooth, spreadable paste. When you turn the dough out onto your lightly floured surface, roll it into a neat 12 by 18-inch rectangle. If you’re struggling to get the shape right, I talk a lot about getting pastry perfectly uniform in my guide on rolled pastry techniques—it really helps here!
Spread that glorious cinnamon-butter mixture all over the dough. But listen to me: leave about a half-inch border clear along one of the long edges. That empty strip is your glue! When you start rolling tightly from the opposite edge, that border seals the deal and keeps your log from unraveling in the oven. Roll it up snug, pinch that seam closed like your life depends on it, and then grab a sharp, un-serrated knife or even floss to cut it into 12 equal pieces. You want those slices about an inch and a half thick.
Second Rise and Baking the Rich Gooey Cinnamon Rolls Guide
Grease your 9×13 pan really well; don’t skimp here! Nest the cut rolls into the pan, leaving a tiny bit of space between them because they are going to get snuggly during this second rise. Cover them loosely—you don’t want to smash the tops of your beautiful swirls! Let them sit in a warm spot for 30 to 45 minutes. They shouldn’t double this time, but they should look puffy and touch each other slightly before heading into the oven.
Preheat your oven to 375°F (190°C). Bake these beauties for 20 to 25 minutes. I know you’ll be tempted to peek every two minutes, but you need to watch for that golden-brown color. If you bake them too long, you lose the goo factor! We’re aiming for the rich gooey cinnamon rolls guide standard, remember?
Crafting the Creamy Glaze for Ultimate Cinnamon Rolls with Creamy Glaze
The final, glorious step—the topping! I call this the Cream cheese frosting recipe that sets creamy because, honestly, many cream cheese frostings crumble or get too stiff when they sit. Not this one! This is the perfect contrast to the warm, spiced roll underneath.
First and most important rule: Everything must be softened! We’re talking room temperature cream cheese and room temperature butter. If one of those is slightly cold, you’re going to end up with little white lumps of despair in your mixture, and that defeats the entire purpose of an ‘ultimate’ glaze. Beat the cream cheese and butter together first until they look pale and truly smooth. I spend a good minute just making sure there are no lumps hiding in the bowl.
Next, bring in the powdered sugar. I insist you sift it *before* you add it to the mixer, or you’ll be wearing it! Add the sugar slowly, alternating with the vanilla extract. Once it’s combined, we slowly introduce the heavy cream, one tablespoon at a time. This is how you get control over the thickness. If you dump all the cream in at once, you’ll end up with what tastes like cinnamon-flavored milk!
Keep adding the cream until you get that perfect consistency—thick enough that it doesn’t just immediately run off the sides of the roll, but smooth enough that it spreads beautifully with a knife. You want it to gently coat everything and then set up nice and creamy, not rock hard. You glaze them while the rolls are still warm, but not piping hot. That slight heat helps the glaze melt just a hair, settling it into every tiny crevice. Perfection!
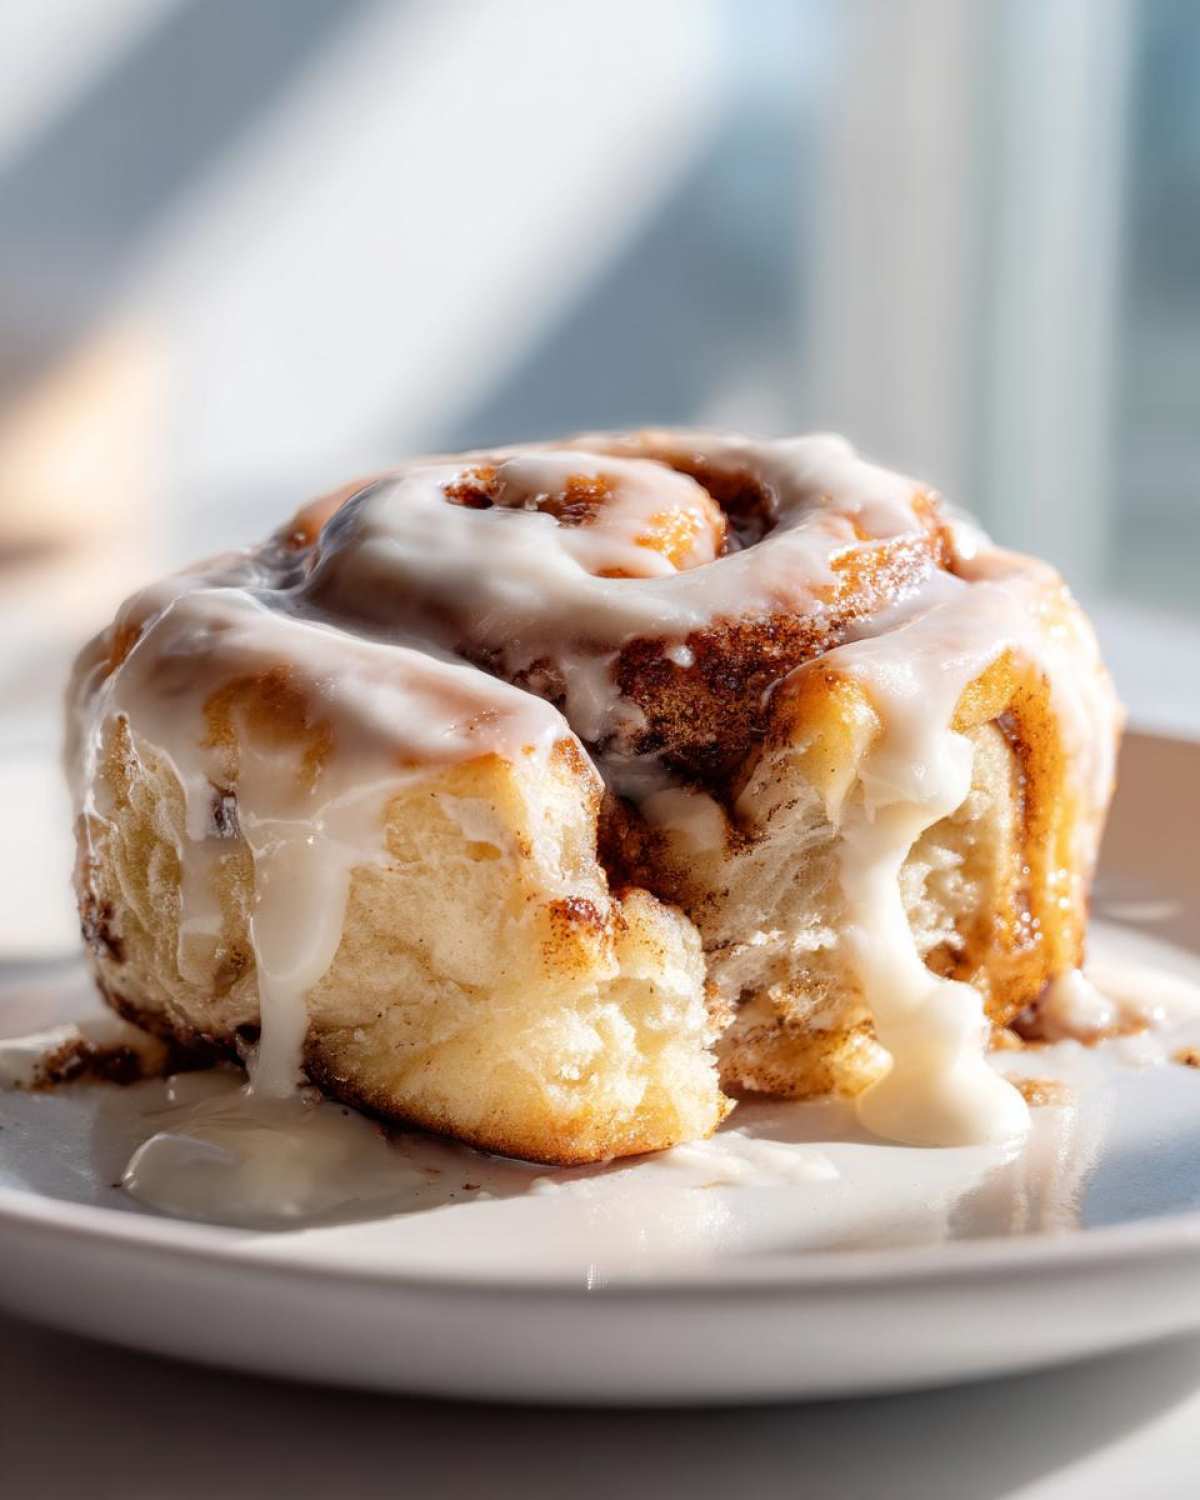
Tips for Success with Your From Scratch Cinnamon Buns
Even with the best recipe in hand, baking can sometimes throw you a curveball! I’ve learned that the difference between a great batch and a truly *ultimate* batch often comes down to those tiny expert tweaks you make at the end. Don’t panic if your dough feels a little off or if your glaze seems too thick; we can fix anything here. These tips are what take us from good home baking to true bakery style cinnamon rolls at home.
Achieving Bakery Style Cinnamon Rolls at Home Texture
If you want that famous, pillowy interior that makes people sigh when they bite into it, I have two big secrets. One: don’t be afraid of dough conditioner, or better yet, swap out some of your AP flour for bread flour! Bread flour has higher protein, which creates stronger gluten structures that trap more gas, meaning a fluffier rise when you chill them overnight. That’s why my notes mention this substitution for that extra pillow effect.
Two: Pull them out just a minute or two early! If you wait until the toothpick comes out perfectly clean, you’ve baked too long for cinnamon rolls. You want moist crumbs clinging to that toothpick. It ensures they finish baking perfectly as they sit under that warm glaze. When I want that super gooey center, I pull them when the internal temperature is just shy of done. It’s risky, but wow, is it delicious!
Adjusting Warm Cinnamon Rolls with Vanilla Glaze Details
So, you’ve made your amazing glaze, but maybe you got a little excited with the cream, or maybe your butter was just a touch too soft? Don’t stress about warm cinnamon rolls with vanilla glaze details; we can adjust! If your glaze looks too runny and watery, just sift in one more half-cup of powdered sugar. Mix it gently; don’t whip it, or you’ll incorporate too much air, which can make it lose that smooth finish.
On the flip side, if you’ve accidentally made cement instead of frosting (it happens to the best of us!), don’t add more sugar to balance the flavor, add cream! Take about two tablespoons of heavy cream, warm it slightly in the microwave—just a quick 5 seconds—and slowly beat it into the glaze until it loosens up to that perfect, slather-able texture. You can find more general baking advice on my main blog page if you ever run into trouble!
Storage and Reheating Instructions for Ultimate Cinnamon Rolls with Creamy Glaze
We all know these rarely last past breakfast, but if you manage to have leftovers, you need to treat them right! Store any unglazed or fully glazed rolls in an airtight container. They are fine on the counter for about two days if you’re planning to eat them quickly. If they’re staying longer, pop them in the fridge. The best way to bring them back to life, though, is the reheat. Pop a roll on a microwave-safe plate for about 15 seconds—it melts the glaze slightly and brings that amazing softness right back. If you’re doing a whole batch, wrap them in foil and warm them in a low oven. If you want to practice more of these make-ahead techniques, check out my tips on make ahead baking strategies!
Frequently Asked Questions About These Decadent Breakfast Dessert Ideas
I know you might have a few lingering questions before you dive in. Baking can feel intimidating, but these are such decadent breakfast dessert ideas that they are worth getting right! Here are the things I get asked most often about turning out the absolute best homemade cinnamon rolls recipe.
Can I substitute instant yeast for active dry yeast?
Yes, you certainly can! If you are using instant yeast, you don’t need to proof it separately in the warm milk first. That foamy step is just to prove the active dry yeast is alive. Just mix the instant yeast directly in with your dry ingredients (flour, sugar, salt) and proceed with the mixing steps. It’s an easy swap, and it’s great if you’re in a hurry for your from scratch cinnamon buns!
What happens if I skip the second rise?
Oh, please don’t skip it! The first rise develops the flavor, but the second rise is what gives you that beautiful volume and that light, airy structure so you get the fluffiest results. If you skip it, your rolls will be dense and small, like hockey pucks, not the beautiful, tall rolls you’re aiming for. You can use my overnight chilling method if you’re short on morning time, but don’t skip the second proof entirely!
Can I make the glaze without cream cheese?
I totally get it—sometimes you don’t have cream cheese on hand, or you just prefer a truly classic vanilla experience. If that’s the case, you can absolutely make a fantastic vanilla glaze! Just stick to Step 9 in the instructions, but replace the 8 ounces of cream cheese with an extra 1/2 cup of butter (so 1 cup total butter). You’ll likely need to use slightly less heavy cream, maybe adding it drop by drop until you get your perfect, smooth consistency for your warm cinnamon rolls with vanilla glaze details. It won’t have the slight tang of cream cheese, but it will still be creamy and delicious!
Are these considered ‘make ahead’ friendly?
They are phenomenal for make ahead breakfast baking! As I mentioned in the dough section, after the first rise, cover the dough tightly and place it in the fridge for up to 24 hours. When you are ready to bake, let the dough warm up on the counter for about an hour, then proceed with rolling, filling, and the second rise. It makes waking up to the smell of cinnamon far less of a chore!
For more great baking tips, check out my thoughts on making copycat baked goods!
Share Your Ultimate Breakfast Pastry Tutorial Results
Well, isn’t that just the best smell? You did it! You followed the steps, you kneaded the dough, you whipped up that incredible creamy glaze, and now you are officially the hero of the morning. I really, truly hope you are sitting down right now with a cup of coffee and one of these beauties because you earned it!
I am so proud of you for tackling the Ultimate Cinnamon Rolls with Creamy Glaze recipe. This is my signature bake, and when you tell me that it worked perfectly for you, it just makes my whole week. Seriously, don’t keep this success to yourself!
I absolutely love seeing your creations! If you made these and they turned out perfectly—or even if you just learned something new tackling this ultimate breakfast pastry tutorial—please take a picture and tag me on social media so I can admire your handiwork. And if you have a quick second, sliding over to the comments below to leave a rating and a quick note about what you loved most is the best way to help other bakers find this recipe!
If you ever have questions—or need help troubleshooting your next bake—please don’t hesitate to reach out to me directly through my contact page. Happy rolling!
PrintUltimate Cinnamon Rolls with Creamy Glaze

Follow this detailed guide to make the best homemade cinnamon rolls with a soft, fluffy dough and a rich, creamy glaze.
- Prep Time: 45 min
- Cook Time: 25 min
- Total Time: 2 hours 55 min
- Yield: 12 servings
- Category: Breakfast
- Method: Baking
- Cuisine: American
- Diet: Vegetarian
Ingredients
- 1 cup whole milk, warmed to 110°F
- 2 1/4 teaspoons active dry yeast
- 1/2 cup granulated sugar, divided
- 1/2 cup unsalted butter, softened, plus more for greasing
- 2 large eggs, room temperature
- 1 teaspoon salt
- 4 to 4 1/2 cups all-purpose flour
- For the Filling: 1 cup (2 sticks) unsalted butter, softened
- 1 cup packed light brown sugar
- 3 tablespoons ground cinnamon
- For the Creamy Glaze: 8 ounces cream cheese, softened
- 1/2 cup unsalted butter, softened
- 3 cups powdered sugar, sifted
- 1 teaspoon vanilla extract
- 2 to 4 tablespoons heavy cream
Instructions
- Activate the yeast: In a large bowl, combine the warm milk, yeast, and 1 tablespoon of the granulated sugar. Let stand for 5 to 10 minutes until foamy.
- Make the dough: Add the remaining granulated sugar, softened butter, eggs, and salt to the yeast mixture. Mix well. Gradually add the flour, 1 cup at a time, mixing until a soft dough forms. Knead by hand or with a dough hook for 5 to 7 minutes until smooth.
- First rise: Place the dough in a lightly greased bowl, turning to coat. Cover and let rise in a warm place for 1 to 1.5 hours, or until doubled in size. (For overnight rolls, refrigerate after the first rise.)
- Prepare the filling: While the dough rises, beat together the softened butter, brown sugar, and cinnamon until smooth and spreadable.
- Shape the rolls: Punch down the risen dough. On a lightly floured surface, roll the dough into a large rectangle, about 12 by 18 inches. Spread the filling evenly over the dough, leaving a small border on one long edge.
- Roll and cut: Starting from the long edge opposite the border, tightly roll the dough into a log. Pinch the seam closed. Cut the log into 12 equal pieces, about 1.5 inches thick.
- Second rise: Arrange the rolls cut-side up in a greased 9×13 inch baking pan. Cover loosely and let rise again for 30 to 45 minutes until puffy.
- Bake: Preheat your oven to 375°F (190°C). Bake for 20 to 25 minutes, or until golden brown. Do not overbake.
- Make the glaze: While the rolls cool slightly, beat the softened cream cheese and butter until smooth. Gradually add the powdered sugar and vanilla. Beat until combined, then add heavy cream one tablespoon at a time until you reach a thick, creamy consistency.
- Glaze and serve: Spread the warm glaze generously over the warm rolls. Serve immediately.
Notes
- For extra soft dough, use bread flour instead of all-purpose flour.
- To achieve bakery-style gooey centers, slightly underbake the rolls by 2 minutes and let them finish baking under the glaze.
- If you prefer a thinner glaze, add more heavy cream, one teaspoon at a time.
Nutrition
- Serving Size: 1 roll
- Calories: 550
- Sugar: 55
- Sodium: 350
- Fat: 32
- Saturated Fat: 19
- Unsaturated Fat: 13
- Trans Fat: 0.5
- Carbohydrates: 62
- Fiber: 2
- Protein: 7
- Cholesterol: 110