

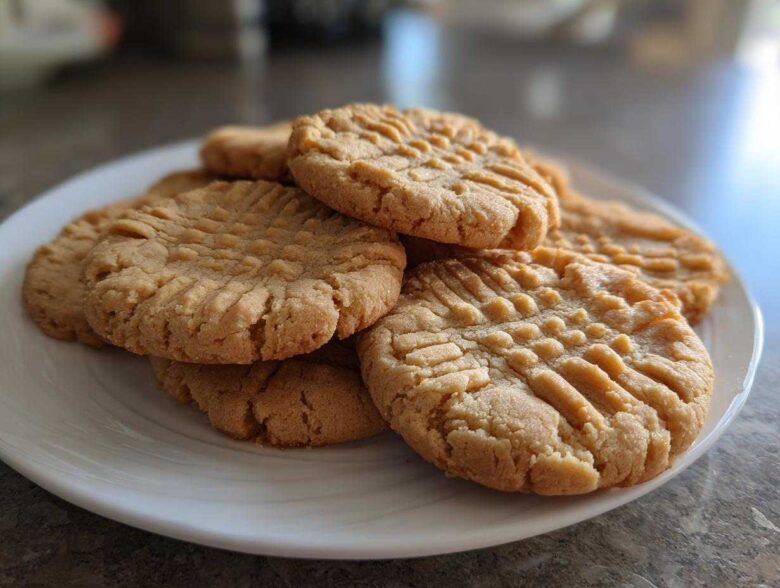
Let’s be real: everyone has tried making perfect peanut butter cookies only to end up with a crumbly mess or a flat, dry disc. That quest for the ideal treat—crispy edges that snap, giving way to a wonderfully tender, salty-sweet center—that’s what kept me, Noah, up at night for weeks behind the scenes here at Savor And Pin.
You know Clara and Ben; they brought the chaotic energy, but I’m the one who analyzes the science when a recipe fails. We started this whole operation because we hate broken promises in the baking world, especially when it comes to classic cookie recipes. This recipe isn’t just good; it’s foolproof. I mapped out the exact ratios of fat and sugar needed to stabilize that dough, ensuring you get those beautiful, tall cookies with the perfect crosshatch every single time.
Why This Recipe for peanut butter cookies is Worth Saving
We’ve put this recipe through the fire so you don’t ever have to worry about a disappointing batch again. When you save this one, you’re banking on reliability. These aren’t those fussy cookies that only work if the moon is in the right phase. These are your go-to, traditional cookies for any craving.
- They deliver that coveted balance: distinctly crisp edges that give way to a satisfyingly soft center.
- It’s the ultimate homemade peanut butter cookies experience, guaranteed to become a staple.
- Follow the measurements exactly, and you get that iconic, photogenic look every single time.
Achieving the Perfect Crispy Tender Cookies Texture
The crisp edges come from the specific ratio of granulated sugar we use, while the tender heart is all thanks to that packed light brown sugar combined with the right amount of fat. Noah insists these proportions halt over-spreading so the center bakes up dense and chewy instead of thin and crunchy all the way through. You want texture? This is it.
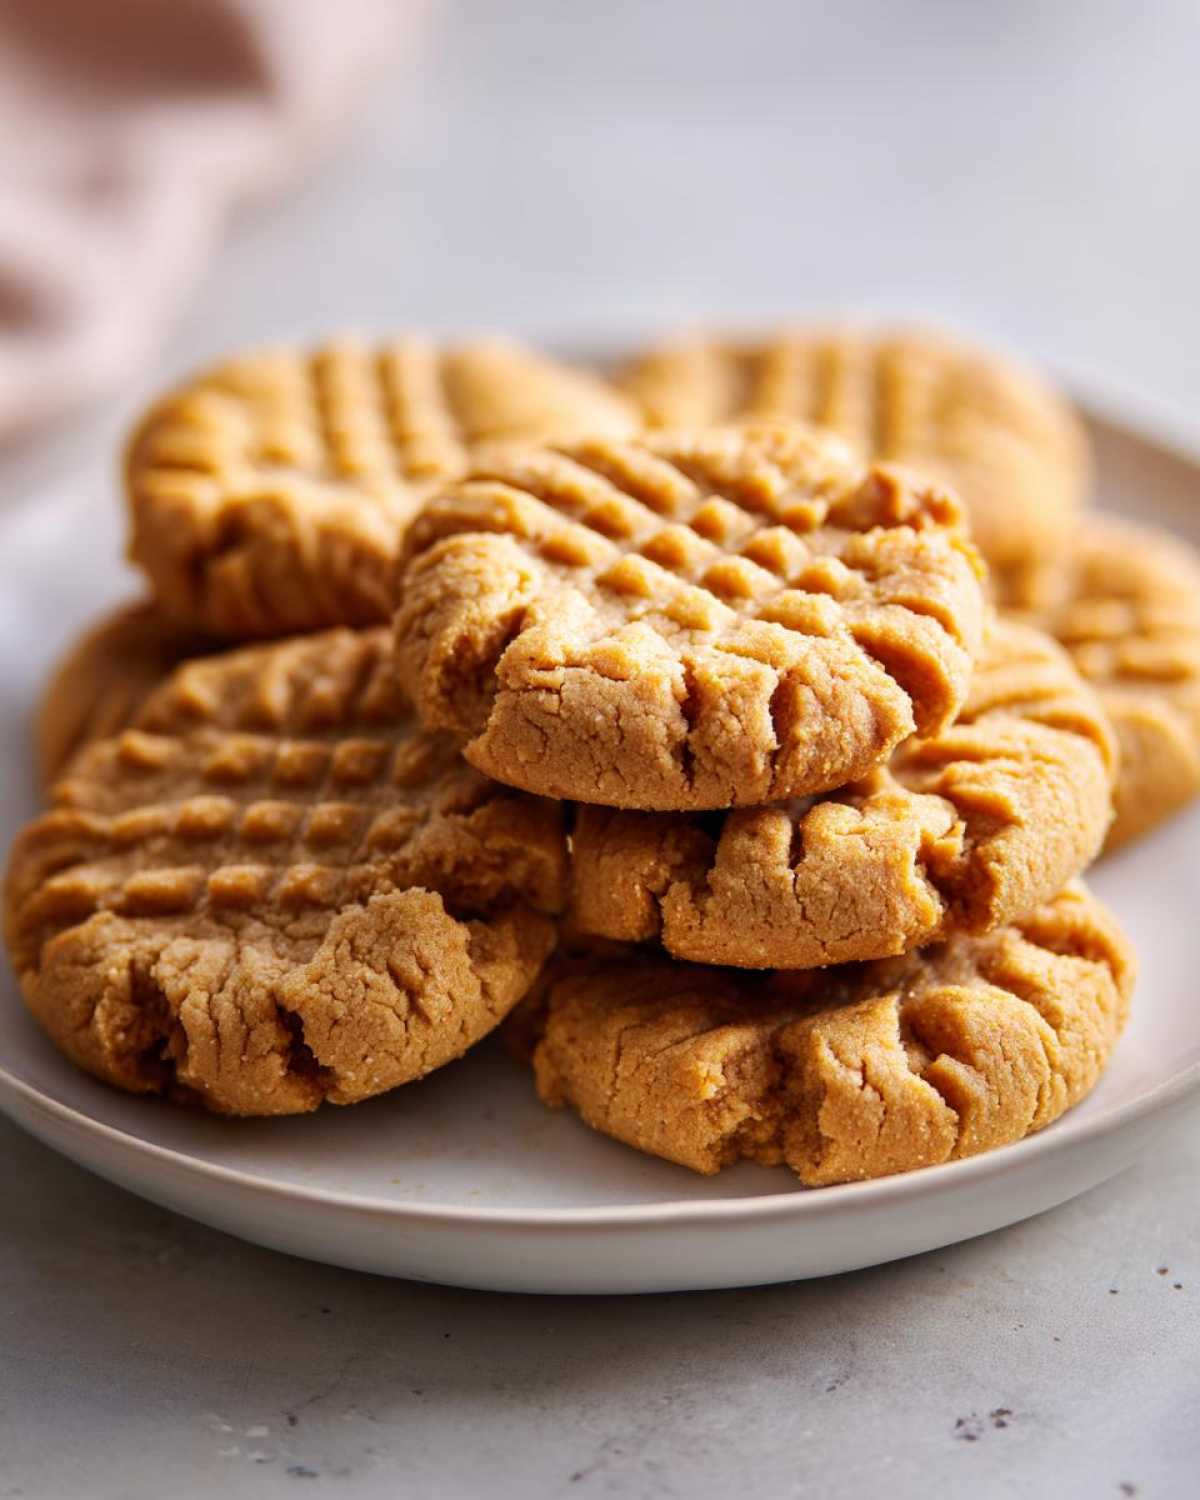
Ingredients for the Best peanut butter cookies
When you’re aiming for the *best* peanut butter cookies, you can’t cut corners here. These components are the building blocks for that perfect texture we talked about. Grab your measuring cups and let’s get organized! We need 1 cup of unsalted butter, and make sure it’s softened—not melted, just happy and yielding. Then we bring in the star: a full cup of creamy peanut butter. Don’t go grabbing that natural, oily stuff; trust me on this one for these **classic peanut butter cookies**.
For sweetness, we’re using 1 cup of good old granulated sugar for the initial structure, paired with 1 cup of light brown sugar packed tightly into the cup—that molasses hint is crucial for depth. Eggs are next; you’ll need 2 large ones, added one at a time so the emulsion stays strong. A teaspoon of vanilla rounds out your wet mix.
In the dry department, you’ll need 2 1/2 cups of all-purpose flour. For lift, whisk in 1 teaspoon of baking soda and 1/2 teaspoon of baking powder. Finally, a half teaspoon of salt to make sure the peanut butter flavor really pops. That’s the full lineup for these fantastic **peanut butter baking** treats!
Peanut Butter Baking Ingredient Notes
Alright, let’s talk specialty ingredients, because this is where amateur cookies turn into professional ones. The biggest stumbling block for people trying to nail this is the peanut butter itself. You absolutely must use the commercial, stabilized creamy peanut butter—think the kind you don’t have to stir, like Jif or Skippy.
Natural peanut butter separates too much and has a different fat ratio, which completely messes up the structure. If you use natural, these cookies will spread out wider than a puddle on a hot sidewalk, and you won’t get that signature height. We need that predictable, emulsified peanut butter to achieve those **crispy tender cookies** we promised you!
Equipment Needed for Classic peanut butter cookies
Before you dive into mixing, getting your tools laid out makes the whole process so much smoother. Honestly, Ben laughs at how organized I am before I start baking, but trust me, when you’re dealing with dough that needs to be scooped and flattened fast, preparation is everything.
For these **traditional cookies**, you don’t need anything fancy, which is why they’re so great for regular baking days. Make sure you have your main mixing bowls ready—one big one for the wet ingredients and creaming, and at least one medium one for whisking your dry components.
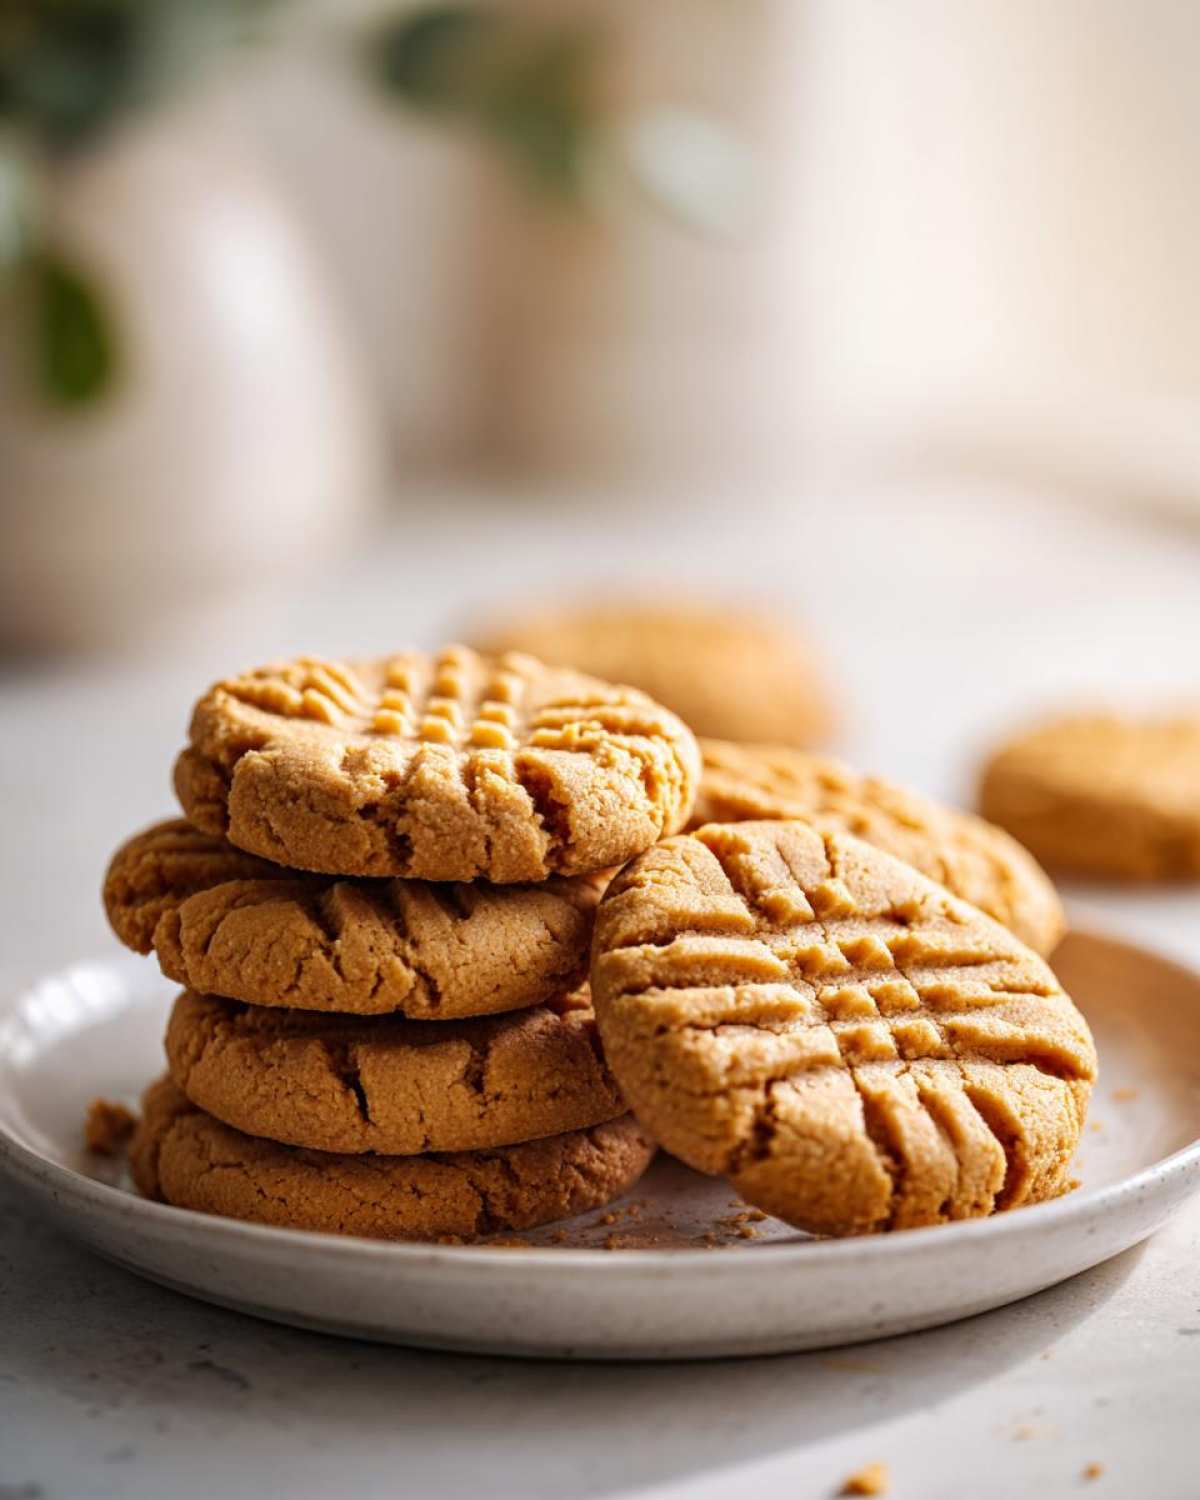
You’ll definitely need sturdy baking sheets, and please, for the love of easy cleanup, grab some parchment paper. This stops any sticking and makes moving those delicate, perfectly baked rounds a breeze. Lastly, the real MVP for the visual appeal: a standard dinner fork. That’s what you’ll use to give every single one of these homemade peanut butter cookies that gorgeous, unmistakable crosshatch pattern.
How to Prepare Your peanut butter cookies
Okay, it’s time to bring this dough to life! We’re going step-by-step to make sure you nail that ideal internal texture. First things first: get that oven humming along at 350°F (175°C). Seriously, preheat early. We line our baking sheets with parchment paper; it’s non-negotiable for these beauties!
Start by creaming your softened butter and peanut butter until they look happy together. Then slowly incorporate both sugars. You need to beat this mixture for a solid three minutes until it’s light and fluffy—don’t rush the fluffiness, that’s trapping the air! After that, eggs go in one by one, followed by the vanilla. While that’s mixing, quickly whisk your flour, baking soda, baking powder, and salt in a separate bowl.
Here’s where you need to be gentle for the best **homemade peanut butter cookies**: gradually add the dry mixture to the wet, mixing only until you see the last streaks of flour disappear. Over-mixing makes tough cookies, and nobody wants that! Scoop out dough balls about 1.5 tablespoons each and space them two inches apart. Now for the fun part: grab that fork!
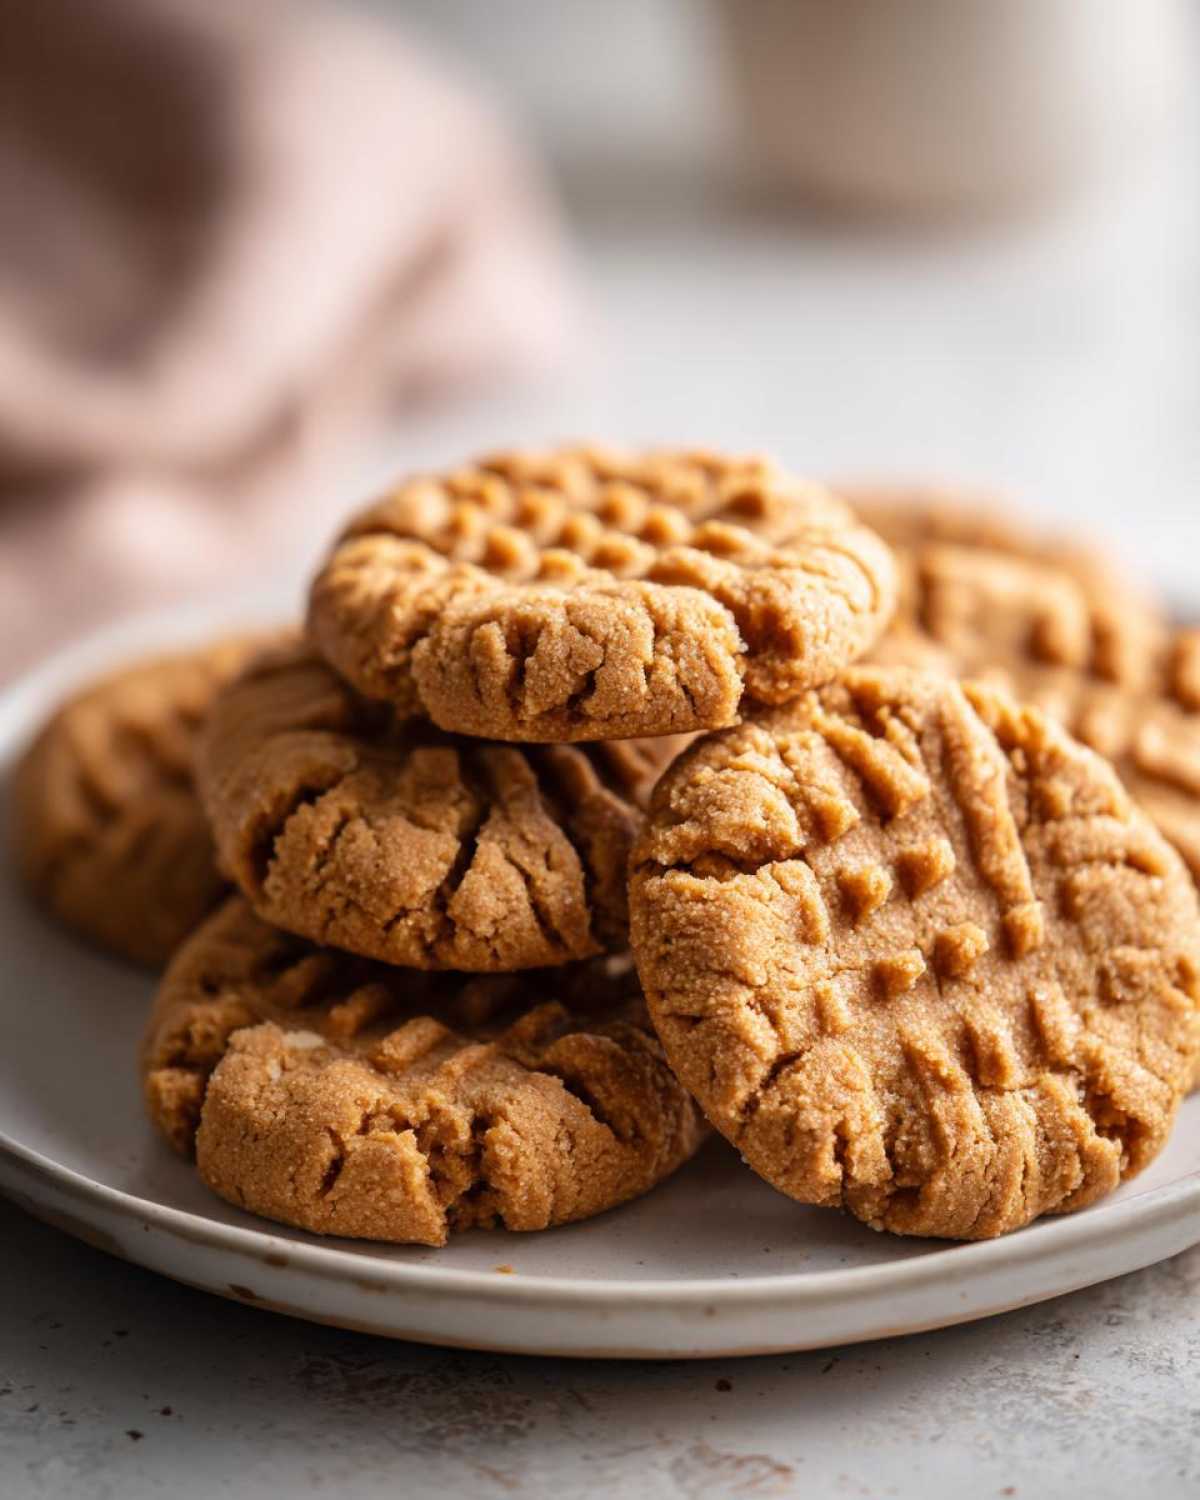
Press down once for a classic crisscross. Bake these golden guys for 10 or 12 minutes. The edges should look set, but the center might look a *tiny* bit soft when you pull them out—that’s the secret to chewy centers! Let them hang out on the hot pan for five minutes to firm up before moving them to a rack. If they look too puffy, you need to check out the crosshatch science below. You can read more about our fixation on fixing tricky recipes right here.
The Science Behind the Perfect Crosshatch on peanut butter cookies
Noah told me the crosshatch isn’t just for looks; it’s structural engineering for cookies! This dense peanut butter cookie dough naturally wants to dome up high, which traps steam and leaves you with an underbaked, greasy middle. By using the fork to press them down twice (once vertically, once horizontally), you are mechanically shortening the dough’s height, encouraging even heat transfer from the top to the center. It flattens them just enough so the edges set quickly while the center has time to cook through perfectly. It’s why these **classic peanut butter cookies** bake so evenly!
Tips for Success with Homemade peanut butter cookies
Even though this is our tried-and-true recipe, sometimes a little extra finesse makes the difference between good and absolutely legendary cookies. Ben and I have learned a few tricks over the past few years of testing which batch of **peanut butter baking** ingredients yields the best behavior. You’ll love these little secrets that make sure your cookies are always worth pinning!
You absolutely have to use commercial creamy peanut butter—I cannot stress this enough. It’s the stabilizing force that prevents spread. If you use natural, oily peanut butter, all bets are off! My advice here is non-negotiable for these results. If you’re trying to get those thick, bakery-style **classic peanut butter cookies**, you need that steady base.
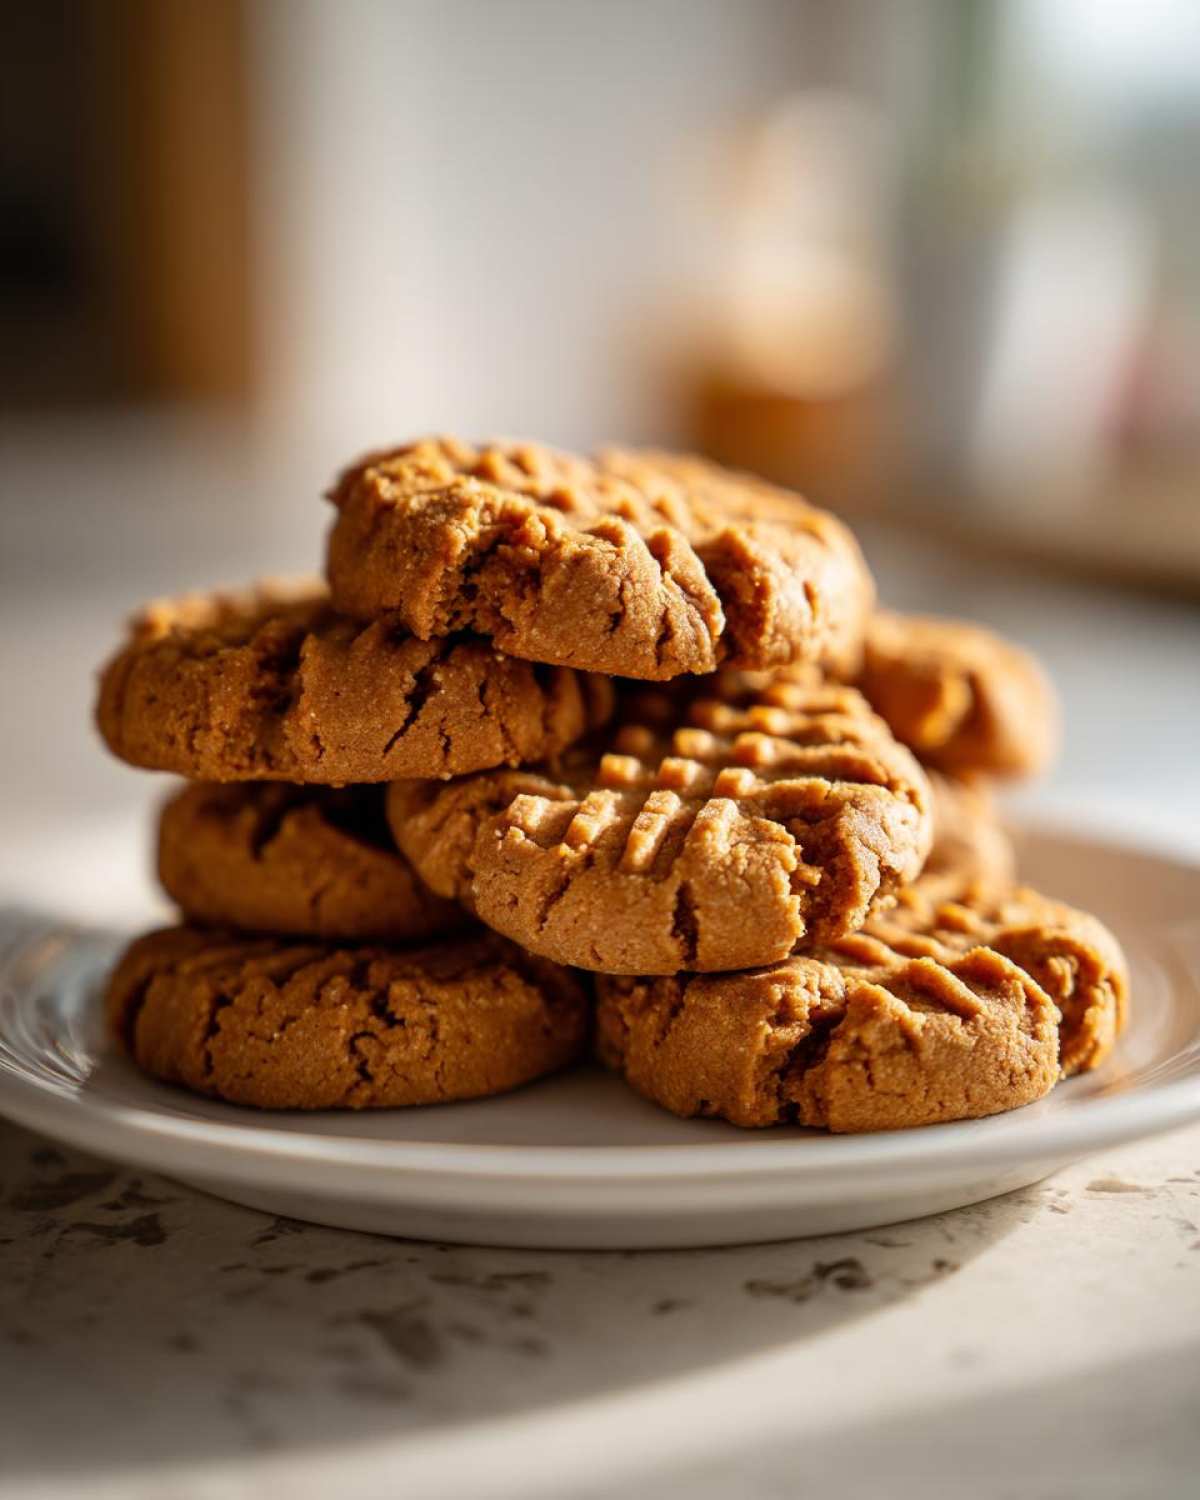
Now, for a thicker cookie that barely spreads at all, you need patience. I know, nobody likes waiting when cookies are involved, but chill the dough! Even 30 minutes in the fridge makes a huge difference. It solidifies the butter just enough so that when you fork the crosshatch pattern, that dough ball stays where you put it, leading to a taller, chewier cookie.
Another thing I’ve noticed is oven temperature consistency. If your oven runs hot, you might cut the time down by a minute or two. Always watch the edges! The moment those edges look golden brown and set, pull them out. They will continue to cook for those critical five minutes on the hot sheet, finalizing that perfect **crispy tender cookies** texture without drying out the middle. We cover lots of baking secrets, like how to make perfect rolls, over here.
Storage and Reheating Instructions for peanut butter cookies
The great news about these **classic peanut butter cookies** is that they are built to last longer than most delicate shortbreads. Because of the high fat content and the nature of peanut butter itself, they stay delicious for days as long as you store them correctly. Nobody wants a stale cookie hiding in the pantry for the next day!
For the best texture—keeping those edges crisp and the centers tender—you should store them in an airtight container at room temperature. You can stack them, but make sure the container is sealed up tight. On the counter, they should easily stay fresh and tasty for about four to five days. If you notice they start to taste a little flat after day three, don’t worry; we have a simple fix for that!
If you need to revive one of these **peanut butter cookies** that’s gotten just a touch stale, try this trick: pop one single cookie on a microwave-safe plate and zap it for just about 8 to 10 seconds. It sounds crazy, but that little burst of heat softens the fats just enough to bring back that “fresh out of the oven” tenderness in the middle. It works like magic for a single-serving treat!
If you ended up making a massive triple batch and need to store them longer, you can always freeze them! Place the completely cooled cookies in a single layer on a baking sheet and freeze until solid. Then transfer them to a heavy-duty freezer bag. They will keep well in the freezer for up to three months. Thaw them on the counter for an hour, and they’re ready to go!
Serving Suggestions for Classic peanut butter cookies
These aren’t just any cookies; they are the definition of **classic cookie recipes**, and they deserve the perfect partner in crime. Seriously, the richness of the peanut butter just screams for something cold or something deeply caffeinated to cut through it all. I’m not trying to be basic, but the classics are classics for a reason, right?
When I ship a box of these to Ben, he always asks for two things: a gallon of ice-cold dairy milk—the 2% kind, never whole milk, for some reason—and a bag of coffee beans. So, obviously, milk is number one on the list. There is no better palate cleanser for that salty-sweet punch than a big glass of cold milk. It truly brings out the best in these **peanut butter cookies**.
If you’re enjoying these after dinner, forget a fancy dessert. Just crumble one of these cookies over a scoop of good vanilla bean ice cream. The slight crunch of the cookie against the smooth, melting ice cream? Unbeatable. I’ve even crumbled them up and used them as a topping on our coffee shakes for a peanut butter twist, and that was surprisingly decadent!
For those of us who need a mid-morning or mid-afternoon boost, a strong, dark cup of coffee is the perfect companion. The earthy bitterness of the roast plays so nicely against the deep, caramelized flavor from the brown sugar and the peanut butter. It really highlights the nutty notes. Honestly, whether you eat them solo or pair them up, these are just fantastic whenever you need that little burst of comfort.
Frequently Asked Questions about peanut butter cookies
I know you might have a few lingering questions because getting these **classic peanut butter cookies** perfect hinges on a few small details. We’ve answered the big ones here so you can bake with total confidence next time!
Can I substitute crunchy peanut butter in this peanut butter cookies recipe?
Oh, this is a classic question! You certainly *can* substitute crunchy peanut butter, but you need to know what you’re sacrificing. Crunchy peanut butter adds physical little nuggets of peanut throughout, which is great, but it changes the texture dramatically. You will absolutely lose that specific smooth, **crispy tender cookies** center we worked so hard to achieve. The structural integrity is slightly different, and the crunch comes from the nut pieces, not the delicate bake of the cookie itself. If you love texture, go for it, but if you want the recipe as written, stick to the creamy stuff to maintain that perfect chew.
Why did my homemade peanut butter cookies spread too much?
Spreading is usually a temperature issue, and it’s the number one complaint I hear when I’m explaining the science behind the bake! There are two main culprits here. First, was your butter overly soft—like, almost greasy? If the butter is too warm when you cream it, it can’t hold the structure later, and the cookies melt right into flat discs in the oven. Second, and this is often overlooked, did you skip chilling the dough? A quick 30-minute chill solidifies the butter again. If the dough is too warm going into the oven, gravity wins, and they spread out horizontally instead of baking up tall and gorgeous.
If you want to dive deeper into troubleshooting tricky recipes like this one, we fixed some wild ones over on our page about the one-skillet beef stroganoff! But for these cookies, keep that butter cool when mixing and chill the balls before you press that fork down!
Nutritional Estimate for peanut butter cookies
Look, I know some of you are going to eat five of these in one sitting, and that’s totally okay because life is short, and these **peanut butter cookies** are fantastic! But for those of you keeping tabs, I wanted to share the baseline nutritional estimate for one single cookie, just so you know what you’re getting into.
Remember what I said about fixing broken recipes? Well, we also analyze the *output* to make sure it’s sound, but Noah always yells at me not to take these numbers as gospel. This is just an estimate based on standard grocery store ingredients like creamy peanut butter and all-purpose flour. Your exact figures might wobble a bit depending on the brand of butter or sugar you grab, so consider this a helpful guideline, not a scientific proclamation.
- Serving Size: 1 cookie
- Calories: About 180
- Fat: 10g (with 4g of that being saturated fat)
- Carbohydrates: 22g
- Sugar: 12g (Sweet, but balanced by the saltiness!)
- Protein: 4g
See? A great source of quick energy and protein to keep you going while you’re pinning your next baking project. These **classic cookie recipes** are meant to be enjoyed, not obsessed over, so grab another one before you count the macros!
PrintThe Perfect Crispy-Tender Peanut Butter Cookies
This is the foolproof recipe for classic peanut butter cookies that achieve the ideal balance: crispy edges and a soft, tender center every time you bake.
- Prep Time: 15 min
- Cook Time: 12 min
- Total Time: 27 min
- Yield: About 3 dozen cookies
- Category: Dessert
- Method: Baking
- Cuisine: American
- Diet: Vegetarian
Ingredients
- 1 cup (2 sticks) unsalted butter, softened
- 1 cup creamy peanut butter
- 1 cup granulated sugar
- 1 cup packed light brown sugar
- 2 large eggs
- 1 teaspoon vanilla extract
- 2 1/2 cups all-purpose flour
- 1 teaspoon baking soda
- 1/2 teaspoon baking powder
- 1/2 teaspoon salt
Instructions
- Preheat your oven to 350°F (175°C). Line baking sheets with parchment paper.
- In a large bowl, cream together the softened butter and peanut butter until smooth.
- Add the granulated sugar and brown sugar. Beat until the mixture is light and fluffy, about 3 minutes.
- Beat in the eggs one at a time, mixing well after each addition. Stir in the vanilla extract.
- In a separate medium bowl, whisk together the flour, baking soda, baking powder, and salt.
- Gradually add the dry ingredients to the wet ingredients, mixing on low speed until just combined. Do not overmix.
- Scoop the dough into 1.5-tablespoon balls and place them 2 inches apart on the prepared baking sheets.
- Use a fork to press down on each dough ball, creating a crosshatch pattern. Press once in one direction, then press again perpendicular to the first marks.
- Bake for 10 to 12 minutes, or until the edges are set and lightly golden brown. The centers may still look slightly soft.
- Let the cookies cool on the baking sheet for 5 minutes before transferring them to a wire rack to cool completely.
Notes
- For the best texture, use commercial creamy peanut butter (like Jif or Skippy) rather than natural, oil-separated peanut butter.
- Chilling the dough for 30 minutes before scooping helps prevent excessive spreading, leading to thicker cookies.
- The crosshatch pattern is essential; it helps flatten the dense dough so the cookies bake evenly.
Nutrition
- Serving Size: 1 cookie
- Calories: 180
- Sugar: 12
- Sodium: 110
- Fat: 10
- Saturated Fat: 4
- Unsaturated Fat: 6
- Trans Fat: 0
- Carbohydrates: 22
- Fiber: 1
- Protein: 4
- Cholesterol: 25