

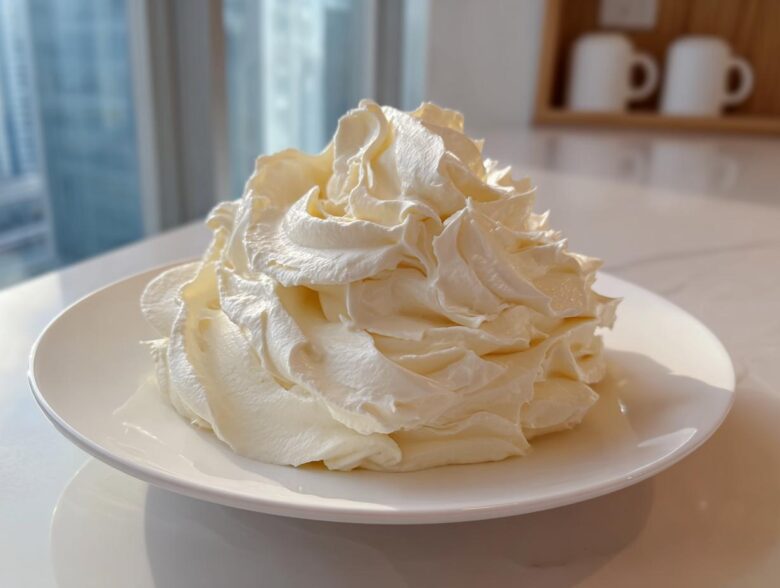
Oh, you’re here for the frosting rescue mission! I totally get it. How many times have you followed a recipe for what should be simple, glorious vanilla buttercream frosting, only to end up with something gritty, soupy, or just plain sad? It’s the worst, especially when you have beautiful cupcakes just sitting there naked!
That’s why Ben, Noah, and I at Savor And Pin tackled this head-on. That failed lasagna recipe we talk about? Frosting disasters are right up there! We took the classic American buttercream concept, figured out exactly why most recipes fail, and engineered this version. This isn’t just *a* recipe; it’s completely foolproof. You are going to get the creamiest, fluffiest frosting that actually holds its shape for piping every single time. Check out our main blog page right here to see more of our successful rescues. Trust me, this is the version you’ll keep forever.
Why This Classic Vanilla Buttercream Frosting is Your New Go-To
There’s no point in making a recipe if it doesn’t deliver perfection, right? This specific vanilla buttercream frosting recipe has become our absolute anchor for desserts. It’s designed to solve those common frosting meltdowns because we focused only on what makes the texture right and what makes it stable.
You won’t find a better Best Buttercream for Cakes, honestly. Here’s why you should trust us with your piping bag:
Achieving Perfect Fluffy Cupcake Icing Texture
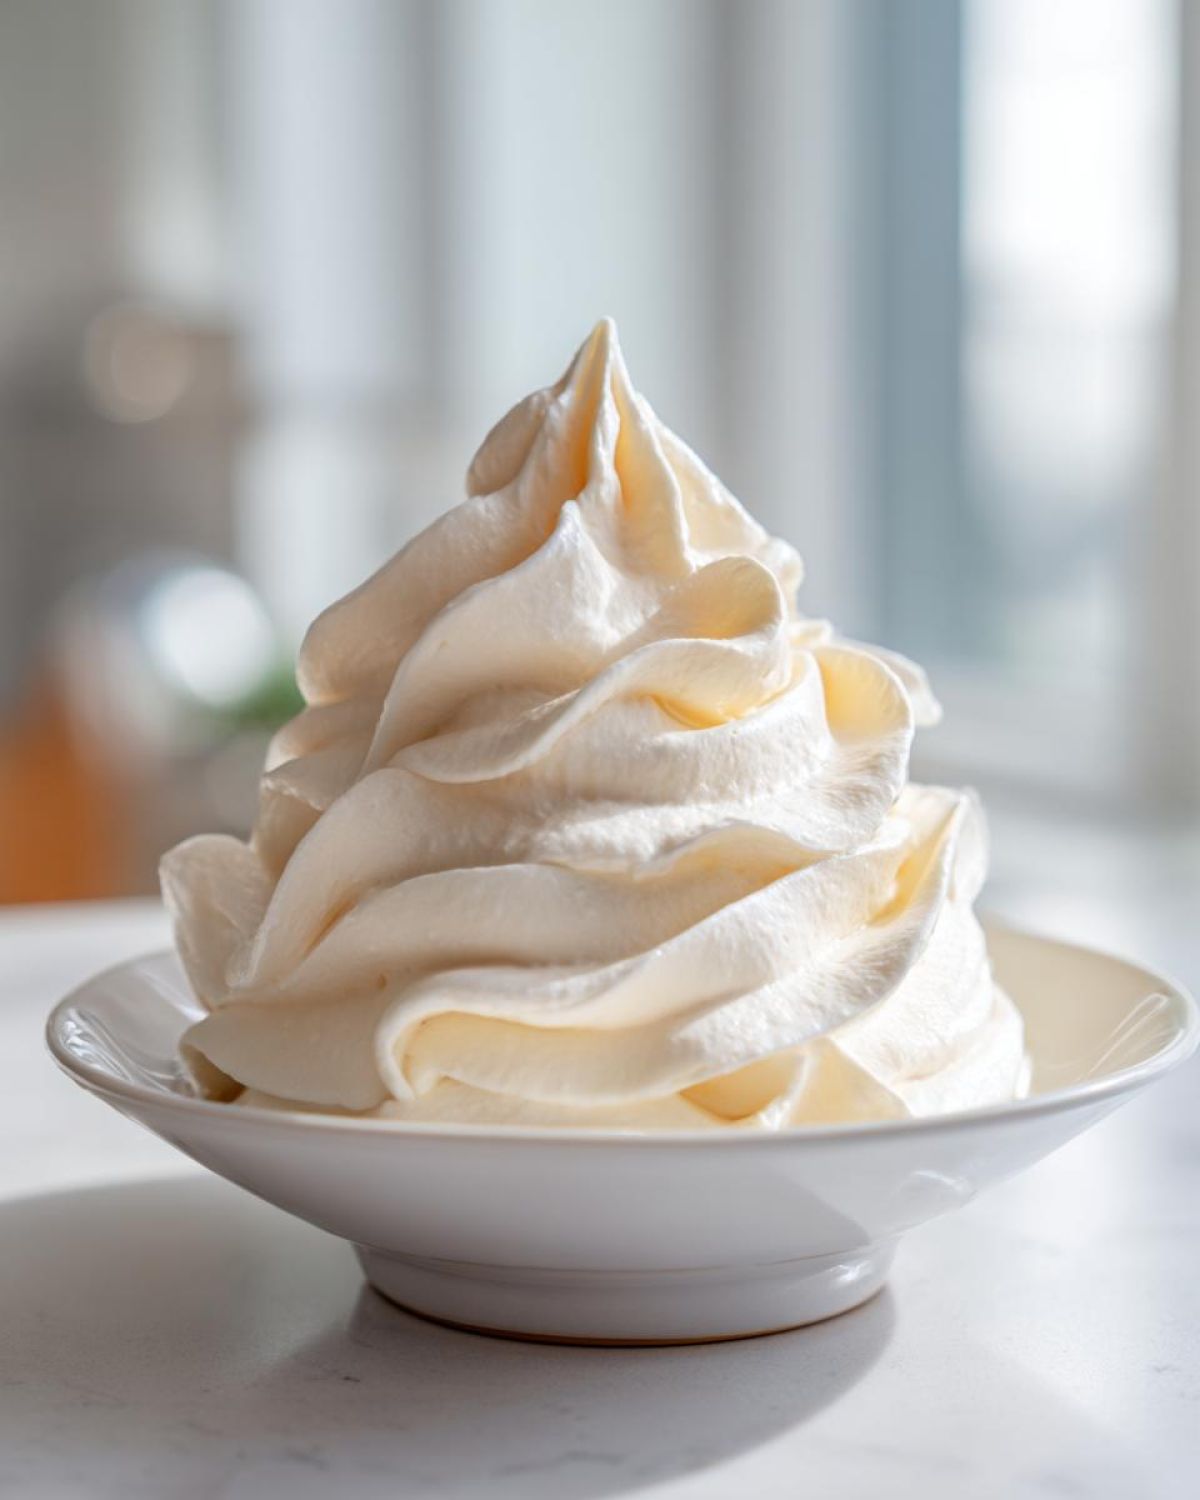
Forget dense, greasy icing! We’re aiming for light, airy, and smooth. That gorgeous, melt-in-your-mouth feeling doesn’t happen by accident; it comes from that crucial middle step where you whip it on high speed. Seriously, follow the timing in the instructions—it’s where the magic happens and turns basic ingredients into incredible Fluffy Cupcake Icing.
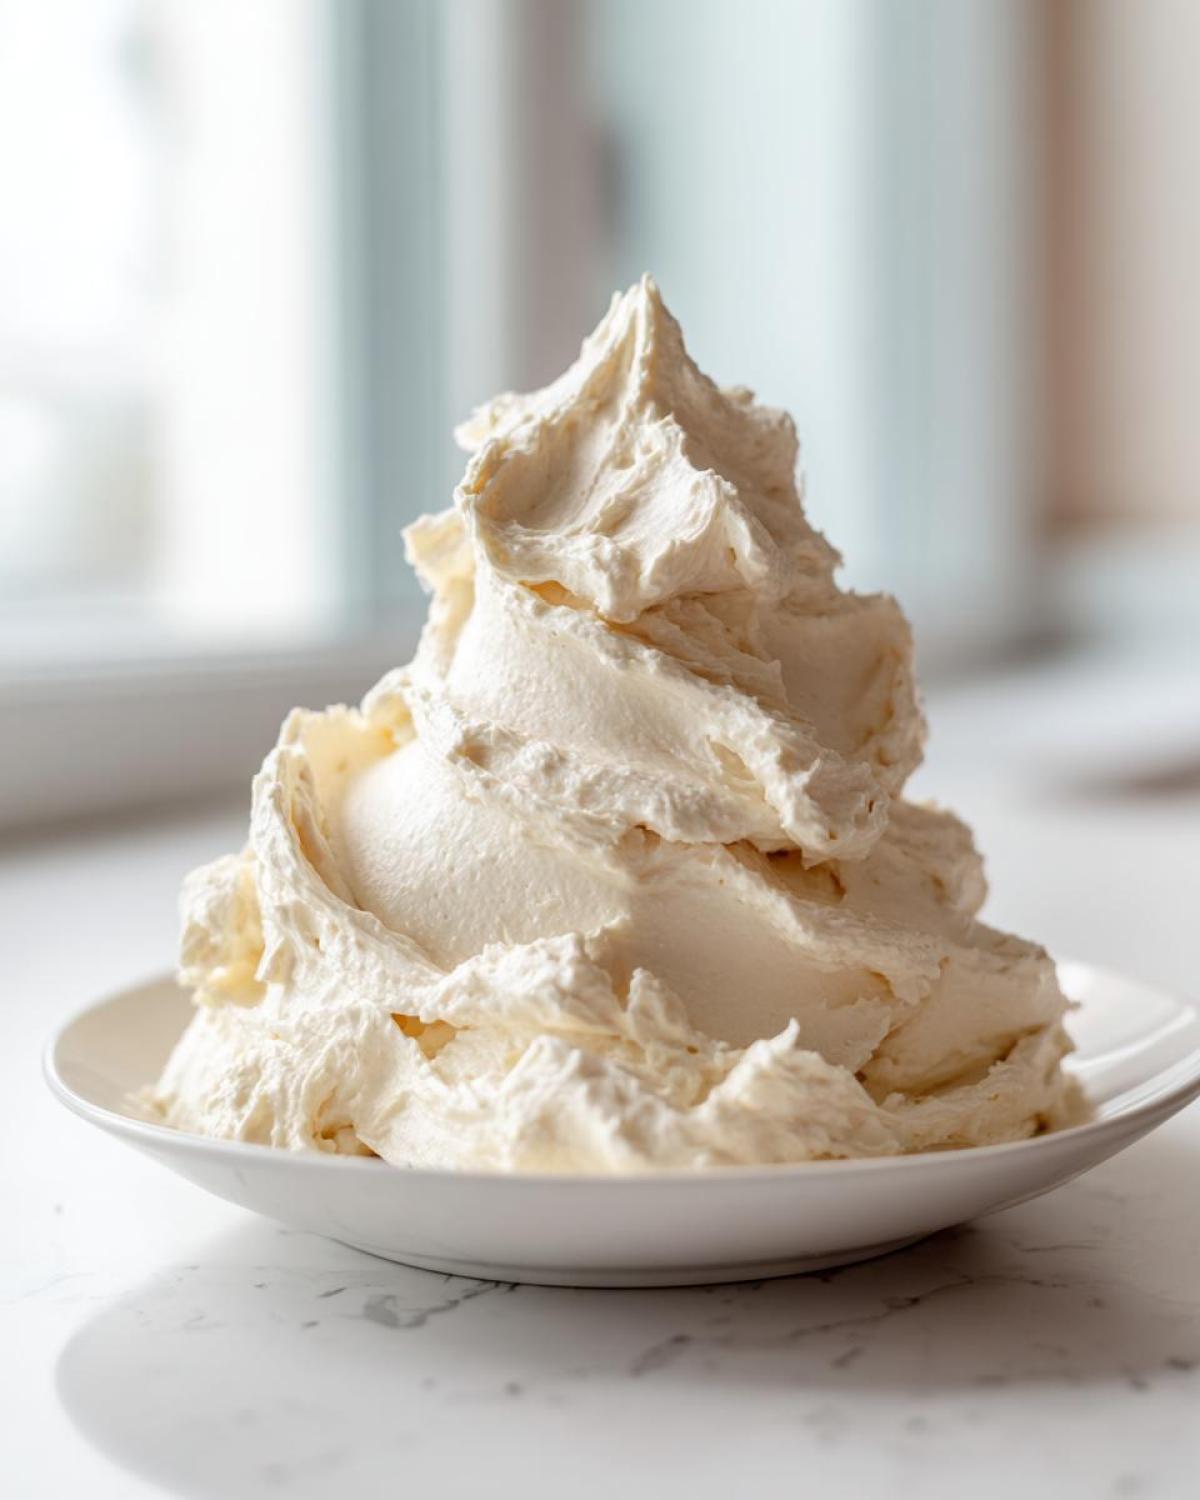
Quick Buttercream Recipe Ready in Minutes
This is completely No Cook Frosting, which is a lifesaver after a long day of baking. We timed this aggressively during testing. If your ingredients are ready to go, you can be frosting a whole batch of cupcakes in about 10 minutes flat. Who has time to wait around? If you need frosting fast, this Quick Buttercream Recipe is your answer. Even our famous cookies need this frosting sometimes!
Ingredients for the Best Vanilla Buttercream Frosting
Okay, let’s talk ingredients. Because the magic of this vanilla buttercream frosting happens so fast, there’s no time to fix mistakes later, so we need clarity upfront. This is an American buttercream, so we keep the list simple, but preparation matters!
You absolutely must use unsalted butter that is properly softened—I mean really soft, but not greasy or melted. Melted butter is a frosting disaster, trust me! Sifting that powdered sugar is non-negotiable to avoid lumps in your otherwise smooth icing.
Here is exactly what you need:
- 1 cup (2 sticks) unsalted butter, softened to room temperature
- 4 cups powdered sugar, sifted
- 1 teaspoon pure vanilla extract (Use the good stuff!)
- 3 to 4 tablespoons heavy cream or whole milk
- Pinch of salt
The liquid is a range—3 tablespoons gets you a very stiff Classic Cake Frosting, and if you need that extra bit of spreadability, you reach for that fourth tablespoon.
Step-by-Step American Buttercream Tutorial for Perfect Vanilla Buttercream Frosting
Now that we have our perfect ingredients assembled, it’s time to transform them into that heavenly, dreamy Creamy Dessert Topping. This is seriously fast, but speed means we have to pay attention to the little tricks Noah and I discovered. If you rush the creaming or skip scraping the bowl, you’ll end up with butter pockets in your otherwise lovely vanilla buttercream frosting.
We’re following the process exactly for the best results, which happens mostly in your stand mixer. Don’t forget to check out our noodle recipe fix while your mixer is running, it’s a flavor explosion!
Creaming the Butter Base
Step one is all about the butter. Get your softened sticks into the bowl—and I mean *softened*. If you press your finger into it and it goes right through easily, that’s perfect. If you see any slick, shiny spots, it’s too warm, and you might get greasy frosting. Beat that butter on medium speed until it’s completely smooth and creamy, almost like a lotion, for about two full minutes. I always stop the mixer and use my spatula to aggressively scrape every bit off the bottom and sides. That little bit of unincorporated butter is the enemy of a smooth finish!
Incorporating Sugar and Liquid for Your Simple Vanilla Frosting
Next is the sugar, and we add it slowly! Place the mixer on the lowest setting and introduce that sifted powdered sugar, one cup at a time. You must scrape the bowl after every addition to make sure everything is mixing evenly. Once all the sugar is in, it’ll look dry and crumbly—that’s exactly what we want for this Simple Vanilla Frosting.
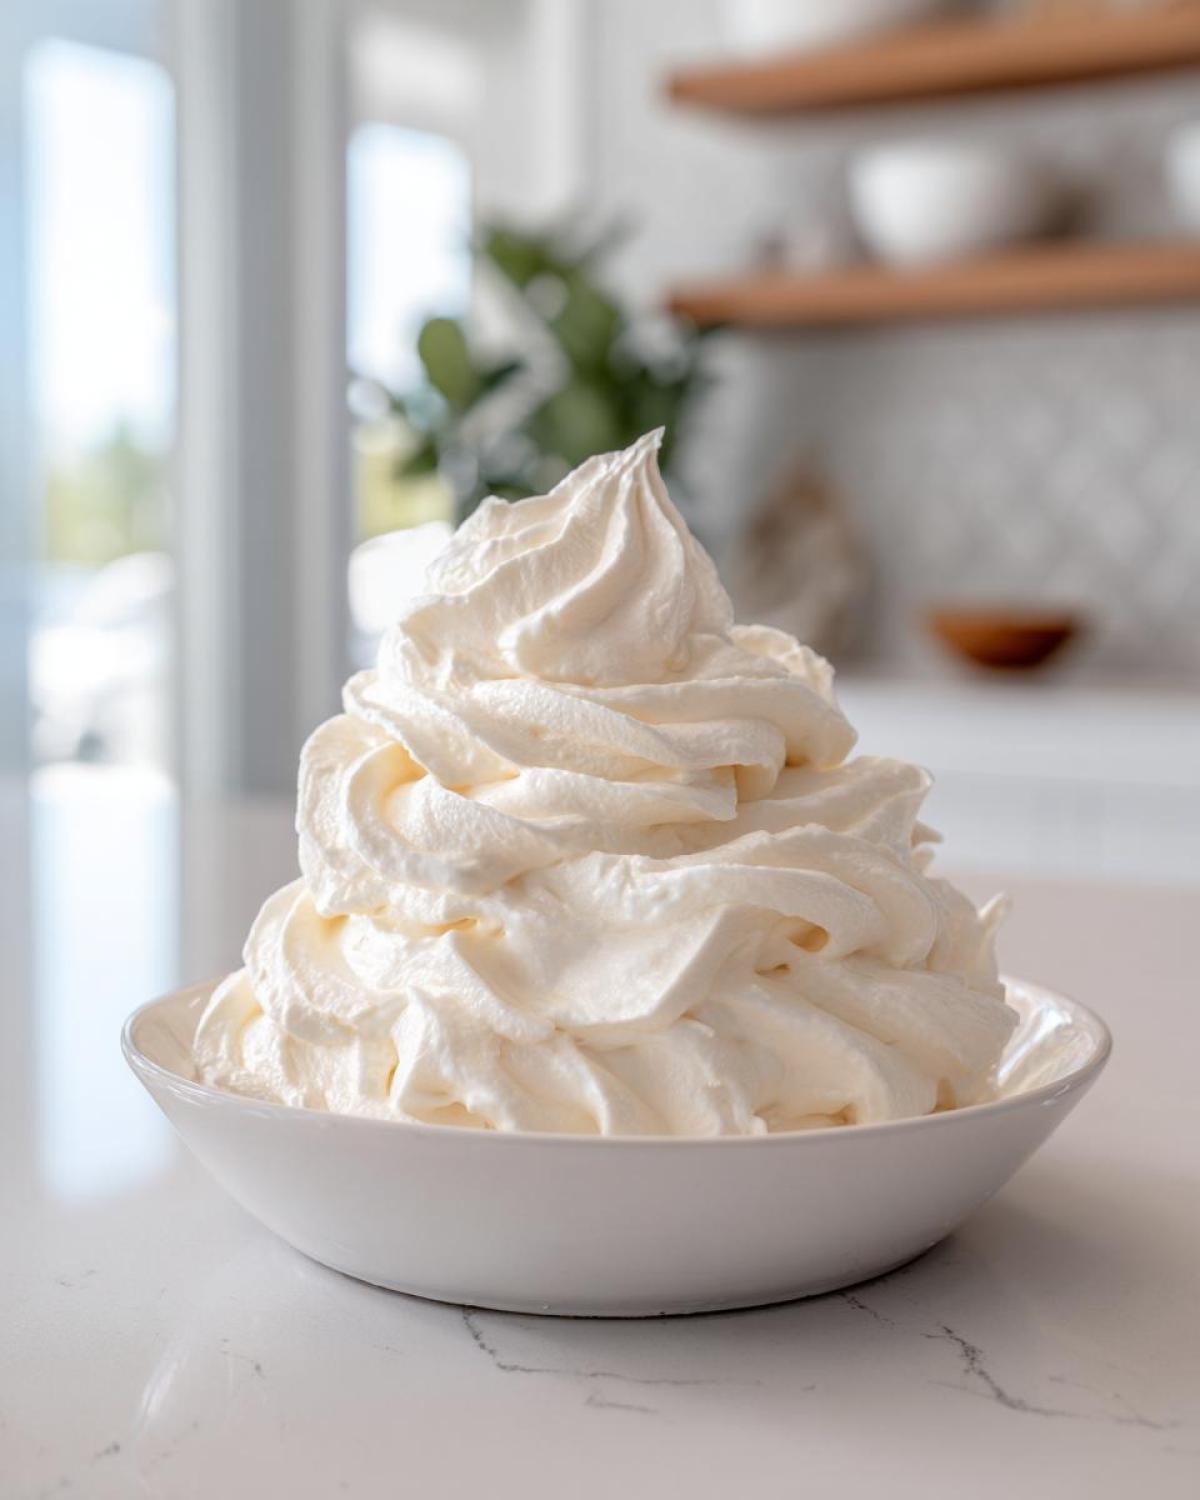
Now, turn the speed up to medium-high, add your initial 3 tablespoons of cream and the vanilla. This is where the *fluff* happens. You have to beat this batter for a solid 3 to 5 minutes until it lightens up in color and doubles slightly in volume. If you stop early, it’s too dense. If, after whipping, it looks like it needs a little encouragement for spreading, add that final tablespoon of cream slowly, teaspoon by teaspoon. Keep whipping until you hit peak fluffiness!
Piping Buttercream Guide: Tips for Decorating with Vanilla Buttercream Frosting
One of the main reasons I adore this vanilla buttercream frosting is how wonderfully it behaves under pressure—meaning, when you try to pipe delicate swirls on a cupcake! If you’re looking for a genuine, reliable Piping Buttercream Guide, this is it. The key to getting those crisp edges, whether you’re using a simple round tip or a big star tip, is the initial liquid amount.
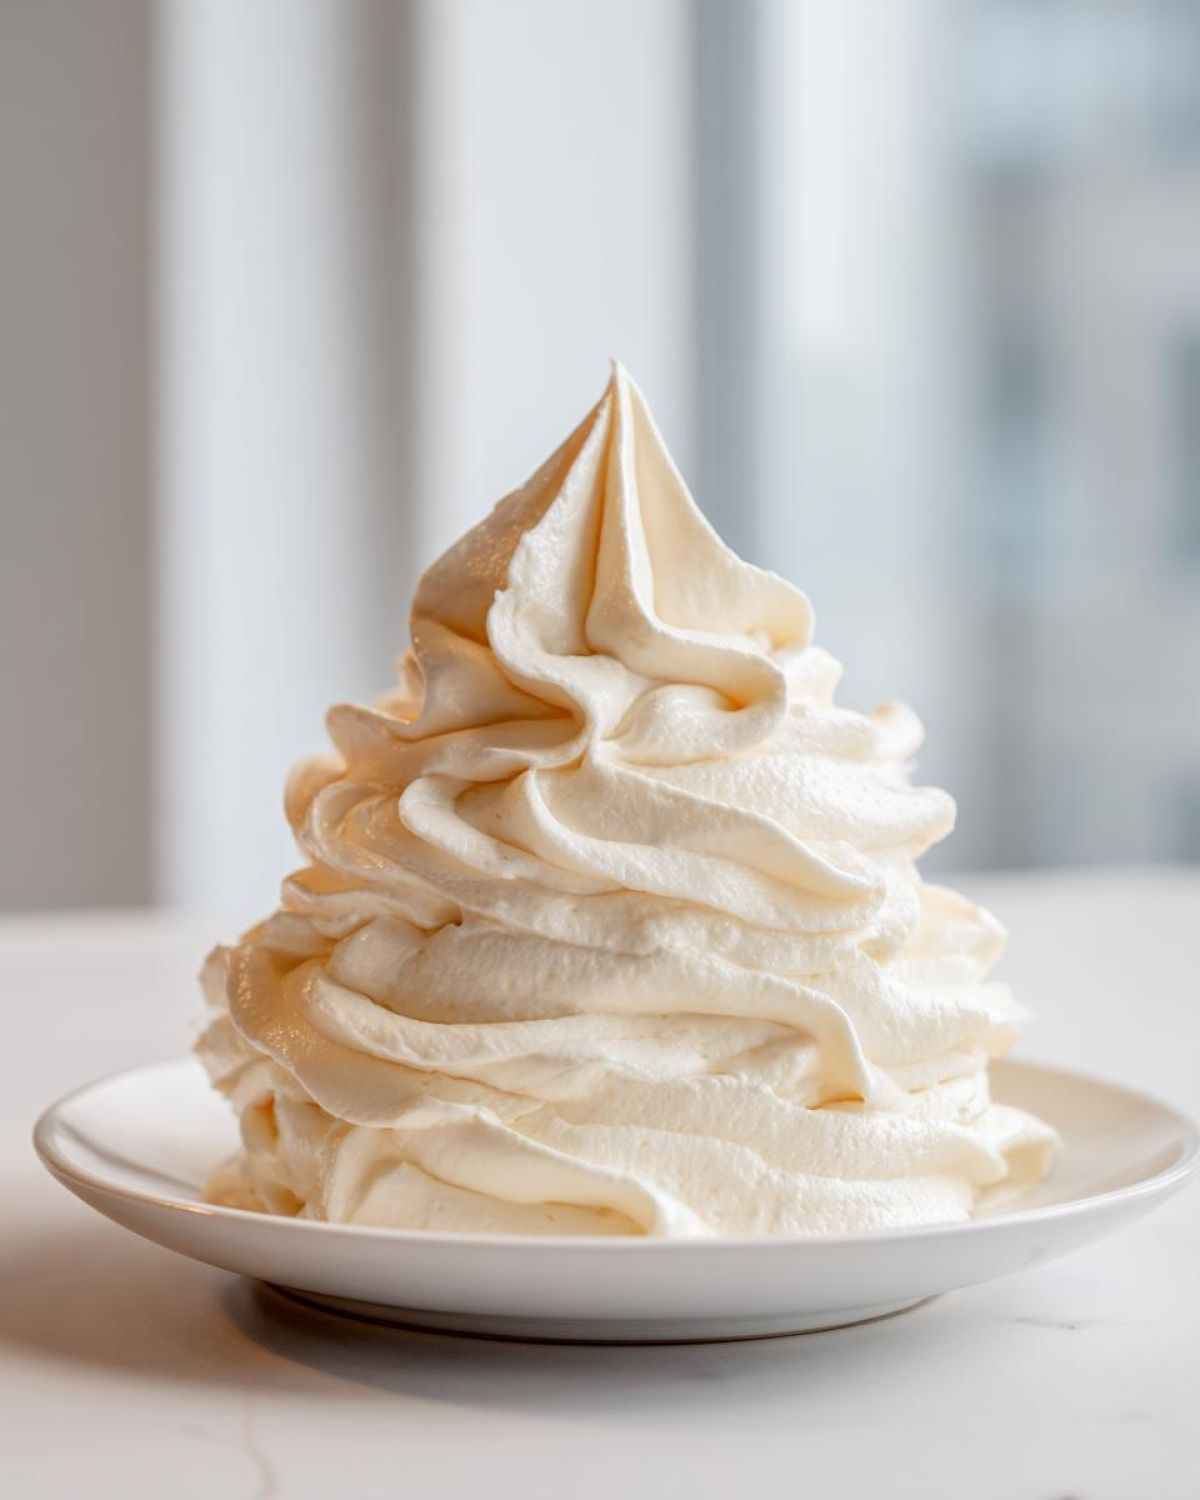
Remember how we started with just 3 tablespoons of cream? That’s your default for decoration. If you’re frosting a layer cake quickly and just need to spread it on, you might add more. But for sharp details, stick to the minimum. If you find it’s slightly too soft after whipping, don’t panic—just blend in a quarter cup more of sifted powdered sugar until it firms up again. It’s that easy to adjust this Baking Essential Frosting for any decorating job. We used this exact technique when we fixed that amazing one-skillet dinner recipe last week—precision matters, even with frosting! See how precision helped us there?
Ingredient Notes and Substitutions for Creamy Dessert Topping
Look, every recipe has those little red flags—the things you absolutely cannot mess with if you want the result to look like the photo. For this Creamy Dessert Topping, the biggest non-negotiable is that butter temperature. If I had a dollar for every weeping frosting Ben has made by using butter straight from the fridge, I could probably buy my own dairy farm!
The butter needs to be perfectly room temperature—it should yield just slightly when you gently nudge it with your finger. If it’s greasy or melts when you touch it, your frosting will never whip up right. That’s just science, folks! If you find yourself with frosting that is too stiff after you’ve added all your initial liquid because maybe your sugar was clumpier than mine, don’t fret. Just add that extra tablespoon of heavy cream a little at a time. You can swap that heavy cream out for whole milk, but just know the texture might be a hair softer, so use milk cautiously if you plan on doing lots of detailed work.
Choosing the Right Vanilla Extract
We’re chasing a Rich Vanilla Flavor Frosting here, and that means you should absolutely splurge on pure vanilla extract. Imitation vanilla tastes artificial—it has none of the warm, complex notes that real vanilla brings to balance the sweetness of the sugar and fat. Since there are so few ingredients in this recipe, every flavor has to pull its weight! If you have nice vanilla bean paste, that’s even better, just use a bit less if you do.
Troubleshooting Common Issues with Your Vanilla Buttercream Frosting
Even with a foolproof recipe, sometimes life—or maybe just one forgotten step—throws a tiny wrench in the works, right? Don’t throw that bowl across the kitchen! We’ve all been there. Usually, when this vanilla buttercream frosting acts up, it’s not broken; it just needs a little persuasion.
The biggest issues we see pop up are grittiness, or the dreaded ‘weeping’ where the frosting gets a little watery around the edges, especially if you’re making it ahead of time. Let’s tackle those problems so you get that beautiful finish we promised, whether you’re topping our famous honey butter sandwiches or just cupcakes.
If your frosting seems grainy, that means the powdered sugar didn’t fully dissolve into the fat. My resident food scientist, Noah, has a trick for this: keep beating it! Seriously, crank the mixer up to medium-high for another minute or two. The friction of the beaters whipping the mixture often dissolves those stubborn sugar crystals until the texture is perfectly smooth. You can physically feel the difference; it stops feeling slightly sandy and becomes silky.
If you notice separation or weeping, nine times out of ten, it’s temperature. Either your butter was too soft (going into the realm of oily) or your kitchen is just way too warm. If it separates, stop mixing immediately! Try chilling the whole bowl in the fridge for about 10 minutes. Once it cools down slightly, then whip it again on low speed until it comes back together. If you added too much liquid earlier—and I mean *too* much, more than the suggested 4 tablespoons—you might need to add a tablespoon of powdered sugar at a time until it re-stabilizes. It takes patience, but salvaging bad frosting is way more satisfying than starting over!
Storage and Reheating Instructions for Homemade Vanilla Icing
So, you made this amazing batch of Homemade Vanilla Icing and you didn’t need it all right away? Good planning! For a day or two, if your kitchen isn’t super hot, you can definitely keep an airtight container of this frosting on the counter. It stays pretty stable because it’s mostly sugar and fat.
But if you’re tucking it away for longer than that—say, next week when you plan on baking again—it needs the fridge. Pop that container in there airtight. When you pull it out, it’ll be rock hard, right? Don’t even think about trying to spread it! Let it sit out on the counter for about an hour until it’s soft again, then pop it back in the mixer. Give it a quick whip on medium speed for about 30 seconds, and boom—fluffy perfection restored!
Frequently Asked Questions About This Easy Buttercream Frosting
I know you probably want to run off and frost something right now, but just hang on a second! We’ve all got those little last-minute questions when we’re mixing up something like this Easy Buttercream Frosting. Here are a few things that pop up all the time after we publish a recipe, just so you know exactly what to expect when making the Best Buttercream for Cakes.
If you’ve already nailed the steps, you can skip down to our official taste test in the next section, but these tips might save you a re-whip! If you want to see another one of our sweet fixes, check out the churro cheesecake bars recipe over here.
Can I make this vanilla buttercream frosting dairy-free?
You absolutely can pivot this recipe to be dairy-free! The main replacement, of course, is the butter. I recommend using a high-quality vegan butter stick alternative. Look for one that is known to be stiff when chilled, because the structure relies heavily on the fat content. You might need to adjust your liquid slightly, so aim for 3 tablespoons of your plant-based milk or cream substitute initially and adjust slowly until you get that lovely, fluffy texture we talked about for your Homemade Vanilla Icing.
What is the best way to store leftover Classic Cake Frosting?
This is important for keeping your leftover Classic Cake Frosting perfect! If you’re only keeping it out of the fridge for a day, an airtight container on the counter is fine—it’s practically sugar armor! For longer storage, definitely refrigerate it in a sealed container. When you pull it out to use it later (maybe a week or so), don’t try to spread it right away! Let it sit on the counter for about an hour to come to room temperature, then pop it back onto your mixer and beat it for 30–60 seconds. That final whisk brings all the air back in, and it’s instantly as good as new.
Can I color this frosting for decorating?
Yes! This Simple Vanilla Frosting takes color beautifully, which is great for all your Decorating Frosting Ideas. The trick is to use gel food coloring, not the liquid drops you might use for baking cookies. Liquid drops add too much water, which can soften the frosting and ruin the structure you worked so hard to create. Just a tiny toothpick dip of gel coloring into the finished frosting, and mix slowly until it’s combined.
Taste Test and Final Thoughts on This Baking Essential Frosting
Alright, that’s it! You’ve made the fluffiest, creamiest, most gorgeous Baking Essential Frosting there is. Now I desperately need to know how it turned out for you! Forget just reading about it—I want to see your beautiful results. Head down to the comments right now and give this recipe a star rating based on your experience.
Tell me what you frosted! Did you use this over my mulled wine recipe or something else? I saw Natasha’s amazing one used this too over here! Share a photo and let the Savor And Pin community know that this rescue mission was a total success!
PrintThe Best Classic Vanilla Buttercream Frosting: Creamy and Fluffy
Fix your frosting failures with this foolproof recipe for classic vanilla American buttercream. It whips up quickly into a smooth, fluffy texture that holds its shape perfectly for piping cakes and cupcakes.
- Prep Time: 10 min
- Cook Time: 0 min
- Total Time: 10 min
- Yield: About 3 cups
- Category: Dessert Topping
- Method: Mixing
- Cuisine: American
- Diet: Vegetarian
Ingredients
- 1 cup (2 sticks) unsalted butter, softened to room temperature
- 4 cups powdered sugar, sifted
- 1 teaspoon pure vanilla extract
- 3 to 4 tablespoons heavy cream or whole milk
- Pinch of salt
Instructions
- Place the softened butter into the bowl of a stand mixer fitted with the paddle attachment. Beat the butter on medium speed until it is completely smooth and creamy, about 2 minutes. Scrape down the sides and bottom of the bowl.
- Gradually add the sifted powdered sugar, one cup at a time, mixing on low speed until just combined after each addition. Stop and scrape the bowl frequently.
- Add the vanilla extract and 3 tablespoons of heavy cream or milk. Increase the mixer speed to medium-high and beat for 3 to 5 minutes until the frosting is light, fluffy, and pale in color. This whipping step is key for the best texture.
- Check the consistency. If the frosting seems too stiff for spreading or piping, add the remaining tablespoon of cream, one teaspoon at a time, until you reach your desired smooth consistency. If it is too soft, add a few more tablespoons of sifted powdered sugar.
- Beat on medium speed for one final minute to incorporate air. Use immediately to frost cakes, cupcakes, or cookies.
Notes
- For the smoothest texture, ensure your butter is truly room temperature—soft but not greasy or melted.
- If you need a stiffer buttercream for detailed piping work, reduce the liquid to 2 tablespoons initially.
- If your frosting seems grainy, continue beating it for an extra minute or two; the friction helps dissolve the sugar crystals.
Nutrition
- Serving Size: 1/4 cup
- Calories: 350
- Sugar: 55
- Sodium: 65
- Fat: 14
- Saturated Fat: 9
- Unsaturated Fat: 5
- Trans Fat: 0
- Carbohydrates: 58
- Fiber: 0
- Protein: 1
- Cholesterol: 35