

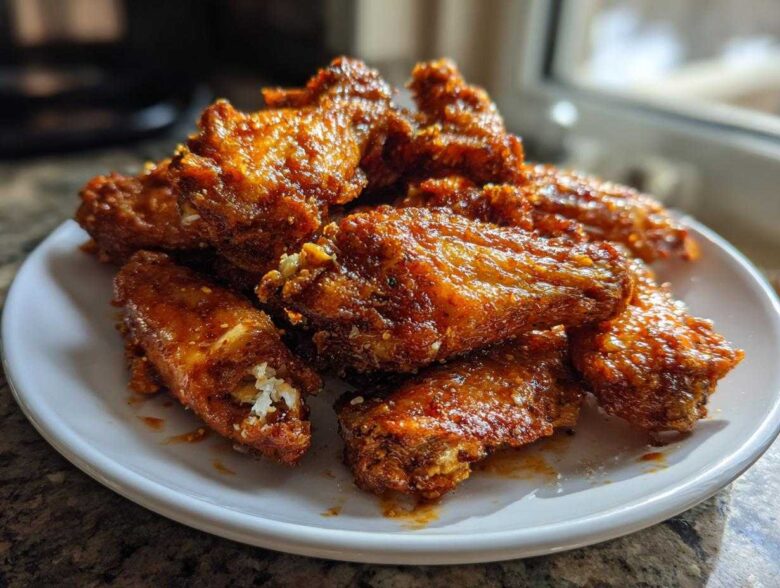
Okay, let’s talk about chicken wings. How many times have you followed a recipe promising “crispy wings,” only to pull them out looking pale, spongy, and frankly, sad? It’s the worst, especially when you’re setting them out for Game Day and everyone is looking at you expectantly. Ben and I have suffered through countless soggy disappointments—those recipes that look amazing on paper but fail in the oven.
Here at Savor and Pin, we don’t stand for broken promises, especially when it comes to perfectly textured appetizers. That’s why Noah, our resident scientist, spent weeks reverse-engineering the ultimate no fry chicken wings method. We cracked the code on achieving shatteringly crisp skin right in your oven. Forget the grease and hassle of deep frying; this recipe delivers that coveted extra crispy chicken wings experience using nothing but baking powder and high heat. This fix is so good, you can check out more of our rescued recipes over on our main blog here: our collection of fixed recipes. Trust me, once you try this technique, you’ll never go back.
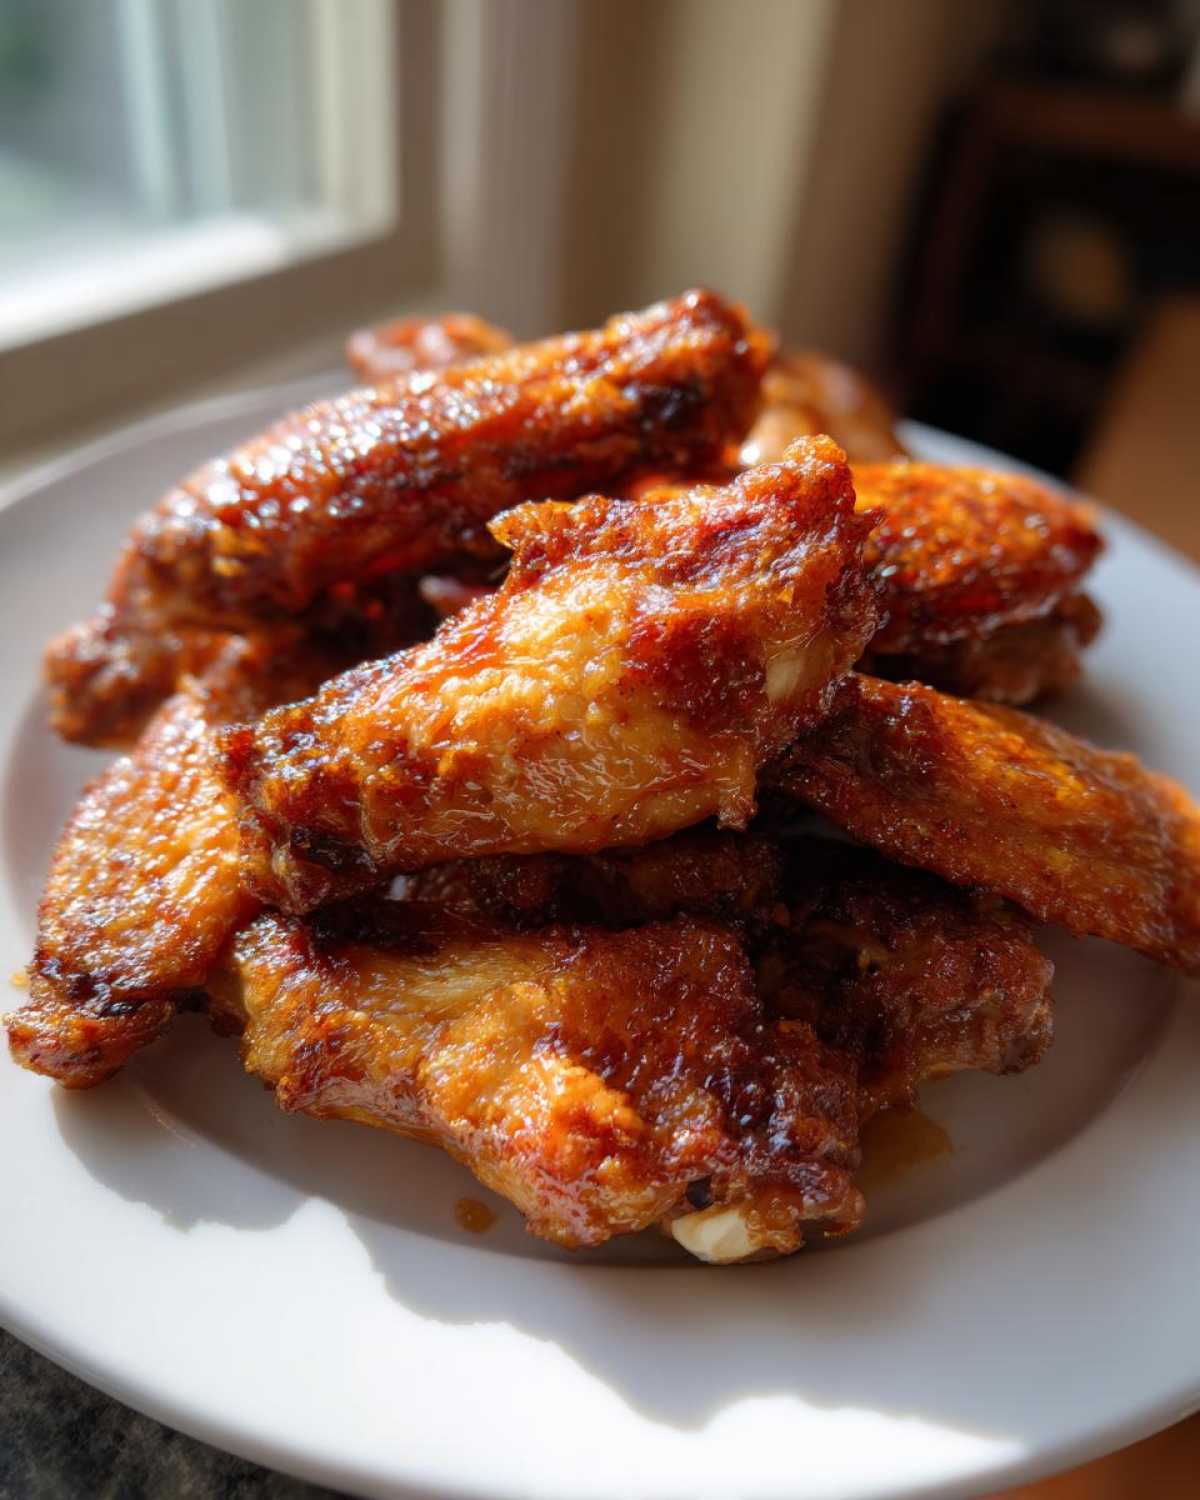
Why This Baking Powder Trick Makes the Best Crispy Chicken Wings
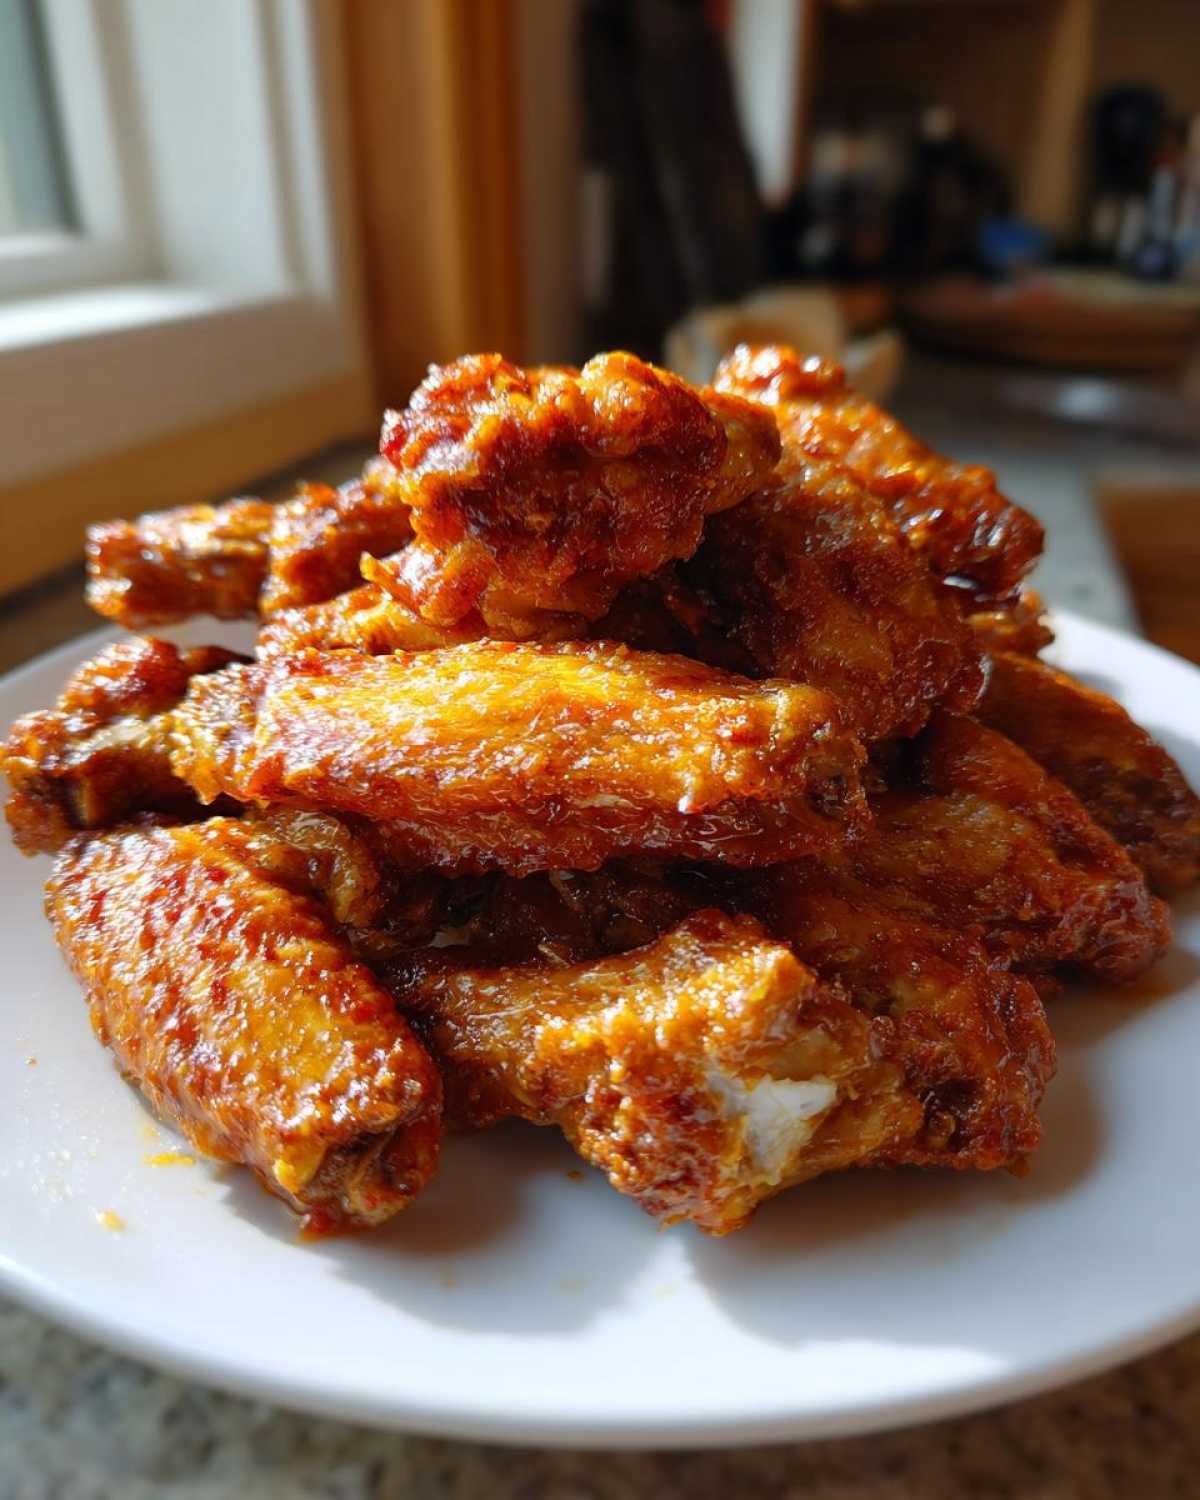
I know, I know. Putting baking powder on chicken sounds weird, right? It feels like something Ben would suggest just to watch something explode. But this isn’t chaos, this is pure, tested food science, and it’s the foundation of the best chicken wing technique we’ve ever developed. This simple coating is why we get juicy inside crispy outside wings every single time we bake them.
It’s about chemistry! We learned that the trick isn’t about drying the wings—though that’s important too—it’s about changing the skin itself so it behaves differently in the oven. Noah was obsessed with figuring out how to replicate that deep-fried texture without the oil bath.
The Science Behind Juicy Inside Crispy Outside Wings
Here’s the deal: Baking powder gets those skin proteins to relax and brown faster. Noah explained that the alkaline nature of the baking powder raises the pH level of the skin. This chemical tweak helps the skin break down proteins much more quickly while it’s heating up. Basically, it cheats the baking process, rendering the fat faster and creating those beautiful, rugged, shatteringly crisp surfaces. It makes all the difference between a rubbery wing and a truly epic appetizer!
Ingredients for Extra Crispy Baked Chicken Wings
When it comes to nailing this recipe, sticking to the measurements is key. This isn’t the time to eyeball things, especially the magic ingredient that gives us our crunch! We need a few things ready before we even think about turning on the oven. Remember, we are aiming for that perfect ratio that keeps the wings juicy inside while the outside develops that amazing crisp. You’ll need about two pounds total of wings, split into those flats and drumettes—giving everyone something to fight over!
For the coating—and this is vital for our no fry chicken wings success—make sure you grab your baking powder. If you happen to have aluminum-free, go for it; Noah insists it gives a slightly cleaner crisp. We mix this with our standard seasonings: salt, pepper, garlic powder, and just a tiny pinch of cayenne if you like a little background heat. Finally, have that melted butter ready for the toss immediately after they come out of the oven. It’s what helps the sauce (if you use it) stick beautifully to that crispy exterior.
Just to keep things totally clear, here’s the rundown of what you need in front of you before you start patting those wings dry:
- We start with about 2 lbs of chicken wings, flats and drumettes separated out—don’t forget that.
- One tablespoon of baking powder. Seriously, measure this! Aluminum-free is the gold standard if you can find it.
- A teaspoon of salt and half a teaspoon of black pepper. Standard seasoning basics.
- Half a teaspoon of garlic powder, because everything is better with garlic.
- A tiny whisper of cayenne pepper if you want a little kick, otherwise skip it.
- Two tablespoons of unsalted butter, melted right before the wings are done.
- And, of course, make sure your favorite sauce is handy for the final coating!
How to Prepare Extra Crispy Baked Chicken Wings Step-by-Step
Okay, you’ve got your ingredients ready—the wings are dry, and that baking powder blend is sitting there waiting to transform your appetizer game. These oven baked wings are totally worth the few extra steps we take here because the payoff is massive. We are dedicated to making sure these turn out perfectly, so pay close attention to the drying step; it’s where most people mess up their attempt at crispy wings!
Prepping the Chicken Wings for Maximum Crispiness
First things first: take your wings and pat them down. I mean really get in there with those paper towels until they feel as dry as sandpaper. If there’s any moisture left, you’re inviting sogginess, and we absolutely forbid sogginess here! Once they’re bone-dry, toss them in the bowl with our special dry mixture—the baking powder, salt, pepper, and spices. Make sure every single nook and cranny of every wing is totally coated. I mean every piece needs to wear that white jacket!
Next, this setup is non-negotiable for achieving the best crispy baked chicken wings. Line a sheet pan with foil—this saves you scrubbing later, trust me on that one—and put a wire rack right on top. We need air circulating completely underneath the wings to ensure they don’t steam! Place the wings on that rack in a single layer. Seriously, if they are touching, they will steam each other. Give them breathing room so they can crisp up nicely. This rack system is the secret weapon for all our no fry chicken wings recipes.
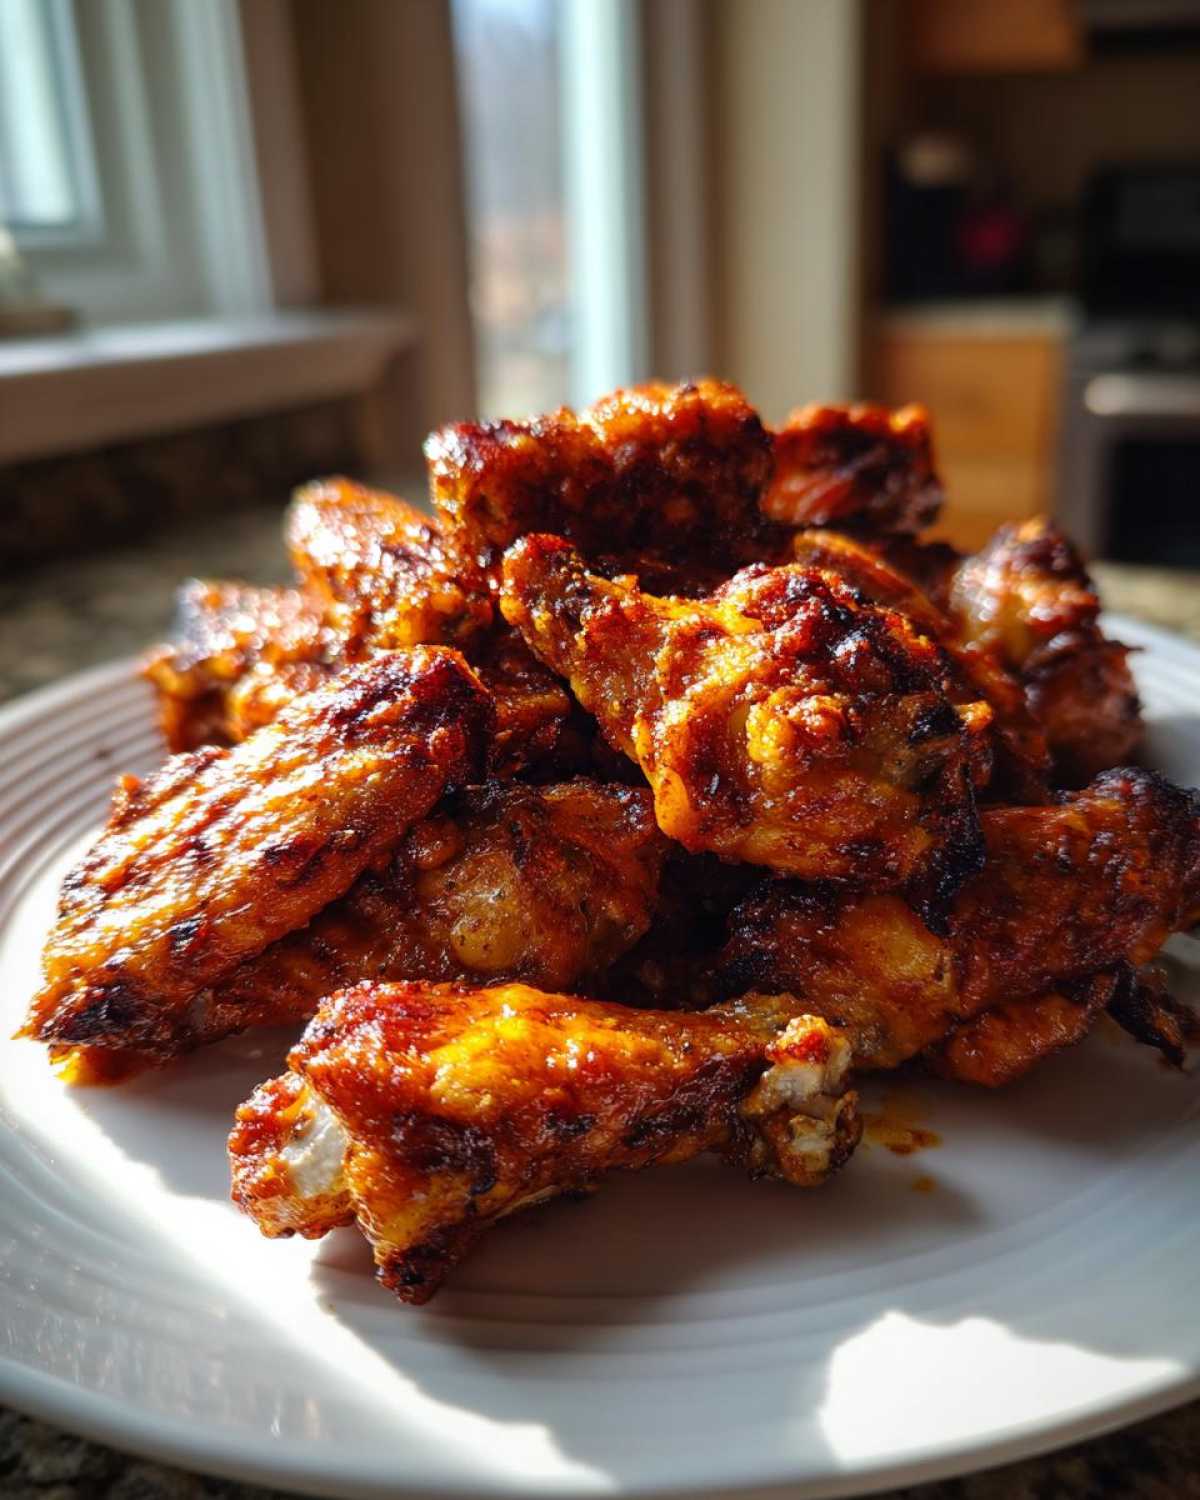
The Two-Stage Baking Process for Perfect chicken wings
Now for the heat! We start aggressive because we need to drive out that surface moisture fast. Crank your oven up to 425°F (220°C) and slide those wings in for 25 minutes. Don’t peek too much, but when the timer hits, pull them out. You’ll see they’ve started to release some fat and look a little browned.
This is crucial: Flip every single wing over. Then, drop the oven temp down to 400°F (200°C). We lower the temperature so we can finish cooking the inside through without instantly burning the dry coating we worked so hard to apply. Bake them for another 20 to 25 minutes. They are done when they look deeply golden brown and you can hear them slightly crackling when you shake the pan gently.
Saucing Your Finished chicken wings
When they come out of that second bake, they are technically done, but we have one last step to make them irresistible. Immediately transfer the hot, crispy wings to a clean bowl. Drizzle them with two tablespoons of simple melted butter. If you’re using a sauce—like a classic Buffalo or maybe something rich like ranch seasoning—this is when you toss them! Toss them quickly and gently until they are coated. Serving them instantly while they are hot is the very best way to enjoy the texture we worked so hard to achieve!
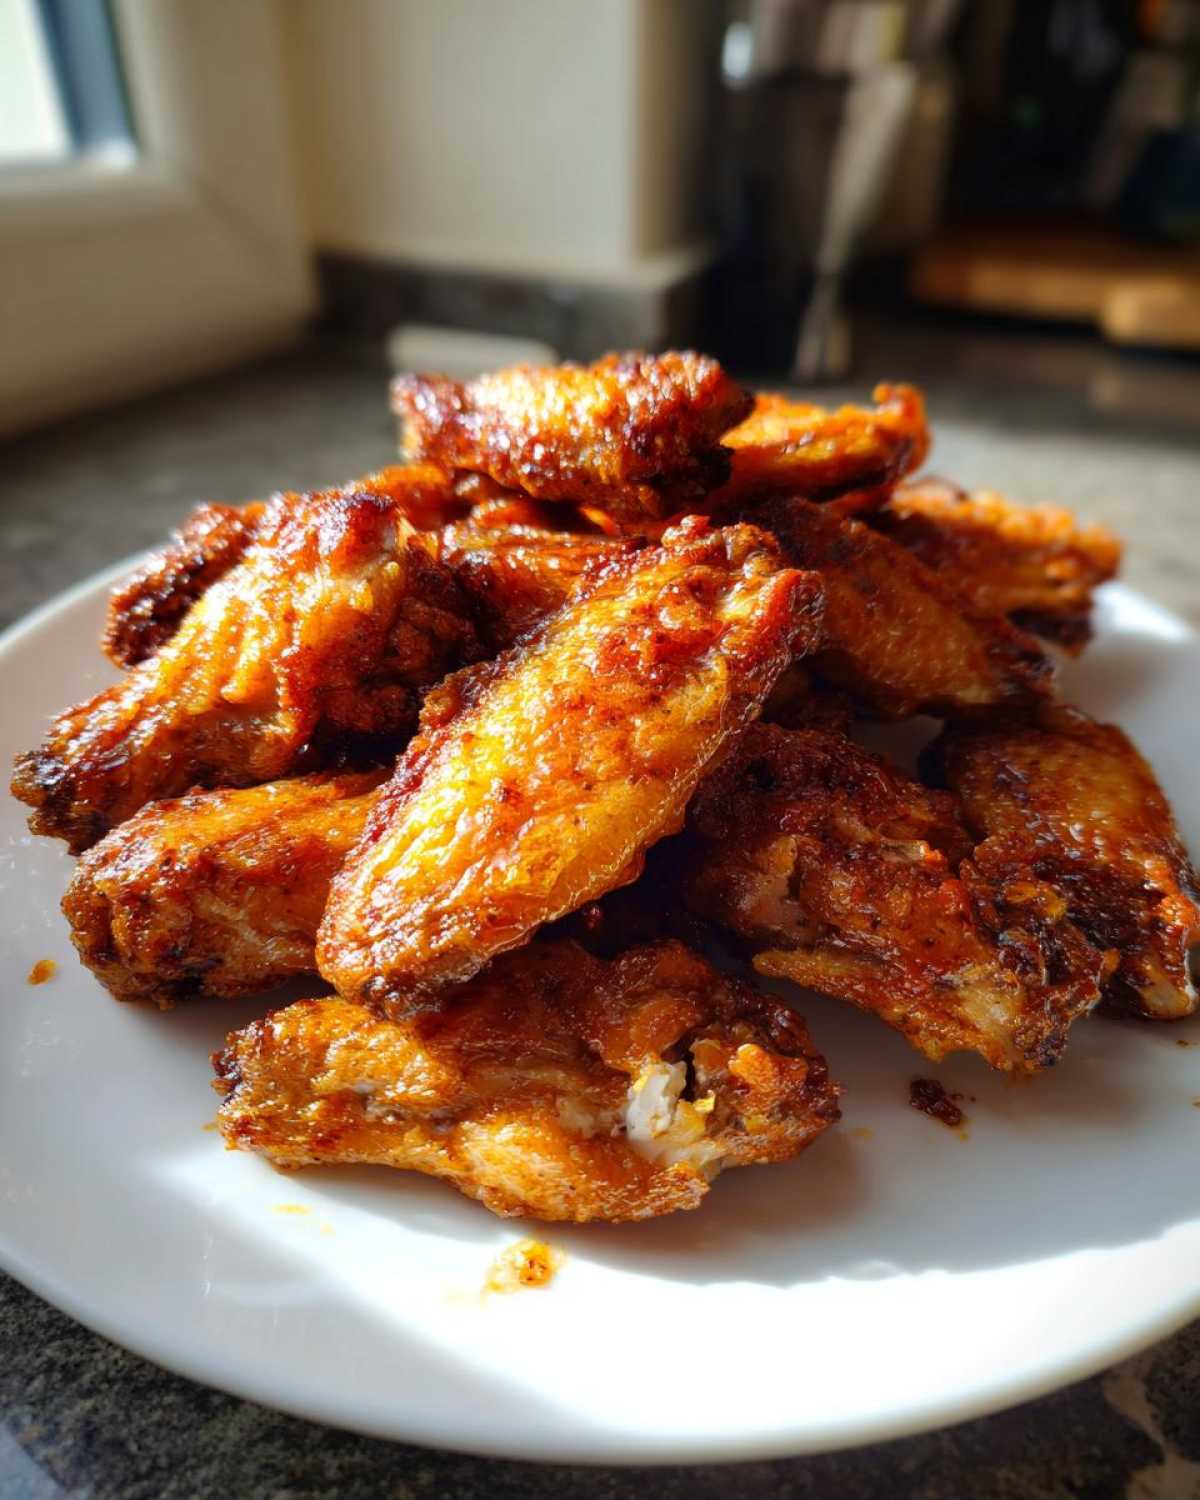
Flavor Variations for Your Crispy Chicken Wings
Part of why this base technique is so amazing is that it works perfectly with just about any flavor profile you can dream up. Since the skin is already so crispy from the baking powder, it holds onto wet sauces better than anything that’s been fried. You’ve got to try these with a coating made from a simple hot honey glaze—the sweetness caramelizes beautifully on that crunch. Or, for a creamy dip, toss them right after the butter step with a dry mix to create amazing ranch wings recipe bites.
Honestly, these baked wings are the perfect blank canvas for anything. Next time you need wing night ideas, don’t skip experimenting with a sticky honey garlic wings sauce or a classic lemon pepper dry rub. We’ve tested a bunch of flavor shifts with these, and they pass every time!
Making Simple Buffalo Wing Sauce
You can’t talk about chicken wings without mentioning the OG: Buffalo sauce! Making a simple, authentic sauce is super quick. You just need melted butter and your favorite bottled hot sauce—that’s it! For a little extra depth and tang, you can follow the steps we used for seasoning our garlic wings over at this recipe, just swap in the Buffalo base instead of the herbs. It’s mouth-watering and creates that perfect saucy hug the crunchy wings are begging for.
Tips for Perfect Game Day Chicken Wings
When you’re planning for a huge crowd—maybe the super bowl is on, or you just have way too many friends who love snacks—scaling up is your biggest hurdle. These Game Day Chicken Wings are such a fantastic choice because they are truly crowd pleaser appetizers, and the oven method scales way better than trying to deep fry ten pounds of wings!
The most important thing to remember when scaling is air circulation. If you try to cram too many wings onto one rack, they immediately steam, and all that effort we put into the baking powder trick vanishes. We always recommend using two sheet pans and two racks if you’re doubling or tripling the recipe. Don’t overcrowd! It’s better to run the oven twice than serve sub-par, soggy wings.
Also, remember those little hints from the recipe’s notes? If you’re making your wings ahead of time for a party, you want to cook them completely, let them cool, and store them in the fridge. The next day, throw them back on the wire rack in a 400°F oven for about 10 minutes to re-crisp them up before you toss them with butter or sauce. This little bit of advance work makes party day so much less stressful!
Since these wings are filling up the main appetizer slot, you should definitely plan great dips for them. We always bring out a giant bowl of our bacon cheddar ranch dip whenever we serve these, or you can try making those amazing ranch wings dry if you need less mess! It makes the whole spread feel complete, and people have something creamy to balance the crunch and heat.
Air Fryer Chicken Wings Alternative Technique
Okay, so I know air fryers are everywhere, and I get it—you want speed, and you want that crisp! While Noah is a purist about the high-heat oven and rack combo, we totally hacked this recipe to work beautifully in the popular air fryer chicken wings machines too. Honestly, using the air fryer for this is a fantastic way to get that same baking powder crunch when you’re only making a small batch for a quick weeknight dinner.
The most important part of getting that amazing texture is transferring the technique, not completely changing the ingredients. You still need to dry those wings like your life depends on it, and you absolutely still need that baking powder mixture coating everything evenly. Don’t skip that coating step!
For adapting our baked recipe, here’s the quick adjustment guide. Preheat your air fryer to 380°F (190°C). You’ll toss your coated wings in the basket—but listen to me, you MUST work in batches. Overcrowding kills the crispness in an air fryer faster than anything else! Cook them for about 15 minutes, then shake the basket hard, and check them. You might need another 3 to 5 minutes depending on your specific machine.
We found that once they are crispy, you pull them, toss them in that little bit of melted butter, and then you sauce them up immediately, just like the oven method. For a deeper dive into using that appliance, we have a great tutorial for our other favorite appliance recipes, like our crispy taquitos tutorial. If you want inspiration for dry rubs in the air fryer, check out some other great ideas people are testing out here: salt and pepper wings are fantastic in there!
Storage and Reheating for Your Homemade Chicken Wings
Don’t you hate it when you have incredible leftover wings but they feel like sad, rubbery leftovers the next day? We’ve all been there. That perfect crisp we worked so hard to earn disappears the second you seal them in Tupperware. But since this is a scientifically tested recipe, we have rules for saving them so they taste almost as good as fresh!
If you think you’ll have leftovers, let them cool down completely on the wire rack first. The condensation that forms inside a container is the enemy of crispiness. Once they are totally cool, store them in a container, but here’s the trick: Don’t seal the lid completely shut. Leave it just cracked open. This allows any remaining moisture to escape instead of getting trapped against the skin.
Now, about reheating. I’m going to stop you right there if you were thinking about the microwave. The microwave is the fast track to the saddest chicken wings possible—they turn soft and steaming almost instantly. We need that oven back in action to bring the crunch back!
For revival, preheat your oven to a happy medium of 375°F (190°C). Place the wings directly onto a clean wire rack set over a baking sheet—yes, we need that rack again! Pop them in the oven for about 8 to 10 minutes. You’re not cooking them again; you’re just crisping up that skin layer that softened while cooling in the fridge. Give them 10 minutes, and they’ll be tender inside and beautifully crunchy outside. It’s the only way to properly enjoy your homemade chicken wings the next day!
Frequently Asked Questions About Crispy Chicken Wings
It’s natural to have questions when you’re trying a whole new technique, especially when dealing with something as important as crispy, perfectly cooked chicken wings! We get asked all the time about consistency and method, so here are the answers we’ve gathered from all our testing runs. We want to make sure your batch is perfect for your next quick chicken wing dinner or party!
Can I use standard baking powder instead of aluminum-free for these chicken wings?
You absolutely can! Don’t run to the store if that’s all you have. Standard baking powder will still raise the pH level of the skin and give you fantastic crispiness because that’s its main job here. However, Noah did notice that the aluminum-free version seems to deliver a slightly cleaner, more uniform brown color without any potential metallic aftertaste that some ultra-sensitive tasters (like Ben!) claim they detect. So, if you’re looking for the *absolute* best results, use aluminum-free, but run with what you’ve got—it will still be miles better than parchment paper wings!
What is the secret to getting the best Oven Baked Wings without frying?
This is the question we answer every single time people see how crispy these get! There isn’t just one secret, it’s a triangle of technique: First, you have to get the moisture off the surface—pat your wings bone dry! Second, you use the baking powder coating to chemically assist the browning. And third, and this is huge, you must cook them on a wire rack. If the wings sit directly on the pan, the bottom steams. The rack lets the heat circulate everywhere, creating those beautifully crisp bottoms alongside the top. Follow those three steps, and you’ll have best oven baked wings that rival any deep-fried version!
If you’re looking for more kitchen troubleshooting and fixes for other classic meals, pop over and see what other recipes we’ve rescued lately, like our guide to making a perfect creamy stroganoff!
Savor and Pin Next Steps
Well, folks, that’s the whole rescue mission! We took a simple concept—making crispy chicken wings at home—and fixed all the common pitfalls that leave you with sad, soggy messes. This baking powder technique is truly foolproof, and it’s now ready to be pinned down and saved in your own recipe collection for every single Game Day or weeknight slump.
I really, really want you to try this method next time you’re craving these savory chicken bites. Seriously, go pat those wings dry right now! When you do make them, come back here and let us know how that crispiness turned out in the comments below. We live for that feedback because it validates all the testing Noah puts us through!
If this recipe helped you finally achieve that perfect crunch without breaking out the deep fryer, please consider rating it highly. We keep doing this because we hate broken promises in the kitchen, and creating recipes that *actually* work is our whole mission here at Savor and Pin. If you enjoyed fixing this chicken wing disaster, you might want to check out how we saved another tricky takeout classic; our fixed chili garlic noodles recipe is another winner!
PrintExtra Crispy Baked Chicken Wings (No Fry Technique)
You want wings that are crispy on the outside and juicy inside without deep frying. This oven-baked recipe uses a simple baking powder trick to achieve shatteringly crisp skin, making them perfect for game day or any party appetizer.
- Prep Time: 15 min
- Cook Time: 50 min
- Total Time: 65 min
- Yield: 4 servings
- Category: Appetizer
- Method: Baking
- Cuisine: American
- Diet: Low Fat
Ingredients
- 2 lbs chicken wings (flats and drumettes separated)
- 1 tablespoon baking powder (aluminum-free preferred)
- 1 teaspoon salt
- 1/2 teaspoon black pepper
- 1/2 teaspoon garlic powder
- 1/4 teaspoon cayenne pepper (optional)
- 2 tablespoons unsalted butter, melted (for tossing after baking)
- Your favorite sauce (e.g., Buffalo, Honey Garlic)
Instructions
- Preheat your oven to 425°F (220°C). Line a large, rimmed baking sheet with foil for easy cleanup, then place a wire cooling rack on top of the foil.
- Pat the chicken wings completely dry using paper towels. This step is crucial for crispiness.
- In a large bowl, combine the baking powder, salt, pepper, garlic powder, and cayenne pepper.
- Add the dried chicken wings to the bowl and toss thoroughly until every piece is evenly coated with the dry mixture. Noah notes that the baking powder raises the pH level of the skin, helping it brown and crisp faster.
- Arrange the coated wings in a single layer on the wire rack, ensuring there is space between each wing for air circulation. Do not overcrowd the pan.
- Bake for 25 minutes.
- Flip each wing over. Reduce the oven temperature to 400°F (200°C).
- Bake for another 20 to 25 minutes, or until the skin is deeply golden brown and very crispy.
- Remove the wings from the oven. Place them in a clean bowl. Drizzle with the melted butter and toss gently.
- Toss immediately with your choice of sauce, or serve dry with sauce on the side. Serve hot for your game day spread.
Notes
- For the absolute crispiest skin, ensure you use aluminum-free baking powder. Standard baking powder works, but the aluminum-free version yields superior results.
- If you plan to sauce the wings, toss them in the sauce immediately after they come out of the oven while they are hot.
- If you prefer a dry rub finish, skip the butter and melted sauce step and toss them with an extra sprinkle of your dry seasoning mix instead.
Nutrition
- Serving Size: 4 wings
- Calories: 280
- Sugar: 1
- Sodium: 350
- Fat: 18
- Saturated Fat: 5
- Unsaturated Fat: 13
- Trans Fat: 0
- Carbohydrates: 1
- Fiber: 0
- Protein: 27
- Cholesterol: 95