

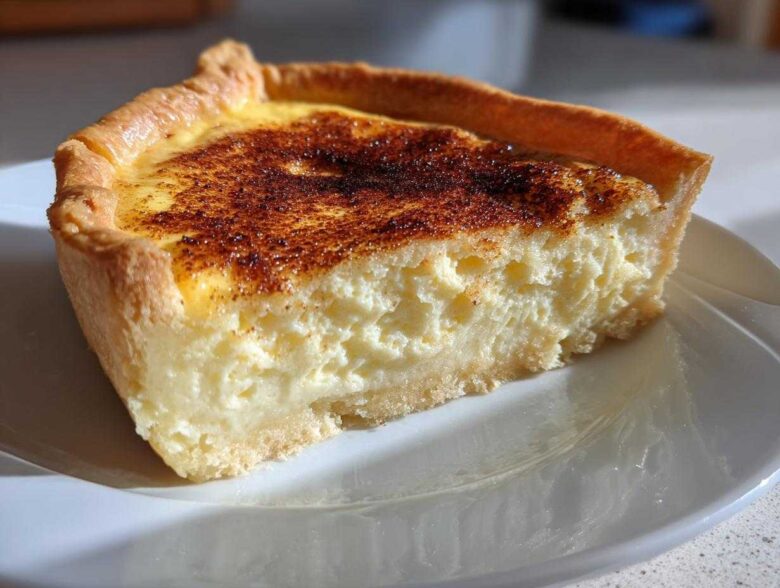
There’s nothing quite like the cozy feeling of pulling a perfect, slightly wobbly pie out of the oven, especially when it smells like vanilla and warm spices. I’m Clara, and if you’ve ever scrolled past a gorgeous photo only to find a recipe that leads to disaster—we’ve been there! Our team at Savor And Pin lives for rescuing those broken promises, especially when it comes to a classic like this custard pie. Forget the watery messes; we are handing you the foolproof, classic old fashioned egg custard pie recipe that actually works every time, guaranteed. Trust me, this is the recipe you’ll save to your favorites for all your holiday baking desserts! Check out the rest of our rescue missions over on the Savor And Pin blog, too!
Why This Classic Custard Pie Recipe is Worth Savoring
So many recipes promise the world, but deliver a texture worse than scrambled eggs! Noah went deep into the science for this one, and I tested it relentlessly until we landed on the absolute best custard pie. We cracked the code to getting that beautifully creamy dessert pie filling that sets firm but melts in your mouth—no weeping, no curdling, just pure, comforting perfection.
This isn’t just another recipe; it’s a promise kept. It works because we don’t rush the two most important steps: mixing and cooling. Save this, and you’ll never look back! If you loved our tips on how to perfectly bake those cookies, you’ll appreciate the detail here too: the cookies that always win bake sales.
The Secret to a Perfectly Smooth Vanilla Custard Filling
The number one mistake people make ruins the texture right away—over-beating the eggs! Seriously, step away from the electric mixer. We only want to *gently* whisk the eggs, just enough to break them up. If you incorporate too much air, you get weird bubbles when baking. Then, when you add the warm milk, pour it in slowly while you’re whisking continuously. This slow incorporation, called tempering, warms the eggs gradually so they don’t seize up on you. That’s how you get that silky smooth finish!
Gathering Ingredients for Your Old Fashioned Custard Pie
Okay, let’s get this old fashioned pie sorted! Because this is a traditional dessert that relies on just a few core ingredients, quality really matters. We need to be precise with our measurements here—precision is Ben’s favorite word, believe it or not, when it comes to baking! Getting this right ensures you get that perfect, creamy texture we talked about. Feel free to use your favorite simple pie crust recipe, or grab one! Here is exactly what you need for the filling:
- 1 (9 inch) unbaked pie crust
- 4 large eggs
- 1/2 cup granulated sugar
- 1/4 teaspoon salt
- 1 teaspoon vanilla extract
- 1/4 teaspoon ground nutmeg, plus extra for topping
- 2 cups whole milk
If you made our amazing buttery dinner rolls, you know we love baking from scratch, but for speed, a good store-bought crust works fine here to keep this an easy homemade pie!
Ingredient Notes and Substitutions for Your Custard Pie
If you don’t have whole milk on hand, you *can* use 2% milk, but I have to warn you: the filling won’t be quite as rich or creamy. Whole milk is what gives the traditional dessert that luxury mouthfeel. Also, don’t skip the salt! It’s tiny, but it stops the sugar from tasting flat. You can find my favorite dough recipe for a flaky crust rescue here if you want to go fully from scratch!
Step-by-Step Instructions for the Classic Custard Pie Recipe
Alright, my favorite part: turning this list of ingredients into an amazing, from scratch pie! Don’t panic if you’ve never made a proper baked custard before. We’re focusing on technique here, which is what separates a good pie from a mediocre one. We are making sure this easy homemade pie goes perfectly from the countertop to the cooling rack. Remember, precision in mixing is key, and Noah promises that paying attention to the temperature is crucial for that perfect set!
Preparing the Custard Base for the Best Custard Pie
First things first: 350 degrees F—get that oven preheated while you work! We start with those lightly whisked eggs in the bowl. Seriously, light whisking only; we aren’t trying to whip meringue here! That just creates bubbles that can scorch the top of your beautiful custard pie later. Once the dry stuff is mixed in, slowly drizzle in that whole milk while keeping a gentle, steady whisk going. It should look homogenous and smooth, nothing else! If you struggle with speed sometimes, check out how we keep our chili garlic noodles from clumping up.
Baking and Setting the Creamy Dessert Pie
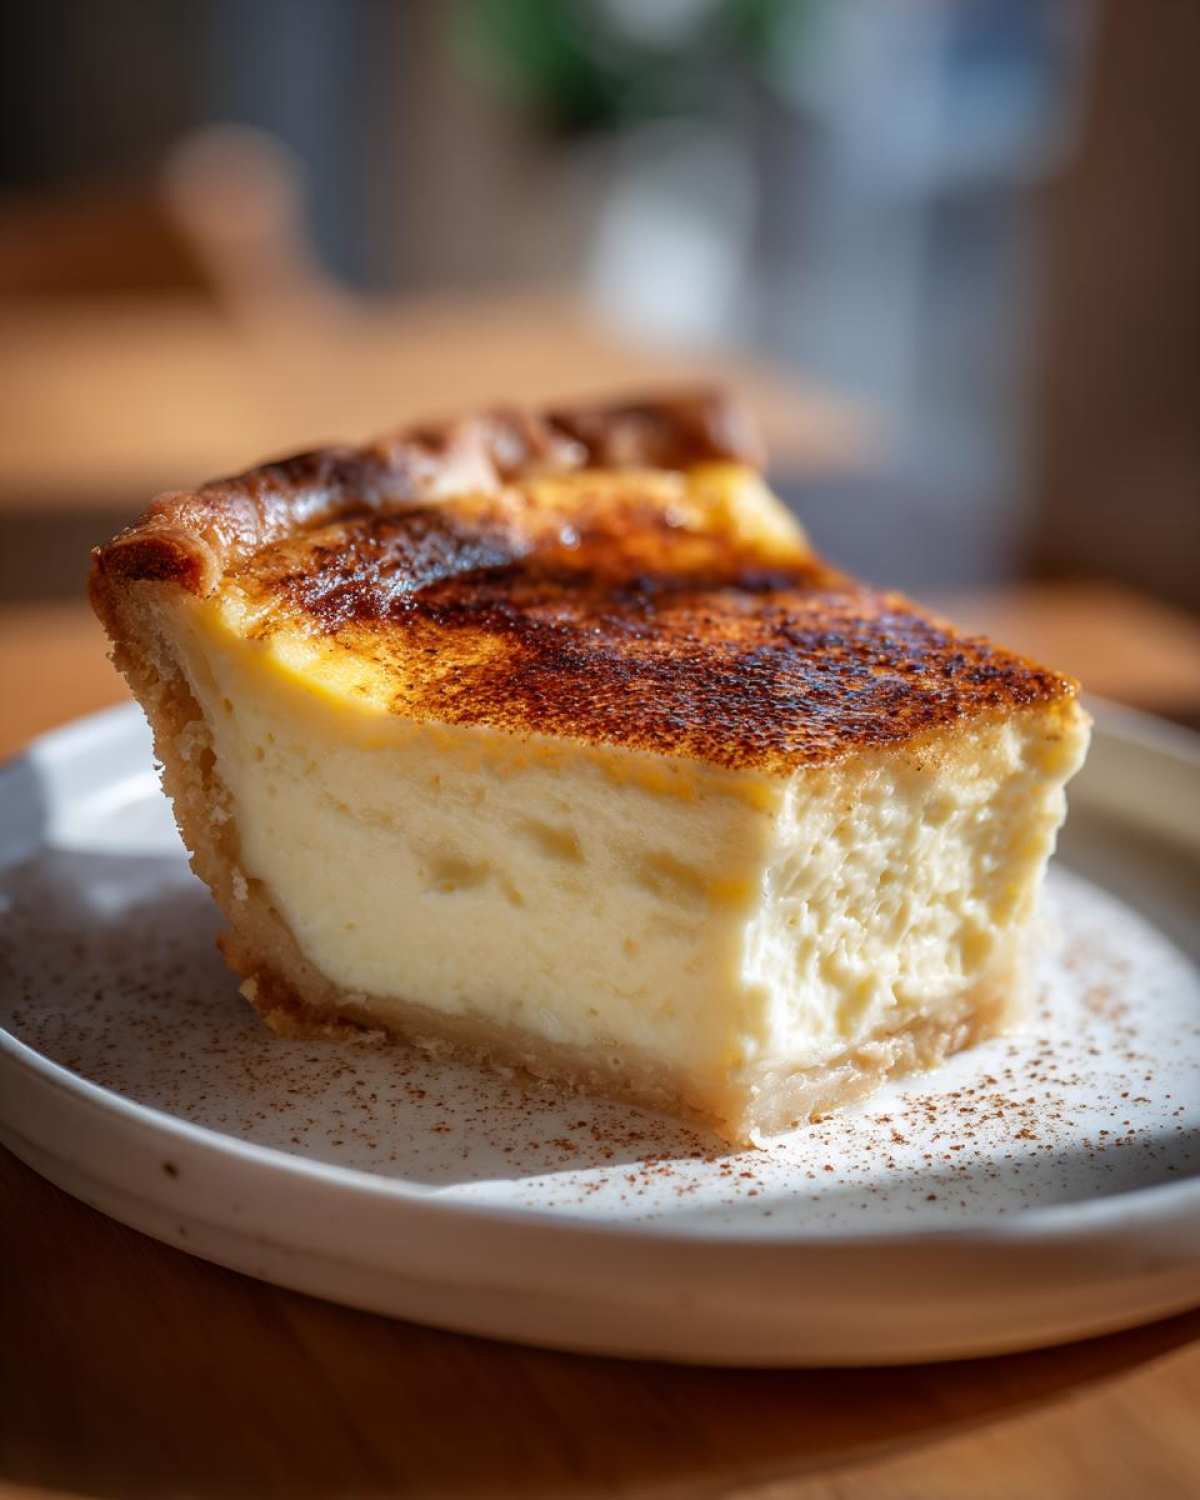
Pour that liquid gold into your waiting unbaked crust right away, and then dust the top evenly with a little extra fresh nutmeg—that’s our signature touch! It bakes for about 40 to 50 minutes. To check, insert a knife near the center. If it comes out almost clean, you’re winning! I’m looking for a slight, gentle jiggle in the very center, not a huge wobble. That means the creamy dessert pie filling is nearly done. Please, please, please let this cool completely on the rack—at least two hours! If you skip the cooling, you definitely won’t get the right texture in your finished custard pie.
Tips for a Flawless Southern Custard Pie Experience
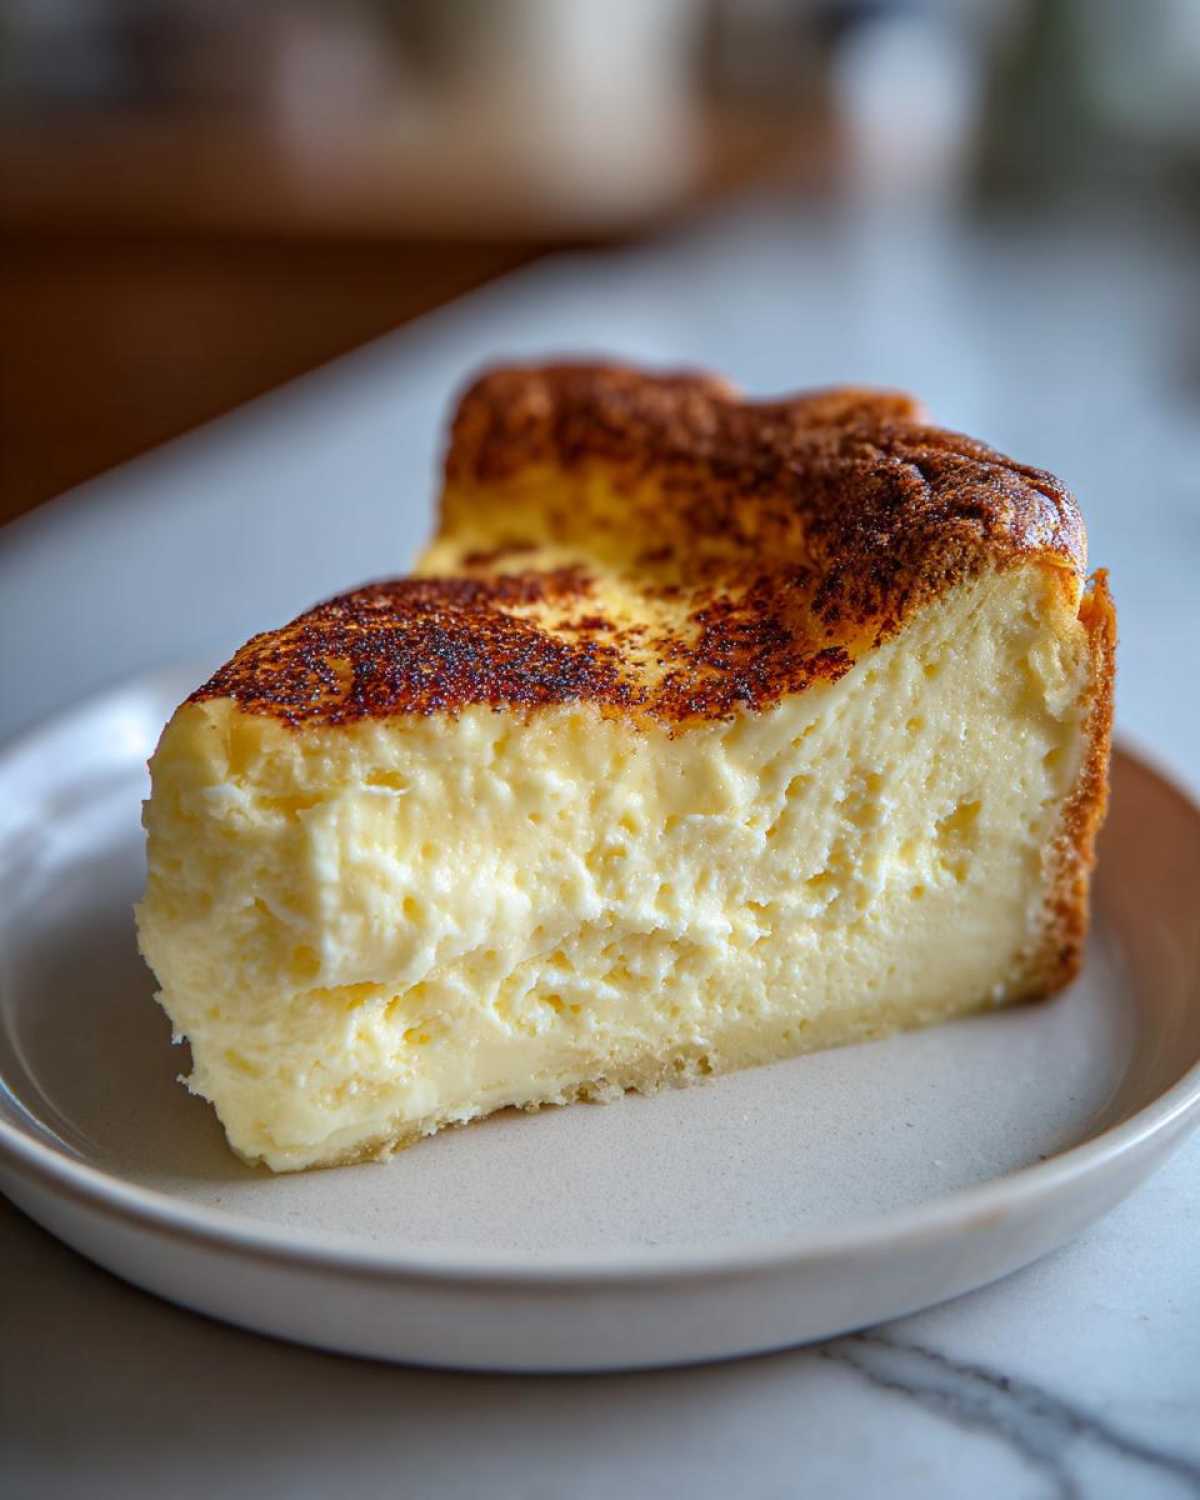
You’ve got the classic custard pie base perfect, but now we need to protect that crust while the silky interior sets into a perfect traditional dessert. A rookie mistake I always catch people making, especially with southern custard pie recipes, is ignoring the edges of the crust. They start browning way too fast! Halfway through baking, grab a ring of aluminum foil and loosely tent it over the edges only. It shields the delicate pastry while the center finishes cooking.
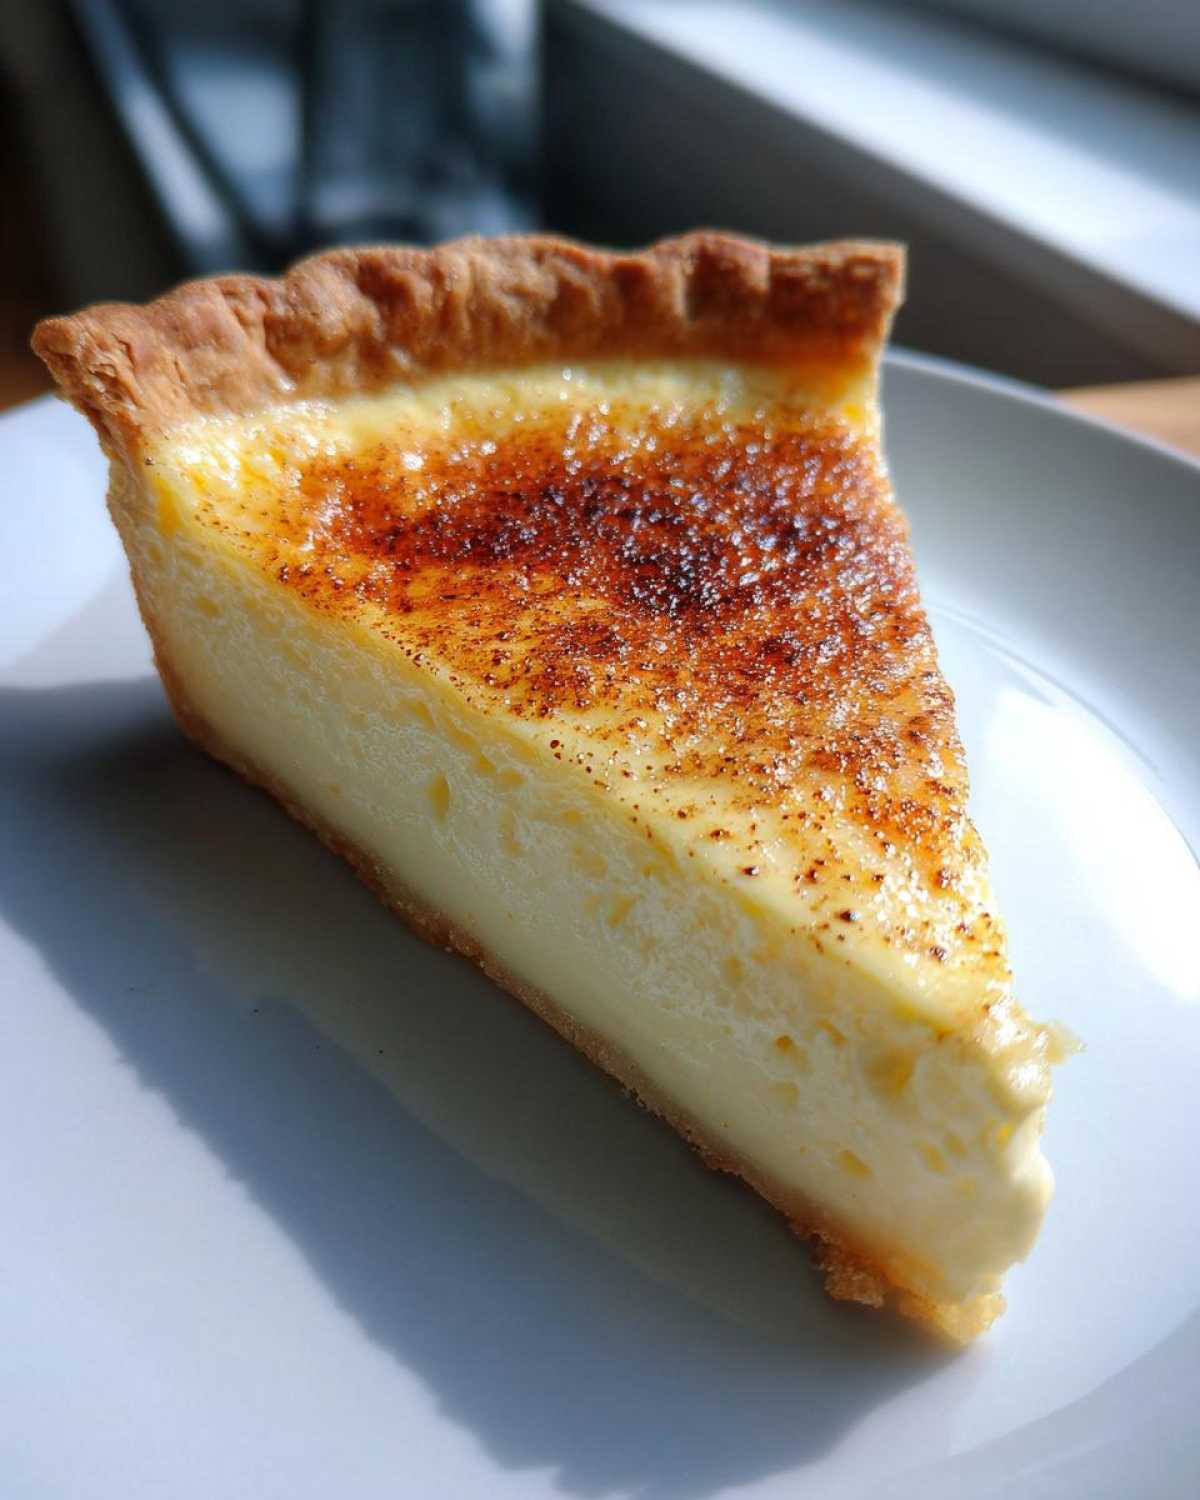
Another thing Ben always nags me about is oven calibration! Seriously, your oven thermometer might lie to you, and custards absolutely hate cooking at the wrong temperature. If your oven runs hot, your custard will crack because it sets too fast. I always recommend installing a separate oven thermometer so you can confirm you are truly holding that 350 degrees F. That little extra step ensures your beautiful custard pie comes out heaven-sent every time, just like the recipe promises. Need a quick dinner recipe for the night before you bake? Try my one skillet beef stroganoff!
Making Your Custard Pie Ahead for Holiday Baking Desserts
Listen, I get it—when it’s time for big feasts and major holiday baking desserts, you need your kitchen space back! Good news: this recipe is absolutely fantastic when made ahead of time. It actually seems to taste better after chilling overnight, which is a win-win when you’re tackling your mountain of Thanksgiving pie recipes!
The important thing here is patience during that final set. Once the pie has cooled completely on the rack (remember, that’s at least two full hours!), cover it loosely with plastic wrap and pop it into the fridge. It holds up beautifully for up to three days in cold storage. This frees up your oven for the turkey or that second casserole dish you forgot about. We’ve needed this make-ahead magic many times ourselves, usually when we are also making the honey butter chicken biscuit sandwiches!
Storage and Reheating for Your Perfect Custard Pie
Since this beautiful custard pie is loaded with dairy and eggs, storage is super important! Once it’s fully chilled—and I mean *fully* chilled—you need to cover it tightly. Plastic wrap works, but a cake dome works even better if you have one. We just don’t want it sitting uncovered in the fridge where it can pick up any weird smells!
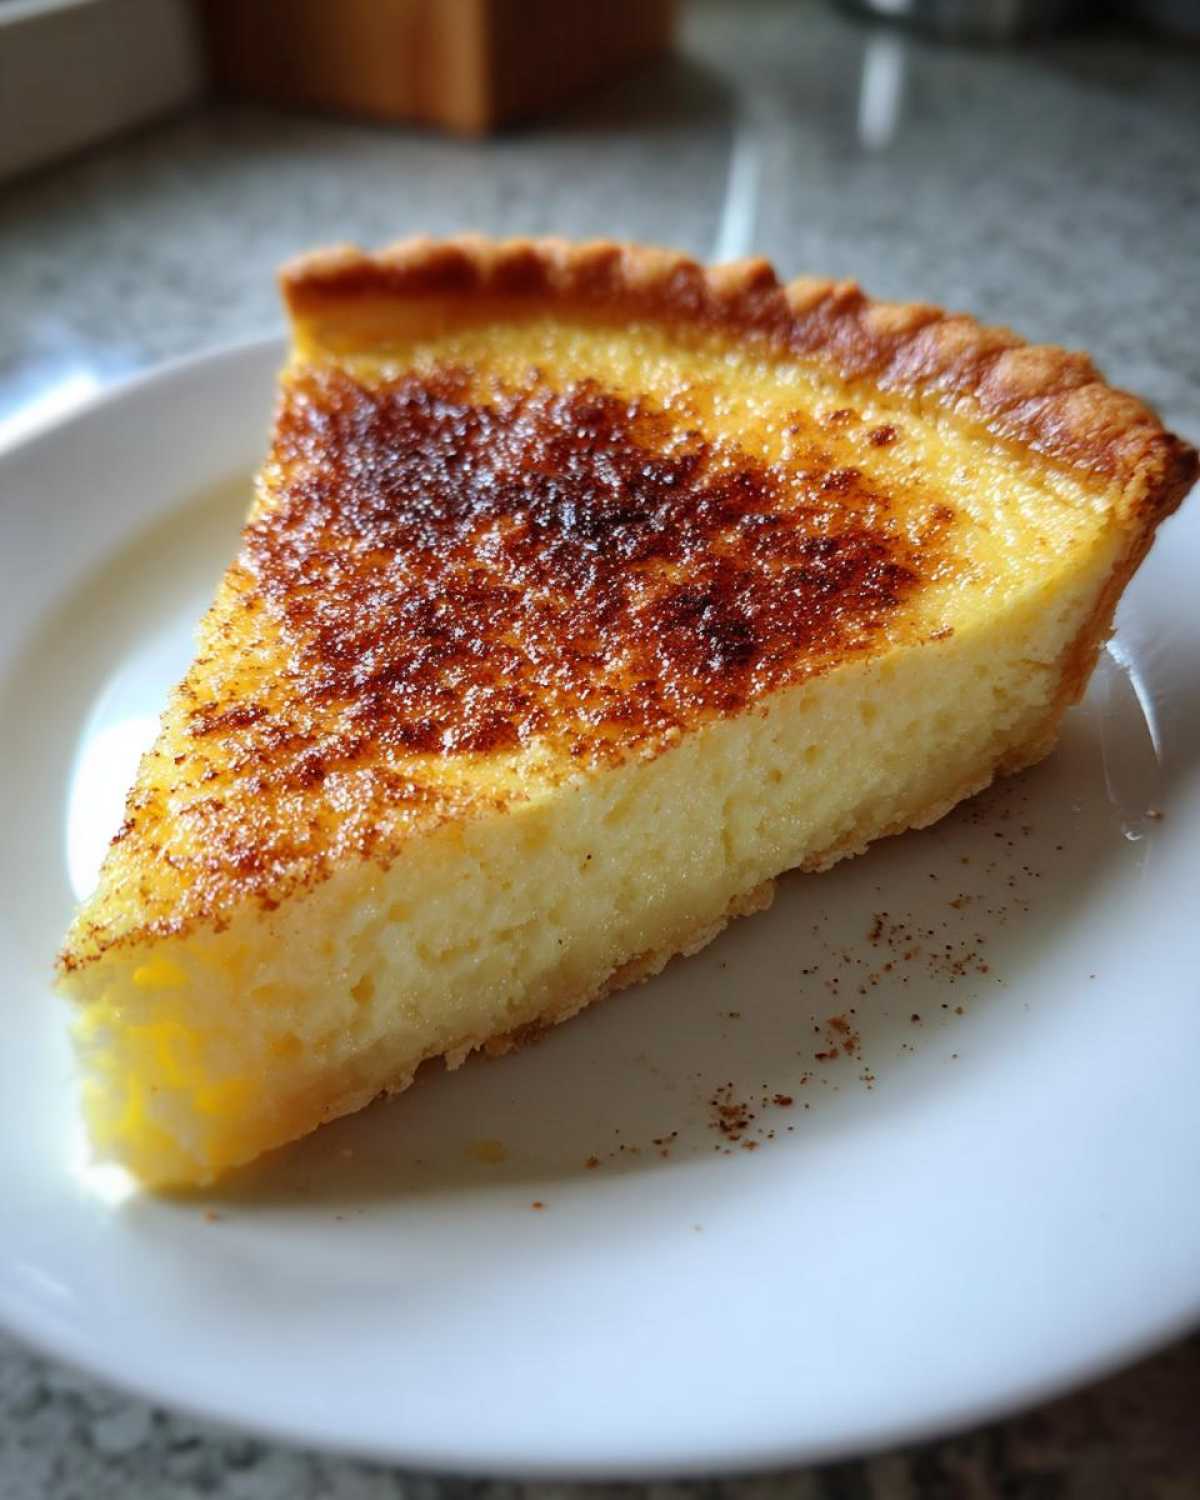
Now, about reheating? Honestly, don’t bother. This is one of those wonderful treats that is meant to be served cool or even straight from the fridge; that’s when the vanilla custard filling is at its firmest and creamiest. If you warmed it up, you’d risk making it runny again. If you happen to have leftovers after a few days, you can enjoy them cold or maybe slice them up and serve them alongside those amazing churro cheesecake bars for an extra special day!
Frequently Asked Questions About This Custard Pie Recipe
I know you might still have some questions swirling around after tackling such a delicate recipe! That’s totally normal. When you’re dealing with something this classic, you want it perfect. We get asked the same things over and over again, so Ben put together a quick cheat sheet to make sure your batch comes out flawless.
Can I use evaporated milk instead of whole milk in this custard pie recipe?
You absolutely can sneak evaporated milk in here if that’s what you have, but you have to dilute it first! Evaporated milk is just milk with a lot of the water removed, so if you dump it in straight, your filling will be way too thick and heavy. For every cup of whole milk the recipe calls for, use half a cup of evaporated milk and add half a cup of water back in. It works out just fine, though honestly, the richness of the whole milk gives you that signature vanilla custard filling flavor we are aiming for.
Why did my baked custard dessert crack on top?
Oh, the dreaded crack! This haunts every baker who attempts a custard. 99% of the time, cracking happens for one of two reasons: you either overbaked it slightly, or the temperature shock was too intense. You need that slight jiggle in the center when you pull it out! If you bake it until it looks totally solid, the residual heat will cook it too far, and it cracks as it cools. Also, if you slam the oven door or go from a hot oven straight to a cold counter, that rapid temperature change shocks the surface. Always cool your baked custard dessert slowly on the rack first!
If we’re talking about fixing things in the kitchen, you might want to check out how we fixed up that mulled wine recipe for the holidays too—same rules apply: don’t shock the ingredients!
Nutritional Estimates for This Comfort Food Pie
We pulled together some estimates for you here, because while this comfort food pie is pure bliss, it’s good to know what you’re diving into! Remember, since we recommend using a simple pie crust—whether homemade or store-bought—these numbers are just an estimate because the crust can really change the final count.
- Serving Size: 1 slice
- Calories: 250
- Sugar: 18g
- Sodium: 180mg
- Fat: 12g
- Carbohydrates: 25g
- Protein: 9g
If you need a fantastic savory dish to balance out all that sweetness, check out the rescue mission we did on our Mexican street corn dip! That recipe is a crowd-pleaser any time of year.
Pin This Classic Custard Pie So You Never Lose It
Well, that’s it! We conquered the wobbly center and achieved pie perfection together. I’d love it if you took a second to save this recipe pin so you don’t have to hunt for it next time you need a guaranteed win. Snap a picture when you pull your delicious traditional dessert out of the oven and tag us! We live for seeing your results. And hey, if you’re planning your next big meal, make sure you read up on the rules for my famous prime rib roast for Christmas dinner, too!
PrintClassic Old Fashioned Egg Custard Pie with Vanilla and Nutmeg

You deserve a truly reliable recipe for a classic comfort food pie. This foolproof recipe delivers a silky, creamy vanilla custard filling baked in a flaky crust, topped with a hint of warm nutmeg. It is the best custard pie you will make from scratch.
- Prep Time: 15 min
- Cook Time: 50 min
- Total Time: 2 hours 5 minutes
- Yield: 8 servings
- Category: Dessert
- Method: Baking
- Cuisine: American
- Diet: Vegetarian
Ingredients
- 1 (9 inch) unbaked pie crust (simple pie crust recommended)
- 4 large eggs
- 1/2 cup granulated sugar
- 1/4 teaspoon salt
- 1 teaspoon vanilla extract
- 1/4 teaspoon ground nutmeg, plus extra for topping
- 2 cups whole milk
Instructions
- Preheat your oven to 350 degrees F. Place your unbaked pie crust into a 9-inch pie plate.
- In a medium bowl, lightly whisk the eggs. Do not over-beat the eggs; you want to avoid incorporating too much air.
- Whisk in the granulated sugar and salt until combined.
- Stir in the vanilla extract and 1/4 teaspoon of ground nutmeg.
- Slowly pour in the whole milk while continuing to whisk gently until everything is just combined.
- Pour the custard mixture carefully into the unbaked pie crust.
- Sprinkle a light, even layer of extra ground nutmeg over the top of the filling.
- Bake for 40 to 50 minutes. The pie is done when the edges are set and a knife inserted near the center comes out clean or with only a slight moistness. The center should still have a slight jiggle.
- Remove the pie from the oven and let it cool completely on a wire rack for at least 2 hours before slicing. This allows the creamy dessert pie filling to fully set.
- Chill the pie for at least 2 more hours before serving for the best texture.
Notes
- For a truly traditional dessert experience, use a homemade pie crust.
- If you are making this for a holiday baking dessert, prepare it a day ahead; it tastes wonderful chilled.
- To prevent the crust edges from burning, cover them loosely with aluminum foil halfway through the baking time.
Nutrition
- Serving Size: 1 slice
- Calories: 250
- Sugar: 18g
- Sodium: 180mg
- Fat: 12g
- Saturated Fat: 5g
- Unsaturated Fat: 7g
- Trans Fat: 0.2g
- Carbohydrates: 25g
- Fiber: 1g
- Protein: 9g
- Cholesterol: 110mg