

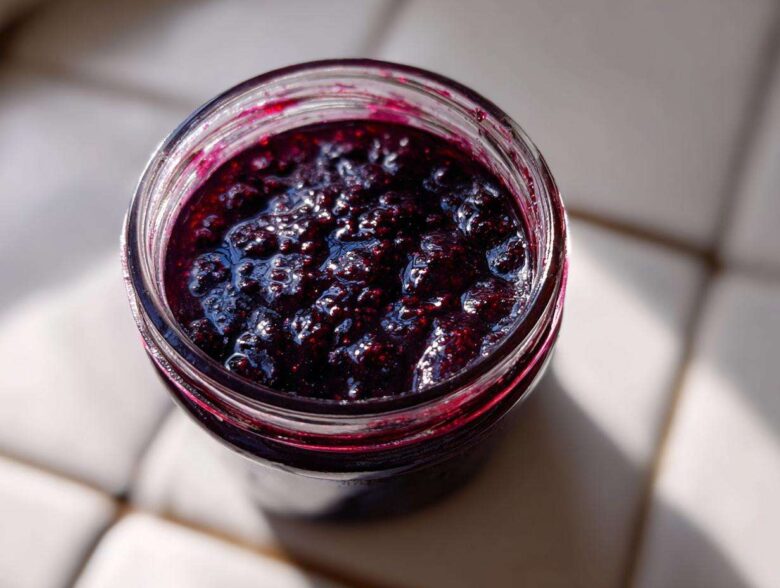
When the cold air starts biting, trusting nature’s own defenses feels like the smartest move you can make. It’s easy to get overwhelmed by complicated herbal mixes, but honestly, the best things in health are usually the simplest. That’s why I am so excited to share this straightforward elderberry syrup recipe with you today. This isn’t some overly processed goo; this is a truly effective, honey-sweetened tonic you whip up in a small batch right on your stovetop. Noah, of course, had to verify all the ratios—he gets really intense about extraction efficiency, bless his scientific heart—but even he agrees this simple simmer method yields the best results for homemade immune syrup.
Why This Elderberry Syrup Recipe Works for Immune Support
We test everything here at The Recipe Redux, and for natural remedies, the science behind the simmer is everything. This recipe works because we respect the ingredients rather than blasting them into oblivion. That focus on quality extraction is key for a potent homemade immune syrup.
Noah always stresses that the extraction method is what separates a weak infusion from a powerful tonic. By simmering gently and reducing the liquid, we concentrate the good stuff. Plus, making a small batch elderberry preparation means you are always using the freshest possible syrup, not something sitting on a shelf for six months. That freshness makes a huge difference when you need real support.
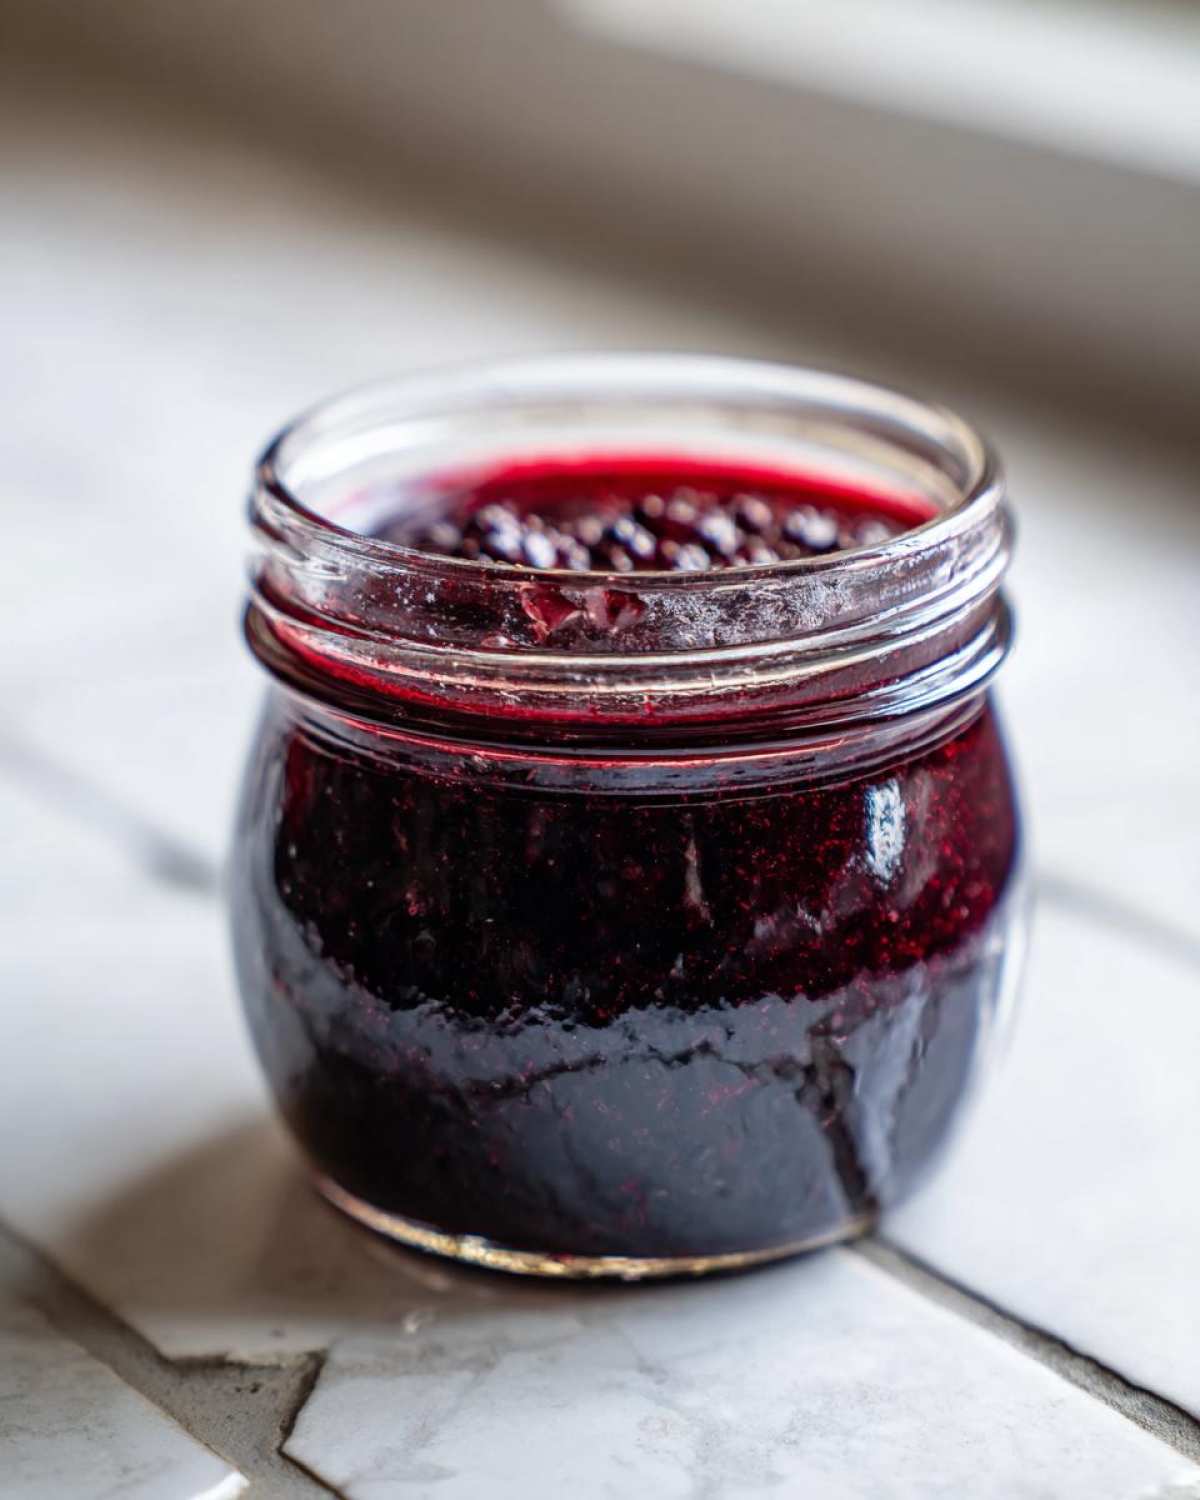
Dried Elderberries Versus Fresh Berries in Your elderberry syrup recipe
We opted for dried berries here because they are generally easier to source consistently, and the flavor concentrates beautifully when simmered. However, if you get your hands on beautiful fresh elderberries, you need to adjust the volume. Based on Noah’s tests of dried vs. fresh density, you should use one and a half times the amount of fresh berries compared to dried. So, if the recipe calls for one cup dried, use a heaping cup and a half of fresh!
The Benefits of a Honey Elderberry Tonic
This gentle preparation ensures we create an amazing honey elderberry tonic. The most critical step here is adding the raw honey *only* when the liquid has cooled down significantly—it must be lukewarm, below 110°F. Why? Because boiling raw honey actually destroys those beneficial enzymes that make it such a great natural addition. We want all the good stuff in there, so patience with the cooling step is non-negotiable!
Gathering Ingredients for Your Small Batch elderberry syrup recipe
Okay, no drama, just good ingredients! This is where precision matters, especially when we’re focusing on a true small batch elderberry preparation. Since we are extracting the goodness from the berries, we need the right ratio of water to ensure we get a decent amount of syrup out at the end. It’s all about setting yourself up for success before the simmer even starts!
Ingredient Clarity and Preparation
You’ll need exactly what’s listed—no guessing games here. Grab one cup of dried elderberries and three cups of clean water to start. For sweetening, use a half cup of raw honey, but remember we add this later, seriously! If you want that warm spice hug, toss in one sliced tablespoon of fresh ginger—I love the little zing it gives—and one single cinnamon stick. If that cinnamon stick seems like too much fuss? Leave it out, I won’t tell!
Step-by-Step Instructions for the Perfect elderberry syrup recipe
This is where Ben usually starts pacing nervously, worried I’m going to scorch the berries, but stick to the heat controls and you’ll have the most effective cold-and-flu remedy ready in no time. The extraction phase needs patience; we’re coaxing the compounds out, not snatching them away!
Simmering and Reducing the Elderberry Base
First things first: combine your water, dried elderberries, and any optional spices like ginger or cinnamon right in your saucepan. Bring that mess up to a rolling boil over medium-high heat—you want to see it bubbling along nicely. Immediately after it hits that boil, turn the heat down low. We need a gentle, lazy simmer, not a rocking, chaotic one. Let this mixture bubble softly for 45 minutes to a full hour. Noah’s target measurement is critical here: you absolutely must reduce the liquid by about half. If you don’t reduce it enough, your final syrup will be watery.
Straining and Incorporating Honey
Once the mixture has reduced, pull it off the heat completely. Let it cool down a bit—maybe 15 minutes—just so you don’t burn yourself. Now, strain that liquid through a fine-mesh sieve into a clean bowl. Don’t be shy; press gently on the cooked berries to squeeze out every last drop of goodness. Discard those solids. The super important part? Wait until the strained liquid is lukewarm. I mean lukewarm, definitely below 110°F. If it’s too hot, you’ll kill the beneficial enzymes in the raw honey. When it’s cool enough, stir in your half cup of raw honey. Keep stirring softly—no more boiling!—until that honey is completely dissolved into your beautiful, concentrated tonic. Then you’re ready for the jar!
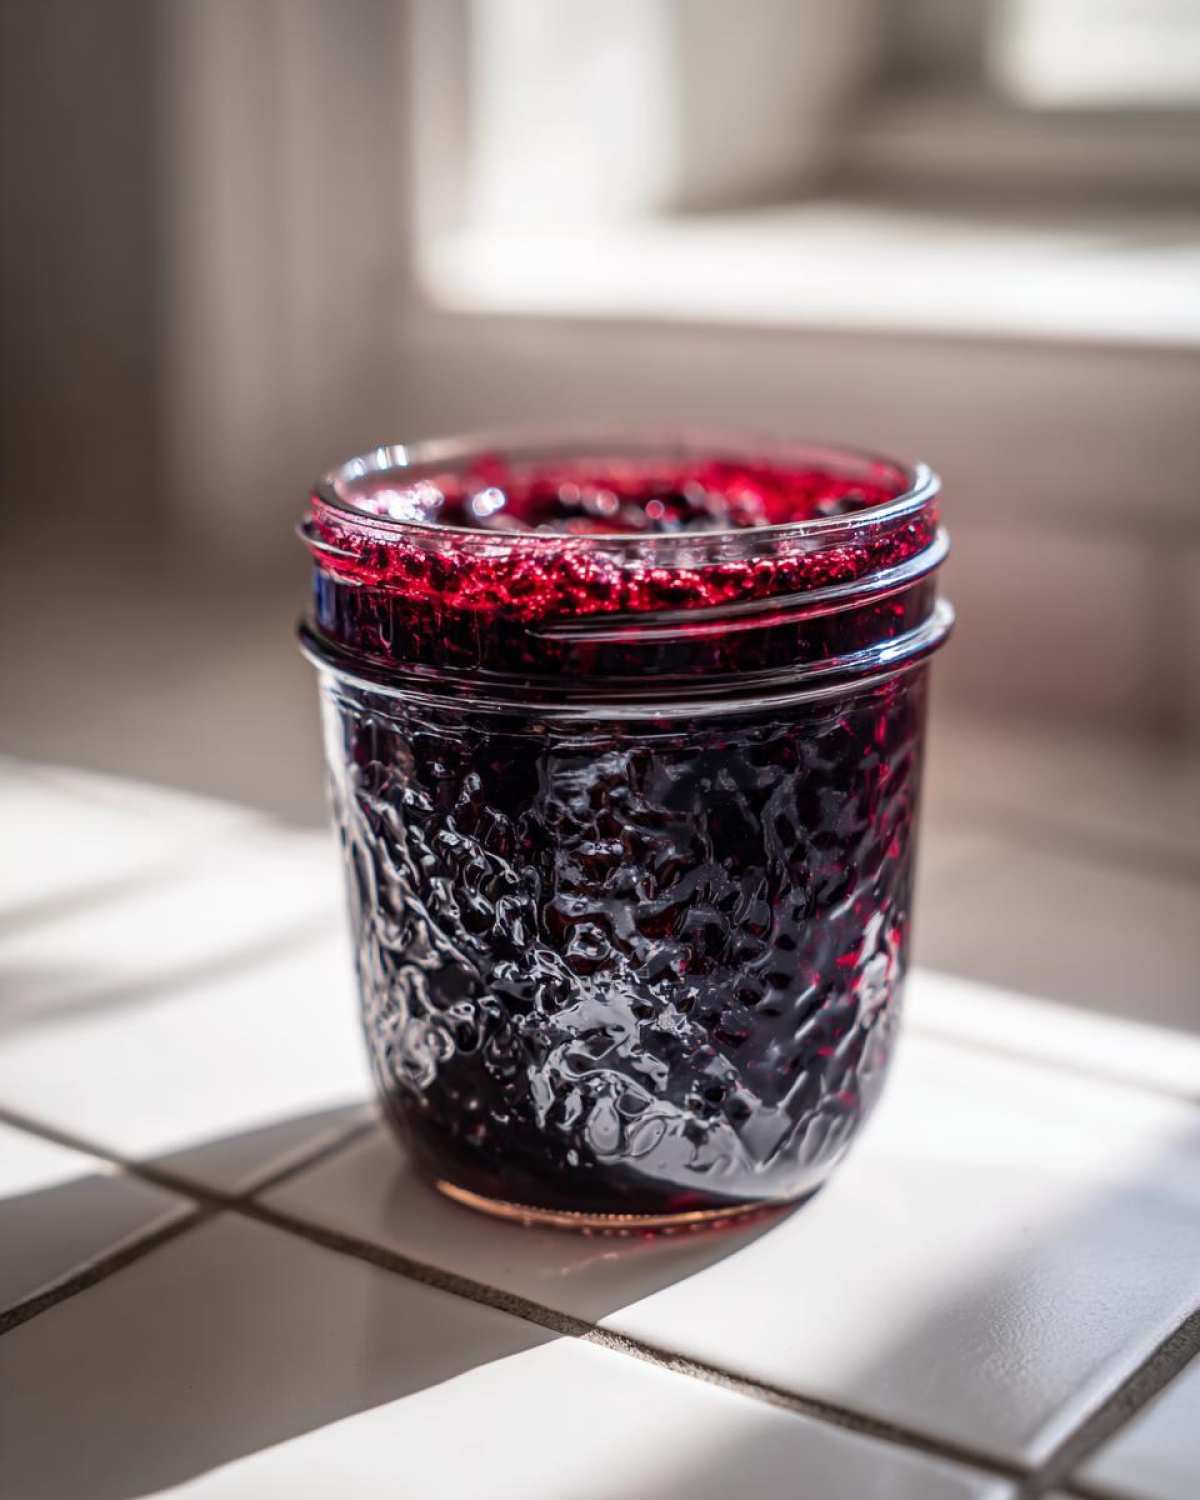
Storage Options: Refrigeration Versus Canning Your elderberry syrup recipe
Well, now you have this gorgeous, potent liquid, and we’ve got to keep it safe! Since we made a small batch elderberry preparation, you have two great options for keeping this homemade immune syrup ready when you need it. For short-term use, just pouring it into clean jars, covering them, and popping them in the fridge works just fine. It keeps it handy on the counter, basically! But if you want to make a bigger batch and keep it on the shelf for months—that’s when we have to talk about sterilization and proper canning elderberry syrup.
Safe Water Bath Canning for Long-Term elderberry syrup recipe Storage
If you choose the long-term storage route, you have to respect the process, or you risk everything! Before you even fill your jars (Step 6), make sure they are completely clean and sterilized—Noah made me re-wash my jars twice the first time I tried this! Once filled, you must process the jars using a water bath canner. I can’t give you specific processing times here because they absolutely depend on your elevation and jar size, but you have to follow established, safe canning guidelines precisely. Safety first, always, when you are preserving food at home. That way, you know your elderberry syrup recipe is shelf-stable and ready to go all winter long!
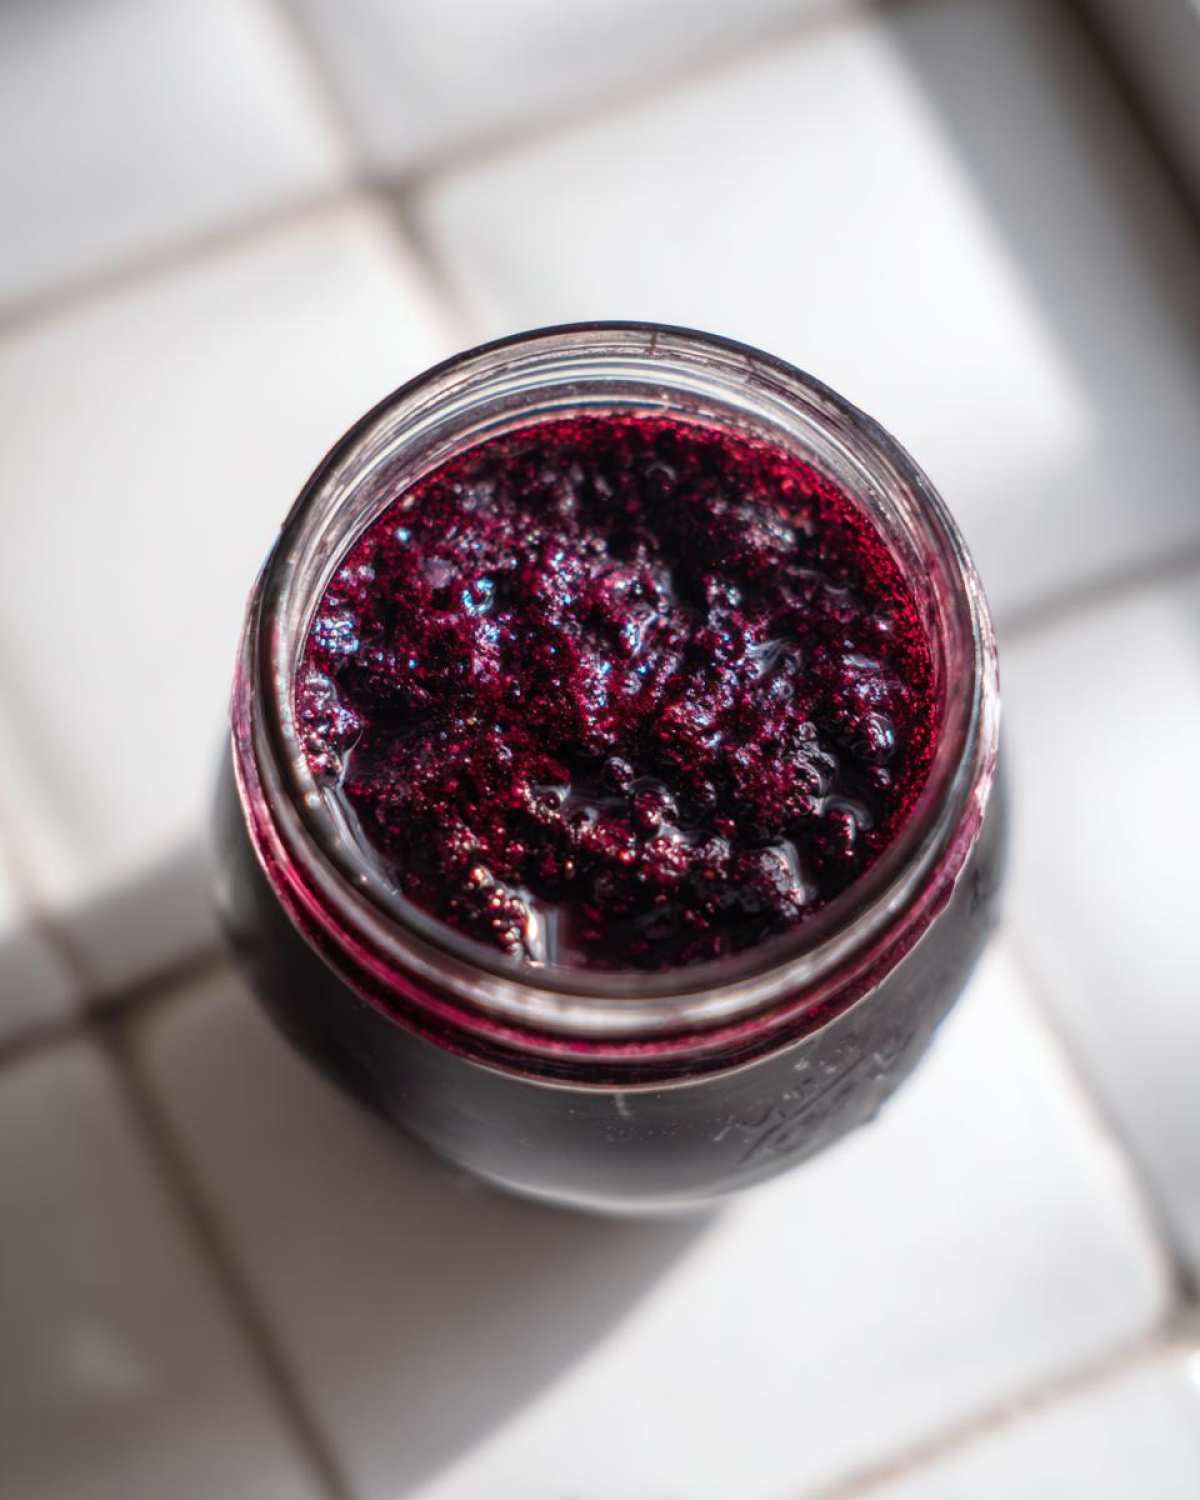
Tips for a Kid-Friendly elderberry syrup recipe Flavor Profile
Not every kid is thrilled by the earthy taste of potent herbs, even when they are for a good cause like building up their defenses! My goal is always making sure this homemade immune syrup is something they’ll actually take willingly. You already know about the ginger and cinnamon sticks we added during the simmer, right? Those add warmth but might still be a bit too intense for a sensitive six-year-old.
If you’re struggling with getting the little ones onboard, I have a simple trick that totally works. It happens right after you take the mixture off the heat and it’s cooling down, but before the honey goes in. Add about one teaspoon of pure vanilla extract. It sounds minor, but that little bit of vanilla smooths out the edges of the berry flavor beautifully, making it taste more like a treat than a health necessity.
You can check out how we hide great flavor in unexpected places over at our honey-butter chicken biscuit sandwiches; subtle flavor adjustments make all the difference, and this syrup is no exception!
Dosage Guidance for Your elderberry syrup recipe
Okay, now that we’ve made this incredible potion, what’s the right way to use it? We have to be smart about dosing since this is a potent, natural remedy, not just flavored sugar water. Providing accurate guidance is super important to me—we don’t want you guessing when you’re trying to support your system!
For daily maintenance, adults should aim for just one tablespoon of this elderberry syrup recipe every day. But if you feel like the cold or flu germs are knocking, you can safely increase that! Adults can take up to four doses a day when you’re feeling run down. For the little ones, always wait until they are over one year old, and stick to a very gentle one teaspoon daily dose. It’s simple, powerful, and we follow these guidelines right here at The Recipe Redux to keep things safe and effective.
Alternative Preparation: Using the Instant Pot elderberry recipe
I know, I know. Who has an hour to just stand around watching berries simmer when they are already feeling sneezy? Ben is always pushing for shortcuts, and honestly, Noah figured out a way to adapt the science for speedier results using the pressure cooker. If you have an Instant Pot elderberry preparation in mind, it’s a lifesaver for the extraction phase!
You can certainly use the pressure cooker function to handle the initial simmering and reduction steps. The general idea is that the high pressure speeds up how quickly the compounds are pulled out of those dried berries. You’ll still combine the berries, water, and spices and cook it until it’s done, but it saves you most of that hour of stove-top babysitting. Just remember the golden rule: once you release the pressure and strain that dark liquid, you absolutely must let it cool down until it’s just lukewarm before you stir in that raw honey. We can’t compromise the honey’s goodness just to save a few minutes, right?
Frequently Asked Questions About Making elderberry syrup recipe
We get asked the same few questions every time we post this recipe, which isn’t surprising because making your own elderberry syrup recipe can feel a little bit like a chemistry experiment! Don’t worry; we’ve worked out the kinks so you don’t have to guess. Getting these small details right is how you turn an okay syrup into a truly reliable homemade immune syrup.
Can I use maple syrup instead of honey in this elderberry syrup recipe?
That’s a great question, especially if you have allergies or dietary concerns. Yes, you absolutely can swap it out for maple syrup! However, you need to be aware that you lose the specific enzymatic support that raw honey provides when used as a tonic. If you make the switch, hold onto that critical rule: the syrup must be lukewarm before stirring in the maple syrup. You cannot boil maple syrup in there either—low temperature addition is key!
How long does this homemade immune syrup last in the refrigerator?
Since this is a small batch elderberry preparation, we focus on freshness. If you just store it covered in the refrigerator without processing it for long-term storage, I find it stays really potent and fresh for about two to three weeks. If you notice it starting to look cloudy or you’re unsure, that’s the time to use up the rest quickly or toss it. If you’ve done the proper water bath canning elderberry syrup, of course, it lasts much longer on the shelf!
What is the yield of this small batch elderberry recipe?
Another excellent question about measurement! When you follow this recipe exactly as written—using one cup of dried berries and three cups of water to start—you should end up with about 1.5 cups of finished syrup. It seems small, but that’s the beauty of a small batch; it’s concentrated, potent, and perfect for keeping on hand without taking up half your fridge space!
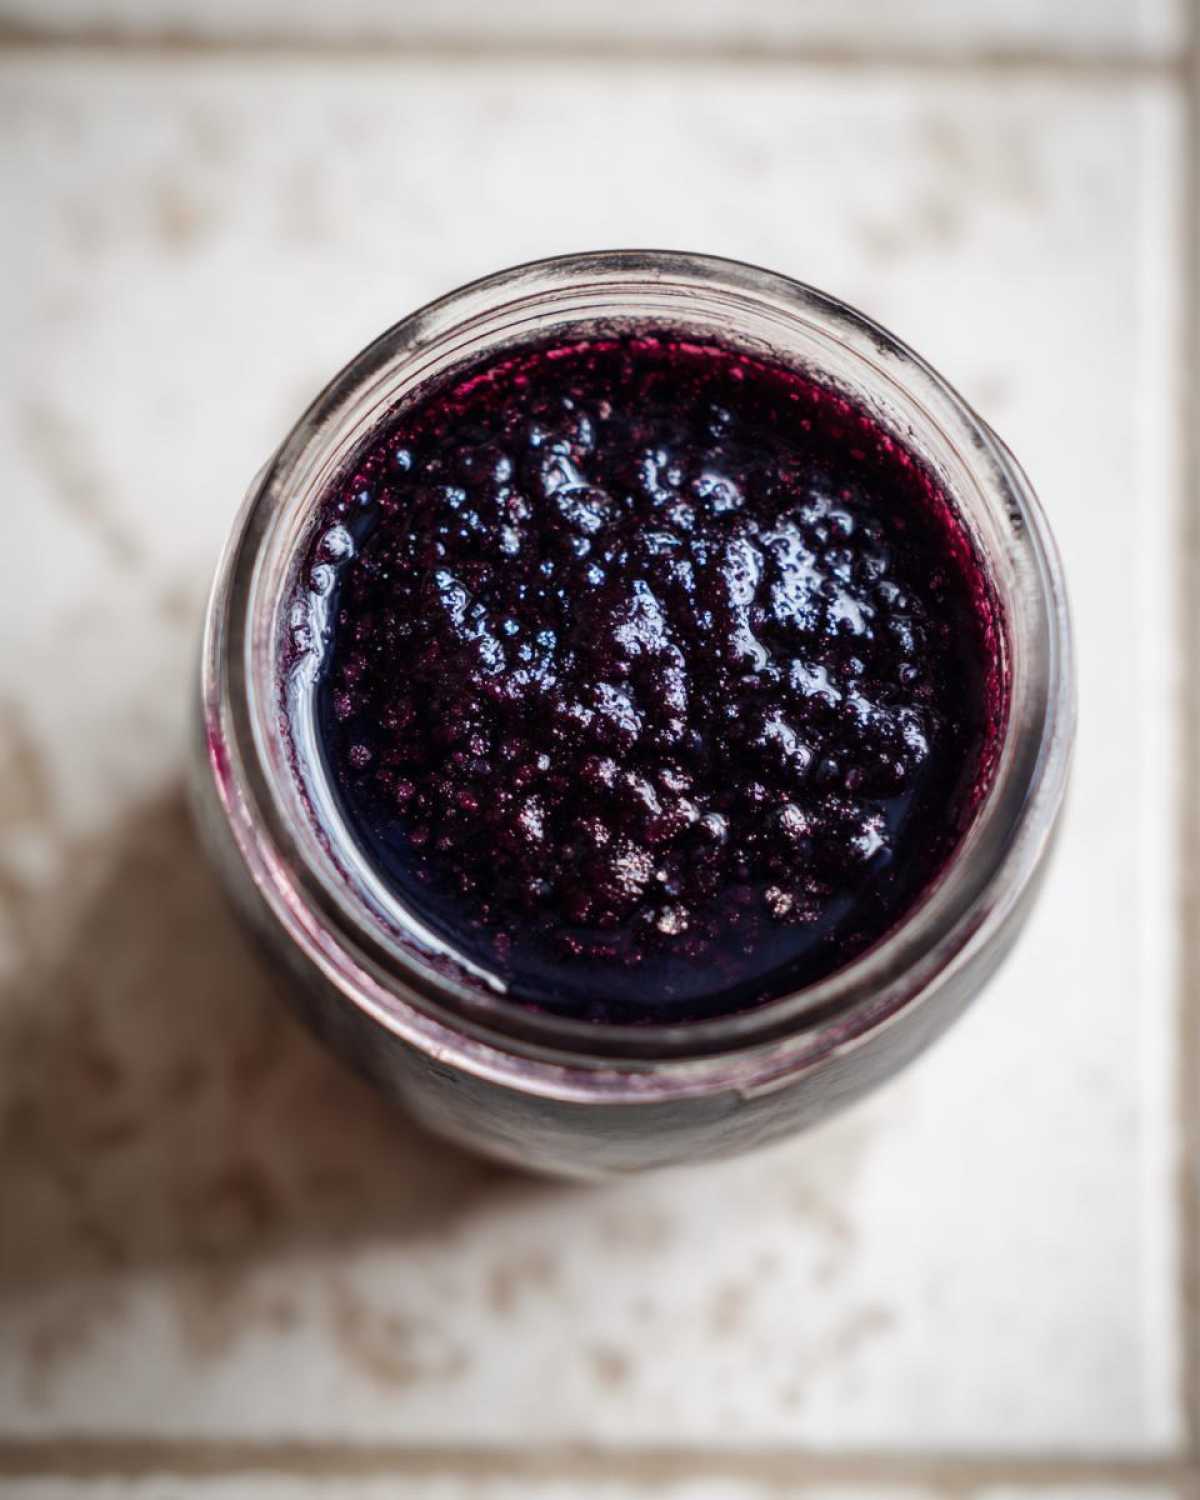
Sharing Your Homemade Immune Syrup Success
Now that you’ve successfully made your very own potent elderberry syrup recipe, I really want to hear how it went! Did you try the vanilla trick for the kids? Tell us about your experience using this homemade immune syrup in the comments below. Your feedback helps us improve and rescue even more recipes!
PrintSimple Honey Elderberry Syrup Recipe for Immune Support
Make your own small batch elderberry syrup at home using dried berries, sweetened with honey. This recipe is easy to follow and perfect for canning or refrigeration for daily immune support.
- Prep Time: 5 min
- Cook Time: 60 min
- Total Time: 65 min
- Yield: About 1.5 cups
- Category: Health Tonic
- Method: Stovetop Simmering
- Cuisine: American
- Diet: Vegetarian
Ingredients
- 1 cup dried elderberries
- 3 cups water
- 1/2 cup raw honey
- 1 tablespoon fresh ginger, sliced (optional)
- 1 cinnamon stick (optional)
Instructions
- Combine the dried elderberries, water, ginger, and cinnamon stick (if using) in a medium saucepan.
- Bring the mixture to a boil over medium-high heat, then reduce the heat to low and simmer gently for 45 minutes to 1 hour, or until the liquid has reduced by about half.
- Remove the saucepan from the heat and let the mixture cool slightly for about 15 minutes.
- Strain the liquid through a fine-mesh sieve into a clean bowl, pressing gently on the berries to extract all the liquid. Discard the solids.
- Once the liquid is lukewarm (below 110°F or 43°C to preserve honey benefits), stir in the raw honey until it is fully dissolved. Do not boil the mixture after adding honey.
- Pour the finished elderberry tonic into clean, sterilized jars.
- For short-term storage, cover and refrigerate. For longer storage, process using a water bath canner according to safe canning guidelines.
Notes
- If you use fresh elderberries instead of dried, use 1.5 cups of fresh berries for this recipe.
- For a kid-friendly flavor, you can add 1 teaspoon of vanilla extract after removing from heat.
- Dosage guidance: Adults take 1 tablespoon daily for maintenance, or up to 4 times daily when feeling run down. Children over one year old can take 1 teaspoon daily.
- This recipe makes a small batch elderberry preparation suitable for immediate use or canning.
Nutrition
- Serving Size: 1 tablespoon
- Calories: 50
- Sugar: 12
- Sodium: 1
- Fat: 0
- Saturated Fat: 0
- Unsaturated Fat: 0
- Trans Fat: 0
- Carbohydrates: 13
- Fiber: 0
- Protein: 0
- Cholesterol: 0