

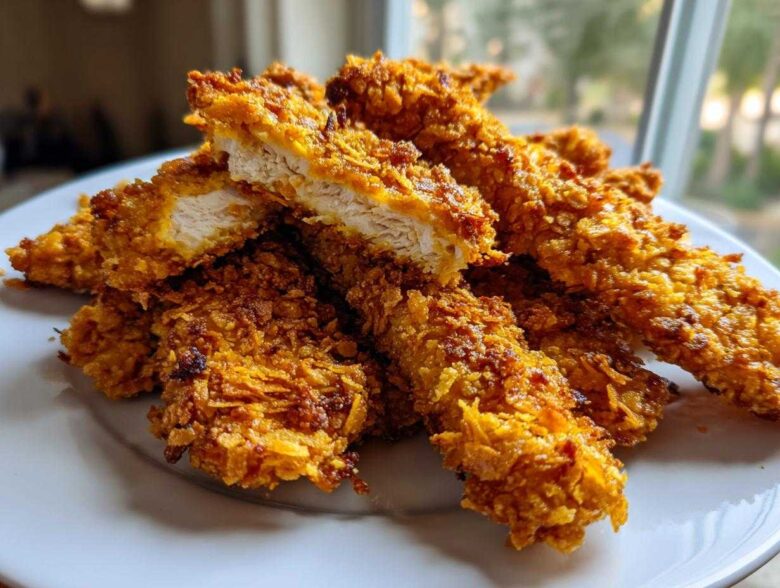
Oh, man, I know that craving! You want that satisfying, loud *crunch* of deep-fried chicken, but standing over a pot of oil just isn’t the move most weeknights, right? Trust me, I used to think that oven-baked chicken was doomed to be pale and soggy. I tried everything—panko, breadcrumbs, even specialized coatings—and always ended up disappointed.
But then I cracked the code for the Crispy Baked Chicken Tenders with Cornflake Crust! This recipe is my secret weapon for getting that perfect, golden crunch without the mess or the guilt. After a few frantic attempts where the coating just slid right off, I figured out the key to getting that cornflake magic to truly stick and stay crispy. They come out juicy inside and shatteringly crisp outside. You have to check out my other favorite crispy bake, too, if you love crunchy stuff: Crispy Ranch Chicken Thighs Recipe!
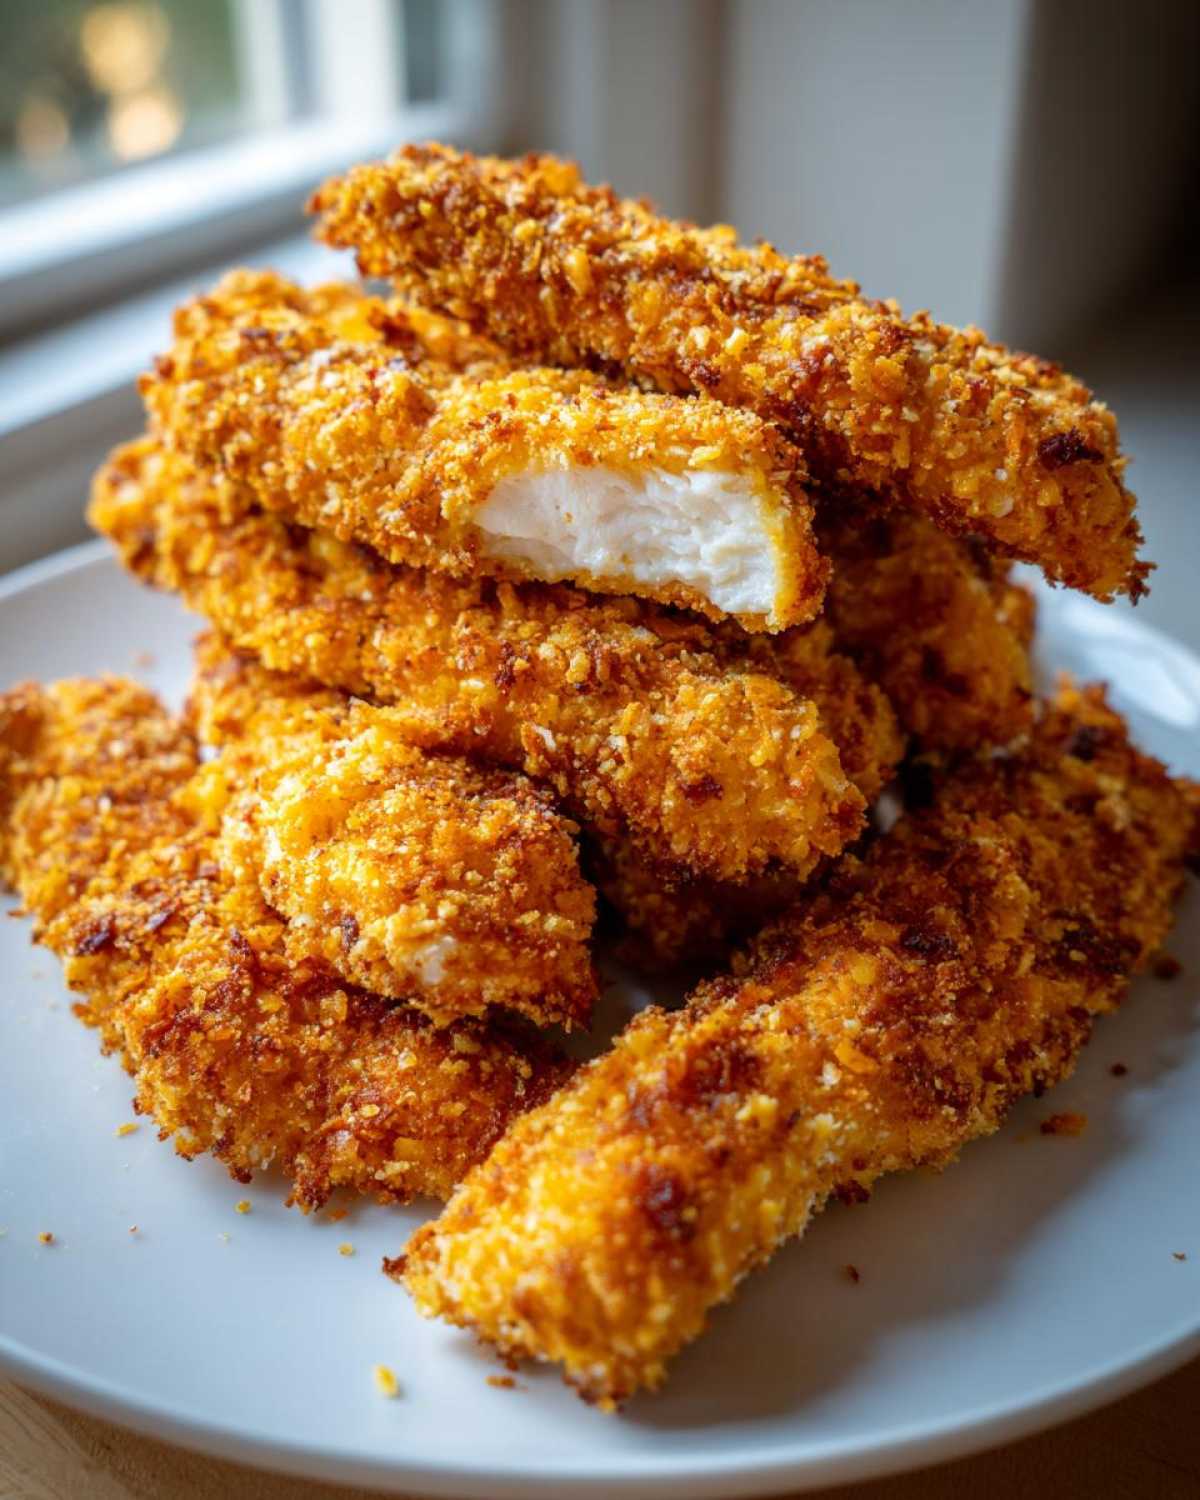
Why This Crispy Baked Chicken Tenders with Cornflake Crust Recipe Works (E-E-A-T Focus)
When you’re aiming for crispy without frying, you need to think about surface area and moisture. My goal here was to create an Oven Fried Chicken Tenders experience that even skips the middleman! We are achieving that golden texture using three simple chemistry tricks.
Here’s the breakdown of what makes these crunchy baked tenders foolproof:
- We use high heat (400°F is vital) combined with a quick spray of oil to mimic the instant crisping action of hot oil.
- The three-step breading station locks everything in place so you get Juicy Baked Chicken Tenders every time.
- We swap standard breadcrumbs for cornflakes, which have a flaky structure that browns beautifully in the oven.
Achieving Maximum Crunch: The Cornflake Crust Tips
Forget the fine powder! If you process your cornflakes too much, you just get dust that burns quickly. We want texture, remember? I learned fast that using a zip-top bag and a rolling pin to crush them into coarse crumbs is the way to go. Those jagged edges are what capture the heat and turn golden brown. Plus, using unsweetened flakes keeps the flavor savory, which is the key to great Cornflake Coated Chicken.
Juicy Baked Chicken Tenders: Preventing Dryness
The dryness issue comes from moisture escaping before the outside is sealed. That’s where the flour comes in first! Dredging the chicken in seasoned flour first gives the egg something dry to stick to. Then, the egg acts like glue for the cornflakes. When you press that coating on tight, it forms a barrier. Always check that final internal temperature—165°F (74°C)—to guarantee safety without overcooking the meat!
Essential Ingredients for Crispy Baked Chicken Tenders with Cornflake Crust
Okay, let’s talk groceries! The beauty of this Baked Chicken Tenders Recipe is that you probably have most of this stuff lying around already. I’ll list exactly what you need to get that perfect texture and juicy interior. I highly recommend sticking to the exact measurements here, especially for the spices, to get that perfect savory hit.
But here’s my big one: use unsweetened cornflakes! A lot of breakfast cereals have a lot of sugar, and that sugar burns way too fast in the oven before your chicken cooks. We want that gorgeous brown crust, not a burnt one!
Don’t forget to check out my recipe for Honey Butter Chicken Biscuit Sandwiches—it uses some great savory flavors too!
- 1.5 lbs boneless, skinless chicken breasts, cut into strips about 1 inch thick
- 1 cup unsweetened cornflakes (Seriously, no sugar added!)
- 1/2 cup all-purpose flour
- 2 large eggs, just lightly beaten up
- 1 teaspoon salt
- 1/2 teaspoon black pepper
- 1/2 teaspoon garlic powder
- 1/4 teaspoon paprika
- Cooking spray (Don’t skip this—it’s your ‘faux fry’ oil!)
Step-by-Step Instructions for Perfect Crispy Baked Chicken Tenders with Cornflake Crust
Okay, getting this perfect coat on without it turning into trail mix halfway through baking is an art, but it’s easy once you know the three-stage system. Think of this less like breading and more like armor plating for your chicken! Set aside about 20 minutes for this part. You’ll want to get your baking sheet ready now too, just line it or grease it lightly. If you want to see another great, easy baked recipe check out my Slow Cooker Maple Dijon Chicken—but only after you’ve armored up these tenders!
Preparing the Breading Station and Chicken
First things first: crank that oven up to 400°F! Now, grab those unsweetened cornflakes. I love crushing mine right in the bag with a mallet or the bottom of a heavy pan—you want big, crunchy flakes, not dust! Mix your flour with the salt, pepper, garlic powder, and paprika in the first dish. Then, pour your lightly beaten eggs into the second dish. This trio sets you up for success as we build that amazing crust.
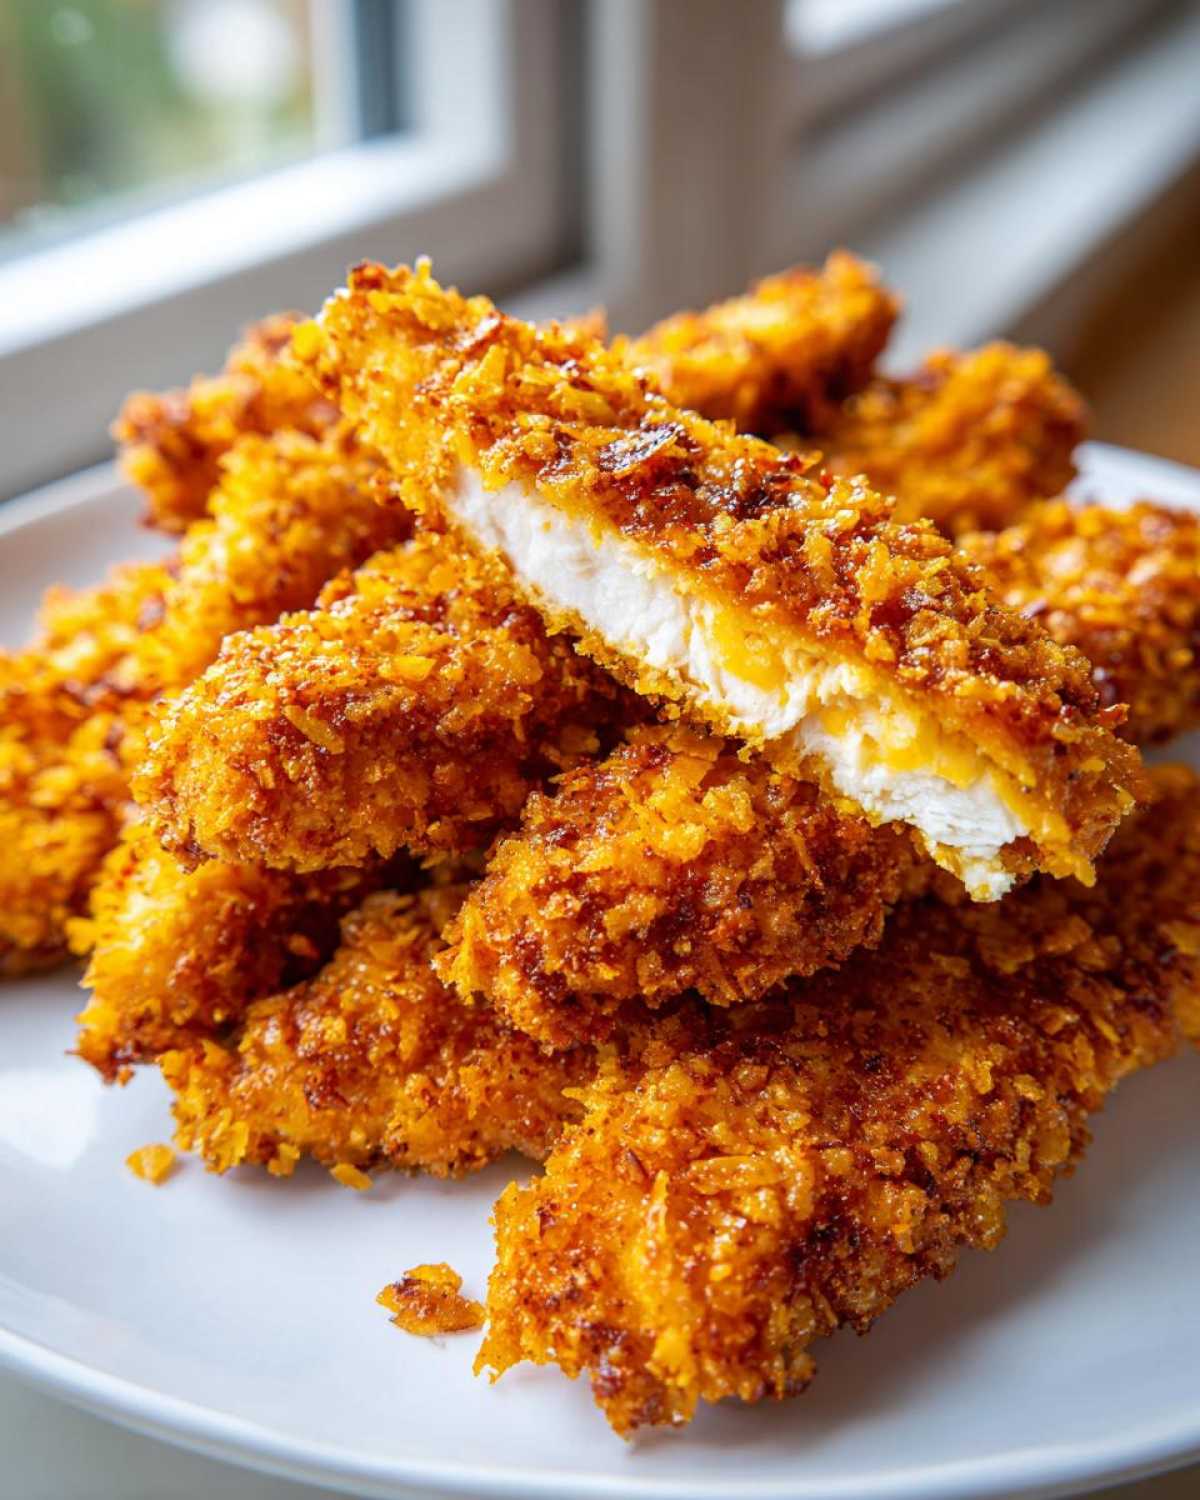
Coating Technique for the Best Cornflake Coated Chicken
This order is NON-NEGOTIABLE for the best adherence: Flour first, then the egg bath, and finally, press it firmly into those cornflakes. When I say press, I mean really push those flakes onto the chicken with your fingers all over. You want full coverage! Lay the coated strips on the sheet pan without letting them touch—they need space to crisp up evenly.
Baking Time and Temperature for Juicy Baked Chicken Tenders
This is where we lock in the juice! Once they are all lined up, give the tops a generous, even coat of cooking spray. That fat is what browns them up like they were fried. Bake these at 400°F for about 18 to 22 minutes total. Make sure you flip them halfway through so both sides get that golden color. Pull them when they hit 165°F internally, and get ready for the crunch!
Tips for Success with Your Crispy Baked Chicken Tenders with Cornflake Crust
You’ve got the basic method down, but if you want to take these Crunchy Baked Tenders from great to absolutely legendary, I have a few pro tips I picked up over the years. Remember, we’re fighting the enemy here: sogginess! A little extra effort guarantees that restaurant-quality snap.
One thing I discovered? If you have the time, chilling the breaded tenders is a game-changer. Pop the whole baking sheet into the fridge for about 15 minutes before you spray them with oil. This helps firm up the coating so it really cements itself to the chicken before it even hits the heat. It’s a fantastic step for true oven-fried results!
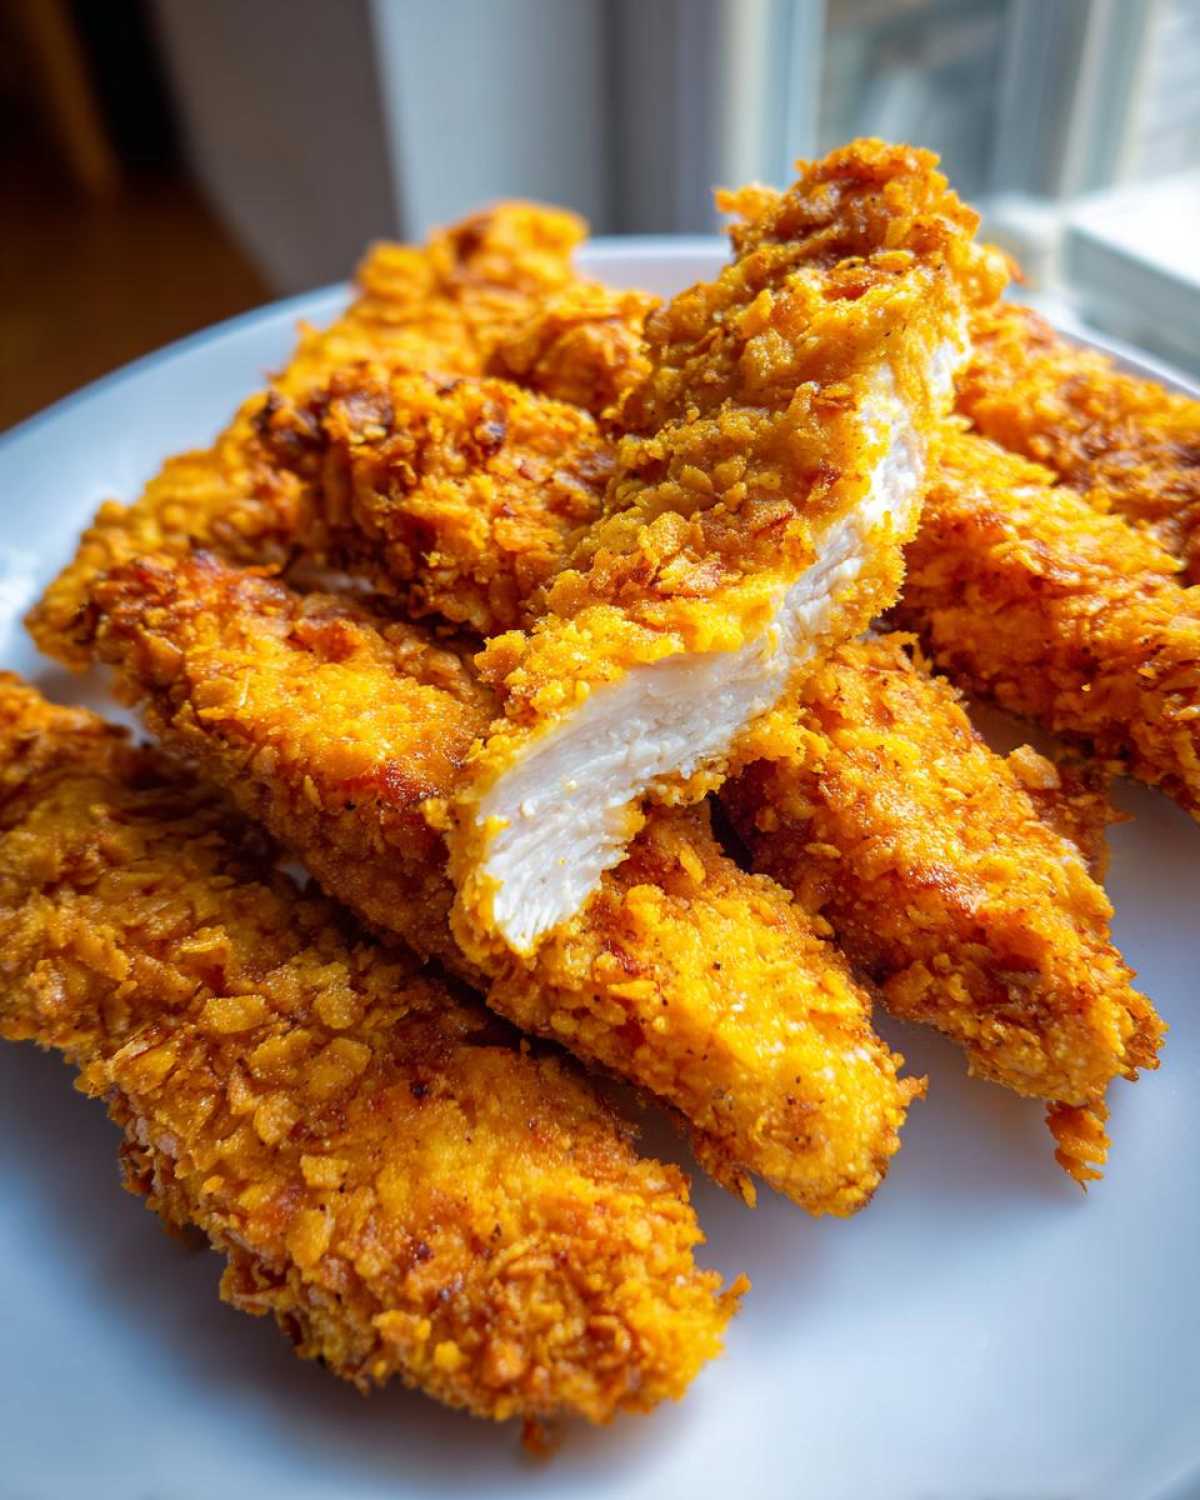
Also, listen up if you want an even THICKER crust—this is a great option for your Kid Friendly Chicken Recipe if they like extra crunch. After you dip them in the cornflakes the first time, dip them back into the egg, and then back into the cornflakes again! It triples the coating. Don’t forget to check out another one of my favorites that needs a good coat, the Crispy Garlic Chicken Sandwich Recipe, for more crunch inspiration!
Finally, for the best airflow underneath, avoid just using a flat sheet pan if you can. If you have a simple wire cooling rack, place that on top of your greased baking sheet and lay the tenders on the rack. This lets heat circulate completely underneath, preventing that dreaded soggy bottom. You’ll thank me later!
Serving Suggestions for Your Easy Weeknight Chicken Dinner
Okay, the tenders are crispy, they’re golden, they’re perfect! But what are we eating them *with*? These Homemade Chicken Strips are so versatile; they feel like a treat but they’re honestly a super quick weeknight fix. You need great dips to complete the experience!
For sauces, you absolutely can’t go wrong with classic honey mustard—just mix equal parts dijon, regular mustard, and honey. Ranch dressing is always a guaranteed hit for the kids! If you’re feeling fancy, a smoky chipotle mayo really complements the cornflake flavor profile.
On the side? Skip the heavy fries! We’re keeping these Healthy Chicken Tenders balanced. I love serving them alongside some crisp, quick veggies. If you need a stellar starch side that bakes up beautifully while the chicken is resting, check out my recipe for Lemon Garlic Roasted Potatoes. Seriously, they are addictive!
Storage and Reheating Instructions for Make Ahead Chicken Tenders
Life is better when leftovers are planned, isn’t it? These are fantastic for lunch the next day! If you’ve got any Make Ahead Chicken Tenders left over, the key is keeping the air out so they don’t go soft in the fridge. Pop any uneaten ones into a truly airtight container once they are completely cooled down. They’ll be good for about three days this way.
Now, for the important part: reheating! If you try the microwave, you’re going to cry because they turn into sad, chewy little things. Don’t do it! To bring back that beautiful crunch, you absolutely must use dry heat. Either pop them back on a baking sheet in a 375°F oven for about 5 to 8 minutes, or if you have one, the air fryer works like a dream for about 4 minutes. It brings that crispy coating right back to life!
Frequently Asked Questions About Crispy Baked Chicken Tenders
I know you still might have a few niggling questions floating around after reading all that crunch talk! It’s totally normal. When you’re trying out a new favorite like these Crispy Baked Chicken Tenders with Cornflake Crust, you want to make sure you nail it down so you can add it to your rotation of Easy Weeknight Chicken Dinners. Here are the things folks ask me most often!
Can I make these Healthy Chicken Tenders in an air fryer?
Oh yes, the air fryer is fantastic for these! If you want to speed things up, go for it. I usually set mine to 375°F. You’ll need to cook them for about 10 to 12 minutes total, but you absolutely must flip them halfway through, just like in the oven. They come out beautifully golden!
What is the best way to ensure the Cornflake Crust stays attached?
This is still my number one tip for anyone worried about fallout! You have to be firm when applying the coating. Really press those cornflakes into the chicken after the egg wash. And if you really want zero issues, remember that optional step: chilling the breaded tenders for 15 minutes before spraying and baking makes that crust super sturdy!
Can I use panko breadcrumbs instead of cornflakes?
You could, but then you’re not making *this* recipe, are you? Panko is great, but it tends to absorb moisture differently than cornflakes. If you use panko, you might need less cooking spray, and the resulting texture is a bit lighter and less aggressively crunchy than this specific crust offers. Stick to the flakes for the best result!
What’s the internal temperature I need to hit for safety?
For any chicken, food safety is key, so don’t guess! You must cook your Homemade Chicken Strips until they reach an internal temperature of 165°F (74°C). Use a meat thermometer inserted into the thickest part of the tender. That’s how we guarantee juicy texture without any risks!
If you want to see another fast and crunchy winner perfect for Game Day snacks, take a peek at my Air Fryer Chicken Taquitos recipe—it’s a different shape, but the crispiness factor is just as high!
Estimated Nutritional Data for Oven Fried Chicken Tenders
You know I always want you to know what you’re putting in your body! Since we skipped the deep fryer, these Healthy Chicken Tenders are a much lighter option. Keep in mind, these numbers are just my best best estimates based on the ingredients list I gave you—yours might change a tiny bit depending on how thick your strips are or what brand of spray oil you use.
But look how great they are! They pack a huge 35 grams of protein for only about 280 calories per serving. Here’s the quick overview for one serving size (about 4 tenders):
- Calories: 280
- Fat: 5g (mostly unsaturated, yay!)
- Carbohydrates: 25g
- Protein: 35g
- Sugar: Just 2g!
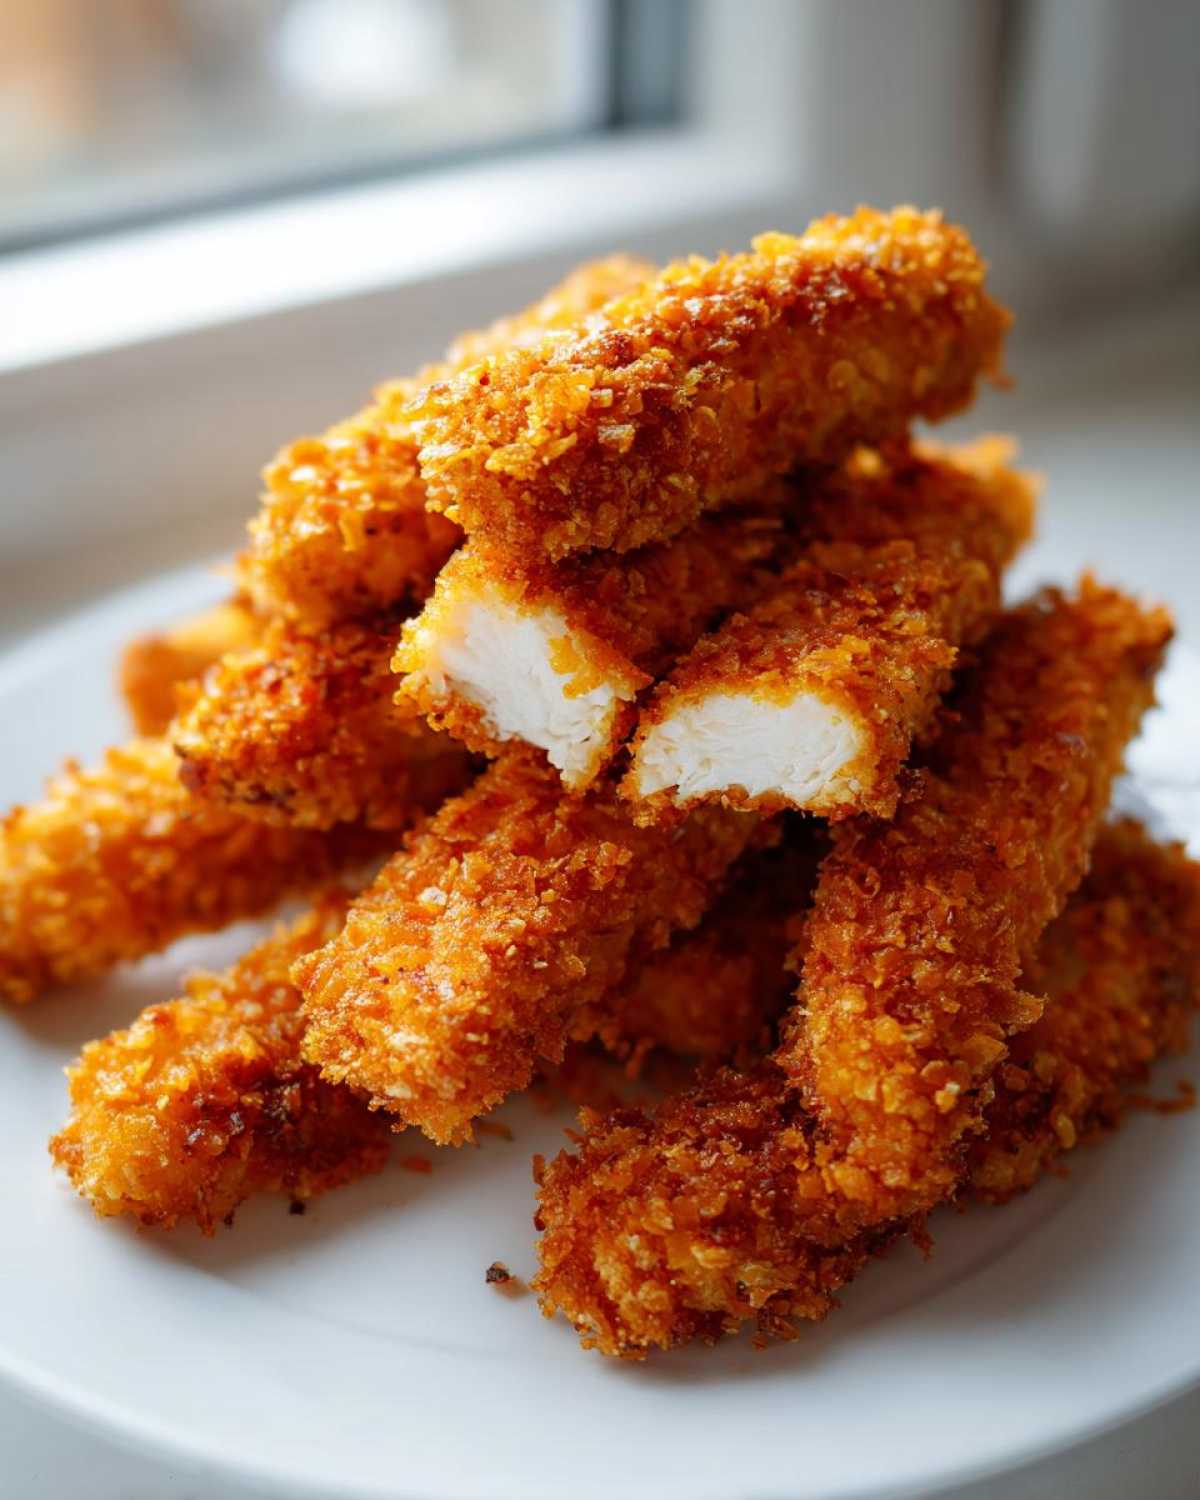
Share Your Family Favorite Baked Chicken Creations
That’s it! You’ve got your crispy coating, your juicy centers, and probably a few empty plates nearby. Now, this is where you step in! I pour my heart into whipping these up for my family, and I truly want to know how they turned out for you!
When you make these Crispy Baked Chicken Tenders with Cornflake Crust, please, please leave a rating and a comment below. Tell me what dip you served them with—was it ranch? Honey mustard? Did you use the double-dip trick? Every bit of feedback helps me, and it helps other home cooks trying to get their own Family Favorite Baked Chicken recipe perfected!
And if you snapped a photo of that golden-brown goodness, you have to tag me on social media! Seeing your amazing results hanging out on the dinner table is seriously the best part of my week. You can browse all my other quick, easy, and always delicious posts over on my main blog page. Happy crunching!
PrintCrispy Baked Chicken Tenders with Cornflake Crust

Follow this recipe to make juicy chicken tenders with a very crispy, oven-baked cornflake crust, offering a healthier alternative to frying.
- Prep Time: 15 min
- Cook Time: 20 min
- Total Time: 35 min
- Yield: 4 servings
- Category: Dinner
- Method: Baking
- Cuisine: American
- Diet: Low Fat
Ingredients
- 1.5 lbs boneless, skinless chicken breasts, cut into 1-inch strips
- 1 cup unsweetened cornflakes
- 1/2 cup all-purpose flour
- 2 large eggs, lightly beaten
- 1 teaspoon salt
- 1/2 teaspoon black pepper
- 1/2 teaspoon garlic powder
- 1/4 teaspoon paprika
- Cooking spray
Instructions
- Preheat your oven to 400 degrees Fahrenheit (200 degrees Celsius). Lightly grease a baking sheet or line it with parchment paper.
- Place the cornflakes in a large zip-top bag or a food processor. Crush them until they resemble coarse crumbs. Do not process into a fine powder; you want texture for crispiness. Place the crushed cornflakes in a shallow dish.
- In a second shallow dish, combine the flour, salt, pepper, garlic powder, and paprika. Mix well.
- In a third shallow dish, place the lightly beaten eggs.
- Set up a standard breading station: flour mixture, then eggs, then cornflakes.
- Take one chicken tender strip and dredge it thoroughly in the flour mixture, shaking off any excess.
- Dip the floured tender into the beaten egg, allowing excess to drip off.
- Press the tender firmly into the crushed cornflakes, ensuring the entire surface is coated. Press the crumbs onto the chicken to help them adhere.
- Place the coated tenders on the prepared baking sheet, ensuring they do not touch.
- Spray the tops of the coated tenders generously with cooking spray. This helps achieve a golden, crispy exterior similar to frying.
- Bake for 18 to 22 minutes, flipping the tenders halfway through the cooking time. The internal temperature should reach 165 degrees Fahrenheit (74 degrees Celsius) and the crust should be golden brown and crisp.
- Serve immediately with your preferred dipping sauce.
Notes
- Use unsweetened cornflakes for the best savory flavor and crispness.
- For extra adherence, you can chill the breaded tenders on the baking sheet for 15 minutes before spraying and baking.
- If you prefer a slightly thicker crust, you can double-dip the chicken: flour, egg, cornflakes, then back into the egg, and finally back into the cornflakes.
- Serve with honey mustard or ranch dressing for dipping.
Nutrition
- Serving Size: 4 tenders
- Calories: 280
- Sugar: 2
- Sodium: 350
- Fat: 5
- Saturated Fat: 1
- Unsaturated Fat: 4
- Trans Fat: 0
- Carbohydrates: 25
- Fiber: 1
- Protein: 35
- Cholesterol: 95