

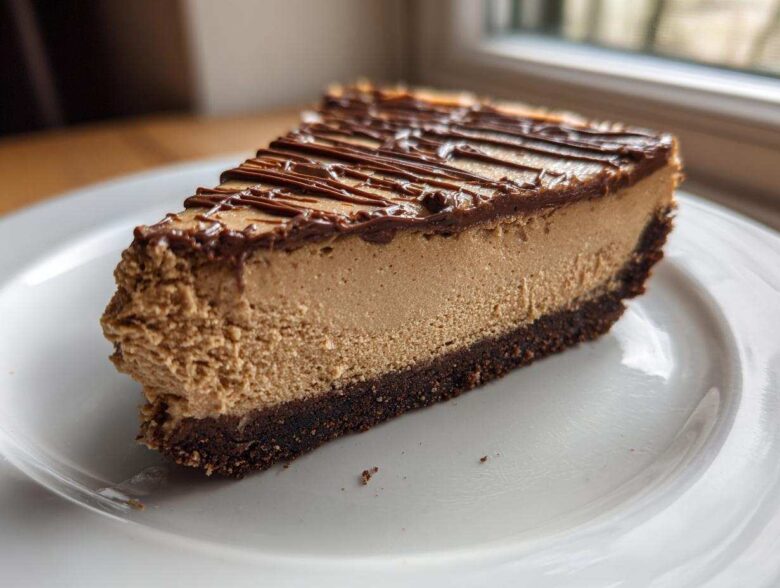
If you’re like me, sometimes you crave something seriously impressive without turning on the oven for hours. And when company comes over, or frankly, any random Tuesday, nothing hits the spot like a showstopper dessert. That’s why I’m absolutely buzzing to share my absolute favorite creation: the No-Bake Biscoff Cheesecake. Seriously, this thing screams decadent, but I promise you, it’s idiot-proof! It’s rich, it’s creamy, and that spiced cookie flavor just sings. I adore this biscoff cheesecake recipe because it lets me make something ultra-indulgent ahead of time. Trust me, once you try this cookie butter magic, you’ll be adding it to your rotation right next to my churro cheesecake bars.
Why This No Bake Biscoff Cheesecake Recipe Works (Easy Cheesecake)
You absolutely need this in your life! This biscoff cheesecake isn’t just delicious; it’s the definition of effortless wow-factor dessert. I’ve tested a million things, and this no-bake version always wins when I need something reliable.
Why is it my go-to easy cheesecake? Well, for starters:
- No oven required! We skip the cracking worry and save on cooling down the kitchen.
- Prep is lightning fast—we’re talking about 20 minutes of active work, tops.
- It’s the perfect make ahead dessert; it actually tastes better the next day!
- That texture? It’s ultra-rich and super creamy Biscoff dessert perfection, thanks to the whipped cream folding technique.
I love that I can set it, forget it, and pull out a stunning centerpiece when everyone arrives. You might also want to check out my easy stuffed pepper soup if you need an easy main course to go with it!
Essential Ingredients for Your Creamy Biscoff Cheesecake
You know, you can’t just throw anything into a cheesecake and expect perfection. For this cookie butter cheesecake to be truly amazing, we need quality and precision with our few special components. I’ve got my list underlined right here in my notes—don’t skip these little details!
First up, the crust needs crushed Lotus Biscoff cookies (about 1 1/2 cups) mixed with 1/4 cup of melted butter. Simple, right? But here’s where the filling gets its magic.
Make sure your 16 ounces of cream cheese is totally softened; no one wants lumps in their smooth dessert! We use powdered sugar for that sleek texture, not granulated. Also, the heavy whipping cream must be ice cold so it whips up into those stiff peaks we need for structure.
And my favorite part: the Biscoff cookie butter itself! You need a full cup, but here’s the trick—gently warm it just slightly before folding it in. It makes it so much silkier! If you want to find out which cookies are my secret weapon favorites, check out the cookies that always win bake sales. Vanilla extract is the final anchor to bring all that spiced goodness together.
Equipment Needed for the Perfect No Bake Biscoff Cheesecake
Okay, let’s talk tools! Since this is a no bake Biscoff cheesecake, we skip the big machines, thank goodness. But you still need the right gear to keep things smooth and easy. If you have these few things ready, you’re golden!
My must-haves for any successful cookie butter cheesecake setup are pretty standard, but vital:
- First, you absolutely need a 9-inch springform pan. This is non-negotiable because we can’t flip this gorgeous thing out of a regular cake pan!
- An electric mixer—handheld or stand mixer—is a lifesaver for whipping that heavy cream and smoothing the cream cheese. Don’t try to do the cream by hand unless you want seriously tired arms!
- A couple of good mixing bowls, one large and one medium.
- A rubber spatula is crucial for gently folding everything together at the end. This keeps all the air you’ve whipped in!
- Measuring cups and spoons, naturally.
That’s really it! Having everything measured out before you start crushing those Biscoff cookies makes the whole 20-minute prep fly by. You’re going to love how simple the setup is for this decadent cheesecake idea!
Step-by-Step Instructions for No Bake Biscoff Cheesecake
Alright, this is the main event! Following these steps gets you that beautiful, sturdy, yet melt-in-your-mouth biscoff cheesecake. It’s not difficult at all, but the order matters big time, especially when we mix the cream cheese with the whipped cream. Don’t worry if you get nervous about folding—we’ll go slow! I always think about that gorgeous, rich filling setting up perfectly while it chills. If you need an easy, savory main course to go with this incredible dessert, you have to try my cheeseburger pasta skillet!
Preparing the Crunchy Biscoff Cookie Crust
Step one is all about the base. You need to crush your Biscoff cookies until they resemble coarse sand. I usually pulse mine in the food processor a few times before emptying them into a bowl to mix with the melted butter. Once combined, this forms our wonderfully spiced foundation! Press this buttered crumble firmly into the bottom of your 9-inch springform pan. You need to pack it tight—use the bottom of a glass to really flatten it down so it holds together when slicing. Pop that packed crust into the fridge for just 15 minutes while you tackle the filling.
Creating the Rich Creamy Biscoff Dessert Filling
Now for the party in the bowl! First, beat your softened cream cheese until it’s completely light and fluffy—get rid of any lumps now! Slowly mix in the powdered sugar and vanilla until smooth. Next, you need to whip that cold heavy cream in a separate bowl until you get stiff peaks. This is where the texture magic happens! Now, gently—and I mean gently—fold the whipped cream into the cream cheese mixture. You’re aiming to keep all that lovely air in there. Once that’s just combined, gently fold in your slightly warmed Biscoff cookie butter. See? No streaks! This gentle mixing ensures you get that luxurious, creamy Biscoff dessert texture without it turning into soup. If you want another recipe that really leans into creamy and decadent, you should check out my creamy tomato tortellini skillet recipe.
Chilling and Serving Your Ultimate Cheesecake
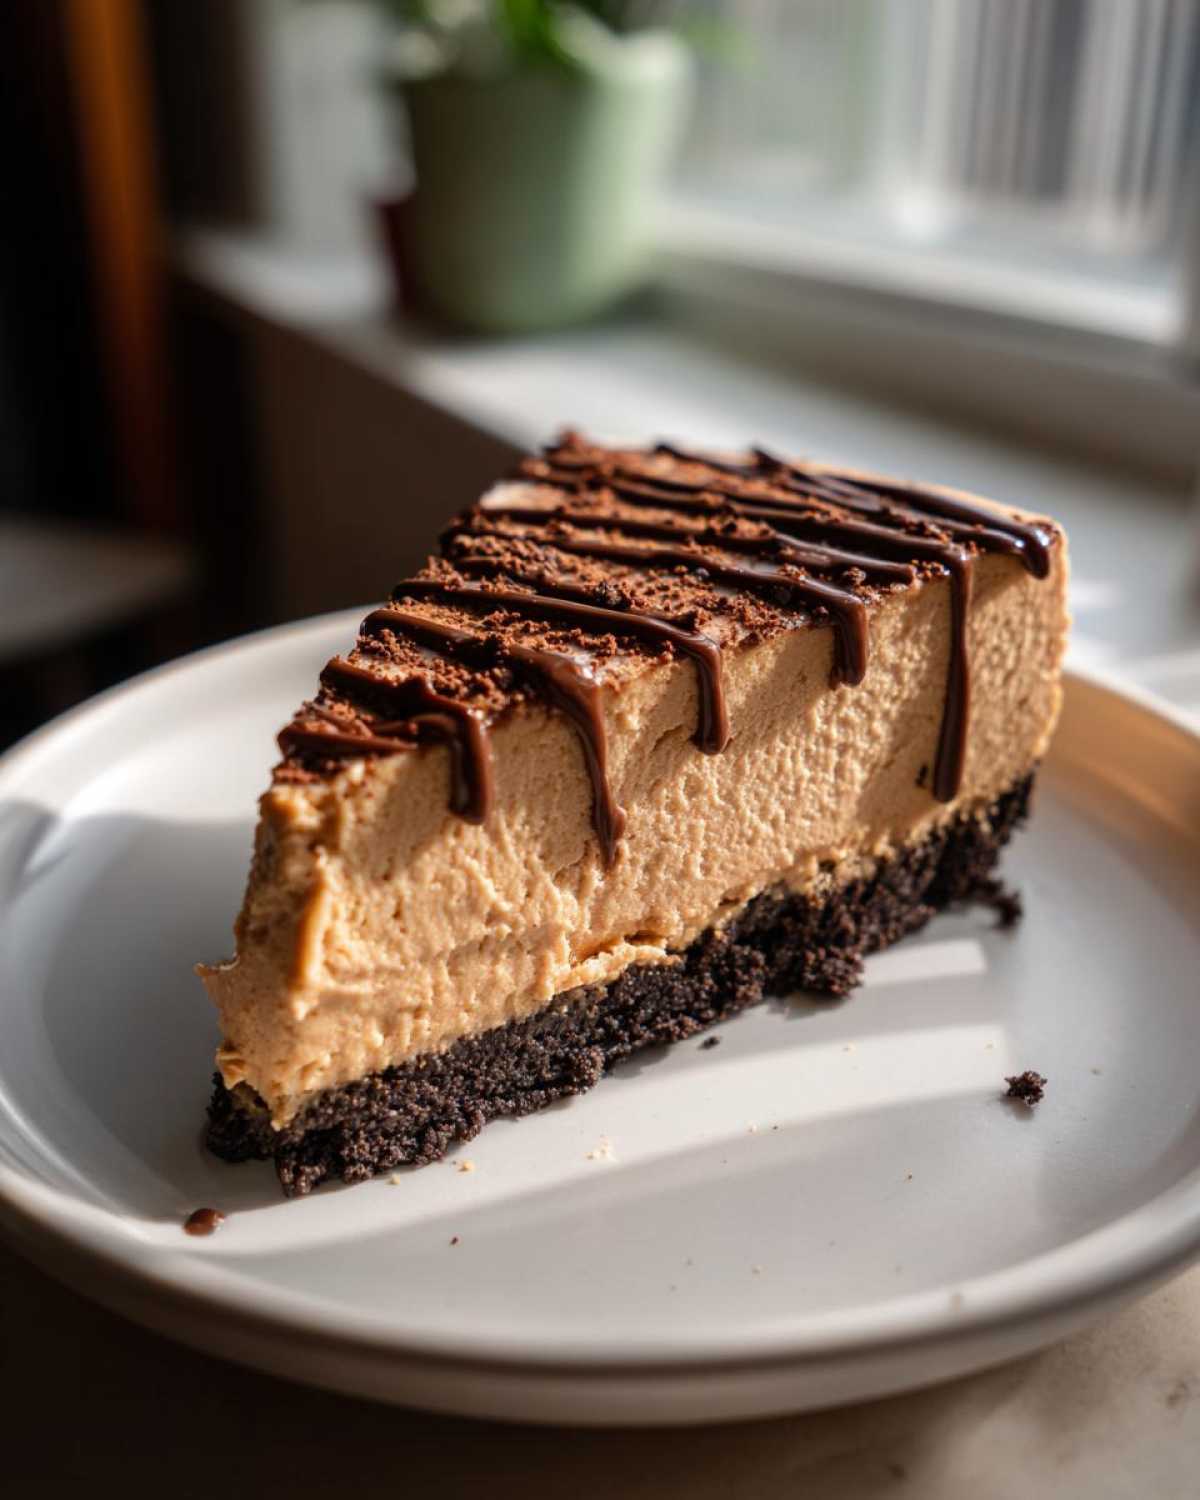
Once your filling is ready, pour it right over that chilled crust and smooth the top out evenly. Now comes the hardest part: waiting! Cover the pan loosely with plastic wrap and move it to the fridge. It needs a minimum of six hours to set up hard enough to slice cleanly. Honestly, for the best results possible when making this ultimate cheesecake, I always aim for overnight chilling. Seriously, overnight makes it firm enough to handle beautifully!
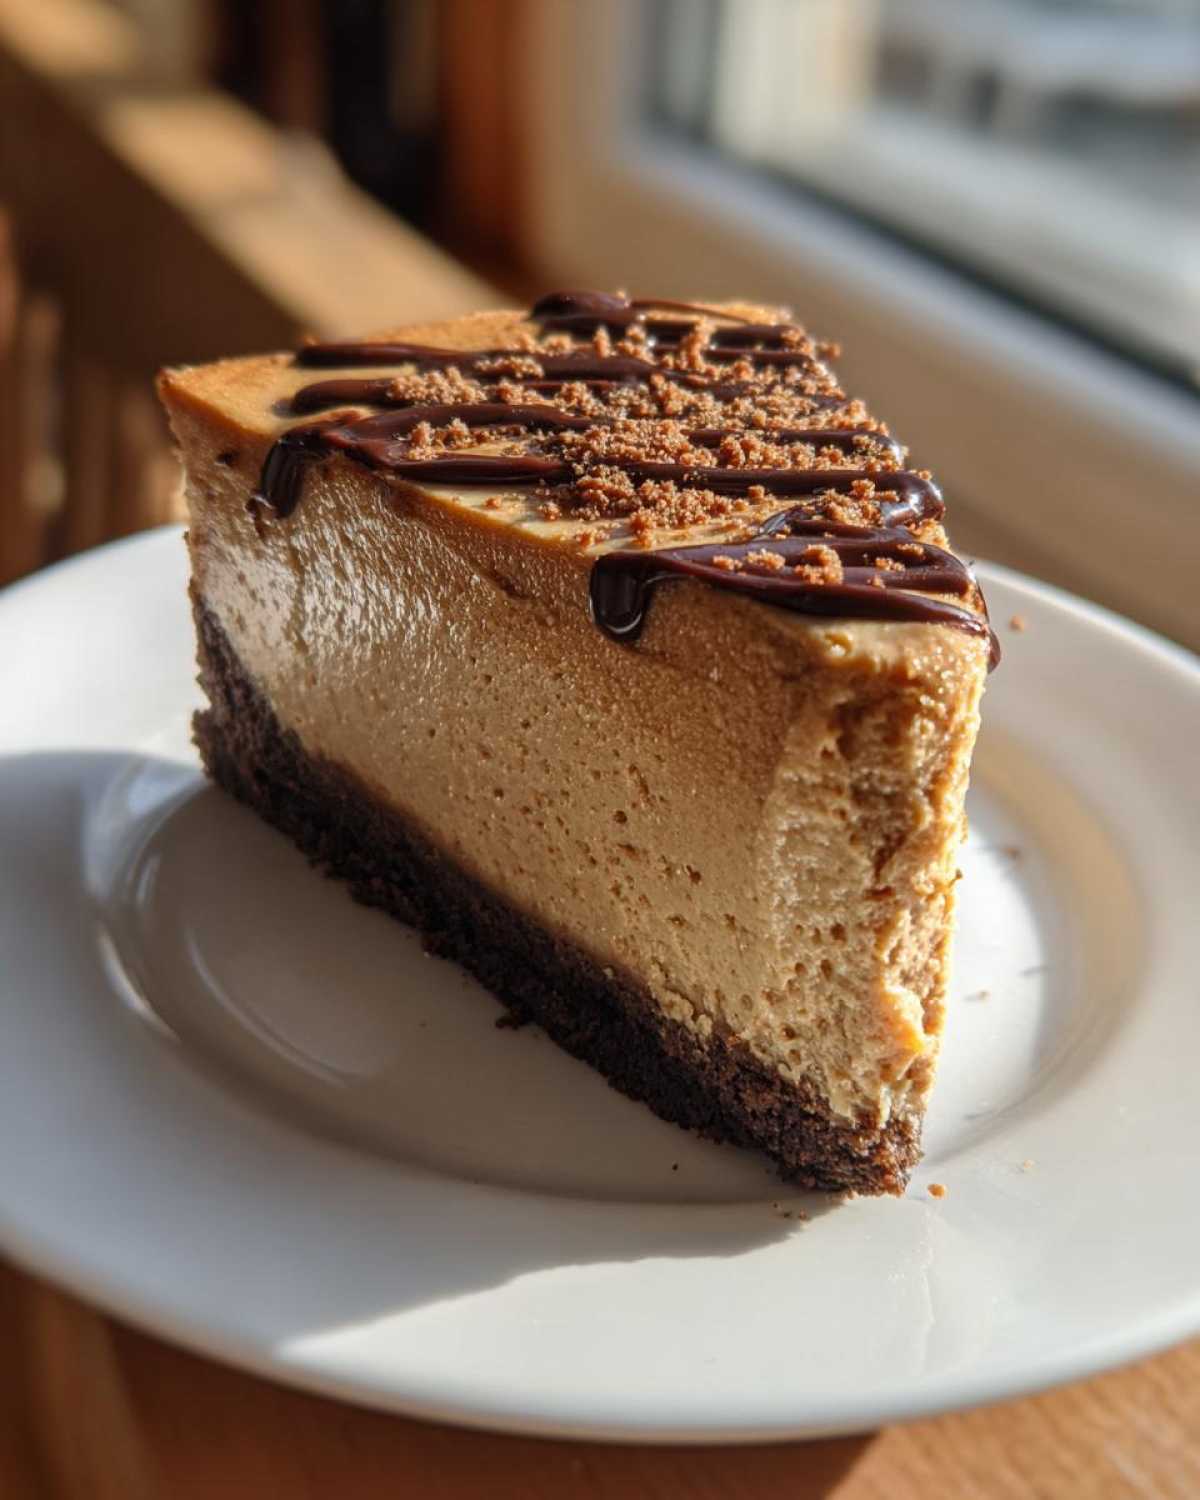
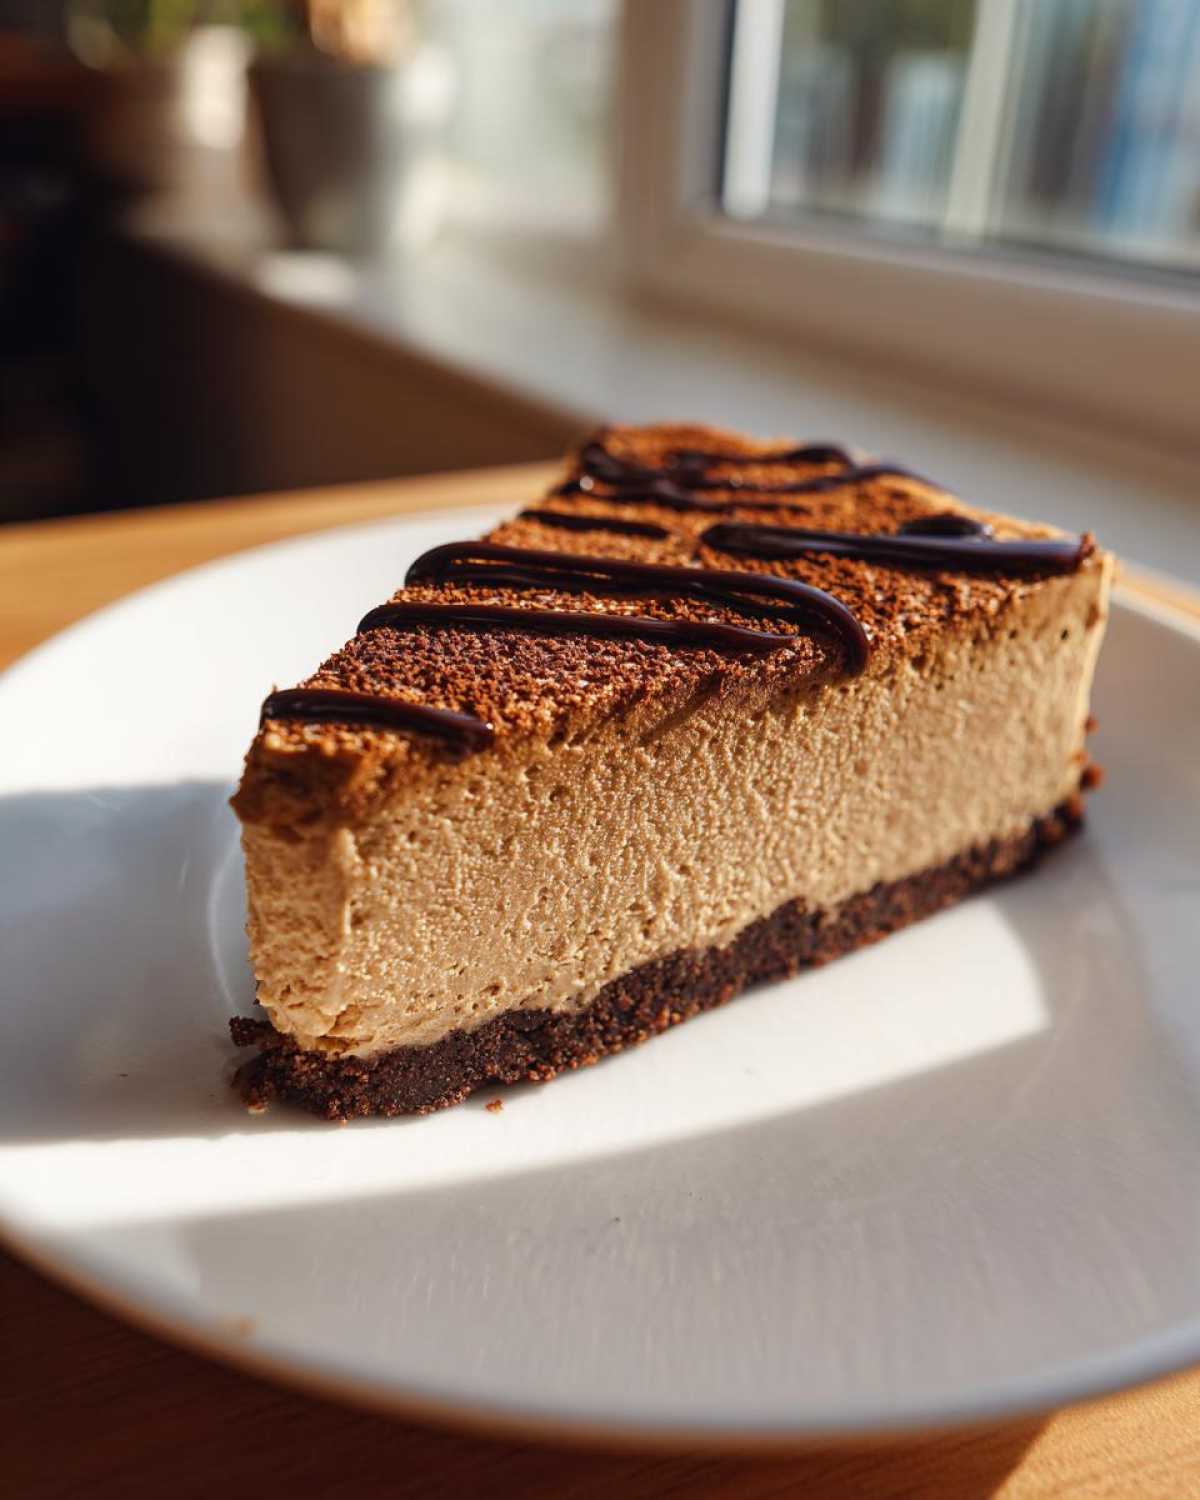
When you’re ready to serve, carefully unbuckle your springform sides. If you want that extra flair, drizzle melted chocolate over the top before slicing. Enjoy that perfect slice!
Tips for Success with Your Biscoff Cheesecake Recipe
You want the absolute best Biscoff recipe, right? Me too! Even though this is a no-bake cheesecake, taking a couple of extra moments guarantees perfection. You won’t regret these little extra steps that make a huge difference in texture and presentation.
First, remember what I mentioned about the Biscoff spread? Don’t just dump it in cold! Take that cup of cookie butter and warm it for just 15 or 20 seconds in the microwave. It gets so soft and pliable, which means it folds into the whipped cream and cream cheese mixture without fighting you or deflating all your hard work. See? Easy win!
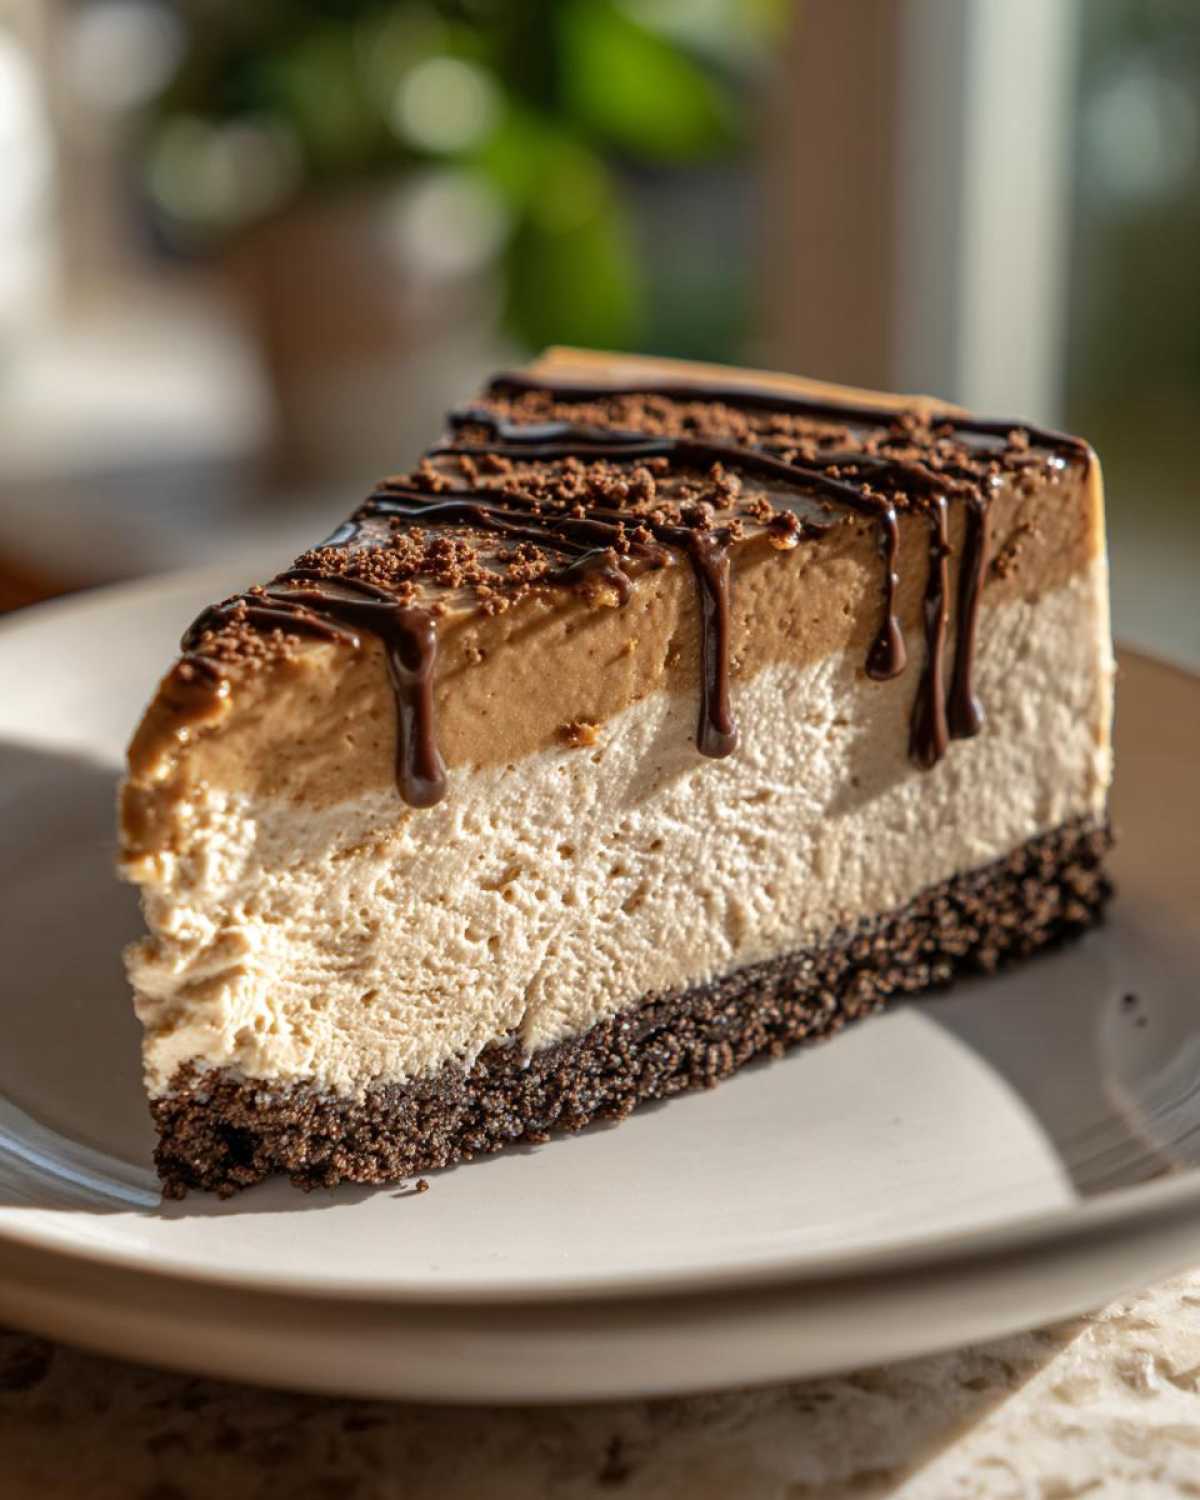
Second, the pan prep! If you’re worried about getting that perfect release—and who isn’t?—line the bottom of that springform pan with a circle of parchment paper before you even put the crust in. It’s like insurance against a cracked edge. It works wonders, especially when I’m serving it somewhere fancy!
For more amazing flavor ideas that really punch up the experience, you might want to peek at my best spicy garlic mushroom toast recipe—totally different, but full of my favorite flavor tricks!
Make Ahead Dessert and Storage for Your Biscoff Cheesecake
This is the secret weapon of the busy host: it’s the ultimate make ahead dessert! You must chill that cheesecake for at least six hours, but honestly, overnight is where this no bake Biscoff cheesecake really shines. It gets firmer, the flavors meld, and you have zero stress on party day.
Keep it covered tightly with plastic wrap in the fridge, and it stays gorgeous and fresh for up to four days. If you have leftovers (which I doubt!), you can freeze it airtight! Let it thaw in the fridge for about 4 to 6 hours before serving. If you need other great options for planning ahead, my make ahead mashed potatoes recipe has saved my holiday sanity more times than I can count!
Variations for Your Spiced Cookie Cheesecake
While the classic combination of Biscoff and vanilla is heavenly, sometimes I like to shake things up, especially if I’m making this spiced cookie cheesecake for the third time that month! Don’t feel tied down to just the Biscoff spread, either. You can absolutely swap it for another delicious cookie butter if you find one you love—just make sure it spreads well!
My favorite switch-up is adding a thin layer of salted caramel sauce right on top with the chocolate drizzle. That sweet-salty combo with the spiced crust? Wow. Or, if you’re feeling bold, you can pour half the chocolate into the filling mixture for a marbled look. For more baked goods inspiration, you have to check out my lemon raspberry loaf cake recipe for a brighter treat!
Frequently Asked Questions About No Oven Cheesecake
I get so many questions whenever I post this recipe online because everyone wants their no oven cheesecake to turn out perfectly creamy! Since this is a no-bake recipe, people worry about things like firmness and setting time. Don’t stress! If you follow the folding instructions carefully, you’ll have a showstopper every time. It really is one of those foolproof crowd-pleasing dessert recipes, provided you give it enough chill time. For more easy, no-bake inspiration, you should totally check out my post on no bake Oreo cheesecake!
Can I use a different cookie for the crust in this biscoff cheesecake?
Oh, you totally can, but I have to warn you: it won’t taste like this absolute masterpiece! If you must substitute, speculoos cookies (the generic kind) will work just fine in terms of texture. But for the true flavor pop in this biscoff cheesecake, you really need that specific cinnamon-spice flavor profile of Lotus Biscoff. If you don’t have enough cookies, you could crush up some graham crackers, but you’ll need to add a tiny bit more sugar and maybe a dash of cinnamon to try and mimic the flavor.
How do I ensure my No Bake Biscoff Cheesecake is perfectly firm?
This is all about technique, honey! The number one reason a no-bake cheesecake doesn’t set is either using cream cheese that wasn’t softened enough (which creates a lumpy, messy base) or, more often, over-mixing the filling once you add the whipped cream. When you fold in that beautiful whipped cream, you’re trapping air—that air is what makes the cake firm but light. Stop folding the second the ingredients are just combined. After that, the refrigerator does all the heavy lifting. Don’t rush the 6 hours!
Is this a good make ahead dessert for holiday gatherings?
Is it ever! This is the ultimate make ahead dessert, hands down. I plan to have mine made by Thanksgiving morning so it’s ready to go when everyone arrives. Because there’s no baking, it takes up space in the fridge rather than the oven—which is crucial on a busy holiday! Cover it tightly, and it’s fantastic for up to four days. If you’re planning a big spread, you can’t beat the ease of this crowd pleasing dessert!
Estimated Nutritional Information for This Biscoff Cheesecake Recipe
Now, let’s talk numbers for this super rich and indulgent no bake dessert. I always keep track just because I like knowing what I’m diving into, but remember, this is just a guideline. Cheesecake is meant to be enjoyed, not scrutinized! Because we’re using specific brands of cookie butter and heavy cream, your actual numbers might shift around just a little bit.
Treat these figures like a friendly estimate, especially since that Biscoff spread is pure magic! This information is based on 10 generous servings of this incredible Lotus Biscoff dessert:
- Serving Size: 1 slice
- Calories: Around 450
- Sugar: About 35g (It is dessert, after all!)
- Fat: Roughly 30g
- Saturated Fat: Approximately 18g
- Carbohydrates: Around 40g
- Protein: About 5g
We’re looking at a real treat here—a dense, satisfying slice of heaven! If you’re planning a big menu, knowing the calorie count upfront helps you balance things out. This recipe creates such a fantastic centerpiece for any gathering, it’s worth every single calorie!
Share Your Decadent Cheesecake Ideas!
I’ve shared all my secrets for making this unbelievable biscoff cheesecake, and now it’s your turn! I absolutely live for hearing from you all. Did you make it for a party? Did someone at the table ask for the recipe immediately? Spill the details!
Please, please, please leave a star rating right below this post. It helps me know if my tips are working and if this recipe is living up to its ‘Best Biscoff Recipe’ potential. Your feedback truly means the world to me!
And if you took a gorgeous picture of your perfectly set King Kong no-bake cheesecake—which I know you did because it looks stunning—tag me on social media! Seeing your creations makes my day. I love seeing how you decorate them, whether you stick to my simple chocolate drizzle or go wild with caramel!
If you’re diving into dessert inspiration and want to see what else I’m cooking up, you can always check out my main blog page here: My Latest Recipes! Happy baking (or, well, *not* baking)! Let me know what decadent dessert ideas you have cooking next!
PrintNo-Bake Biscoff Cheesecake
Make a rich, creamy, and decadent no-bake cheesecake featuring a crunchy Lotus Biscoff cookie crust and a smooth cookie butter filling. This recipe is easy to prepare and perfect for making ahead.
- Prep Time: 20 min
- Cook Time: 0 min
- Total Time: 6 hr 20 min
- Yield: 10 servings
- Category: Dessert
- Method: No-Bake
- Cuisine: American
- Diet: Vegetarian
Ingredients
- 1 1/2 cups crushed Lotus Biscoff cookies
- 1/4 cup unsalted butter, melted
- 16 ounces cream cheese, softened
- 1 cup powdered sugar
- 1 teaspoon vanilla extract
- 1 cup heavy whipping cream, cold
- 1 cup Biscoff cookie butter, slightly warmed
- 1/4 cup melted semi-sweet chocolate (for optional drizzle)
Instructions
- Combine the crushed Biscoff cookies and melted butter in a bowl. Press the mixture firmly into the bottom of a 9-inch springform pan. Chill the crust in the refrigerator for 15 minutes.
- In a large bowl, beat the softened cream cheese until smooth. Gradually beat in the powdered sugar and vanilla extract until fully combined.
- In a separate bowl, whip the cold heavy cream until stiff peaks form. Gently fold the whipped cream into the cream cheese mixture until just combined.
- Gently fold the slightly warmed Biscoff cookie butter into the cream cheese mixture until no streaks remain. Do not overmix.
- Pour the filling over the chilled crust and spread evenly. Cover the pan loosely with plastic wrap and refrigerate for at least 6 hours, or preferably overnight, until firm.
- Before serving, remove the cheesecake from the springform pan. Drizzle with melted chocolate, if desired. Slice and serve cold.
Notes
- Warming the Biscoff cookie butter slightly makes it easier to fold into the cream cheese mixture without deflating the whipped cream.
- For the easiest removal, line the bottom of the springform pan with a circle of parchment paper before adding the crust.
- If you do not have a springform pan, you can use an 8×8 inch baking dish, but chilling time may vary.
Nutrition
- Serving Size: 1 slice
- Calories: 450
- Sugar: 35g
- Sodium: 250mg
- Fat: 30g
- Saturated Fat: 18g
- Unsaturated Fat: 12g
- Trans Fat: 0.5g
- Carbohydrates: 40g
- Fiber: 1g
- Protein: 5g
- Cholesterol: 90mg