

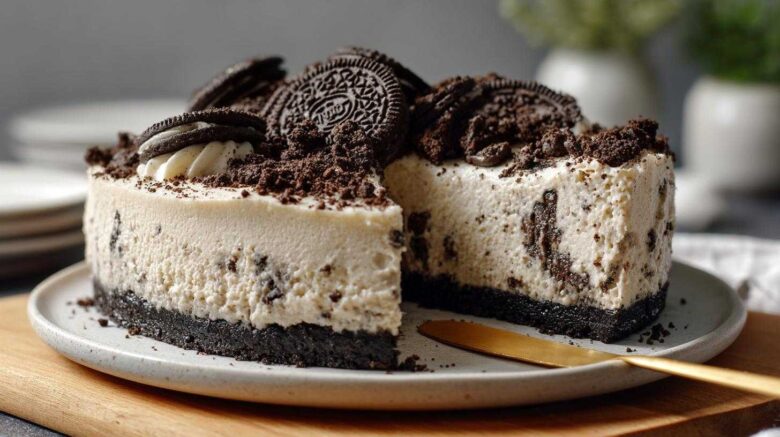
No-Bake Oreo Cheesecake: Your Easy, Creamy Dessert Solution
Oh, this No-Bake Oreo Cheesecake. It’s the kind of dessert that makes you feel like a kitchen wizard without even breaking a sweat. Seriously, it’s pure magic, and it’s become our go-to for a reason. You know how Clara, Noah, and I are all about fixing recipes? Well, this one was already pretty darn perfect, but we love it because it’s proof that incredible desserts don’t need a hot oven. It’s a creamy, dreamy dream come true. Ben often says it’s the dessert equivalent of a comfy couch after a long day. It’s just… easy deliciousness.
Why You’ll Love This No-Bake Oreo Cheesecake
Get ready to fall in love with this cheesecake for so many reasons:
- No oven required! Beat the heat, always.
- Super quick to put together. Seriously fast.
- Rich, decadent Oreo flavor in every bite.
- It’s a guaranteed hit for parties and gatherings.
- It’s incredibly creamy and satisfying.
Meet the Recipe Rescuers: Ben, Noah, and Clara
Remember that infamous lasagna disaster? That’s where our journey began. We’re the team behind Savor And Pin, and we’re on a mission. We rescue recipes that have great ideas but flawed execution. Noah digs into the science. Ben, with his wild questions, isn’t afraid to experiment. And I translate it all into something truly exceptional. We believe a good recipe is a promise. We’re here to fix the broken ones, and this no-bake Oreo cheesecake is a promise kept.
Essential Ingredients for Your No-Bake Oreo Cheesecake
Gathering your ingredients is the first step to cheesecake bliss! For our No-Bake Oreo Cheesecake, you’ll need:
- 1 cup crushed Oreo cookies (that’s about 10 to 12 cookies, give or take!)
- 3 tablespoons unsalted butter, melted
- 2 (8 ounce) packages cream cheese, softened
- 1/2 cup granulated sugar
- 1 teaspoon vanilla extract
- 1 1/2 cups heavy whipping cream, nice and cold
- 1/2 cup chopped Oreo cookies, for that perfect topping
Using softened cream cheese is key. It helps you get a super smooth filling, free of any annoying lumps. And for the whipped cream, make sure it’s cold! That’s how you get those lovely stiff peaks that give the cheesecake its airy texture. Trust me, these little details make a big difference in the final creamy result.
Quick Ingredient Notes & Substitutions
Got a question about an ingredient? Let’s clear it up.
- Crushing Oreos: No food processor? No problem! Pop your Oreos into a sturdy zip-top bag. Use a rolling pin or a heavy can to give them a good bash until they’re finely crushed. It’s a fun way to work out some energy!
- Cream Cheese: Make sure it’s truly softened. Leave it on the counter for about an hour. This ensures a smooth, creamy filling without any lumps.
- Heavy Whipping Cream: This is what gives our cheesecake its lovely lightness. You can’t really substitute it for whipped cream, so don’t skip it!
Crafting Your Perfect No-Bake Oreo Cheesecake
Now for the fun part! Making this no-bake wonder is surprisingly simple. We’ve broken it down into easy steps so you can create a truly exceptional dessert. Ben, ever the tinkerer, might suggest adding a pinch of espresso powder to deepen the chocolate flavor, but we’re sticking to the classic for this recipe. The key is to work methodically and enjoy the process.
Preparing the Oreo Crust
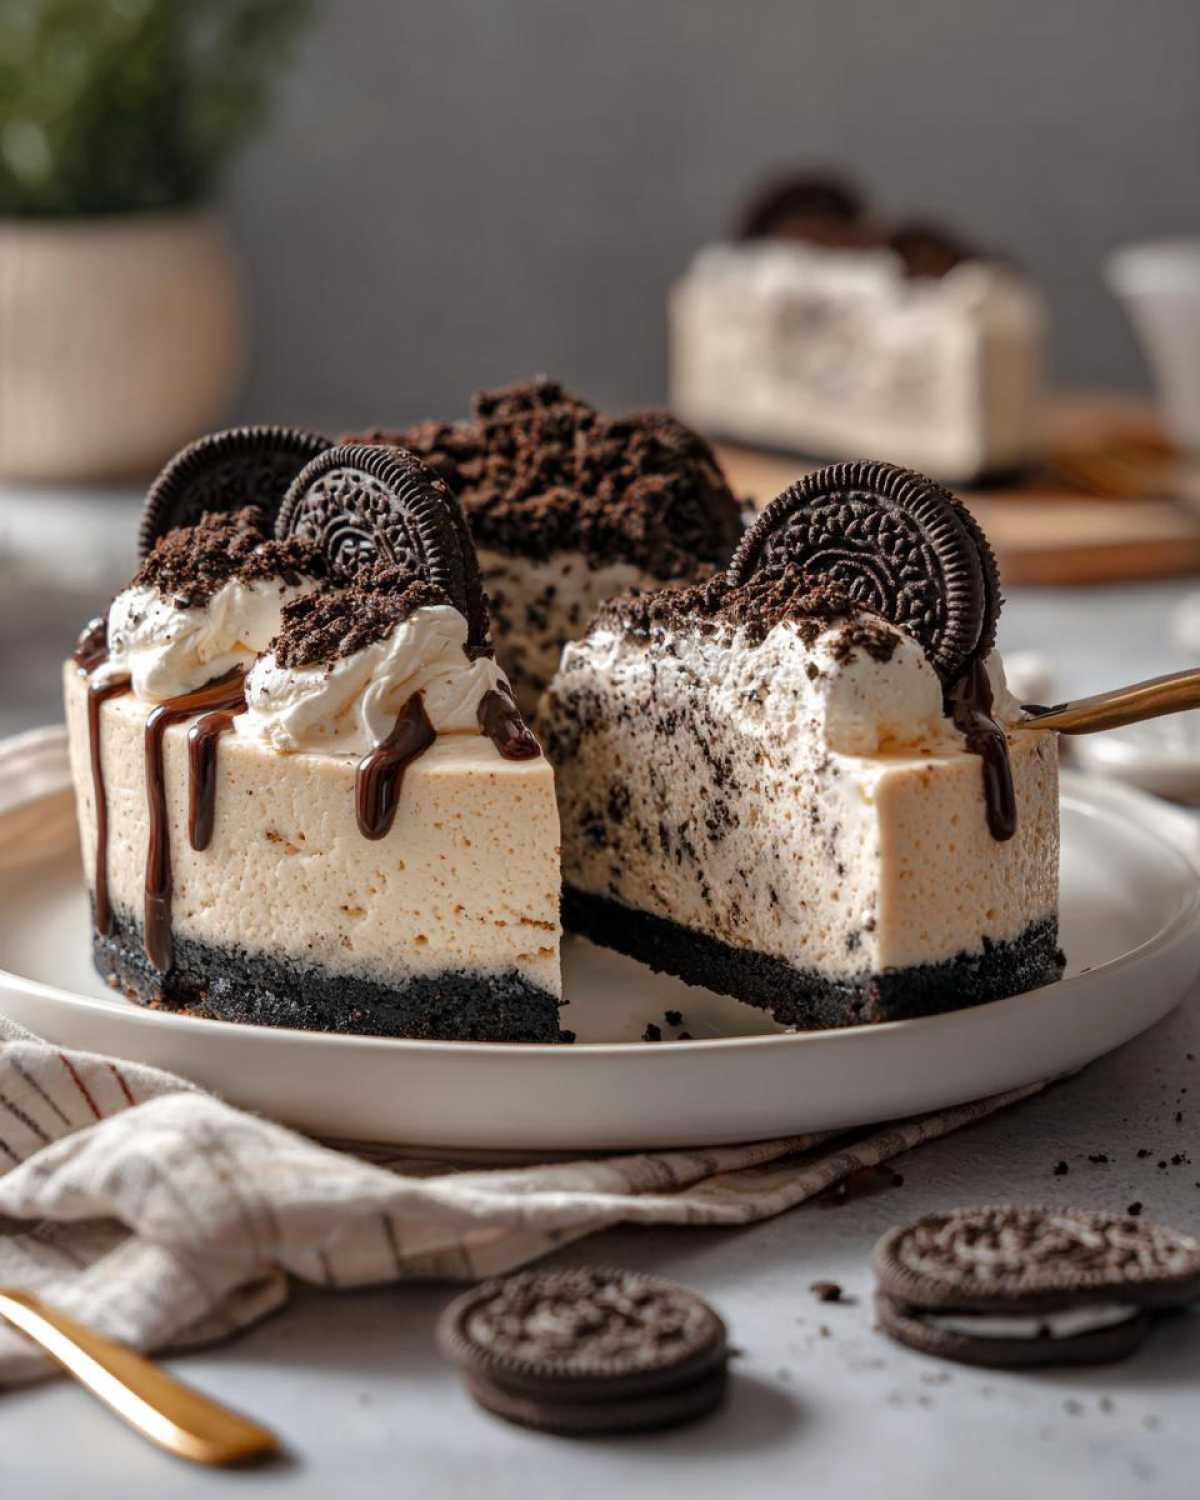
First, let’s get that delicious base ready. In a small bowl, combine your crushed Oreo cookies with the melted butter. Give it a good stir until all the crumbs are nicely moistened. It should look like wet sand. Now, take an 8-inch springform pan and press this buttery crumb mixture evenly across the bottom. Use the back of a spoon or a flat-bottomed glass to really pack it down. This firm base is what holds our creamy filling.
Creating the Creamy Cheesecake Filling
Time for the star of the show! Grab a large bowl. Beat your softened cream cheese and granulated sugar together until they’re perfectly smooth and there are no lumps. This is important for that silky texture we love. Stir in the vanilla extract for that classic cheesecake aroma. In a separate bowl, whip your cold heavy cream until stiff peaks form. This means when you lift the whisk, the cream holds its shape. Gently fold this whipped cream into the cream cheese mixture. Be gentle! You want to keep all that lovely airiness. Don’t overmix; just fold until it’s all combined into a luscious, fluffy filling.
The Crucial Chilling Stage
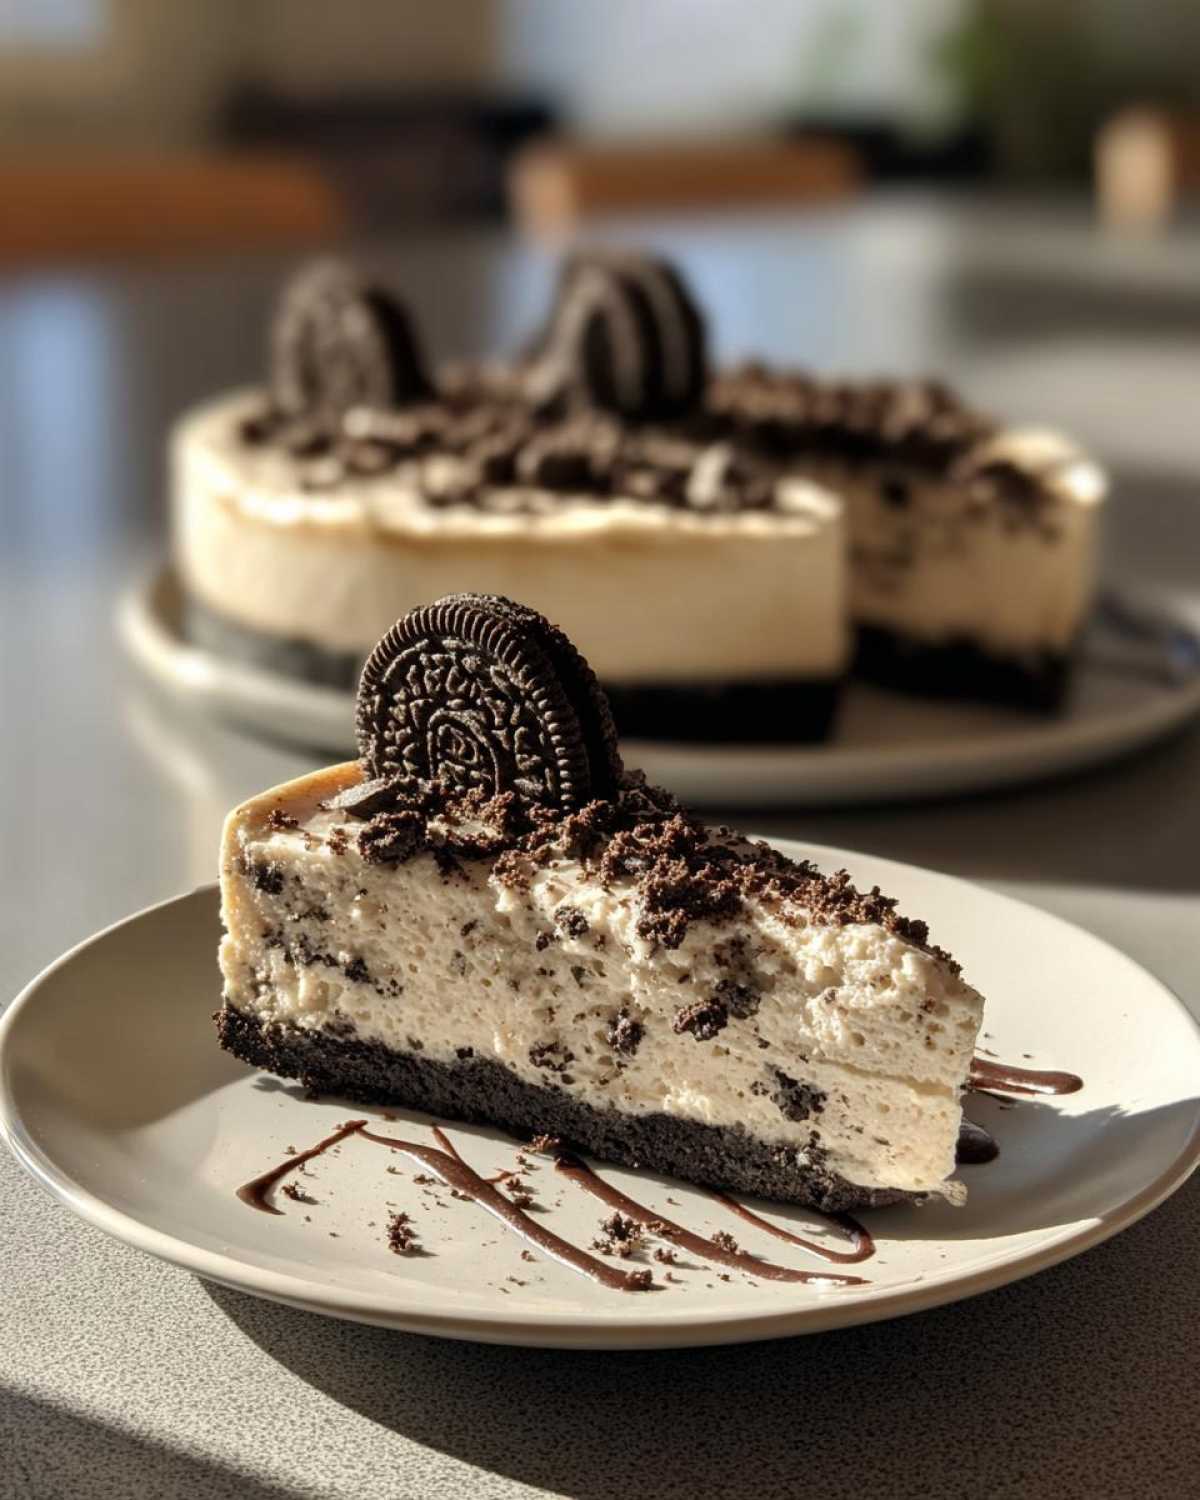
Pour this dreamy filling right over your Oreo crust. Spread it out smoothly to the edges. Now comes the hardest part: waiting. You need to chill this beauty in the refrigerator for at least 4 hours. This isn’t just a suggestion; it’s essential! This waiting game allows the cheesecake to set up properly, giving you that perfect sliceable texture. Don’t rush this step. Patience truly is a virtue when it comes to no-bake desserts! For more tips on achieving the perfect texture in desserts, check out this guide on achieving perfect whipped cream.
Frequently Asked Questions about No-Bake Oreo Cheesecake
Got a few lingering questions about this easy dessert? We’ve got you covered!
Can I make this ahead of time?
Absolutely! This creamy cheesecake is perfect for making ahead. In fact, it’s better if you do. Make it a day in advance and let it chill in the fridge. It gives the flavors more time to meld together beautifully. Just add the chopped Oreos right before serving.
How do I get a super smooth filling?
The secret is really softened cream cheese. Make sure it’s at room temperature so it beats up smoothly with the sugar. Don’t skimp on beating them together until there are no lumps. Gentle folding of the whipped cream also helps maintain that smooth, airy texture. It’s key for a truly creamy cheesecake experience.
What if my cheesecake doesn’t set?
Don’t panic! If your no-bake dessert seems a bit soft, it likely just needs more chilling time. Sometimes humidity or slight variations in ingredients can affect setting. Try giving it another hour or two in the fridge. If it’s still too soft, you can always serve it as a delicious dip with some graham crackers or fruit. It’ll still taste amazing!
Serving and Storing Your Delicious No-Bake Oreo Cheesecake
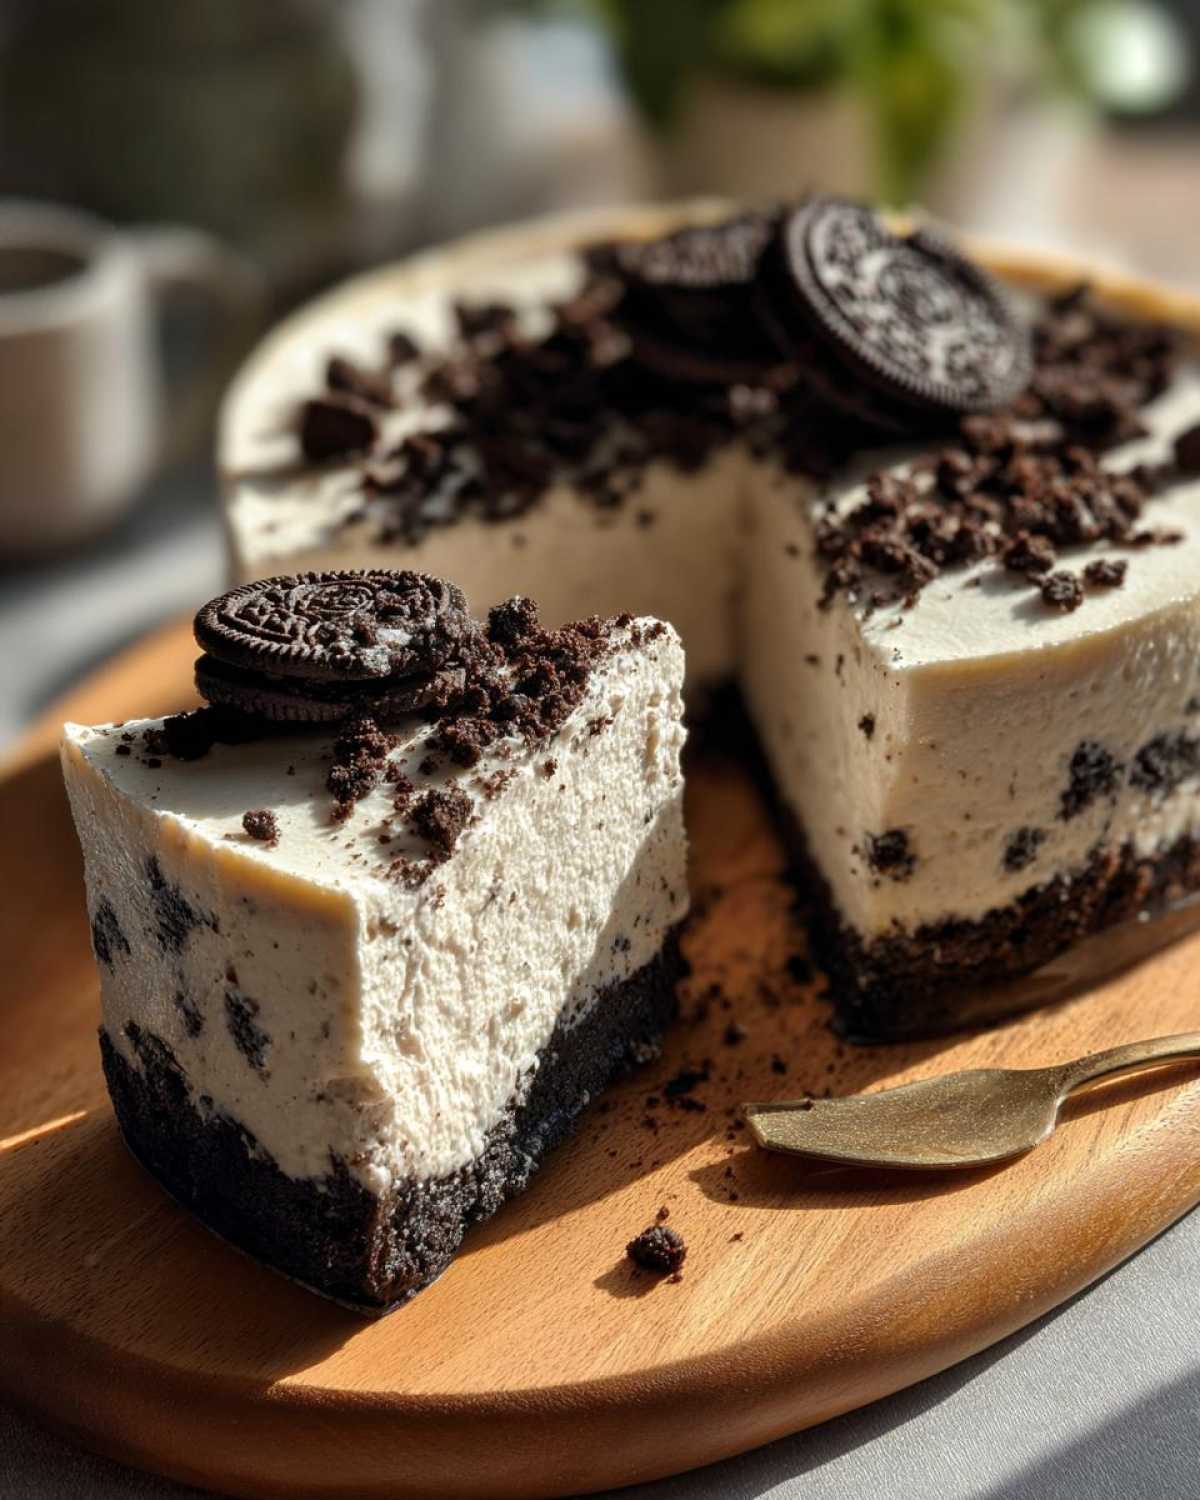
Once your no-bake Oreo cheesecake has chilled to perfection, it’s time for the best part: serving! Before you slice into this creamy dream, sprinkle the reserved chopped Oreo cookies over the top. This adds a lovely crunch and extra chocolatey goodness. For an extra touch, you could also add a dollop of whipped cream or a drizzle of chocolate sauce. It’s a crowd-pleasing dessert that looks as good as it tastes. You might also enjoy our Oreo Icebox Cake for another no-bake treat.
Got leftovers? Lucky you! Store any remaining cheesecake in an airtight container in the refrigerator. It stays wonderfully fresh for about 3 to 4 days. Because it’s a no-bake recipe, there’s no need to reheat it. Just grab a slice straight from the fridge whenever a craving strikes. Enjoy every decadent bite!
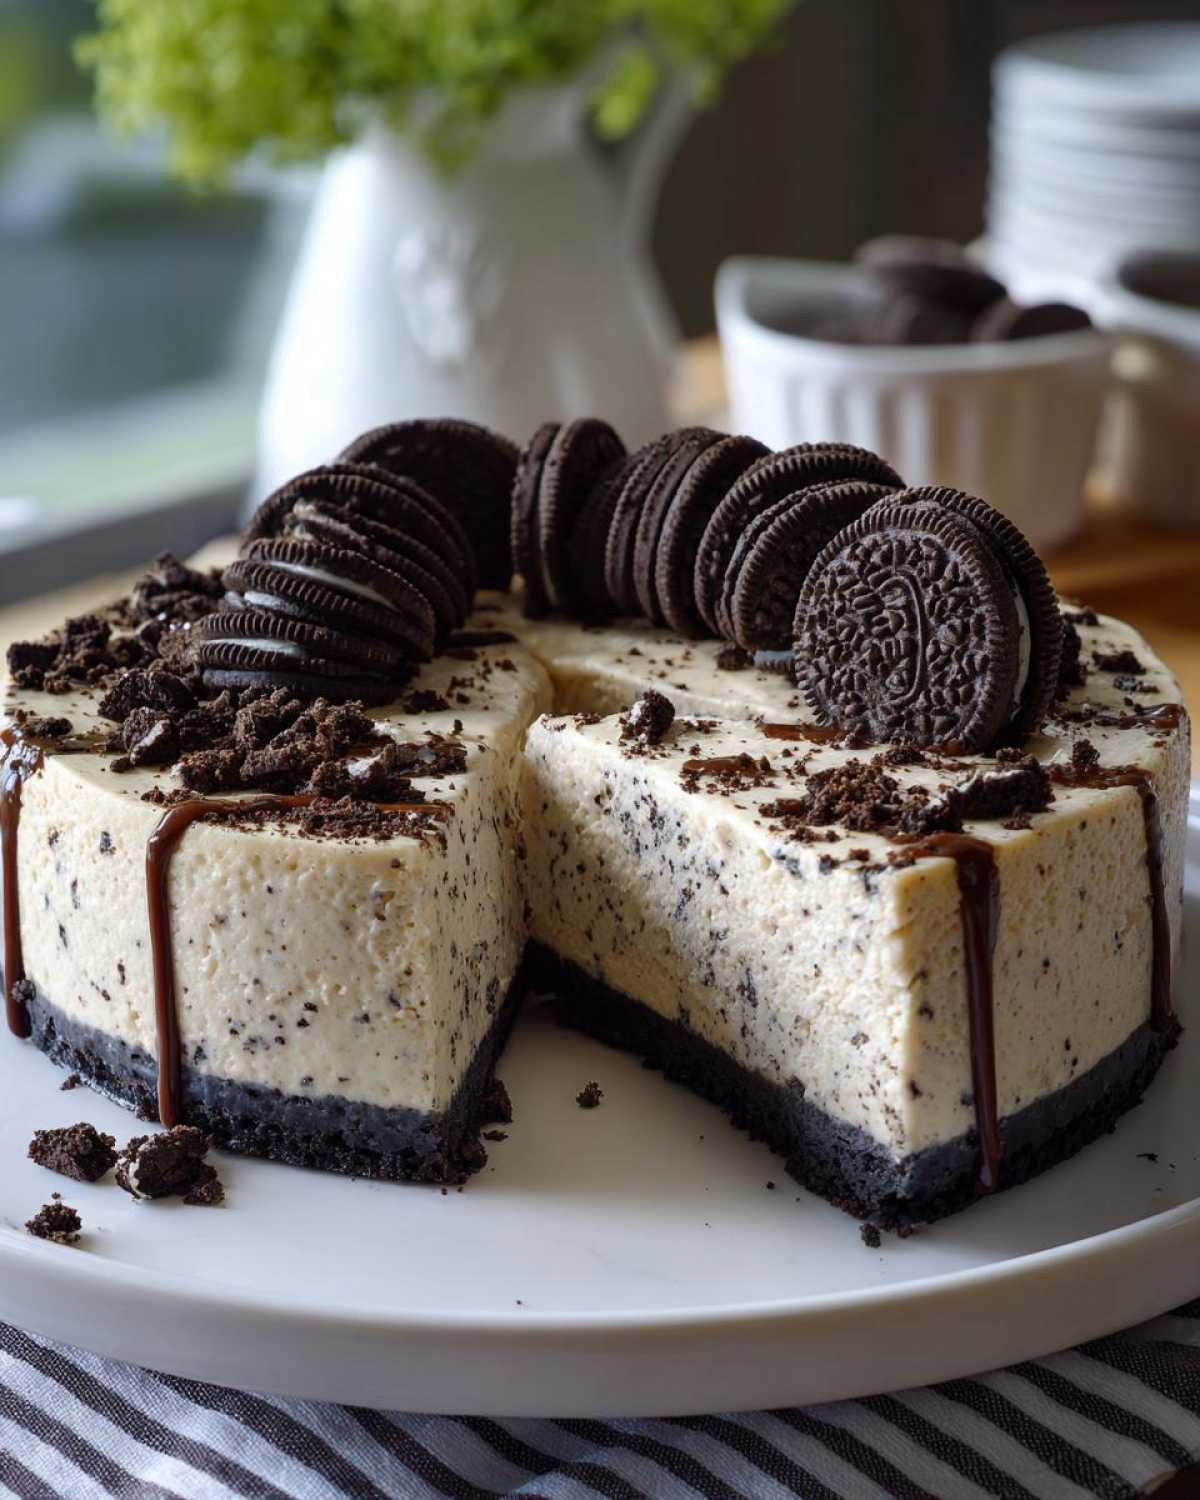
Understanding the Delicious Details of No-Bake Oreo Cheesecake
Here’s a little look at what goes into each delightful slice of our No-Bake Oreo Cheesecake. Please remember these are estimates, and your actual values might vary a bit! For more information on nutritional data, you can consult resources like the USDA’s FoodData Central.
- Serving Size: 1 slice
- Calories: 450
- Fat: 30g (Saturated Fat: 18g)
- Carbohydrates: 40g
- Protein: 6g
No-Bake Oreo Cheesecake: 1 Creamy Dream
Create a creamy and crowd-pleasing No-Bake Oreo Cheesecake that sets perfectly in the refrigerator. This recipe is for dessert lovers seeking a rich and satisfying treat without the need to turn on your oven.
- Prep Time: 20 minutes
- Cook Time: 0 minutes
- Total Time: 4 hours 20 minutes
- Yield: 8 servings
- Category: Dessert
- Method: No-Bake
- Cuisine: American
- Diet: Vegetarian
Ingredients
- 1 cup crushed Oreo cookies (about 10-12 cookies)
- 3 tablespoons unsalted butter, melted
- 2 (8 ounce) packages cream cheese, softened
- 1/2 cup granulated sugar
- 1 teaspoon vanilla extract
- 1 1/2 cups heavy whipping cream, cold
- 1/2 cup chopped Oreo cookies, for topping
Instructions
- In a small bowl, mix the crushed Oreo cookies and melted butter. Press this mixture evenly into the bottom of an 8-inch springform pan.
- In a large bowl, beat the softened cream cheese and granulated sugar until smooth. Stir in the vanilla extract.
- In a separate bowl, whip the cold heavy cream until stiff peaks form.
- Gently fold the whipped cream into the cream cheese mixture until well combined.
- Pour the cheesecake filling over the Oreo crust and spread evenly.
- Chill the cheesecake in the refrigerator for at least 4 hours, or until firm.
- Before serving, sprinkle the chopped Oreo cookies over the top of the cheesecake.
Notes
- For a smoother crust, you can pulse the Oreo cookies in a food processor.
- Ensure your cream cheese is fully softened to avoid lumps in your filling.
- Chill time is crucial for the cheesecake to set properly.
Nutrition
- Serving Size: 1 slice
- Calories: 450
- Sugar: 30g
- Sodium: 200mg
- Fat: 30g
- Saturated Fat: 18g
- Unsaturated Fat: 12g
- Trans Fat: 0g
- Carbohydrates: 40g
- Fiber: 1g
- Protein: 6g
- Cholesterol: 90mg