

Oh my gosh, the bread machine! I swear, those magical boxes were practically invented for busy cooks like us. You toss everything in, press a button, and walk away. Later, you’re greeted with the most amazing aroma that instantly elevates dinner. I’ve probably made a thousand loaves, but nothing beats the convenience when you want something truly savory without kneading on the counter.
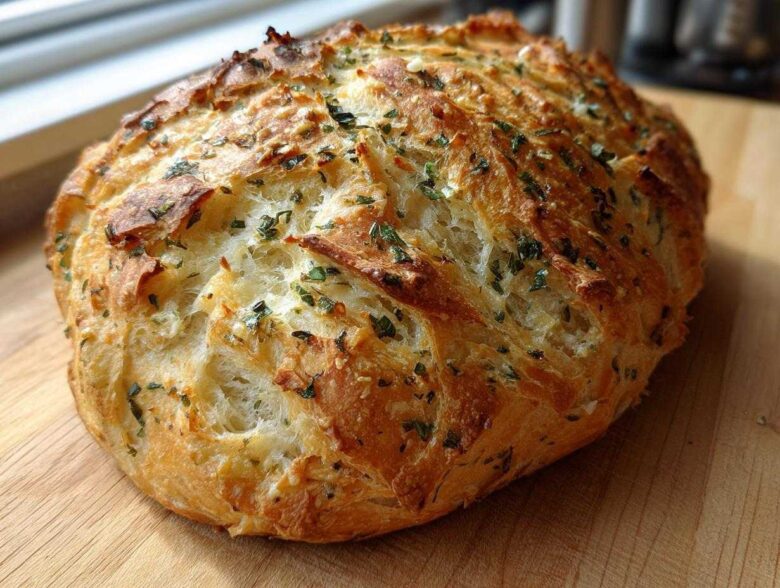
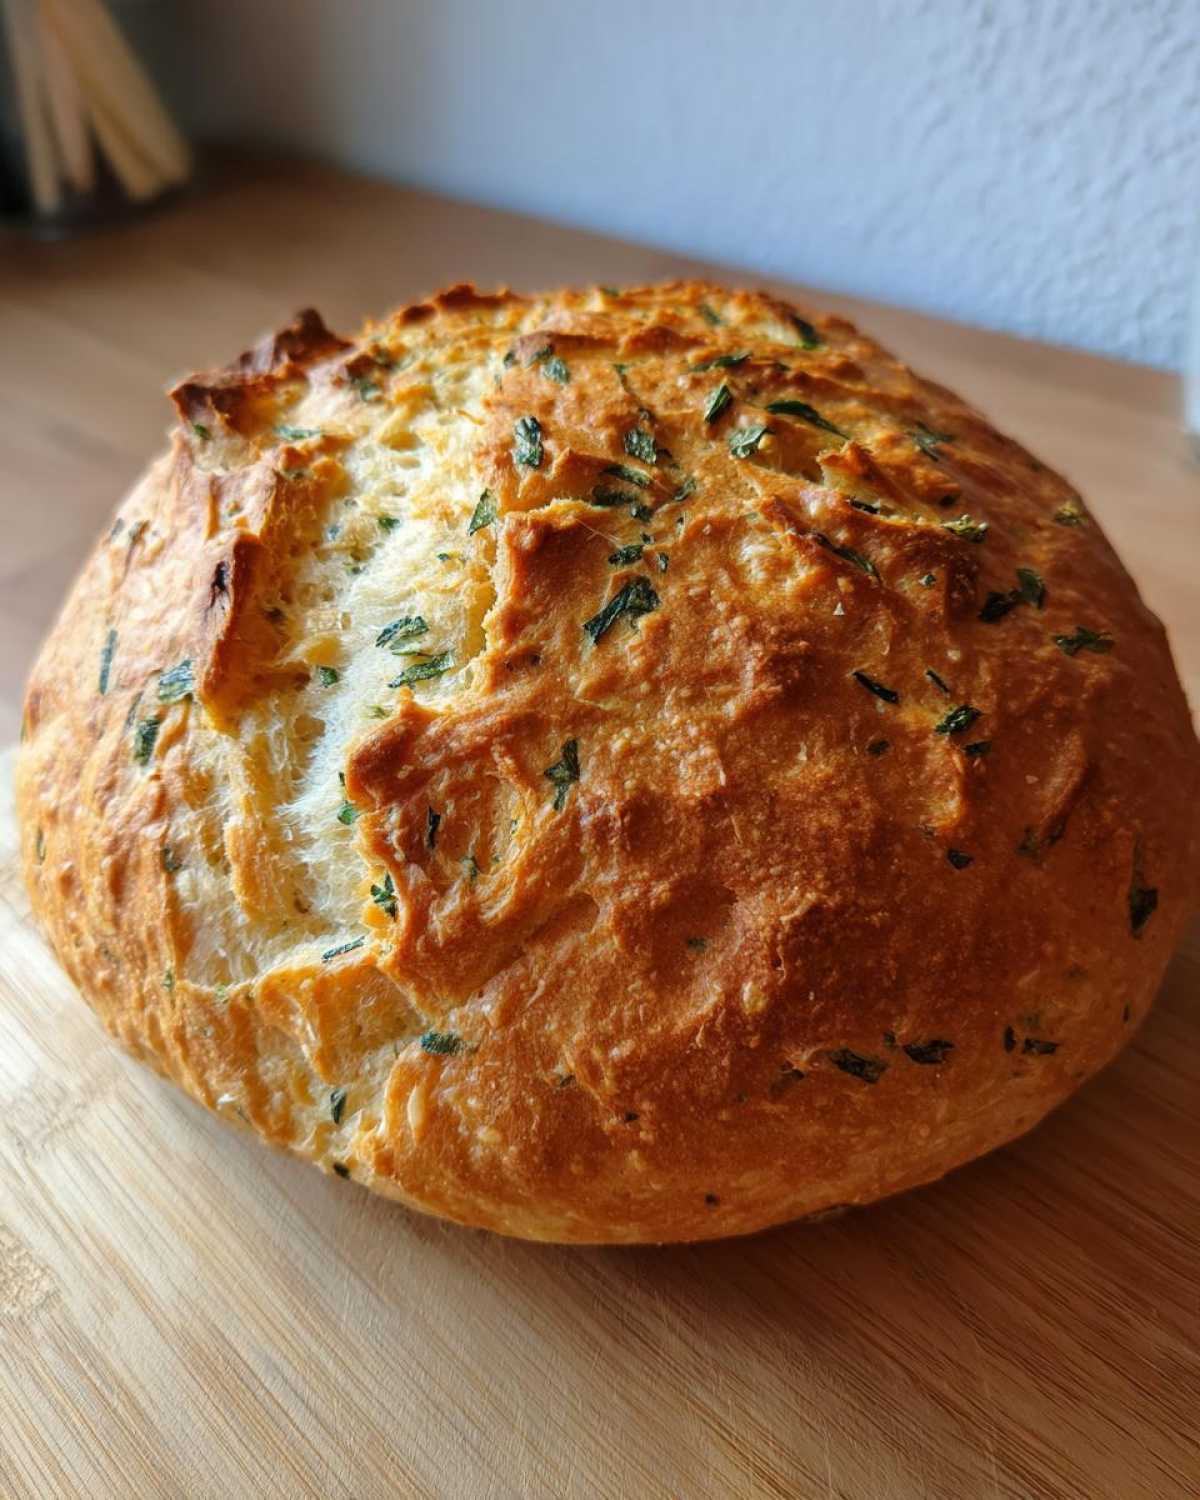
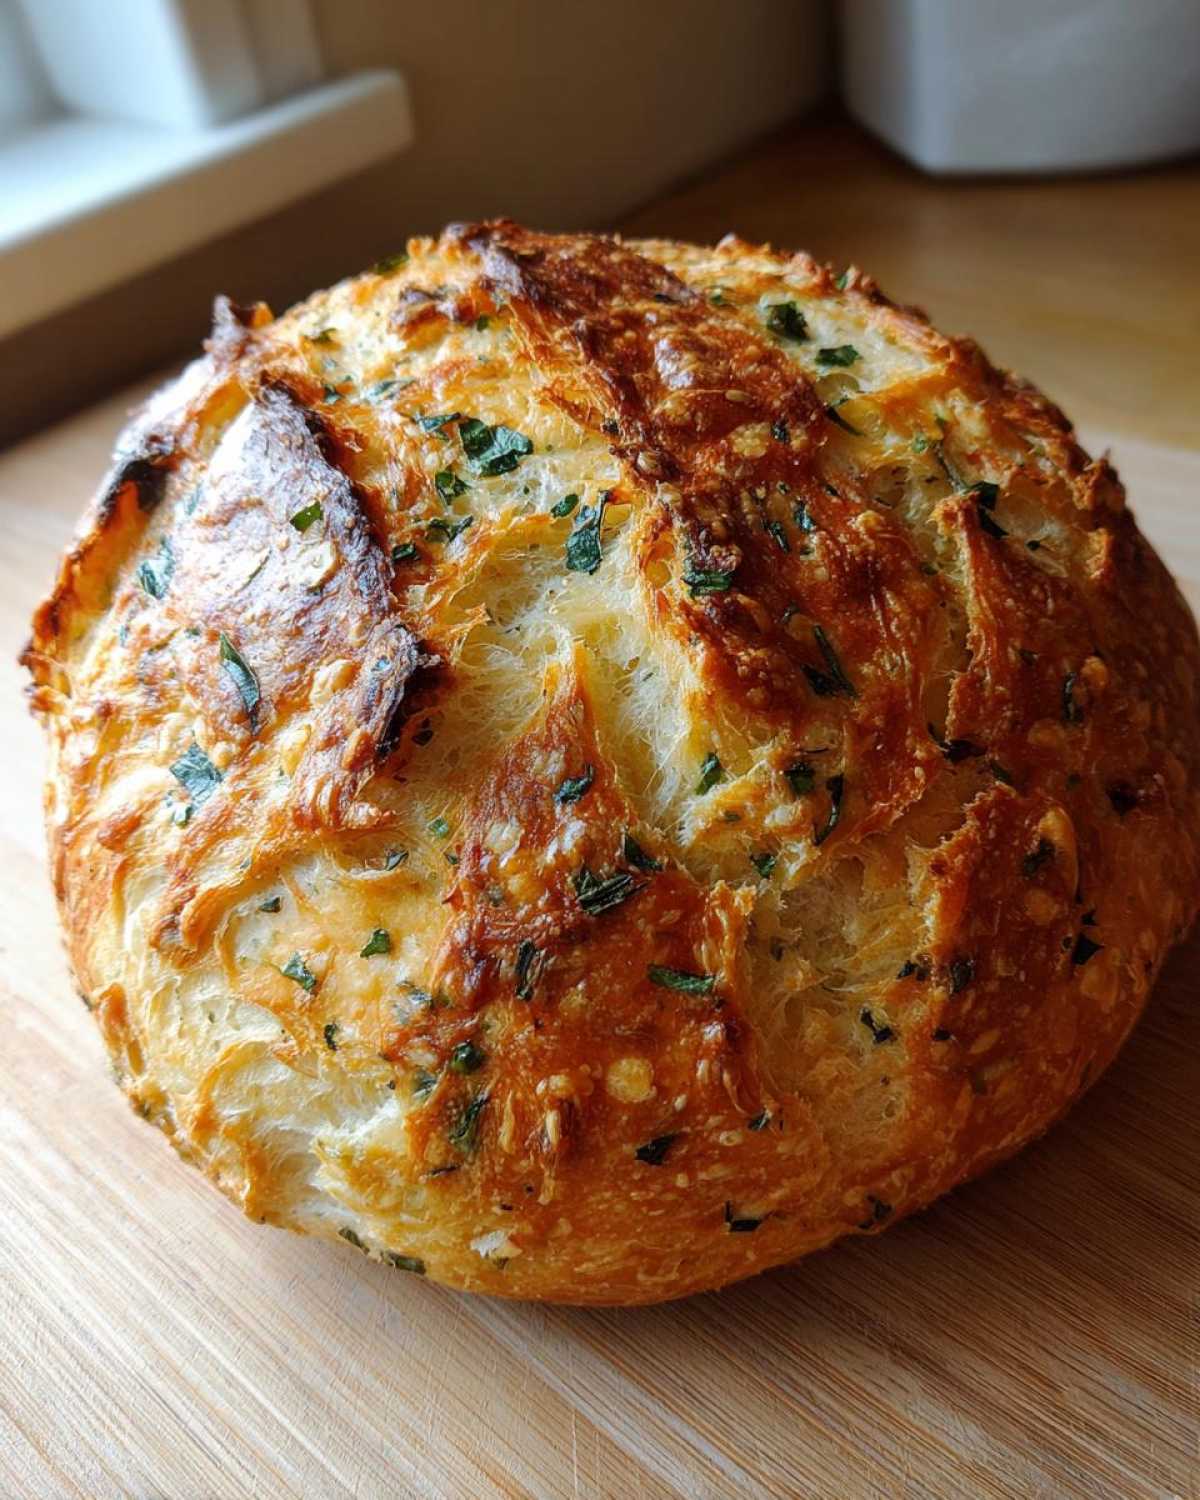
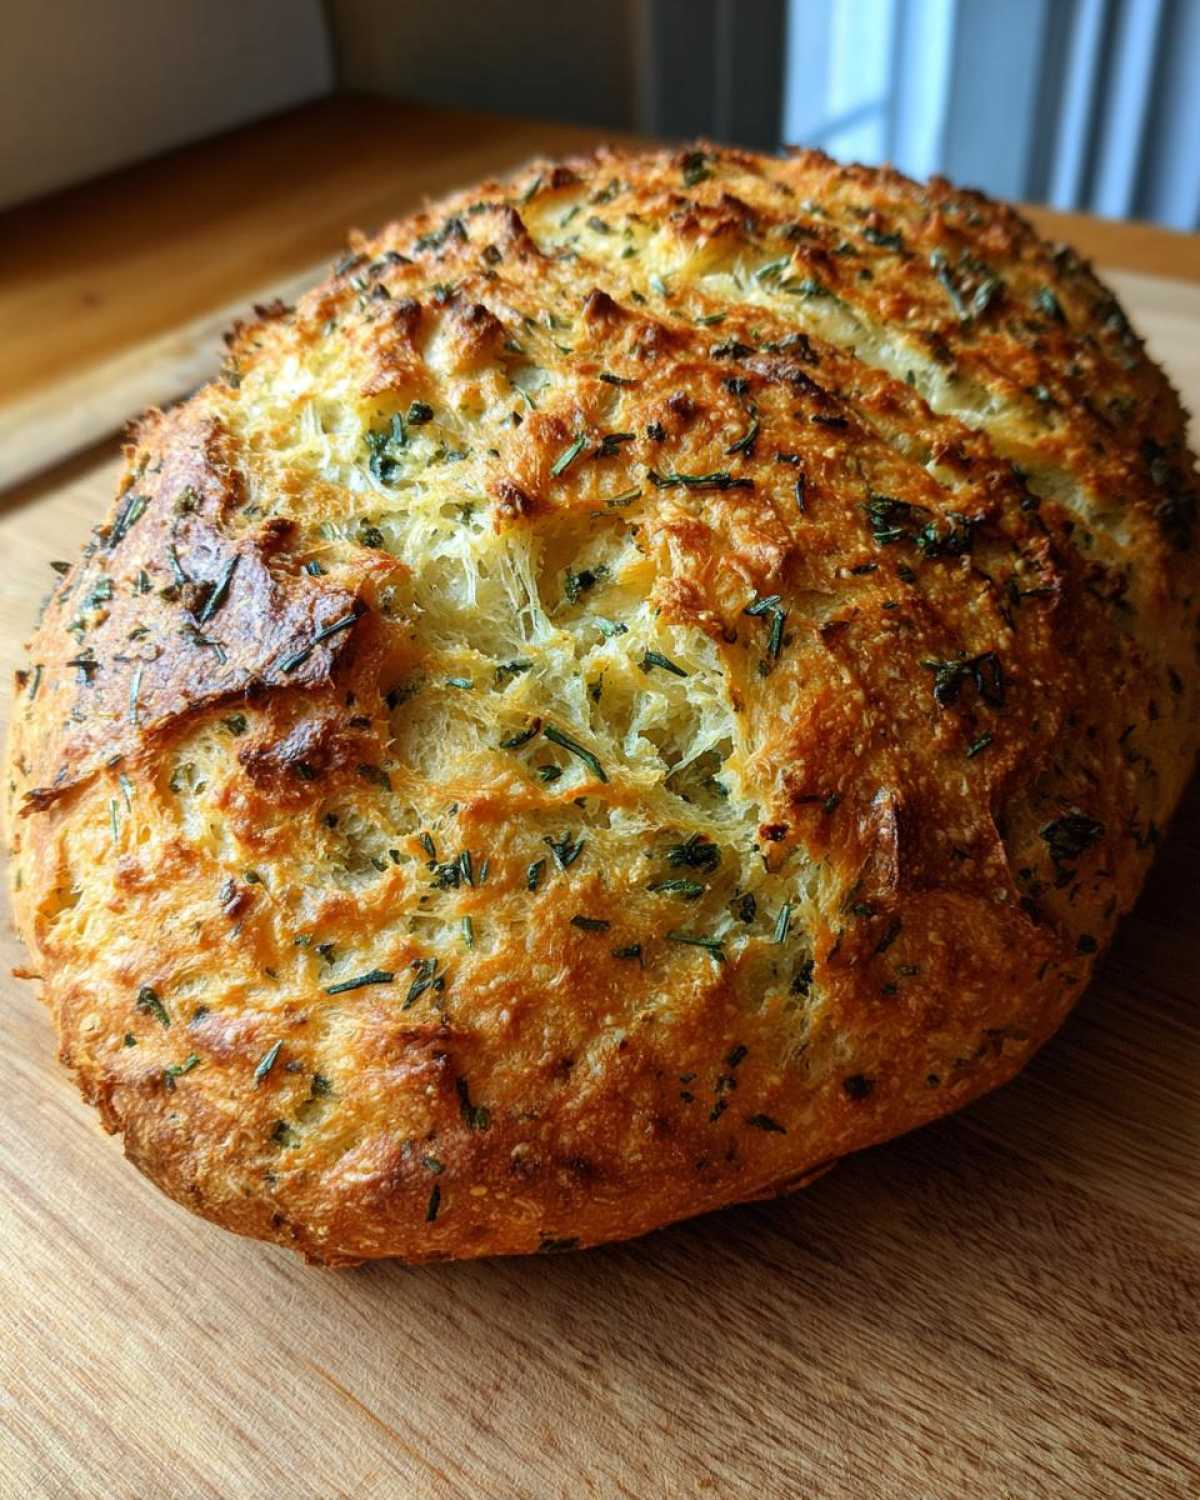
Forget those plain white loaves; we are leveling up! This recipe for Italian herb and cheese bread, specifically made right in your bread maker, is my absolute secret weapon. It comes out dense enough to slice perfectly for a robust sandwich loaf, but it’s packed with garlic, rosemary, and sharp Parmesan. Seriously, when I pull this cheesy dinner bread out, people always think I spent all day in the kitchen, but nope—the machine did the heavy lifting!
I learned to balance those sharp Italian flavors years ago when I first tried baking with my very first machine. It took a few tries to get the timing right so the cheese didn’t just melt into the paddle, but trust me, once you nail the timing, you’ll never go back to store-bought again. This is the recipe that makes you look like a baking genius with minimal effort. If you want to see the simple, scratch bread that totally changed how my family sees home baking, check out my tips here: the bread that makes people think you’re a baker.
Why This Italian Herb and Cheese Bread is Your New Favorite Easy Bread Machine Recipe
Honestly, once you taste this, you’ll probably forget about every other loaf you ever tried to bake. It hits that perfect spot where convenience meets incredible flavor. It’s one of those truly easy bread machine recipes that keeps on giving. I just love how reliable it is!
- It’s practically foolproof! We’re using the standard settings, making this perfect for the beginner bread machine owner.
- The texture is spot-on savory and sturdy, making it ideal for stacking high with your favorite deli meats.
- The flavor isn’t just ‘a little herby’; it’s deeply aromatic and totally Italian.
Perfect Texture for a Sandwich Loaf
The magic of the bread machine cycle is that it develops the gluten just right, giving us a structure that holds up beautifully. You won’t end up with a crumbly mess. This makes it the absolute best sandwich loaf you can whip up on a Tuesday night!
Savory Flavor Profile: Rosemary Oregano Bread
We aren’t messing around with lackluster flavors here. We are leaning into that wonderful Mediterranean vibe. The combination of rosemary and oregano creates a fantastic rosemary oregano bread that smells divine while it’s cycling. Plus, that sharp salty kick from the Parmesan makes it a real standout!
Gathering Ingredients for Your Italian Herb and Cheese Bread
Okay, gathering the ingredients is the easiest part of this whole process, which is why I love it so much! Because the bread machine does all the mixing, you just need to make sure everything is ready to go in the right order. I always lay mine out (a little mise en place never hurt anyone, even for a machine recipe!) to make sure I don’t forget that crucial pinch of salt.
When you look at the list, notice everything is pretty standard—except for the Parmesan, which needs to be shredded and ready to go because it’s a late addition. If you want to see how I approach other flavor bombs using herbs, you should check out my recipe for garlic herb pull-apart bread; those flavor combinations are just killer!
Here’s what you’ll need to grab for this perfect loaf:
- 1 cup water: This needs to be warm, around 80 to 90°F. You want it pleasantly warm to the touch, definitely not hot, or you’ll kill your yeast before the machine even starts!
- 3 tablespoons unsalted butter: Make sure this is softened. I usually leave mine out on the counter while I get the water measured.
- 3 cups bread flour: Bread flour is a must for the structure on this kind of loaf, trust me.
- 1 tablespoon granulated sugar: Just a touch to give the yeast a little snack.
- 1 1/2 teaspoons salt: Don’t skip this or skimp! Salt really develops the savory flavor profile we are going for.
- 1 1/2 teaspoons active dry yeast: This is the powerhouse that gets everything rising beautifully.
- 1 teaspoon dried rosemary
- 1 teaspoon dried oregano
- 1/2 teaspoon garlic powder: This combination really screams Italian!
- 1/2 cup shredded Parmesan cheese: This is our star addition, but remember, we add this late in the game!
Bread Machine Setup: Achieving the Perfect Italian Herb and Cheese Bread
Now we get to the part where the machine takes over, which is my favorite kind of cooking! Getting the settings right is super important, especially for a beginner bread machine user. You want that sturdy, sliceable texture, not a fluffy, delicate crumb. So, we are setting this little guy to the Basic or White Bread cycle. That’s the default setting on most machines, and it gives us the time and kneading power we need for this savory loaf.
The crust setting is up to you—I usually go for Medium, but if you like a really heavy crust that’s great for soaking up soup, go dark! Now, let’s talk about making sure our herbs and cheese end up *in* the bread and not stuck to the bottom.
Loading Order for Bread Machine Herb Bread
The order matters a ton because we can’t let that yeast just sit next to the salt! Always start wet, then dry, then yeast on top of the flour mountain. So, first in goes the warm water and that softened butter. Then, you carefully pile in the bread flour, sugar, salt (keep it away from the yeast for now!), and all those wonderful dried herbs—the oregano and rosemary, plus the garlic powder.
Make a little divot right in the center of that flour mound and drop in your dry yeast. Don’t stir! We want the machine to do the initial mixing. This layering ensures the yeast activates correctly with the liquid once the machine starts churning, which is key to success in any bread machine herb bread.
When to Add Parmesan Cheese to the Dough
This is the trickiest part, but stick with me, and you’ll have perfect little pockets of melted cheese! You usually let the machine run its initial kneading phase—that’s when the dough forms. If your machine has that fancy delayed addition chute, wait for the signal, and dump in that shredded Parmesan cheese!
If you don’t have the chute? No problem! Listen closely. About 5 to 10 minutes into the first major kneading session, carefully open the lid. Quickly sprinkle that half-cup of Parmesan evenly over the dough while it’s mixing and shut the lid fast. You want the cheese folded in, but you don’t want the heat escaping or the machine messing up its rhythm for too long. That quick addition keeps your parmesan herb bread cheesy all the way through!
Step-by-Step Instructions for Cheesy Dinner Bread
Putting this all together is straightforward because the machine is doing the heavy lifting, but precise steps equal the most glorious cheesy dinner bread outcome. I’ve broken down the instructions exactly as they need to happen for the best rise and texture. You’re just managing the pre-load and the mix-in timing!
- First things first, load up your bread machine pan! You have to follow your machine’s specific loading order, but generally, you’ll add the warm water (80-90°F) and the softened butter first.
- Next, layer in all your dry ingredients: the bread flour, sugar, salt, the rosemary, oregano, and the garlic powder. Don’t mix yet!
- Go ahead and make a nice little well right in the middle of the flour mound. Gently pour in the active dry yeast into that well. Remember, keep that yeast away from the salt and water until the mixing starts!
- Select the correct cycle—remember, we are looking for Basic or White, and set your crust preference to Medium or Light. Hit start!
- Now, you wait for the machine to start kneading. This is crucial! You want the machine to signal that it’s time for mix-ins, or wait about 5 to 10 minutes into that very first kneading phase.
- This is cheese time! If you have a dispenser chute, use it now. If not, carefully lift the lid while the dough is moving around and sprinkle that shredded Parmesan cheese evenly all over the dough. Close the lid quickly so the heat stays inside.
- Step back now and let the machine do its magic until the entire cycle is finished. That’s it for the baking part on your end!
- When the cycle finishes, you need to move fast! Carefully take out the hot bread pan. Please use an oven mitt for this part; it will be scorching hot!
- Immediately turn that beautiful loaf out onto a wire cooling rack. This is where patience comes in for the best crust and sliceability. You absolutely MUST let this loaf cool completely—and I mean completely—before you even think about slicing into it. If you cut it early, it will get gummy, and we don’t want that!
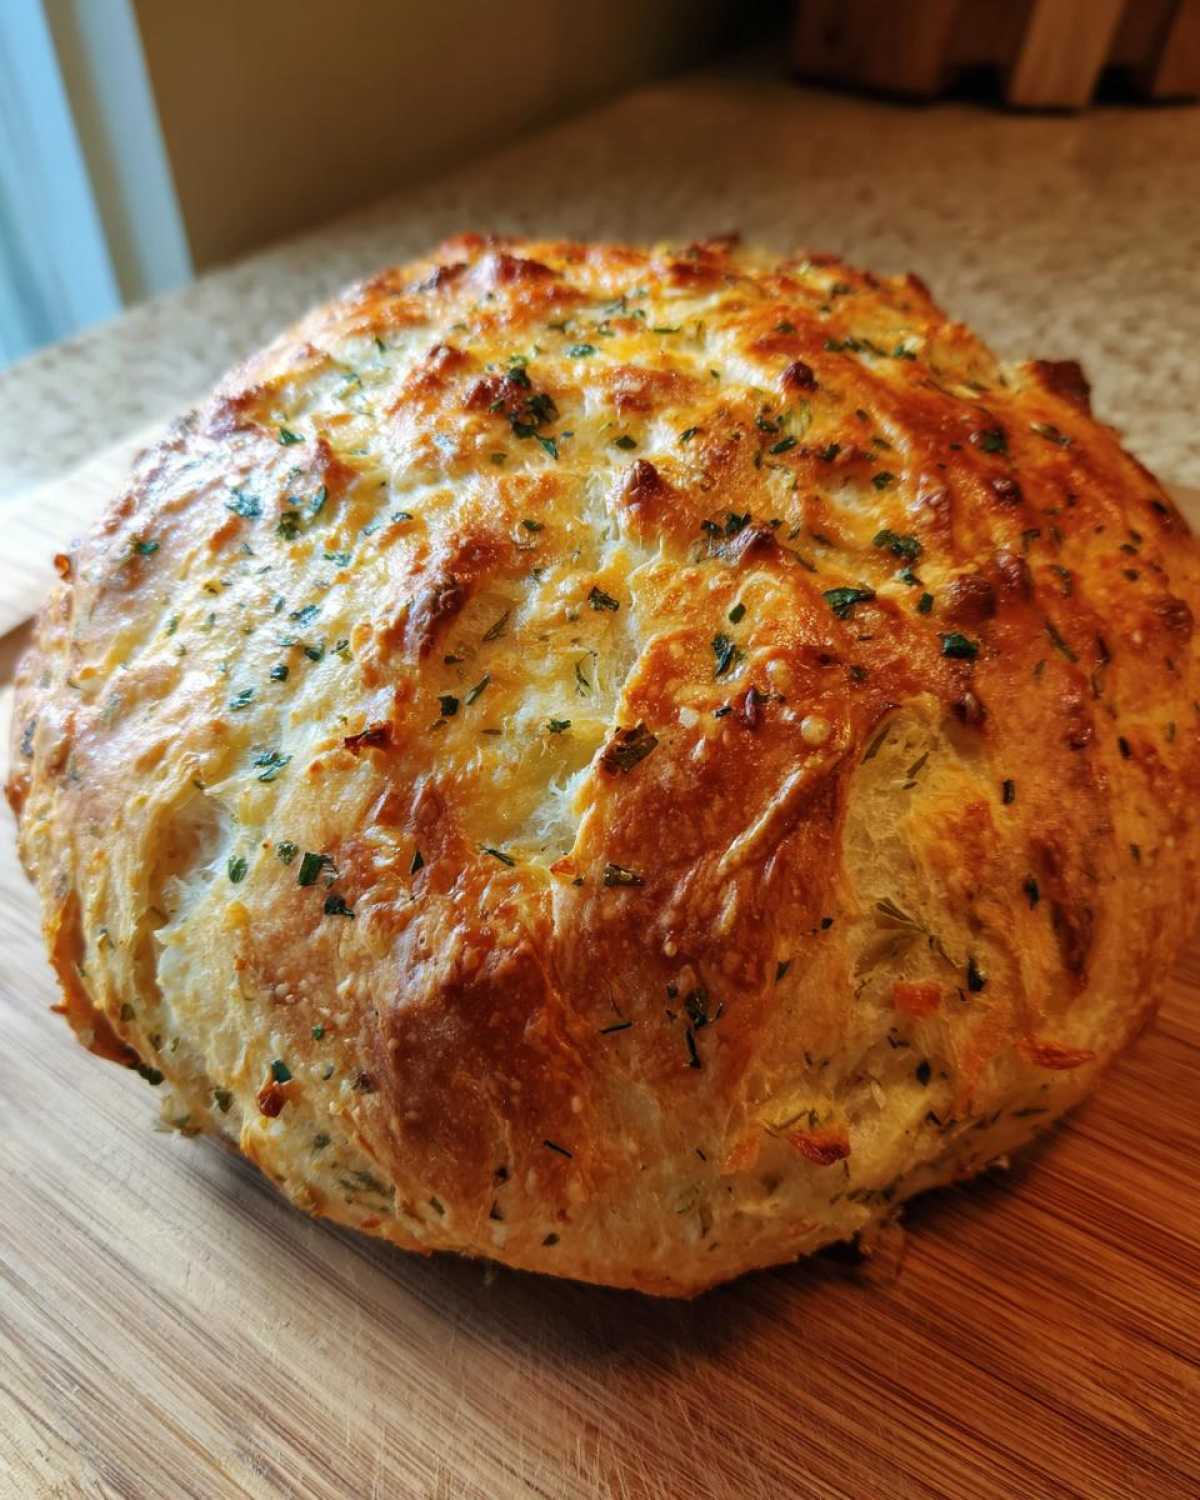
If you are looking for another amazing bread recipe that’s great for serving on the side of a big meal, you might love my buttery dinner rolls that steal the spotlight. But for now, let this cheesy loaf cool down and enjoy the reward!
Tips for Success with Your Homemade Italian Cheese Bread
Even though this is an easy bread machine recipe, a few pointers from my years of trial and error can really smooth out the process and ensure you get that perfect, sturdy Italian cheese bread every time. Honestly, the machine is smart, but it loves a little guidance from someone who’s been there!
The biggest rookie mistake? Slicing too soon! I know, I know, the smell is intoxicating when it’s fresh out of the pan, but resist! If you cut into a hot loaf, especially one with cheese and butter like this, the steam gets trapped, and the interior structure—the crumb—turns gummy and looks wet. It needs that full hour on the rack for the moisture to redistribute evenly. Trust me, waiting that extra 60 minutes makes the difference between great and absolutely phenomenal.
Also, think about your main players: the yeast and the herbs. Since this is a longer bake cycle, make sure your yeast is fresh. If it’s been sitting in the back of your pantry since the Reagan administration, you might need to use a little more, or better yet, grab a new packet! Old yeast equals a sad, flat loaf. For dried herbs, if they look dusty and have lost their vibrant color, they’ve lost most of their potency, so swap them out for fresh, fragrant ones for the best flavor.
Adjusting for Different Bread Machine Models
Not all bread machines are created equal, right? Some of the newer models have great features, but if you’re working with an older, reliable machine that maybe just has a basic ‘dough’ setting or doesn’t have that automated mix-in dispenser, you need to be on cheese duty!
If your machine lacks that convenient chute, the rule of thumb is to listen closely. You want the dough to be well-formed into a shaggy ball but still actively developing gluten when you add the Parmesan. This usually happens about 5 to 10 minutes into the very first kneading cycle. During this time, the machine is using its core power to develop structure, so folding in that cheese now ensures it gets nicely incorporated without melting into the paddle attachment before the actual rising phase begins. You can find tons of great settings advice for troubleshooting specific models over at my resource page for easy bread machine recipes.
Ingredient Notes and Substitutions for Rosemary Oregano Bread
When we talk about this rosemary oregano bread, you might not always have everything on hand, and that’s totally fine! Baking is about intuition as much as it is about measuring cups. I like to experiment, but for this specific bread machine loaf, we have to be careful not to mess up that liquid-to-flour ratio because the machine needs a nice, predictable dough structure.
The biggest swap some folks ask about is the cheese. Parmesan is wonderful because it’s hard and melts in little pockets, but if you’re in a pinch? You can absolutely swap it out for some finely shredded Gruyère or even sharp white cheddar. Just try to keep the quantity the same. Avoid super soft cheeses like fresh mozzarella unless you are adding it right at the very end of the bake, or it just melts into soup!
Using Fresh Herbs in Your Garlic Herb Bread
Oh, fresh herbs totally elevate any dish, and yes, you can use them here to make your garlic herb bread smell like your favorite Italian hillside! The problem is that dried herbs and fresh herbs have very different intensities. If you use fresh herbs, you need a bigger volume.
The general rule I always follow when converting fresh to dried for baking is a three-to-one ratio: use three parts fresh herb for every one part dried herb the recipe calls for. Since this recipe asks for 1 teaspoon each of dried rosemary and oregano, you’d want to use about 1 tablespoon of fresh rosemary and 1 tablespoon of fresh oregano. Make sure they are finely chopped before you toss them in with the initial dry ingredients. Fresh herbs add a little bit of extra moisture, but since they are mixed with the flour, it shouldn’t upset the machine’s rhythm too much!
Storing and Reheating Your Italian Herb and Cheese Bread
So, you’ve successfully made the loaf, and you’ve waited patiently for it to cool completely—bravo! Now comes the crucial part: keeping this gorgeous Italian herb and cheese bread tasting as amazing tomorrow as it does right now. Because this bread has butter and cheese in it and we want that perfect slice, storage is really important.
For daily eating, like if you plan to use it all up in two days for sandwiches or toast, just wrap it up tightly. I mean *really* tight. Use plastic wrap first, and then maybe put that into a large zip-top bag or an airtight container. Leaving it uncovered will make that lovely crust go hard and chewy in the worst way. Stored this way, it should stay wonderfully fresh on the counter for up to two days. If you’ve got a really humid kitchen, two days is pushing it, so maybe stick to one!
If you know you won’t demolish this perfect sandwich loaf in 48 hours, then we absolutely need to talk about freezing. Freezing is the best way to lock in that soft interior and keep the herbs vibrant. You freeze it whole, not sliced, if you can manage it! Slicing before freezing is fine, but you lose some of that structural integrity when you reheat individual pieces.
When slicing a cold loaf before freezing, wrap each slice in plastic wrap tightly, and then group those slices into a heavy-duty freezer bag. You want to push as much air out as possible before sealing it. It freezes beautifully for up to three months. If you want to reheat a whole loaf later, let it thaw on the counter first, then wrap it in foil and warm it in a 350°F oven until heated through. This method keeps the crust from getting steamed and soggy—we want a little texture!
For a quick snack or dinner side, you can reheat a slice or two directly from frozen—just wrap the piece in a tiny bit of foil and pop it in the oven (or even a toaster oven) for about 5-7 minutes. It warms right up and tastes almost freshly baked. You can find more general advice on keeping baked goods fresh over on my main baking resource page!
Frequently Asked Questions About Bread Machine Herb Bread
I get so many questions about this savory loaf! People are usually curious about the flour or how to adjust the settings if their machine is a little different from mine. It’s completely normal to have questions when you’re getting to know a new appliance, especially when it involves yeast. Here are the ones I hear the most often! I even pulled some great troubleshooting pointers from my noodle recipe page—believe it or not, fixing sticky dough is sometimes similar across recipes! You can see my tips there: chili garlic noodles fixed recipe.
Can I use regular All-Purpose flour instead of Bread Flour?
You *can*, but I really, really wouldn’t recommend it for this recipe! Bread flour has a higher protein content, which is what needs to develop strong gluten nets to support the weight of the cheese and the herbs. If you use AP flour, you risk ending up with a slightly too-dense or even crumbly bread machine herb bread that won’t hold its shape well when sliced for sandwiches. Stick to bread flour for the best sandwich loaf!
What cycle setting is best for a softer crust on this Parmesan Herb Bread?
If you’re making this as a cheesy dinner bread and you want that soft, pull-apart texture rather than the firm crust needed for slicing, you should use the ‘Soft’ or ‘Light’ crust setting. But here’s my secret for the absolute softest crust once the cycle is done: as soon as the machine stops beeping, remove the pan, immediately brush the top of the loaf with about a tablespoon of melted butter, and then place the loaf back into the empty, turned-off bread machine pan (or a warm, turned-off oven) covered with a clean kitchen towel for about 15 minutes. That steamy, buttered rest works wonders!
Can I use fresh rosemary and oregano instead of dried?
Absolutely! Fresh herbs make everything taste brighter, though they do add a tiny bit more moisture. For this specific garlic herb bread, I recommend chopping about 1 tablespoon of fresh rosemary and 1 tablespoon of fresh oregano finely. Add those in with the first set of dry ingredients, just as you would the dried spices. Remember, fresh herbs are much stronger than dried, so don’t overdo it!
Why is my yeast not working with the other ingredients?
This is almost always a temperature or contamination issue! Your water might have been too hot (killing the yeast) or too cold (making the yeast lazy). The second common reason is that the salt touched the yeast before it was mixed with the flour and liquid. Salt is a yeast inhibitor, so it will slow or stop the rise entirely. Always make sure you put the yeast in its own little well on top of the flour, away from the salt, until the machine officially begins the kneading cycle. If you follow that, your Italian herb and cheese bread will be happy!
Estimated Nutritional Information
It’s always good to have a general idea of what you’re baking up, right? Even though this is homemade comfort food, it’s helpful to know the basics. I just ran the numbers for a standard slice based on our measurements here. Remember, because we’re using real butter and sharp Parmesan cheese in this cheesy dinner bread, the fat and sodium content are a little higher than a plain white loaf, but that’s where all the flavor comes from!
Please keep in mind that these are just estimates! Your exact machine model, how much water evaporated, and the specific brand of Parmesan you buy can change things slightly. This is just a helpful guide for enjoying your delicious Italian herb and cheese bread.
Here is the breakdown per serving size:
- Serving Size: 1 slice
- Calories: 150
- Total Fat: 4g (with 2g Saturated Fat)
- Cholesterol: 8mg
- Sodium: 250mg
- Total Carbohydrates: 25g (with 1g Fiber)
- Protein: 5g
- Sugar: 1g
Italian Herb and Cheese Bread Machine Loaf
Make a savory Italian herb and cheese bread using your bread machine. This recipe yields a loaf suitable for sandwiches or serving with dinner.
- Prep Time: 10 min
- Cook Time: 3 to 4 hours (machine cycle time)
- Total Time: 4 hours 10 min
- Yield: 1 loaf
- Category: Bread
- Method: Bread Machine
- Cuisine: Italian
- Diet: Vegetarian
Ingredients
- 1 cup water (warm, 80-90°F)
- 3 tablespoons unsalted butter, softened
- 3 cups bread flour
- 1 tablespoon granulated sugar
- 1 1/2 teaspoons salt
- 1 1/2 teaspoons active dry yeast
- 1 teaspoon dried rosemary
- 1 teaspoon dried oregano
- 1/2 teaspoon garlic powder
- 1/2 cup shredded Parmesan cheese
Instructions
- Add the warm water and butter to the bread machine pan in the order specified by your machine’s manual.
- Add the bread flour, sugar, salt, rosemary, oregano, and garlic powder on top of the liquid ingredients.
- Make a small well in the center of the flour and add the yeast. Do not let the yeast touch the salt or liquid yet.
- Select the Basic or White Bread cycle and choose a Medium or Light crust setting. Start the machine.
- Wait until the machine enters the kneading phase. If your machine has a delayed addition chute for mix-ins, wait until the machine signals for the addition of mix-ins (usually about 5-10 minutes into the first knead).
- Add the shredded Parmesan cheese through the mix-in chute or carefully open the lid during the first knead and sprinkle the cheese evenly over the dough, then close the lid quickly.
- Allow the machine to complete the full cycle.
- Once the cycle is finished, carefully remove the hot bread pan from the machine.
- Turn the loaf out onto a wire rack immediately and let it cool completely before slicing.
Notes
- For best results, use the ‘Basic’ or ‘White Bread’ cycle for a standard sandwich loaf shape.
- If your machine does not have a mix-in dispenser, add the cheese during the last 5 minutes of the first kneading cycle.
- Allow the loaf to cool for at least one hour before slicing to prevent a gummy texture.
Nutrition
- Serving Size: 1 slice
- Calories: 150
- Sugar: 1
- Sodium: 250
- Fat: 4
- Saturated Fat: 2
- Unsaturated Fat: 2
- Trans Fat: 0
- Carbohydrates: 25
- Fiber: 1
- Protein: 5
- Cholesterol: 8